¡Recetas - Recipes ! -🔸🔷 Salchichas a la parrilla - Grilled Sausages 🔷🔸 ¡Deléitate - Delight yourself! 😋 [ES][EN]
🔸¡HOLA MIS QUERIDOS LECTORES!🔸HELLO MY DEAR READERS!!🔸
🇪🇸Español
El día de hoy les traigo una continuación del post anterior, 🔷 Frijoles a la Flojera - Lazy Beans 🔷. En ese post hablábamos sobre cómo preparar frijoles, pues yo en esta receta les hablaré sobre cómo utilicé esos frijoles en un plato.
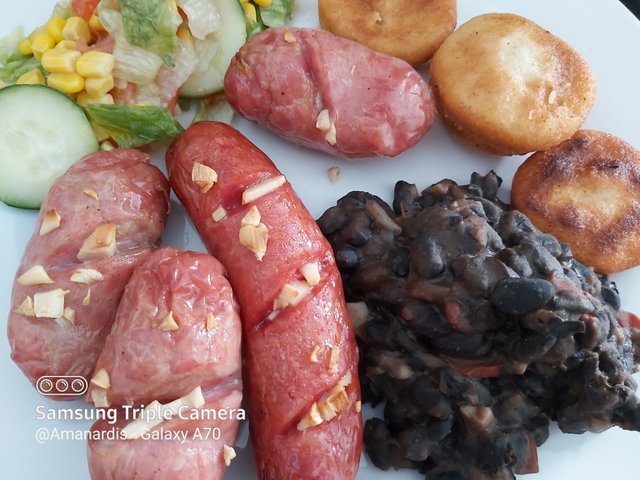
Aquí les presento un plato de parrilla que preparo en casa super sencilla y divina para aquellos que quieren hacer algo especial un domingo o algún platillo para celebrar. Es tan sabroso que mi esposo me pide que le haga algo así todas las semanas jajaja. Solo que yo termino variando el contenido del platillo. Pero en principal les enseñare a sazonar la carne para parrilla.
Este truco lo aprendí de un familiar que le encanta hacer parrillas y de verdad que le queda espectacular. Ya esta foto la publiqué en Appics preguntando si querían esta receta, lo prometido es deuda.
¡Sígueme leyendo para conocer más de esta receta!

🌟INGREDIENTES🌟
Para la ensalada:
1 Tomate.
Media lata de maíz cocido o maíz al gusto.
Medio pepino.
Lechuga al gusto.
Para las arepas:
1 taza de harina de maíz precocida.
Agua (Soy culpable de nunca tener la medida exacta).
1 cucharadita de té de sal.
1 cucharadita de azúcar.
Si no se tiene para hacer arepas, puedes hacer la parrilla con Yuca cocida o frita.
Para las salchichas:
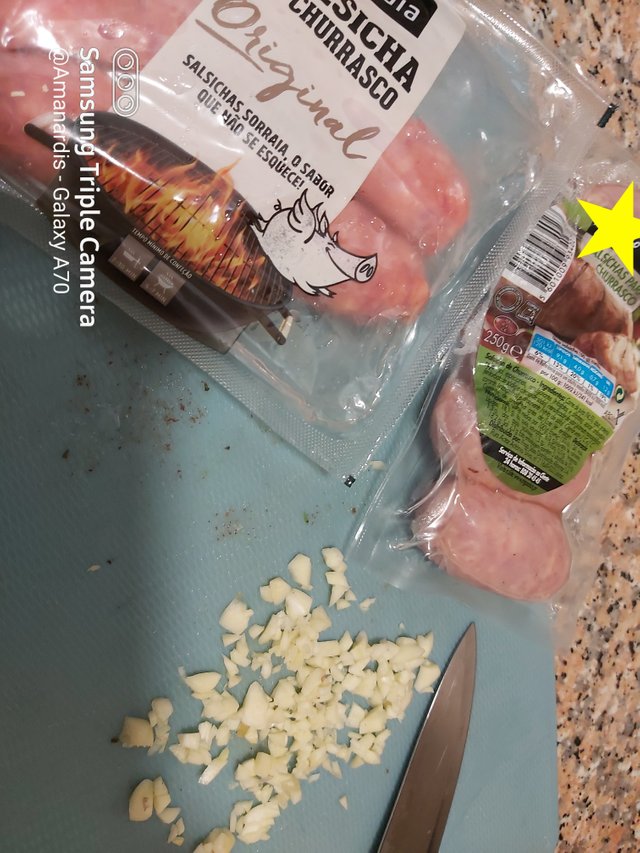
4 - 5 Salchichas para parrilla.
4 dientes de Ajo.
Los frijoles negros que utilizamos en nuestro anterior post
🌟OTROS DETALLES🌟
Tiempo de preparación: 40 - 50 minutos.
Tiempo de Cocción: 20 - 30 minutos.
Porción por persona: 2-3 personas / 2-3 platos.
🌟PROCEDIMIENTOS🌟
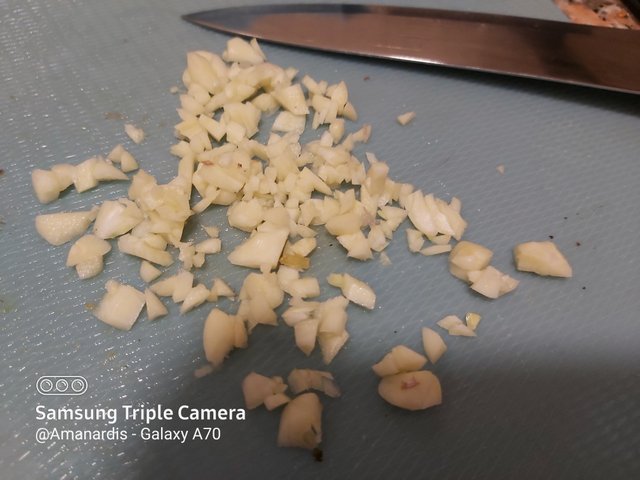
(1) Procedemos a picar nuestros dientes de ajo lo más pequeño que la flojera nos lo permita. Entre más pequeños los trozos mejor.
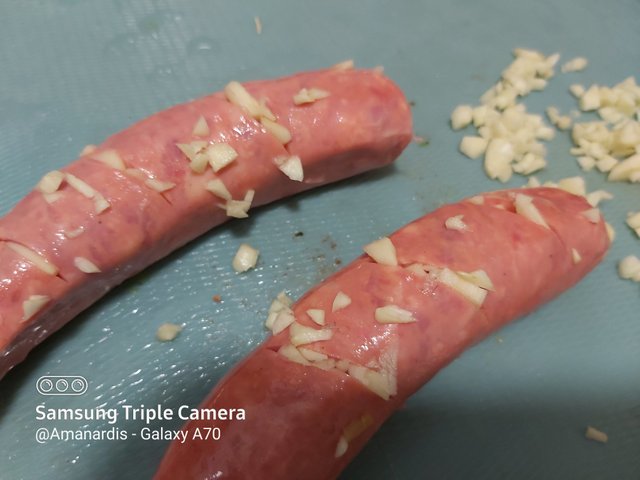
(2) Yo para esta ocasión compre dos salchichas distintas, son de la misma marca pero saben distinto. Así que si solo tienes un tipo de salchichas no te preocupes. Recuerda que no son salchichas para perro caliente si no para parrilla. A las salchichas les hice pequeños cortes verticales. Por ejemplo en las salchichas grandes les hice 3 cortes, en las que son pequeñas uno solo.
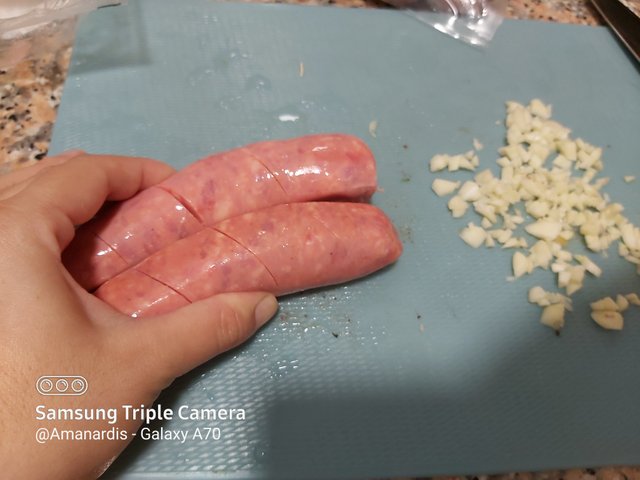
(3) Vamos a introducir los ajos en los pequeños cortes que realizamos, no tiene que ser todo, pones unos cuantos trozos de ajo dentro como la imagen.
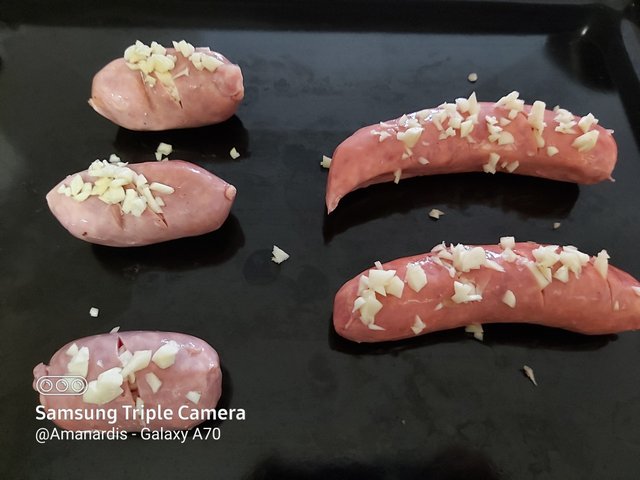
(4) Colocamos nuestras salchichas operadas en la bandeja y el resto de ajo lo colocamos encima de las salchichas o alrededor. Procura que sea encima de las salchichas.
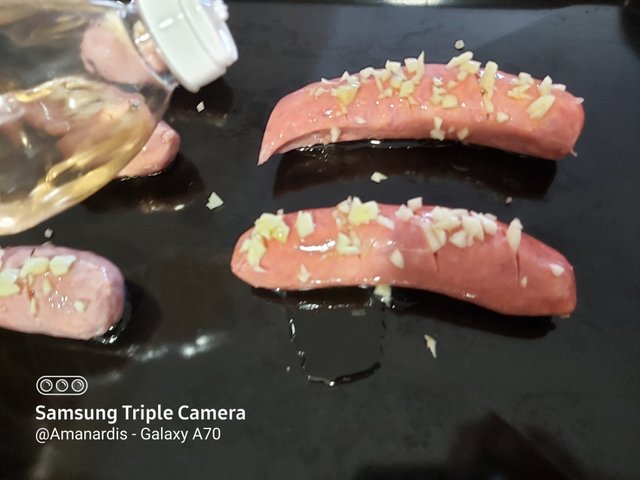
(5) Vamos a colocar unas gotas de vinagre encima de cada salchicha, no mucha, el vinagre realza el sabor. También colocamos aceite de oliva tal cual como hicimos con el vinagre.
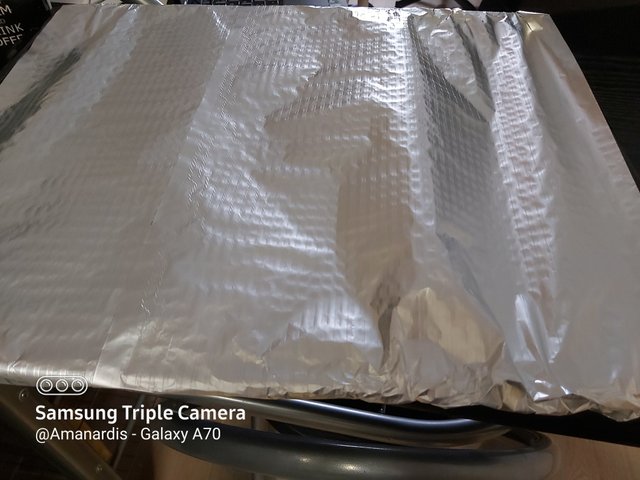
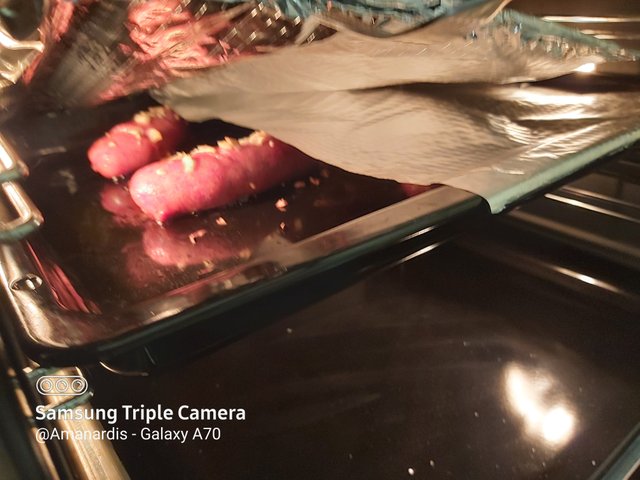
(6) Tapamos nuestras salchichas con un aluminio y lo ingresamos a nuestro horno previamente precalentado a 200° por unos 20 a 30 minutos. Hasta que nuestras salchichas se tornen doradas y nuestro ajo cocido.
(5) Lamentablemente no tomé fotos a la ensalada. Pero mientras cocinamos nuestras salchichas vamos a preparar nuestra ensalada. Cortamos la lechuga en tiras, el tomate en trozos medianos, el pepino lo pelamos y lo cortamos en rodajas y todo esto lo agregamos con el maíz en una taza grande. Agregamos algo de vinagre balsámico, aceite de oliva y sal al gusto. Revolvemos.
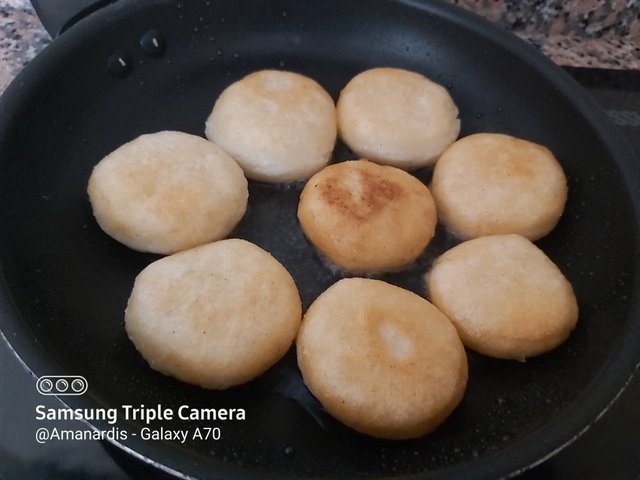
(6) Haremos nuestras arepas ahora. Colocamos nuestra harina con el azúcar y la sal en una taza, y vamos a ir adicionando y revolviendo con las manos una taza de agua. Si es necesario agregar más agua siéntete libre. Esto debe quedar como una masa consistente, no puede estar aguada y tampoco dura o arenosa. Con ella debes ser capaz de agarrar una porción de masa y hacer una bolita juntando tus dos manos, esa bolita la vamos a aplastar formando un círculo. Si ves que se fractura la masa agrégale más agua, si ves que se te pega la masa, te pasaste de agua. A estas bolitas de masa aplastadas las vamos a agregar a una sartén con 4 cucharadas de aceite ya caliente y las freiremos. Cuando estén doraditas y crujientes estará lista.

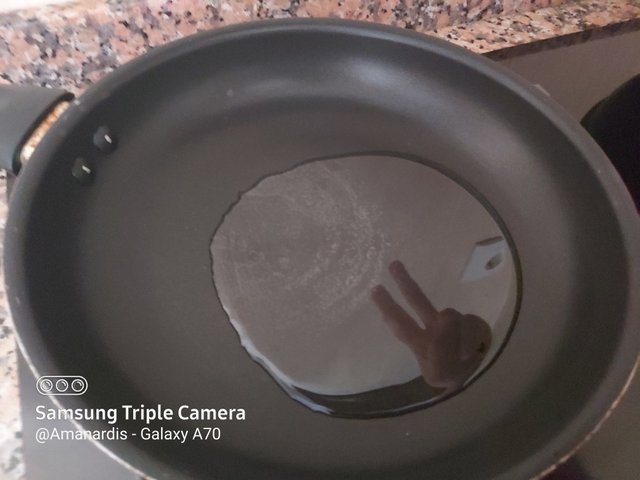
Esta soy yo divirtiéndole con el aceite de la sartén mientras la misma se calienta para agregar mis arepitas. Sean felices amiguitos, sacude la toxicidad y la envidia de tu cuerpo. Gózalo.
Aquí pueden apreciar otra obra de arte. Nuestras salchichas ya cocidas y listas para servir en el plato.

(7) Agregamos todo a los platos.
🔸🔷! VOILÀ!🔷🔸
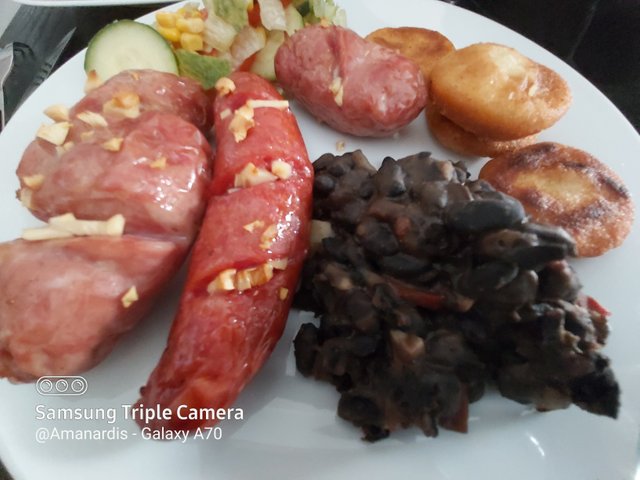
¡Nuestra parrilla está lista! Servimos las salchichas en cada plato, las arepitas la ensalada y los frijoles. Algo rico y distinto para servir a nuestra mesa. Si quieres consentir a tu hijo o a ti mismo. Les voy a ser sincera, ahora estoy preparando una pasta y me dio tanta hambre este post que creo que apagaré el agua de la pasta y haré algunas salchichas.
¡Déjenme en los comentarios que les pareció esta receta y una foto para cuando la preparen!

🇺🇸English
Today I going to show you guys a continuation of the previous post, 🔷 Frijoles a la Flojera - Lazy Beans 🔷. In that post i talked about how to prepare beans, but in this recipe I will show you guys about how I used those beans on a plate.
Here I present a grill super simple and divine for those who want to do something special on a Sunday or a dish to celebrate. It is so tasty that my husband asks me to do something like that every week hahaha. Only I end up varying the content of the dish. But in the main I will teach you how to season the meat for the grill.
I learned this trick from a family member who loves the grills and really taste spectacular the way he prepare it. I already published this photo in Appics asking if you guys wanted this recipe, and what is promised is debt.
Stay tuned to learn more about this recipe!

🌟 INGREDIENTS 🌟

For the salad:
1 tomato.
1/2 can of cooked corn.
Half cucumber.
Lettuce to taste.
For the Arepas:
1 cup of precooked cornmeal.
Water (I am guilty of never having the exact measurement).
1 teaspoon of salt.
1 teaspoon of sugar.
If you don't have to make arepas, you can grill with cooked or fried Yucca o mandioca.
** For the sausages: **
4 - 5 Grill sausages.
4 garlic cloves.
🌟OTHER DETAILS🌟
Preparation Time: 40 - 50 minutes.
Cooking time:20 - 30 minutes.
Rations: 2-3 persons / 2-3 dishes.
🌟 PROCEDURE 🌟
(1) Chop our garlic cloves as small as laziness allows us. The smaller the pieces the better.
(2) For this occasion i bought two different sausages, they are from the same brand but they taste different. So if you only have one type of sausage, don't worry. Remember that they are not hot dog sausages, they are for grill. I made small vertical cuts to the sausages. For example, in large sausages I made 3 cuts, in which only one is small.


(3) I am going to introduce the small cuts that we make with the garlic into the sausages, it doesn't have to be everything, you put a few pieces of garlic inside as the image.
(4) Place our operated sausages on the tray and the rest of garlic we place on top of the sausages or around. Make sure it's on top of the sausages.


(5) Now i am going to place a few drops of vinegar on top of each sausage, not much, the vinegar enhances the flavor. i also put olive oil just as we did with the vinegar.
(6) I cover our sausages with an aluminum foil and enter it into our previously preheated oven at 200 ° for about 20 to 30 minutes. Until our sausages turn golden and our garlic is cooked.


(5) Unfortunately I didn't take pictures of the salad. But while i cook our sausages i am going to prepare the salad. Cut the lettuce into strips, the tomato into medium pieces, peel the cucumber and cut it into slices and add all this with the corn in a large cup. Add some balsamic vinegar, olive oil and salt to taste. We stir.
(6) I will make the arepas now. Place the cornmeal with the sugar and salt in a cup, and we are going to add and stir a cup of water with our hands. If you need to add more water feel free. This should look like a consistent dough, cannot be watered down, and should not be hard or gritty. With it you should be able to grab a portion of dough and make a ball by putting your two hands together, we will squash that ball into a circle. If you see the dough fracture add more water to it, if you see the dough sticking, you went over water. To these crushed balls of dough we are going to add them to a pan with 4 tablespoons of oil already hot and fry them. When they are golden and crispy it will be ready.


This is me having fun with the oil in the pan while the pan is heating. Be happy little friends, shake the toxicity and the envy of your body. AZÚCARRR.

Here you can appreciate another work of art. Our sausages already cooked and ready to serve on the plate.


(7) Add everything to the dishes.
🔸🔷! VOILÀ!🔷🔸
Our grill is ready! Serve the sausages on each plate, the arepitas, the salad and the beans. Something rich and different to serve at our table. I'm going to be honest with you, now I'm preparing a pasta and I am so hungry doing this post that I think I will turn off the water in the pasta and make some sausages.
Let me know in the comments below if you like this dish, if you prepared share some pics of it!


Photography Details:


©2020 Pictures and content are of intellectual property of @Amanardis.
©2020 Fotografías y contenido son de propiedad intelectual de @Amanardis.