Blockchain and Cryptocurrency Advanced - How to Prepare Everything Needed to List Your Newly Created Crypto Token on a DEX

When it comes to the preparation of everything that is needed before a token is listed on any public exchange like pancakeswap, there are few things that needs to be put in place.
The first thing is setting up the metamask wallet for use with the pancakeswap decentralized exchange. After the metamask wallet is fully setup on the binance smart chain network, the next thing is to deposit some BNB into the metamask wallet to be used for gas fees when performing the transactions on the pancakeswap dex. Once the deposit is completed, everything is ready for listing the token on pancakeswap.
Setting up Metamask wallet
The first step in setting up metamask wallet is to download it from the official metamask website. To do this, visit the metamask website at https://metamask.io to download the right version for your device.
Click on download now. The next screen will be to choose the correct platform to install metamask wallet.
.png)
Choose the right platform. Select chrome for chrome browser. Next, Install Metamask for chrome
.png)
The chrome webstore will be opened on its tab, On the chrome webstore, add metamask to chrome
.png)
The installation process will begin, wait for the installation to be completed and metamask will be installed on the chrome browser.
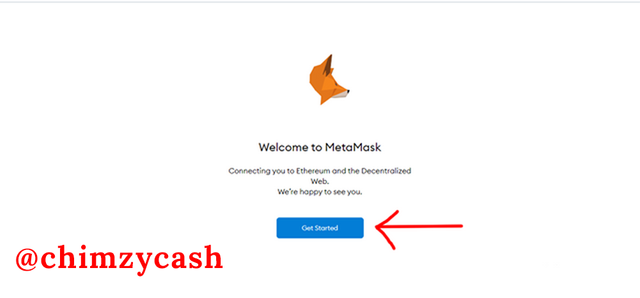
To begin the metamask wallet set up process, launch metamask and Select get started
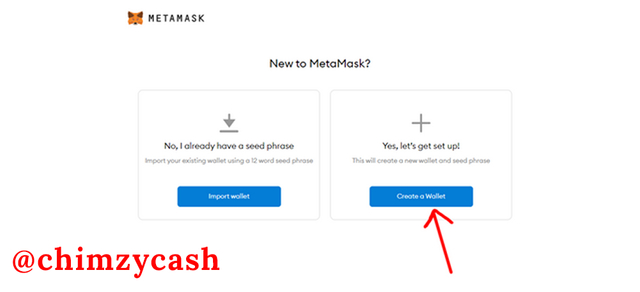
Create a new wallet by selecting create wallet and agreed to the terms
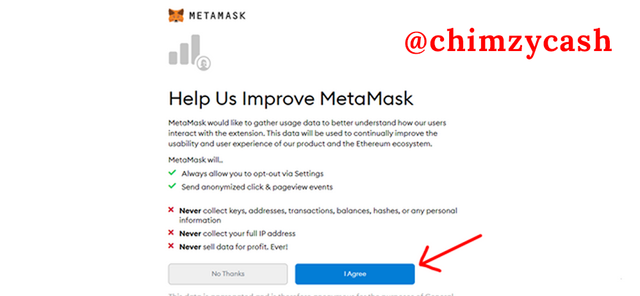
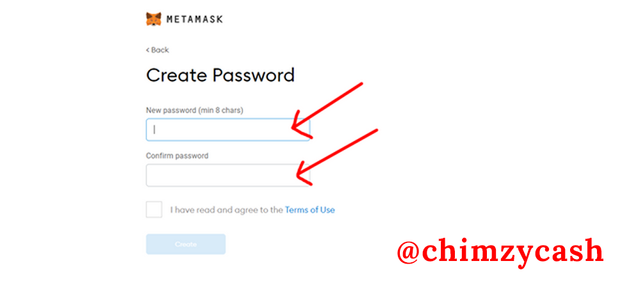
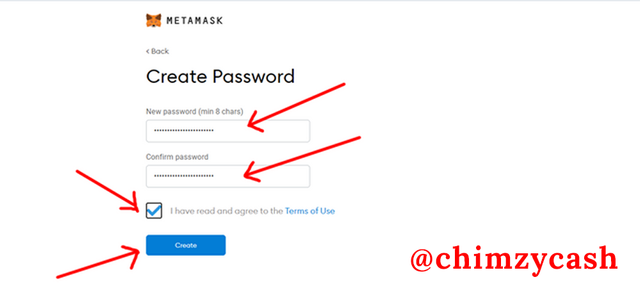
Input a very strong password for higher wallet security. Confirm password, agree to terms and click on create
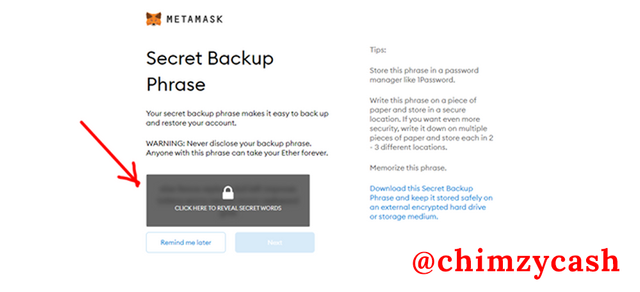
After that, backup the secret phrase. Reveal the secret words or seed phrases.
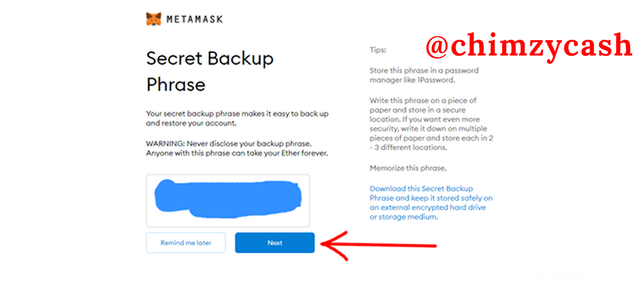
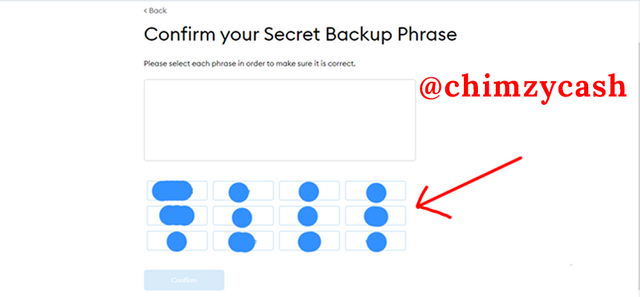
Confirm the secret word in the next page by selecting the correct phrases
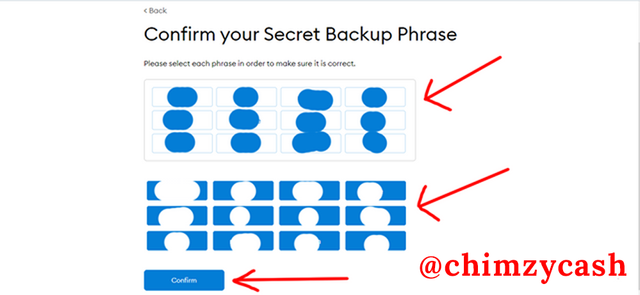
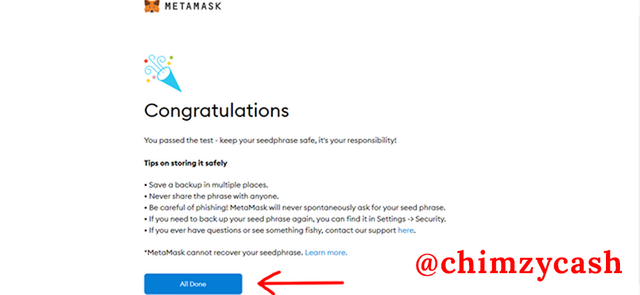
Done, the setup process is completed.
AFter that, it is tile to configure binance smart chain network. To do this, click on the ethereum mainnet dropdown
.png)
Add network.
.png)
Input the correct configuration settings and click save
.png)
Binance Smart Chain Mainnet has been configured
.png)
Once metamask is fully set up, the next thing is to deposit BNB for gas fees. However, I already have some BNB left in my wallet so I can proceed to the token listing process.
.png)
