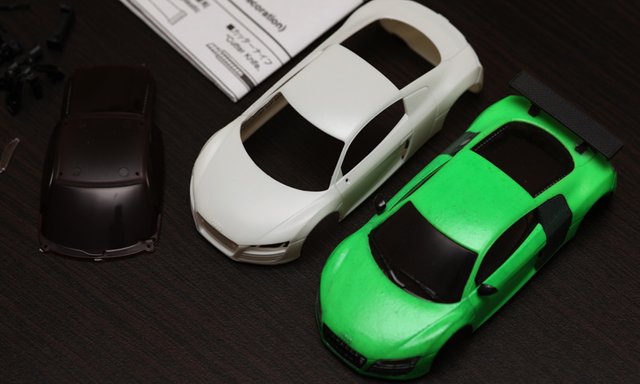
Before and After Painting a Body for the 1:43 scale Kyosho dNaNo RC Car

If you have missed my previous posts about the 1:43 scale Kyosho dNaNo RC Car and how big it actually is you can check them out. Today I want to also show you how a blank body looks like as well as a finished painted one that I have posted already some photos of.

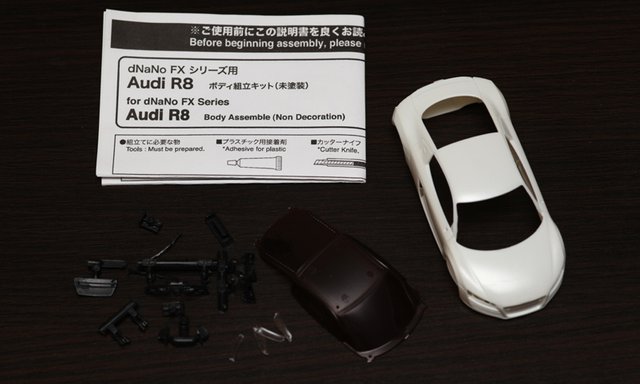
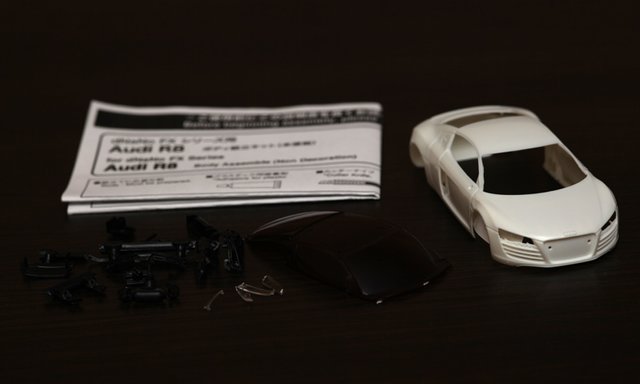
It is not just a white unpainted body that you need to paint, you also get it disassembled, so that you will also have to glue things together. There are a lot of small plastic parts that need to be glued to the body after painting it. The small plastic accessories such as mirrors, wipers, bumper grill, lights, body holders etc. normally don't need to be painted, but if you want to really get creative you can paint them as well. The package also comes with a short manual, but it is not for painting, it is just for assembling everything together, the painting part you need to do yourself.

Since I already have a spare unpainted white body, the one on the photos, I can make a short guide for the process of painting and assembling the whole thing when I figure out how I want to make it look...
Camera: Canon 5D2, Sigma 105mm Macro Lens
If you have a question or want to add something, then please leave a comment below.
Did you like what you have just read? Check my other posts on steemit @cryptos
Hello my friend, thanks for showing before and after painting. A question, how is painted? What method do you use? I have done aeromodelism and painted by hand with paint based acrylic. It would be good to know how to do it.
Using an airbrush to lay the base green acrylic paint (mixed with phosphorous for a bit glow in the dark effect) and then painting the rest by hand with more acrylic paint. Then finishing everything by applying a transparent protective layer on top again with an airbrush.