Spring is here! Time to get to work.
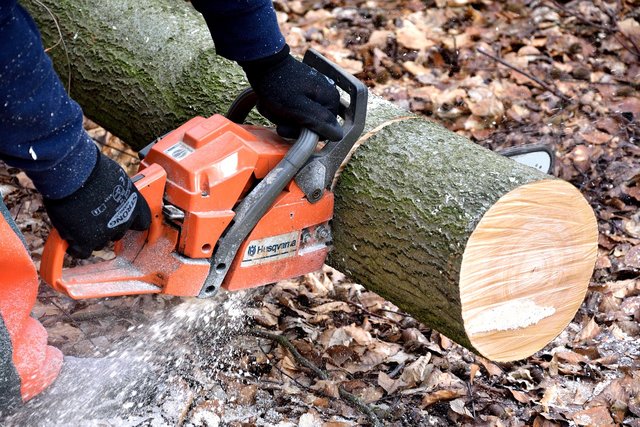
I have been patiently waiting for Spring to come around in order to finish the outside work I need to do around the house. I have had this dead tree in my back yard now for about a year now. It was already diseased when I bought the house, so I knew it was on its way out. It was also all by itself so I didn't have to worry about it affecting my other trees. It died over last winter and this winter just continued to rot. So now that Spring is here, it's time for it to come down. I love when I get to express my inner lumber jack and bust out my trusty chainsaw.
The last time I used my chainsaw was a few years ago to cut down some smaller 10 foot trees that were growing in two corners of my yard. One was planted very close to my house to where it was brushing against the house turning the vinyl green. It blocked the view from the kitchen window so it was an overall nuisance. The other tree was in the adjacent corner of the yard and also served no purpose and also blocked our view.
This tree however was a bit more of a challenge because it was much bigger 30-35 ft tall and already dead. You need to exercise caution with dead trees because they can be dangerous and unpredictable if they have been rotting a while and if they start leaning a particular direction.
Luckily this tree only had a slight lean in the opposite direction that I wanted it to go. I didn't expect any problems but just in case we tied a rope halfway up so we could pull it in the direction we wanted it to go. If you have never felled a tree before, it is pretty straight forward, but problems can arise if you have other obstructions in the way or like I mentioned before with severely rotted trees as well as really big trees. There are plenty of good YouTube videos on how to to do this as well.
Here are the steps I followed:
Step 1 - Ensure people and animals are at a safe distance from the tree you want to fell. Remove all fallen branches or other objects away from the tree for the distance of the tree's length. This way no matter what direction it falls, you will not have anyone get hurt or anything get ruined.
Step 2 - Analyze the structure of the tree to see if there is rot or if the tree leans in a particular direction, especially if it leans in a direction you do not want it to go. Depending on the structure, level of rot and lean, you may want to stop at this point and consult a professional if it is beyond your comfort level.
Step 3 - If you have decided to continue to do it yourself, you will then need to decide which direction you want the tree to fall. If the tree leans, you should get a rope to assist the fall in the direction you want it to fall. So when you are performing the felling cut, another person can pull the rope to guide it.
Step 4 - Cut away any base roots or any low hanging branches that might be a problem.
Step 5 - About 20 inches above the base of the tree, make a diagonal cut into the tree at around a 60-70 degree angle in about 20% of the width of the tree. You will need to do this on the part of the tree that you want the tree to fall towards.
Step 6 - Cut a horizontal line below the angle cut you just made. This will need to connect to the angle cut. When this is done, you now have a triangular wedge cut out on the tree in the direction you want it to fall.
Step 7 - Cut another horizontal line a few inches above the the first undercut on the opposite side of the tree. You are not supposed to cut it all the way through because you want to create a hinge for the tree to fall on. It is a good idea to leave about 10% of the tree width for the hinge. You can use a felling wedge to hammer the tree the rest of the way, however, I did not have one so I had to just cut enough slowly until it started to fall. Once the tree starts to fall backup as much as you can perpendicular to the direction it is falling. This way you won't be in the way of it falling or of it coming off the stump.
After all that is done you can start "limbing" the tree by starting at the base cutting all the limbs off moving from the base towards the top and then "bucking" (cutting) up the tree trunk.
After all is said and done you will have quite the mess on your hands as well as a stump to deal with. I would like to hear from other inner (or real) lumber jacks on their adventures cutting down trees and if your steps are similar to mine.
Now that Spring is here, don't forget to get outside and enjoy the sunshine and fresh air!
Love to all.


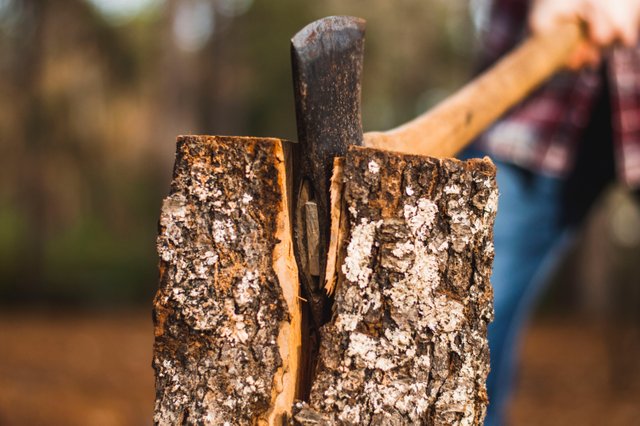
I've never been much of a lumberjack. The only trees I ever cut down I chopped down with an ax. I've probably processed almost as much wood with my Bowie knife for campfires, but it was all squaw wood.
Can't go wrong with an axe either :) although, it would just take a lot longer. Squaw wood is exactly what you want cause its dead and will burn fast. Is there any wooded areas where you live? I wouldn't think so, but I could be wrong.
Nope. Except for where people have planted trees-- around houses or parks. If you see a clump of trees out in the middle of nowhere it's either around a house or where a house used to be. And most of the trees are horrible Siberian elms (they call them "Chinese elms", but that's a different tree).
But I've lived in forested places before. And prefer them... as long as there's no humidity.
Congratulations @dividebyzero! You have completed the following achievement on the Steem blockchain and have been rewarded with new badge(s) :
You can view your badges on your Steem Board and compare to others on the Steem Ranking
If you no longer want to receive notifications, reply to this comment with the word
STOPDo not miss the last post from @steemitboard:
Thanks!