Steps to draw Grasshopper using clutch pencil and paper only.
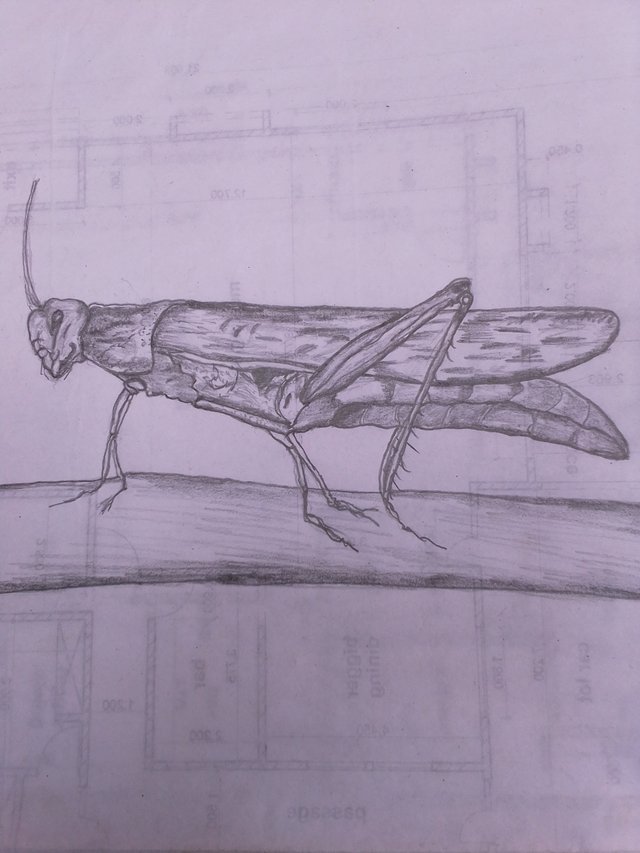
Hello friends and fellow steemians! Season greetings to all of you, I hope you are good. Welcome to my today's blog presenting to you my freehand drawing of
Grasshopper (Schistocerca americana), using clutch pencil and paper only.
grasshopper (Schistocerca americana):
This is one of the oldest insect found closer to mankind, even from history, tracing the infestation of locust, when men where thrown into huger and famine, since it came out and devoured all the season crops and farm plantations.
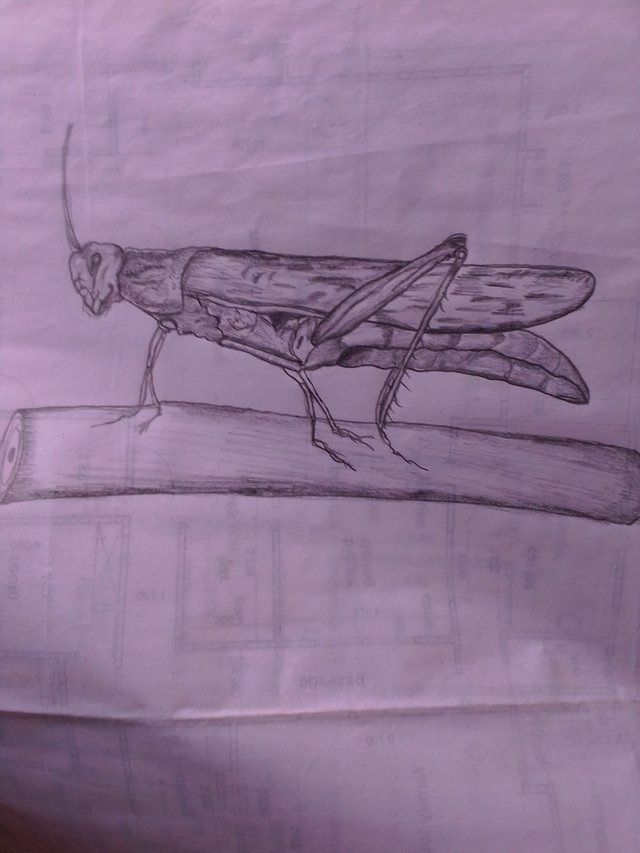
Grasshopper is a ground insect, that feeds on soft woods and leaves, it's of different varieties, to which some tribe eat it and some tribe use it as bait to catch fishes. My own tribe was actually eating it where they catch numbers of them, especially variegated grasshopper, and fry them and eat but not until the meat of higher animals came in full-time replacement and now, they use it to catch fish as a bait on hook.
Please if you have more information about this age long insect leave comments with me I will be very happy to read them thank you
The process and stages to achieve Grasshopper freehand drawing.
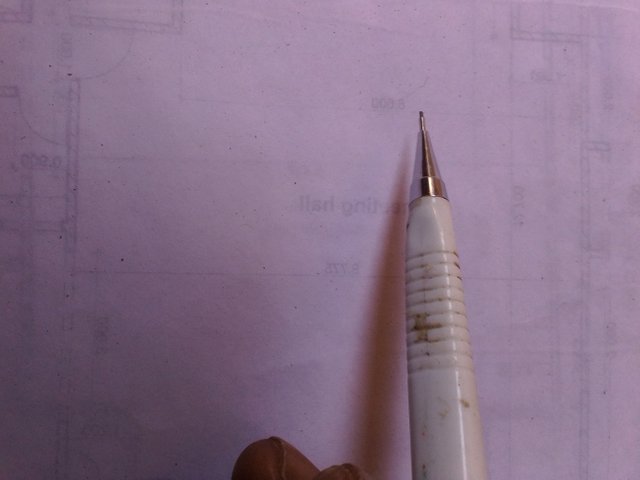
Stage 1
Get your drawing paper spreyed as it's done above, hold your pencil pending, while you use your eyes vision, to imagine your choice of size of the drawing, you intend to draw on the paper and looking too, how proportionate is the picture going to be with the size of your paper and generalise the overall balance in your imagination.
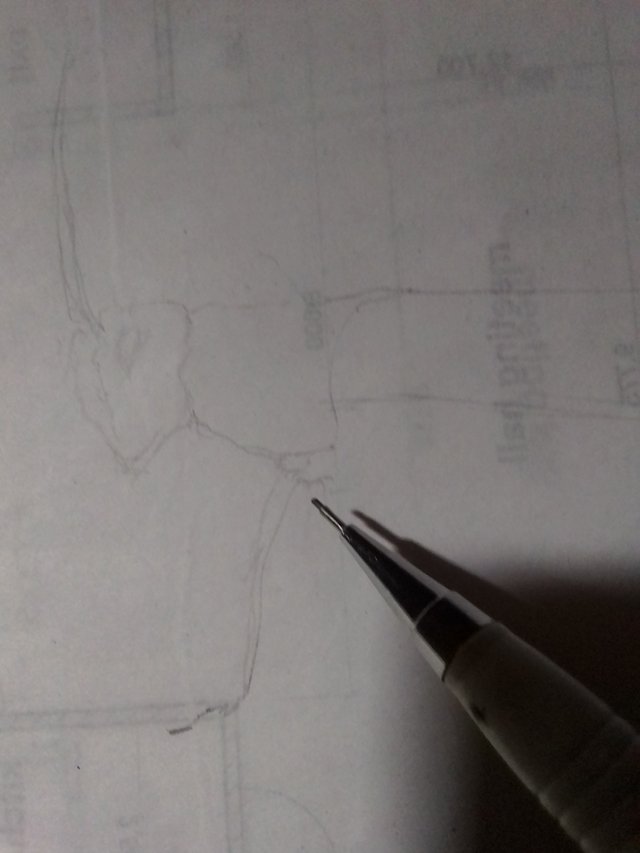
Stage two
Begin your sketching as it is above in accordance with the proportionality and balance already in measure, from stage 1. Your drawing can be based on total imaginations due to the level of knowledge you have already about the object in question or get one, as a spacemen, draw while you look at it. The drawing can begin from any part of the insect like me. This one, started with the head down.

Stage three
Keep effecting the reality of the drawing, using faint lines, should you want to erase some errors, it will be safe, easy and neat.
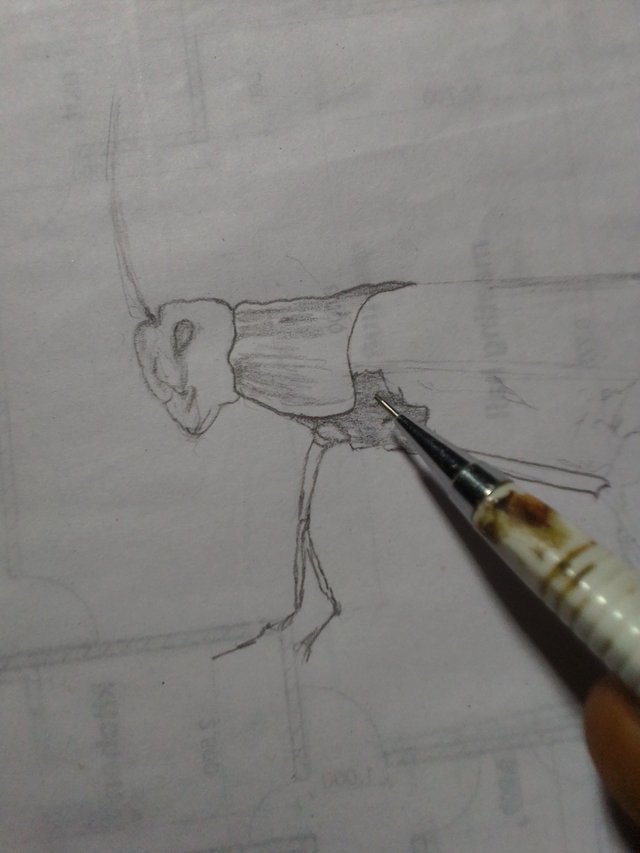
Stage 4
If you are already convinced and sure of the finished product, you can be shading while you draw as it is above. The neck, thorax, head and legs are beginning to manifest in reality. The skill of good shading makes drawing less stressful. The shading is the beauty and reality of drawing.
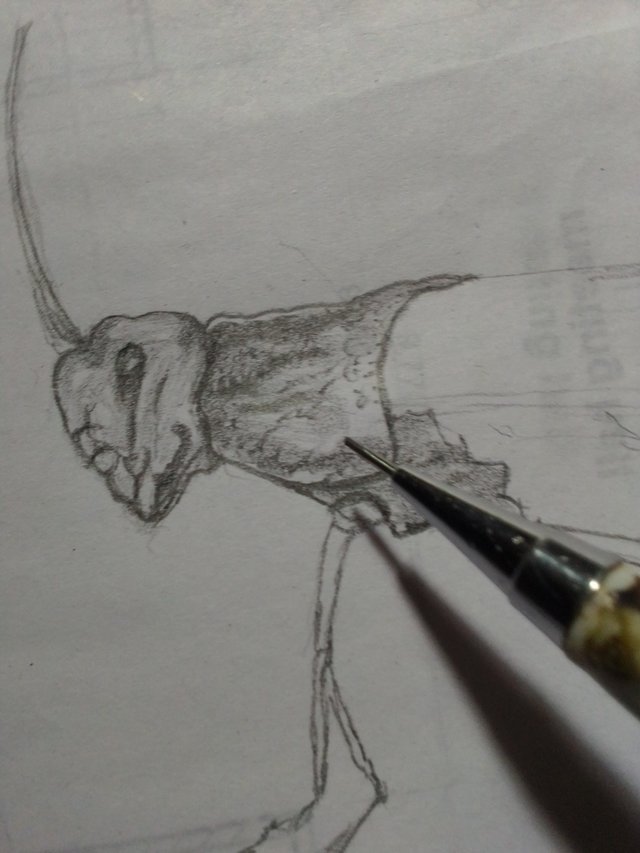
Stage 5
Keep effecting the shading in recognition of the reality body members, to ensure sensibility and conviction.
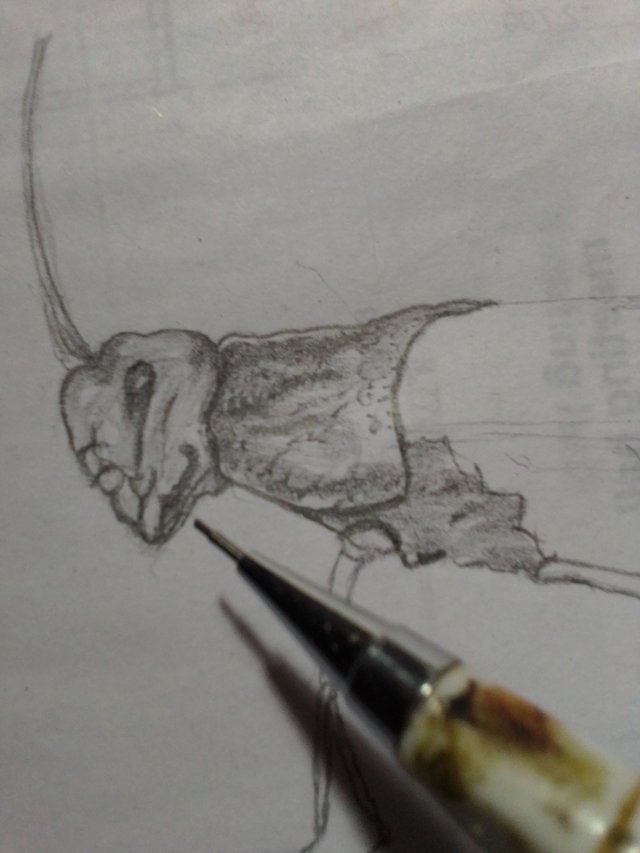
Drawing The mouth sides, and shading as well in presenting reality and ensure body members and defined.
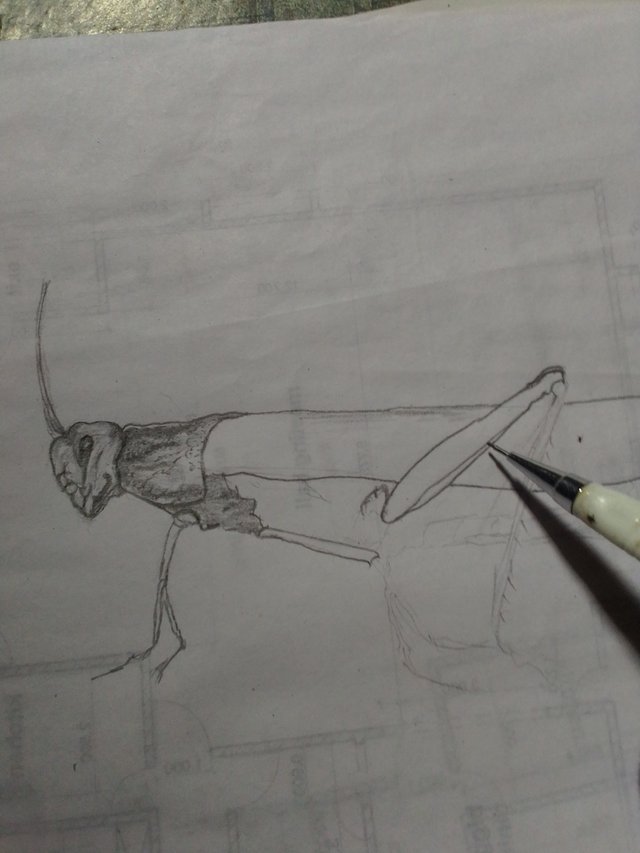
Stage 6
Proceed down the legs and feathers, effecting shading as well and in right proportion and balance as already measured above.
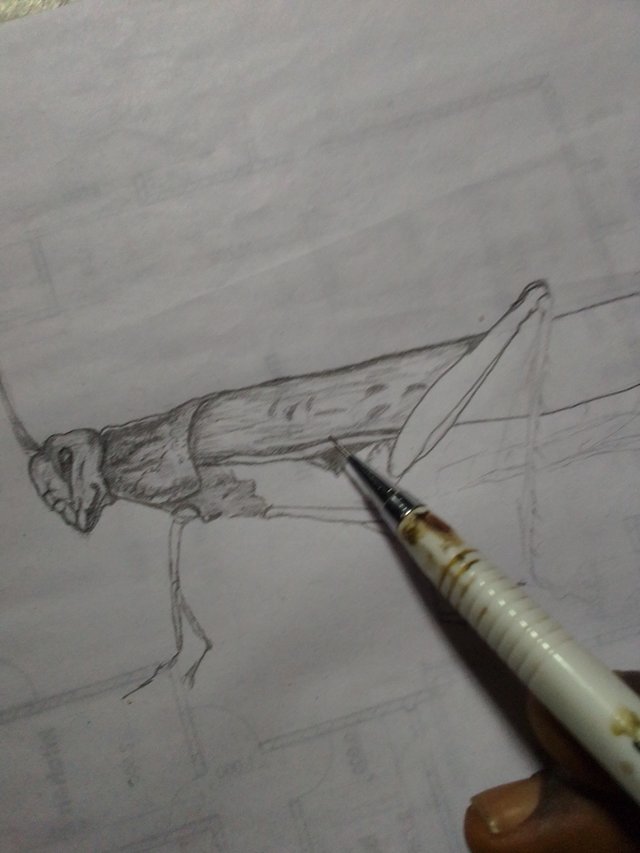
The shading at the legs side
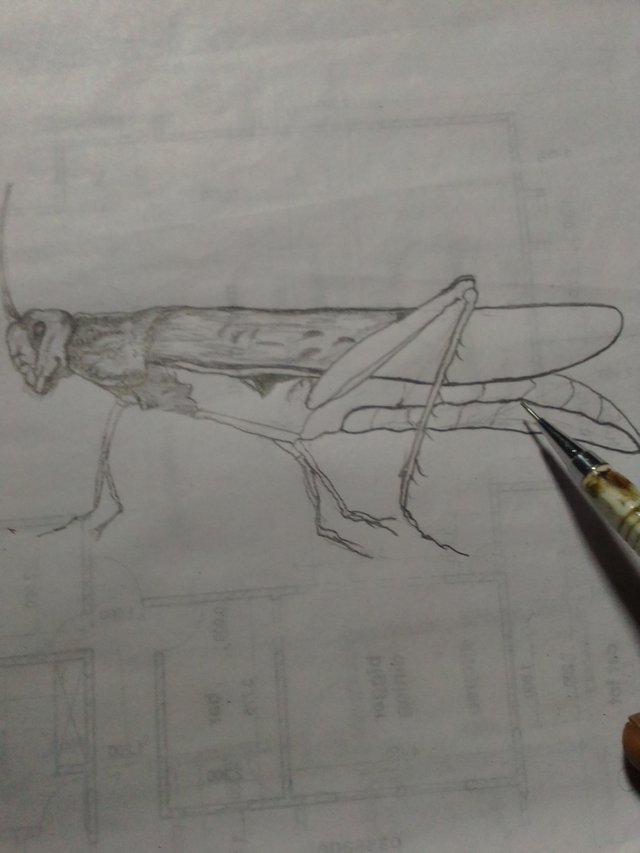
Stage 7
Finish the entire drawing, the hands, legs, head, abdomen and feathers.
![IMG_20221210_132849.jpg]
(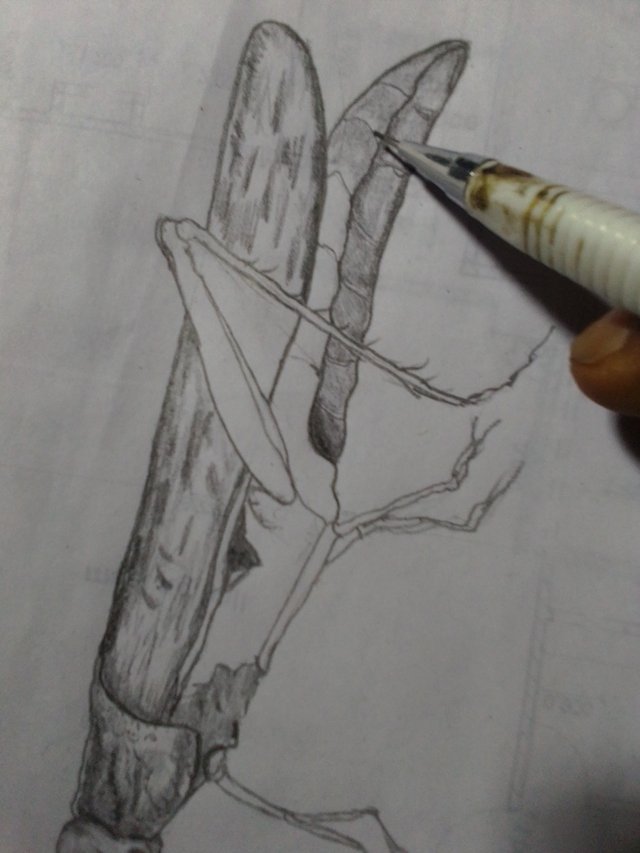 )
)
Stage 8
Take your time and effective all the necessary shading, the areas, darker or lighter than the other, make them real and visible.

And now you have your final product as a full grasshopper freehand drawing.
Note: my drawing and explanation is based on my best knowledge and personal abilities, there are professionals in art that can do more. Mine, is a gift and passion and my knowledge of freehand drawing in Architecture.
Thank you so much beloved friends I believe you may have learnt one or two things based on the stages of drawing grasshopper insect.
Very nice. Lovely instructions. Looking forward to see more from you.
Ok thank you so much.
Your post has been supported by @josepha from team 2 of the Community Curation Program, at 30%. We invite you to continue sharing quality content on the platform, and continue to enjoy support, and also a likely spot in our weekly top 7.
Voting date: 14/12/2022