Learn with me #7 "Editing your Photos like a Pro in 2 minutes with Lightroom Mobile."
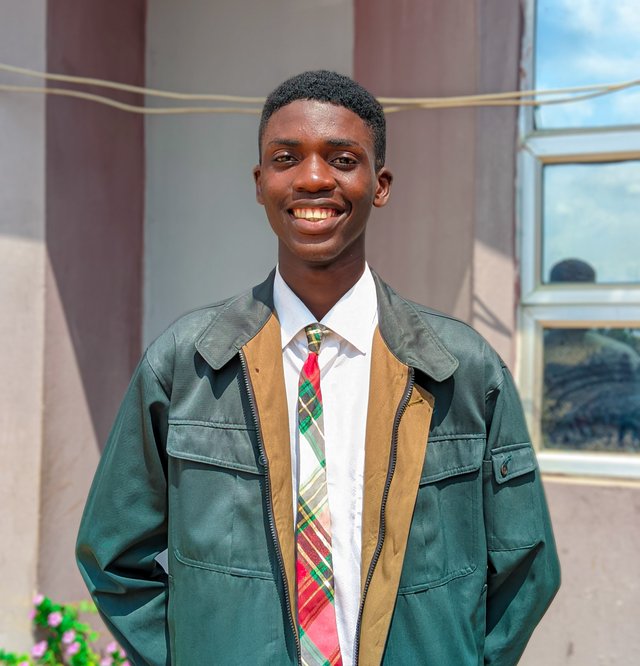
Photography is one of the important means of expressing ourselves on Steemit and other mediums at large. Your pictures attract people to your posts, and you need sharp-looking photos on your blog, with these simple steps you will already know how to edit your pictures professionally and also pursue your dreams of mobile photography.
I had to recommend Adobe Lightroom, for me, it is the best photo editing app. Lightroom mobile has a lot of features that allow you to control the lights in your image, the texture, and most especially the color of your pictures. With Lightroom you can make a very great piece, you can make it look abstract for a poem or story, it all depends on how you can combine colors. Let's get on the professional journey already.
 |  |
|---|
Head over to your Lightroom mobile, if you don't have you can get to your Play Store and search for "Adobe Lightroom", click on Install and open the app.
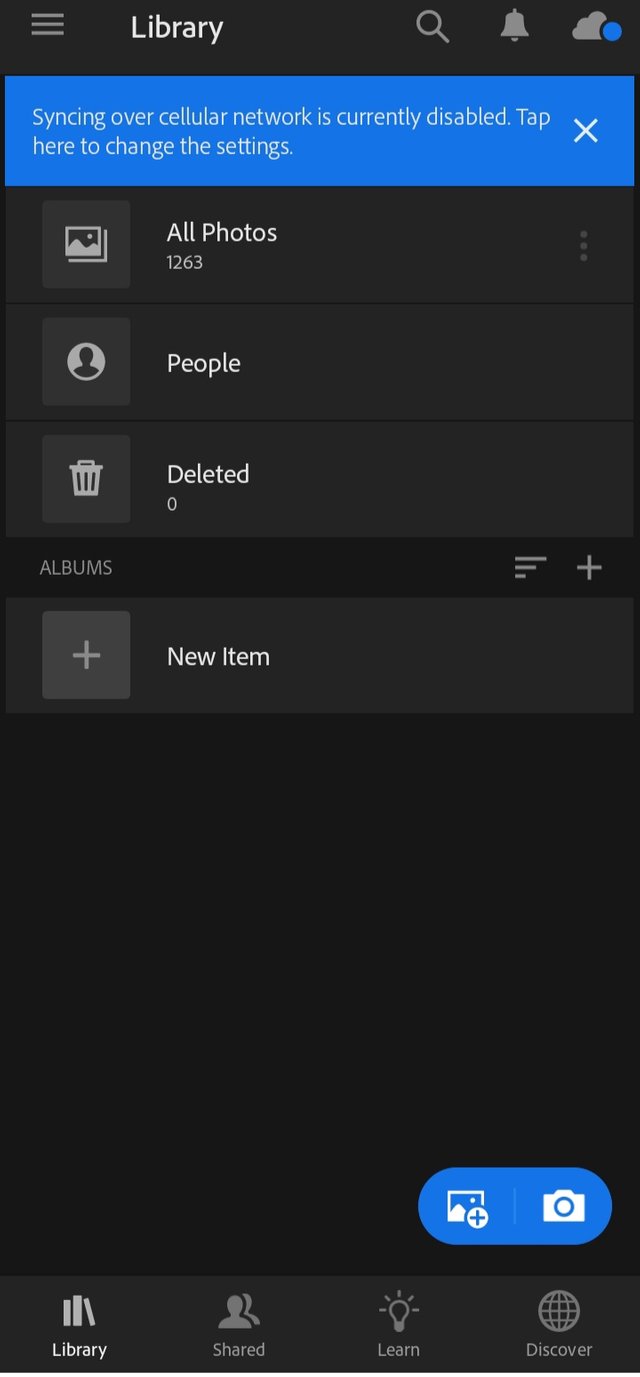
We are already getting there, all you have to do next is add your picture to the app, you can do this by simply clicking on the picture plus icon beside the camera icon as shown on the second frame above.
Tap on the picture you chose to edit and click on Select, your picture will be imported into the editing field.
You can also add pictures to Lightroom from your photo gallery by press-holding the picture and selecting the share to Lightroom feature that pops up.
 |  |
|---|
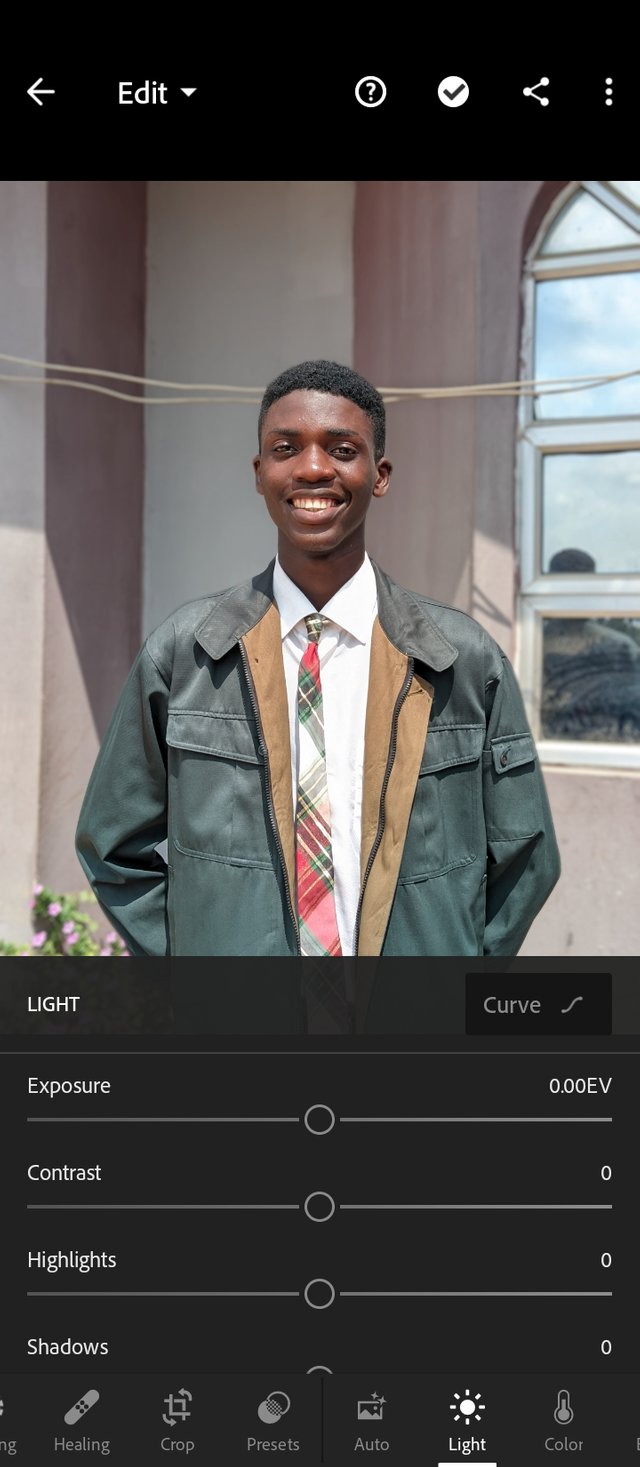
You can quickly see the necessary tools, needed to make your photo look smart. You can toggle from the lights to the effects tool. The first thing I do when I import my photo is to get to the light panel. This tool allows you to control the lighting in a photo. Depending on your knowledge of this lighting tool, you can change the tone of your photos.
I mostly use the shadows and highlights tool, I snap my pictures in a good exposure range so I don't really make use of the exposure tool until it's necessary.
Let's get there quickly, we still have about 1.50 minutes to get done
 |  |
|---|
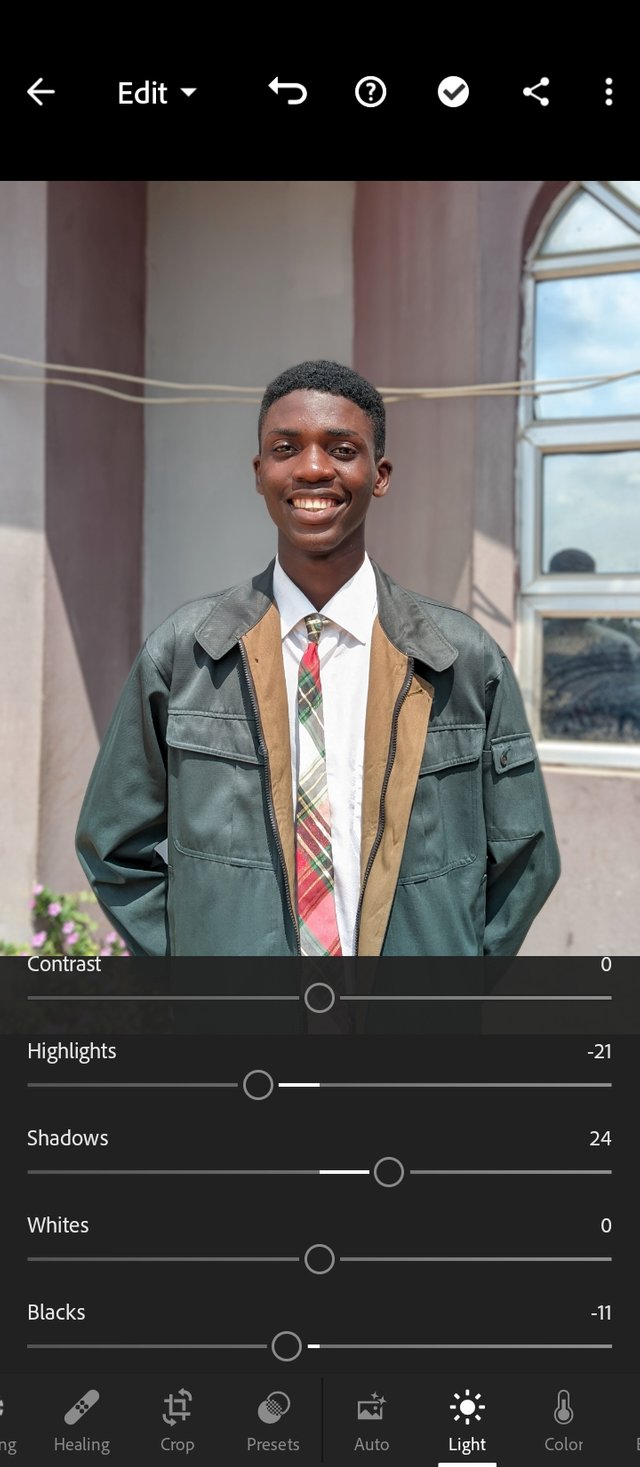
The picture looked bright and shiny, the sun was fully focused on my face so I could see the reflections there. What I did was reduce my highlights, which took away excess reflections on my photo.
I Increased the shadows since the sun was pointing down at my face and not directly, there were dark areas creating shadows, I increased the shadow tool a little bit to bring more light to the dark areas.
I increased my blacks also to make black soothing.
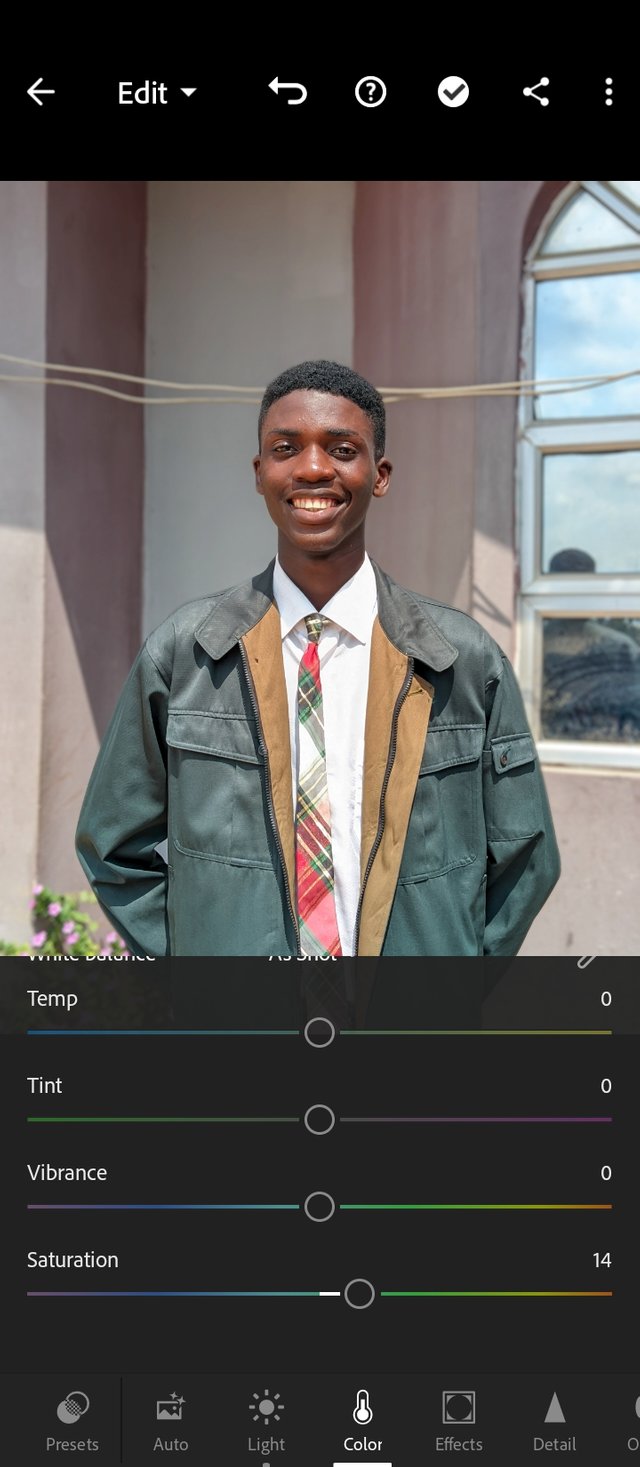
Moving over to the color tool, I quickly increased my saturation which helped improve the colors in my photo
 |  |
|---|
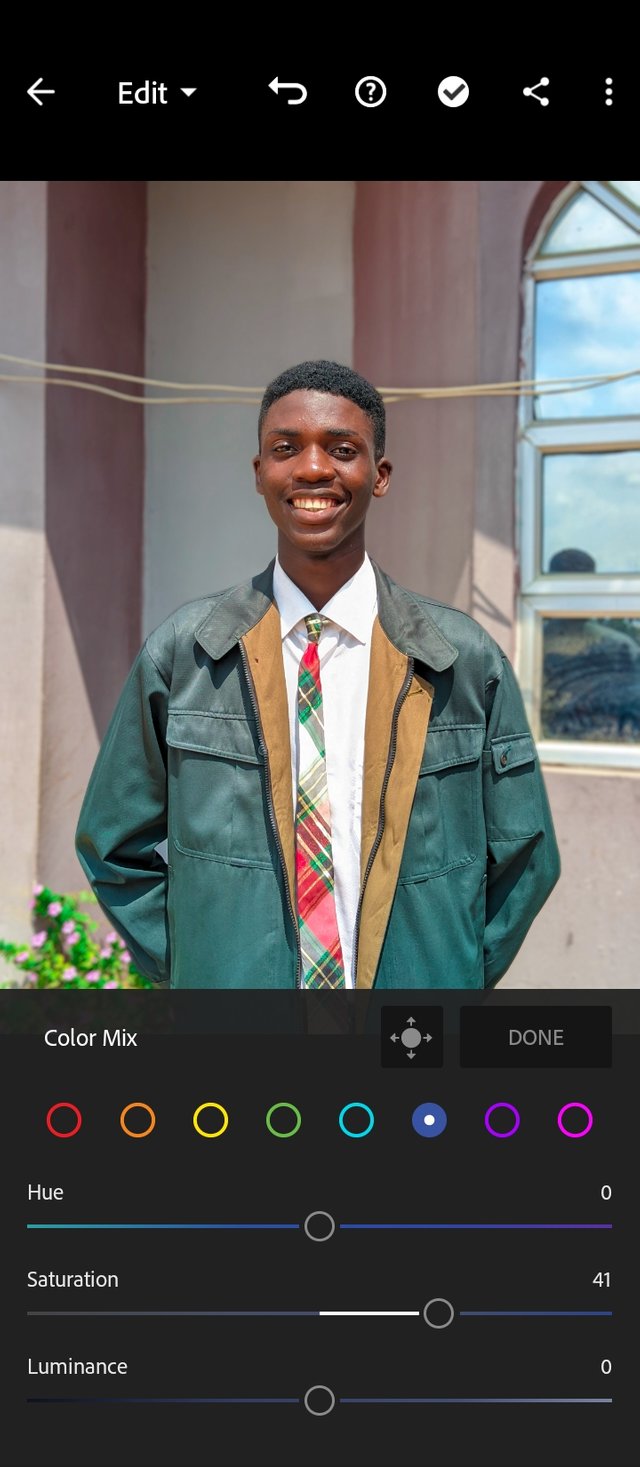
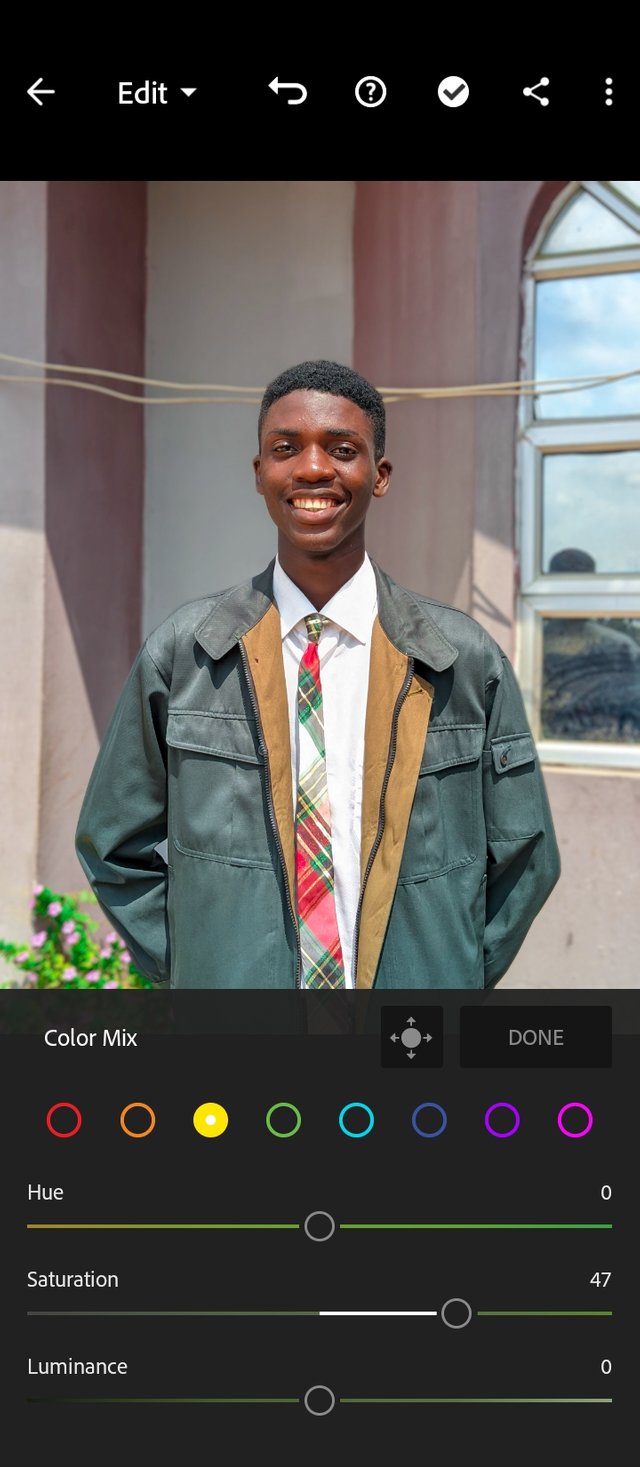
- In the mix tool in colors, I quickly went over to the blue and purple colors increasing them to my taste to make it look perfect. One thing you should note is that some edits don't work for some photos that's why you don't just copy and paste, you can just make a simple edit like this.
 |  |
|---|
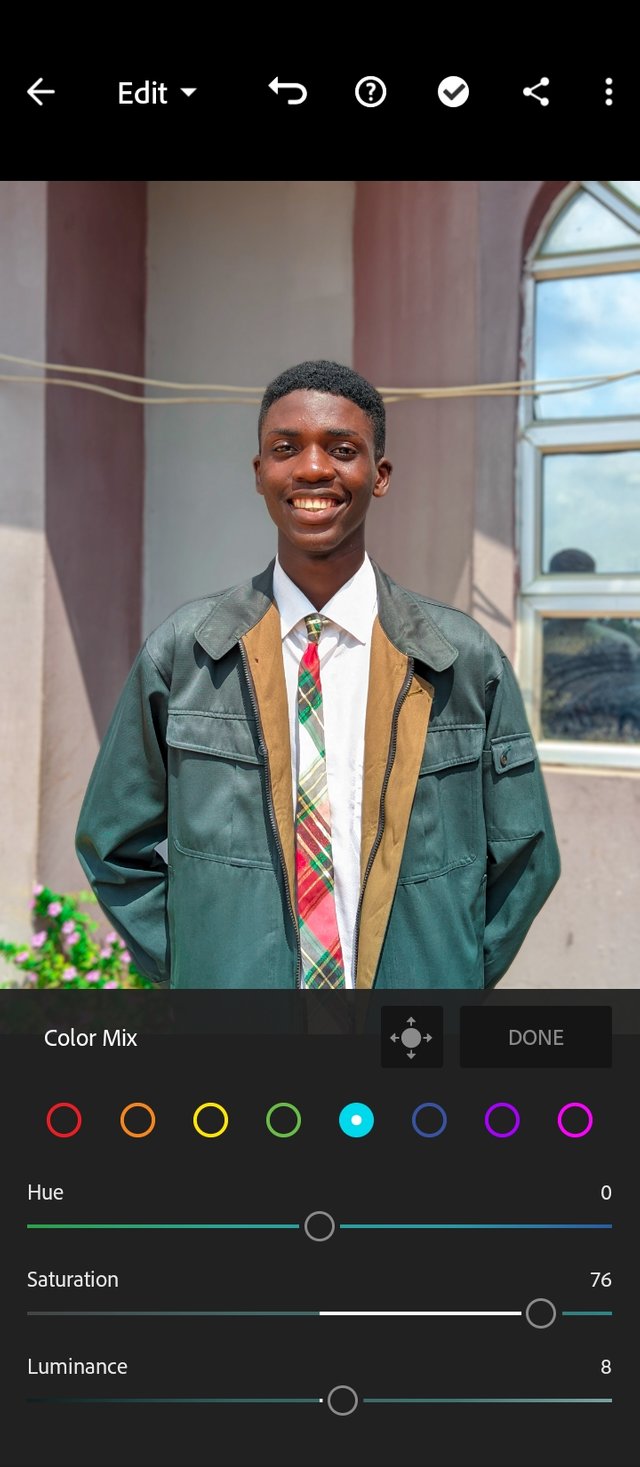
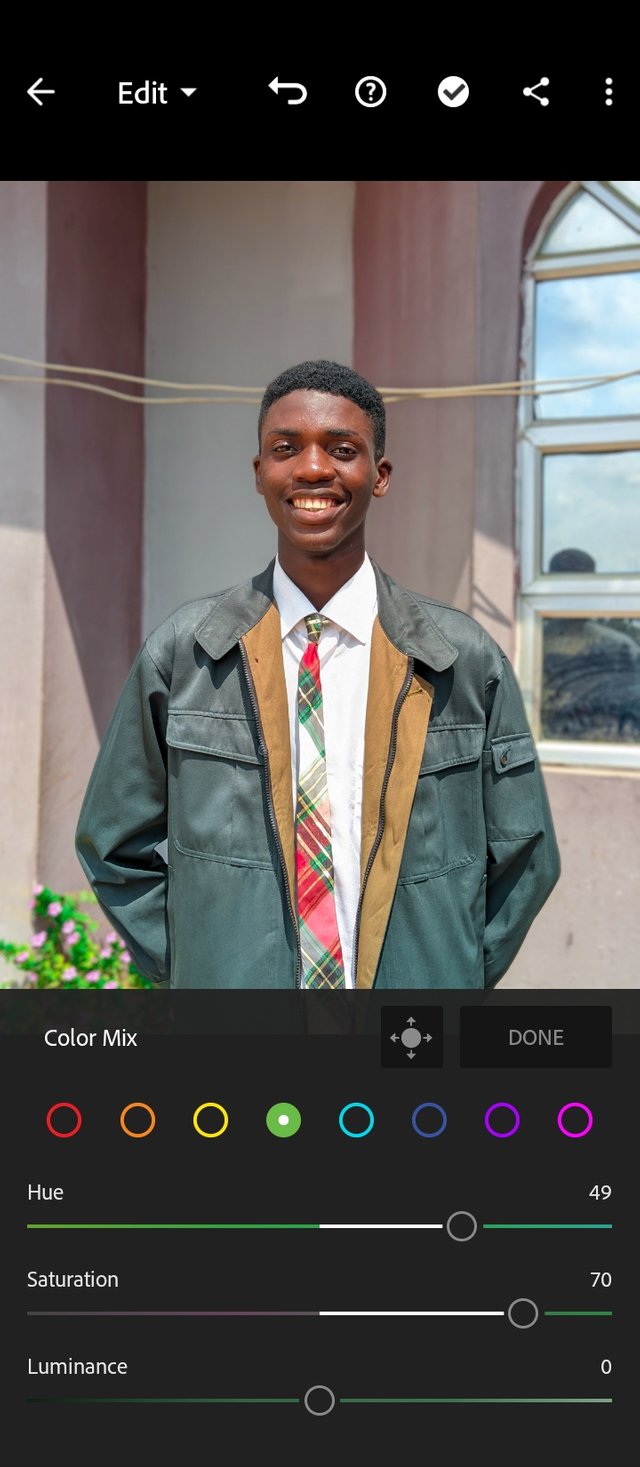
One of the best colors to touch is simply the yellow and green color, the yellow color is mainly the environment, which is the light from the sun and also my shirt rims
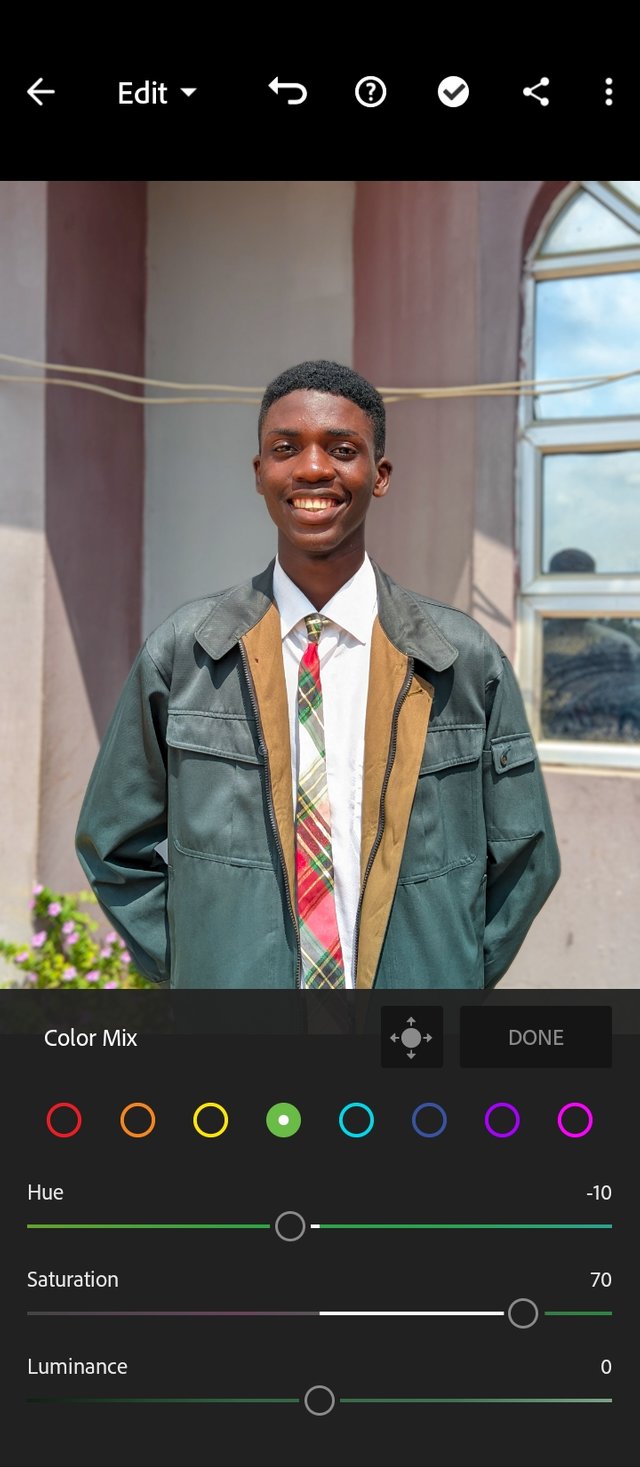
For my green I made it deep green and also increased the saturation.
 |  |
|---|
Making a deep green color which has an effect on my shirt and the green plant behind.
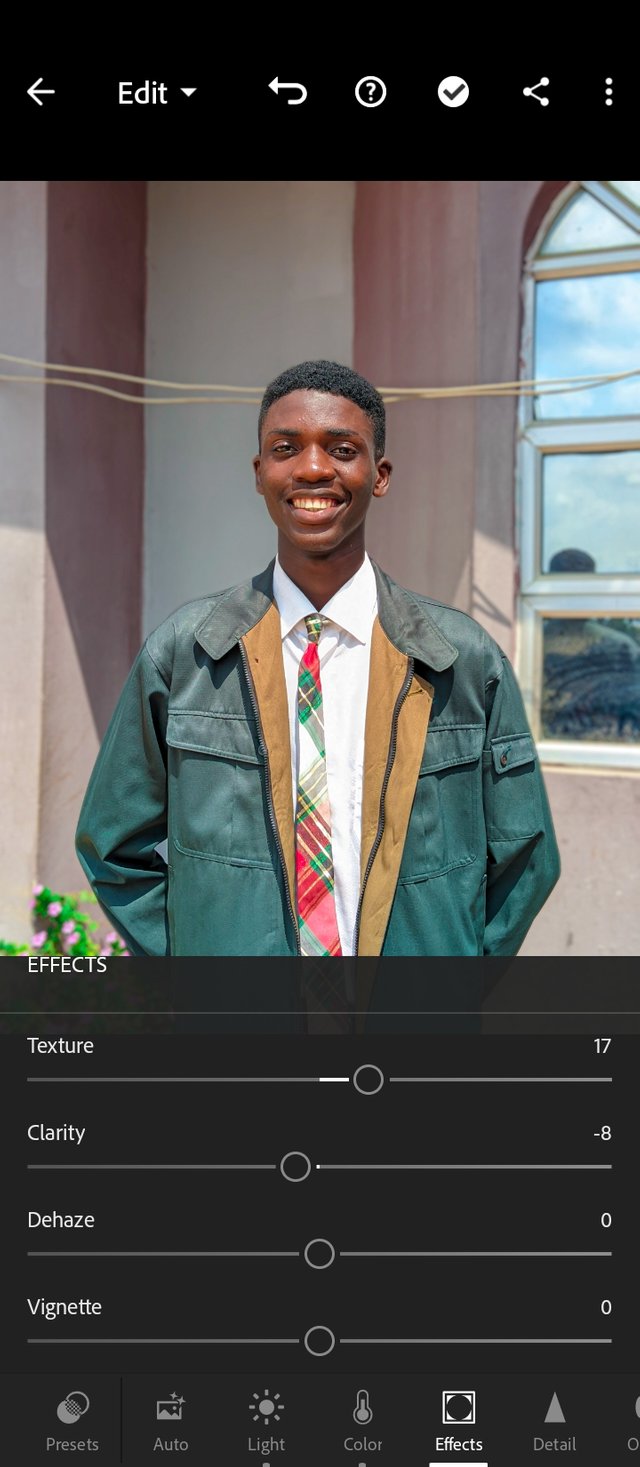
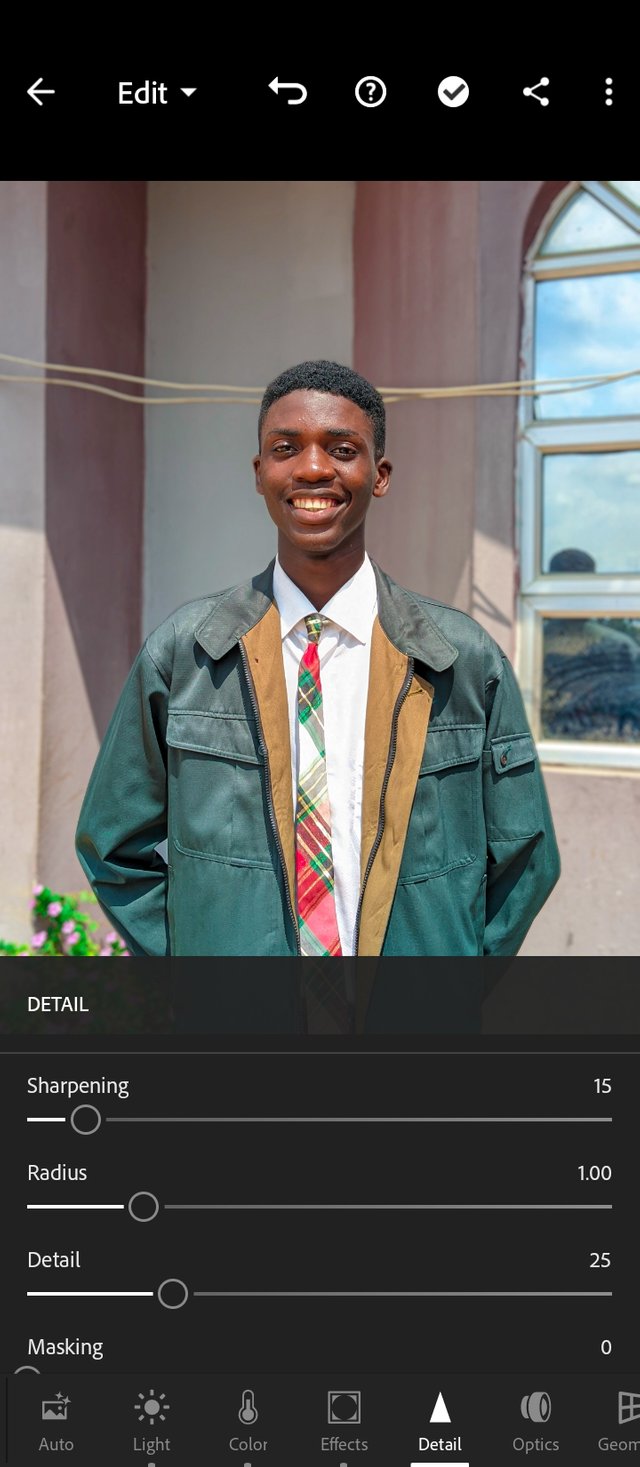
I quickly moved over to the effects panel, and I increased my textures to make my picture give off this hand-camera picture quality vibes. I reduced my clarity a little bit so it doesn't get too sharp.
 |  |
|---|
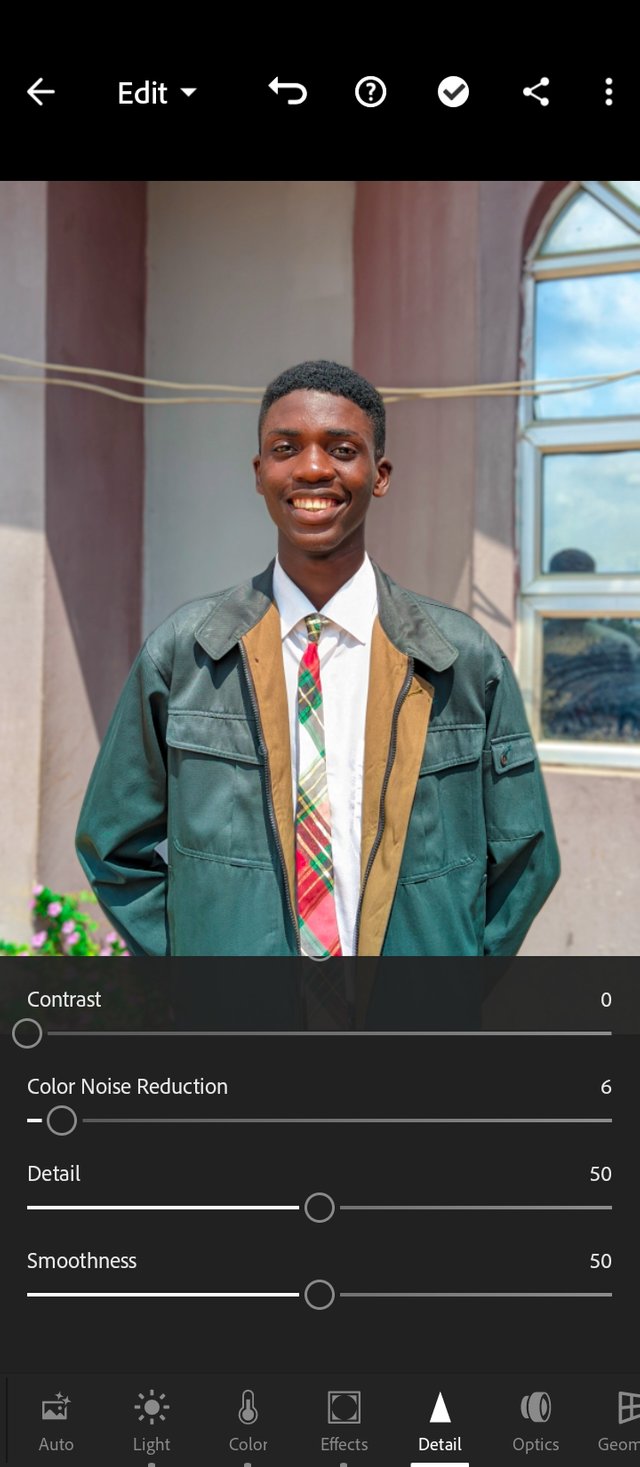
move over to the details panel, and I increased the sharpness to bring out those tiny details on my face, I don't like all those so clean and too smooth pictures.
same with the color noise, any form of glitched colors or reflective colors will be reduced when using this tool.
 |  |
|---|
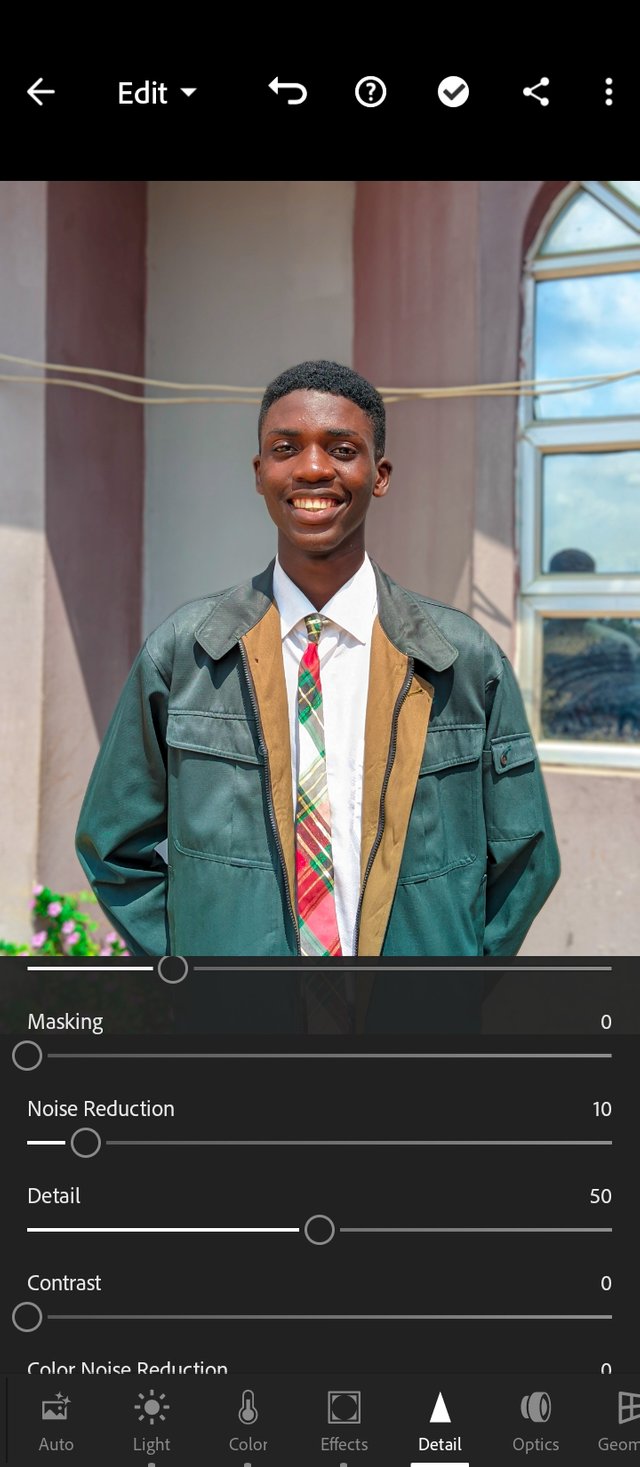
This noise reduction, reduces light glares and any distractive noise in the photo. It reduces any excess sharpening. I also use this to smoothen the face and skin.
I am done, click on the three connected node icon to save your photo.
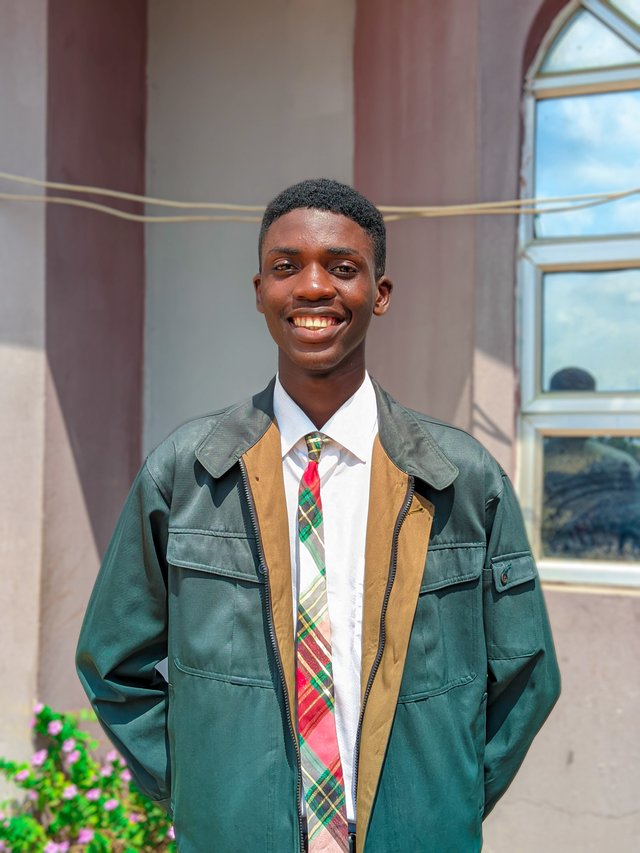
Viola, as simple as that can be, you have your sharp-looking picture.
 |  |
|---|
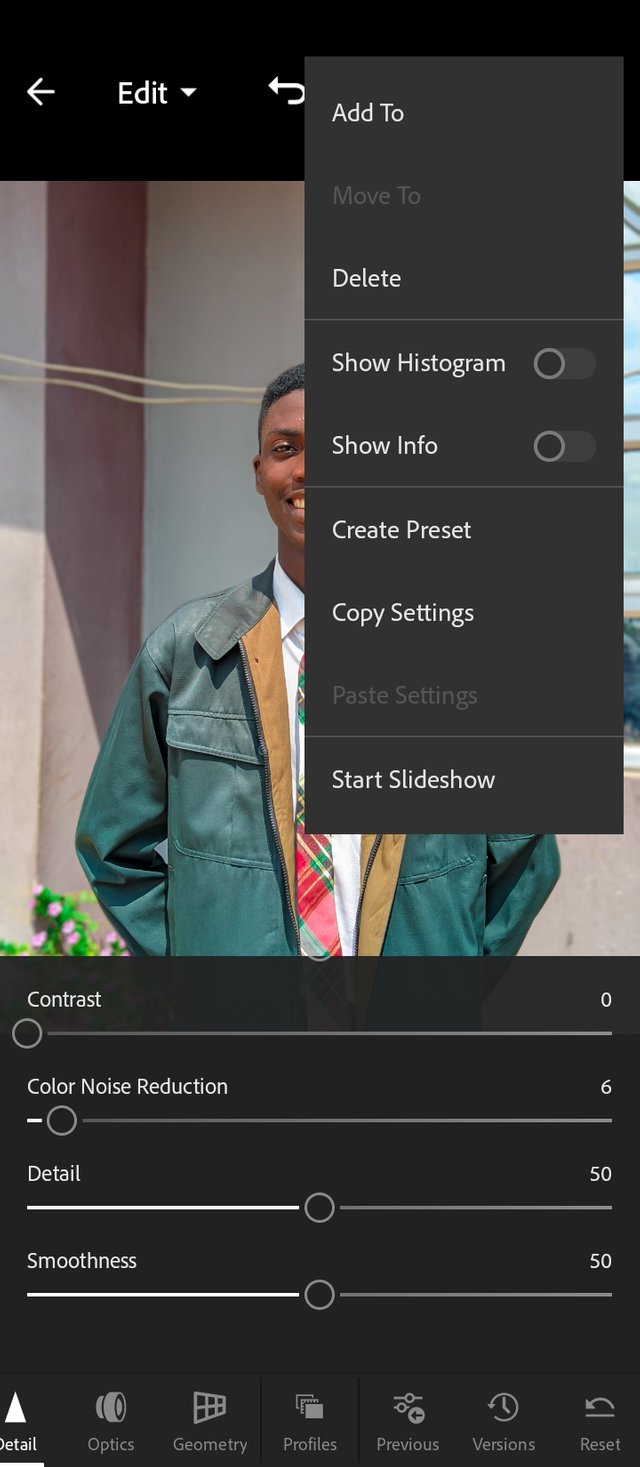
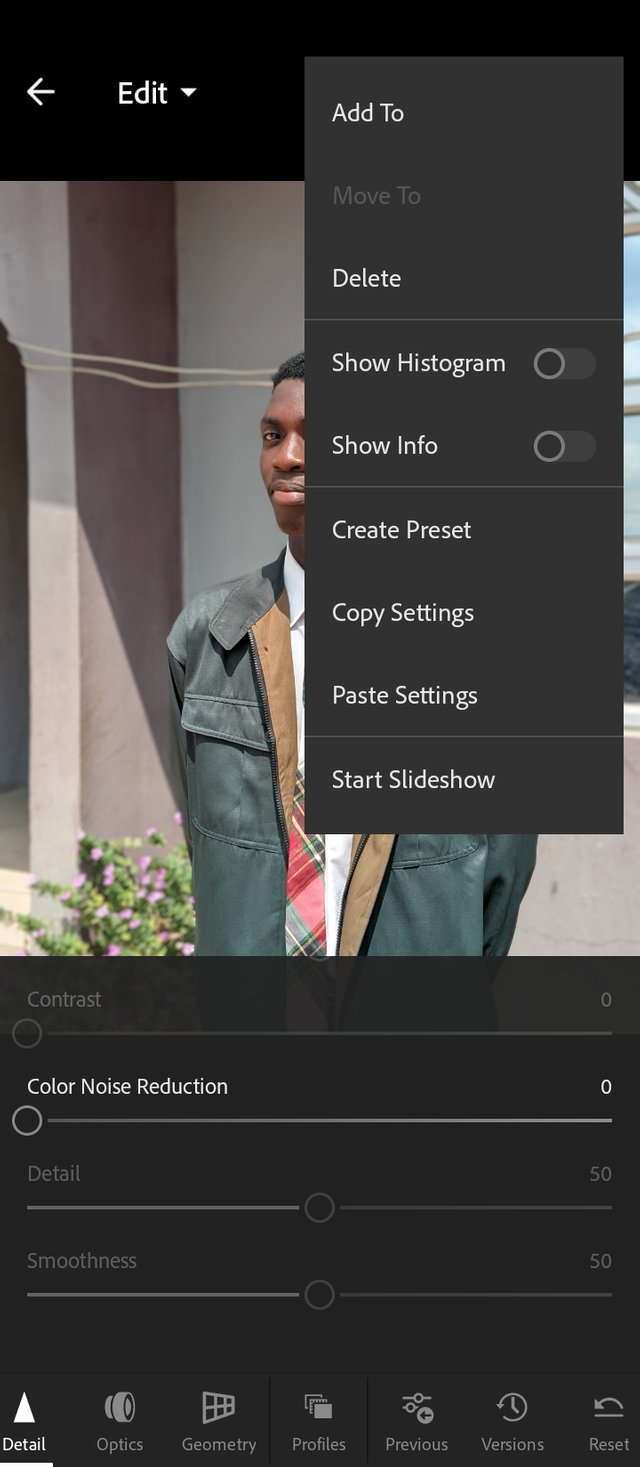
In this step, I'll be showing you how to relieve the stress of editing a couple of photos that needed the same preset.
On the edited photo, click on the vertical three dots icon, and click the copy preset.
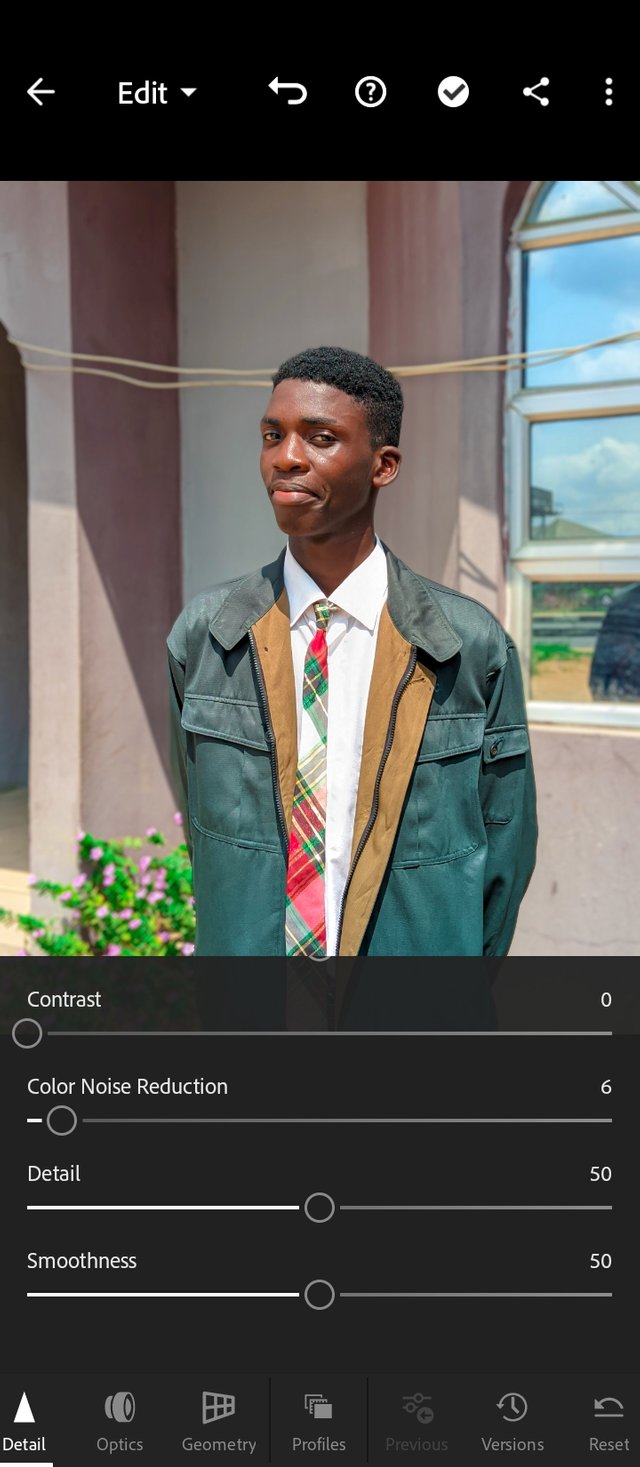
move to the next photo you want to edit, click on the three dots icon, and click on paste, the exact edits you made on the other photo comes up on this one. You just saved your time of editing again.
 |  |
|---|
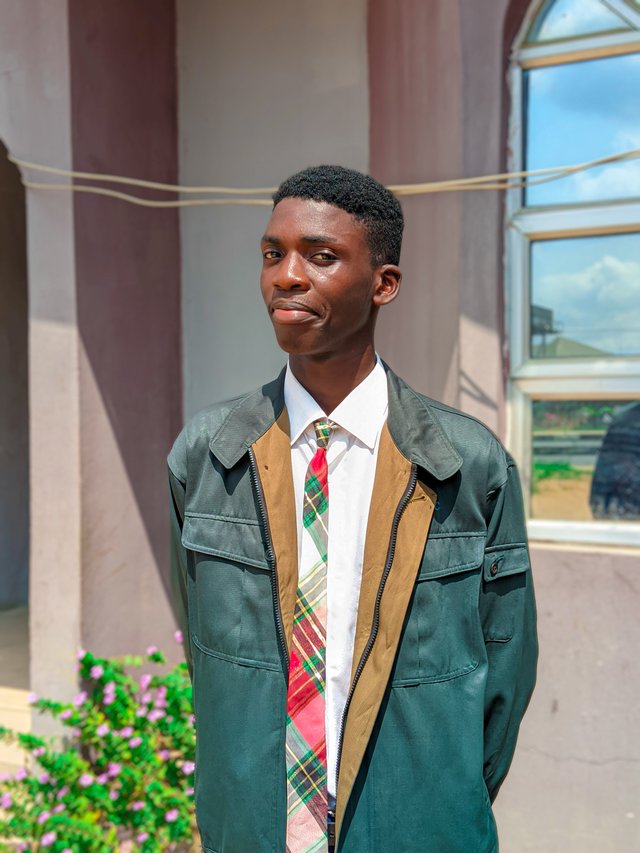
Here is the final results, every edit you made on the other one, shows here.
After trying it out, was it worth it?
Was it actually 2 minutes? It will be less than that when you're used to the tools
Would love to invite @elagusella @yenny47 and @davidmarkgeorge to join.
Cc, @miftahulrizky
https://x.com/imohgeorge4/status/1848898210787402212?t=NBf4BOTaOBBnqSER3ovRmQ&s=19
Twitter share
Upvoted. Thank You for sending some of your rewards to @null. It will make Steem stronger.
#steemexclusive
@ myteacher
yes
no
You have taught us all how to edit photos in Lightroom with every step in great detail, I am sure that the skills you have can make you a professional photographer in the future, keep learning and developing.
Thank you very much for the review🫢. I hope to become a great photographer in future.
You have really show us how to edit with Lightroom, through your post I can start editing steps by steps.
Thanks for sharing
Lightroom mobile change the game for me.
Sure it is a game changer