SLC-Home Repair Club | S23W4 | Complete Guide: Fixing Broken Bluetooth Speaker Wires & True Wireless Stereo Tips.
 |
|---|
Summary of today's work:
Today I solved a common but important problem—speaker wire breakage. It happens often, and many people worry about it. However, by following some simple methods, this problem can be solved at home. First, you need to check the damaged wire to see if it is completely broken or just the outer coating is damaged. You may need a screwdriver, a soldering pump, and some extra connectors to reconnect. In this post, I have shown you step-by-step how to properly reconnect the cable, which will save you time and money.
In addition, I have also shared some information about TWS (true wireless stereo) technology. This is a wireless technology where two speakers or headphones are connected together via Bluetooth, which improves the sound quality. It is possible to avoid such problems by using wireless devices. Electronics repair is not difficult if you know the right materials and methods. In today's post, I have highlighted the ways to fix speaker wires and the advantages of TWS technology, which will help increase technical skills.
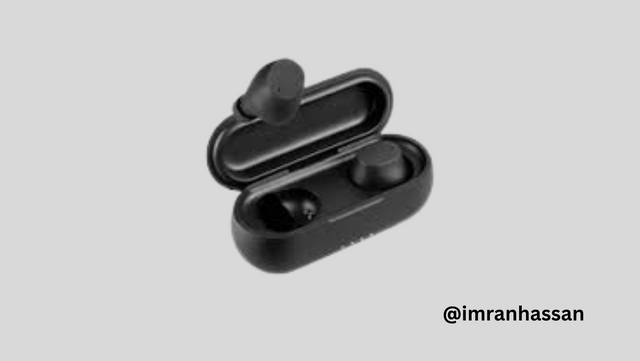
Main components of earbuds and their functions:
Earbuds are made up of various important components, which work together to provide a better sound experience. Below are the main components of earbuds and their functions.
Outside casing:
 |
|---|
The outer structure of earbuds is usually made of plastic (ABS, polycarbonate) or metal (aluminium, magnesium alloy). It protects the internal components of the earbuds and is specially designed for noise isolation or water resistance.
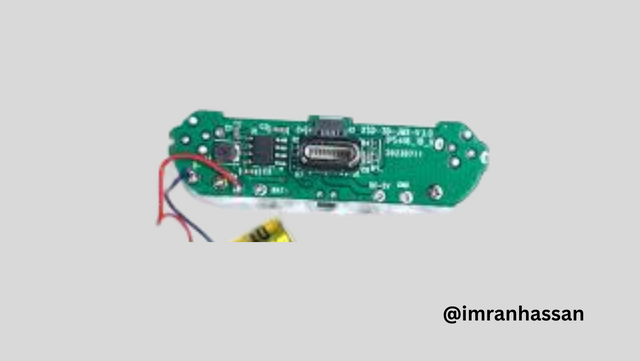
Circuit Board:
 |
|---|
(PCB—Printed Circuit Board) This board, which acts as the brain of the earbuds, contains the digital sound processor (DSP), Bluetooth module and other control chips. It handles sound processing, Bluetooth connectivity and touch sensor control.
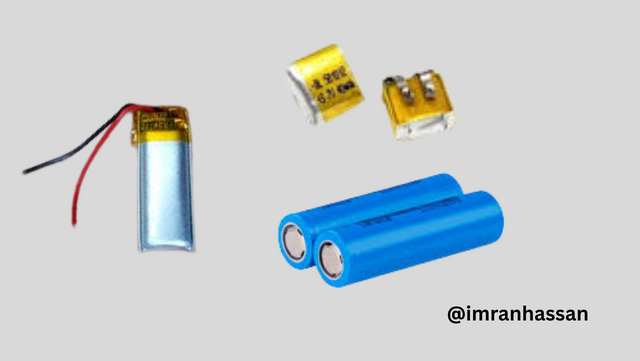
Battery:
 |
|---|
Power supply systems usually use 3.7V lithium-ion or lithium-polymer batteries, which help keep the earbuds powered for a long time. Advanced technology earbuds come with fast charging and wireless charging facilities.
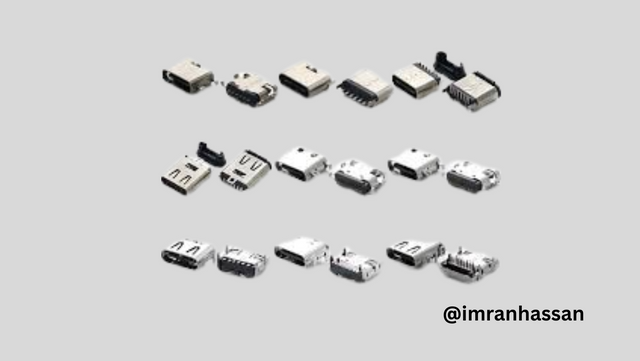
Charging pins and connection points:
 |
|---|
Gold- or copper-plated charging pins are usually used to connect the earbuds to the charging case. Some models have magnetic charging systems, which ensure easy and reliable charging.
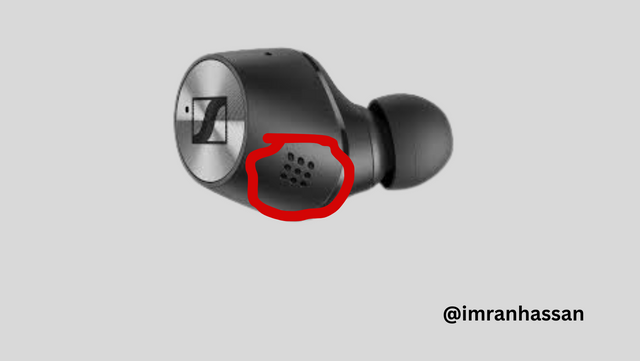
Microphone Unit:
 |
|---|
Micro-Electro-Mechanical System microphones are used for voice calls, sound reception, and noise cancellation. Advanced models include ENC (Environmental Noise Cancellation) or ANC (Active Noise Cancellation) technology, which allows for clear and uninterrupted speech.
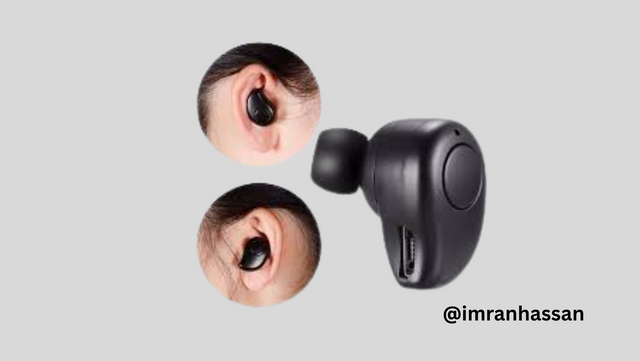
Ear Tips:
 |
|---|
Comfortable Ear Cover Silicone or memory foam ear tips are used to improve the sound and fit of the earbuds. It ensures noise isolation and is designed to be soft and elastic to fit comfortably in the user's ears.
Repair Tutorial:
Step -01
 |  |
|---|
 |  |
|---|
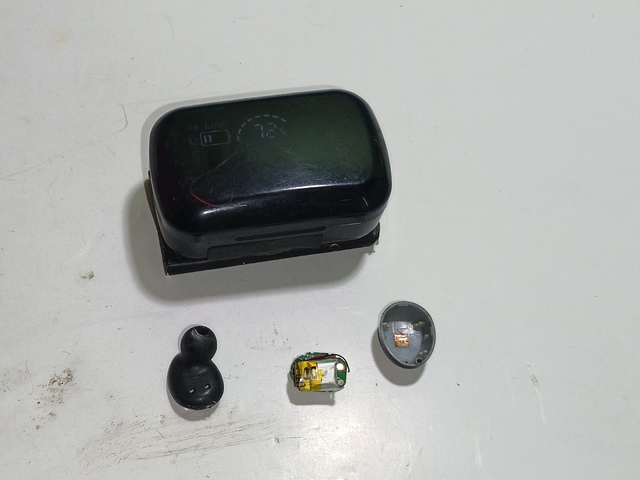
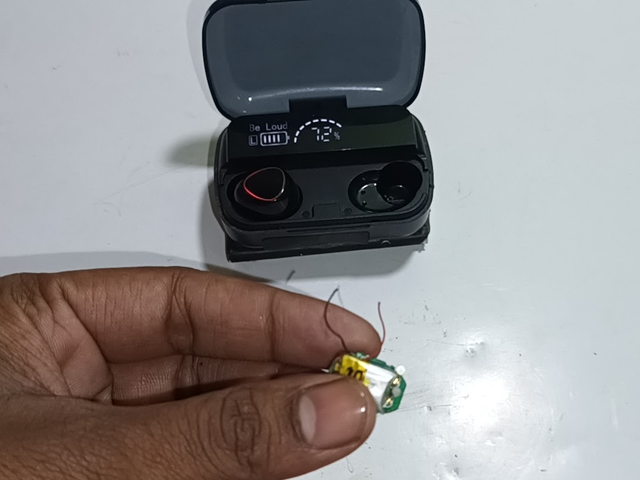
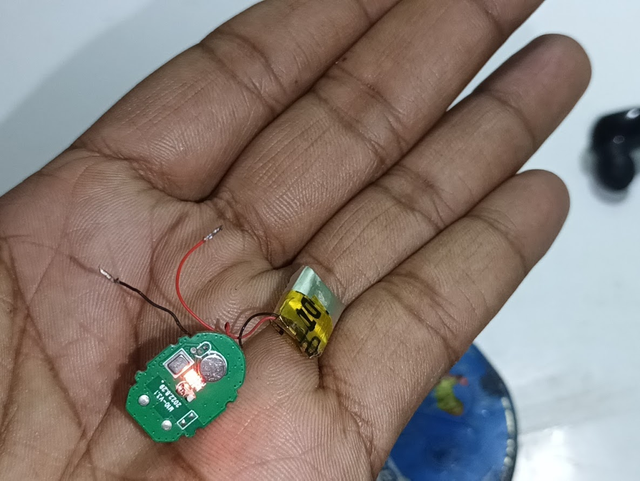
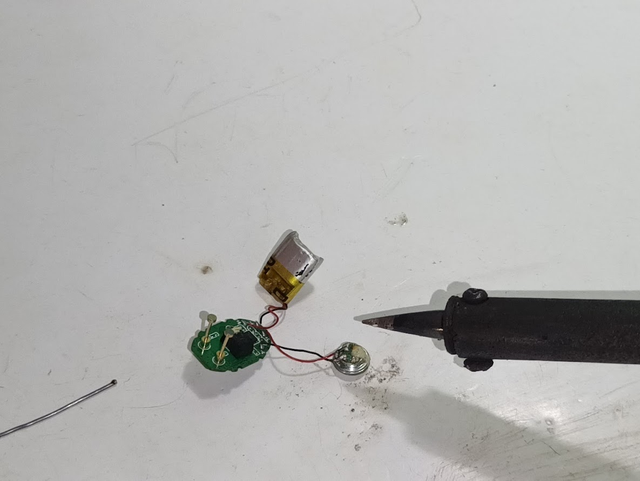
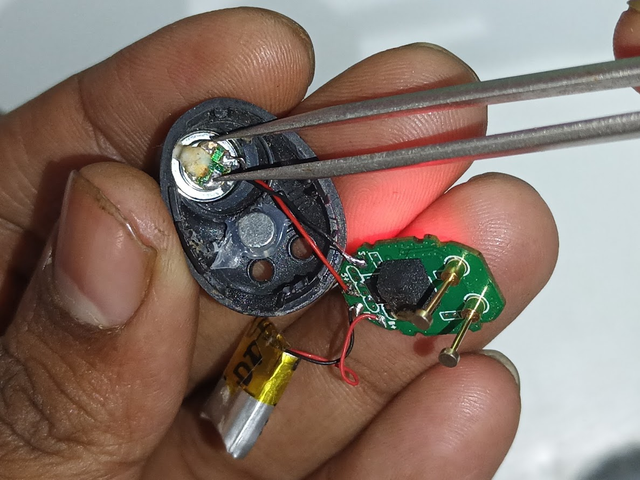
As you can see, my broken earbud is broken into three parts; one is still intact. I have taken the circuit, where the wire from the speaker has been torn and the circuit cover attached to the speaker has also been separated. Repairing this tiny circuit requires very delicate and careful work. This requires the use of a conveniently controlled fine soldering iron so that the connection can be restored correctly. If the soldering is not done properly, the circuit can be further damaged. So it is better to be patient and work in the right way.
Step -02
 |  |
|---|
 |  |
|---|
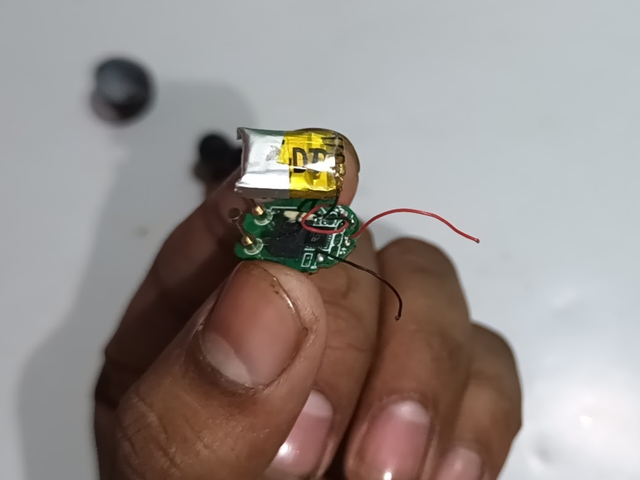
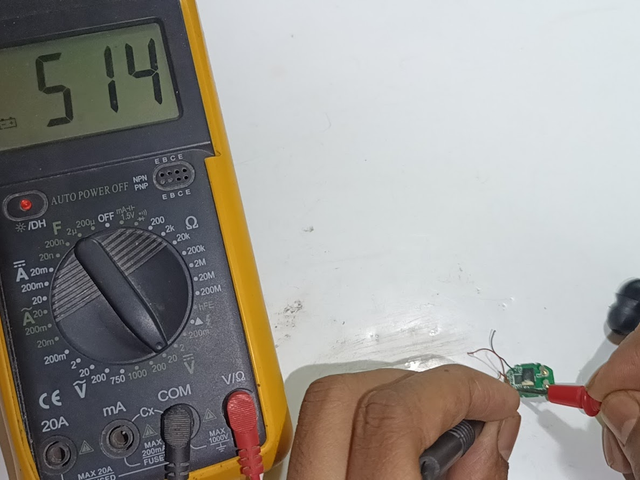
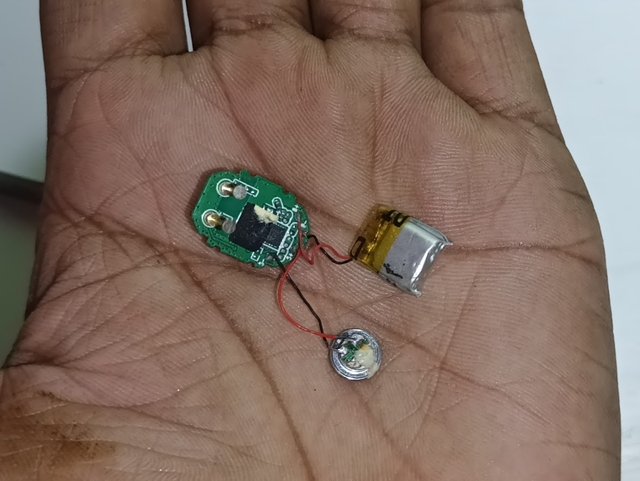
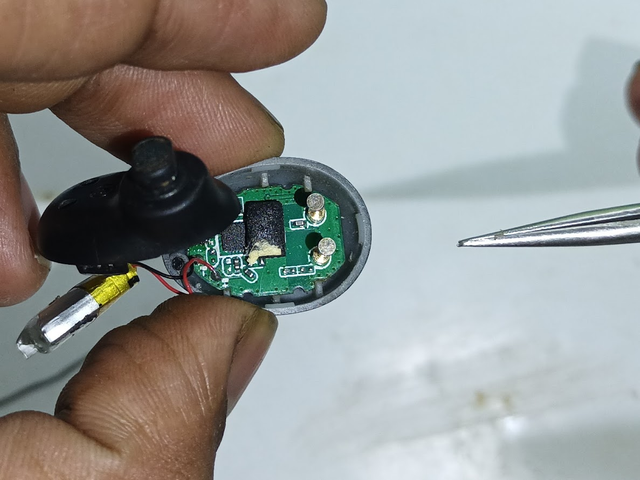
Next, I took the cover where the small speaker is. There is some old solder accumulated on the speaker connector, which I will clean first. Next, I took the circuit and carefully cut off some of its insulated copper wire to expose the copper so that the connection could be re-established. However, before removing the copper from the wire, I measured the output of the battery. As you can see, it shows 5.14V DC output. Next, I removed the plastic insulation from the negative and positive connections of the speaker and exposed the copper so that the soldering could be done easily. Now I am preparing them for reconnection.
Step -03
 |  |
|---|
 |  |
|---|
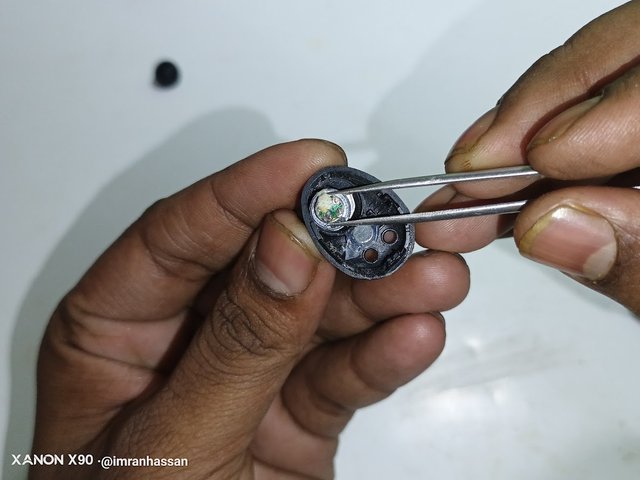
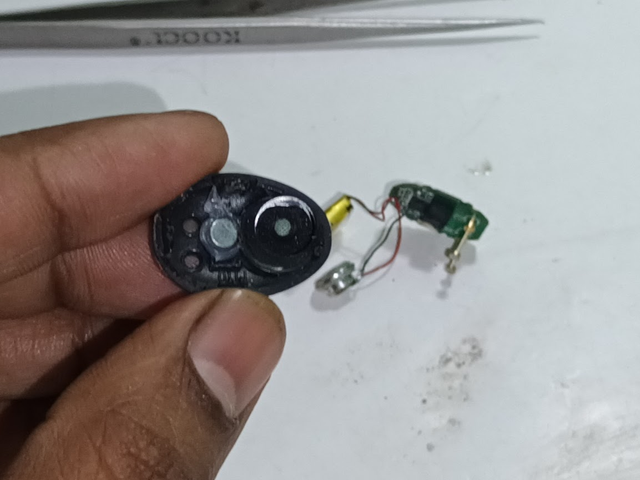
Next, as you can see, I took the solder wire, which I will use to solder the two wires of the speaker. Before soldering, I neatly soldered the ends of the wires so that they can be easily placed in the speaker connector and are firmly attached. Next, with the help of a pair of tweezers, I carefully removed the speaker from the cover, which you can clearly see in the picture. Now I will move on to the final step of making the connection.
Step -04
 |  |
|---|
 |  |
|---|
Next, I connected the two speaker output wires coming from the circuit using a soldering iron. As you can see, I connected it very neatly so that it works properly. Before placing the speaker, circuit, and battery inside the cover, I show you how to place them properly. Then, I took the covers in my hand and showed you clearly, so that you can get a clear idea of the connections and arrangements.
Step -05
 |  |
|---|
 |  |
|---|
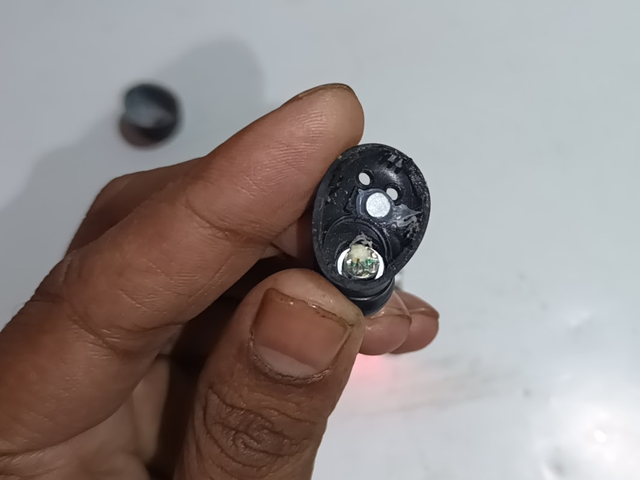
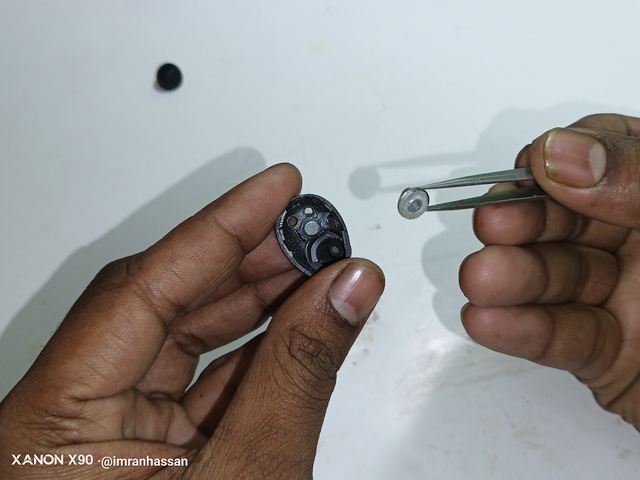
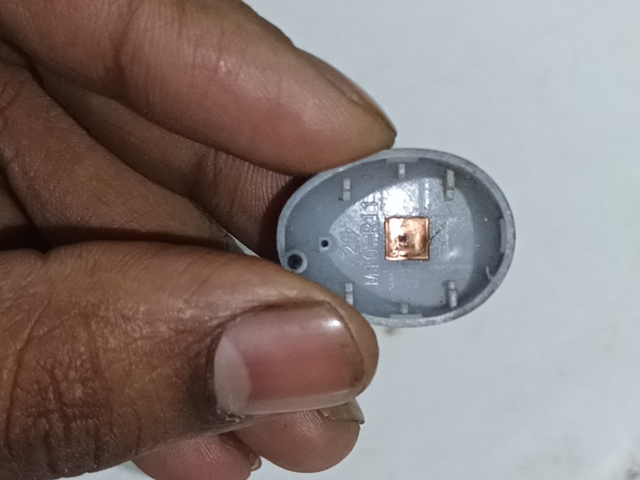
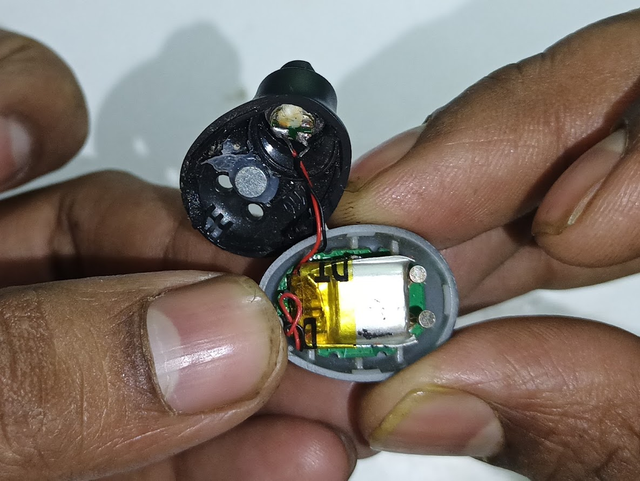
Next, first I took the cover where the speaker will sit. With the help of tweezers, I placed the speaker correctly in its intended place. Then, I placed the circuit neatly inside another cover, which you can clearly see. Then, I carefully placed the small battery on the circuit so that it fits properly. While placing, one must be careful so that no wire is connected incorrectly or any connection is loose. After placing everything properly, I locked the covers on both sides neatly, so that it is as strong and effective as before.
Final Step -06
 |  |
|---|
 |  |
|---|
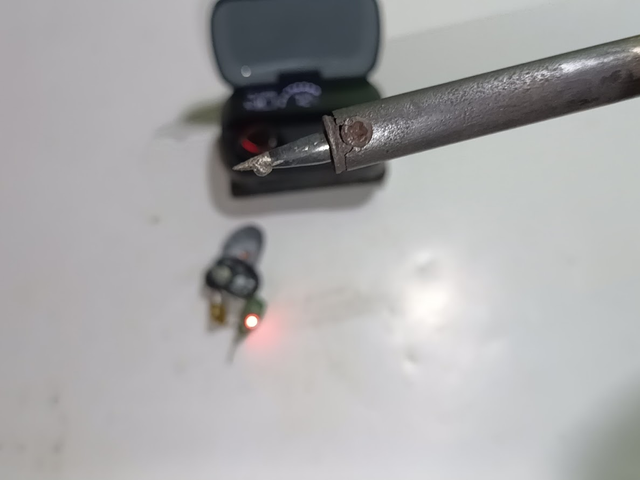
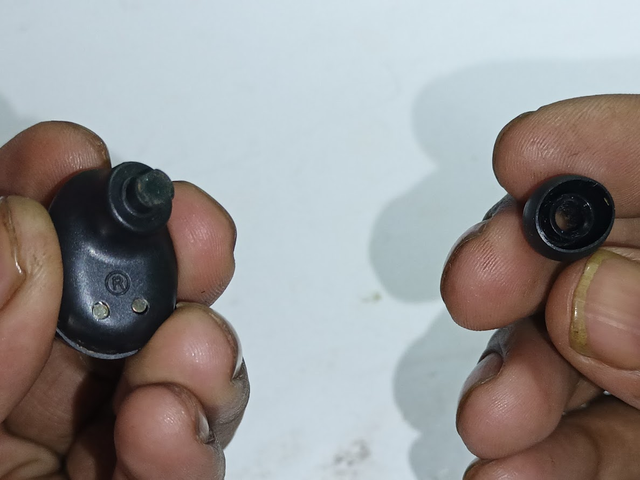
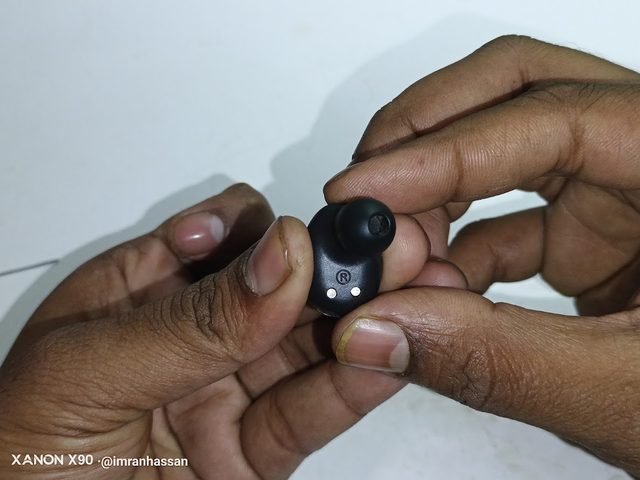
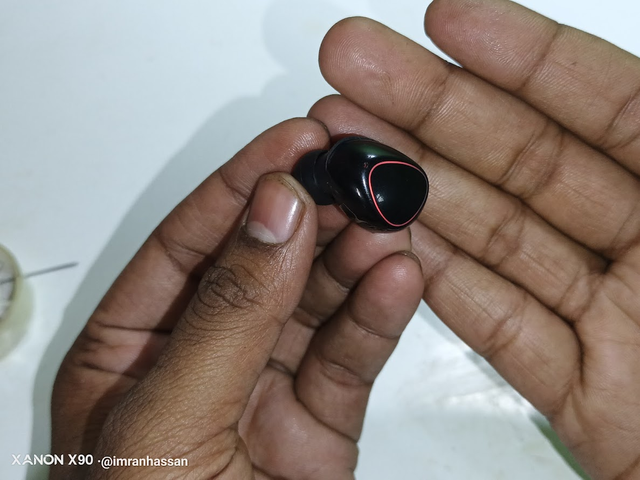
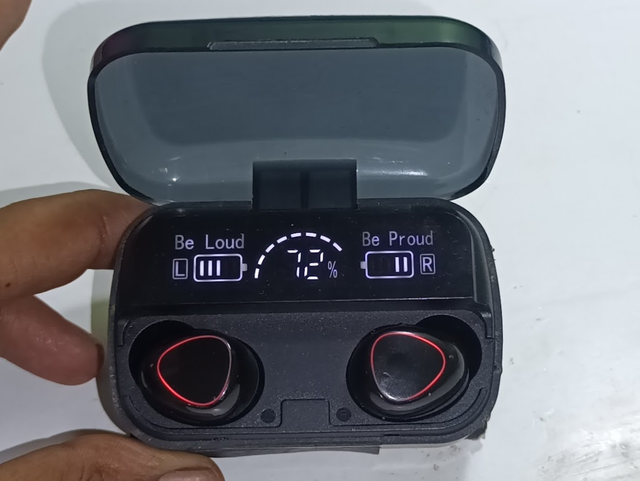
After placing the cover, I placed the rubber on the front of the earbud speaker. This rubber is used to fit comfortably in the ear. Next, I turned on the earbud, and it turned on nicely, which you can see—the red light is indicating. Next, I connected it to the charger and tested it, and it was charging successfully. Finally, I connected the earbud to the phone via Bluetooth. It connected quickly, and the sound quality was very clear and beautiful, which I recorded and tested on video.
Verify the authenticity of the work.
 |  |
|---|
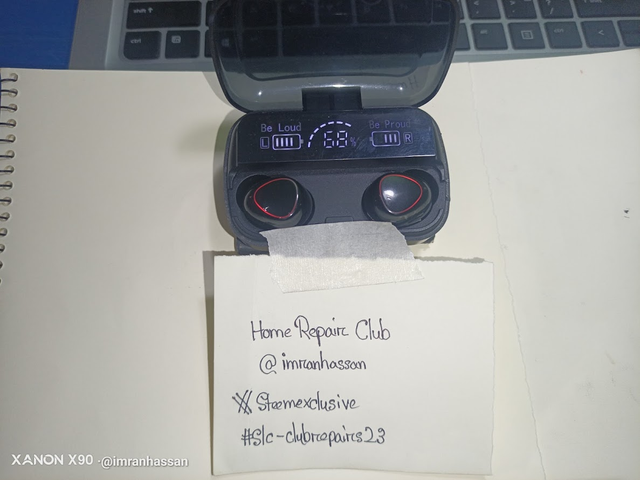
Then, to verify the authenticity of my work, I took a picture with my community name and username along with my artwork and took a selfie with me.
True Wireless Stereo (TWS) Earbuds – Specification & Troubleshooting
Technical Specifications
| Feature | Details |
|---|---|
| Wireless Version | V5.3 |
| Wireless Profiles | A2DP/HFP/HSP/AVRCP |
| Transmission Distance | 10M |
| Charging Time | About 2 hours |
| Standby Time | 280 hours |
| Music Playtime | About 5 hours (Earbuds) |
| Output | 5V ⎓ 1A |
| Origin | Made in China |
Problem & Solution
| Problem |
|---|
| One side of the Bluetooth earbud was not working due to a broken wire. |
| Solution |
| Resoldered the broken wire and reconnected it. |
Common Problems & Solutions
| Problem | Possible Solution |
|---|---|
| Earbuds not charging | 1. Ensure charging case has power. 2. Clean charging pins. 3. Try a different cable or adapter. |
| One earbud not working | 1. Reset both earbuds. 2. Check battery level. 3. Reconnect via Bluetooth. |
| Bluetooth not connecting | 1. Forget device from Bluetooth settings. 2. Restart phone and earbuds. 3. Try pairing again. |
| Low sound quality | 1. Check for interference. 2. Adjust EQ settings. 3. Clean earbud mesh. |
| Battery draining too fast | 1. Lower volume levels. 2. Turn off extra features. 3. Ensure full charge cycle. |
| Video Tutorial: To better understand the practical part of this tutorial, you can watch the video below. |
|---|
| 📢 These courses and challenges will run from today until 11.59pm UTC, on Sunday, March 16th, 2025. |
|---|
Here are our selection criteria for the Home Repair Club; if you want, you can read the post and understand it: Clubes de Aprendizaje de Steemit Temporada 23 | Introducción y Bienvenida al Home Repair Club
I invite you to join the Home Repair Club. @delwar12 @nadiamim @mueeinislam
Photography Details: 📱DeviceWalton Xanon x90
Best regards
@imranhassan
My friend @rmm31

I promoted my post X here.
Hacer este tipo de trabajos es bastante interesante porque requiere de mucha paciencia, precisión para destapar este tipo de dispositivos y luego soldar cables tan delgados y cortos.
Lo bueno es que cuentas con pinza y un cautín con punta fina que calienta muy bien, de este modo puedes solo tocar la soldadura con una pequeña porción de estaño y hacer la soldadura rápido, evitando que se sobresaliente la pieza a soldar.
Después de terminar el trabajo toca armar, este trabajo sigue siendo igual de riesgoso porque si no se tiene cuidado se pueden volver a romper los cables.
Your observation is absolutely correct; working with these thin wires of Bluetooth speakers is really a matter of patience and precision.
I tried to solder as accurately as possible, and your tips will help me to do a better job. It is especially important to be careful when reassembling, because even a small mistake can cause the wires to come loose again.
Thank you for your valuable comment. I hope you will share your experiences and advice in our SLC-Home Repair Club in the future.