Sketching doves II
Hi Stemians!
I would like to show you some details of my drawing process for this second sketch of a flying dove.
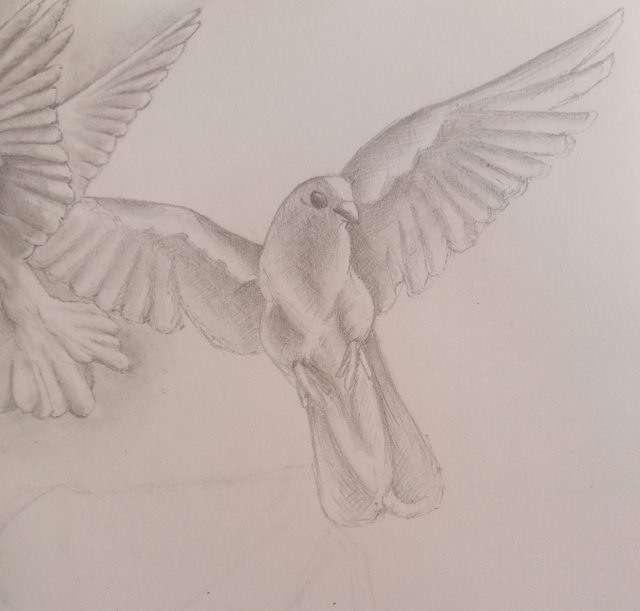
As in my previous post, this is the stage where I made the outlines for my drawing.
I think you can notice the fine grain of the paper I'm using.
To get a good result in your drawing it´s very important to be careful not to damage the grain of the paper.
You can damage the paper with the pencil, of course, but also with the eraser or using the blending stump smudger. To avoid damage to the paper, the lines you draw must be very smooth, don't press the pencil on the paper, it is always preferable to draw smooth lines several times to achieve a more intense color than to draw a hard line once. In this way, if you make a mistake drawing you can easily erase it, so you avoid causing damage to the paper with the eraser.
Finally, use the blending stump smudger in the same way as you use the pencil, smoothly, without making pressure on the paper.
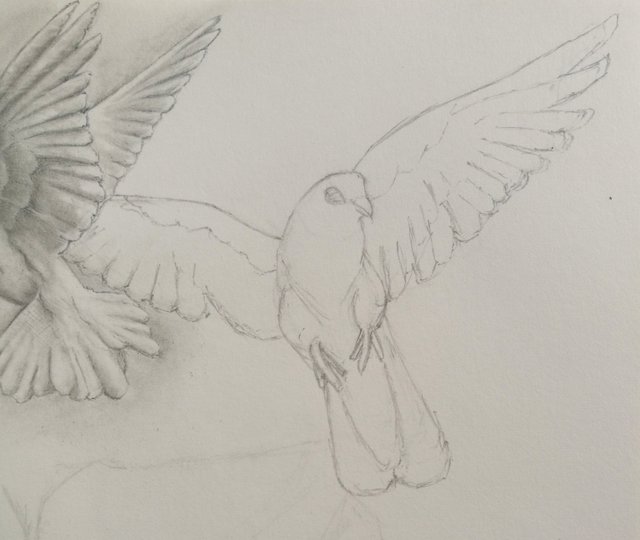
I show you here, the first lines to define the darkest areas of the drawing.
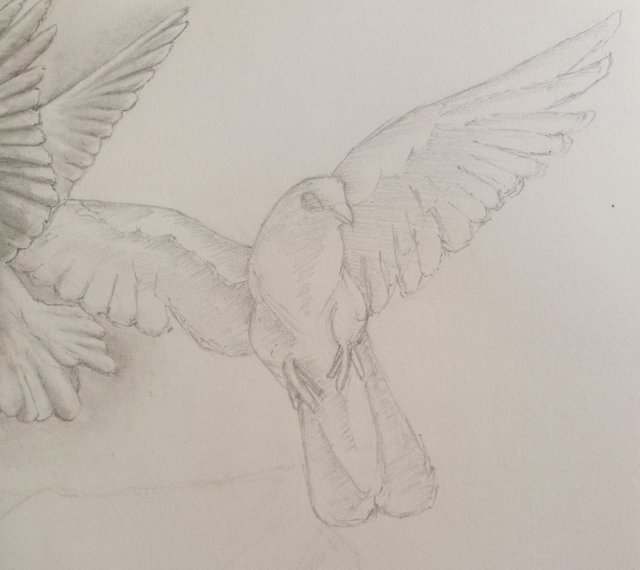
I repeat the process, drawing the lines in an opposite sense this time.
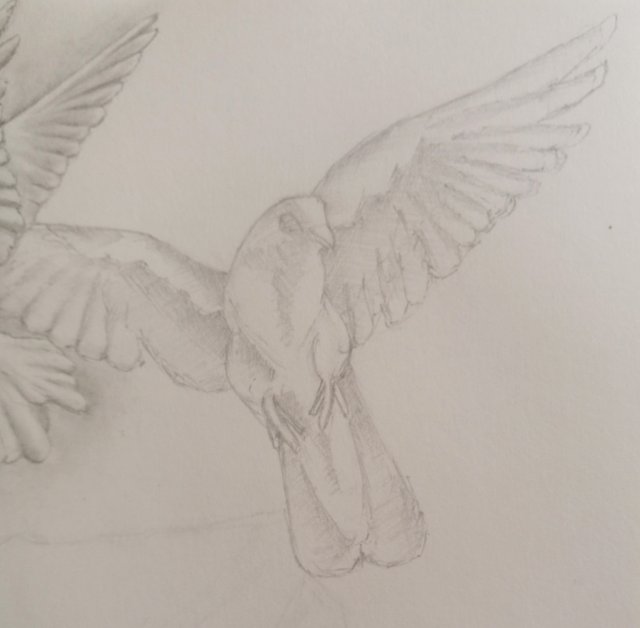
Once again, I draw lines in some areas to make them even darker.
I think at this stage the sketch is good enough to use it as a reference and to detect some mistakes I did, but I'll blur it with the blending stump smudger to show you the difference after applying that technique.

This is the final result of my drawing applying the cross-hatching and blending techniques.
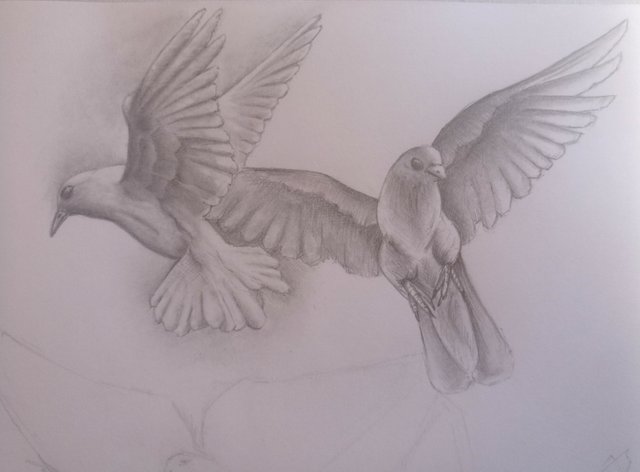
What can I say about my drawing? ...
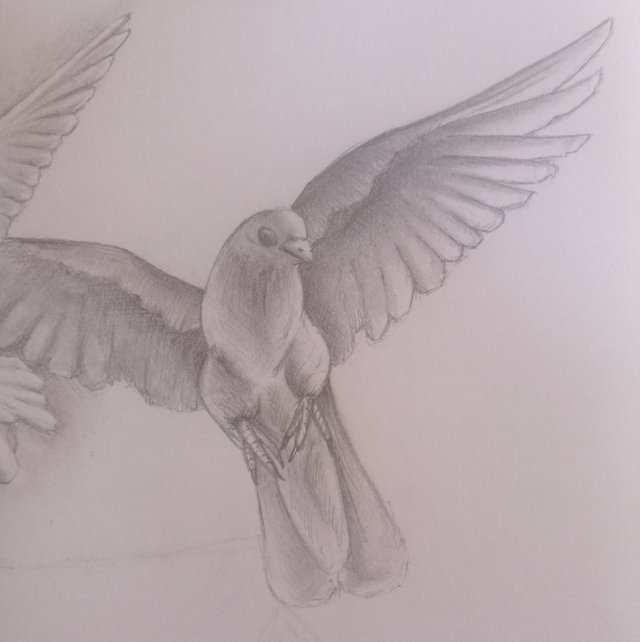
The left-wing of the dove (on the right side of the sheet) is better achieved than the one on the right, without a doubt.
The body may be better ... next time.
I have learned what mistakes I will not make if I decide to use this in an artwork.
And ... I gained in muscle memory! (I'll talk about that sometime, maybe. I don't promise).
Hope you liked it.
Have a nice day!