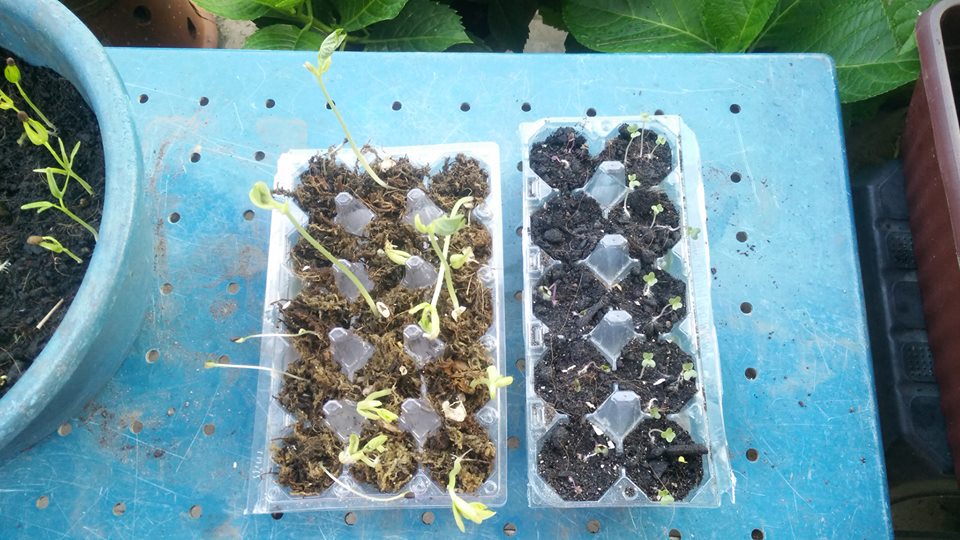
Planting Microgreens at home.
Trend microgreens as a healthy and nutritious food that high make the activity to plant microgreens many used as a hobby and even a new business opportunity. Its easy-to-learn cultivation, nutritional content, and short harvest age are some of the advantages of microgreens cultivation. Price microgreens on the market can reach Rp. 850-2000 per gram. Therefore, microgreens cultivation can be a profitable business prospect.
Planting microgreens is very practical and efficient in terms of time, space, and energy. You can plant in a shaded house or room, whether on a small scale or large scale. In this article will be presented stages of planting microgreens independently at home.
Tools and materials
- Seed microgreens (organic cultivated and free of pesticides).
- Sterile planting media, can be soil, perlite, vermiculite, cocopeat, rockwool, or mixed plant media that can be bought in farm shops.
- Containers for growing microgreens, special container boxes for growing microgreens or using plastic trays, trays, and the like.
- Bottle sprayer.
- Label.
Work steps
- Prepare the tools and materials needed.
- If you want to plant large seeds (ryegrass, green beans, sunflower, etc.), it should be soaked in warm water overnight. As for the small seeds do not need to be soaked.
- If you use a hollow container and crumble planting media, the surface of the container is first dialed with a clean cloth.
- Fill the tray with planting medium with a height of 2-3 cm. Spray the media planted with water using a sprayer bottle until it is moist enough, then flatten the planting medium on the entire surface of the tray for the same height.
- Spread the seeds evenly on the planting medium by looking at the type of vegetables grown that will determine the density of microgreens later. Label the seed name and seeding date on the tray.
Spray water on the media slowly so as not too wet / muddy.
Put a seeded tray in a small area of sunlight, do not put it directly under the sun. For the first 2-3 days, the seeding tray is closed using a cloth to accelerate germination.Spray media and seeds on the container regularly 2-3 times each day to keep the moisture of the media.
After 2-3 days, the cloth can be opened and spray regularly so the seed can grow well.
Tip: You can add the seaweed solution to the water bottle to spray into the sprouts every day to enrich the taste and nutritional content of microgreens. If you use hydroponic planting media, dissolve the hydroponic special nutrient or AB mix on the water used to spray the plants.
When microgreens have germinated fully, the seedlings can be moved to the sun-exposed area but remain shaded and shaded enough.
Treat microgreens every day with routine microgreens spray to grow to reach a height of 3-10 cm, depending on the type of microgreens are sowing.
Well maintained microgreens can be harvested after 2-4 weeks, depending on the type and environment in which they are grown. Harvest microgreens by using clean and sharp scissors, scissors from the base near the planting medium, then microgreens can be accommodated on a clean container.

