Beautiful Portrait Of A Lady || Oil Paint On Canvas...
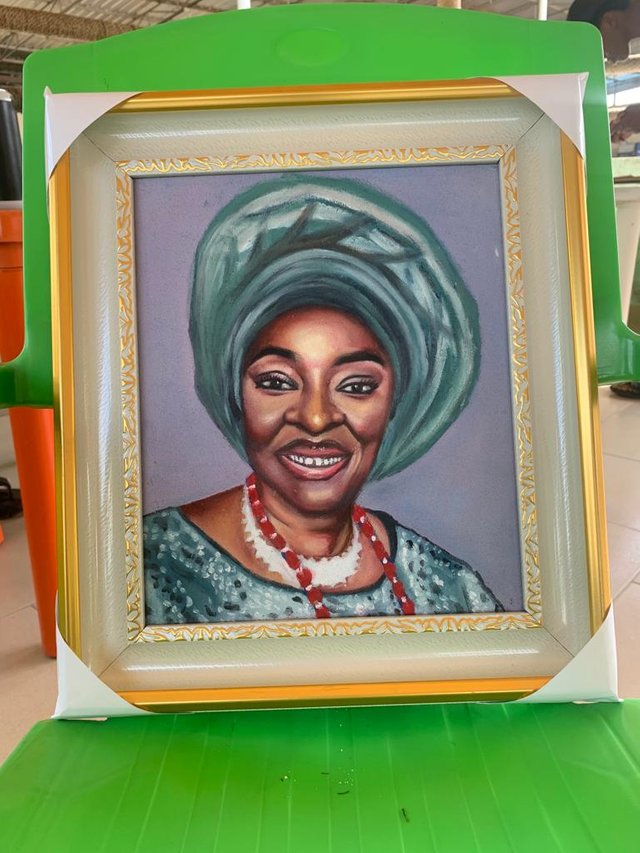
Hello steemians! I hope you had a ⁰⁰ 00⁰0. I wish you a New month..
My dear members of @steemkidss I am here to share my most recent realistic oil paint portrait of my recent commission piece I did for my client. 0 I'm really happy to share the steps I took when making this portrait with you all... So if your ready just buckle up your sit belts and let's move...
MATERIALS
- Canvas
- Oil paint
- Brushes
- Stretcher
- Palette
- Pencil
- Kerosene
Doing this was very easy and smooth tho, most people think that painting is really tough but to be honest with you all it isn't at all... The only way you could get good or perfect in painting or is only when your consistent and hardworking, "like the say practice makes perfect"...
without further adoule this are the steps I took when painting my portrait...
*STEP 1
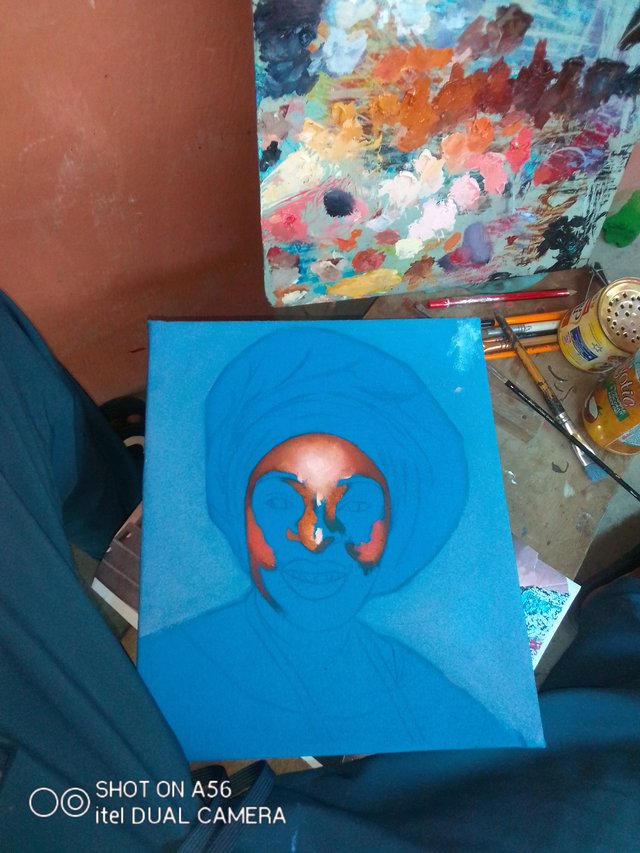
Firstly I bought my canvas and stretcher, after fixing it up I primed and dabbed it with blue oil paint... After doing that I left it to dry under the sun... Once it dried up I used my HB pencil to make a light sketch of her face on my canvas so I could paint in it... After I sketched it out I had to mix my colors... Since I didn't have a pallet I mixed my colors on a piece of plastic board... After mixing my colour's I brought out my kerosene so after painting I could use it to wash my brushes.. after doing everything I took it outside and started painting... I started with the skin tone on her face, I used Brown for her forehead mixed with a little pink and alittle yellow... Then for the background I mixed purple and white then painted it...
*STEP 2
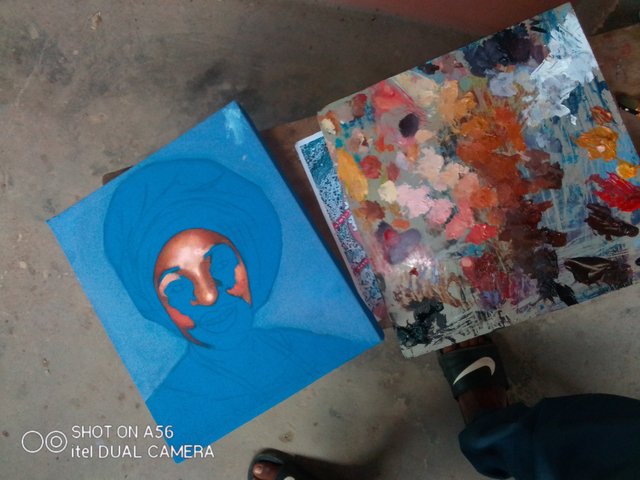
Then I moved to her nose and her chick bone, I used different tones of one color to get the texture of her skin... Then during this process I left it to dry for awhile, after it dried off I still applied paint on it so it would look neat... then I mixed some colours for her hair tie...I mixed blue and yellow which gave me deep green and I had alittle light green then I started painting.. when painting her hair tie I took time so it won't get into the back ground, I painted it green then I added alittle White....
*STEP 3
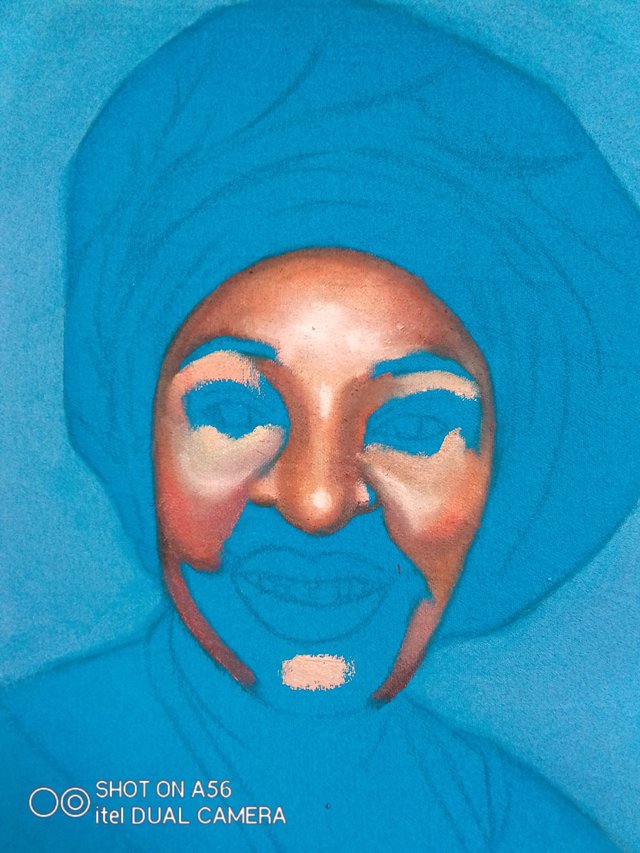
I mixed green for her clothe then I detailed it with a little black and white.. then left it to dry for some hours... After it dried if I still painted it again then I used red and white for her bead... then I used plain white for her bracelet on her neck...
*STEP 4
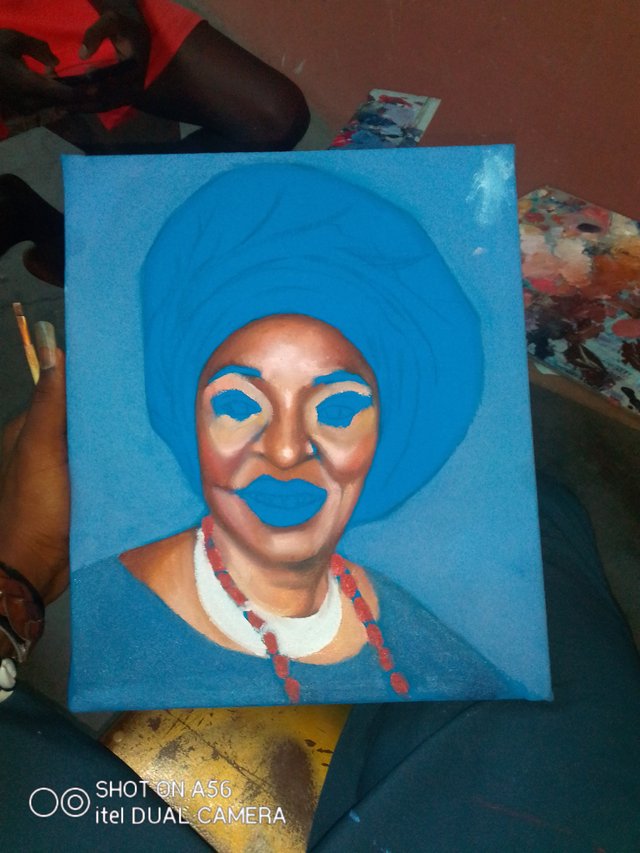
Moving to her lips I mixed brown for the edges of her lips then I mixed red and pink fur her inner lips... After doing that I applied white on her teeth and I made sure I left the gap tooth.... After doing that I left it to dry off under the sun..
*STEP 5
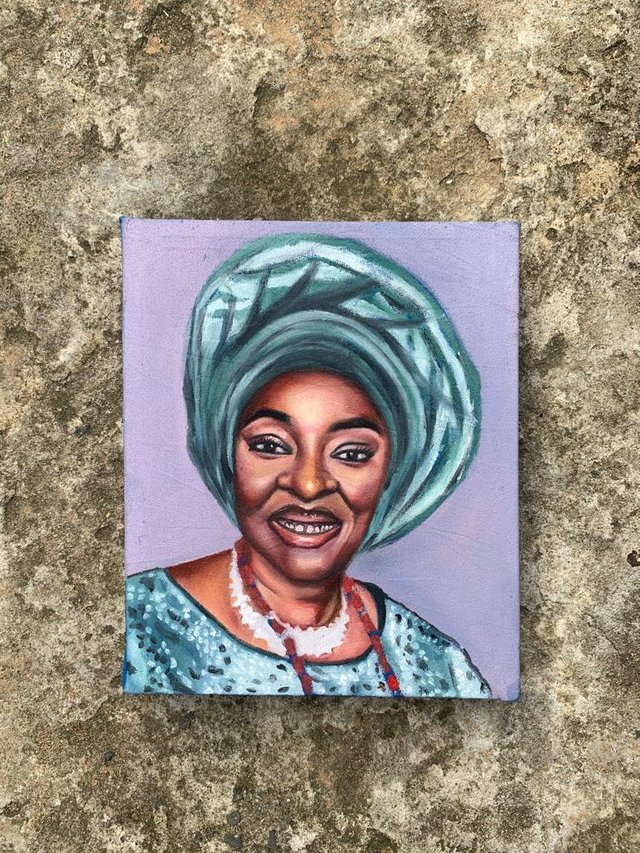
After it dried off, I then detailed her face and her skin properly so it would look perfect...
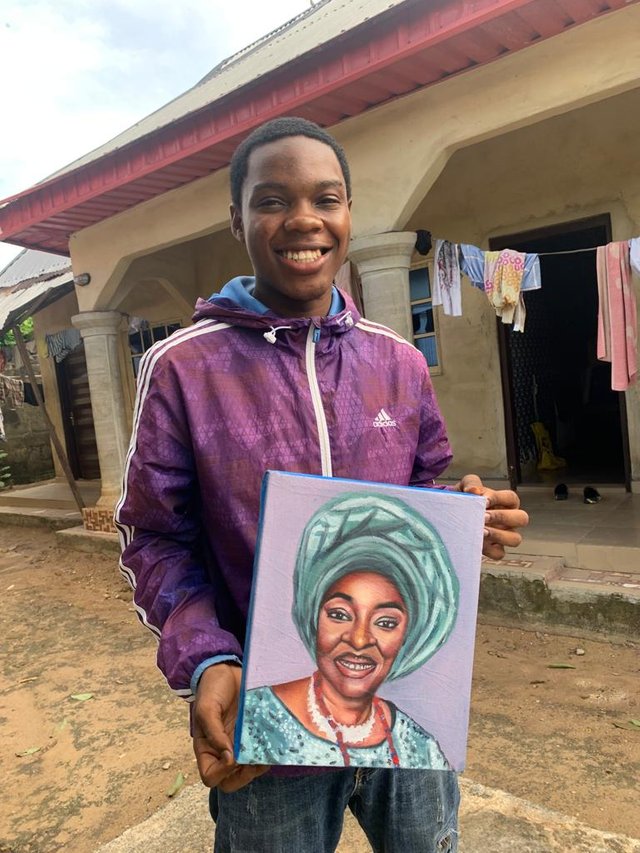
Took a photo with my work..
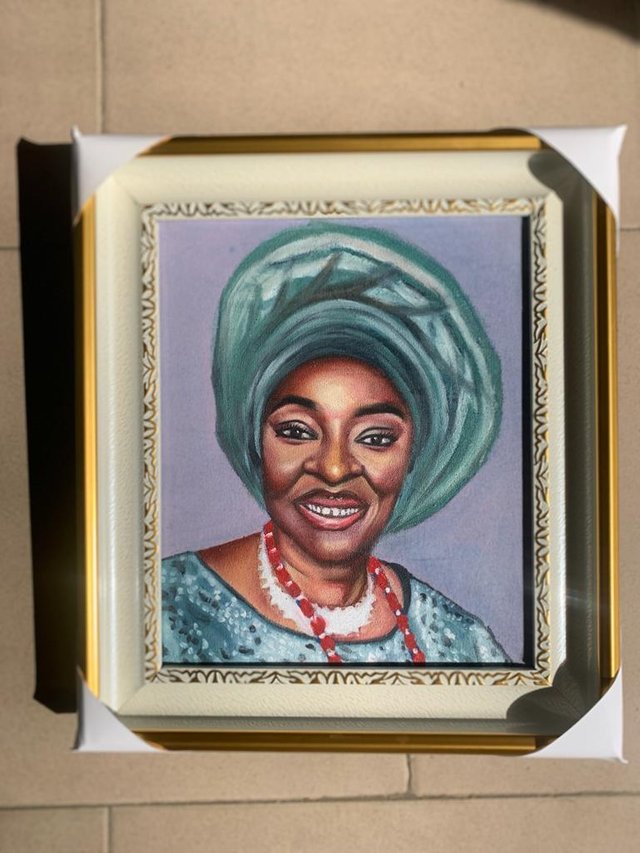
Commissioned and framed...
Hope you all loved the portrait I made.. it's quite easy tho, you could try it anytime you want...
Thanks so much for visiting my blog and happy Steeming friends..
Wow the. Portrait is so lovely! You're so talented, thanks for sharing with us here, we hope you will continue to be active in our community.
Please make sure you start supporting other users by voting on their post, your voting CSI shows that you don't used to support others, you can set a goal of upvoting at least 10 posts from different users each day, or better still you join our community curation trail as this will help.