How to start your own model railway (part 2 of 2)
So you have selected your scale and era you want to represent? Then let's give it a go!
(This is the second part of a basic How To. The first part can be found HERE
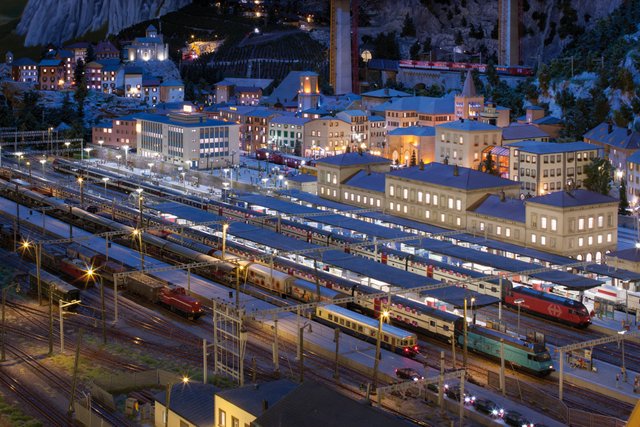
Miniatur Wunderland, Hamburg, Germany

Creating your track plan
When starting, you need to think about how your trains will drive their circles. Actually, you don't even need to go in circles! In reality trains go back and forth.
So if you want to be as realistic as possible, drop the circle and think about some mor or less straight layout. The reason why most modellers still stick to a circular shape (in the broadest sense) is that you can start the engines and watch the trains pass by instead of stopping and reversing them every minute or so.
The first steps can be made with a pen and sheet of paper.
Things to consider:
- How much space do you have?
- Do you want a train station? If so, how big?
- Where do the trains turn around?
- Where are trains parked id they are not moving?
In a second step I highly suggest to use a planning too for that since they usually come with a database of available track parts in their correct size. This way, you are able to see how many parts you actually need and if your idea is doable at all.
For this I suggest one of the following tools:
SCARM - Simple Computer Aided Railway Modeller
WinTrack
Both programms can be used free although a license is required for using their full potential.
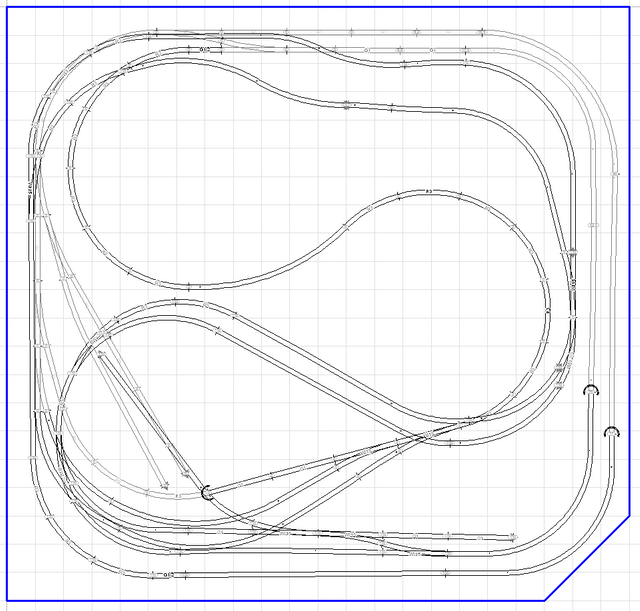
As example, this is how my layout on two levels looks like. (Made with SCARM)

Building the base
As long as you to not want to place your rails on the carpet (actually a valid option if you choose rails with a track bed) you want to build a table or something similar.
A practical approach is to build some kind of grid. This ensures a high grade of torsional stiffness.
Again my setup as n example:
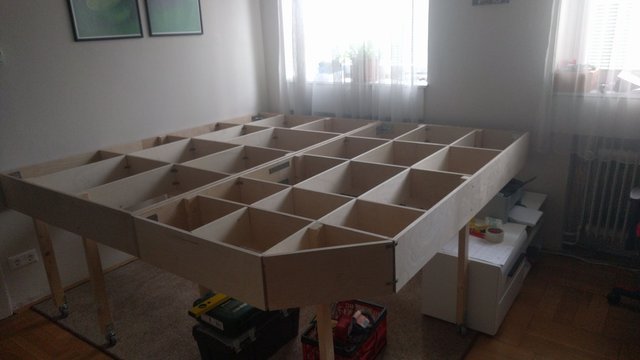
For this I used 8mm ply wood and put some wheels on the legs to be able to move it around.

Getting things done
Finally you place your track and make the wiring. I am not diving into the electrical stuff since it would make the content length explode.
Instead, lets take a look on some simple yet nice things you can do to make it look neat.
As mentioned above, there are tracks with badding. Althouhg easy to use, the looks aren't that gread. Instead, use track balast. Many different colors are available for this.
Depending on how many meters of rails you have, this can be quite exhausting. But it is totally worth it.
Also make your rails look rusty. by default the come clean and shiny out of the box. In reality the tracks are rusty on the sides and are only shiny on the top. Tamiya as example offers fitting "rust colors"
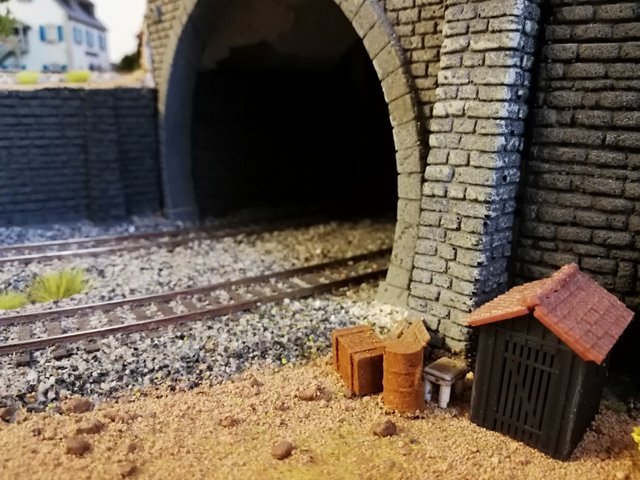
Tracks with a basalt balast and colored rails

Last but not least you maybe want to add some buildings and trees.
I am skipping the buildings part since there are thousands of bulidings on the market. There is almost nothing that you can not find.
But trees on the other hand...
Yes, of course, there are many trees and bushes you can buy. But 1) they often look all the same (mass production) and 2) the better looking ones cost more than 20€ easily. Per piece!
This can be dodged by making your own trees and bushes.
For this you simply take some dry branches that have a tree like shape. Smaller pieces can be used as bushes. Some spray glue and green flockage will do the trick. With this you can create your own trees in masses at low costs.
I already made post on that:

Creating Custom Trees

By now you should have an insight on the following:
- Selecting a scale
- Selecting an era
- Planning your track layout
- Getting started to build
I am absolutely aware that there are like 1000 things that need more explainations but there are literaly books full of informations on every single topic you can imagine.
But my goal to give you a few hints and ideas should be reached, I hope :)
As always, I you have any quesions do not hesitate to use the comments below.
Also if you think I have missed out something too much, or more information on specific topics would be cool, then please let me know!
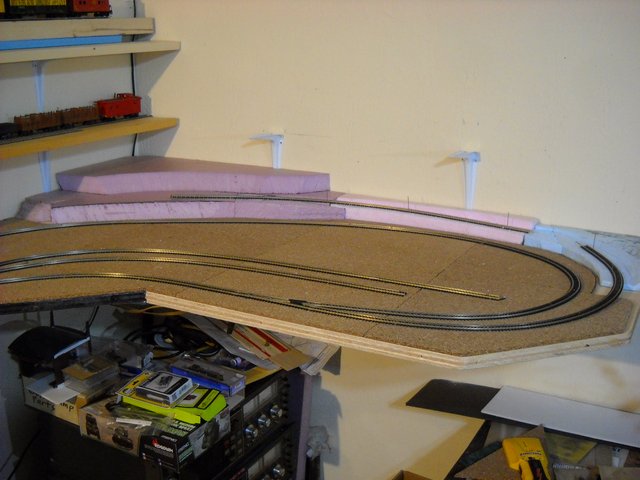
I finally got back to working on the scenery on my shelf railroad.
Very nice! :)
Posted using Partiko Android
Very cool work. Thanks for sharing this tutorial!
This post was shared in the Curation Collective Discord community for curators, and upvoted and resteemed by the @c-squared community account.
If you are a community leader and/or contest organizer, please join the Discord and let us know you if you would like to promote the posting of your community or contest.
@c-squared runs a community witness. Please consider using one of your witness votes on us here
This is a good general description for where to start with building a railroad.
I like the way you built the table, quite sturdy.
Hello @wirago, thank you for sharing this creative work! We just stopped by to say that you've been upvoted by the @creativecrypto magazine. The Creative Crypto is all about art on the blockchain and learning from creatives like you. Looking forward to crossing paths again soon. Steem on!
Very cool, thank you! *grabs pencil and paper *
Posted using Partiko Android
@mack-bot why the hell are you downvoting my Comment?!
Posted using Partiko Android