Layered Leaves Digital Painting | My First Digital Artwork from Scratch | GIMP
Hello dear Steemians! Today, I would like to share about my first digital painting from scratch. I have painted other digital artworks before like butterflies. However, they were not done from scratch. I generally paint the colours on artworks where the drawing is readily available. So, this time, I thought of trying it from scratch and I think it is a good start. Since it is my first time, I chose something simple and decided to paint some layered leaves. I chose to do it in layers with different shades of green because only then it adds depth to the painting.
About the software that I used
I used GNU Image Manipulation Program (GIMP) to create my digital painting. Click here for more information. One of the perks of this software is that it is free to download. It is not only useful to create digital artworks, it is also a high quality image editor where we can make edits to our pictures similar to the well known high end software, Adobe Photoshop.

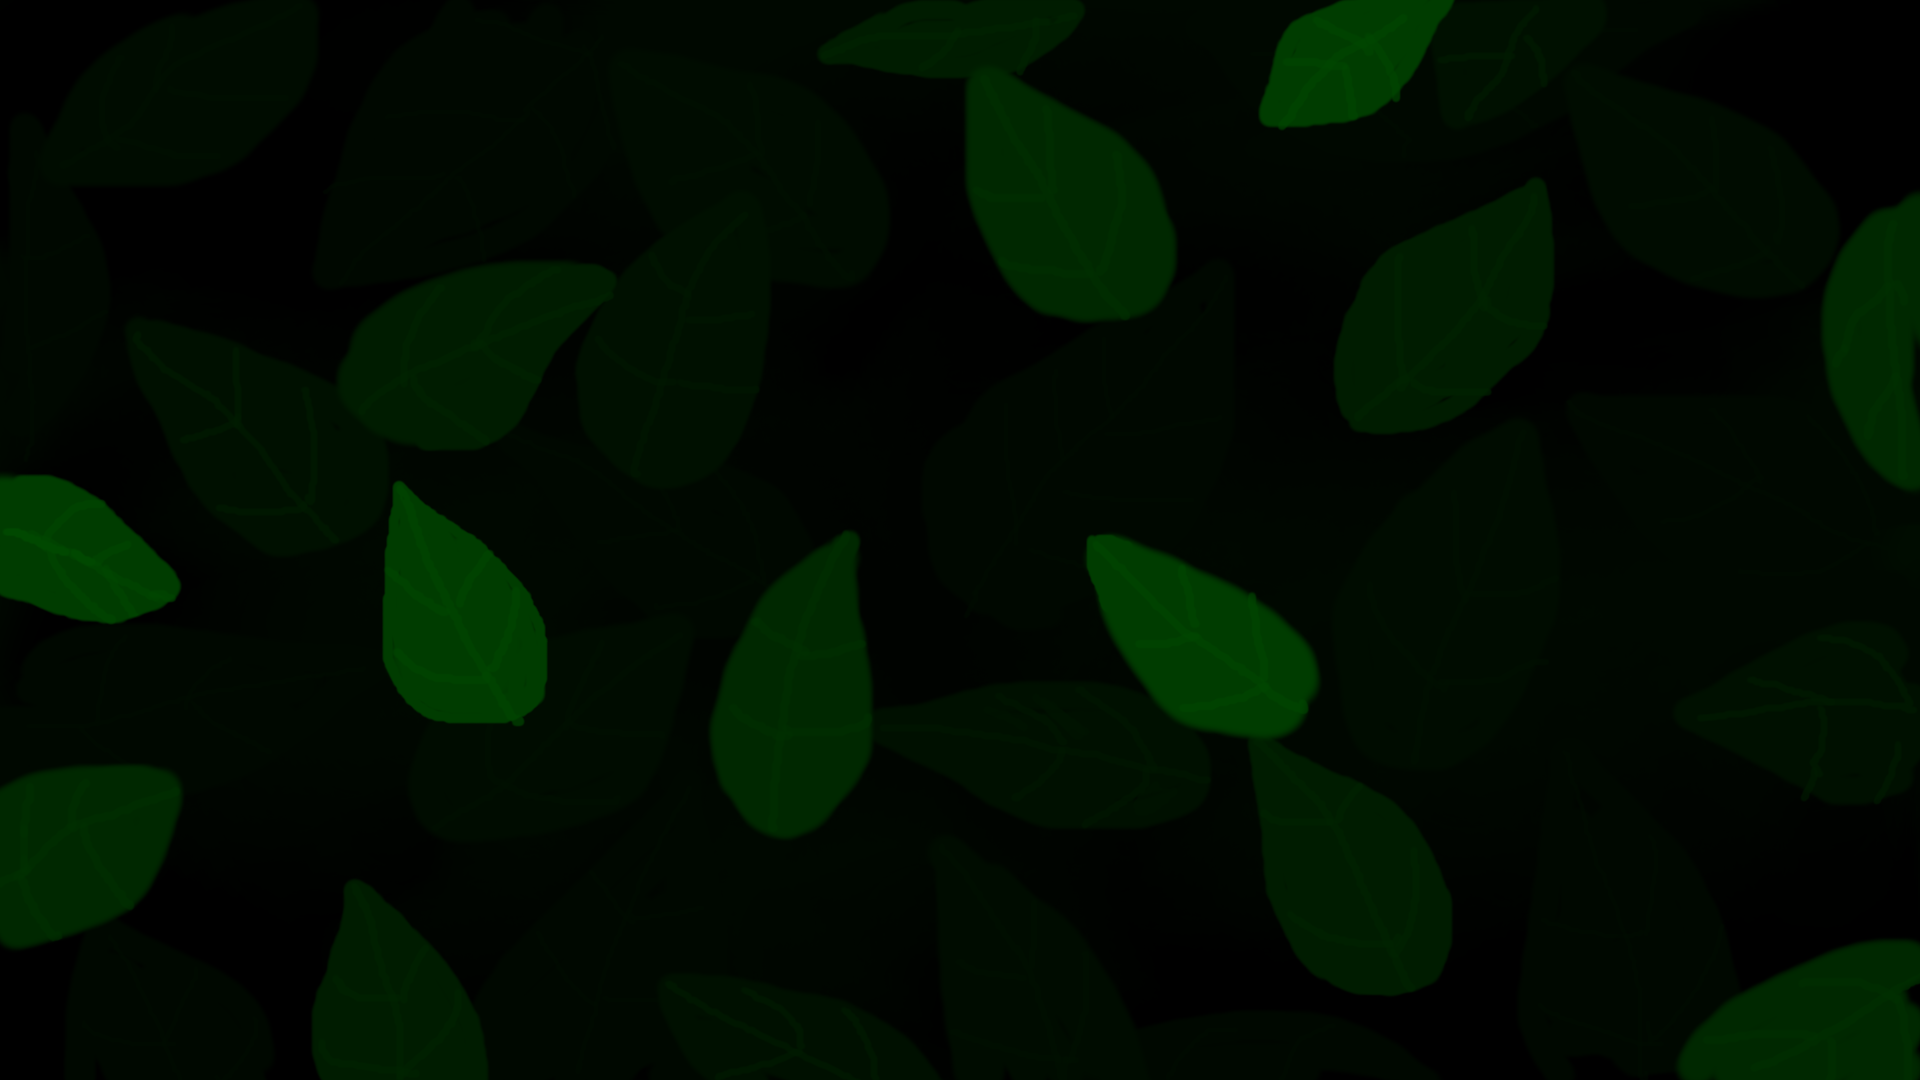
First of all, I created a canvas of 1920x1080. Then I used the colour pallete provided in the software (under Windows menu > Dockable Dialogs). I used the paintbrush tool to paint some large blobs of dark green and black randomly. Then, I used the smudge tool to smudge the paint to blend them together.

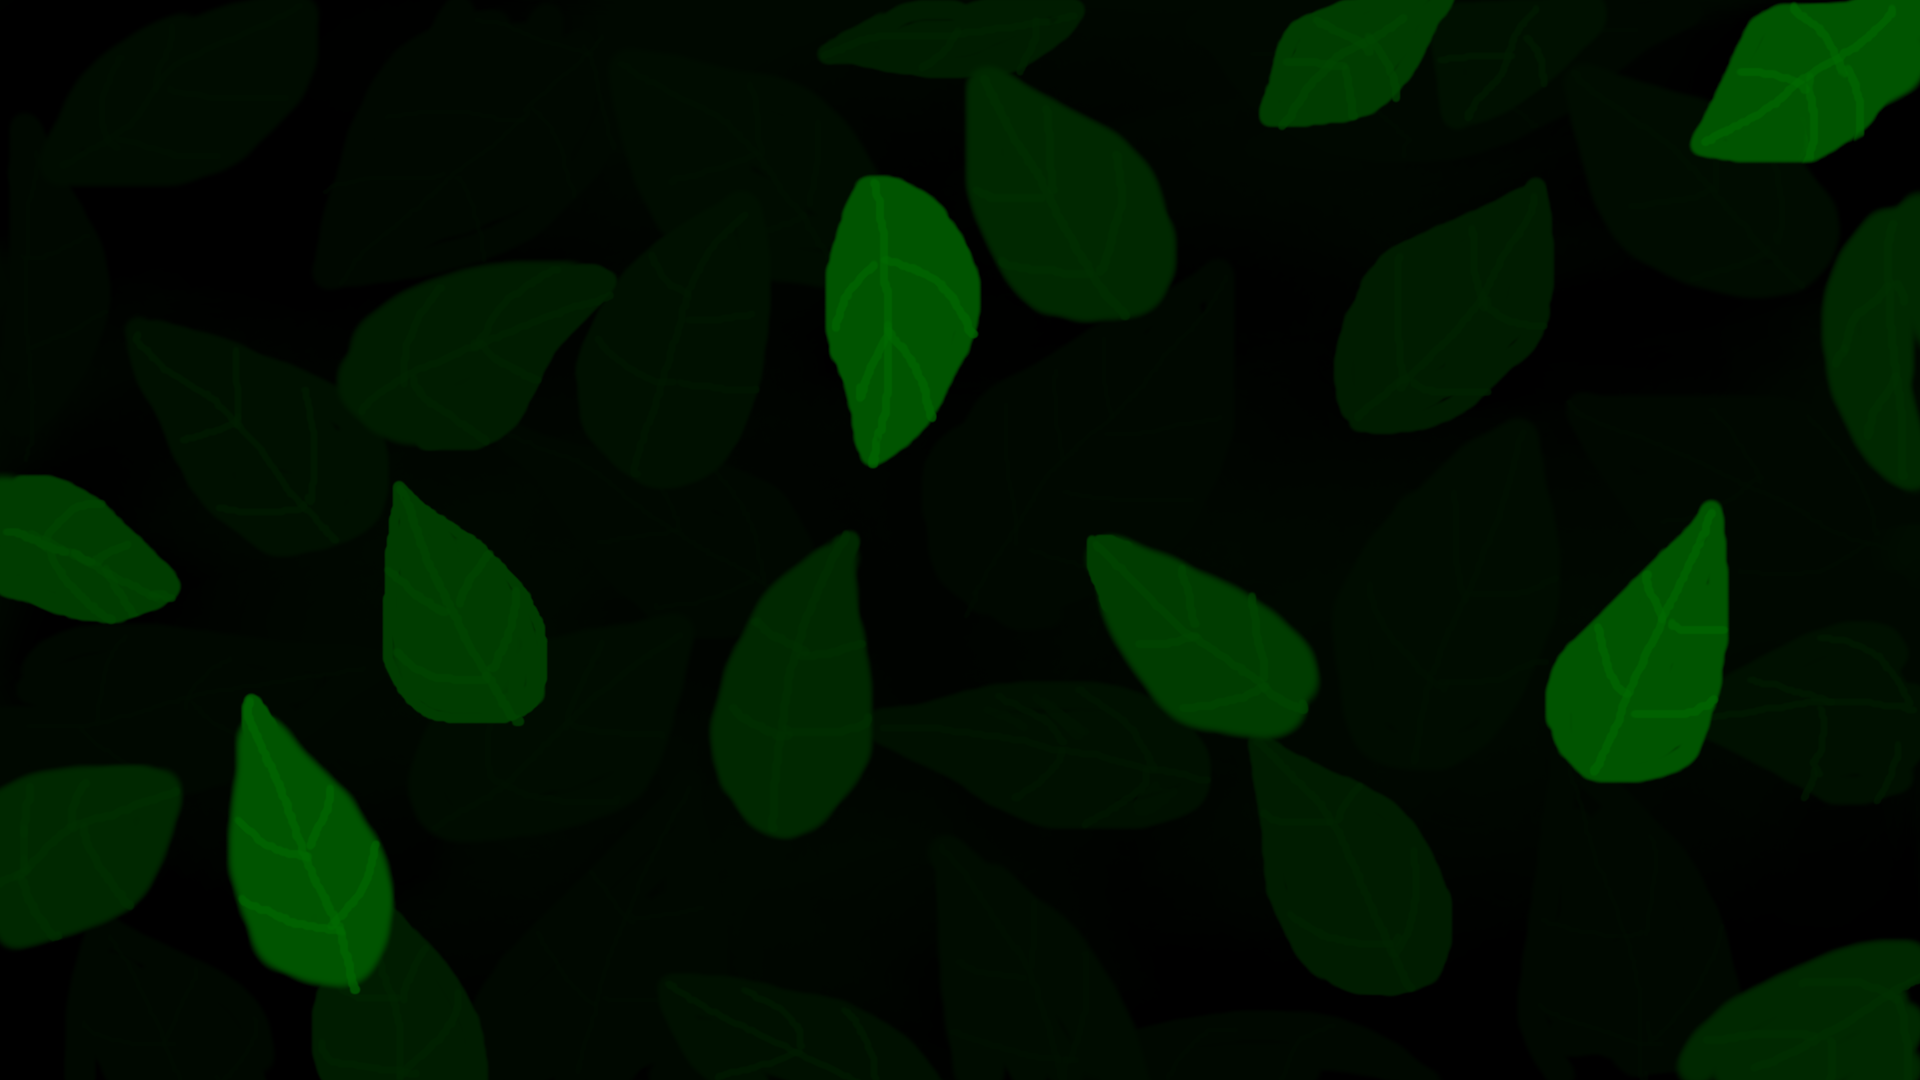
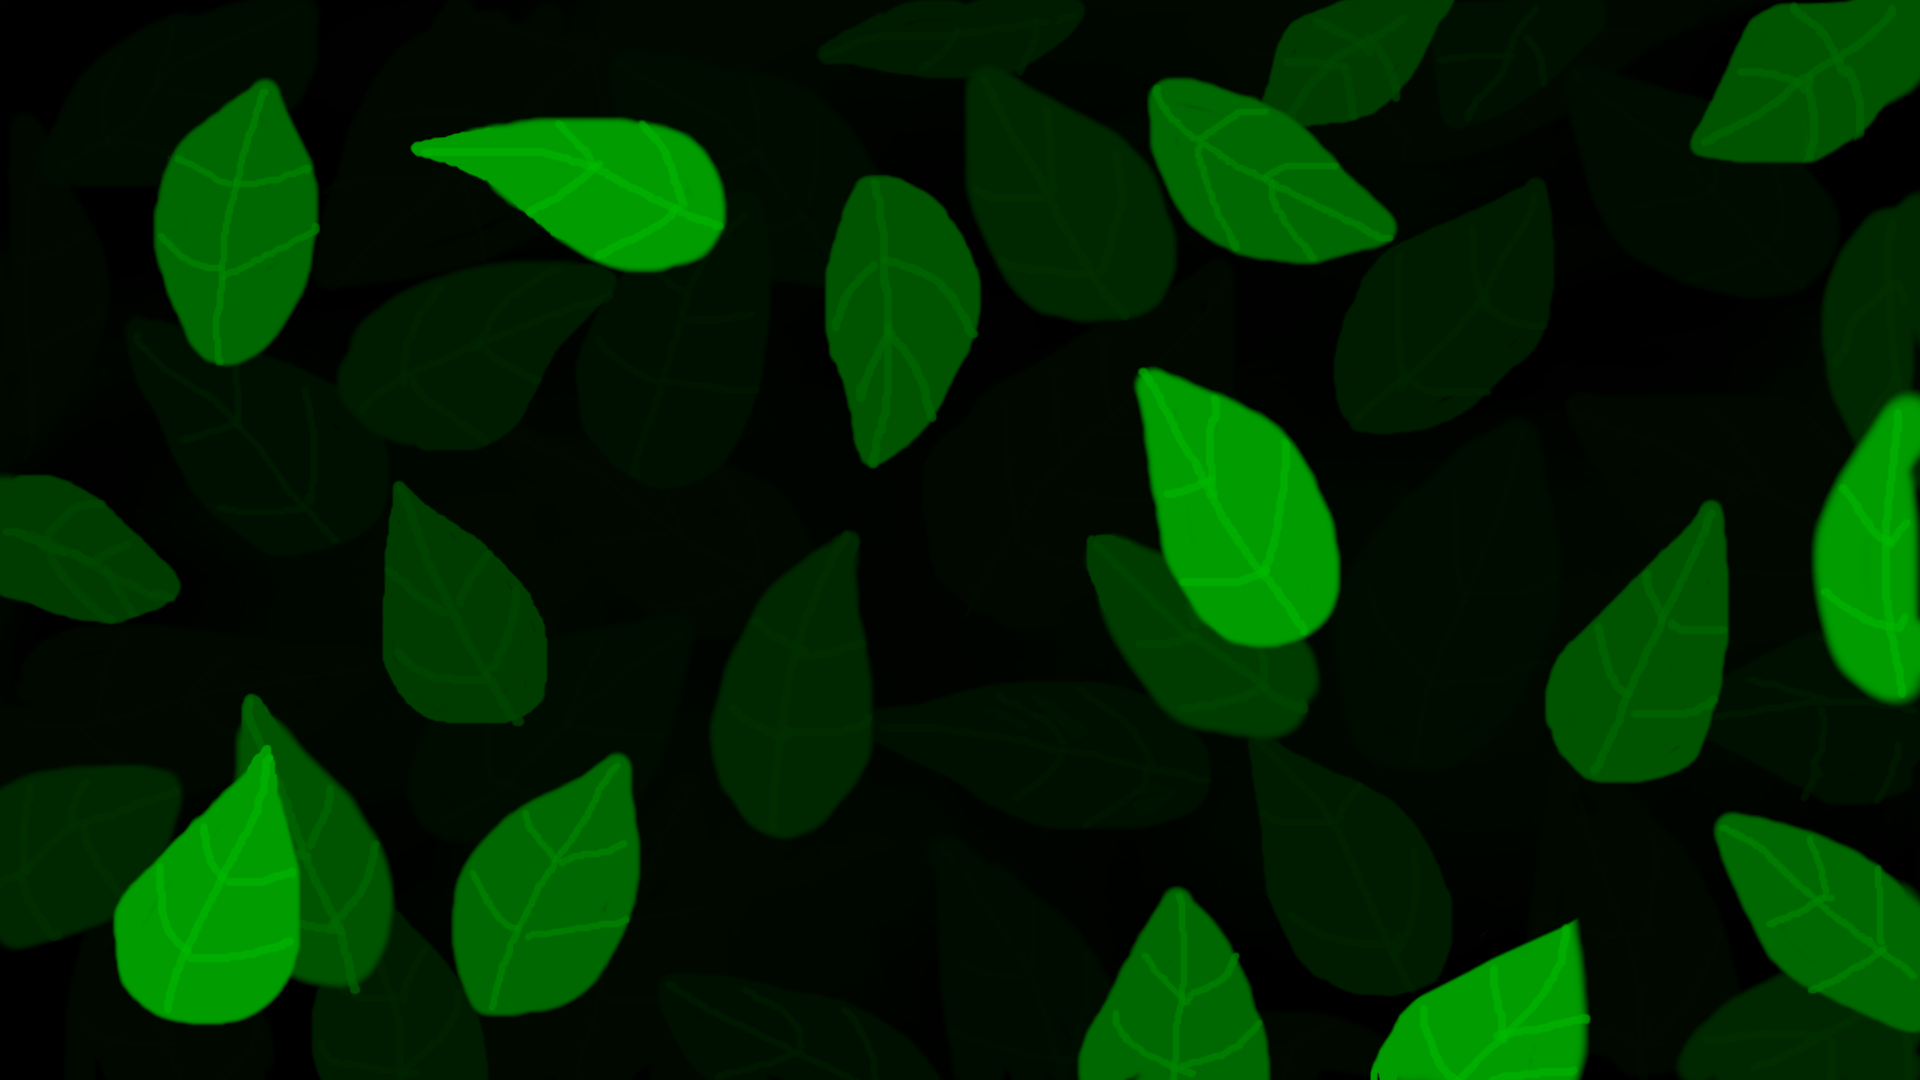
Then, I added a new layer (normal and transparent). You can find layers under Dockable Dialogs. So, whatever I paint in this layer can be edited easily in case I want to make changes later on. I picked a dark green that was 3 shades lighter than the existing colour and painted some leaves.

Then, I created another layer and painted some veins on the leaves. I reduced the opacity of the paint to 50% and selected a colour that was 3 shades lighter.

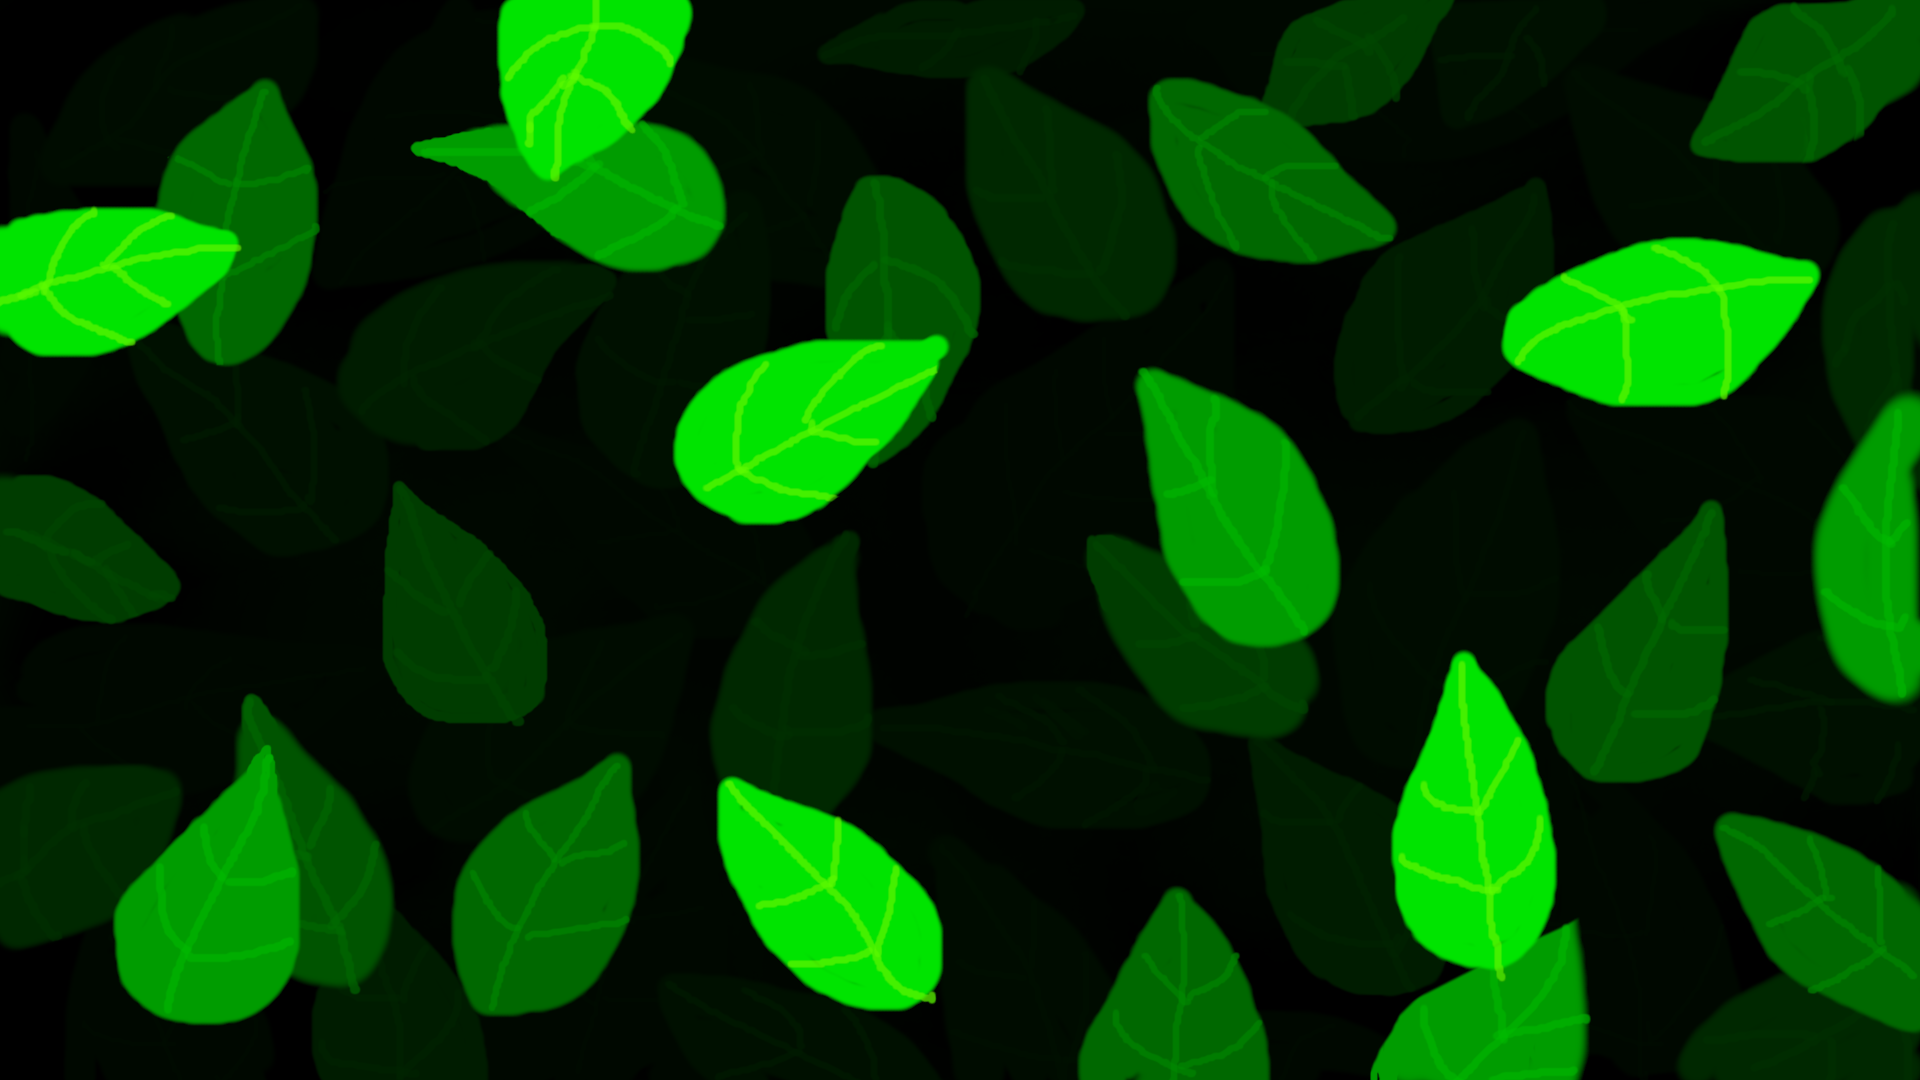
I repeated the same process for a few layers. Each time I paint on a new layer, I made sure that the colour of the leaves was 3 shades lighter than the previous shade of leaves and the colour of the veins was also 3 shades lighter than the colour of the leaves. In other words, the colour of the veins of the current leaves will be the same shade as the colour of leaves in the next layer.

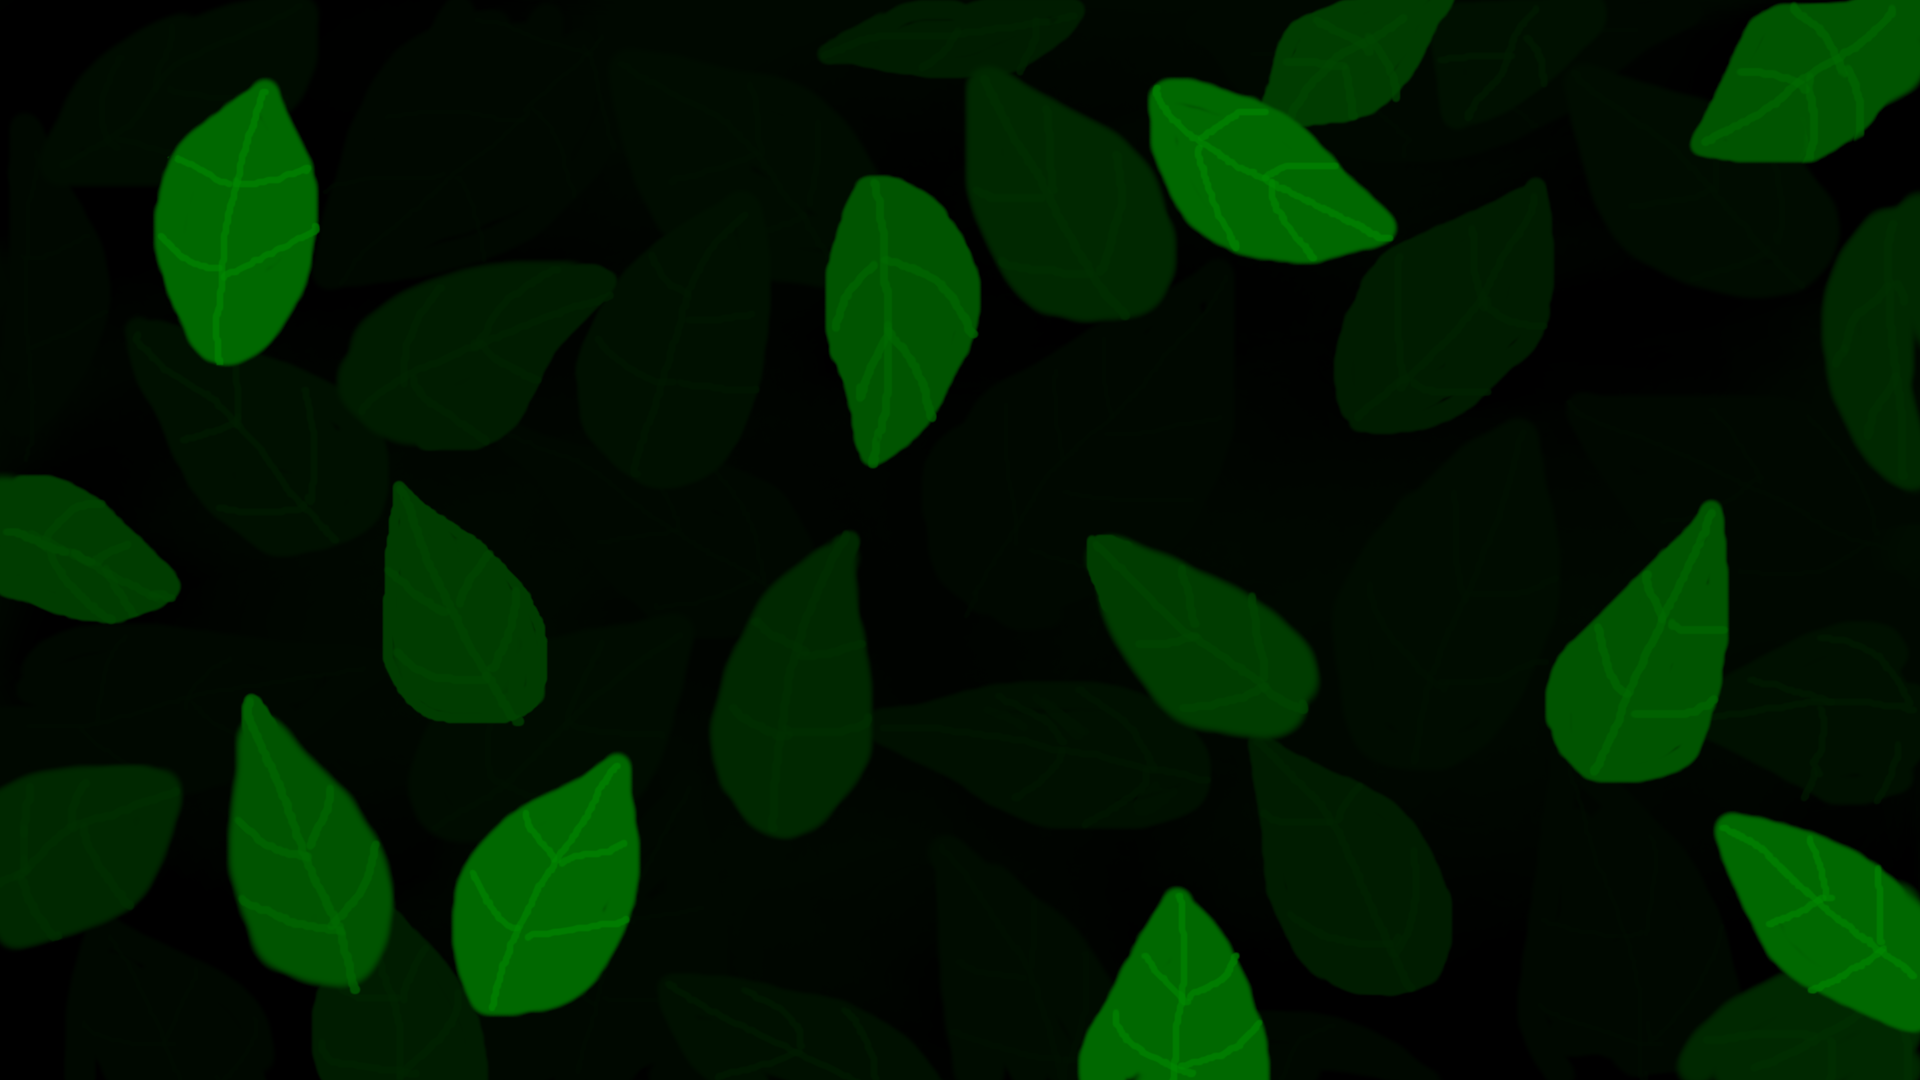
The leaves and veins in this layer are more visible because I increased the brush size I used for the veins slightly.

Do take note that there is no restriction in how many leaves you add in each layer. I added about 4 to 6 in each layer.

I have actually done a painting similar to this in water colour. I will share it at the bottom of this post.
However, the watercolour painting I made was done with a different technique which is called as the 'Negative Painting Technique'. It was done in layers just like this but it was time consuming in comparison because I had to wait until my painting was dry before moving on to each layer.
One of the differences with the watercolour painting is that it was done by painting around the leaves. On the other hand, in this digital painting, I did it by painting the leaves themselves in each layer.
Another difference is, I paint the leave beginning from the darkest which is the bottom layer of leaves. Whereas in the watercolour painting, the painting starts from the top layer of leaves which are the lightest and warmest.
I hope that you noticed that I did paint some leaves over other leaves. I think it looks more natural that way instead of an arranged manner.
Just so you know, I did not precisely select the colours with the '3 shades rule'. Some of the colours are 4 shades lighter than the previous colour.
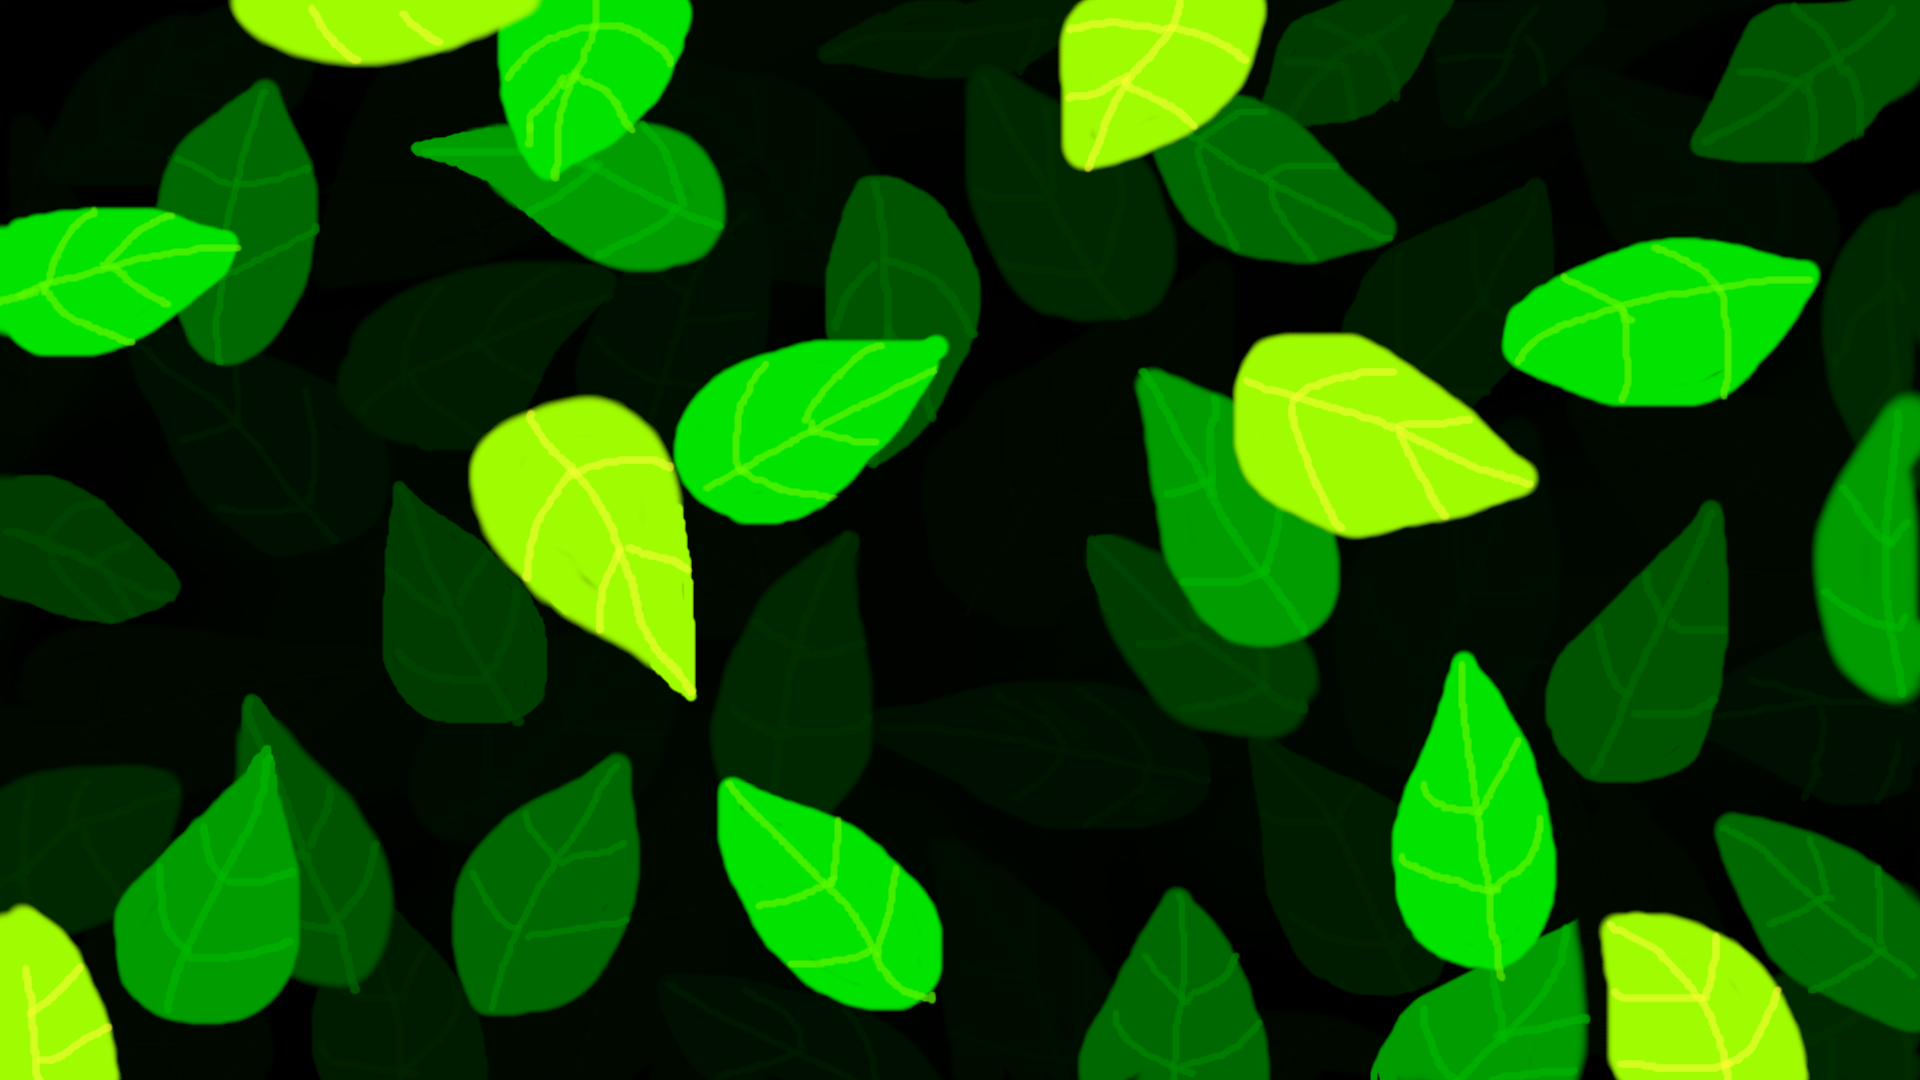
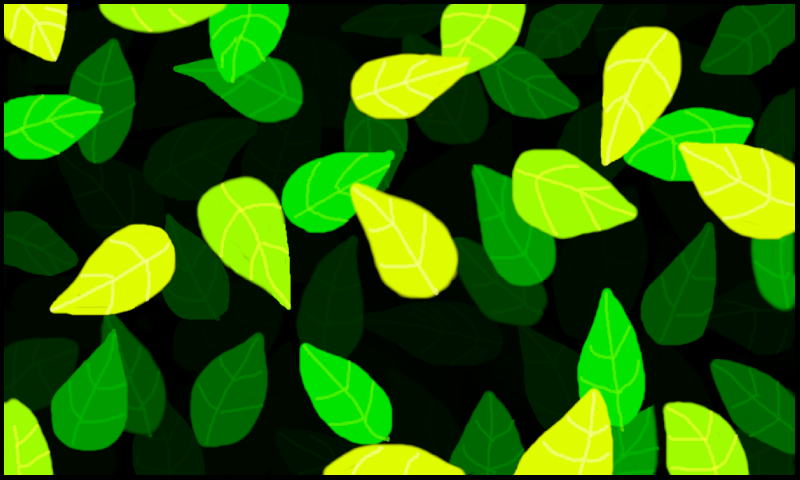
This is the layer with the brightest green I could find :D I used yellow for the veins.
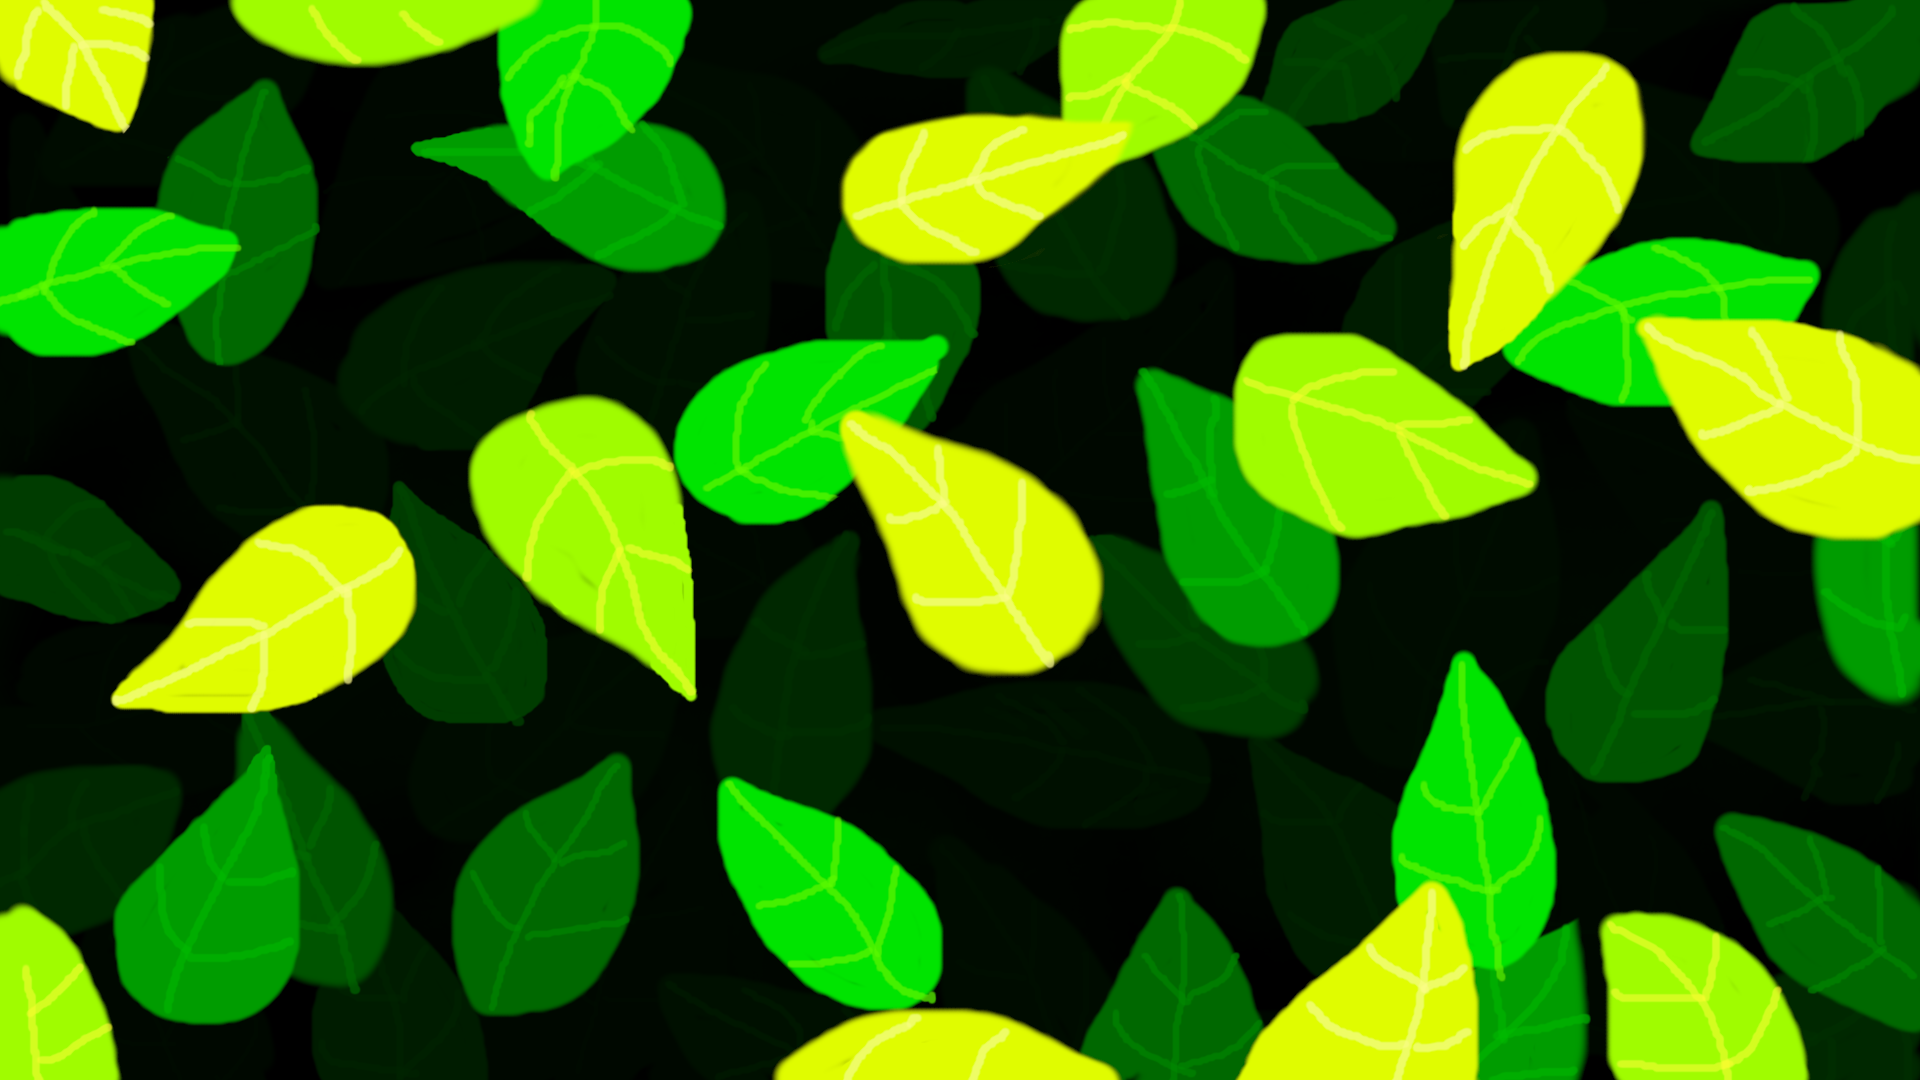
This is the last layer of leaves. I painted yellow leaves so that they will look warm and bright.

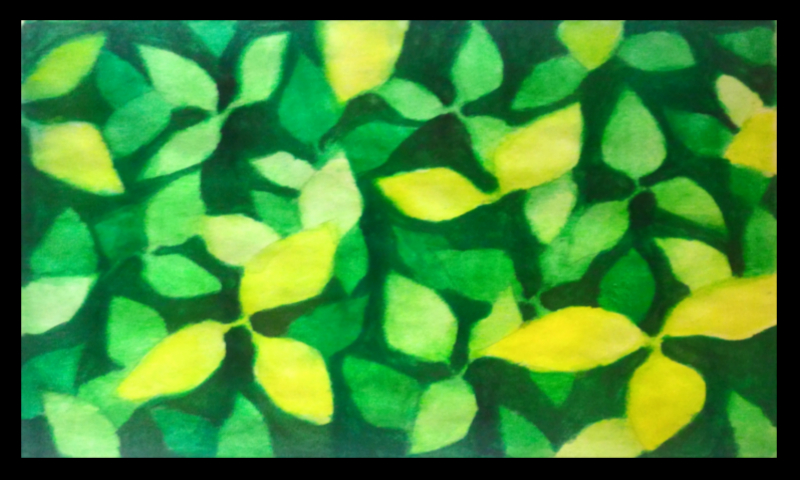
This is the final layer of the painting where I added some black around the darkest leaves to make them stand out a little more. I hope that you can see the difference between this image and the previous image. I also made some changes and did some touch ups in some of the layers. My painting was done =)
This is the water colour painting that I made which had a similar outcome to this digital painting. Click the image if you would like to read my full step by step tutorial. I hope that you enjoyed reading my post. Thank you for reading and have a great day/evening ahead =)

If you like this post, please upvote and leave your feedback below.
If you would like to see more posts from me, follow me.
Stay tuned! xx
Click the Images to View My Recent Posts:
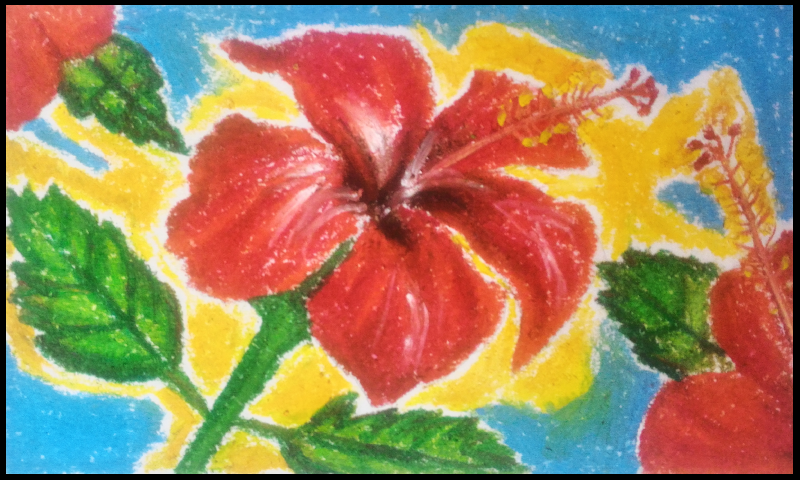
How to Paint Hibiscus | Step by Step Tutorial | Oil Pastels Artwork
.png)
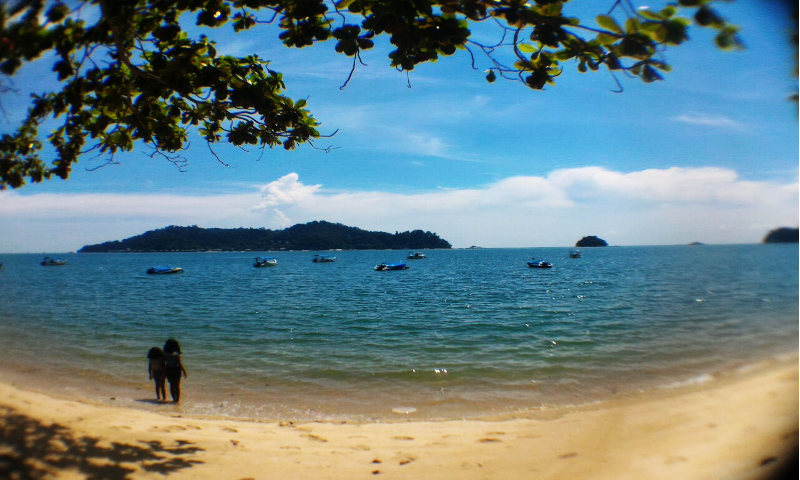
Sandy Beach Resort Review | Room and Resort Tour | Pulau Pangkor (Pangkor Island), Malaysia
My Vacation in Pulau Pangkor (Pangkor Island), Malaysia
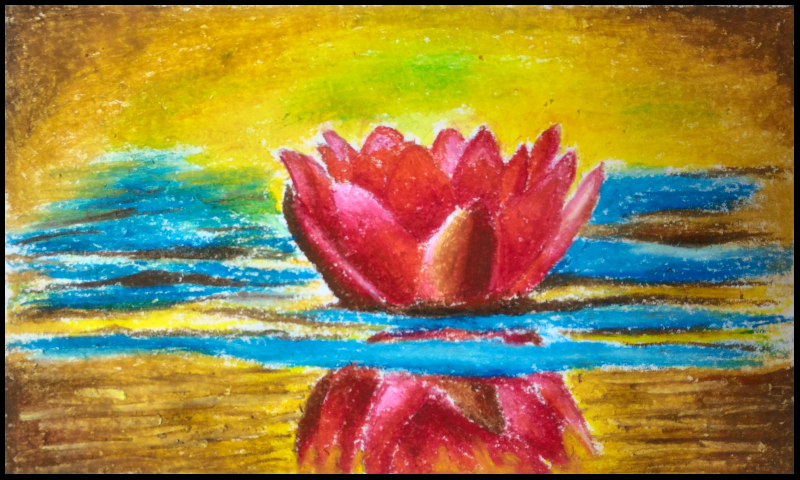
How to Paint Water Lily | Step by Step Tutorial | Oil Pastels Artwork
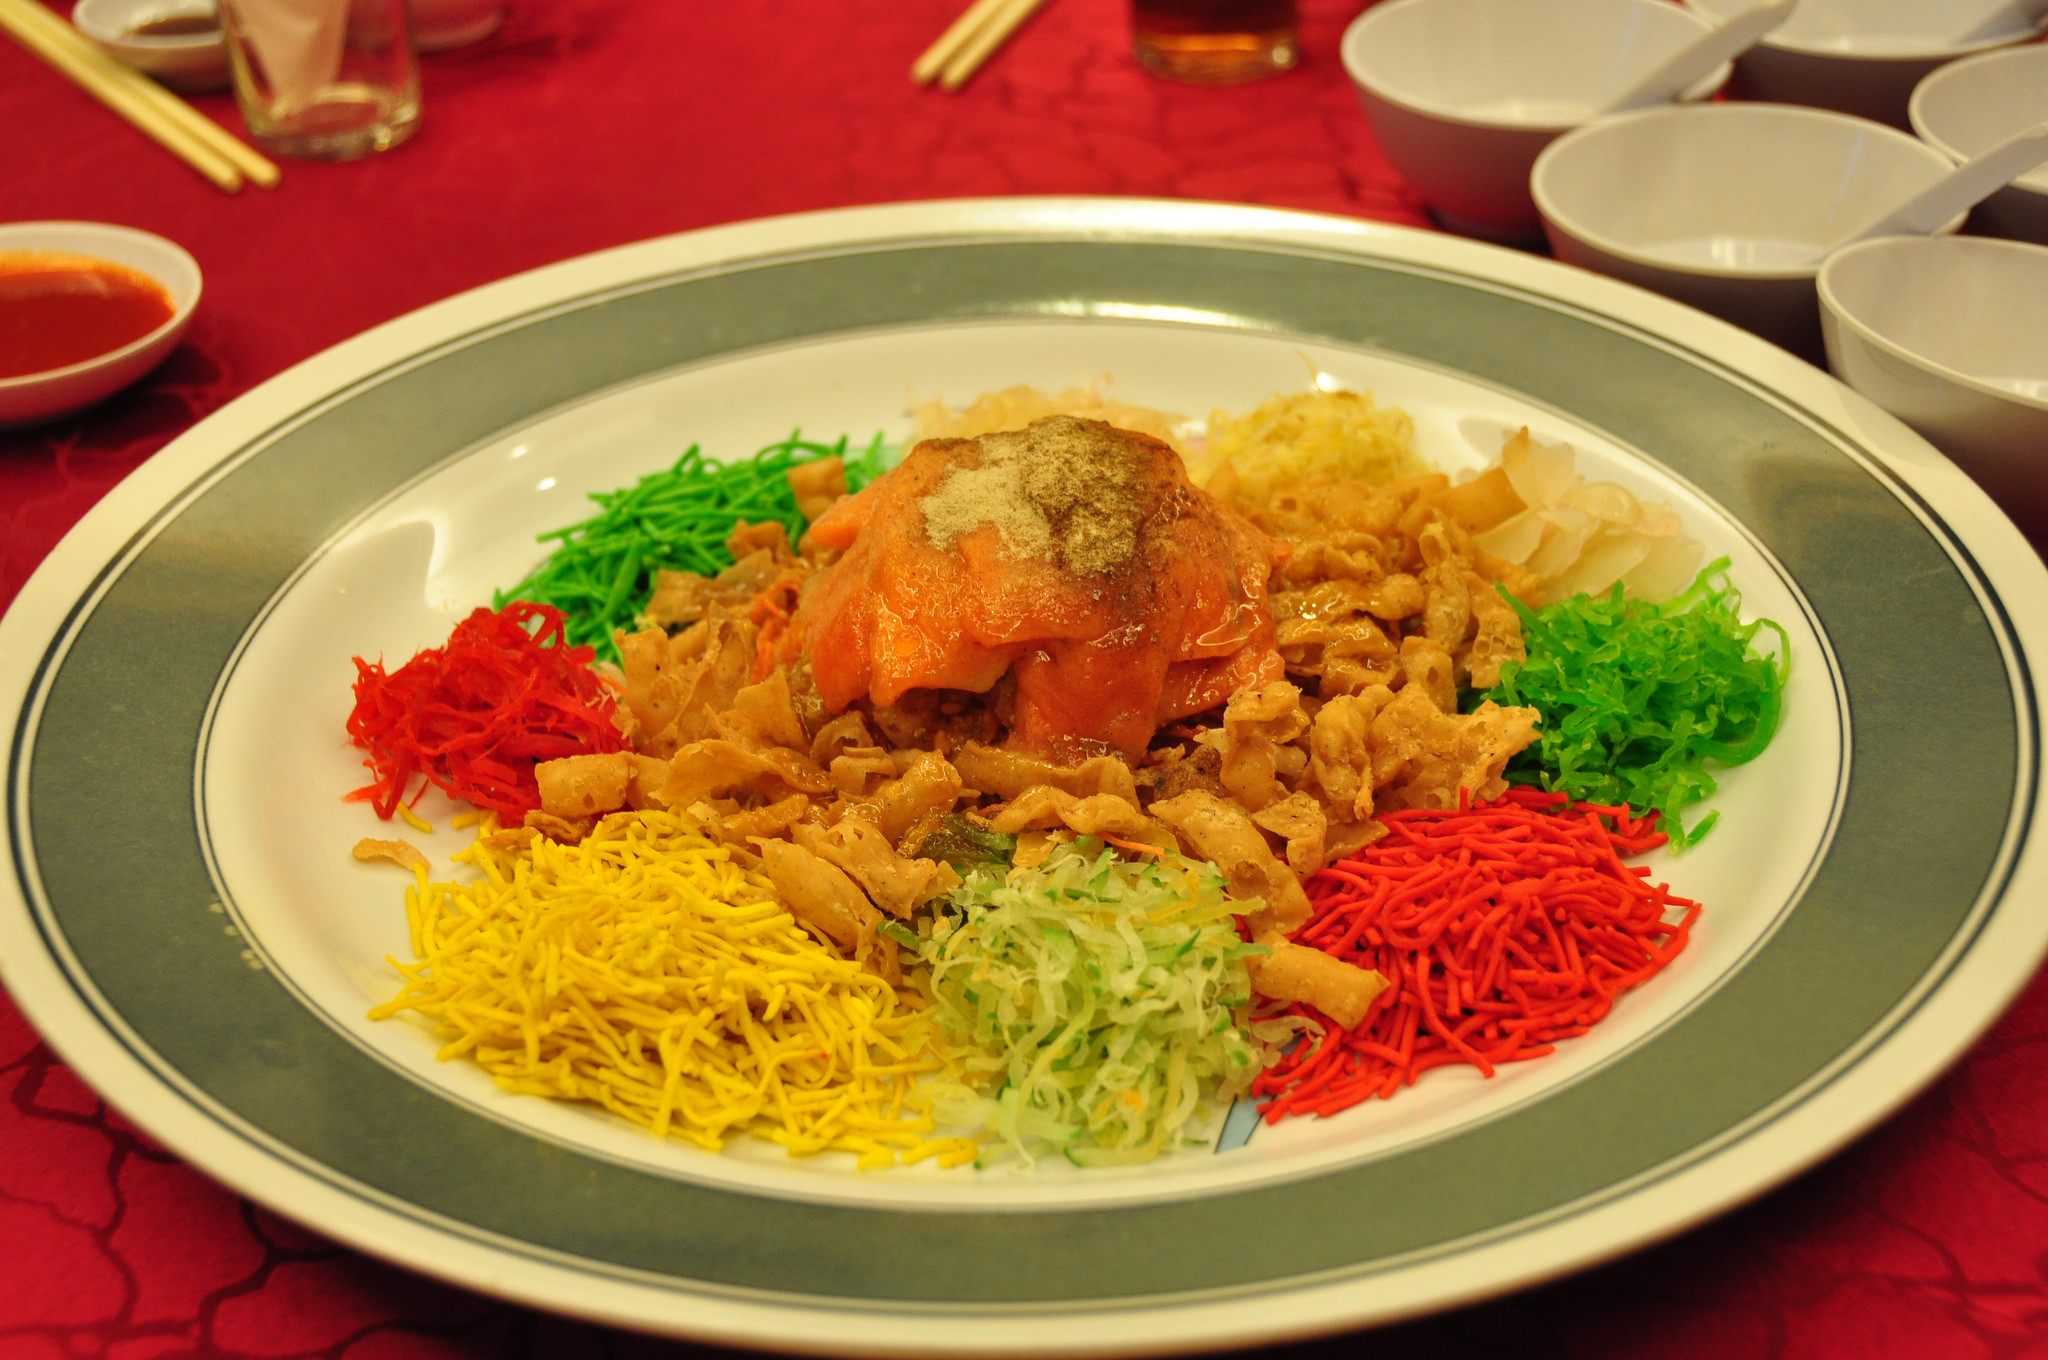
What is Yee Sang - CNY Prosperity Toss
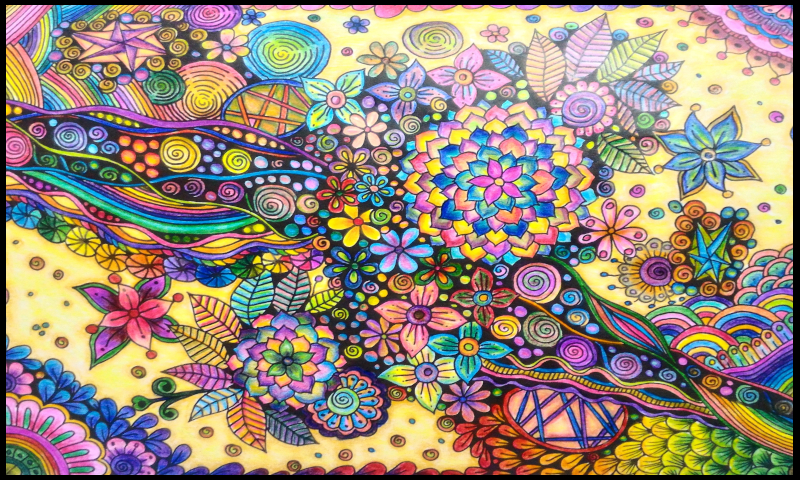
Zendoodle Adult Colouring Artwork


Follow me: @yashny
My Dtube Channel: Yashny
About me:
I'm a chill, happy go lucky person. I am a feminist. I love food, art, books, numbers, psychology and occult science. I am in the process of healing and diving into spirituality. I think life is a gift and we should appreciate the little things of life more. Everything that I post is a little piece of my life. I believe that everyone is carrying their own cross, so don't judge anyone and be kind!
♥♥♥♥♥♥♥♥♥♥♥♥♥♥♥♥♥♥♥♥♥♥♥♥♥♥♥♥♥♥♥♥♥♥♥
Thank you for your support and encouragement
♥♥♥♥♥♥♥♥♥♥♥♥♥♥♥♥♥♥♥♥♥♥♥♥♥♥♥♥♥♥♥♥♥♥♥
If you would like to see more posts from me, follow me.
Stay tuned! xx
Click the Images to View My Recent Posts:
How to Paint Hibiscus | Step by Step Tutorial | Oil Pastels Artwork
Sandy Beach Resort Review | Room and Resort Tour | Pulau Pangkor (Pangkor Island), Malaysia
My Vacation in Pulau Pangkor (Pangkor Island), Malaysia
How to Paint Water Lily | Step by Step Tutorial | Oil Pastels Artwork
What is Yee Sang - CNY Prosperity Toss
Zendoodle Adult Colouring Artwork
Follow me: @yashny
My Dtube Channel: Yashny
About me:
I'm a chill, happy go lucky person. I am a feminist. I love food, art, books, numbers, psychology and occult science. I am in the process of healing and diving into spirituality. I think life is a gift and we should appreciate the little things of life more. Everything that I post is a little piece of my life. I believe that everyone is carrying their own cross, so don't judge anyone and be kind!
♥♥♥♥♥♥♥♥♥♥♥♥♥♥♥♥♥♥♥♥♥♥♥♥♥♥♥♥♥♥♥♥♥♥♥
Thank you for your support and encouragement
♥♥♥♥♥♥♥♥♥♥♥♥♥♥♥♥♥♥♥♥♥♥♥♥♥♥♥♥♥♥♥♥♥♥♥
Thank you for your support and encouragement
♥♥♥♥♥♥♥♥♥♥♥♥♥♥♥♥♥♥♥♥♥♥♥♥♥♥♥♥♥♥♥♥♥♥♥
This post was shared in the Curation Collective Discord community for curators, and upvoted and resteemed by the @c-squared community account after manual review.
@c-squared runs a community witness. Please consider using one of your witness votes on us here