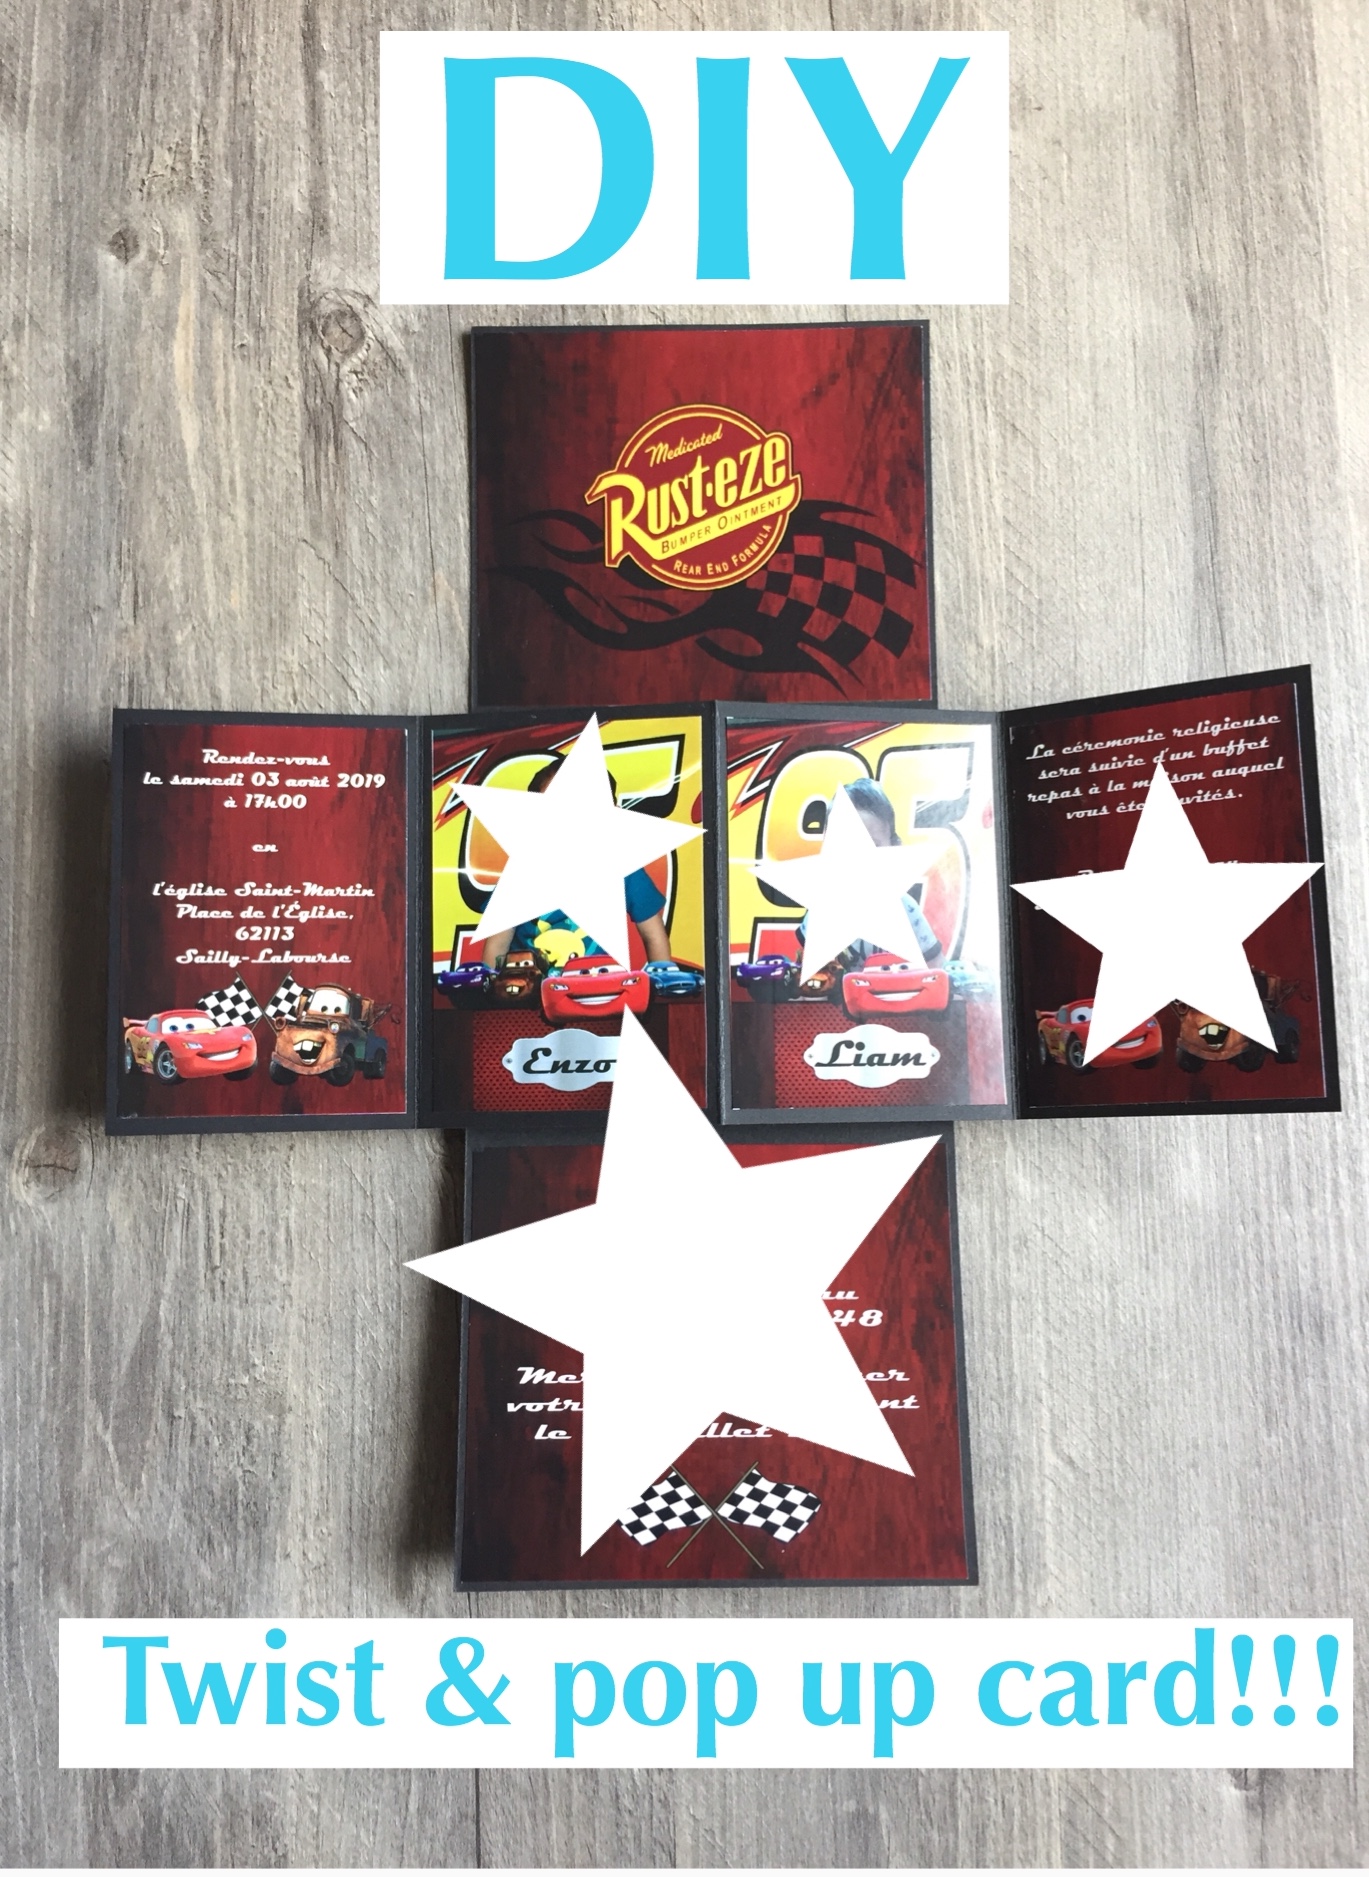
Twist & pop-up card with video tutorial + 1 steem giveaways !!!
Hello! Hello and welcome back to my craft blog! I’m glad I made it at this time despite my hectic schedule. So today, I’m gonna share another DIY tutorial that even non-crafters can do it. This is just a very common interactive card that I made for the baptismal occasion, and I’m using Illustrator for the layout design and laser printer for the printing.
So let’s jump to the materials! All you need for this project is ordinary card stock or any type of paper that you can grab on your stash.
Materials:
- 2 pieces of black cardstock ( 160 & 300 GSM )
- Stick glue
- Photo paper ( glossy)
Tools:
- Trimmer & scoring board (optional)
- Ruler
- Pen or pencil
Let’s get started with our tutorial!
Procedure:
Step 1: Cutting
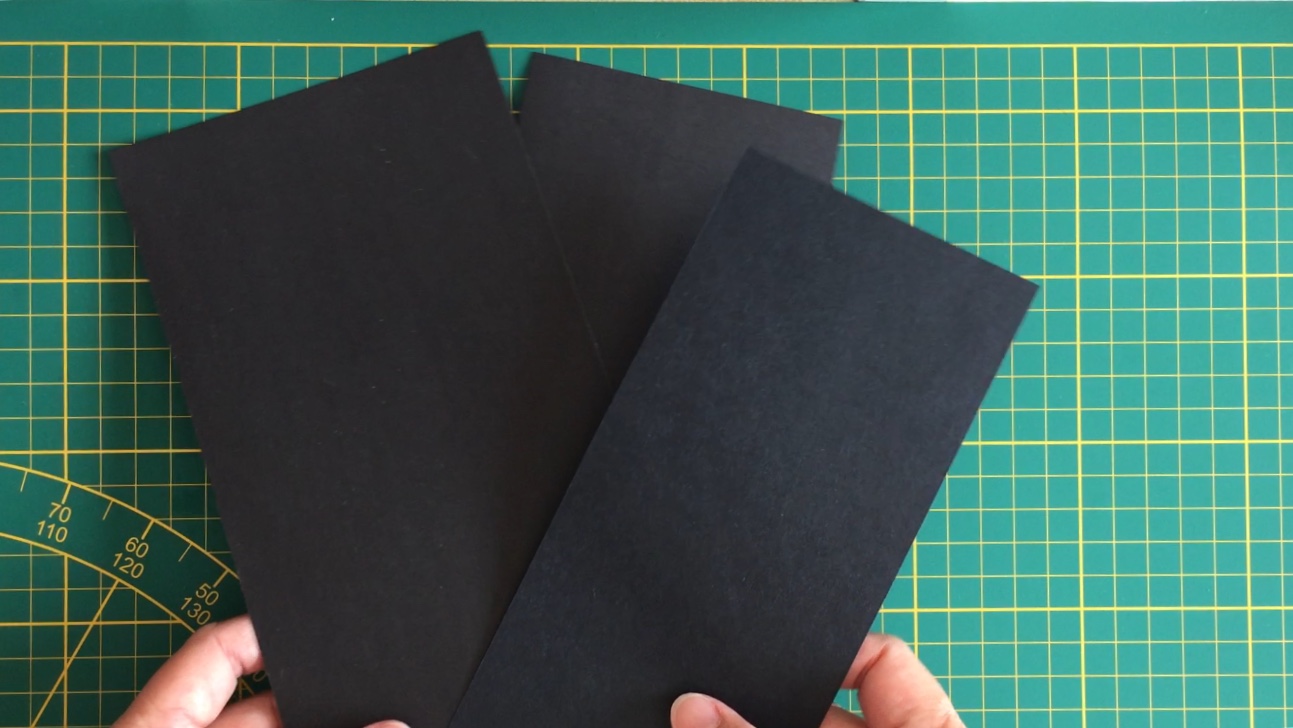
Get your cardstock and cut a piece of 11 3/4" x 4 1/2" for the main cover which is 300 gsm and 11" x 3 3/4" for the interior pop-up card. And lastly, for the mechanism cut a piece of 8" x 3 1/2" with 160gsm cardstock. The mechanism of the card serves as the big role to pop the card.
Step 2: Scoring and folding
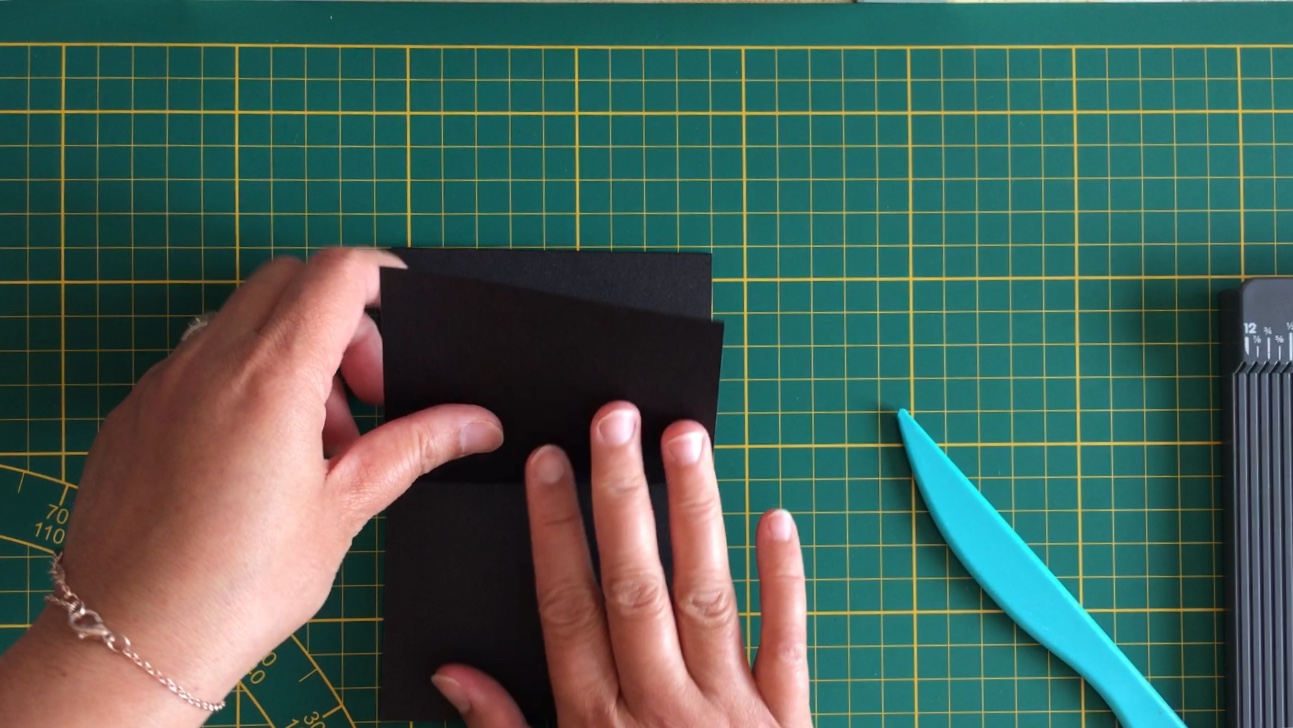
Get your main card and fold in a half using a bone folder to have a nice crease or other option by using a ruler or any tool to avoid cracking.
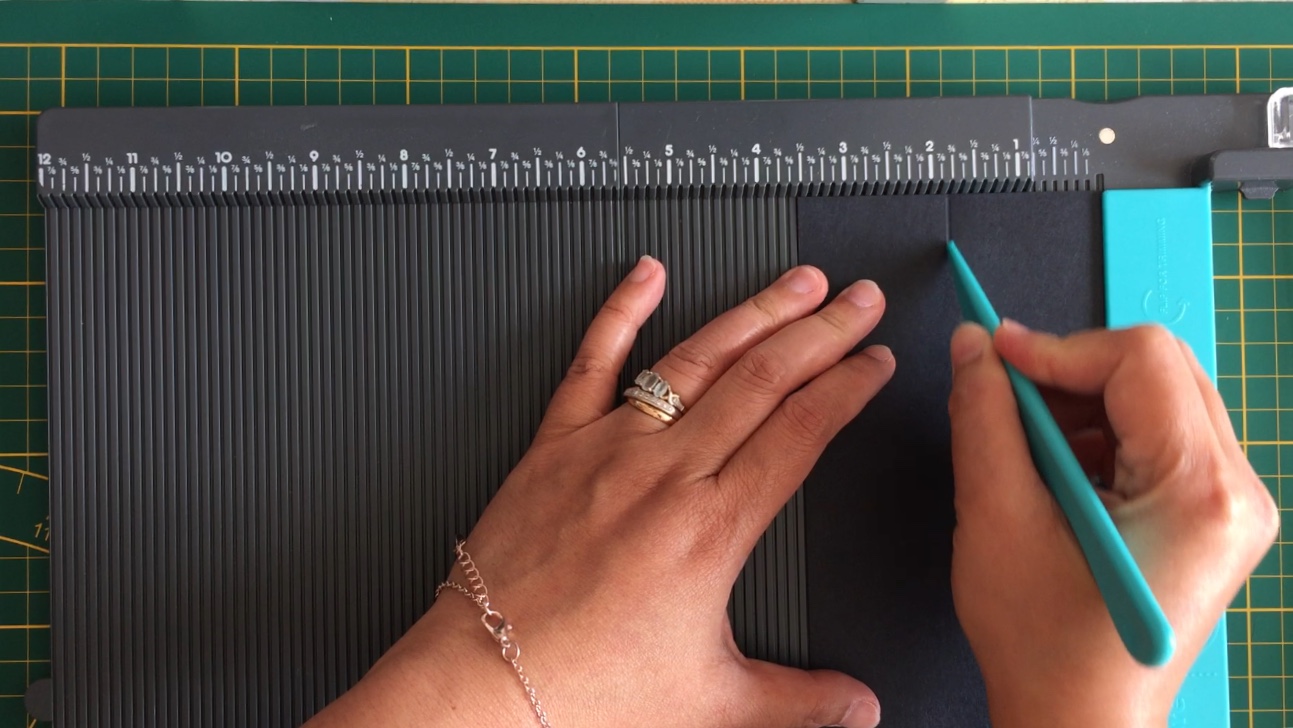
For the pop-up card, position in a landscape then scores at 2 3/4" - 5 1/2" and 8 1/4". After the scoring is done, fold in the center, and do the same in the two flaps towards the center. It must be a W or M shape.


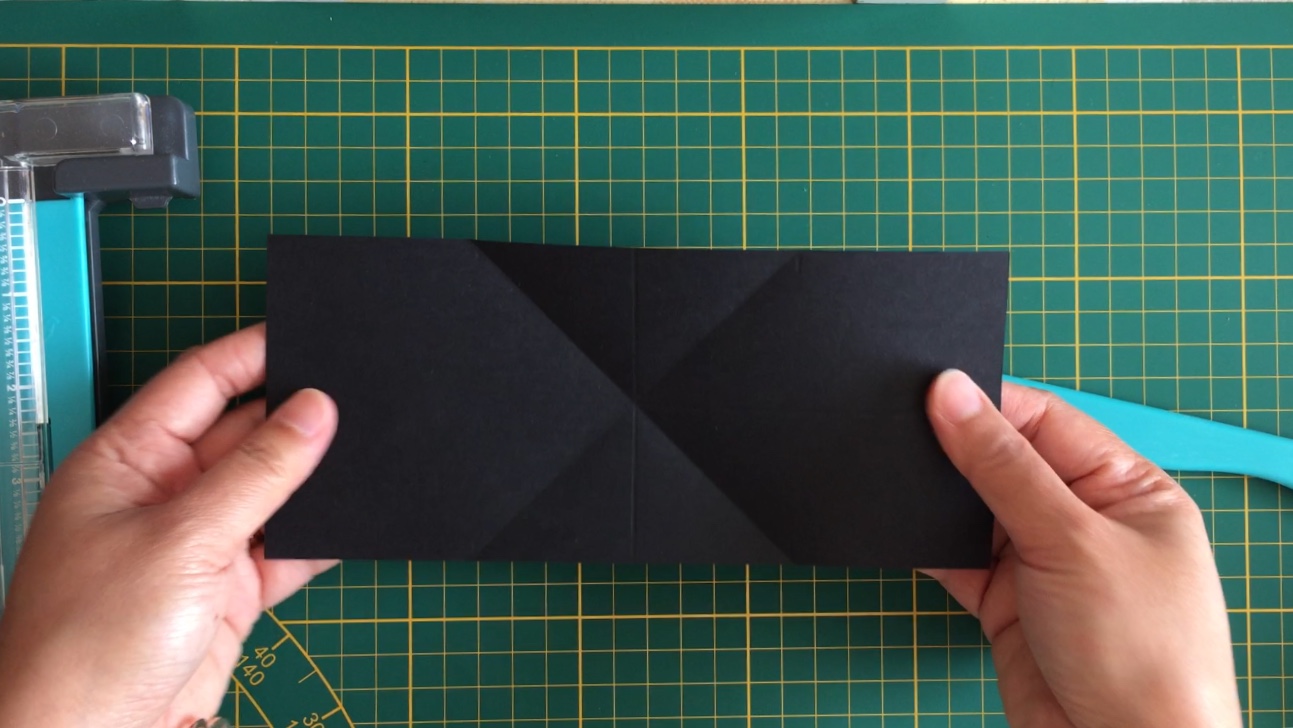
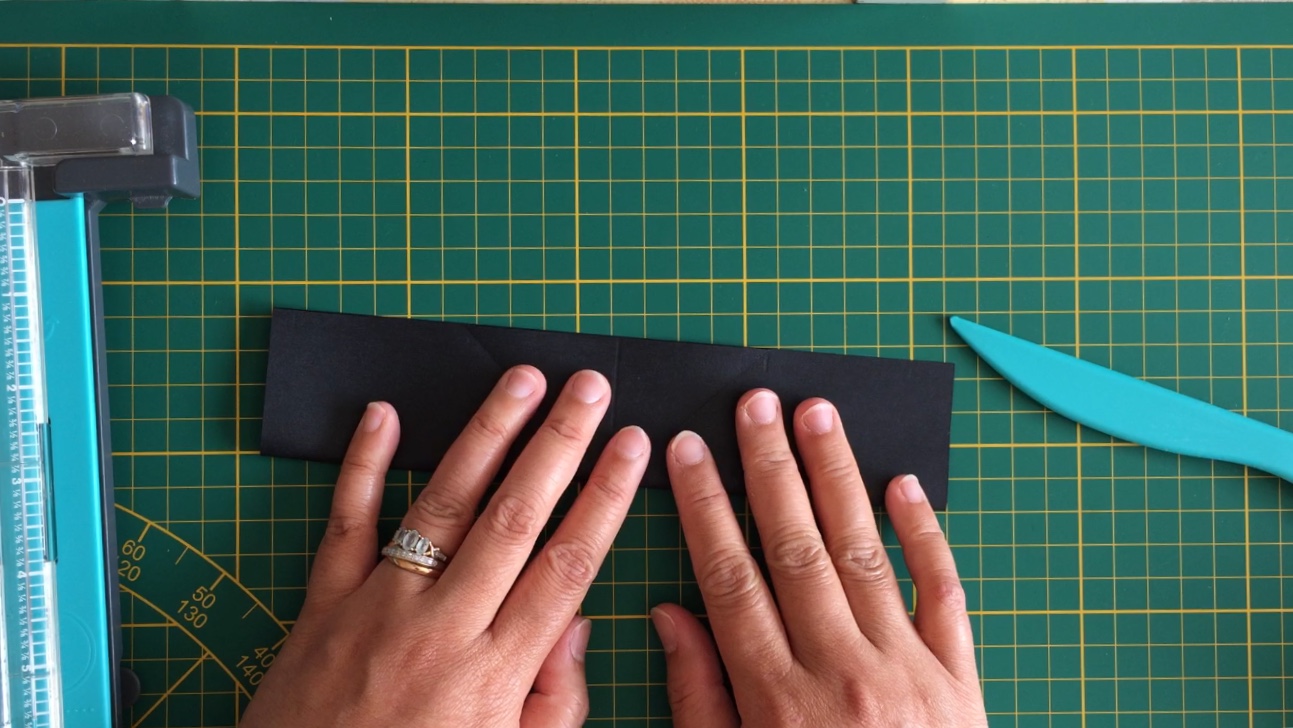
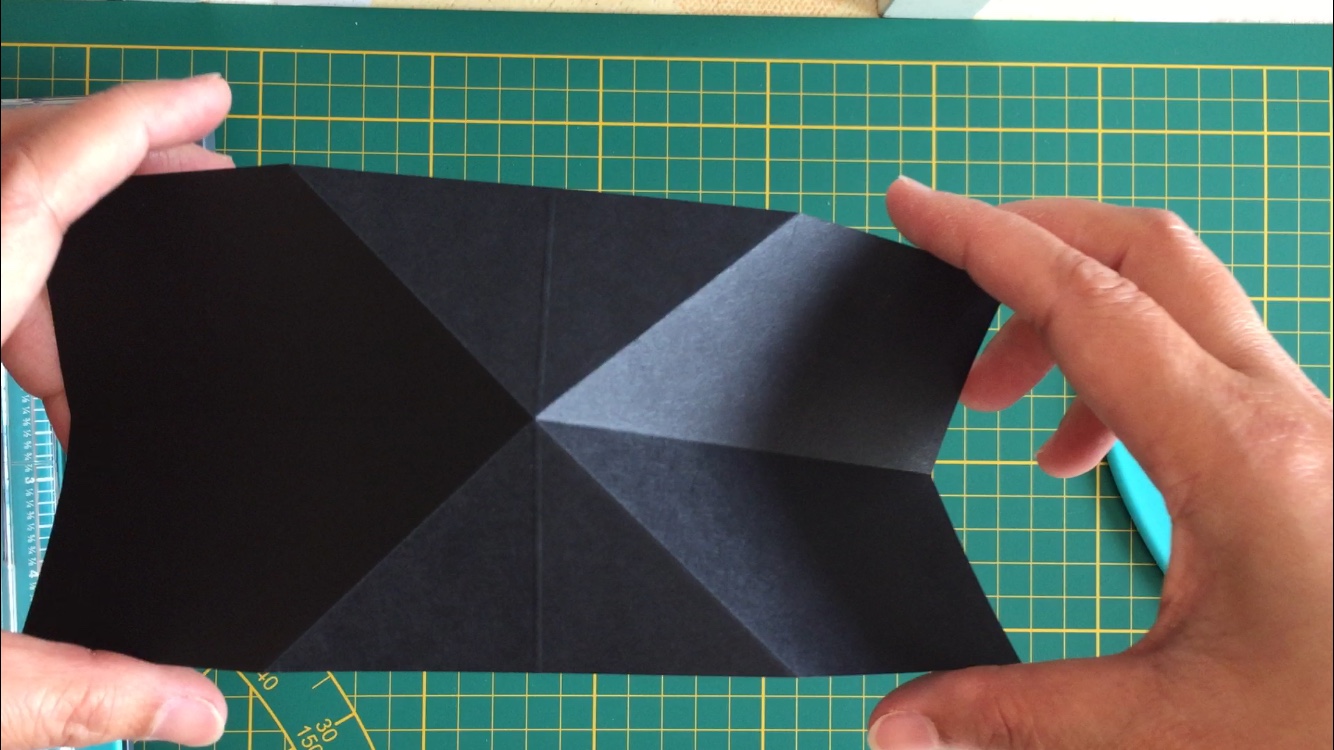
Lastly, for the mechanism, it’s quite confusing but you can check in my video for a more detailed tutorial. So for scoring, position your card in a landscape then score at 4" then make a notch or guide at 2 1/4” and 5 1/2” this will be the guide for folding in a diagonal position. Rotate the paper in a portrait position and score at 1 3/4” then fold. Let’s proceed with the folding, fold the paper in a half by the long side or landscape side. Then for the confusing part, fold each diagonal line and it must be formed as X. Make sure the cross lines and X lines are meet at the center for better result. Hold together the two flaps then press to the center to form a structure of a house. The two flaps at the bottom must be aligned. You can cut the excess part if not in the same measurement.


Now let’s proceed with assembling the 3 parts of the card. 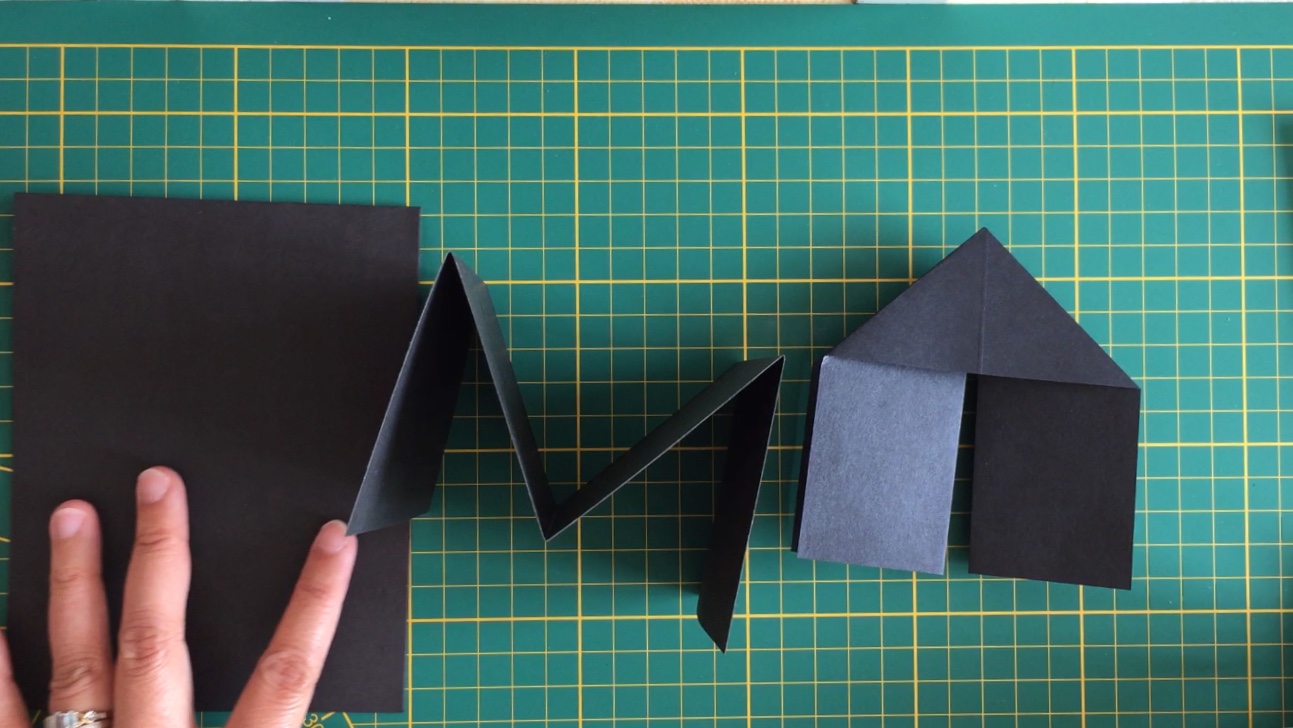
Step 3: Assemble the pieces
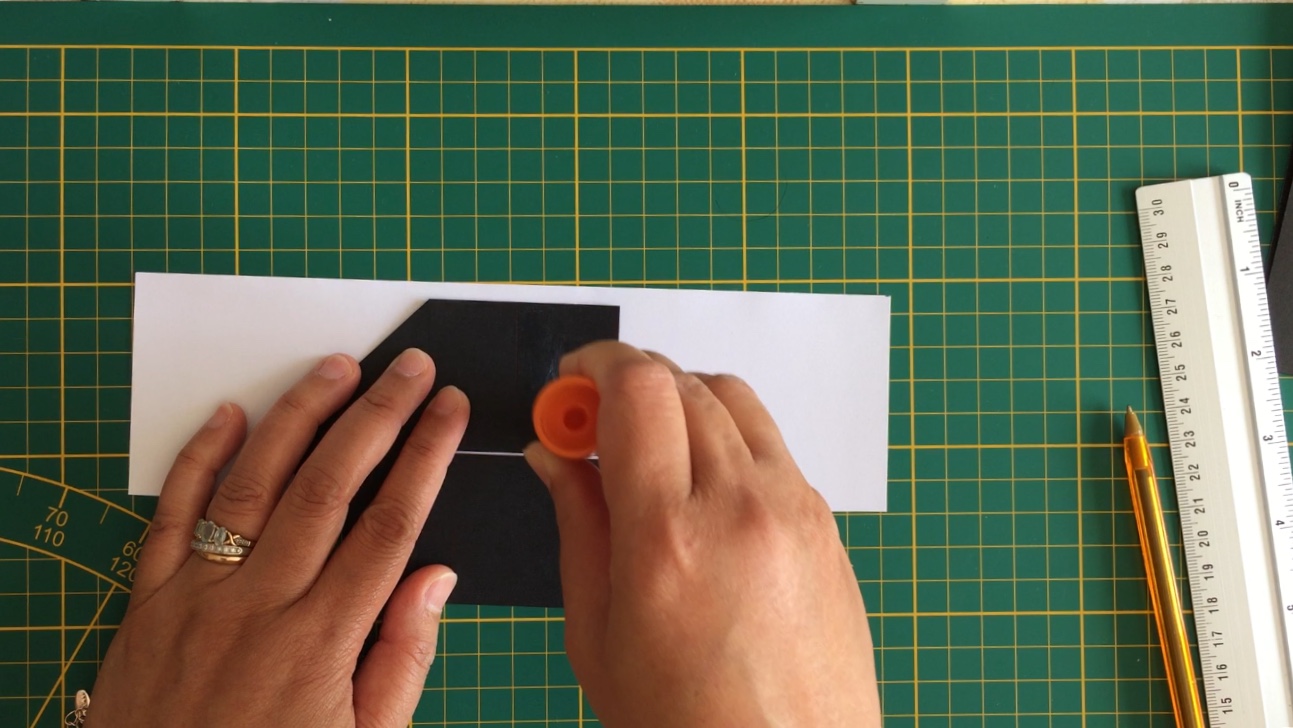
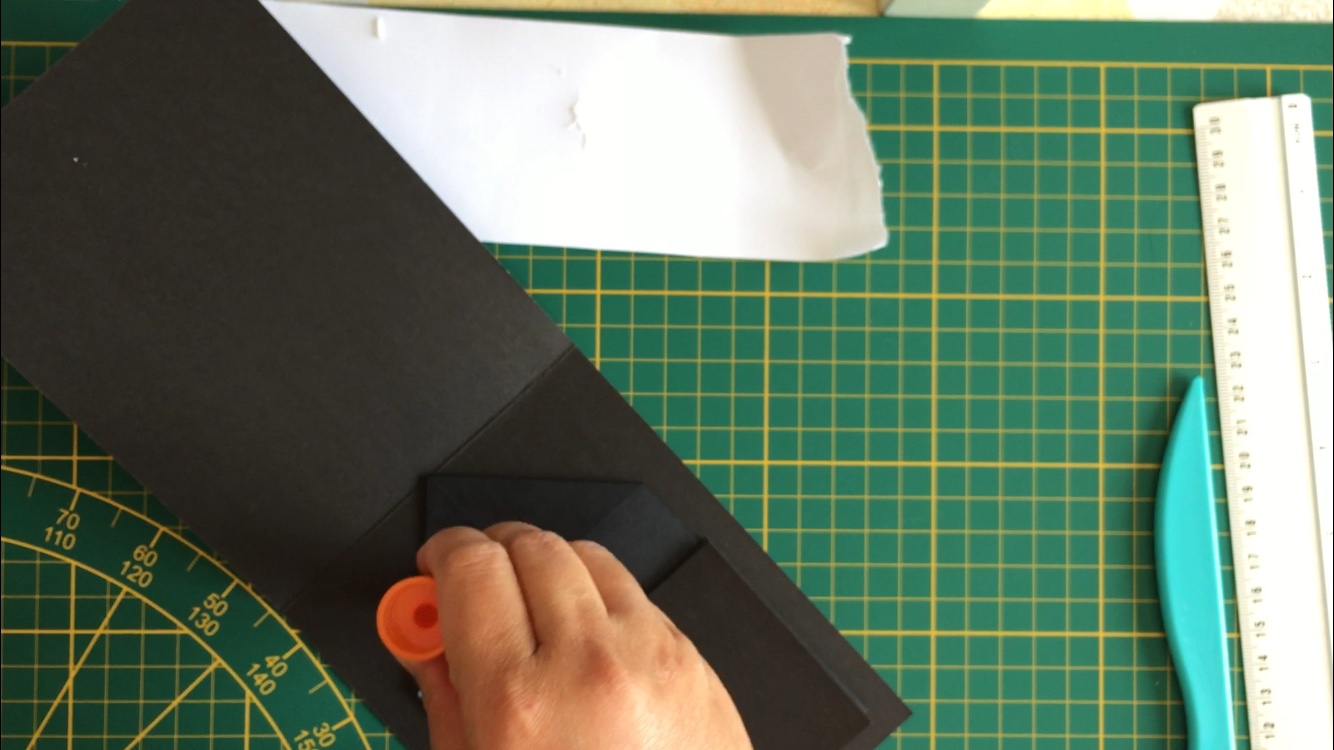
Now it’s time to assemble and stick all the 3 parts of the paper. Get the main card and measure the center. Paste the triangular shape of the mechanism then do the same in the other sides. Use a ruler or eyeball it for sticking in the center of the main card. Press gently and wait a few seconds before opening the card.


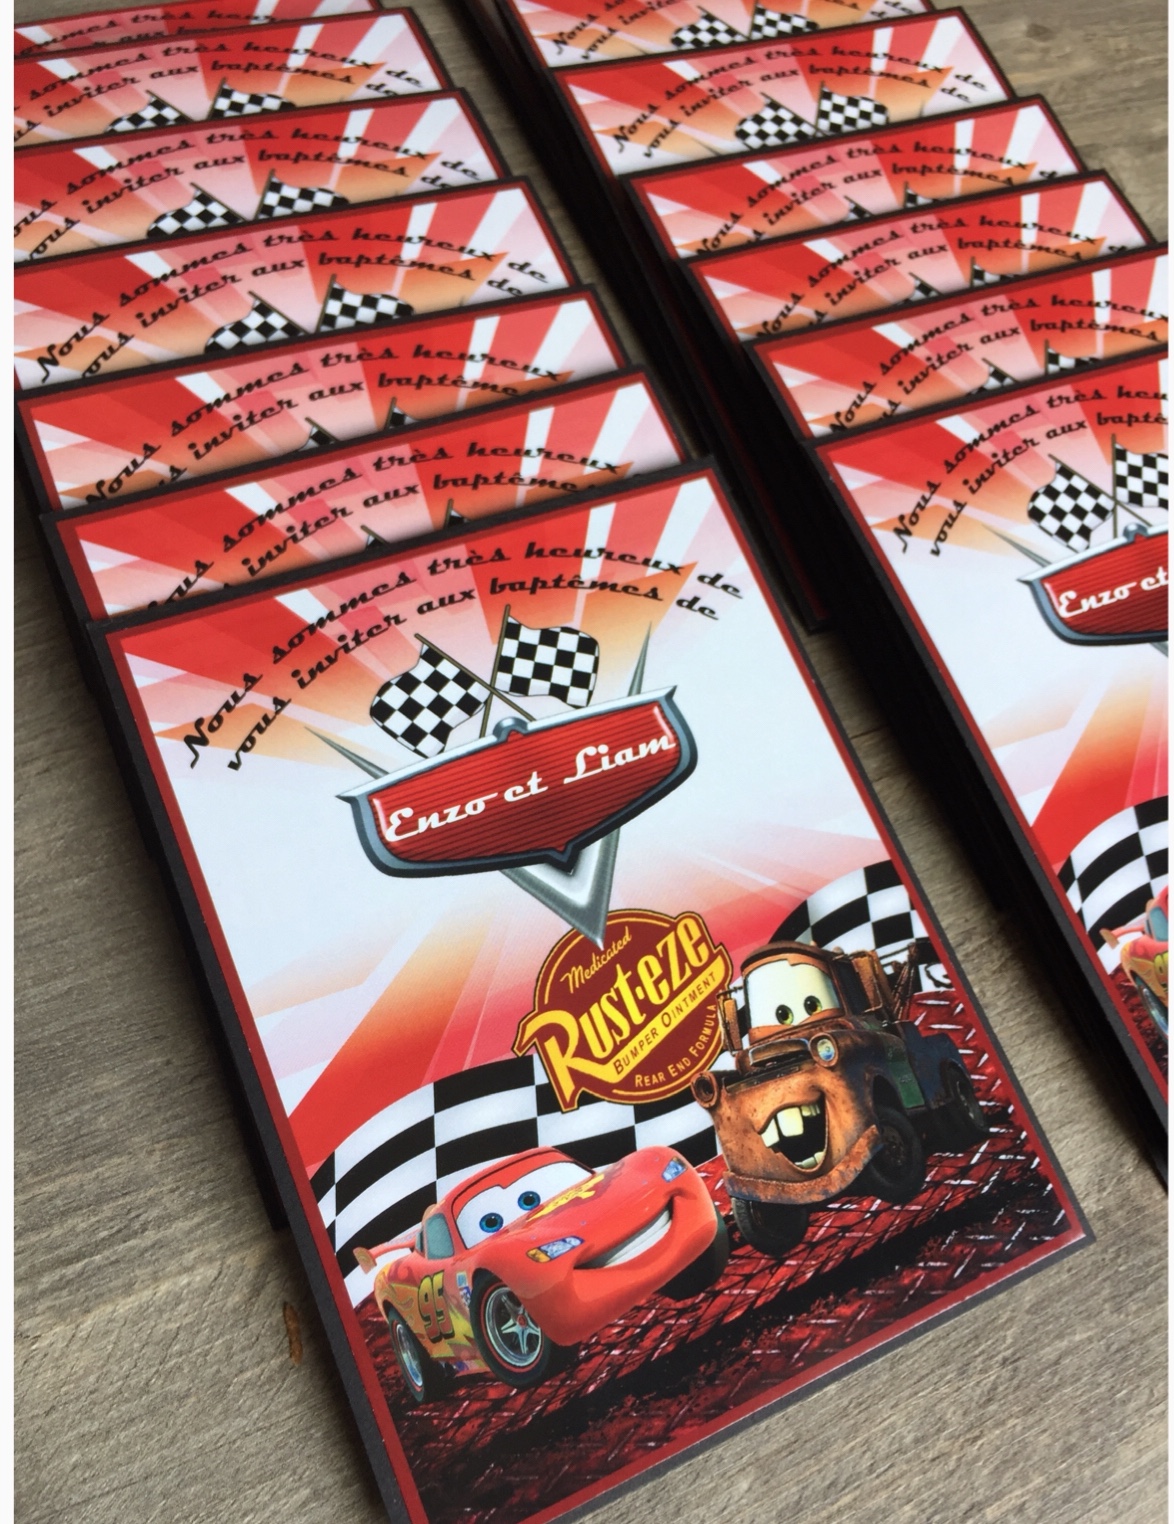
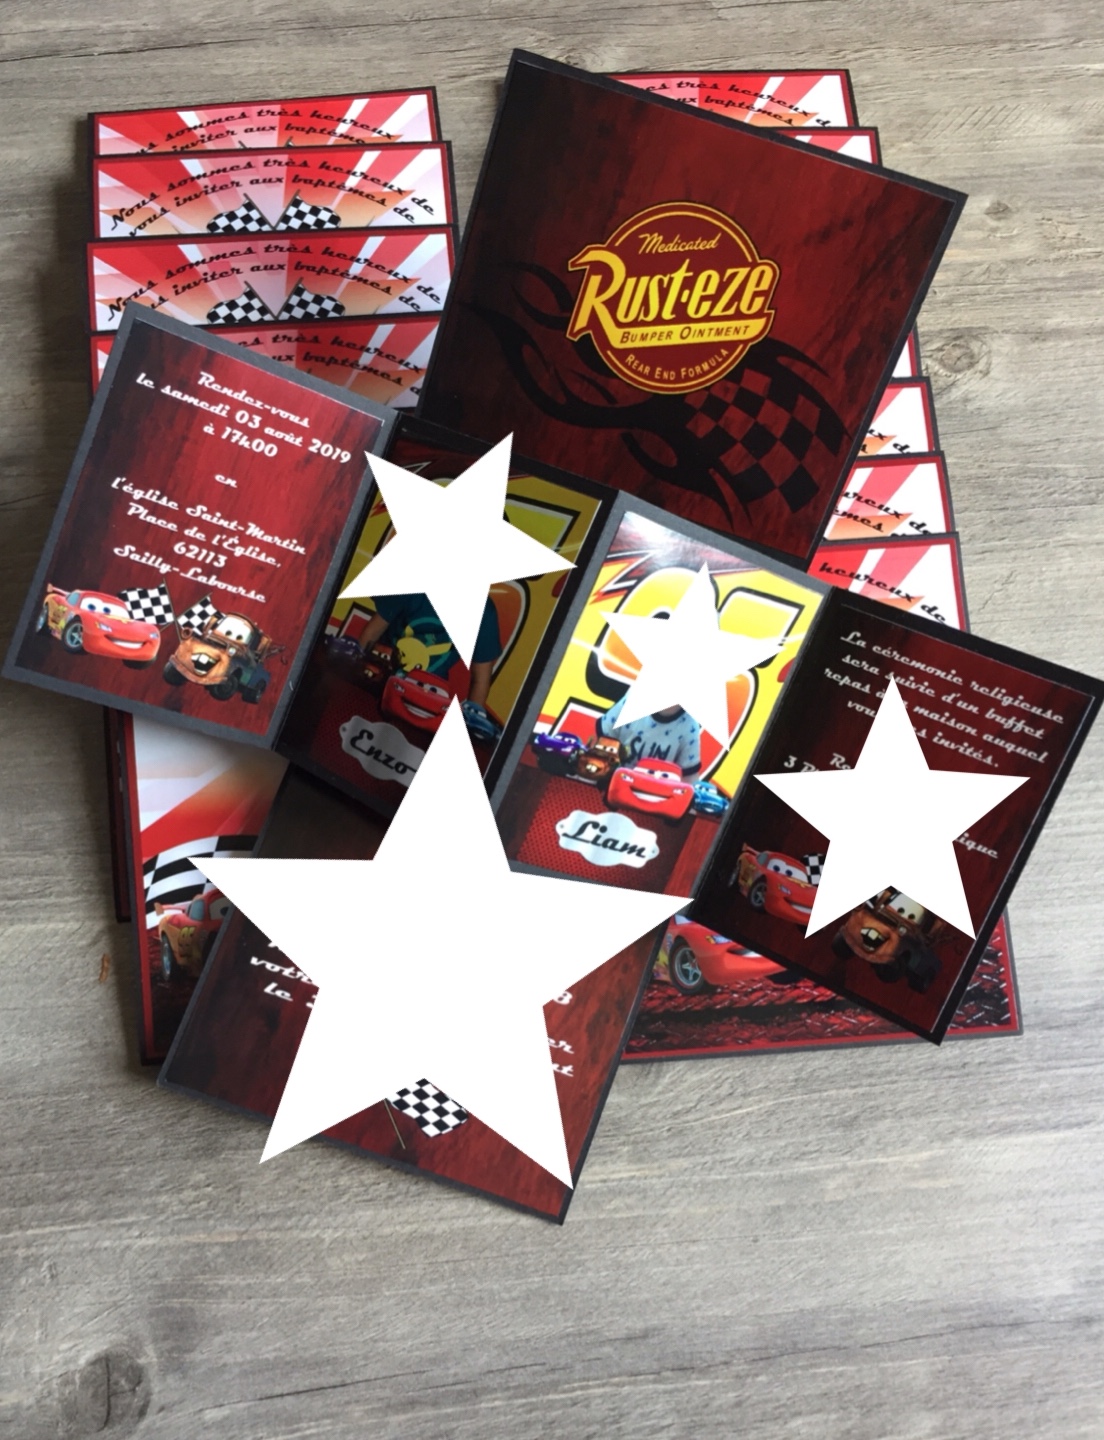
The skeleton of the card is already done! We can now stick all the designed printed details to the designated rooms or space of the card. I'm using illustrator for the layout and laser printer for the printing using photo paper glossy type. Since I started using illustrator, I enjoyed the software perfect for my invitation home-based sideline.


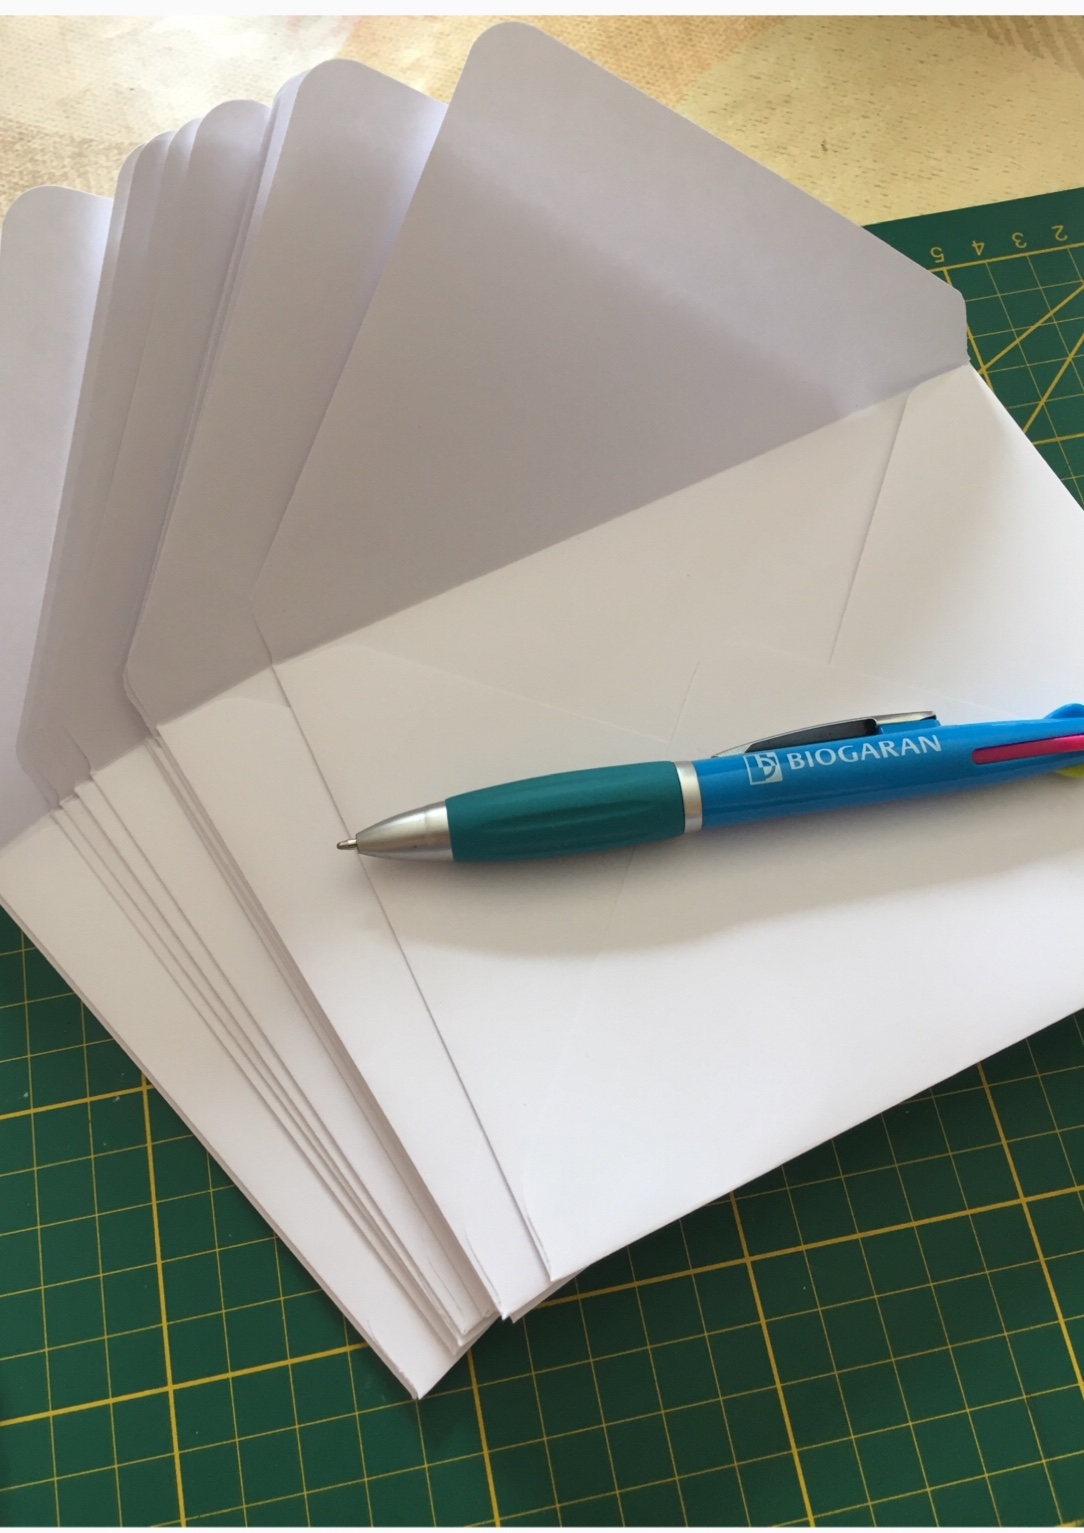
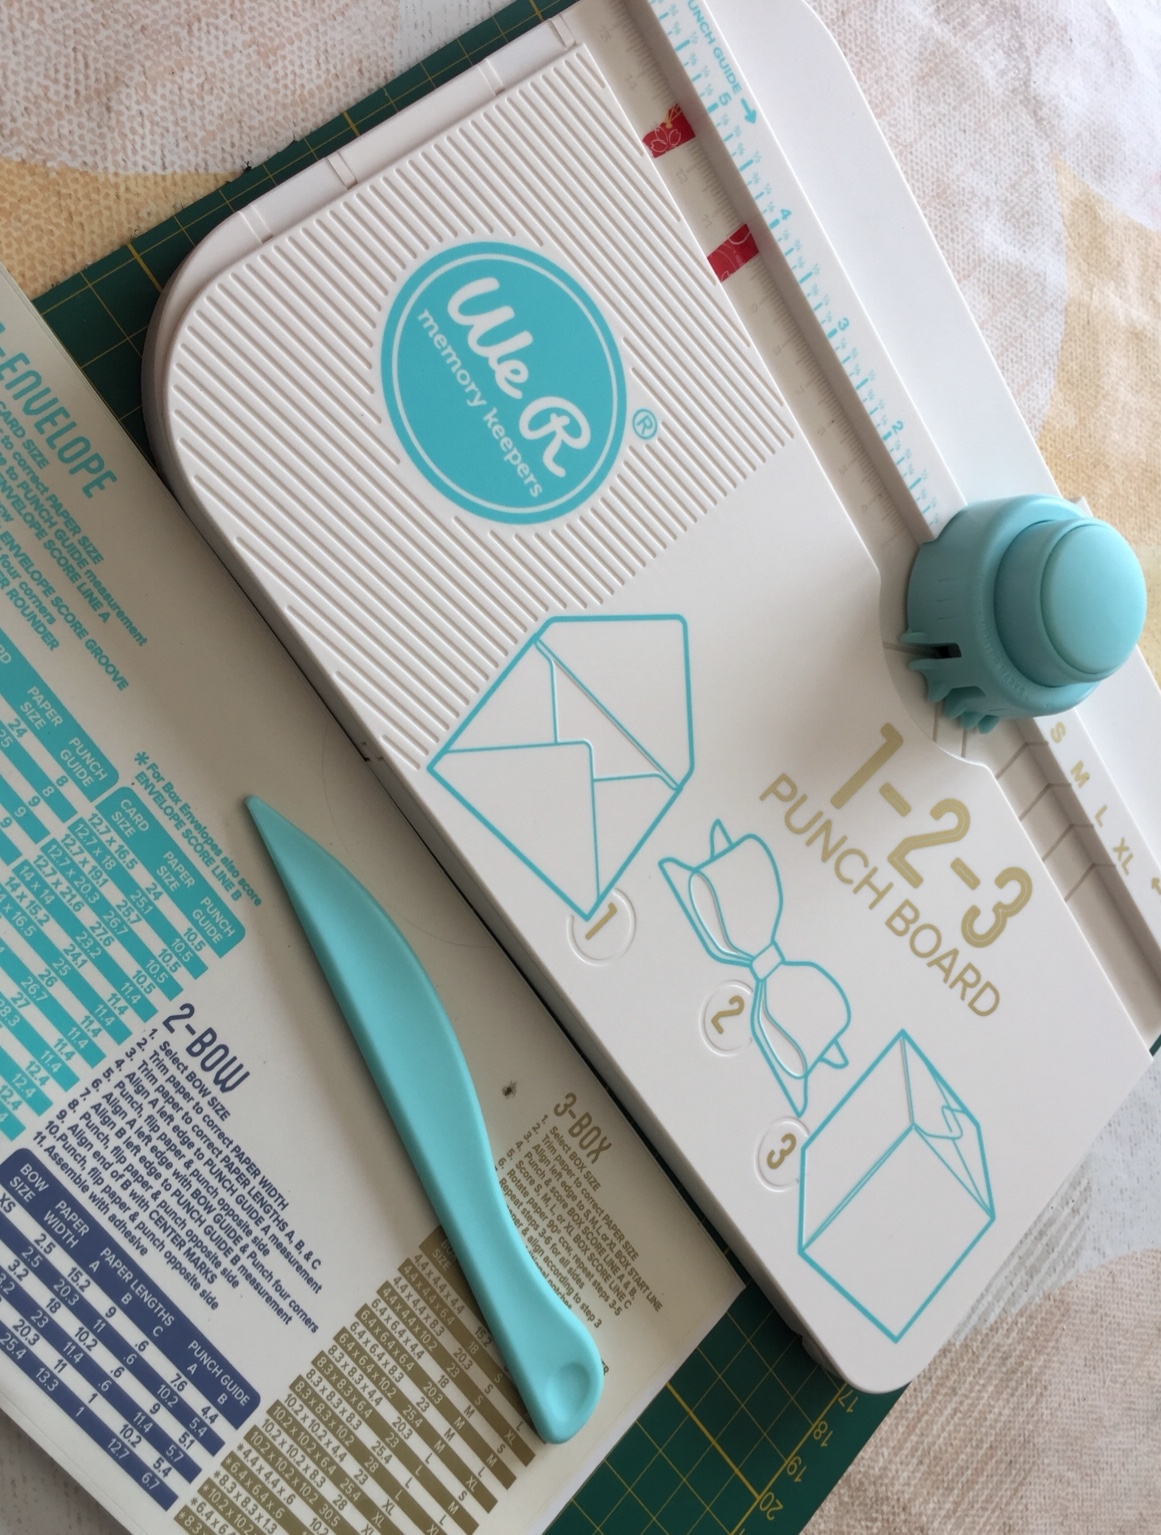
For the envelope, I customized using 160gsm plain white paper and WRMK (We are memory keepers 1-2-3 punchboard tool).
So that's it! A simple and common type of card making. Here's my link for my youtube channel for a more detailed tutorial. Hope you like my tutorial and see you next time!
DIY Twist & pop-up card tutorial!!!
Wait! We are not yet done! I will give 1 steem giveaway to the first person who will comment on my youtube tutorial. I will be doing this giveaway every time I uploaded a video on my youtube channel, so check it out and win a simple game!
So here's the mechanics of the game:
1.) You must be my follower in steemit, upvote this post but I'm not forcing you, and share this post so everybody can join.
2.) You must subscribe to my youtube channel, like and share the video but clicking the notification bell is not necessary.
NOTE: Make sure you are public in subscribing to my channel so it’s easy to check, Thanks!
So take the chance to win! Sorry for my reward, I just come back to steemit, and hope I can give more the next time. As long as I can upload it to my youtube channel I will be posting here on steemit and make a new giveaway again. So please check the link down below for my youtube channel.
DIY Twist & pop-up card tutorial!!!
P. S.
You can visit my facebook page at this link: Craftytionery

Thanks for dropping by!


Keep calm and be creative! 
Congratulations @tonie! You have completed the following achievement on the Steem blockchain and have been rewarded with new badge(s) :
You can view your badges on your Steem Board and compare to others on the Steem Ranking
If you no longer want to receive notifications, reply to this comment with the word
STOPThanks for the new badge @steemitboard
Nice kaayo mare! Pulido kaayo ka mobuhat bah.. Kumpleto sad ka'g tools.. Nindot jud kaau pang business..
Posted using Partiko Android
Thanks mare :)
Hi tonie,
Visit curiesteem.com or join the Curie Discord community to learn more.
I’m so grateful and lucky to be curated again! Thank you thank you so much for always believing in my content! @curie
ehy dear @tonie, you did a really great job !! and I understand your little frustration in learning that your child (like all children) prefer the simple empty box to your long and serious preparation !! do you know why? because they are free to experiment and imagine anything with their imagination. like when they build something with your help and then they destroy everything in a second, and you would scream in despair ... but for them it's just fun, they build and destroy, and then build again. we are the adults who want things that are well defined, clean and clear. because our imagination has been limited in time. but not yours, that you can still imagine beautiful things with magic boxes !! it's nice that even when you grow up you have this passion !!
congratulations on your curie vote and I'm sure many steemians parents are already building many houses around !!! .-))
Hello and thank you so much for your inspiring words @road2horizon...
I was laughing while reading the lines between the kids coz it’s real that kids just want to have fun, they don’t care the mess while parents get tired LOL!
Despite the hardship, I still manage my time with my passion and supported by my husband. :)
What originality! I love DIY with my life because they are very cute and creative, I liked this idea congratulations :)
Thank you @iamsaray
Congratulations to @ediah for winning the giveaways! I’ll send to your wallet your reward!
Hello dear @tonie,
Wonderful blog as do it yourself teaching really deserve applause and appreciation. Your effort in posting regarding the making of cards with such fine details are really helpful for people who want to try and not sure where to start or how to start.
This platform is amazing and it must be a norm to make some special attentions such blogs.
Cheers, Have a good day
Posted using Partiko Android
Thank you so much ... :)
Awesome!
Thanks for this idea @tonie . Bookmarked it for my next DIY
Hello mam @joyrobinson thank you ... :)
What!? This is amazing! And you make it look so easy, I wish I was as talented as you to make this kind of things, loved every step of the tutorial and the final result, they look better than the one you see at the stores! Thanks for sharing!
This post was nominated by a @curie curator to be featured in an upcoming Author Showcase that will be posted in about 12 to 24 hours on the @curie blog.
NOTE: If you would like us to NOT feature your post in the Author Showcase please reply, or DM me on Discord as soon as possible. Any photos or quoted text from your post that we feature will be properly attributed to you as the author.
You can check out our previous Author Showcase to get an idea of what we are doing with these posts.
Thanks for your time and for creating great content.
Franz (@curie curator)
Hello, @elfranz thank you so much for appreciating my post and I would be happy for featuring my post in author's showcase.
About this post, I didn't expect that it will be curated and I was busy making invitation card for my kids baptismal. This is a nice comeback after 3-4 months without posting a blog, and I'm so glad they noticed this post.
Hello @tonie, thank you for sharing this creative work! We just stopped by to say that you've been upvoted by the @creativecrypto magazine. The Creative Crypto is all about art on the blockchain and learning from creatives like you. Looking forward to crossing paths again soon. Steem on!
Hello @creativecrypto, thank you so much for your support, I'm glad that you stopped by... Until next time :)