How I Drew Homelander's Laser Vision Scene with Pencil
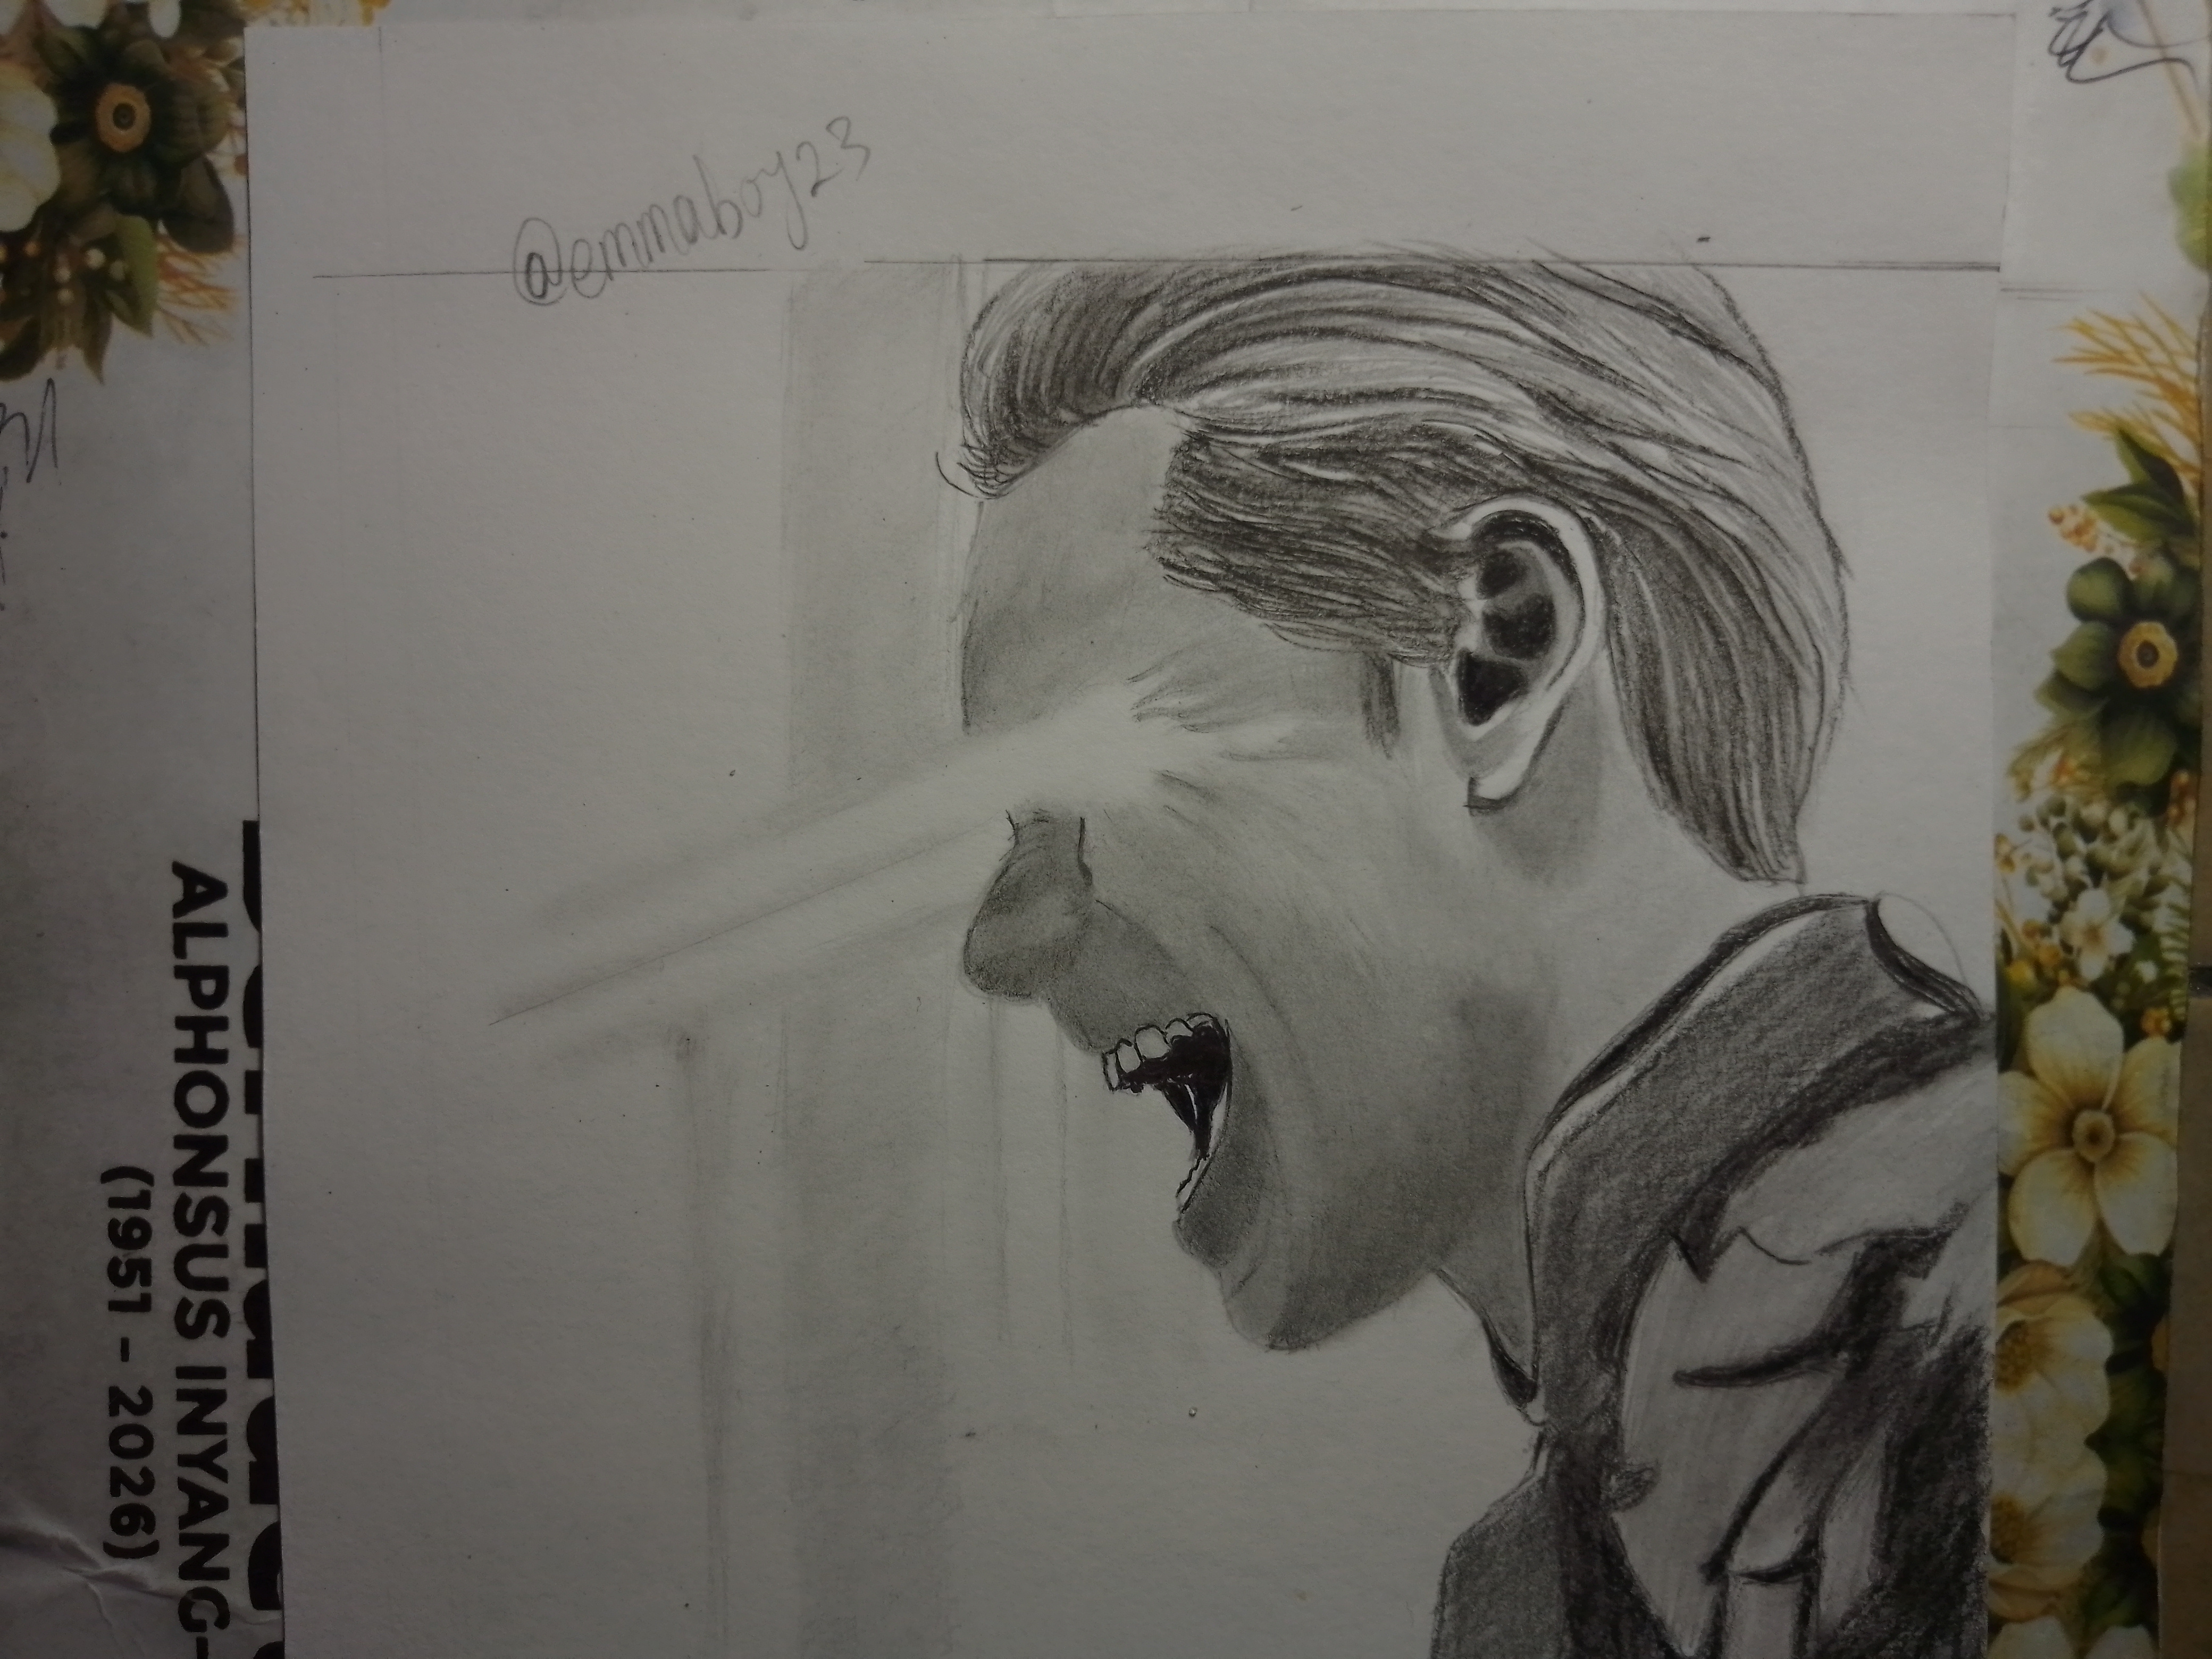
Greetings, everyone, and welcome back to my art blog. Today, I am excited to share the process behind one of my recent pencil drawings inspired by The Boys. For this artwork, I chose to draw Homelander during one of his most iconic and terrifying moments, where he unleashes his laser vision in a burst of anger and power. When I came across this particular scene, I immediately knew it would make an interesting drawing challenge. The image shows Homelander unleashing his laser vision while screaming with overwhelming rage. The combination of emotion, movement, and lighting made it a perfect subject for a pencil artwork. Below is my process.
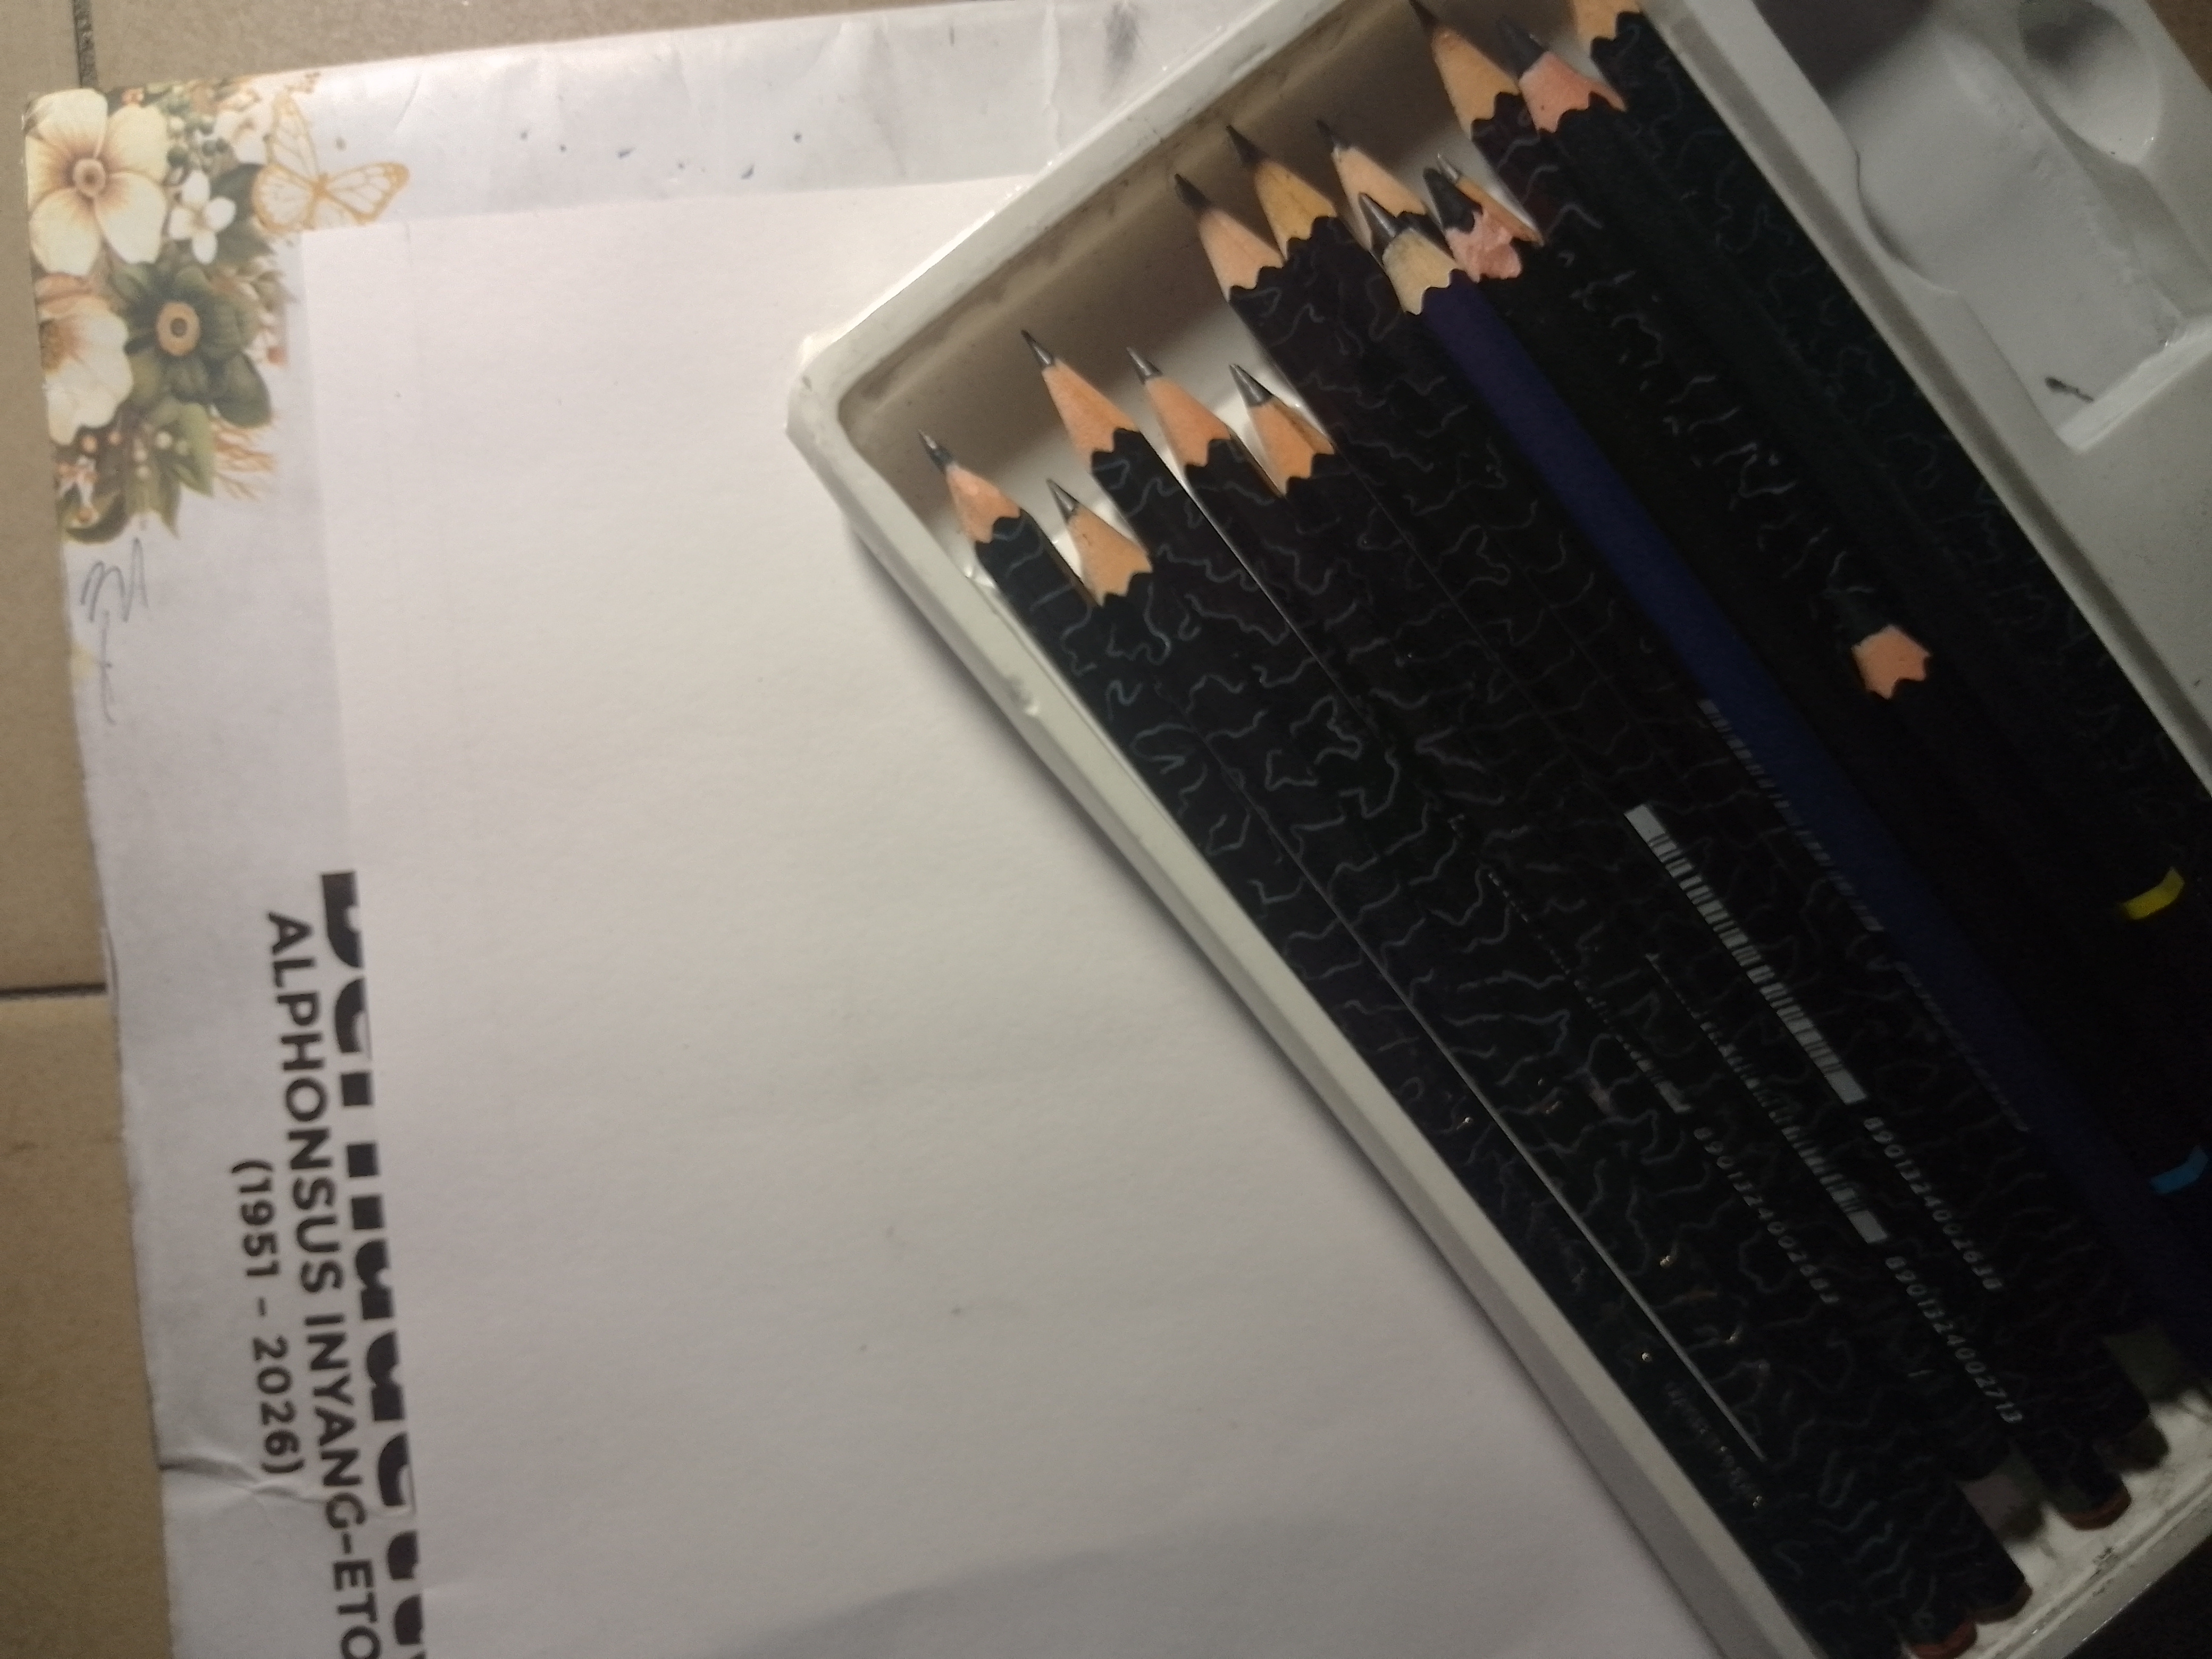
Drawing items
• A4 paper
• mechanical pencil
• graphite pencil
• charcoal pencil
• 6B pencil
• eraser
• blending tissue
• sharpener
Step-by-Step Process
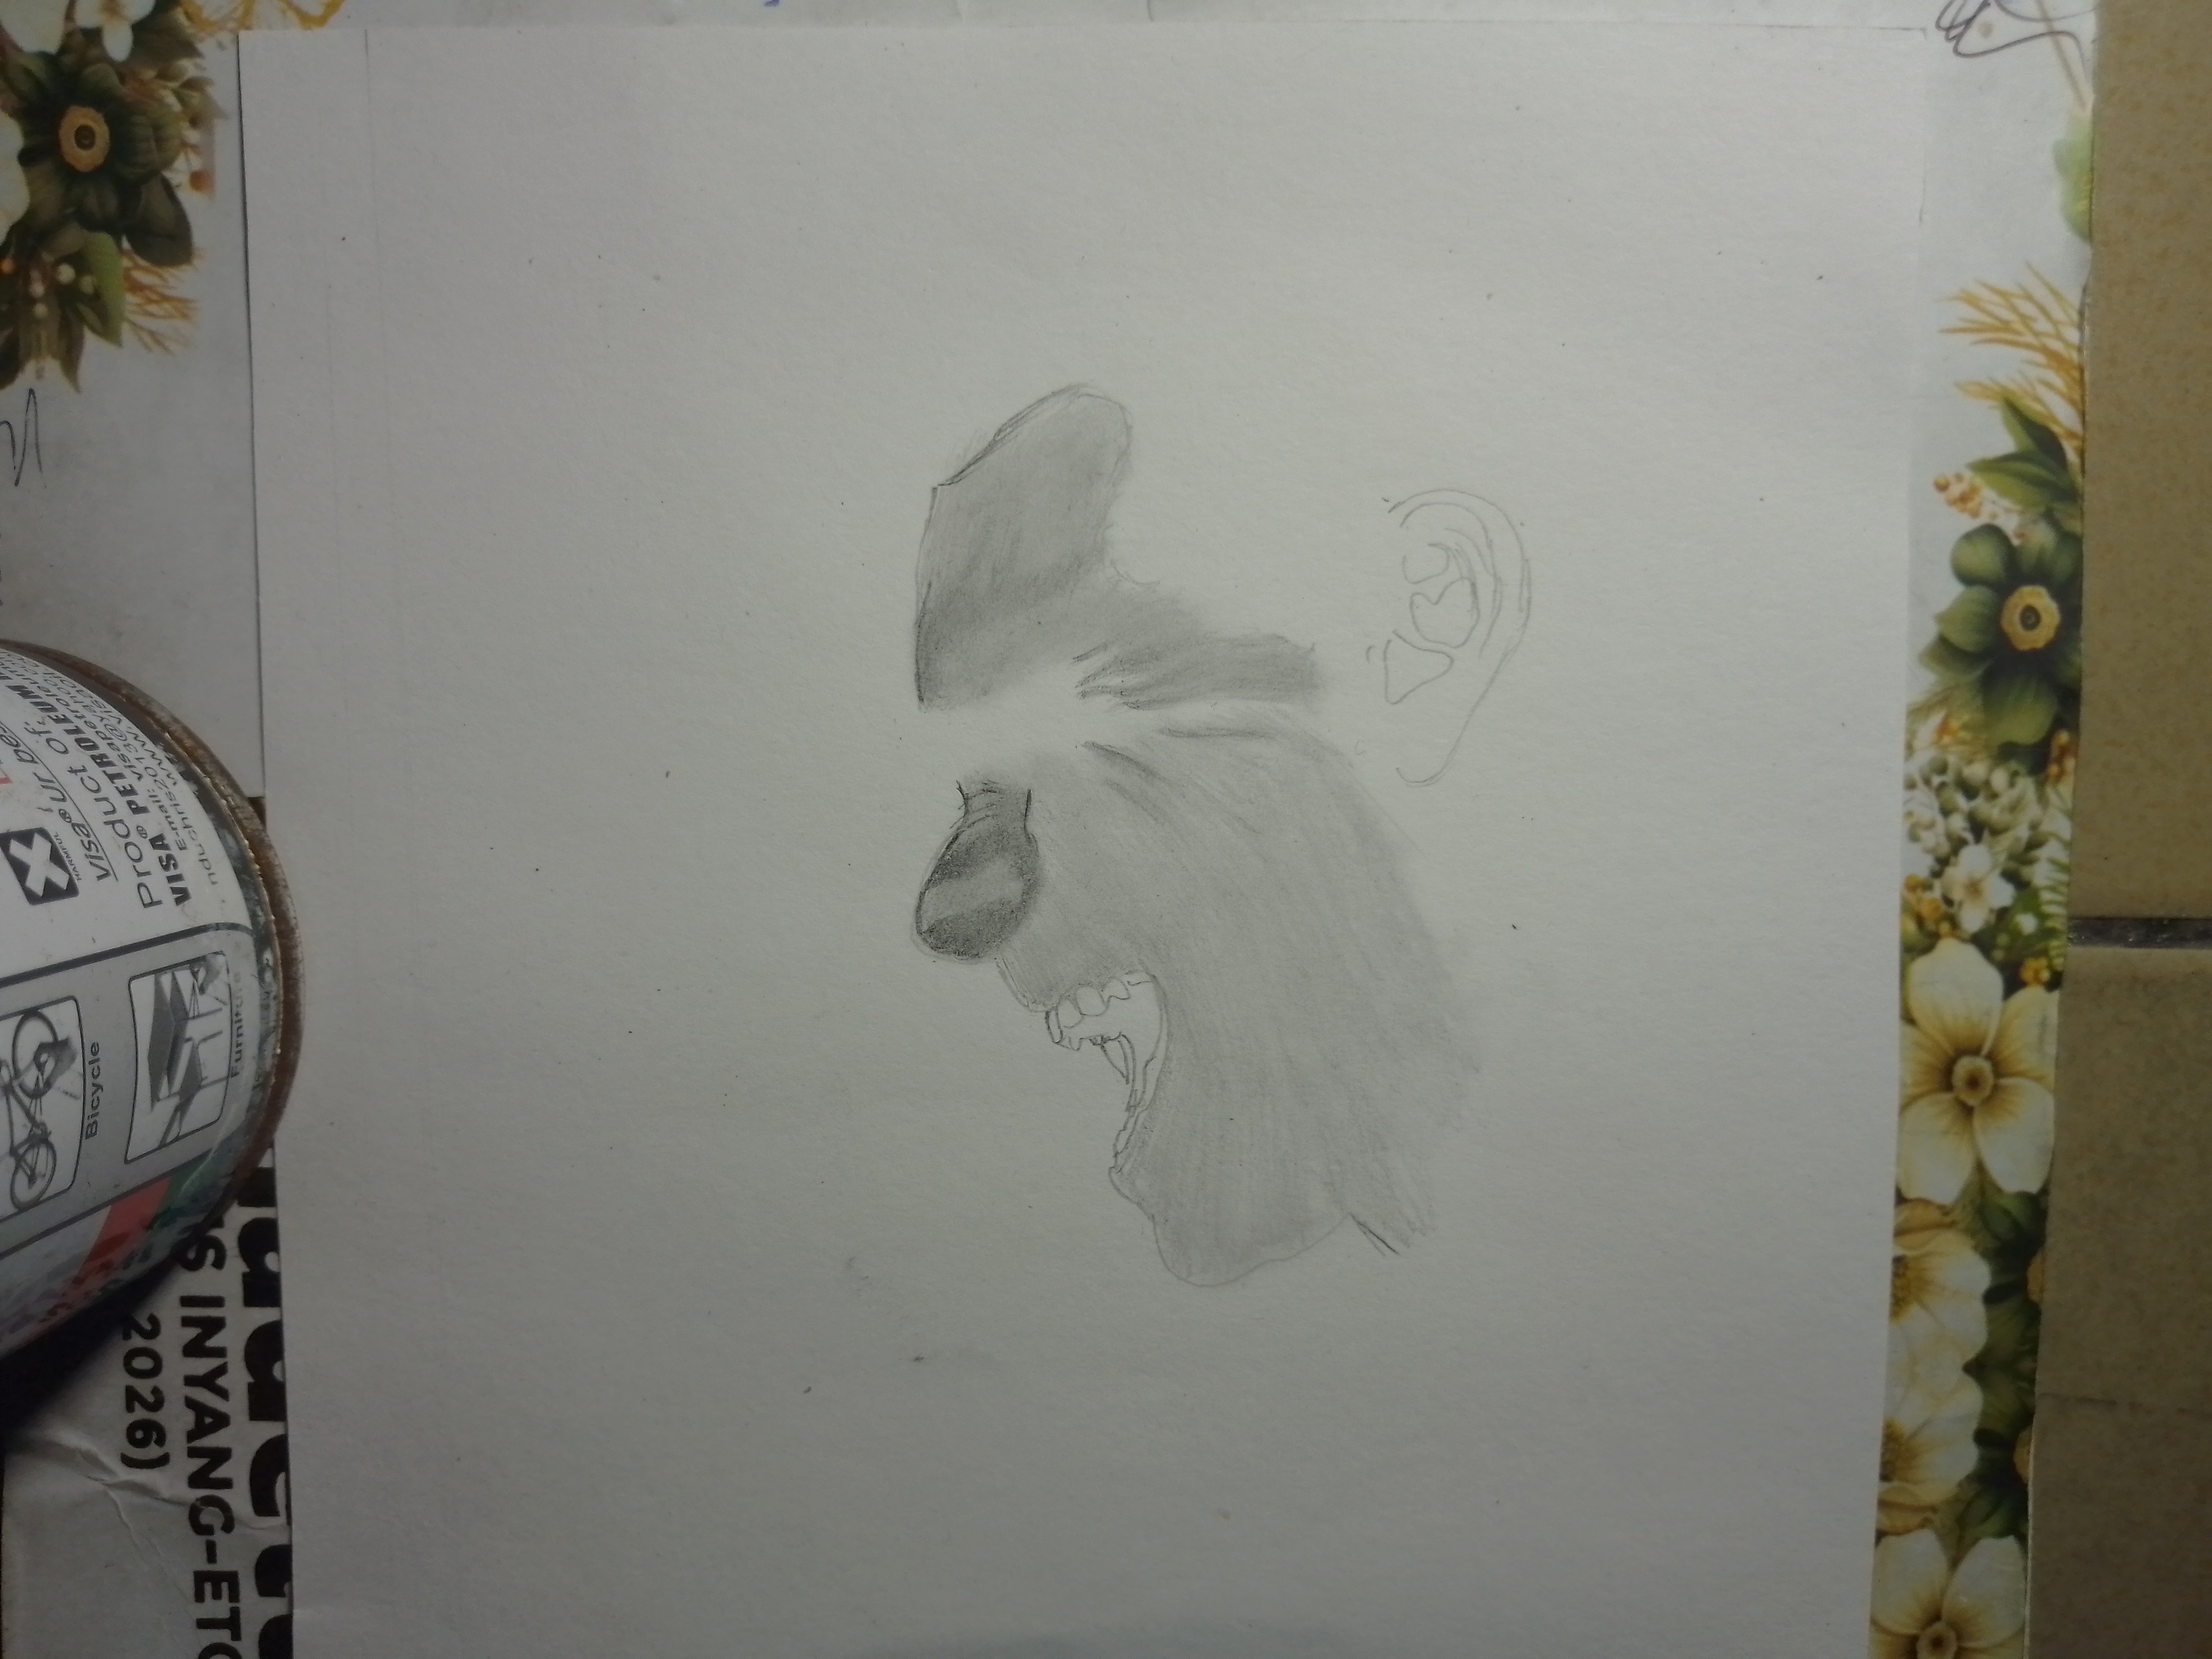
Step 1
I started by sketching the basic outline using light pencil strokes. Once I was satisfied with the proportions, I gradually refined the facial structure and added more details and began to gradually shade the face.
Step 2
After that, I then worked on the hairstyle. The hairstyle was one of the first areas I completed. Using repeated pencil strokes, I created the texture and flow of the hair. I gradually built darker areas while leaving lighter sections untouched to create highlights.
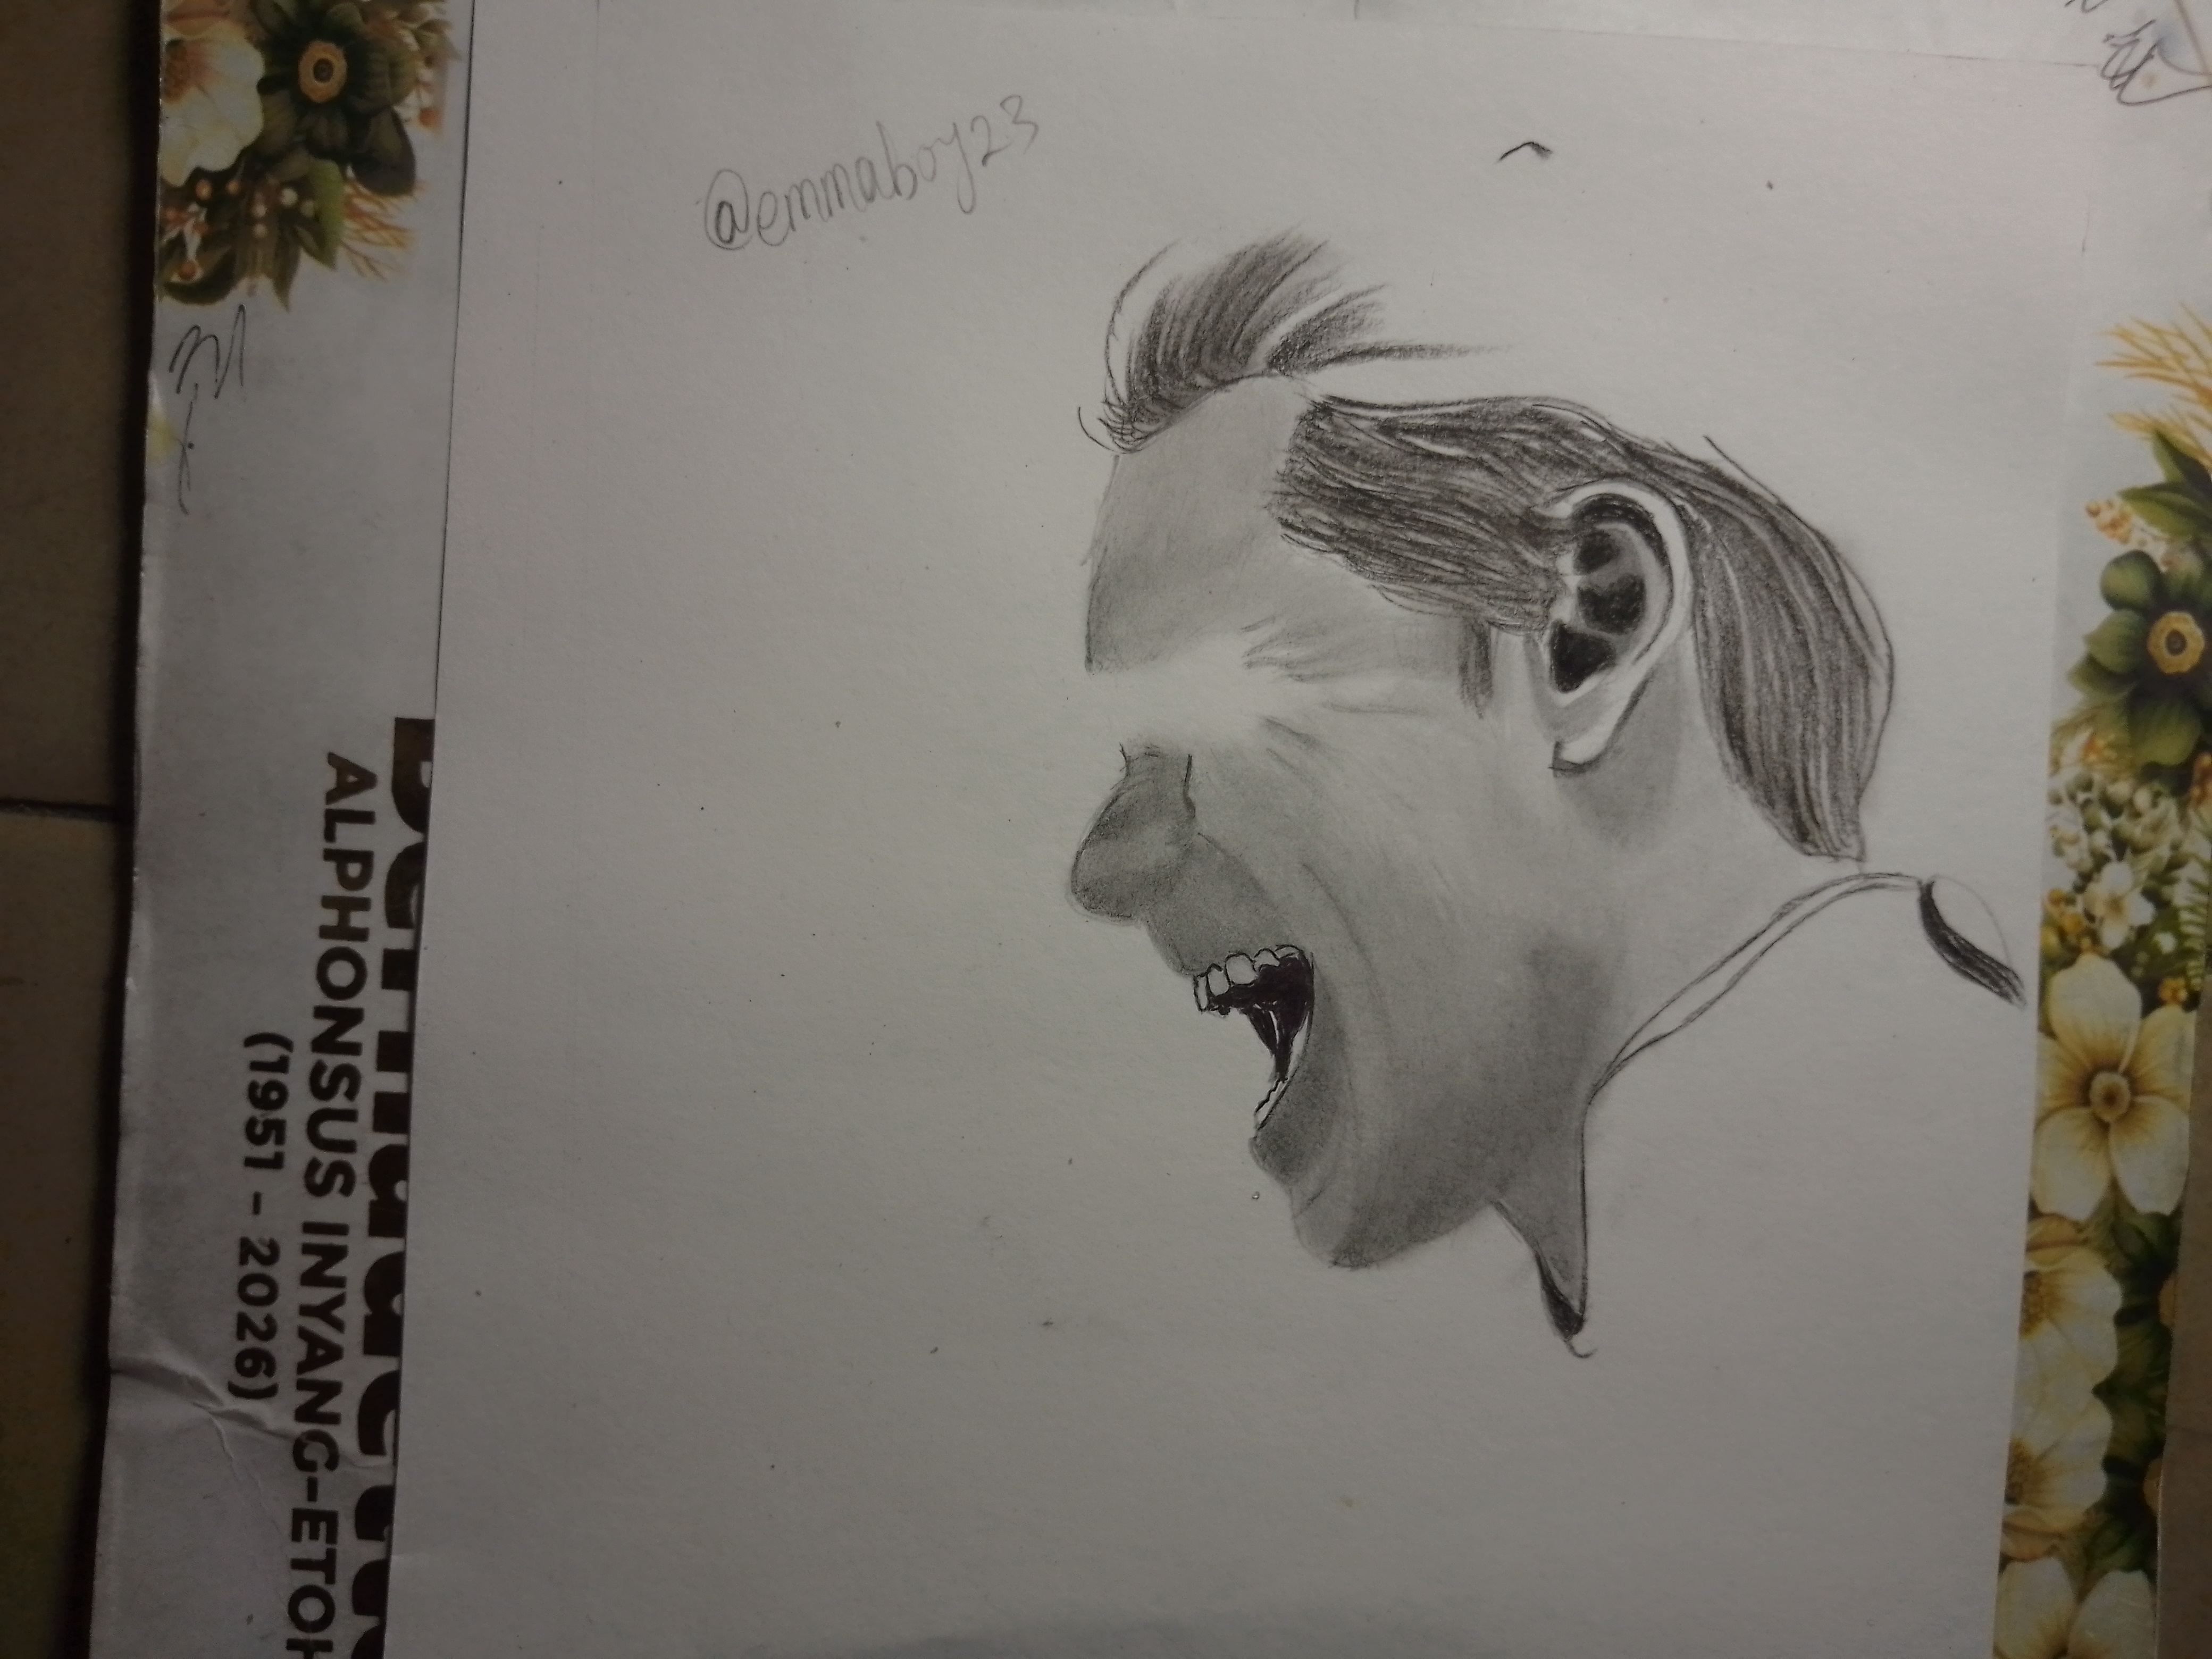
Step 3
After that, once the major details were in place, I added more shading to the face and neck. Using different levels of pencil pressure, I created smooth transitions between light and dark areas.
Step 4
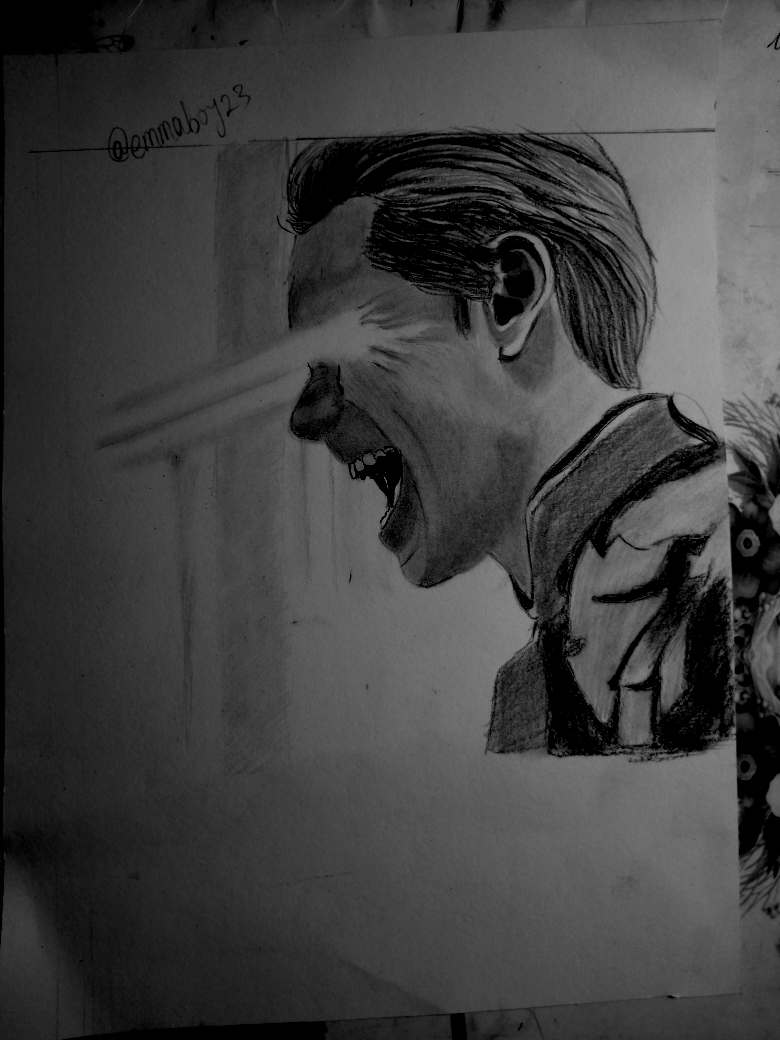
For the final stage, I strengthened the darkest shadows, cleaned unnecessary pencil marks, and adjusted the overall contrast. I also added more details to the clothing folds to balance the composition. After making these final improvements, below is my final result.
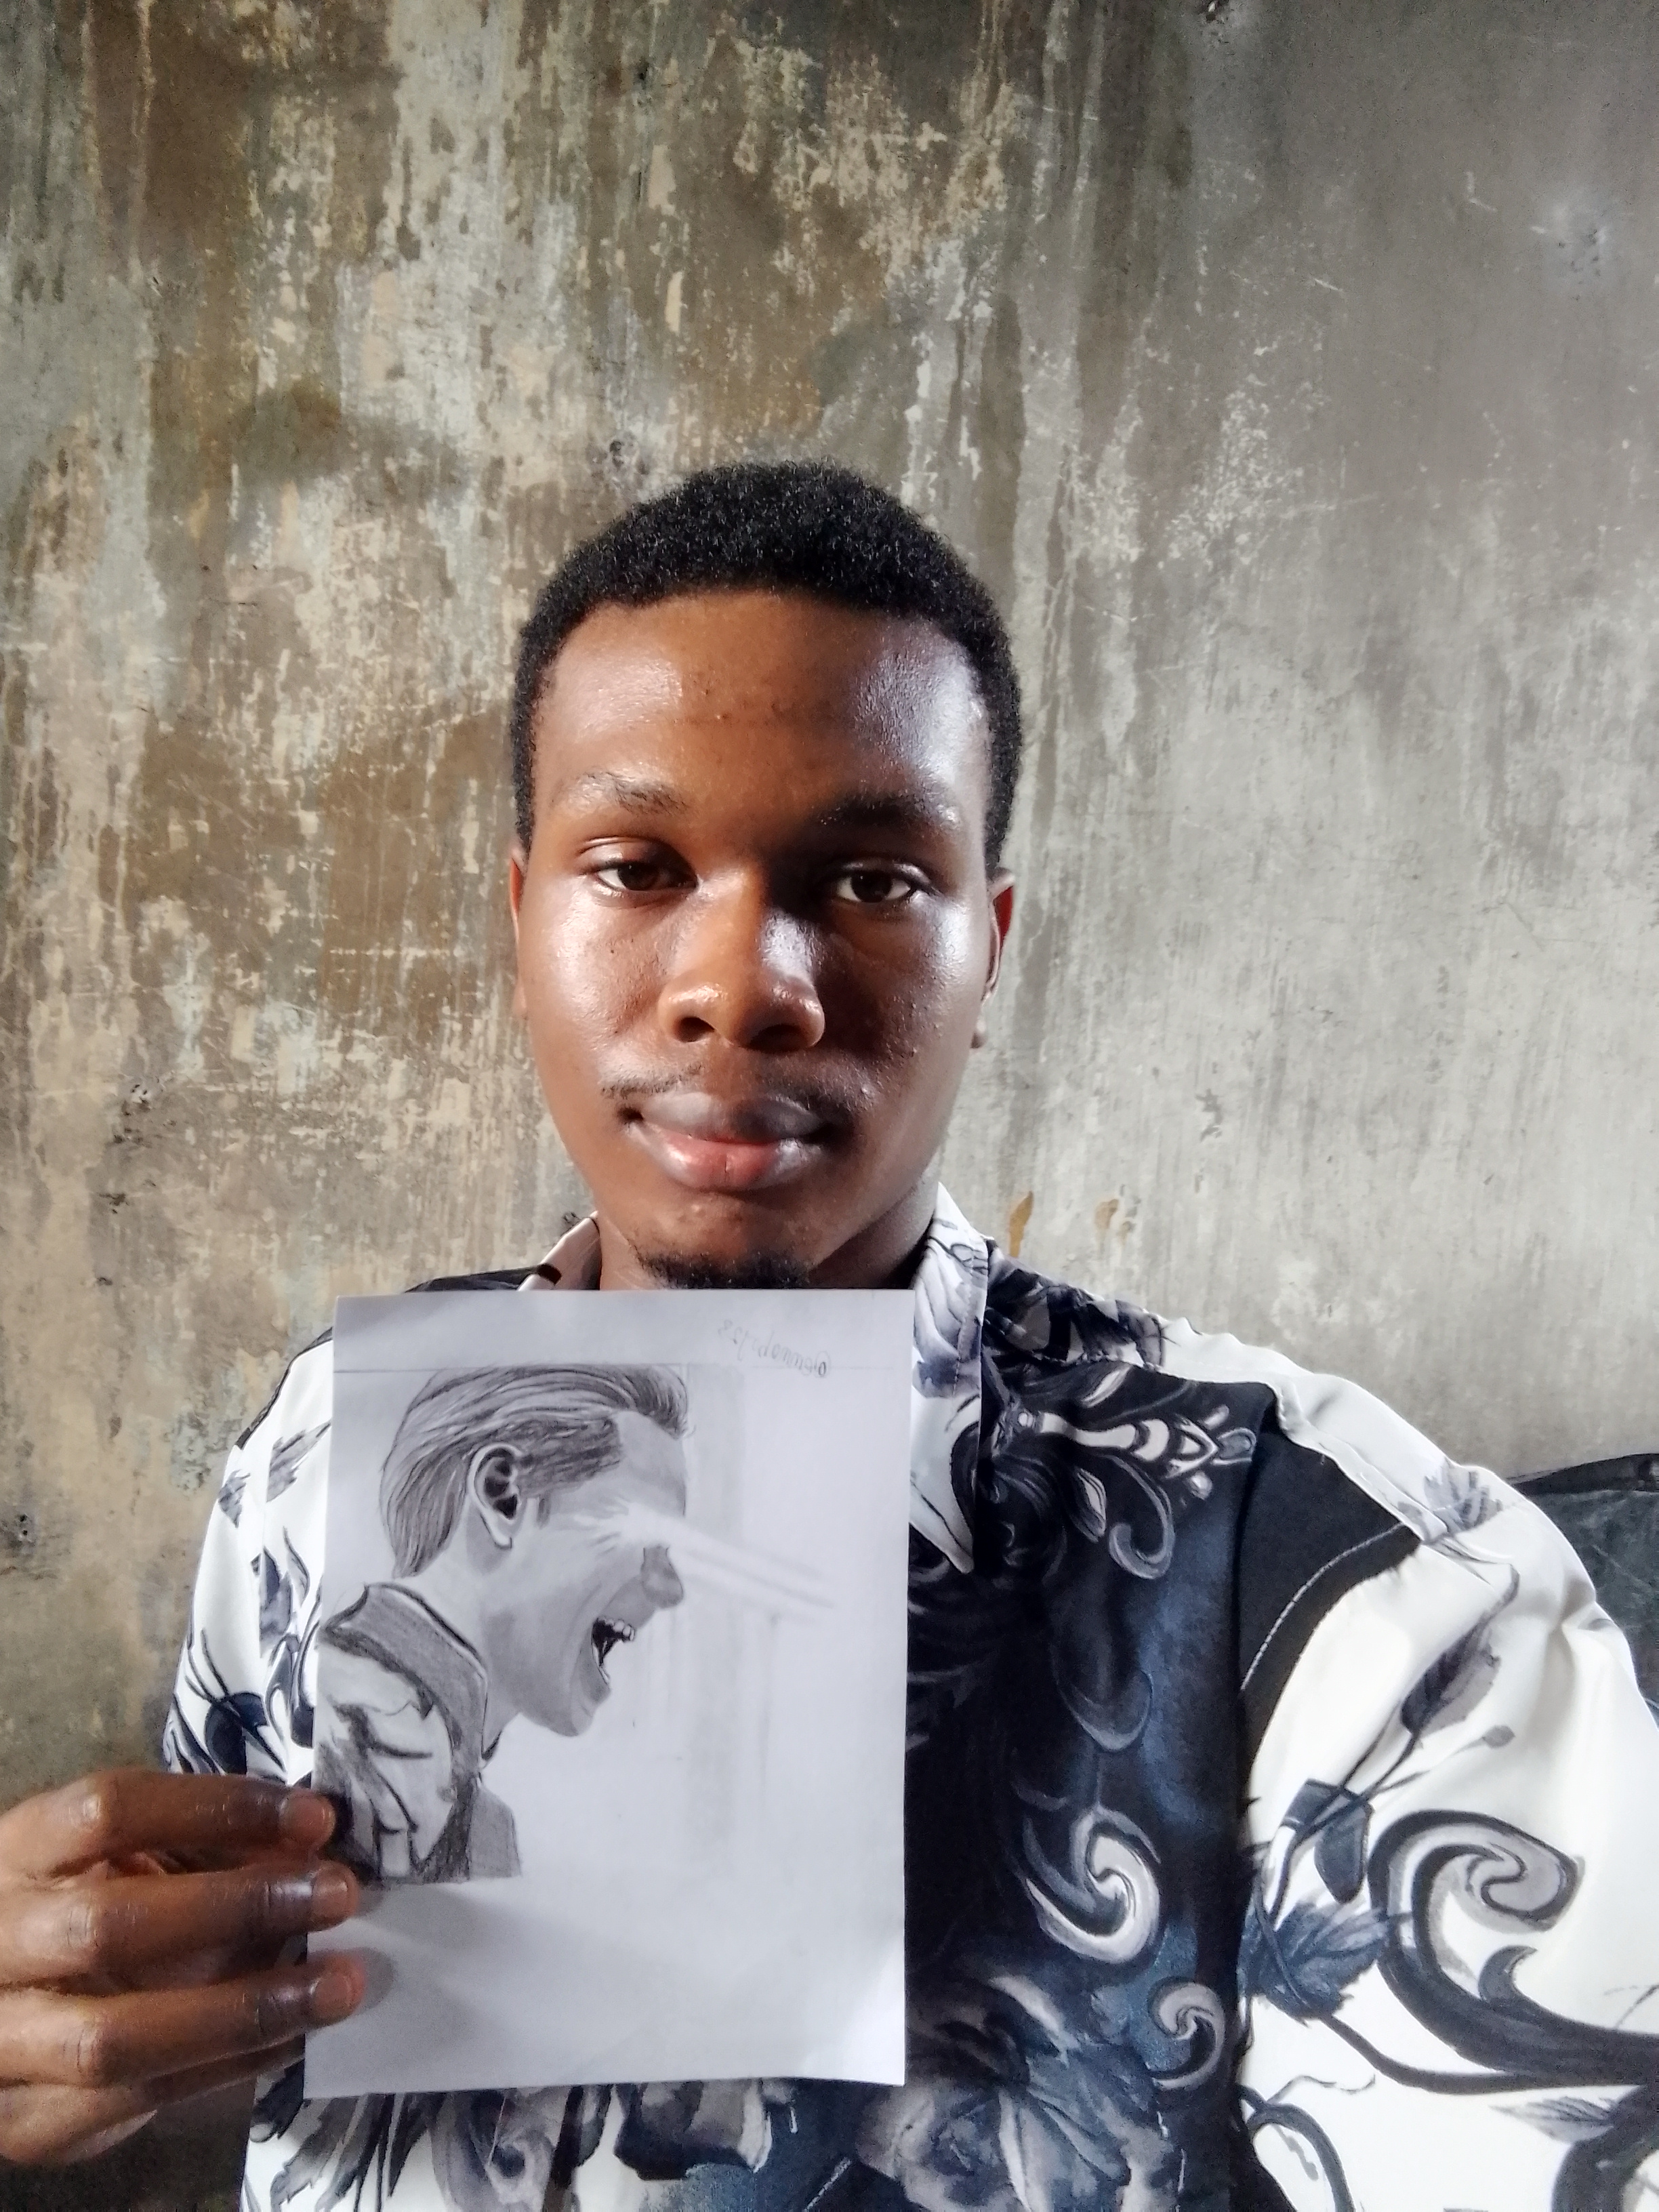
My selfie with my drawing
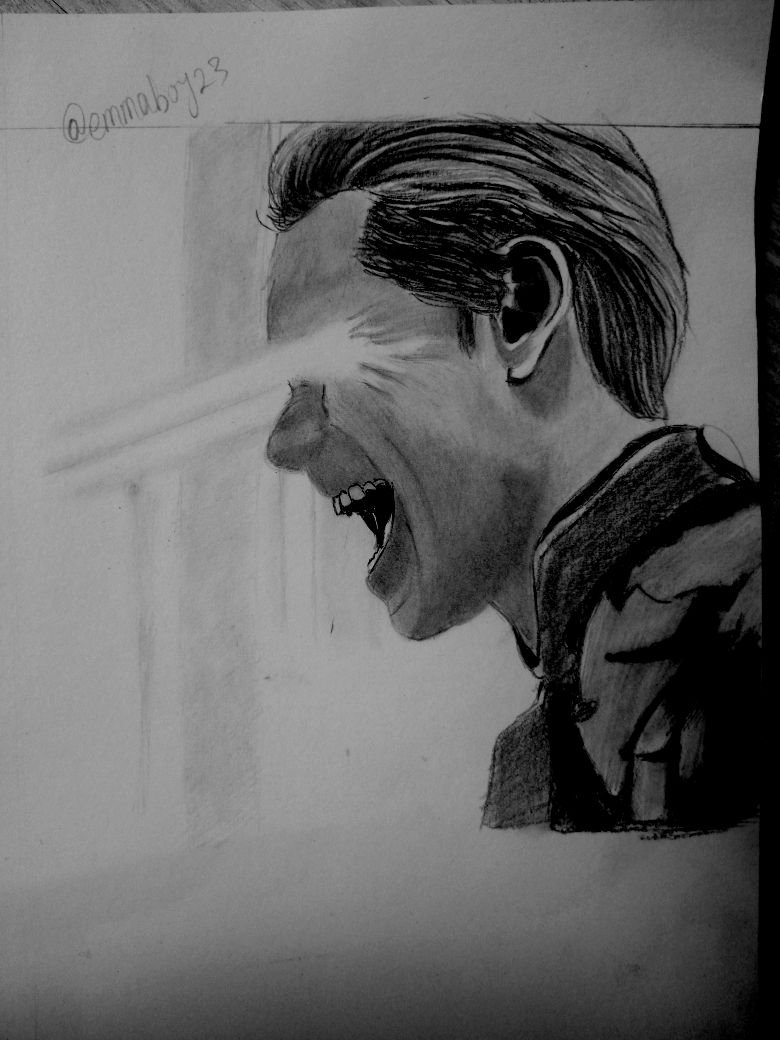
One thing I particularly enjoyed about this project was the opportunity to explore storytelling through art. Even without color, the drawing communicates a powerful moment from the series. It reminds me that strong expressions and effective shading can often say more than words. Thank you for taking the time to visit my blog and follow my creative process. I hope you enjoyed this tutorial. Your support, comments, and feedback always motivate me to keep improving as an artist. See you in my next drawing tutorial.
Inviting
Thank you all for stopping by.
Posted with Speem
Thank you for sharing on steem! I'm witness fuli, and I've given you a free upvote. If you'd like to support me, please consider voting at https://steemitwallet.com/~witnesses 🌟
Your post have been rewarded by the Speak on Steem curator team!
Now become a plus member delegating at least 500 SP
Ways to support us:
Curated by @ dove11
#play
High-Yield Curation by @steem-seven
Your content has been supported!
Maximize your passive income!
Delegate your SP to us and earn high rewards
Click here to see our Tiered Reward System
We are the hope!