Authentic Kheema Masala Recipe | Full of Desi Taste
Assalam-O-Alaikum Friends,
Friends, you are all warmly welcome to my today’s Kheema Masala recipe. I hope you all are doing well and enjoying your daily life with good food and good health. Today I am going to share a very delicious and simple homemade recipe that is loved in almost every household. Kheema masala is not just a dish, it is a complete experience of rich taste, aroma, and comfort. Whenever this dish is cooked at home, the fragrance spreads everywhere and automatically increases the appetite.
I prepared this kheema masala in my kitchen with simple ingredients and traditional cooking methods. The best part of this recipe is that it does not require any complicated steps, yet the final result is full of flavor. If you are someone who enjoys spicy and rich dishes, then this recipe is definitely for you. So without wasting time, let us begin with the preparation of this delicious kheema masala.
| Ingredients | Amount |
|---|---|
| Kheema (Mutton/Chicken) | 300 grams |
| Ginger-Garlic Paste | 3 tablespoon |
| Turmeric Powder | 1/2 tablespoon |
| Red Chilli Powder | 1 tablespoon |
| Coriander Powder | 2 tablespoon |
| Garam Masala | 1 tablespoon |
| Salt | As per taste |
| Kheema Masala | 1 packet |
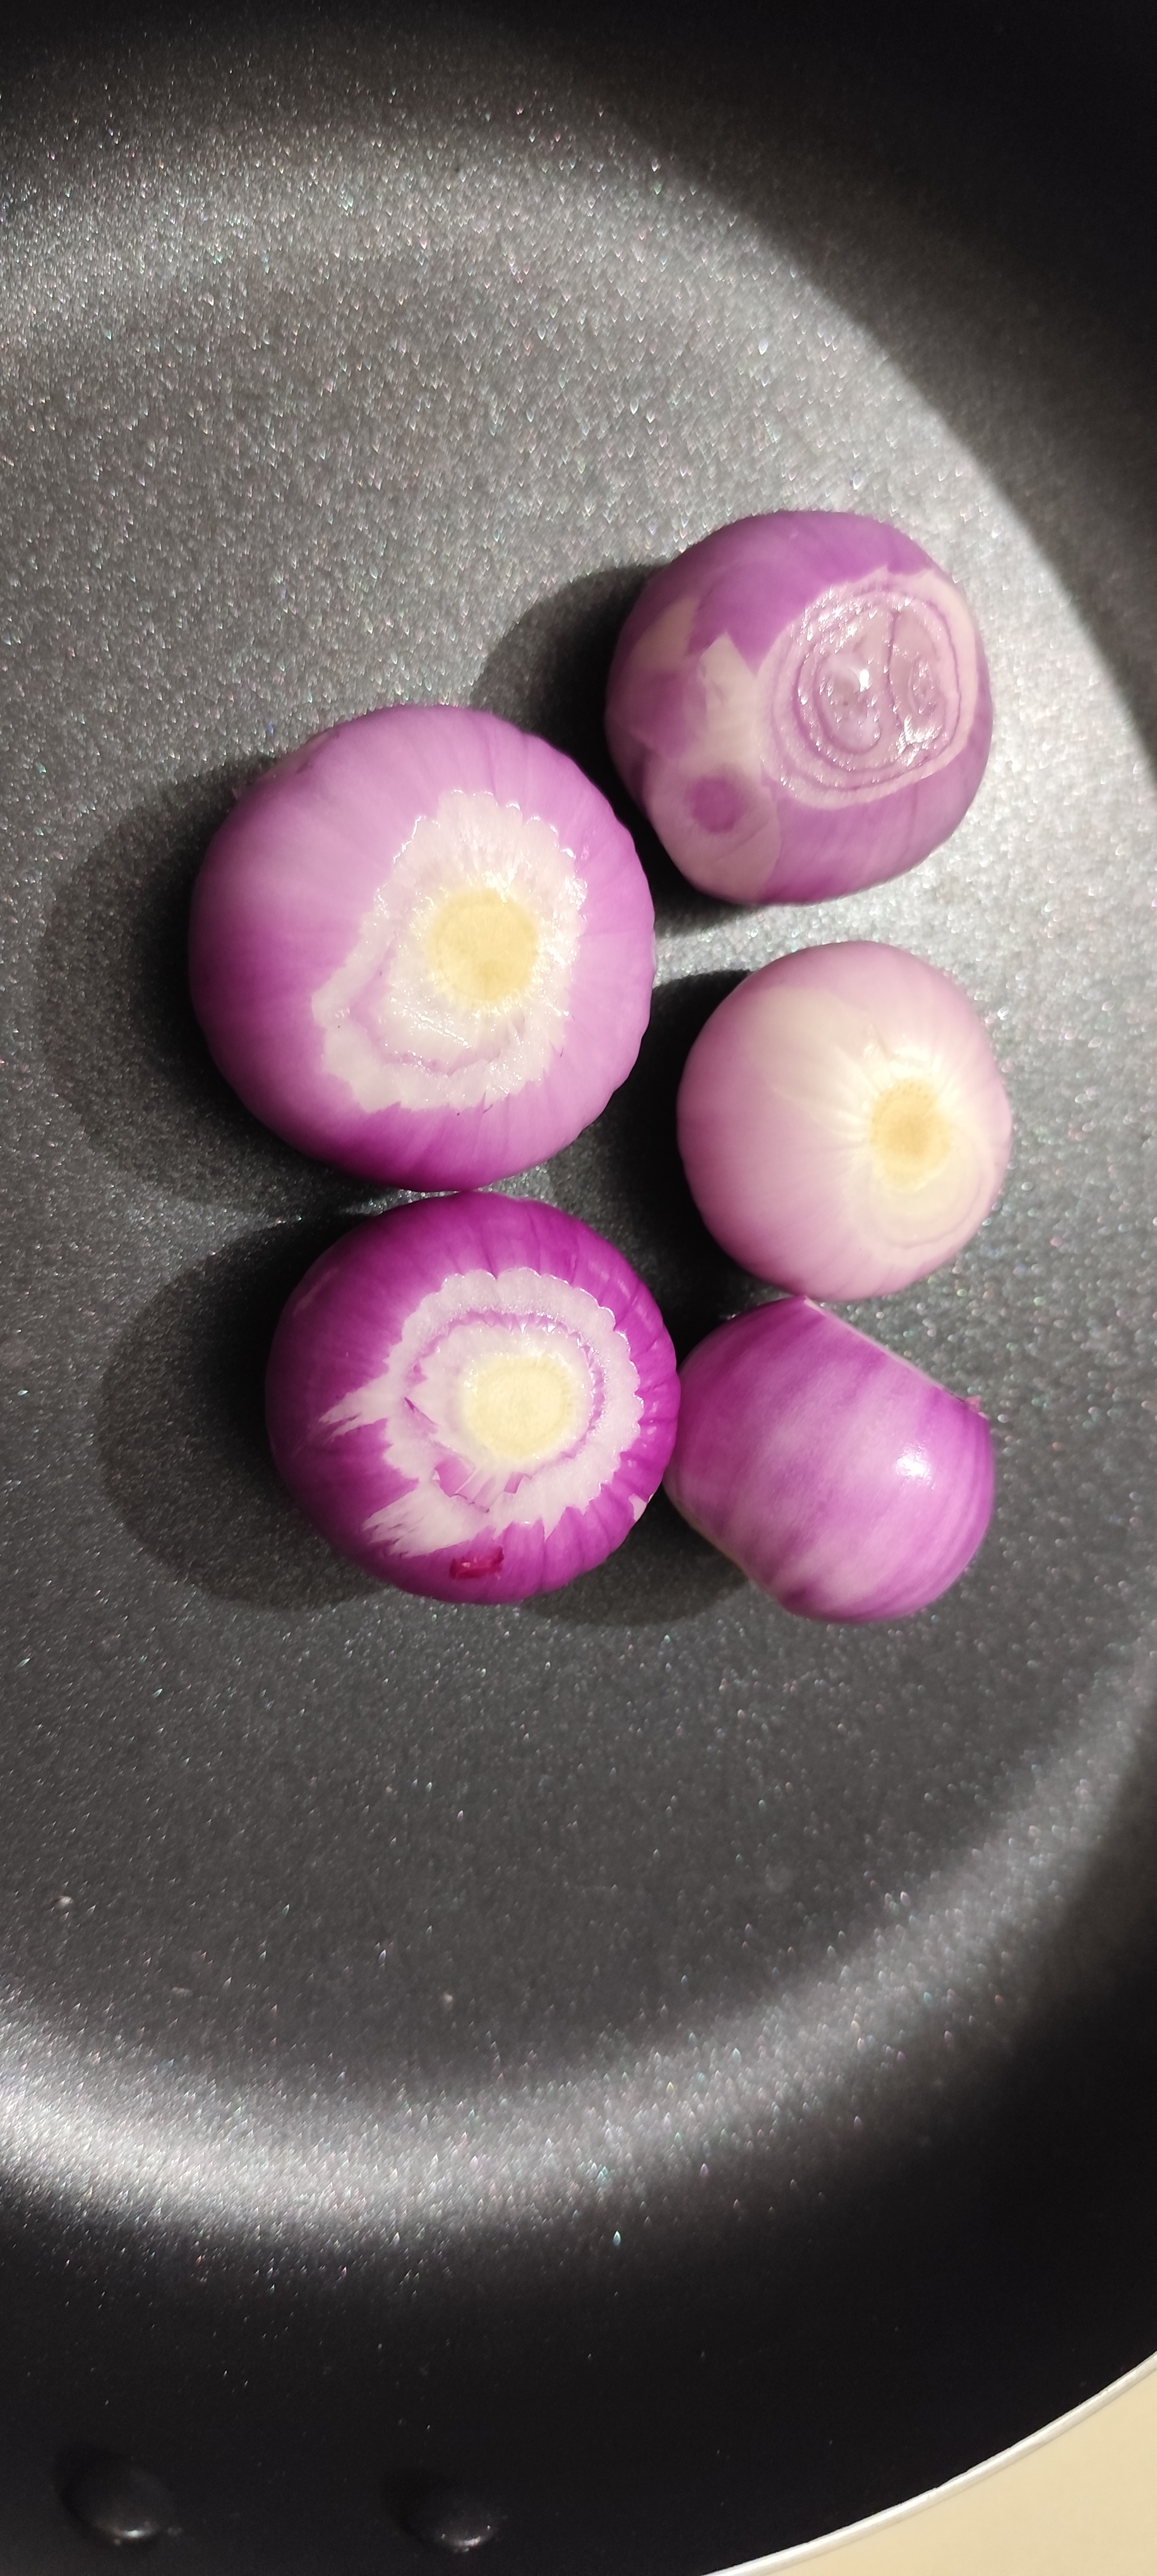
| Onion | 3 |
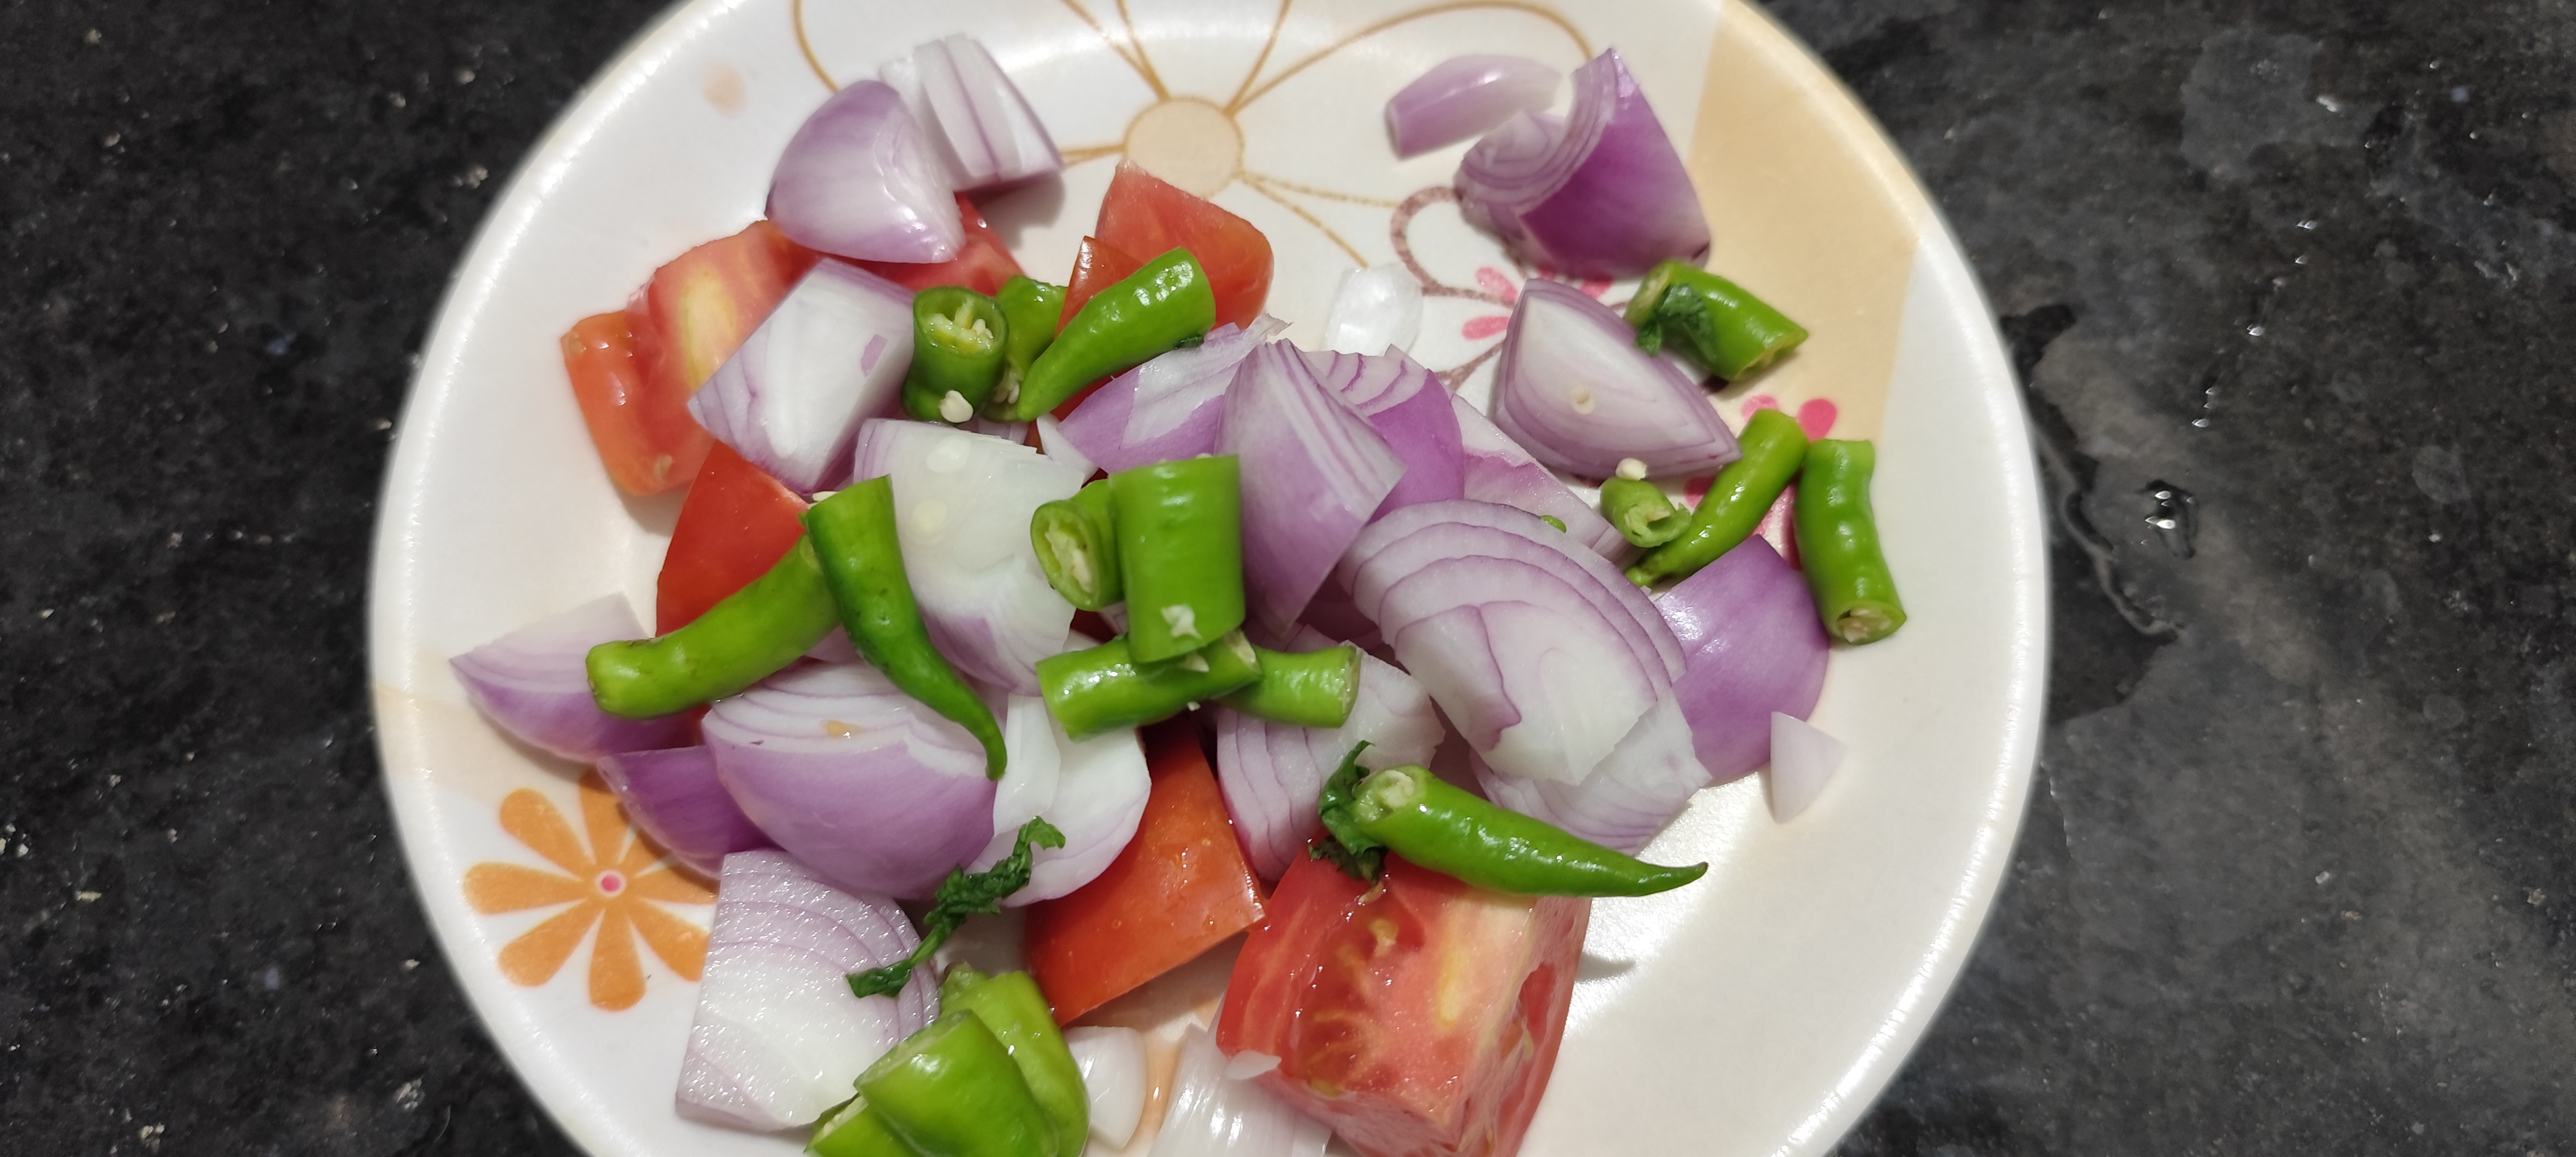
| Tomato | 2 |
| Green Peas (optional) | 1/2 cup |
| Oil | 4 tablespoon |
| Green Coriander | As required |
| Water | As required |
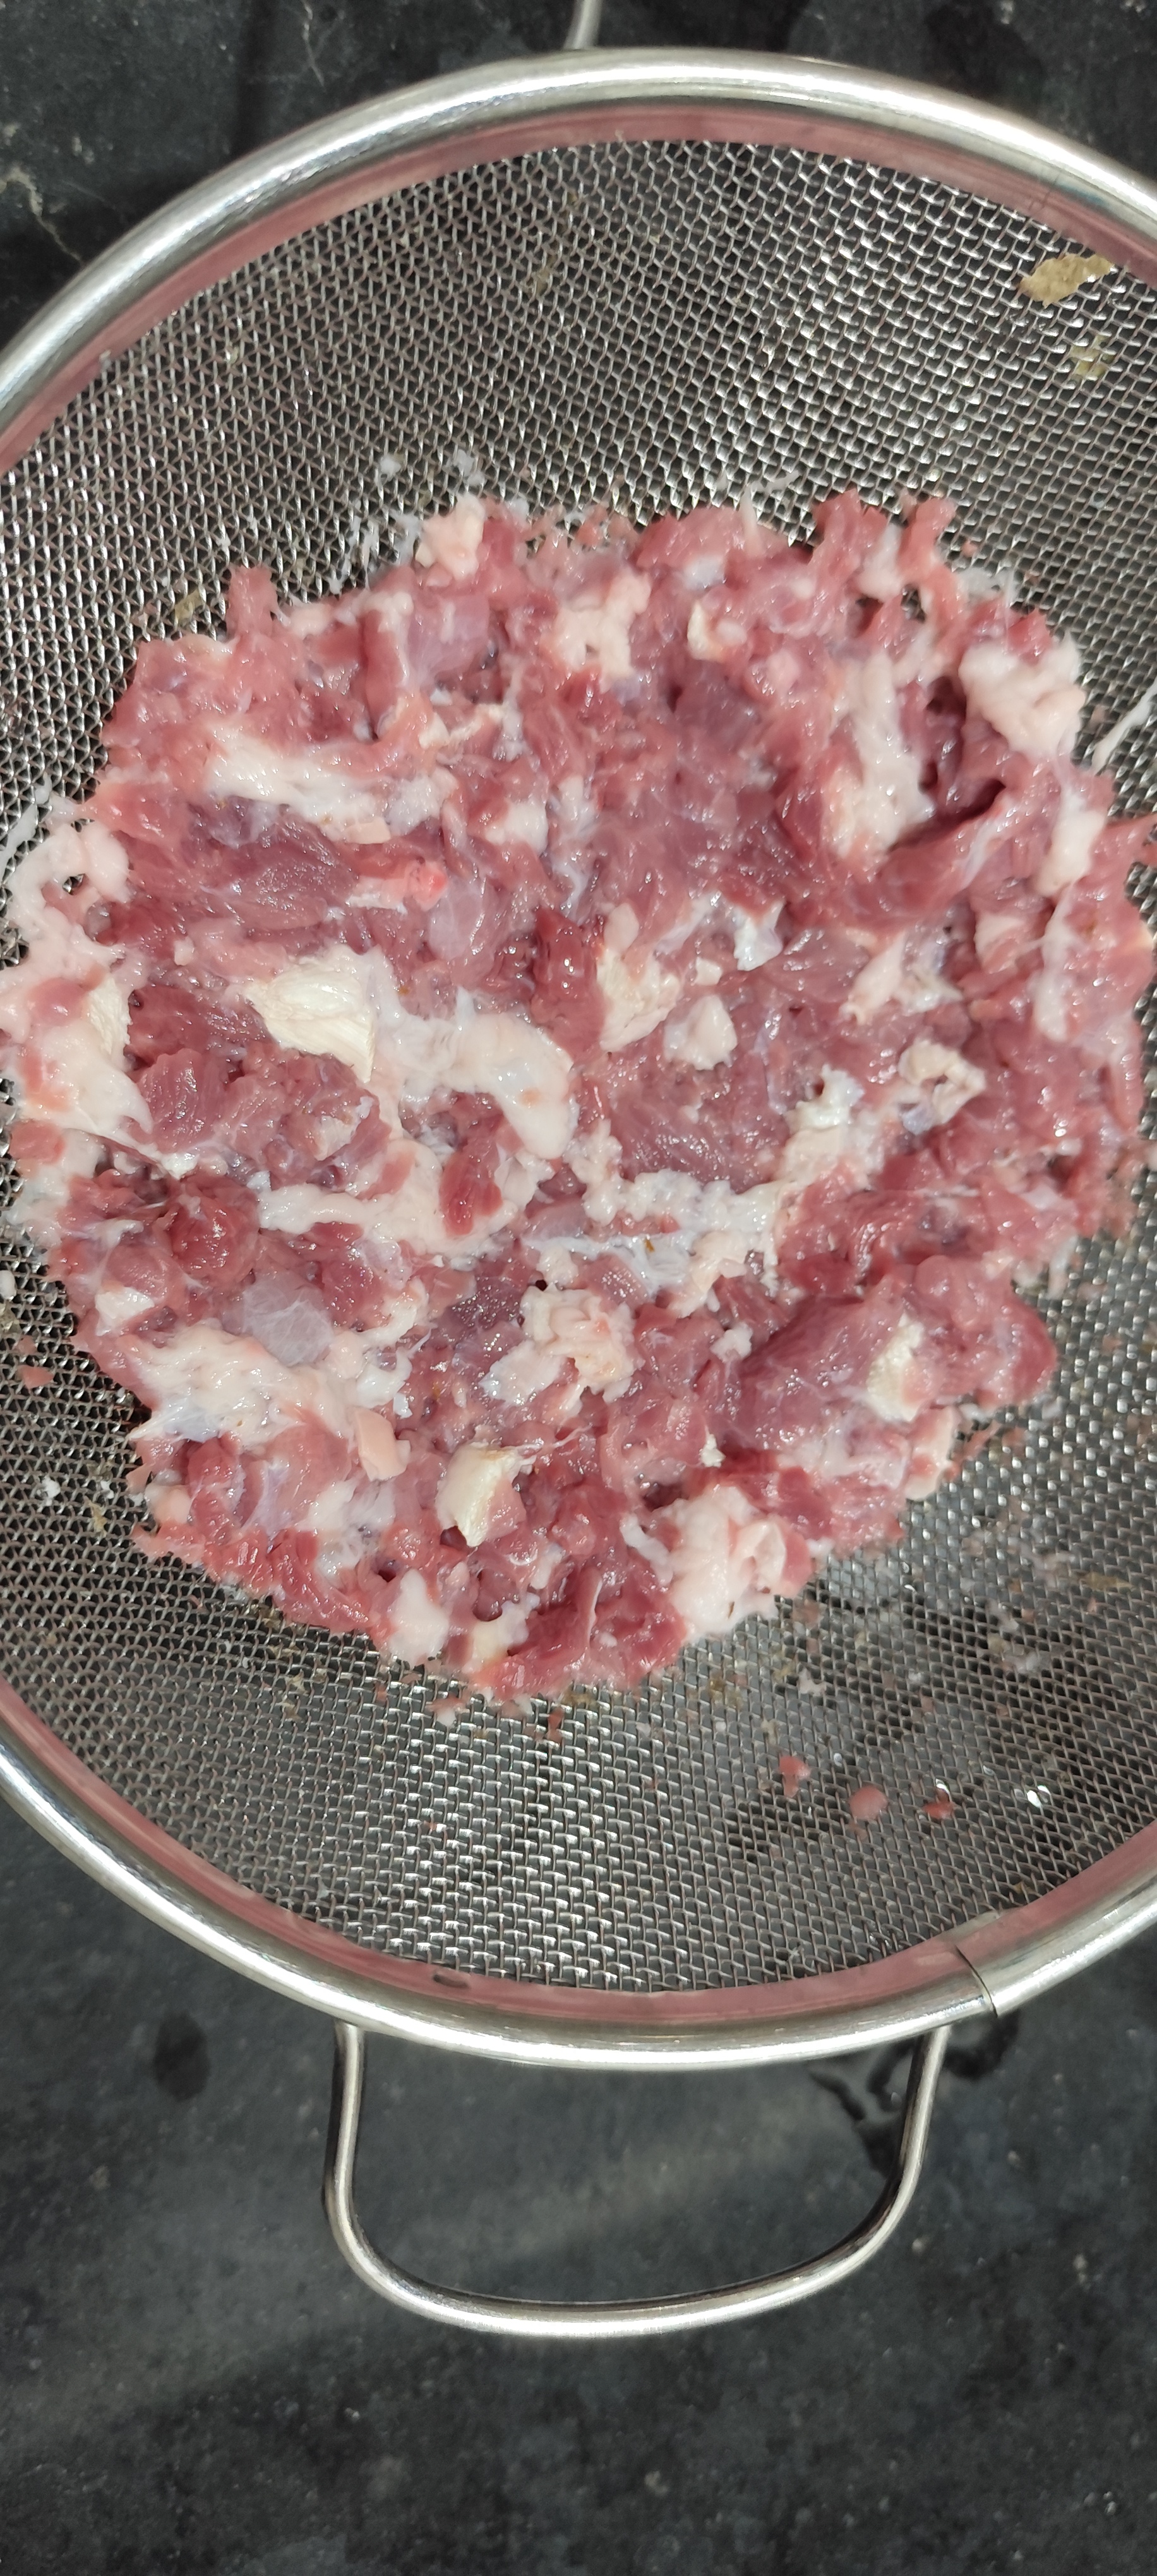
First of all, I took fresh kheema and washed it properly under clean water. After that, I placed it in a bowl and allowed the excess water to drain. Clean meat is very important for both taste and hygiene. Once the kheema was ready, I moved towards the most important step of this recipe, which is marination.
For marination, I added ginger-garlic paste, turmeric powder, red chilli powder, coriander powder, garam masala and salt according to taste. These spices are the base of the entire dish, so mixing them properly is very important. After that, I added a little lemon juice. Lemon juice not only enhances the flavor but also helps in making the meat soft and tender.
I mixed everything very well so that each part of the kheema gets coated with the spices. After mixing, I covered the bowl and left it aside for about 20 to 30 minutes. This resting time allows the spices to go deep inside the kheema, which improves the overall taste of the dish.
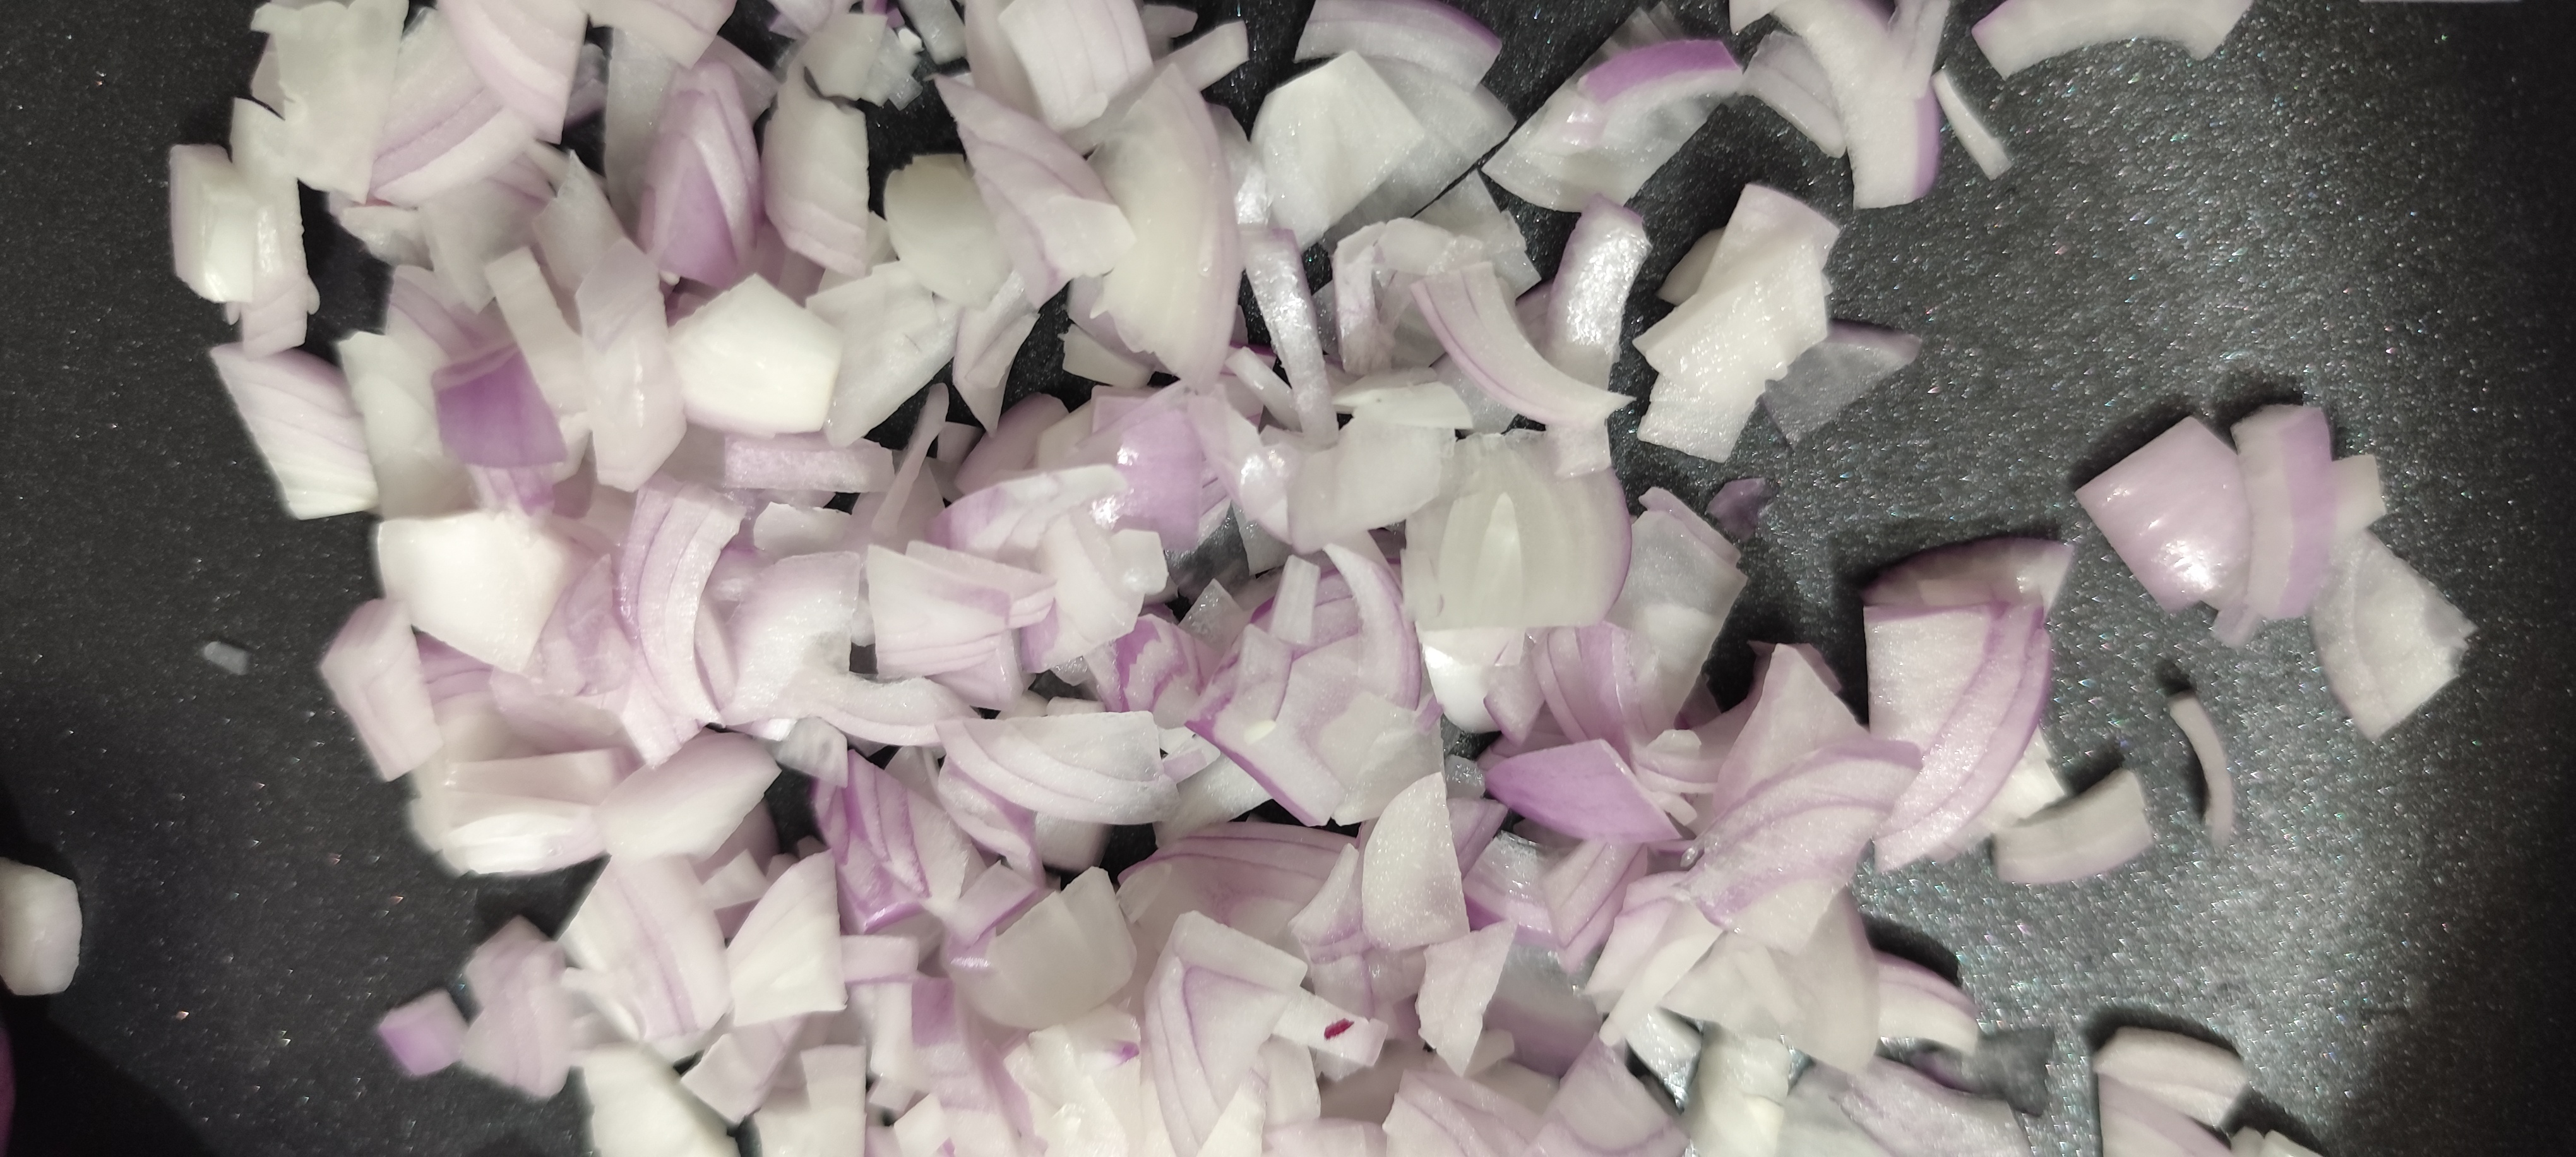
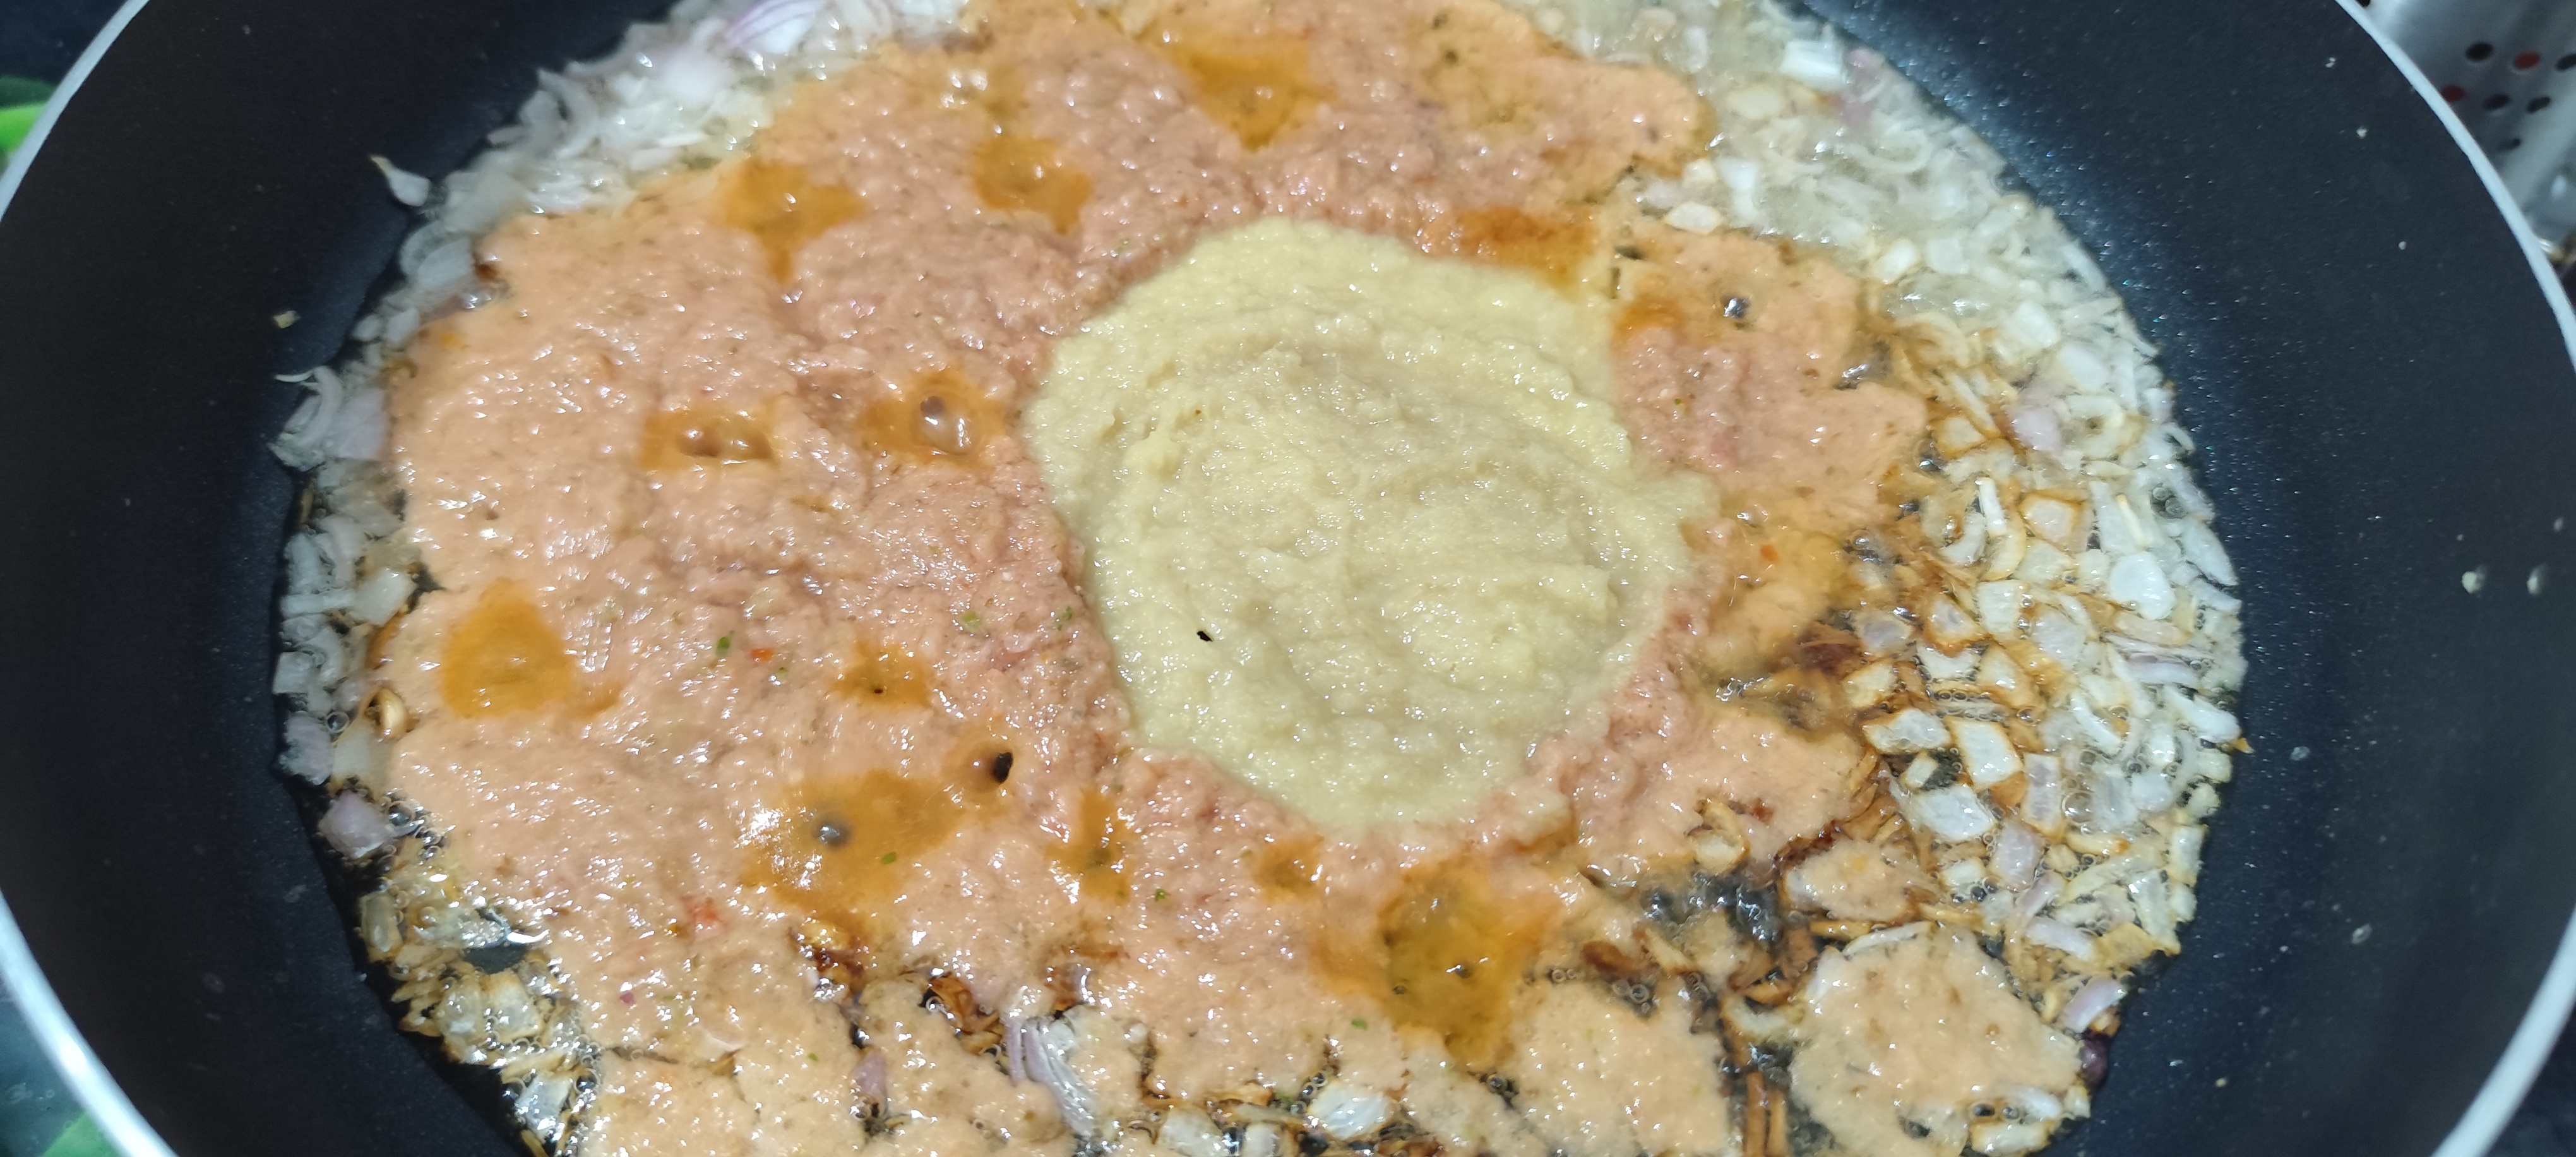
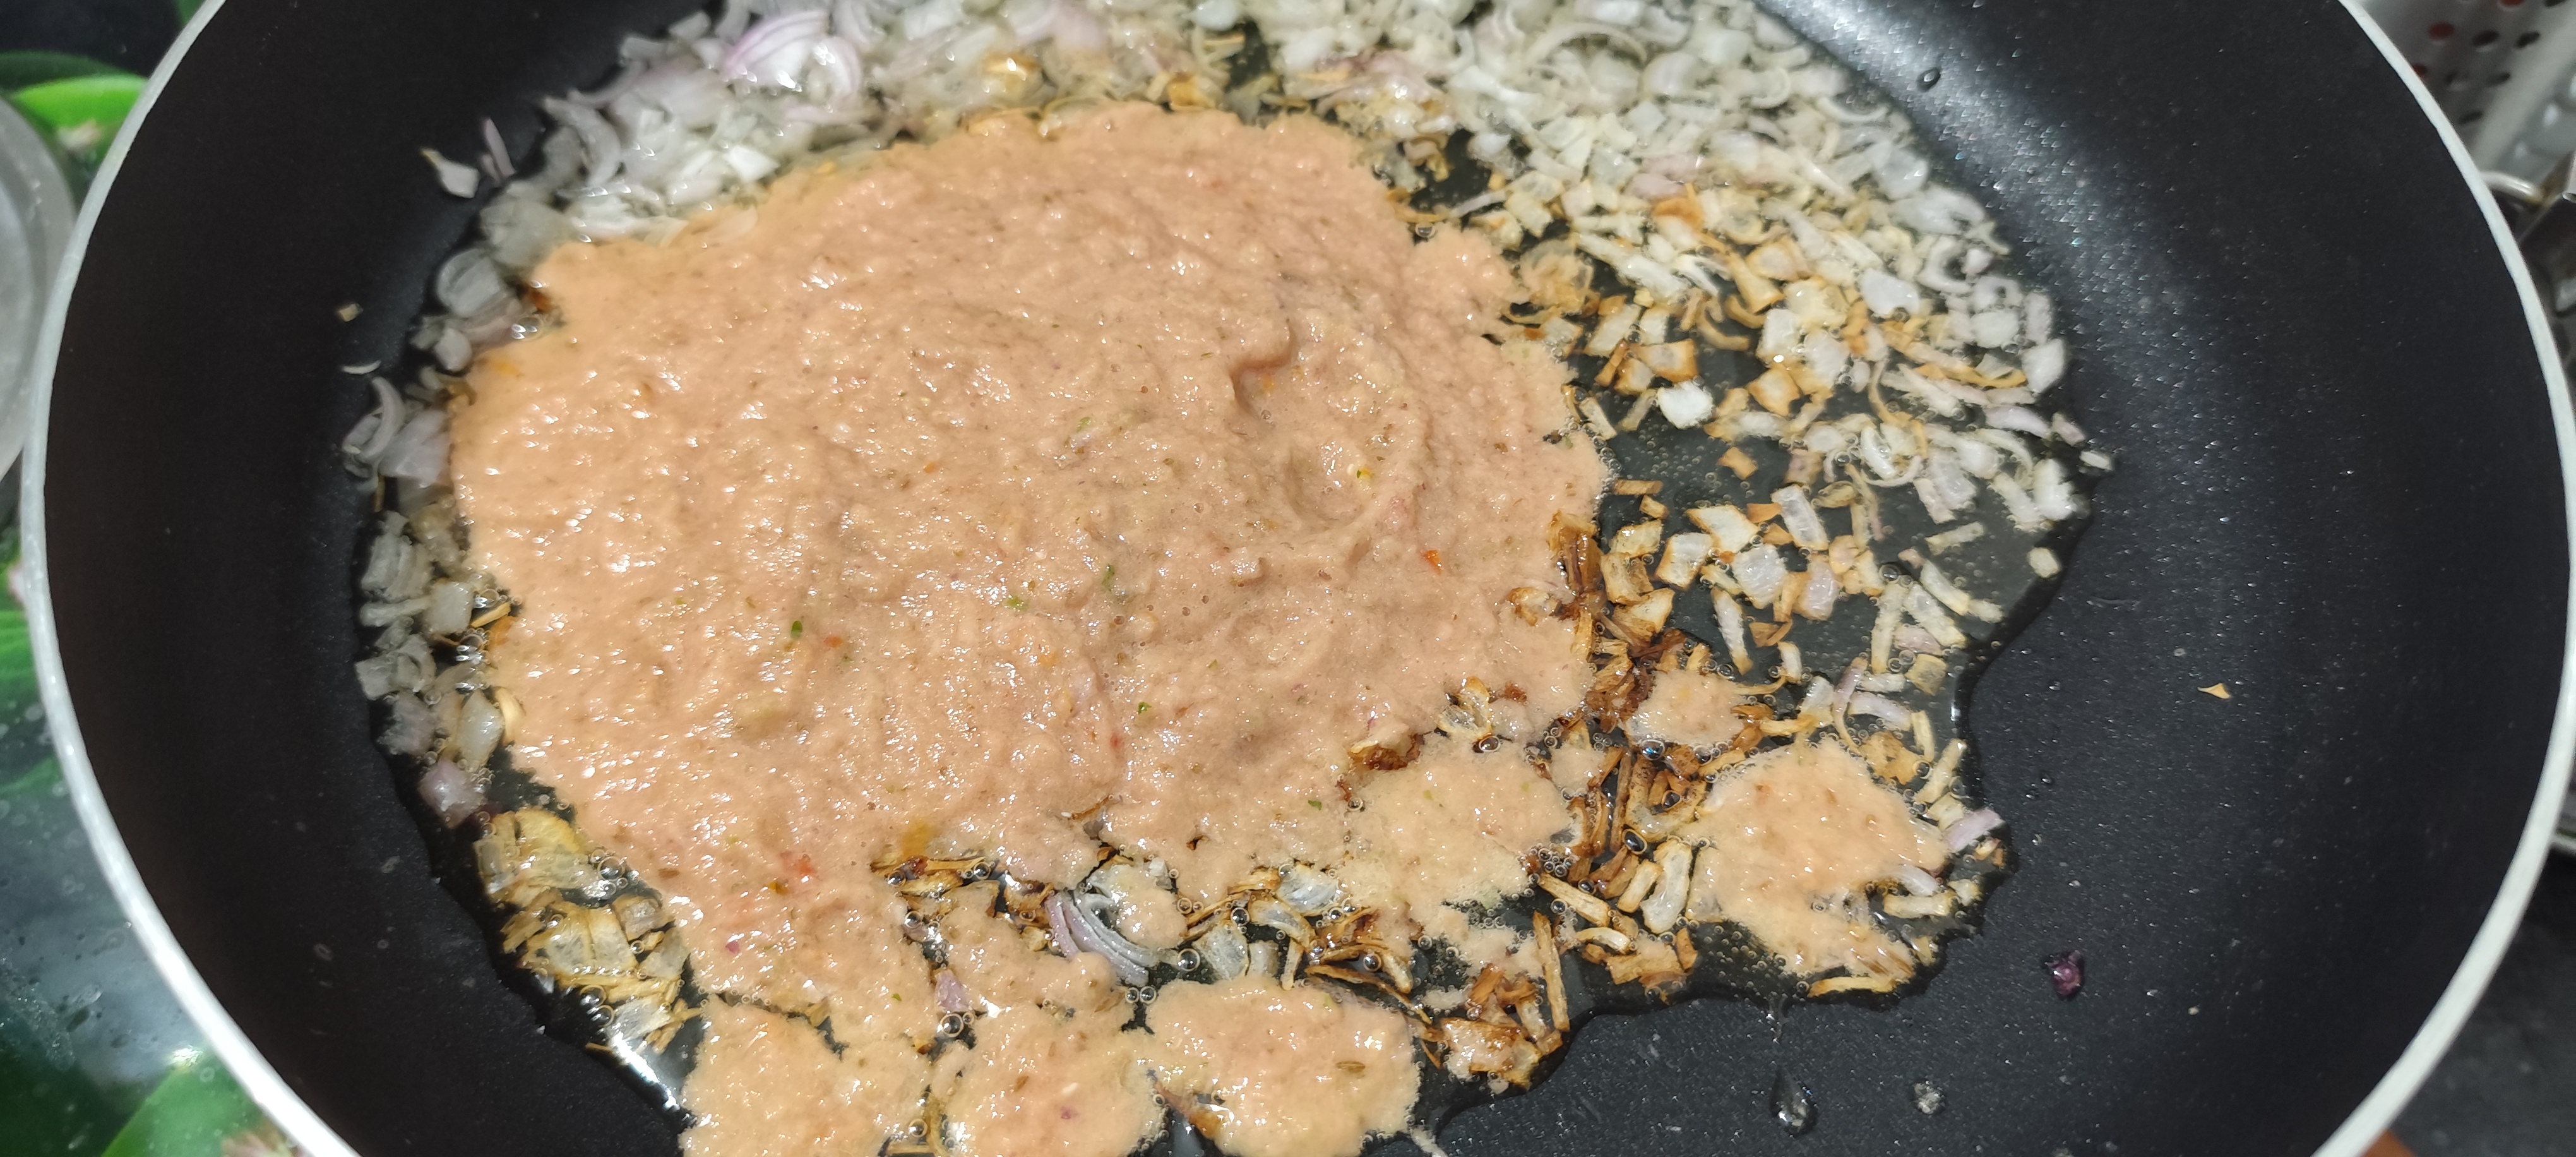
Now I started preparing the masala base. For this, I placed a cooker on the stove and added oil to it. Once the oil was heated, I added finely chopped onions. I fried the onions on medium flame until they turned golden brown. This step is very important because properly fried onions give a rich flavor and color to the dish.

After the onions were cooked, I added chopped tomatoes. Along with tomatoes, I also added a small amount of ginger-garlic paste and a pinch of salt. Adding salt at this stage helps the tomatoes cook faster and become soft.
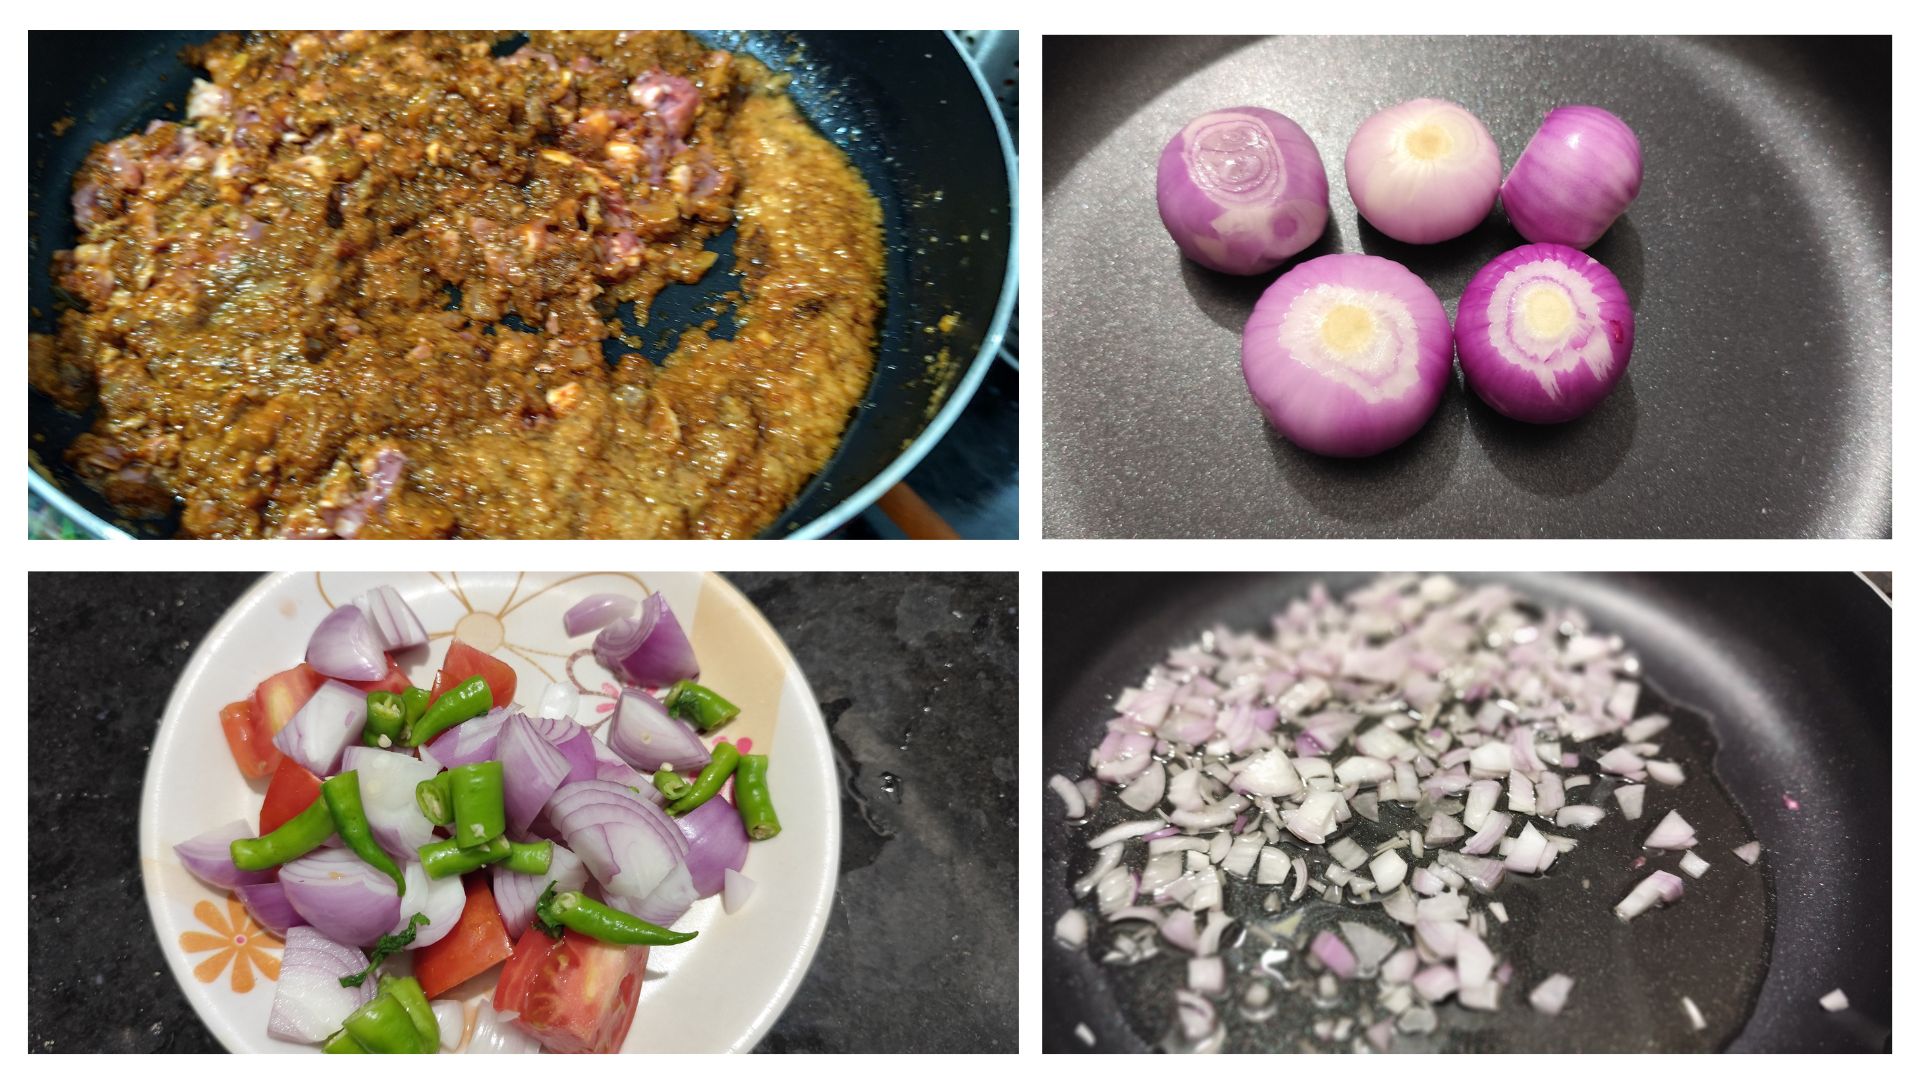
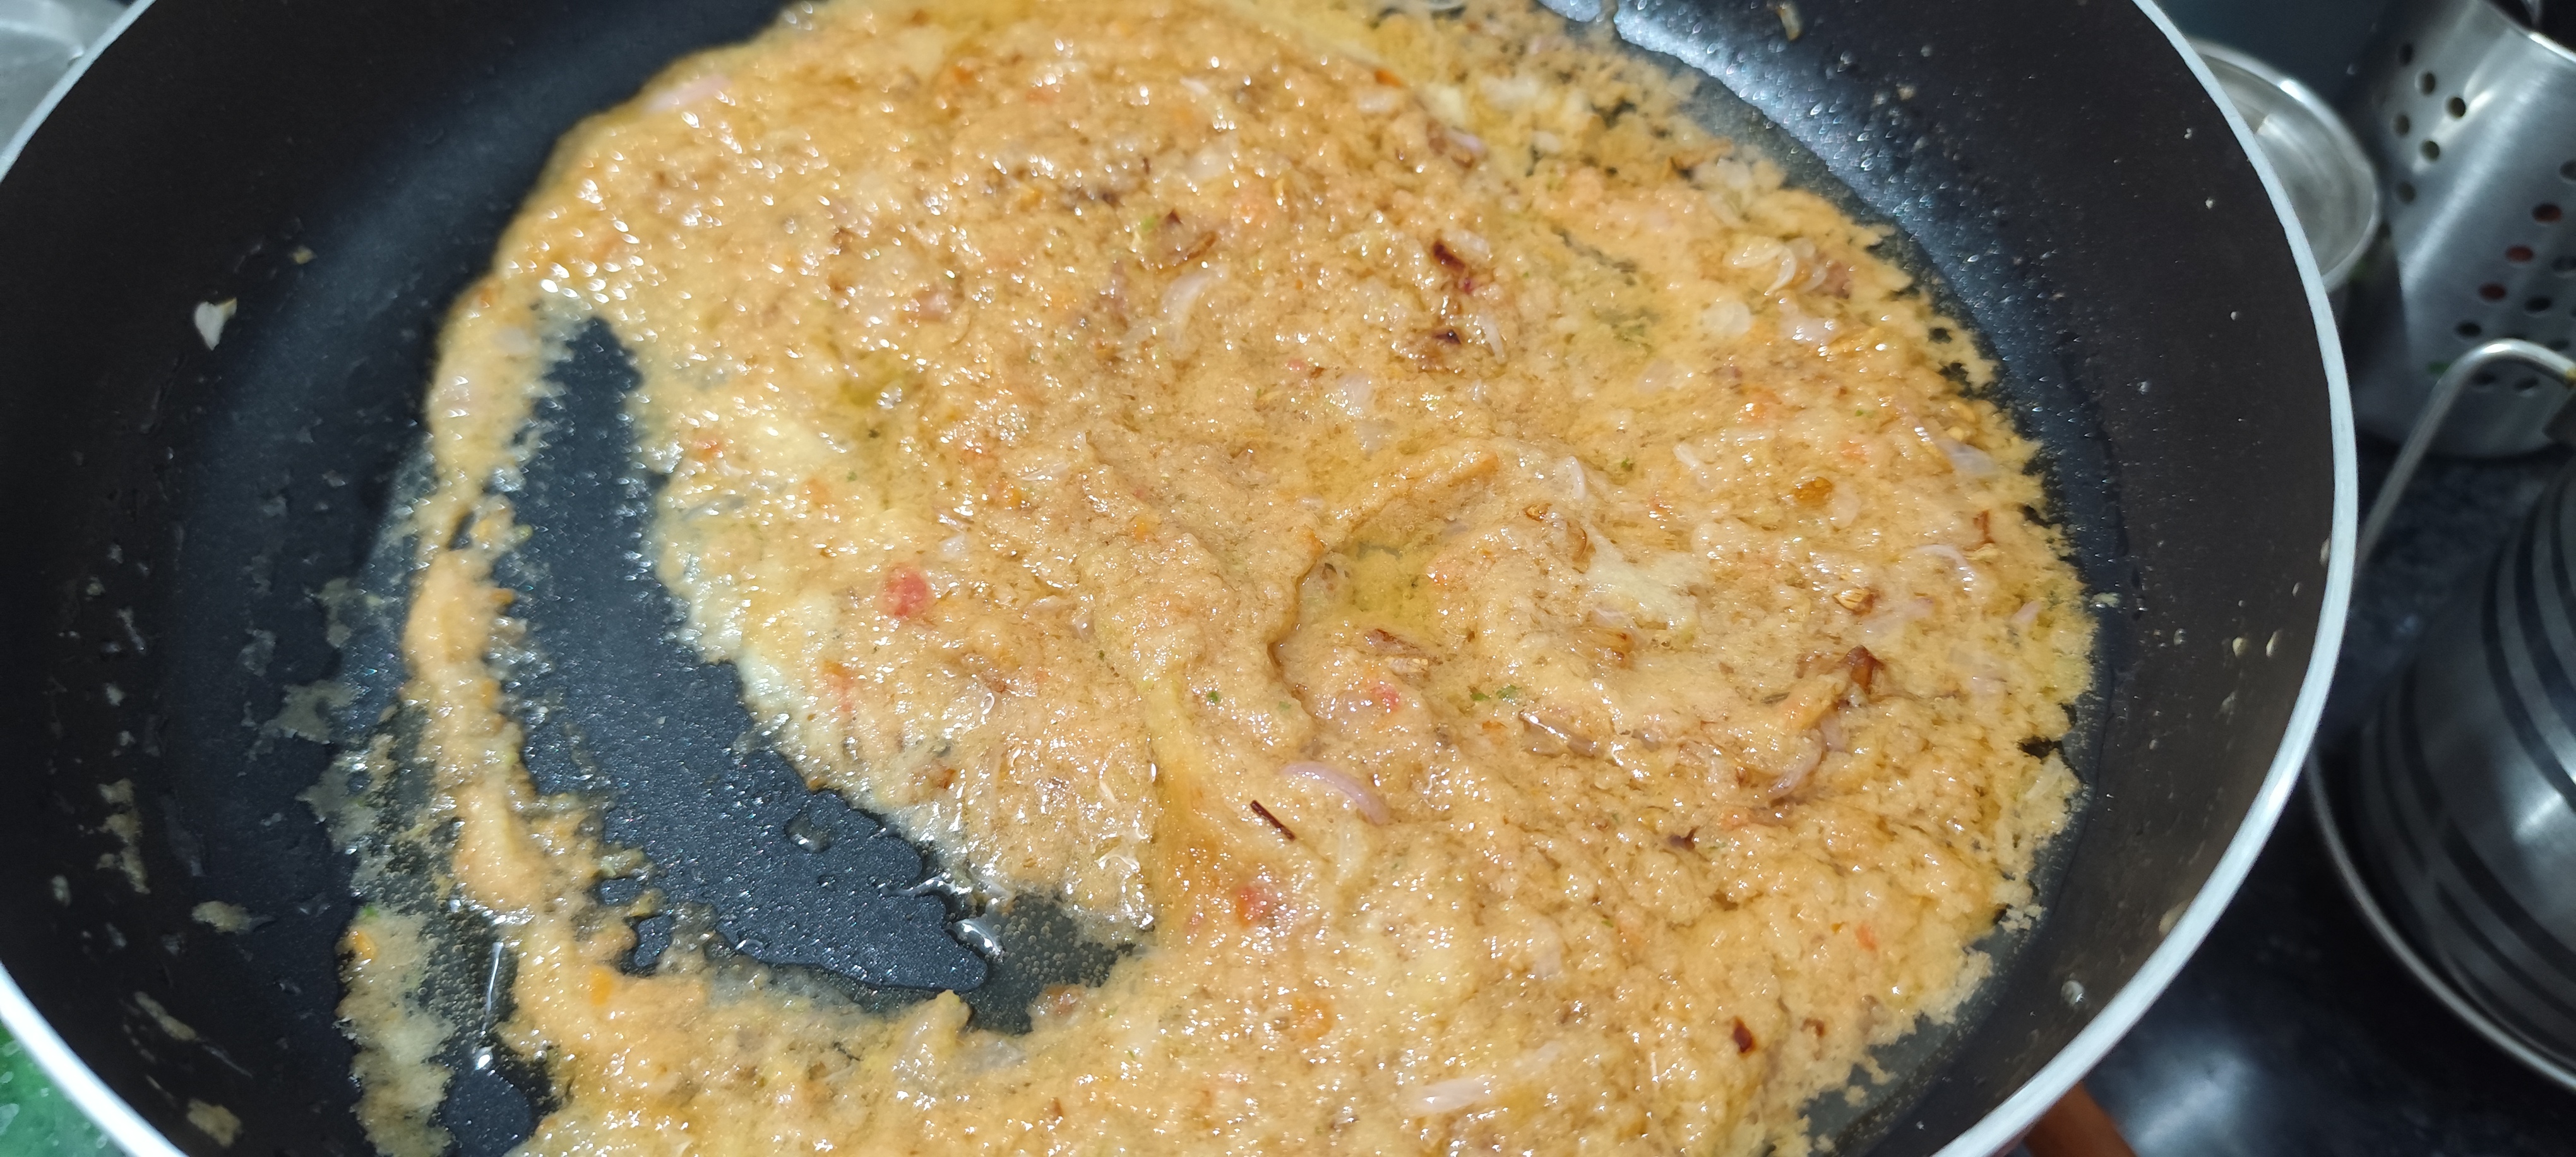
I kept stirring the mixture until the tomatoes completely blended with the onions and formed a thick masala. At this stage, the oil started separating slightly, which indicated that the masala was cooked properly. The aroma at this point was very rich and inviting, filling the entire kitchen with a delicious smell.
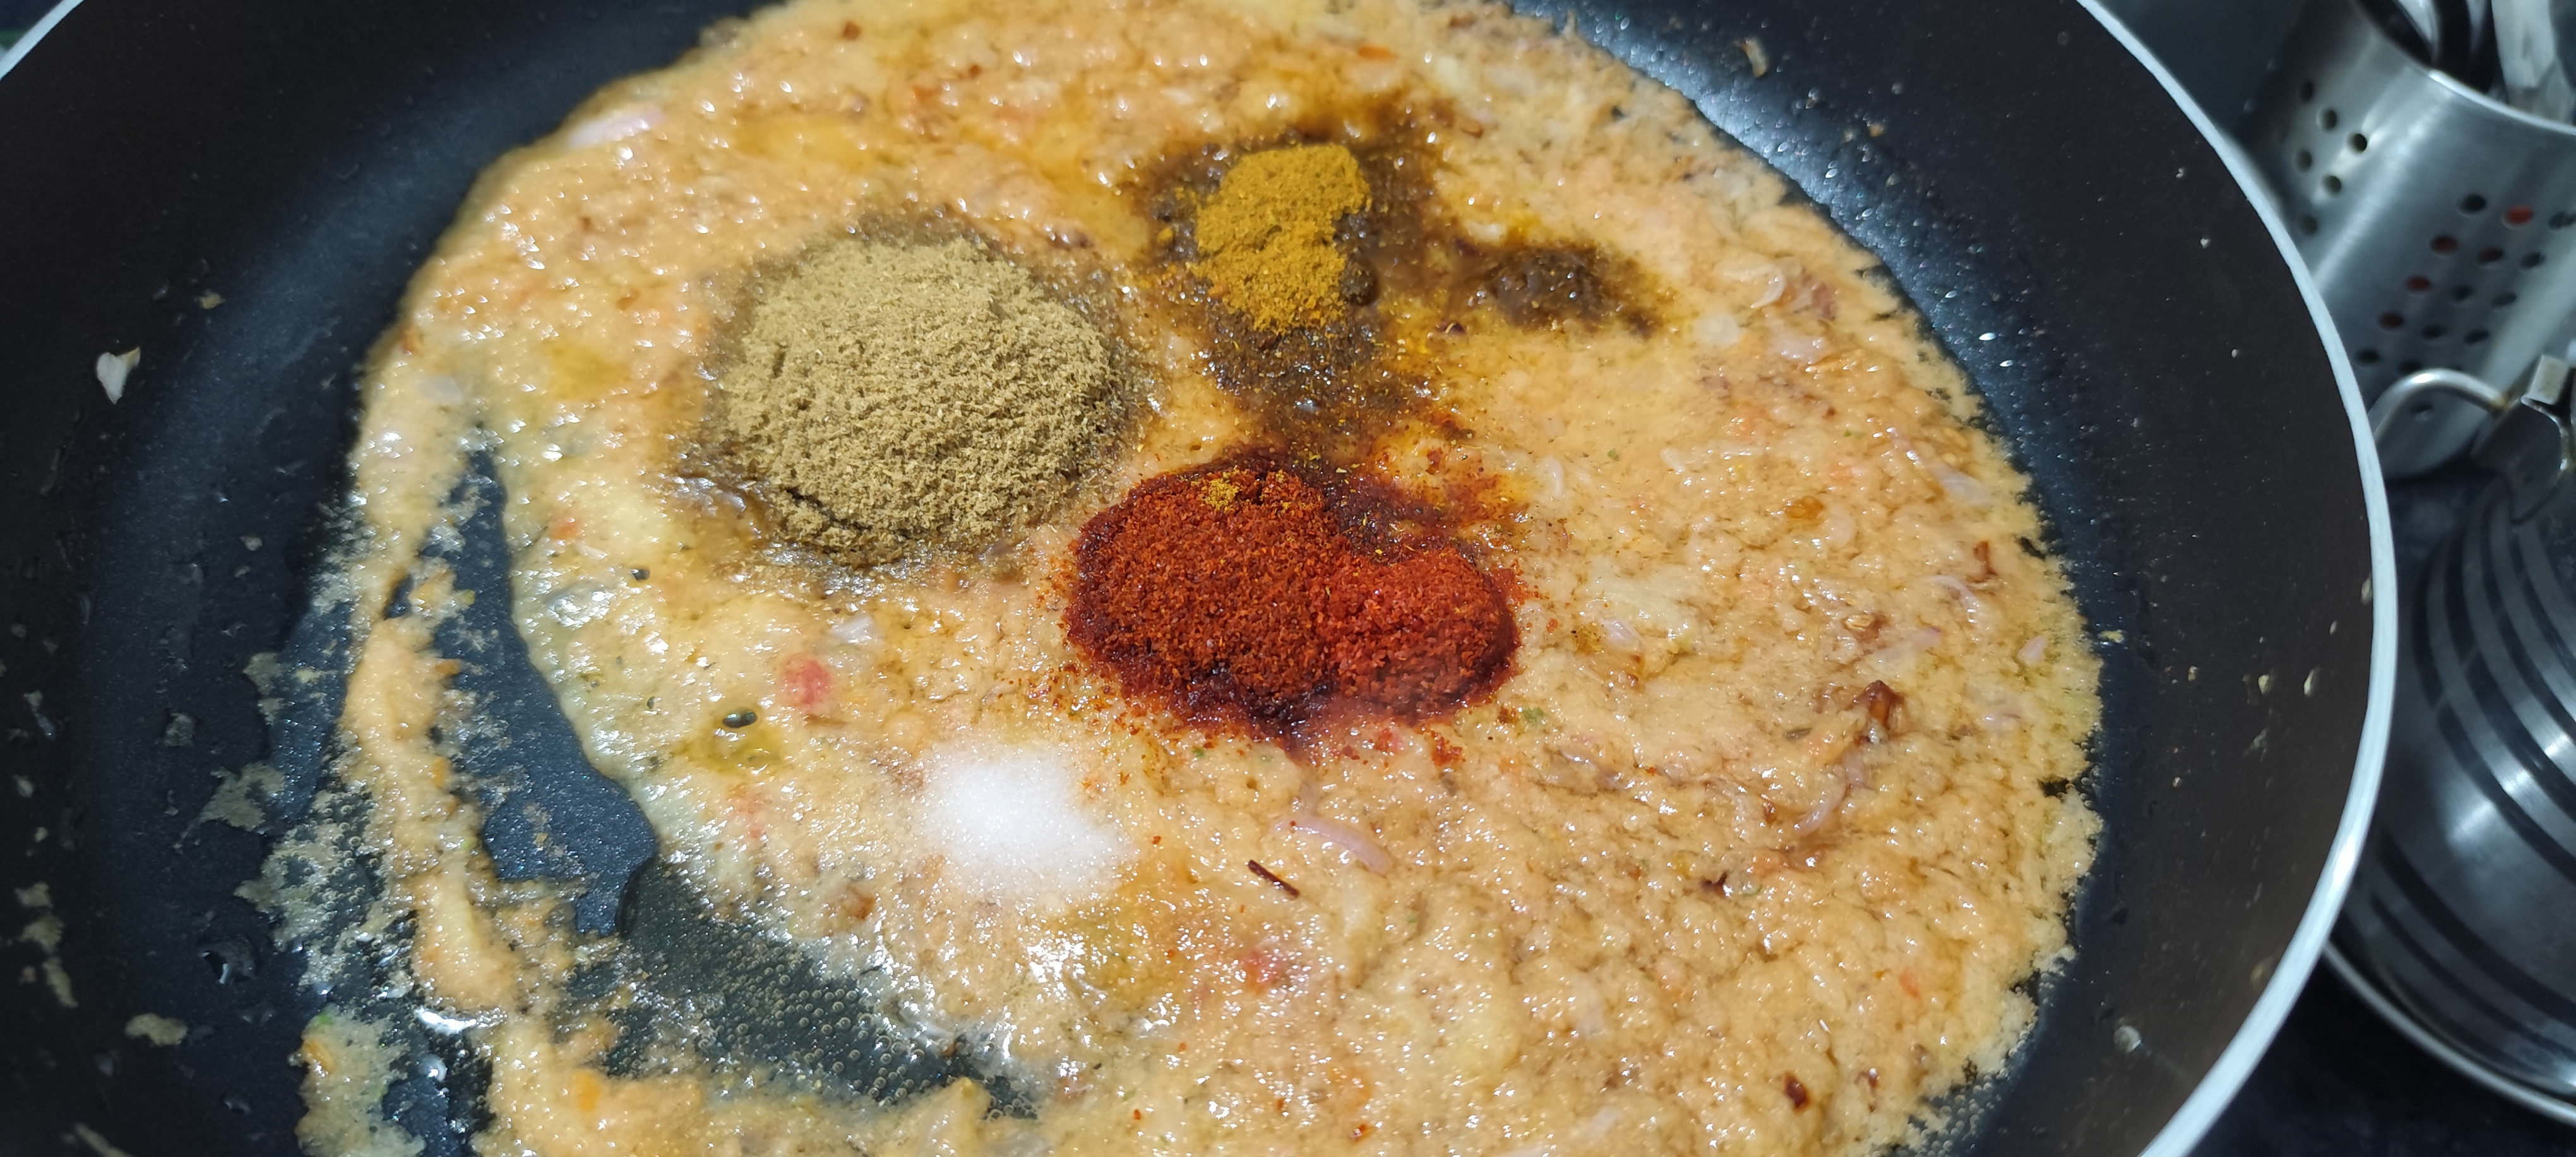
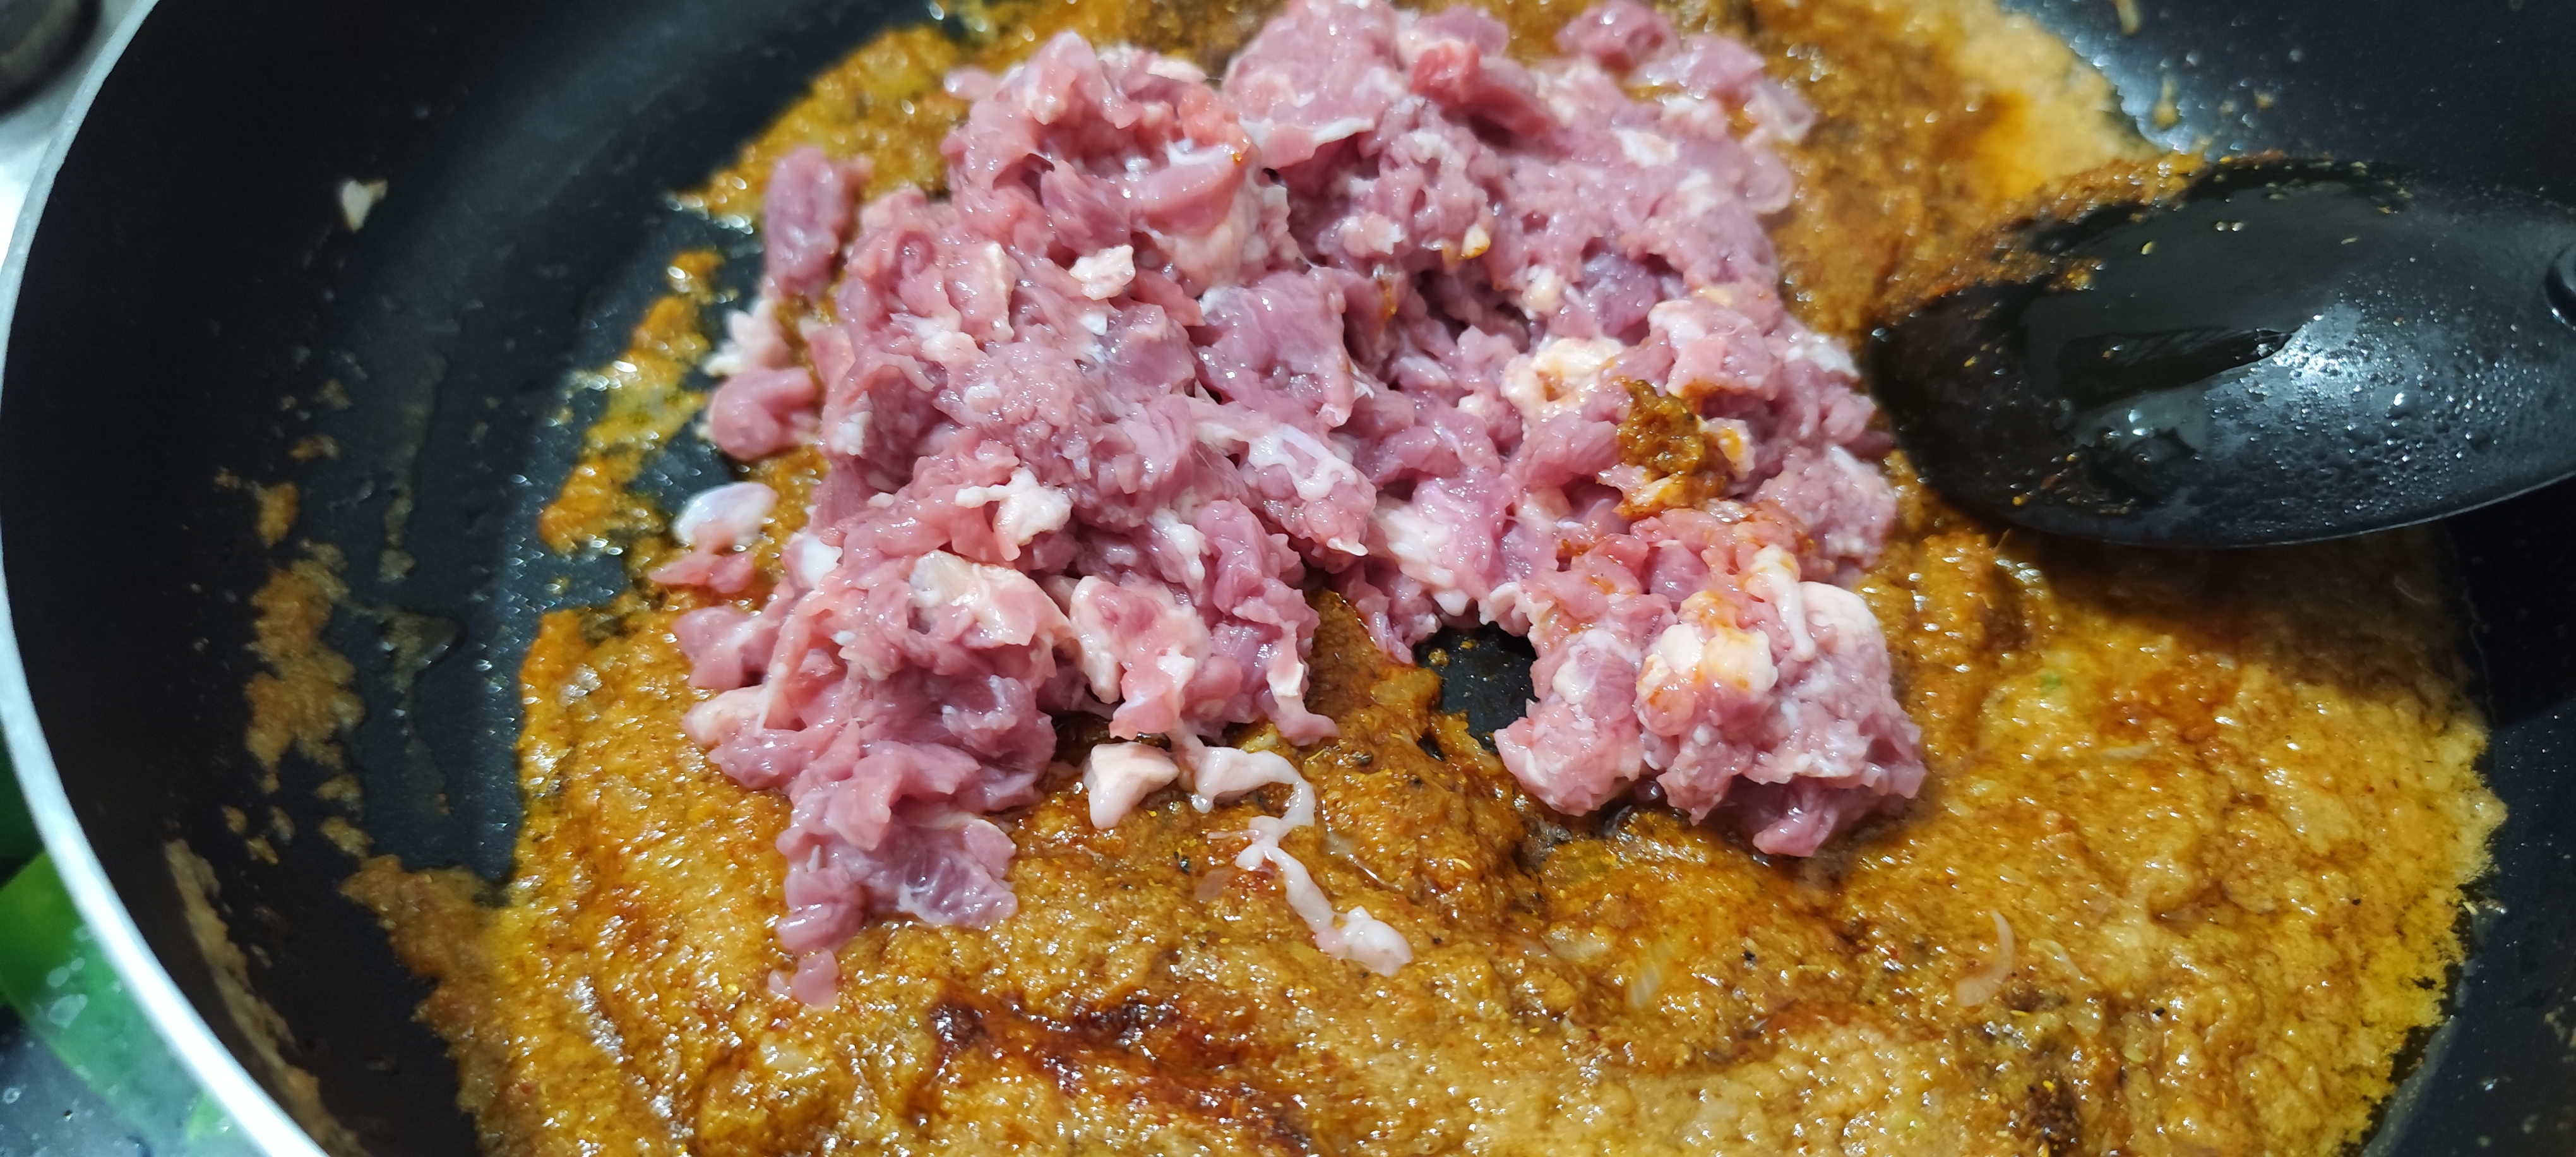
Once the masala base was ready, I added the marinated kheema into the cooker. I mixed it slowly with the onion-tomato mixture so that the masala coats every part of the kheema evenly. This step requires a little patience because proper mixing ensures better flavor in every bite.
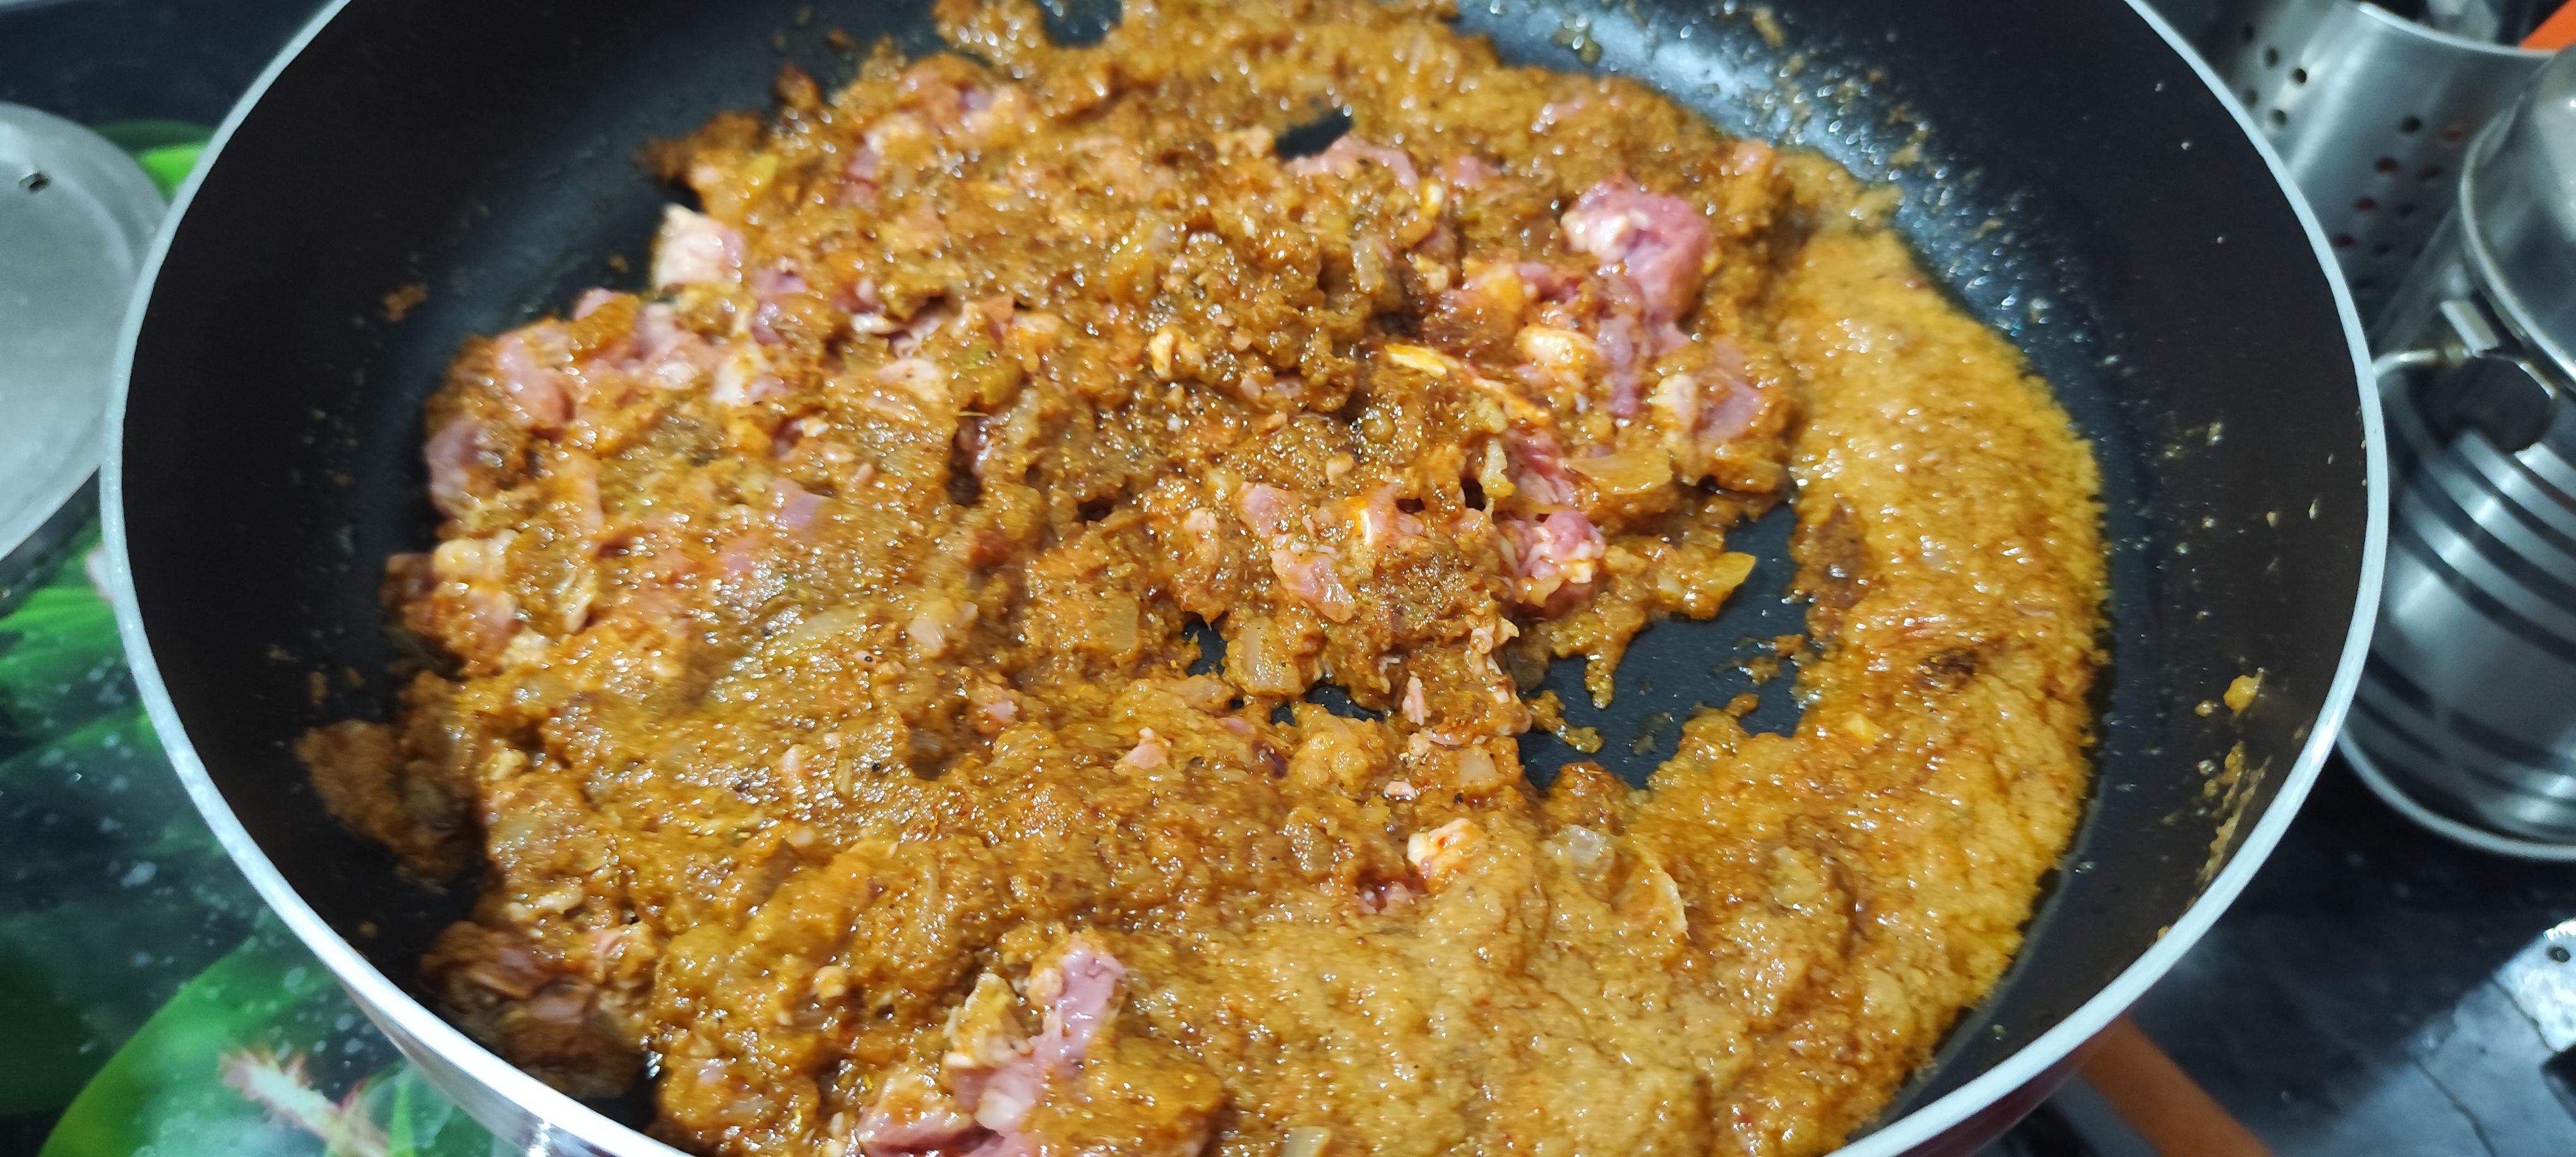
After mixing, I added a little more red chilli powder, coriander powder and garam masala to enhance the taste and give a deeper color to the dish. Then I cooked the kheema on medium flame for about 10 to 12 minutes.
During this time, the kheema started changing its color and released a wonderful aroma. Stirring occasionally is important so that the kheema does not stick to the bottom and cooks evenly. This stage is one of the most satisfying parts of the cooking process because you can see and smell the transformation of the dish.
After frying the kheema properly with the masala, I added water according to my preference. Since I like a medium consistency gravy, I added around 1 to 2 cups of water. You can adjust the amount of water depending on how thick or thin you want the gravy.
Then I closed the lid of the cooker and allowed it to cook for 2 to 3 whistles. Pressure cooking helps in making the kheema soft and tender in less time. After the cooking was done, I turned off the flame and let the pressure release naturally.
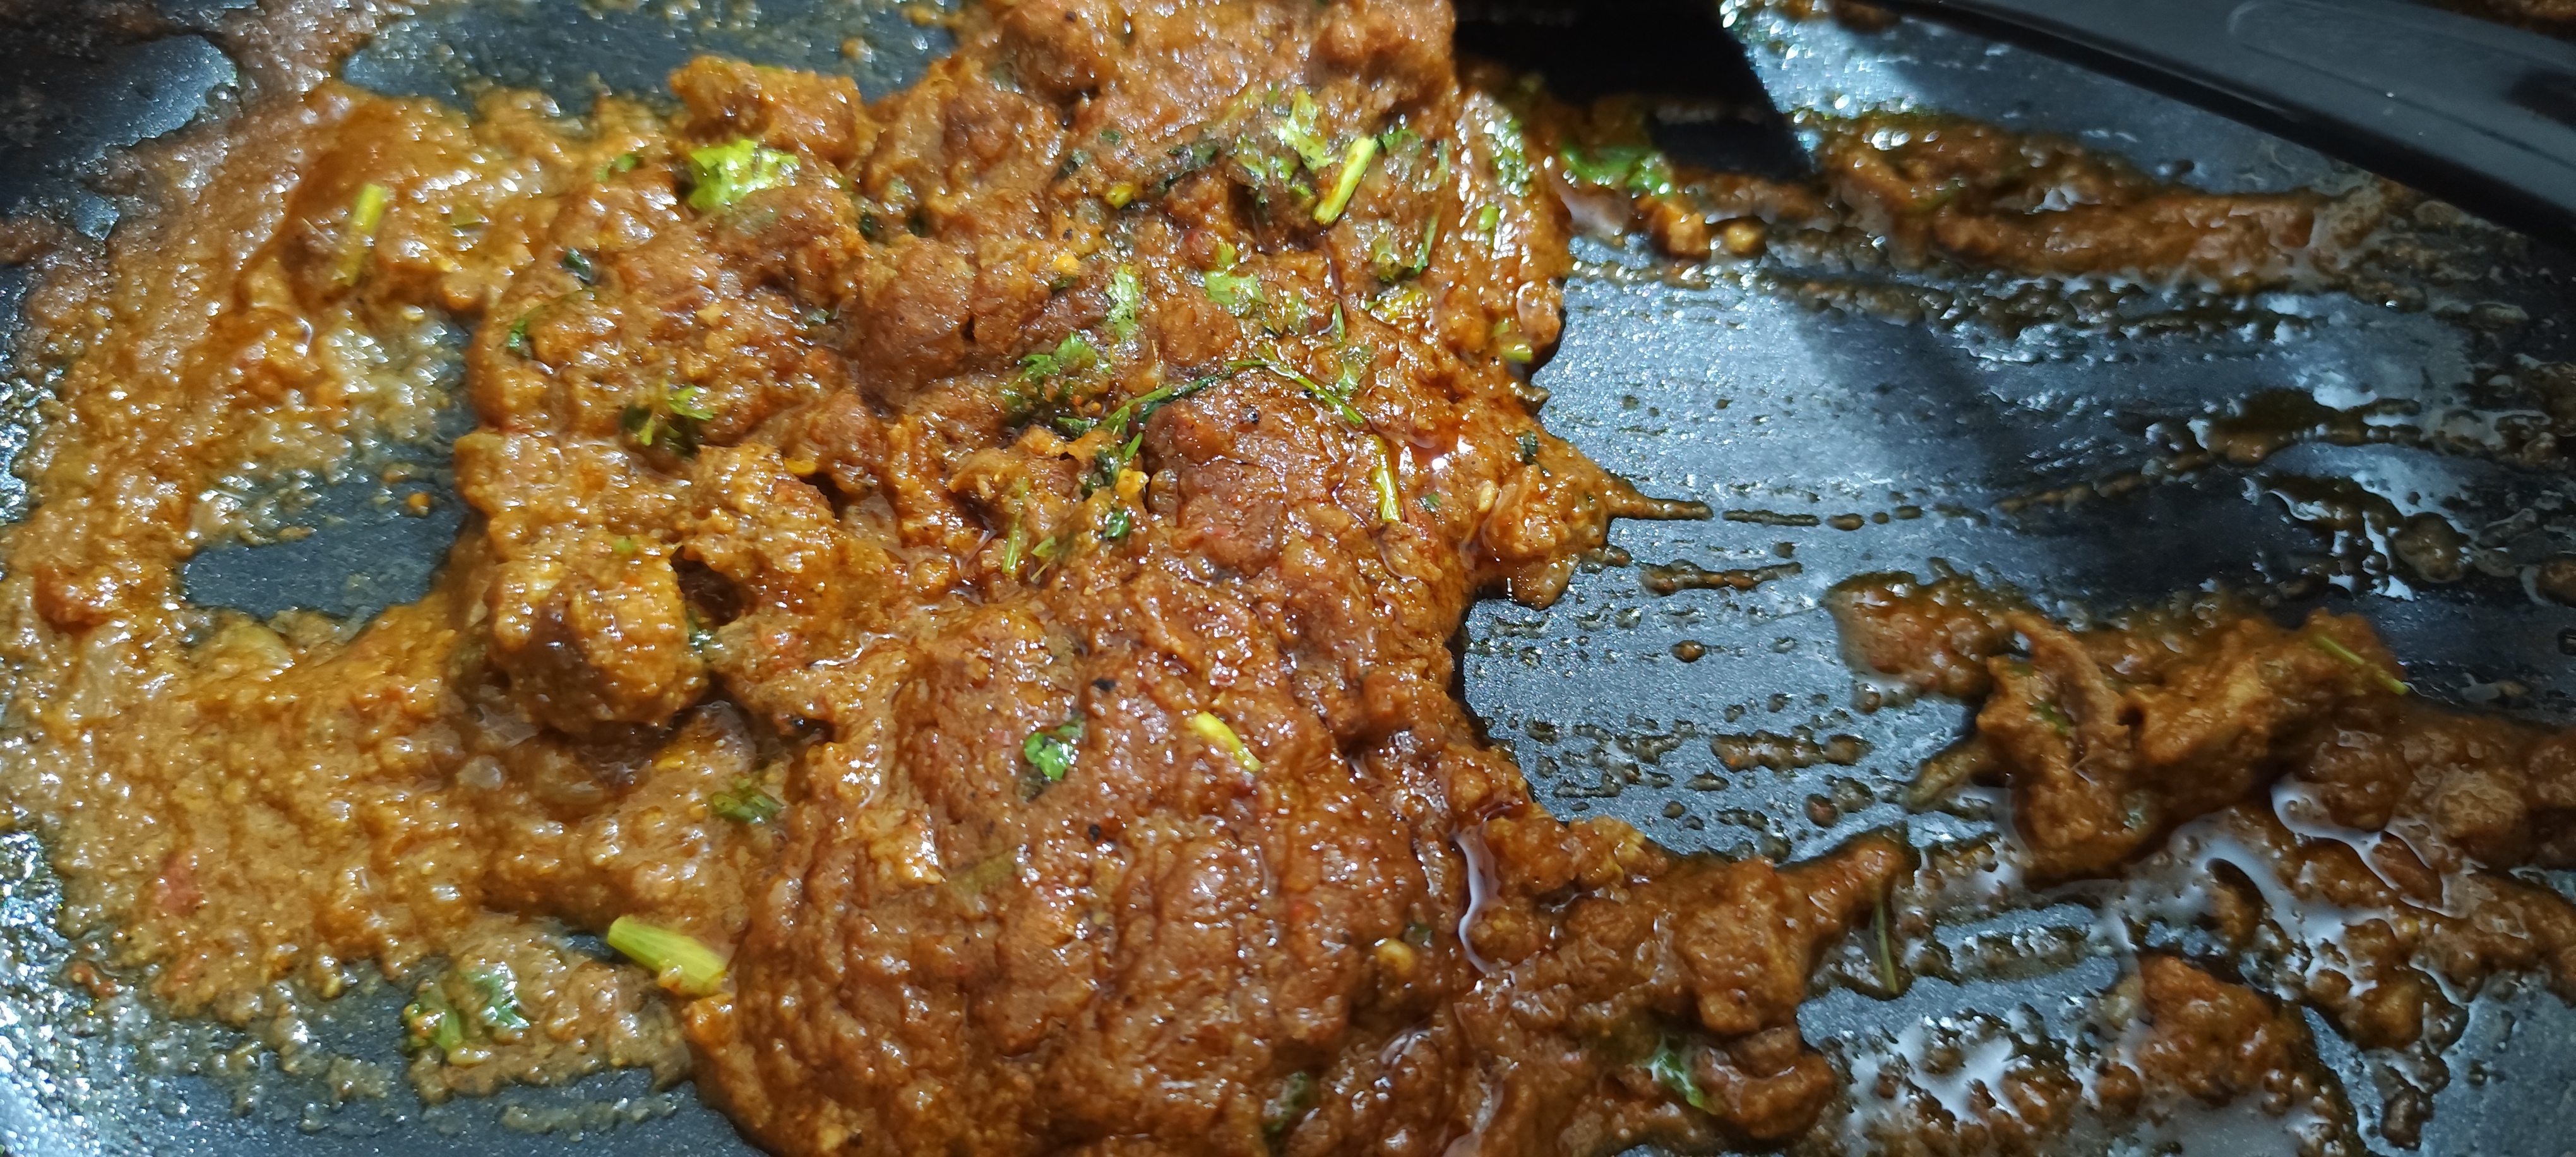
When I opened the cooker, the kheema looked perfectly cooked. The oil was slightly visible on the top and the masala had a rich and deep color. The texture was soft and the gravy had the perfect consistency.
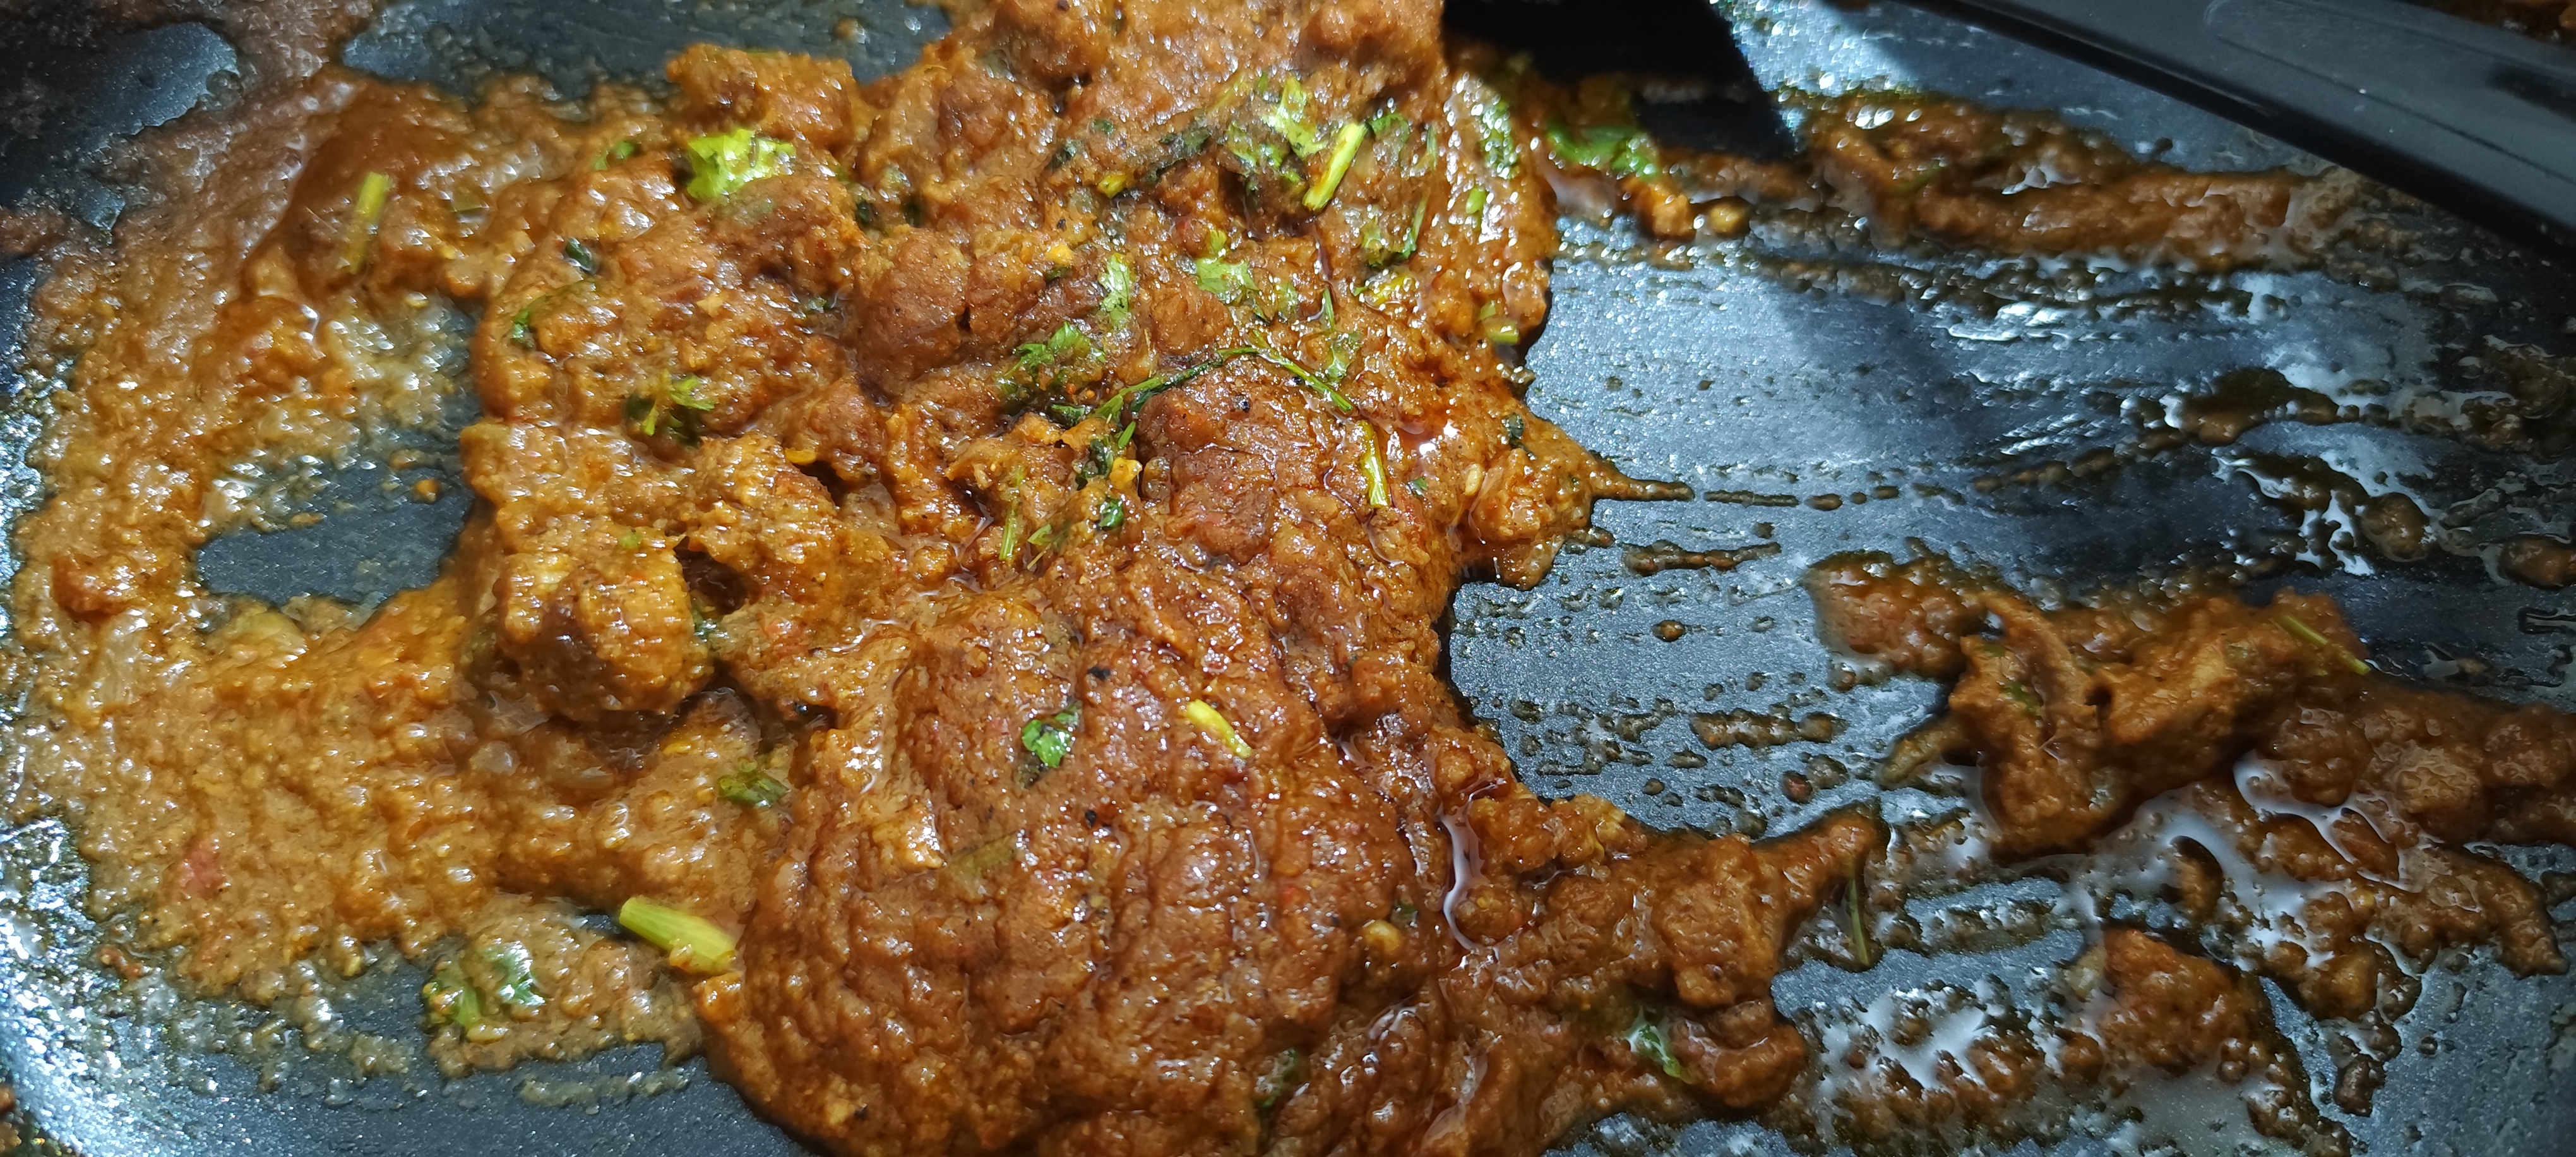
In the final step, I added some garam masala and freshly chopped green coriander leaves. This not only enhanced the flavor but also gave a fresh look to the dish. I mixed everything well and let it cook for another 2 to 3 minutes on low flame. After that, I turned off the gas and transferred the kheema masala into a serving bowl. The dish was now completely ready to serve.

Kheema masala can be enjoyed with roti, naan, pav, or even rice. It is a versatile dish that goes well with different types of bread and rice dishes. Making kheema masala at home was a very satisfying experience for me. It is a dish that requires simple ingredients but gives a very rich and flavorful result. The combination of spices, proper cooking time, and patience makes a big difference in the final taste.
One of the best moments during this recipe was when the kheema started releasing its aroma while cooking with the masala. At that point, I knew that the dish was turning out perfect. The color, texture and smell were exactly how a good kheema masala should be.
When I served this dish to my family, they really enjoyed it and appreciated the taste. Everyone liked the softness of the kheema and the richness of the gravy. It felt very rewarding to see them enjoy the food.
In my opinion, this recipe is perfect for both daily meals and special occasions. It is simple enough to prepare regularly, yet tasty enough to impress guests. If you are someone who enjoys cooking or loves trying new recipes, then you should definitely try this kheema masala at home.
With the right balance of spices and a little patience, you can easily recreate this dish in your kitchen. Once you try it, I am sure it will become one of your favorite recipes.

All Images by @pathanapsana
THANK YOU

.jpg)
Upvoted! Thank you for supporting witness @jswit.