PHOTOSHOP: HOW TO GET STARTED WITH ADOBE PHOTOSHOP CS6 USING SPOT HEALING BRUSH WITH VIDEO
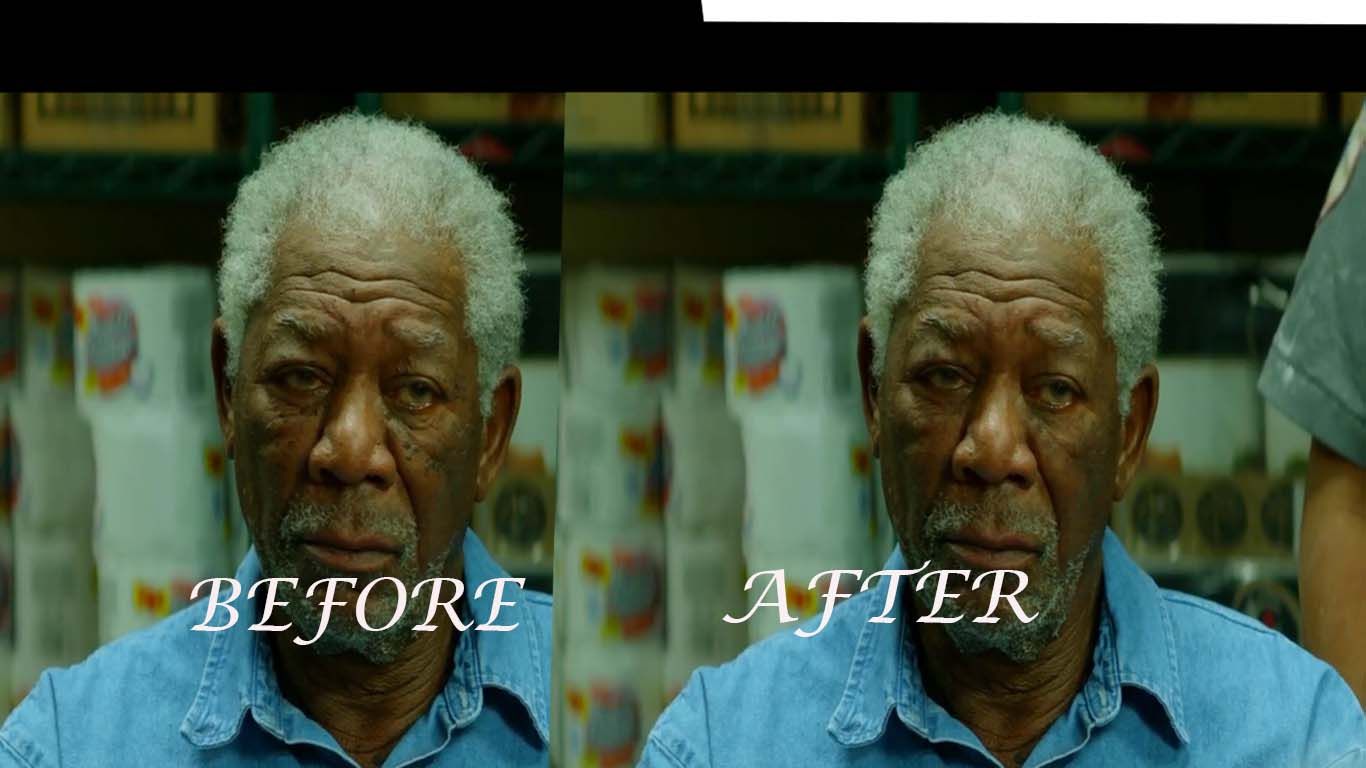
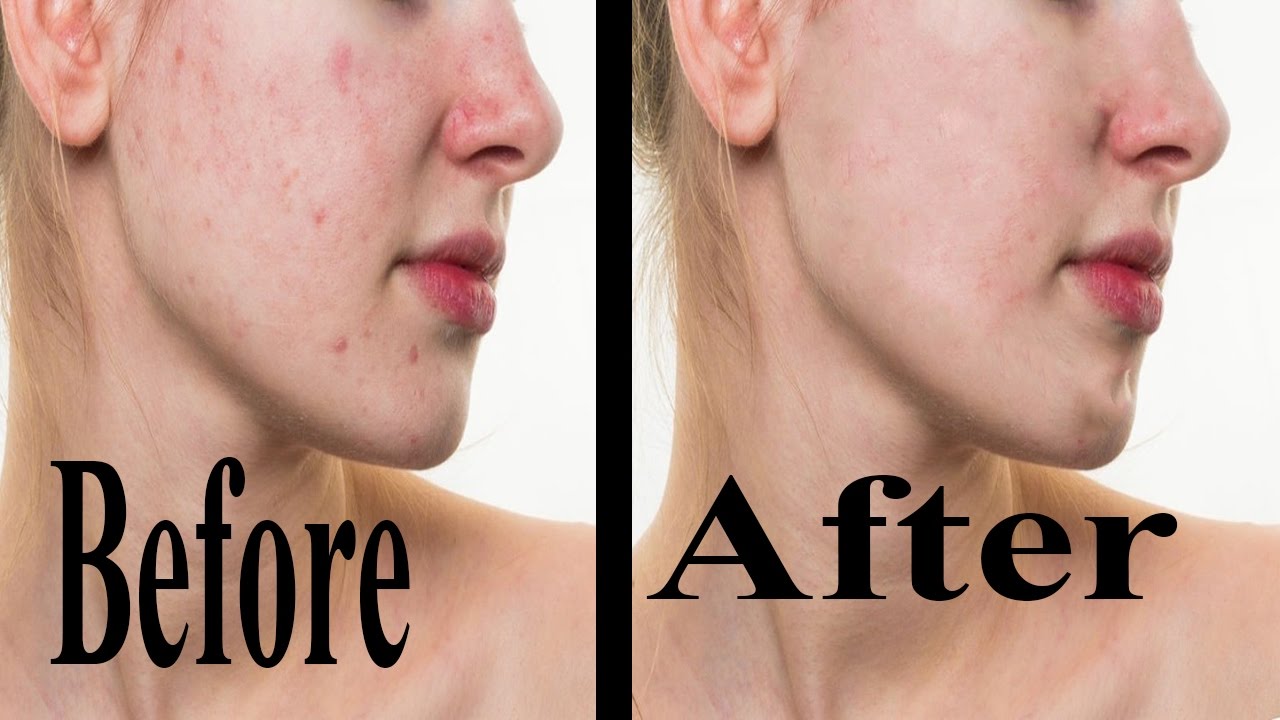
The first thing beginner like to know is what all the tools in the page tray does, it’s not possible to cover that in a day. So am going to go through some of the tools and how we can make use of it while editing our photo. The first tool I will take into consideration is the tools used in removing blemishes, there are several ways we can do this, but the one I like using most is the spot healing brush,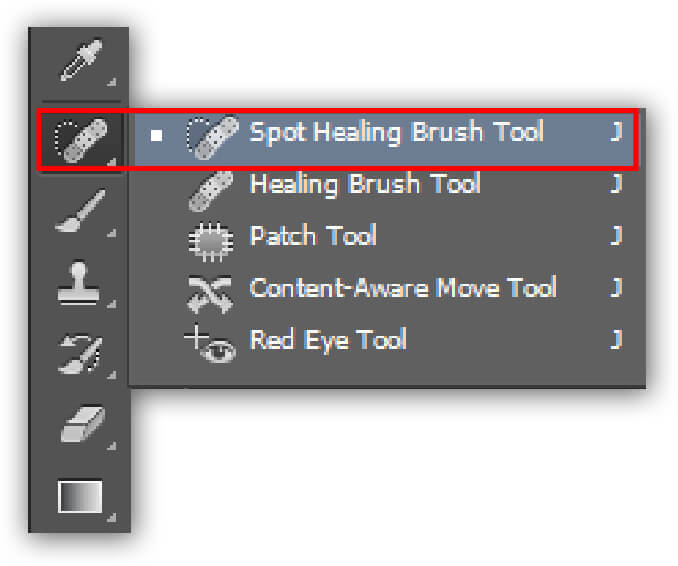
and when you bring it over your image you’ll have something like a circle on your image (except your caps lock is active which you have to deactivate). You can also choose how smaller or bigger, soft or hard and the spacing you want for it to suite your taste by clicking the brush picker at the left top of the tray. You can also make the circle bigger or smaller by clicking the bracket key next to the letter “P” on your key board. The open bracket ([) makes it smaller and the close bracket (]) makes it bigger. This depends on the type of spot you want. The next thing you need to do after resizing the circle is to start clicking on the spot you notice on the image.
Save your work with jpeg if you are done with the whole editing and if not, you can save it with Photoshop so as to go back to it for further editing.
I hope you like it...
I like that this service explains editing techniques in a way that feels personal and easy to follow. It helps me understand how small changes can make my photos look more expressive. The third sentence includes the anchor https://skylum.com/blog/how-to-edit-photos-for-instagram placed correctly as requested. What stands out is that the advice feels practical, not overwhelming. It’s a useful tool when I want my images to look clean and visually appealing.