Foldable hat | The 3R-S30W3

I must survive. As a tailor, I get difficult things, even if I'm new to such things. We stand to be corrected. I've been wondering how our tutor made a foldable cap that stood up even with the tutorial. To be honest, this is the week I felt like I shouldn't continue with the challenge this week. Every single day, I felt so lazy to do this because I thought it was just so complex, which it is.
I started on Monday and finished yesterday. Att some point, I thought I should just give up instead of becoming stressed, but what do I gain if I don't learn a new thing. My foldable hat may look funny 😁😁, but it's nice. It fits on my head because of the elastic nature of the jean material I used. Now, let me tell or show you how I recycled this into a foldable hat.
Materials used |
|---|
Pieces of fabrics
Office pins
Scissors
Thread
Cardboard and pen
A cloth ruler
Measuring tape
Hand sewing needle
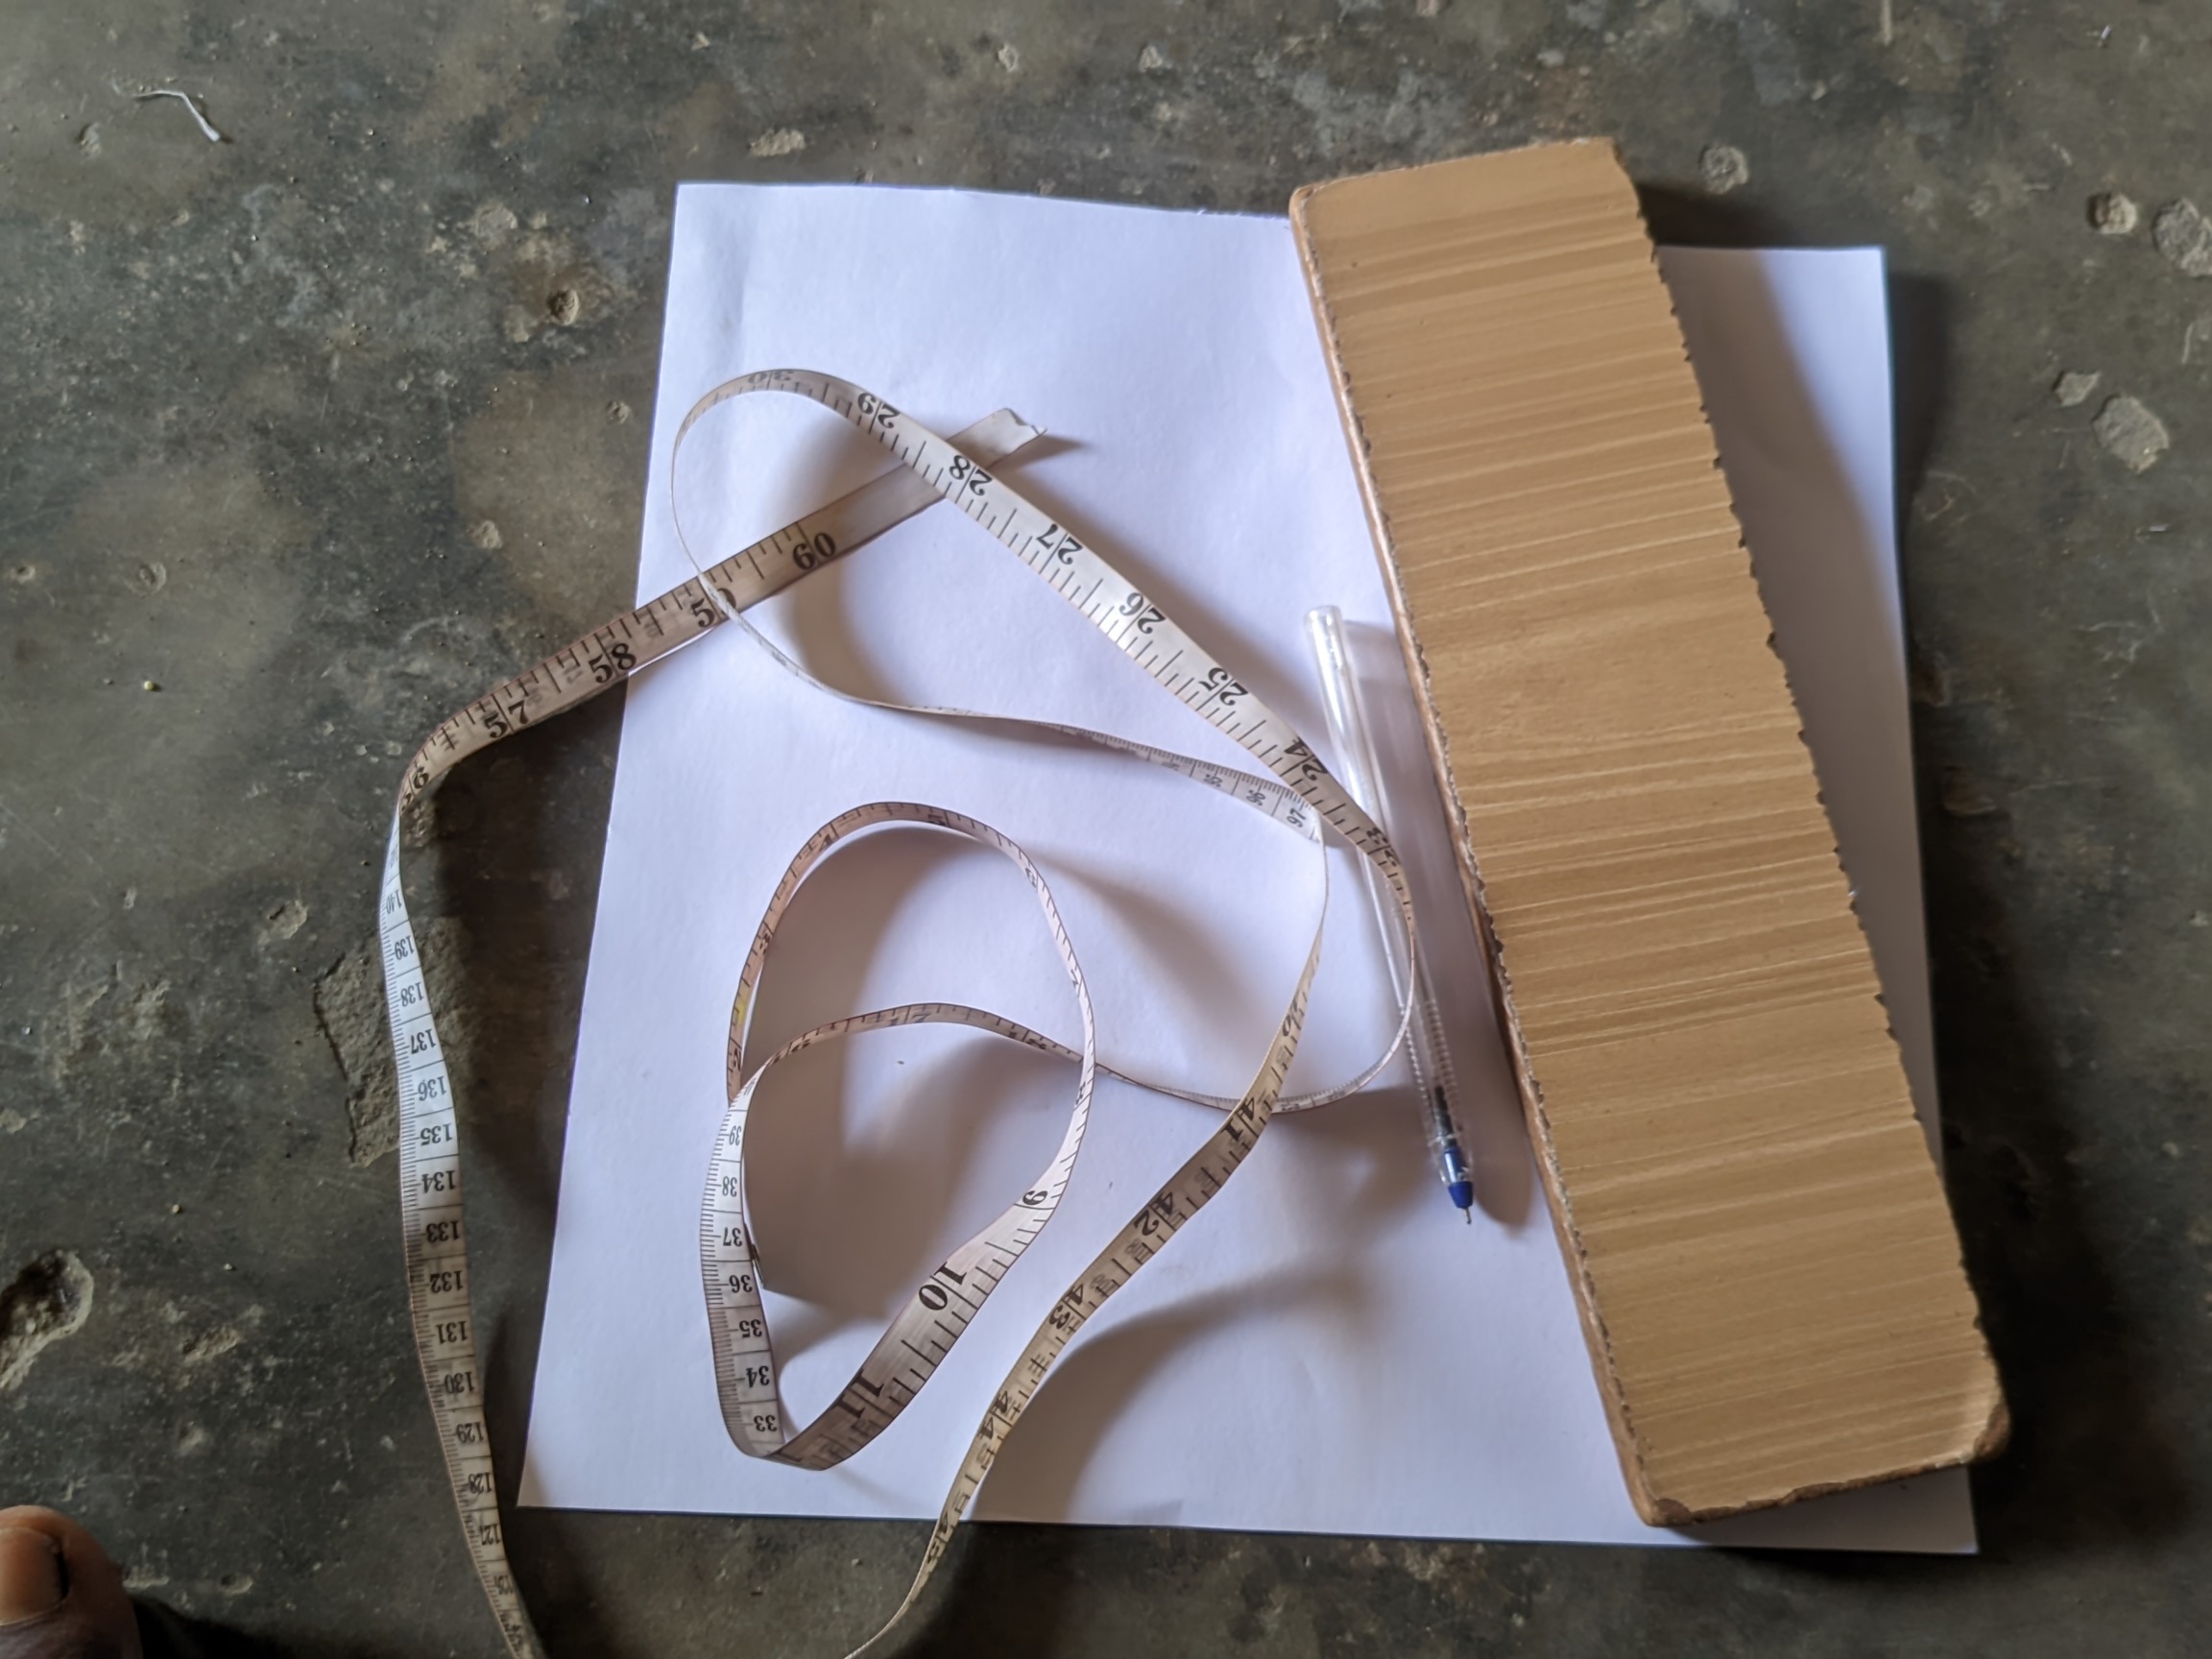
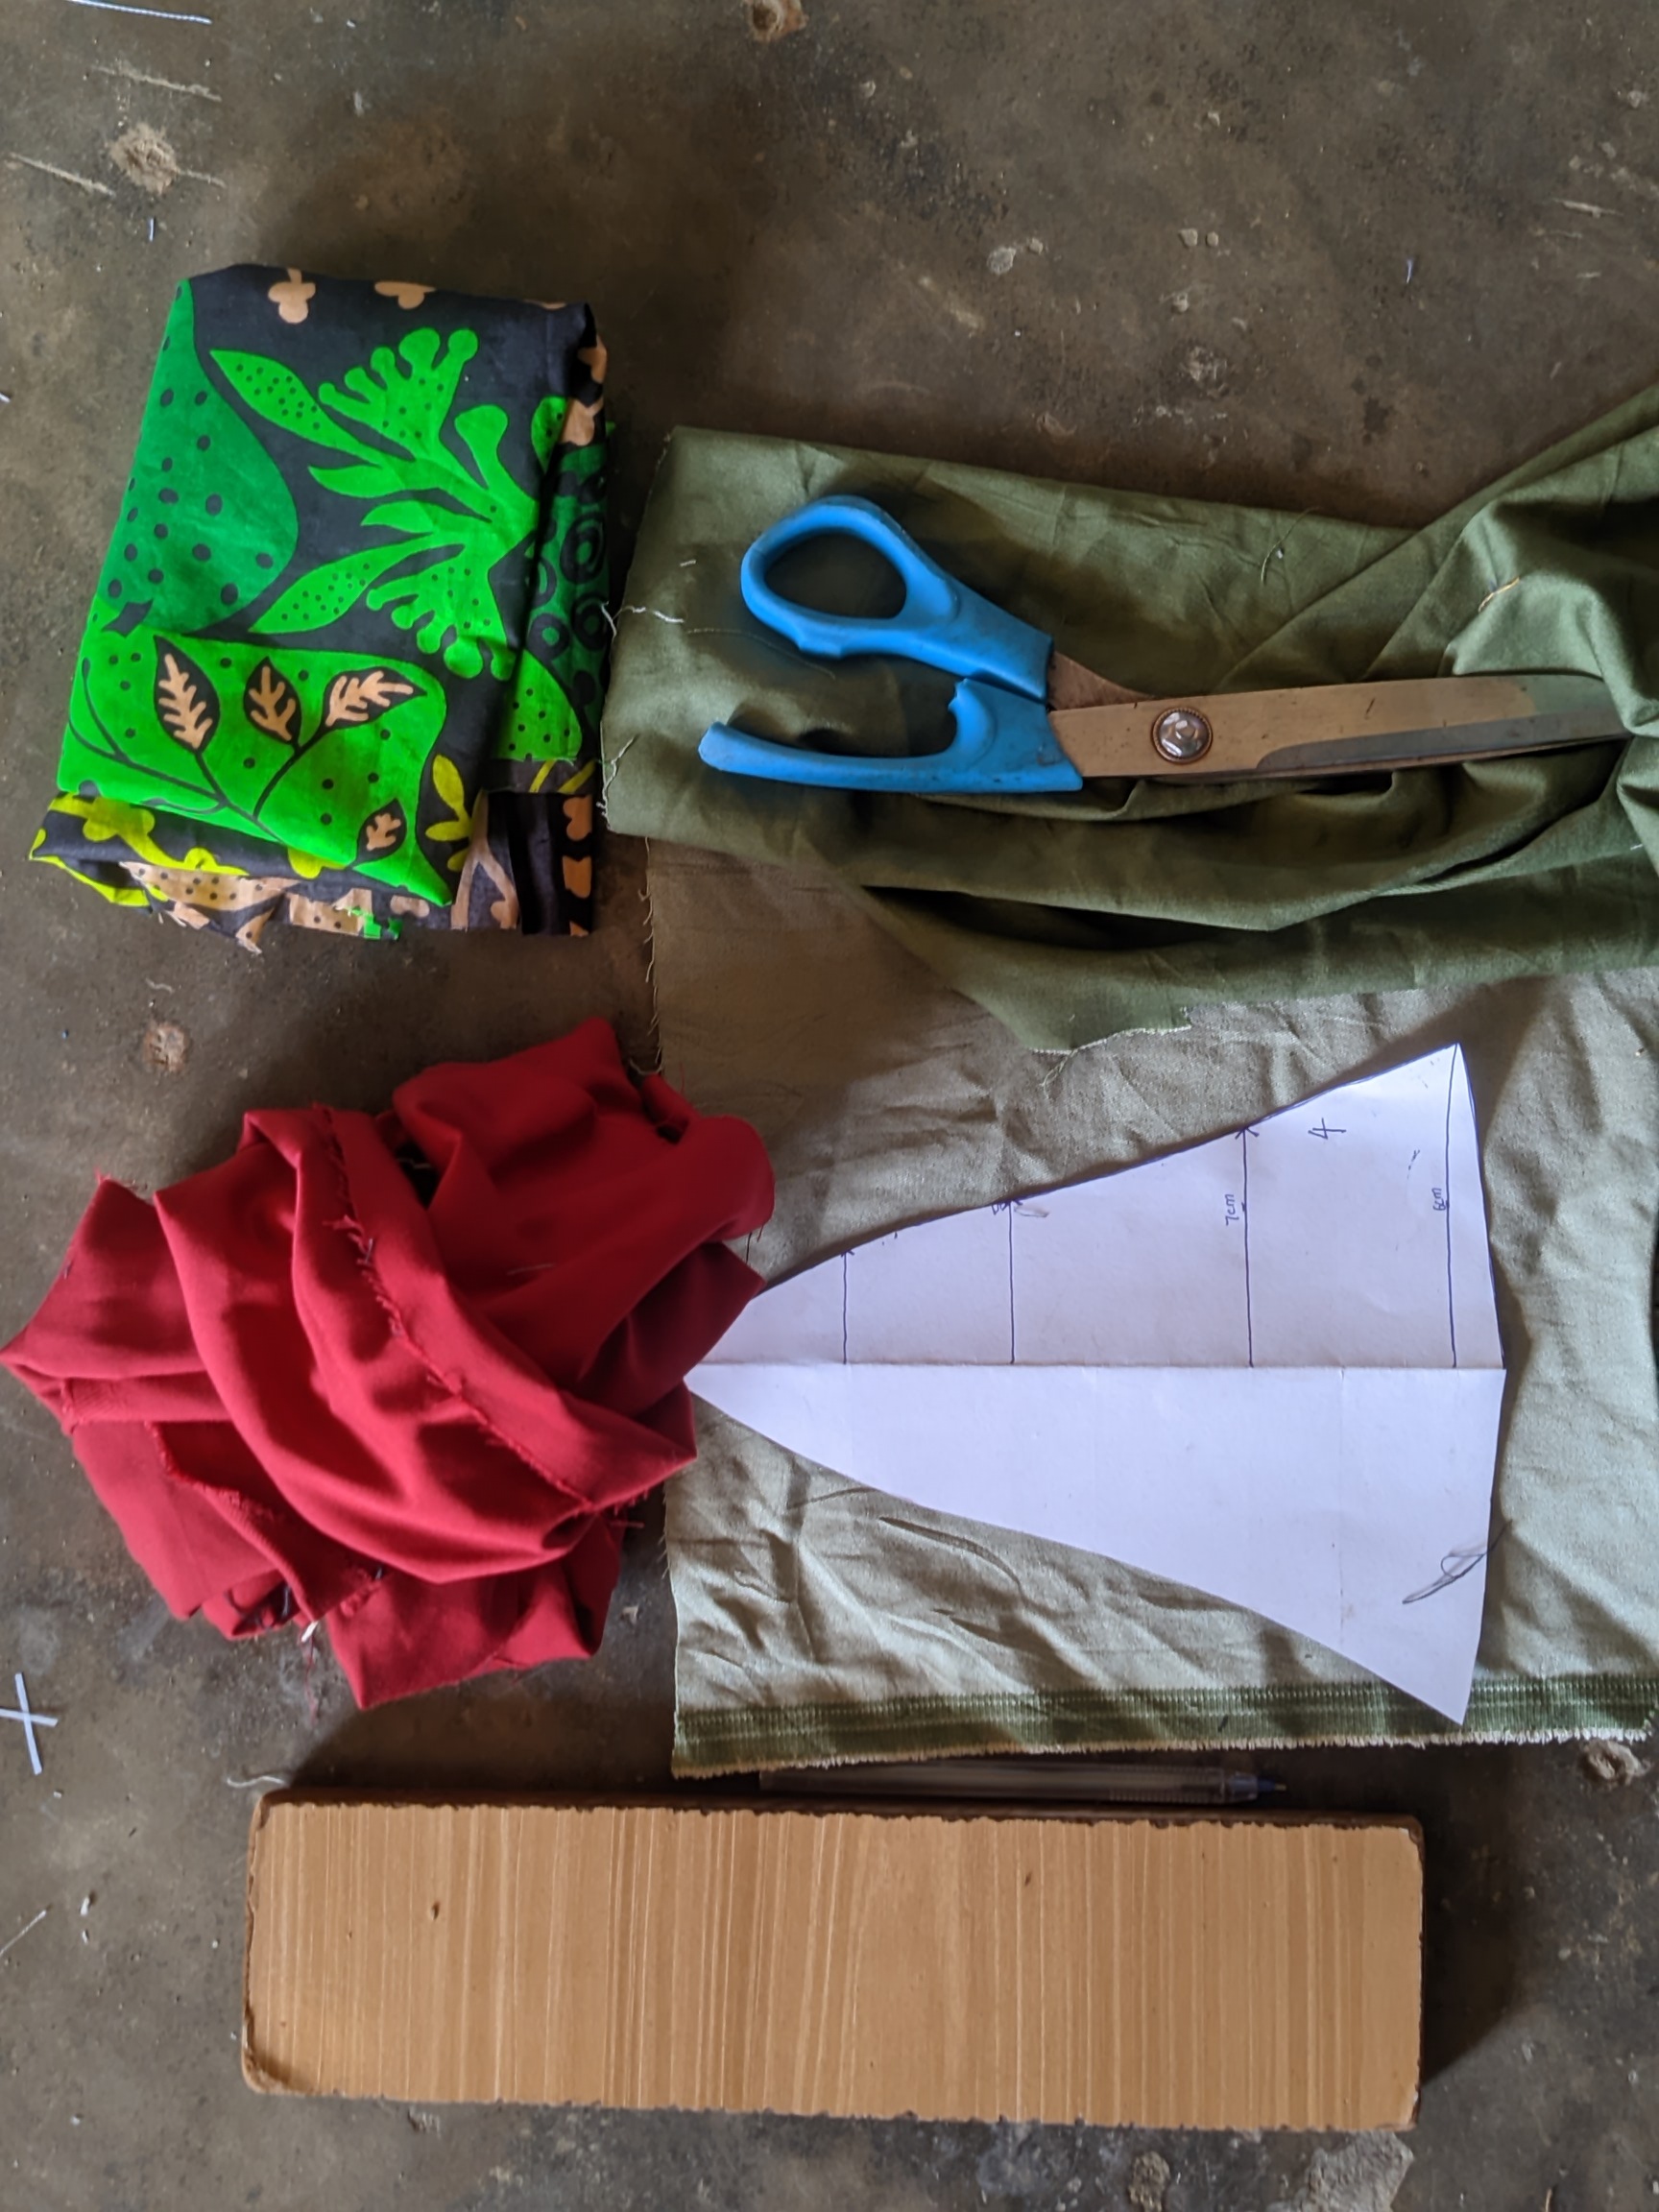
These are the materials I used to show that it got to a complex point that needed endurance, patching up with a hand needle because of the bias. The uses of these materials are stated below because this is actually the first time we used cardboard to draw the design of the cap with ease.
 |  |
|---|
Uses of the materials |
|---|
| Sewing Machine | Even if the process isn't that tedious, you can't survive without a sewing machine unless you're an expert in hand sewing, but you won't be fast. |
|---|---|
| Measuring Tape | This is used for measuring the length and width of the fabrics we cut. I used it to measure the length and width of the keychain so it wouldn't lag on my hand or be too tight when wearing it. This is very important when sewing this for commercial purposes. |
| Pen and Ruler | These are used for marking the points on our measuring tape to serve as an indication that it's the length and width we want to draft. I used it mostly on the cardboard. |
| Scissors | These are used to cut the fabric from its markings, trim it, and make it look straight, removing loose ends. I also used it to cut the cardboard used to produce a polished design for the hat. |
| Iron | This was used by me to straighten the fabric, which are the jean and cotton materials. |
| Cardboard and pen | This is used to mark measurements and draw designs on, which are carved out to be placed on the clothes or materials for another carving out, which would be the main piece. |
Steps on how I see the hat |
|---|
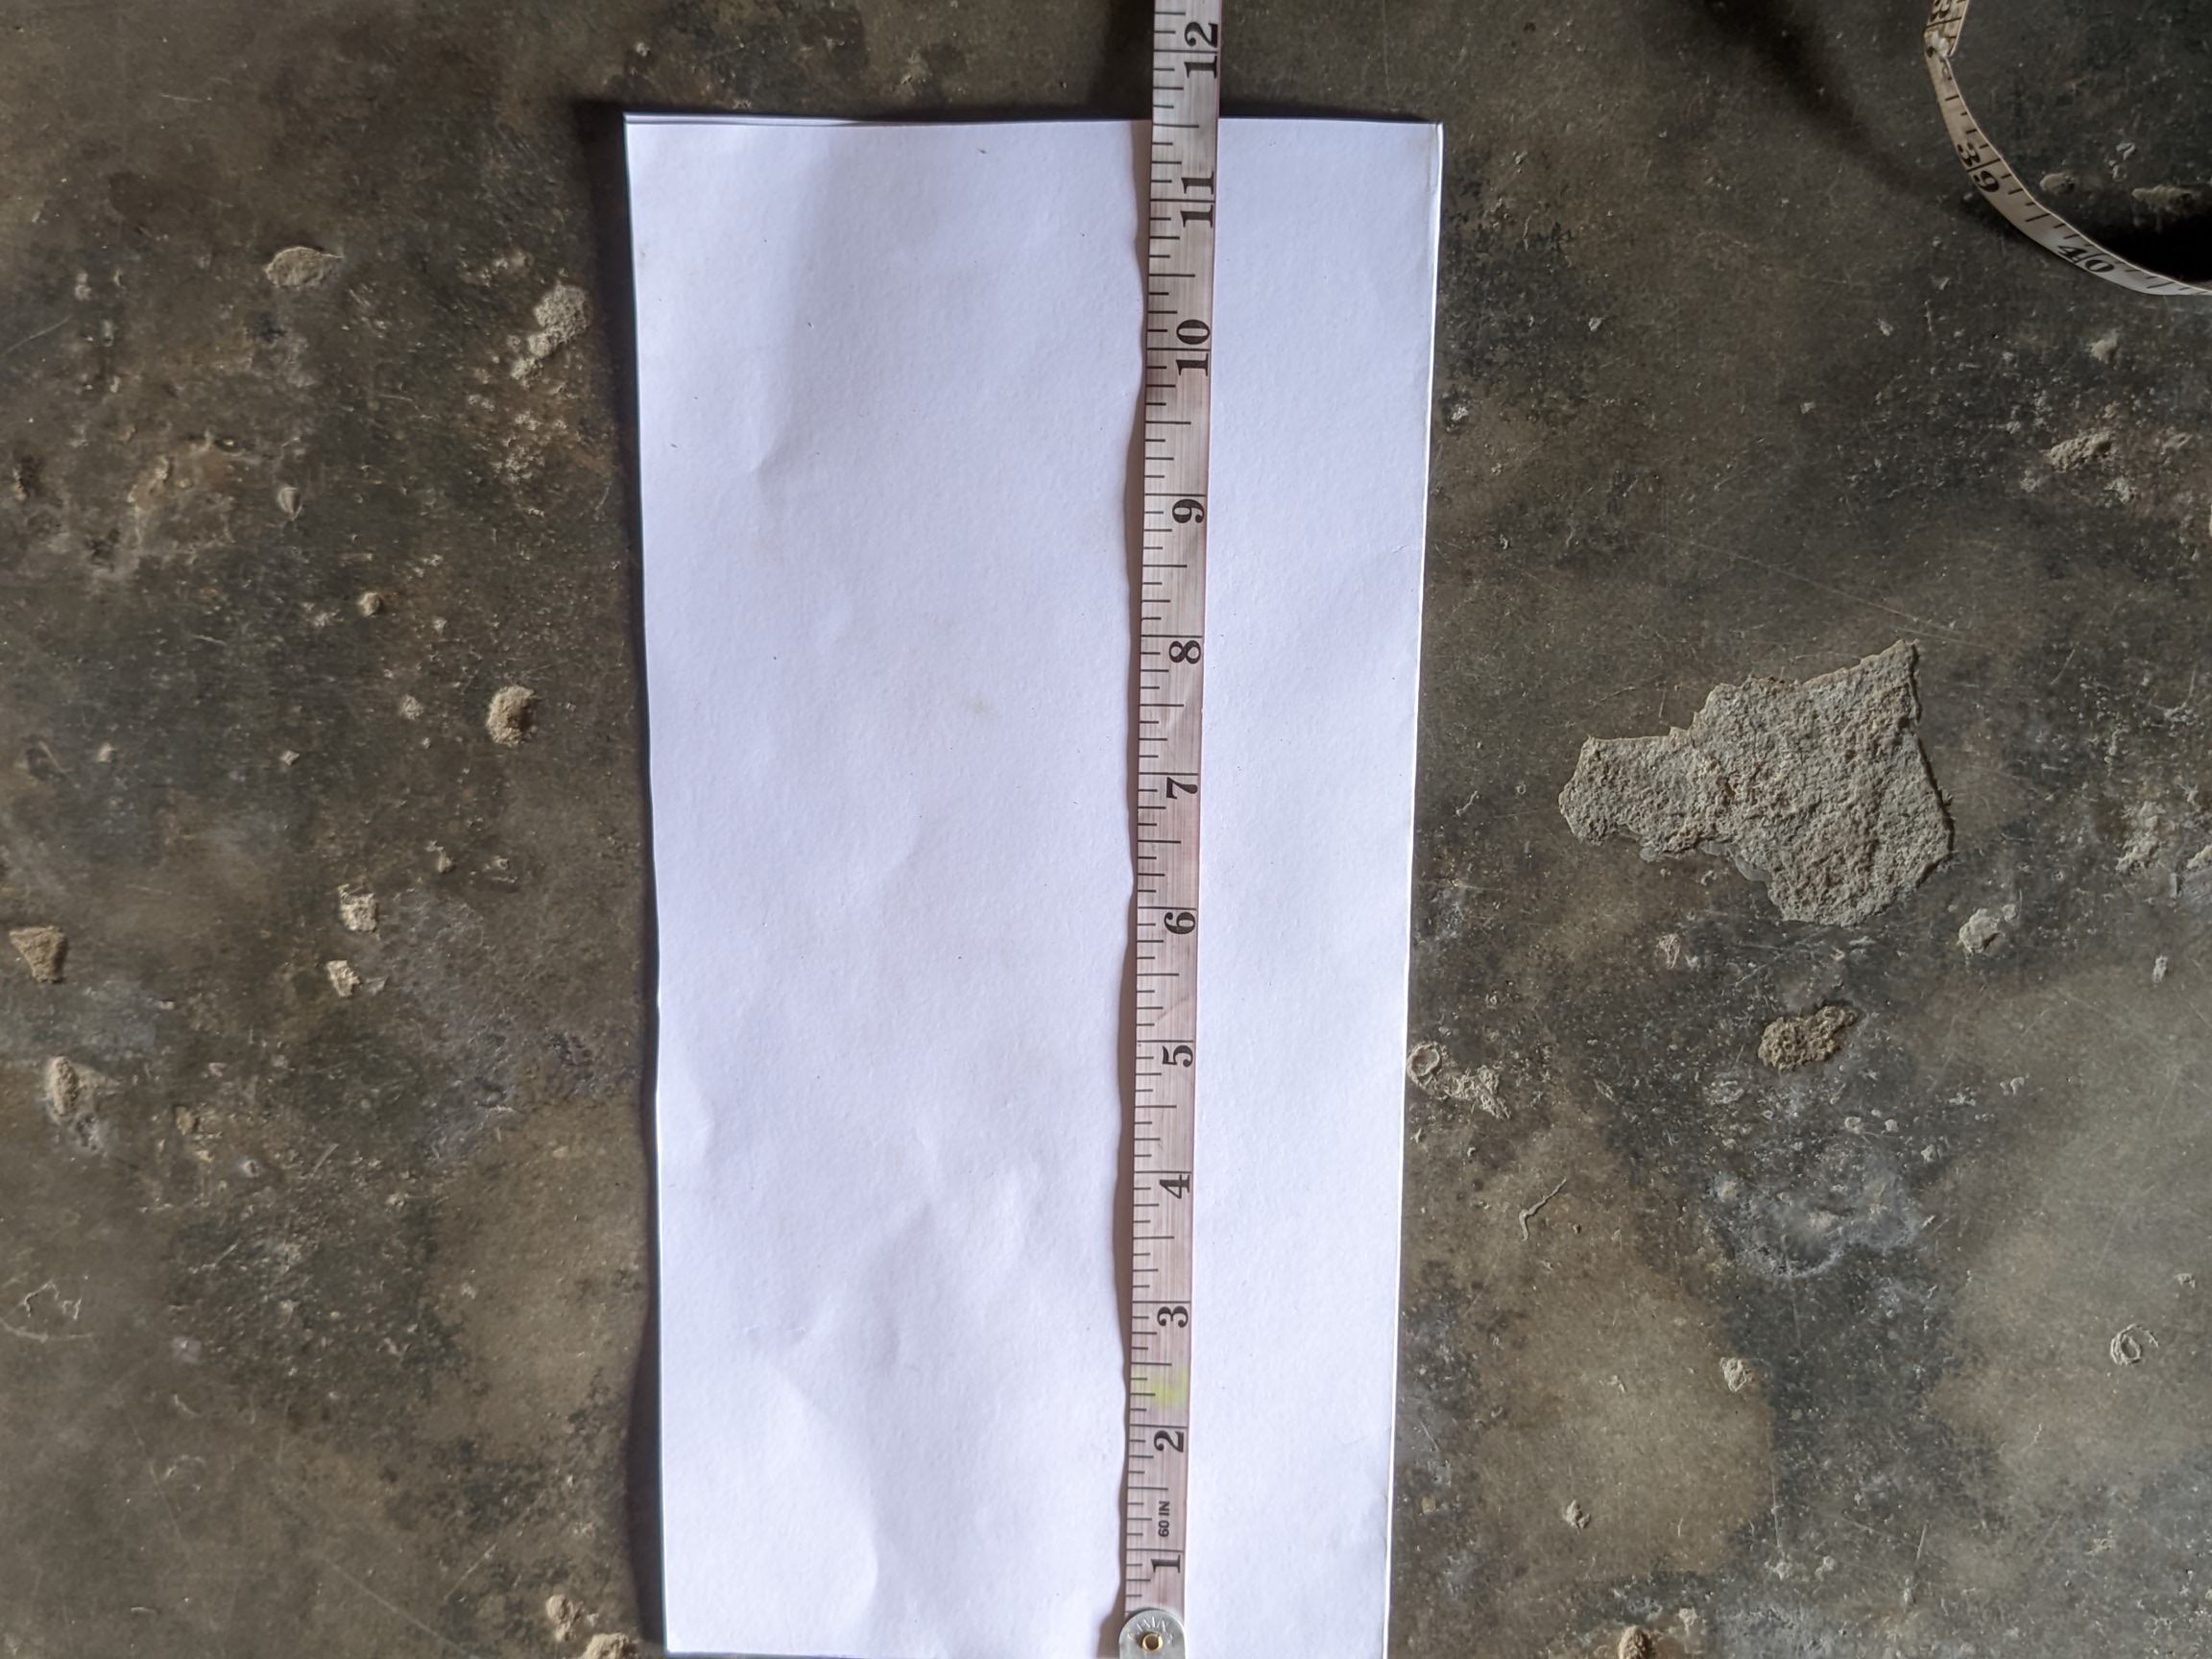
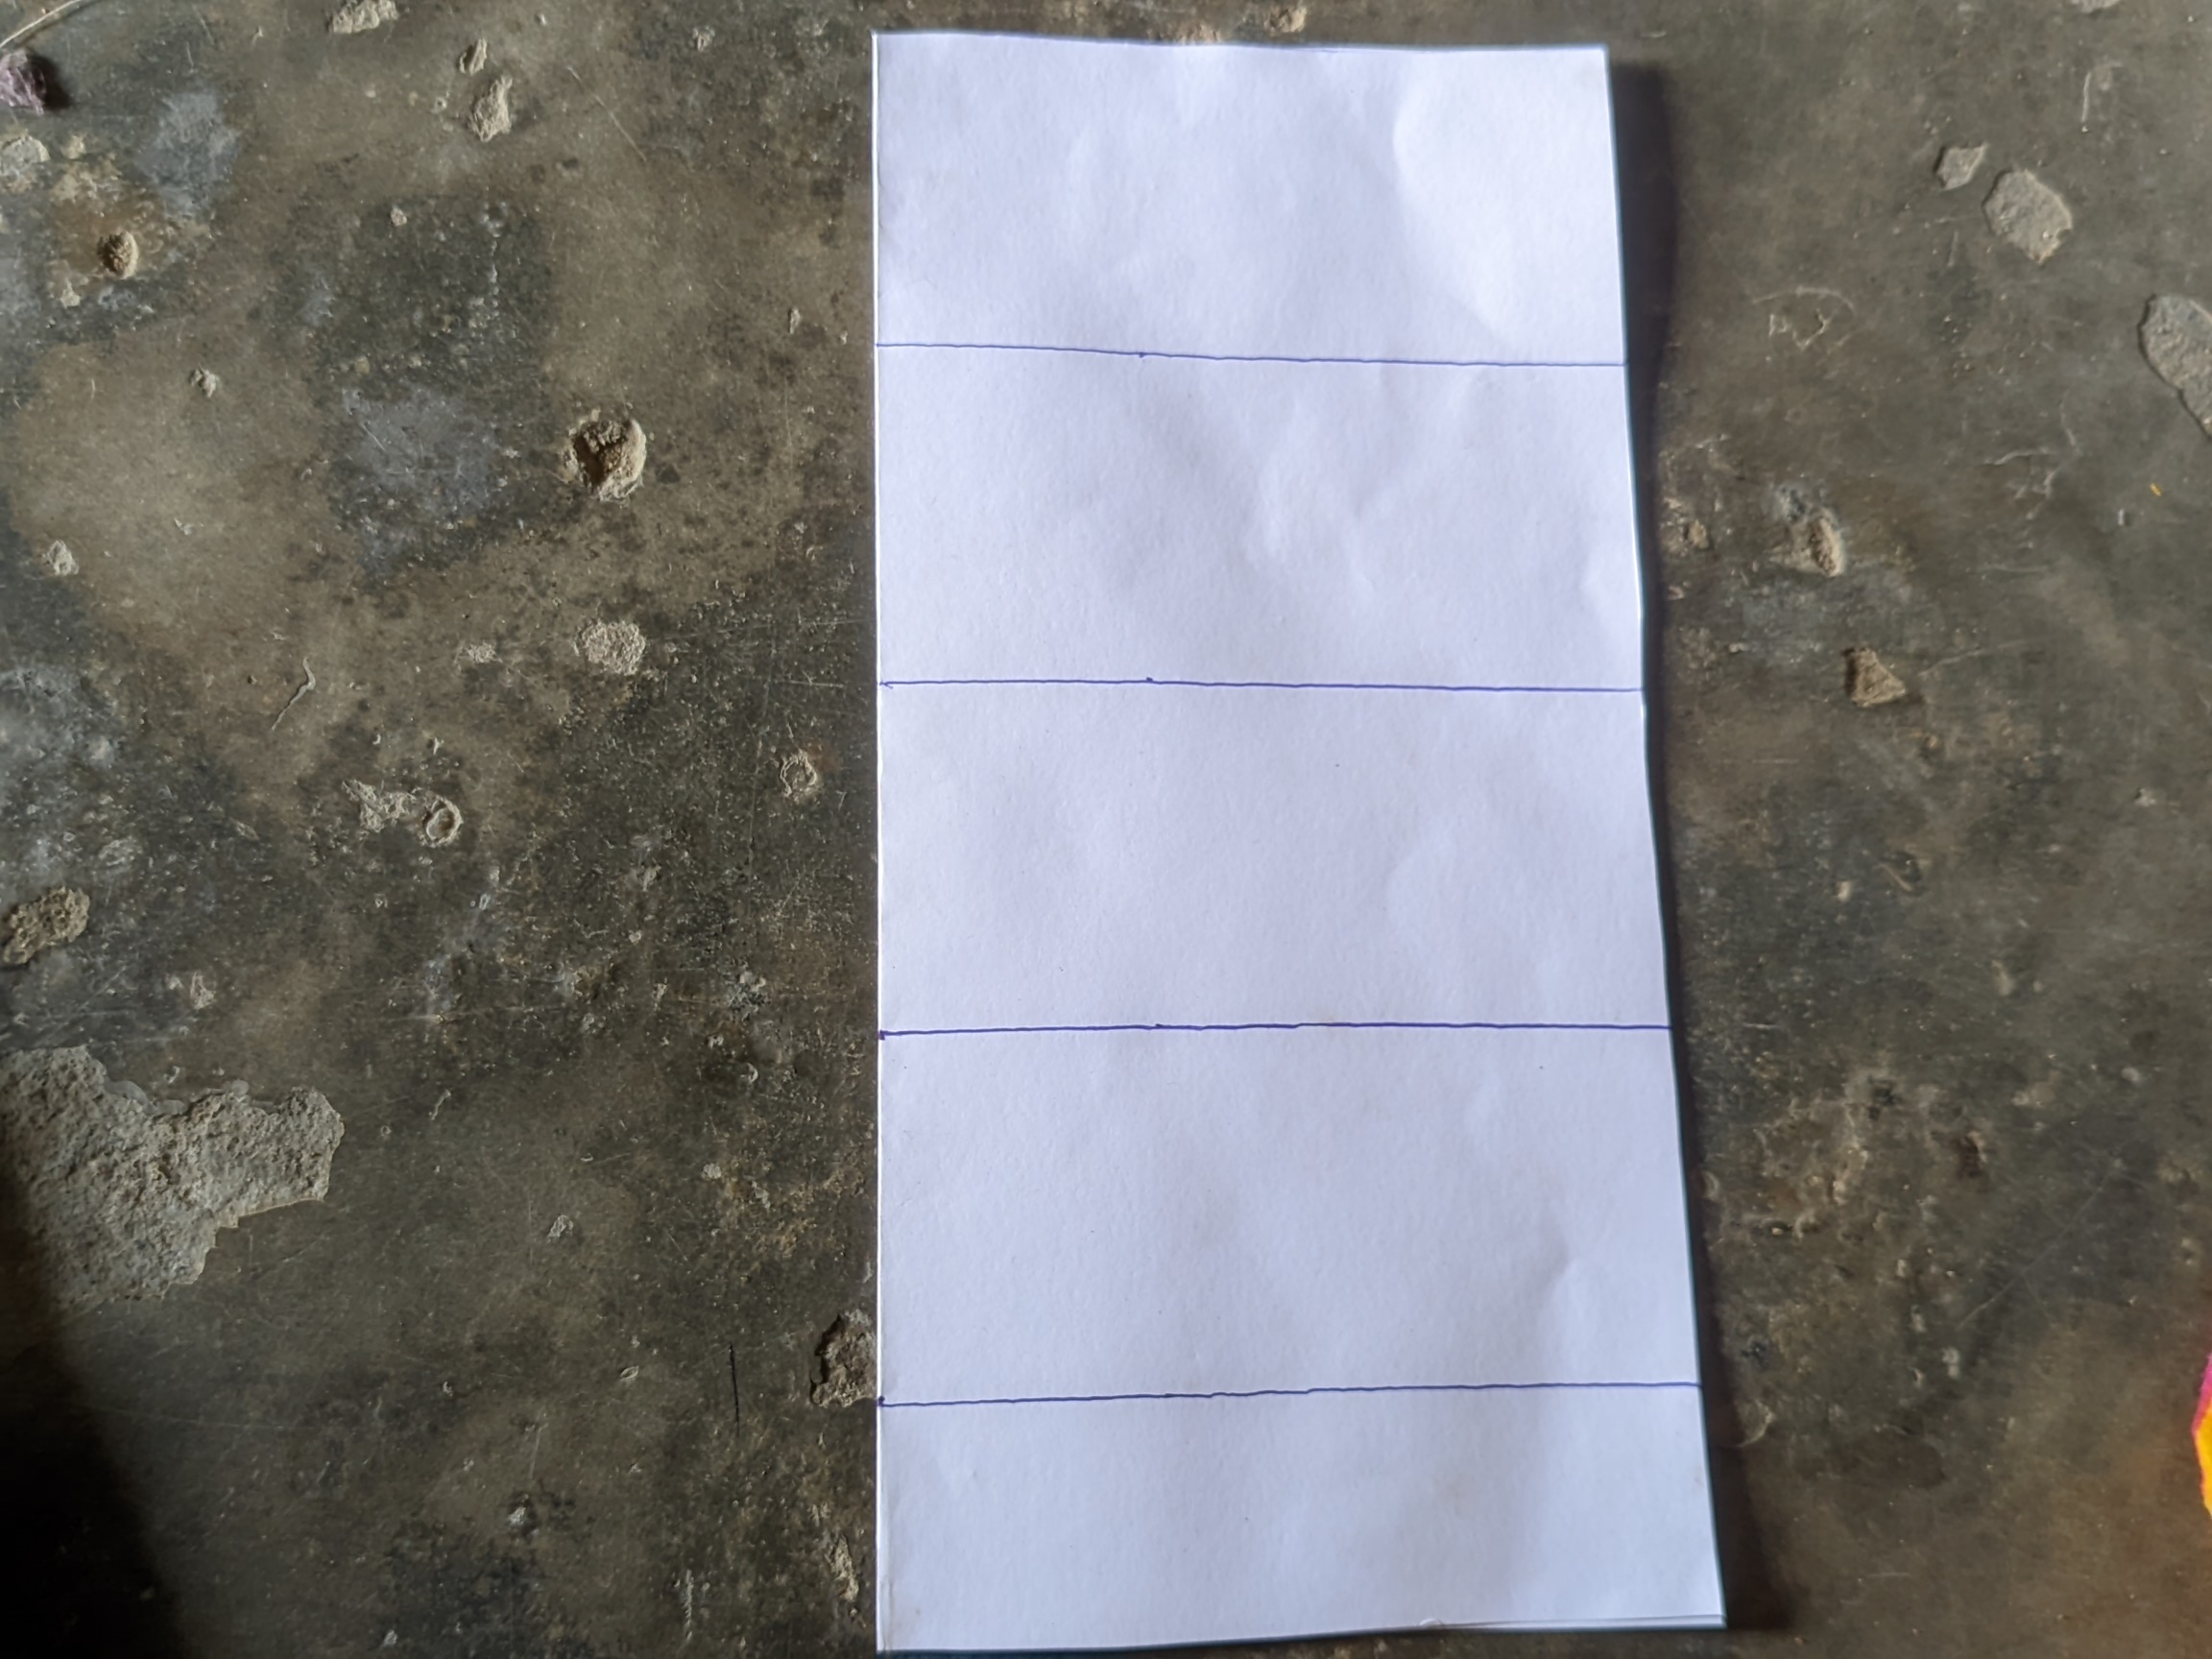
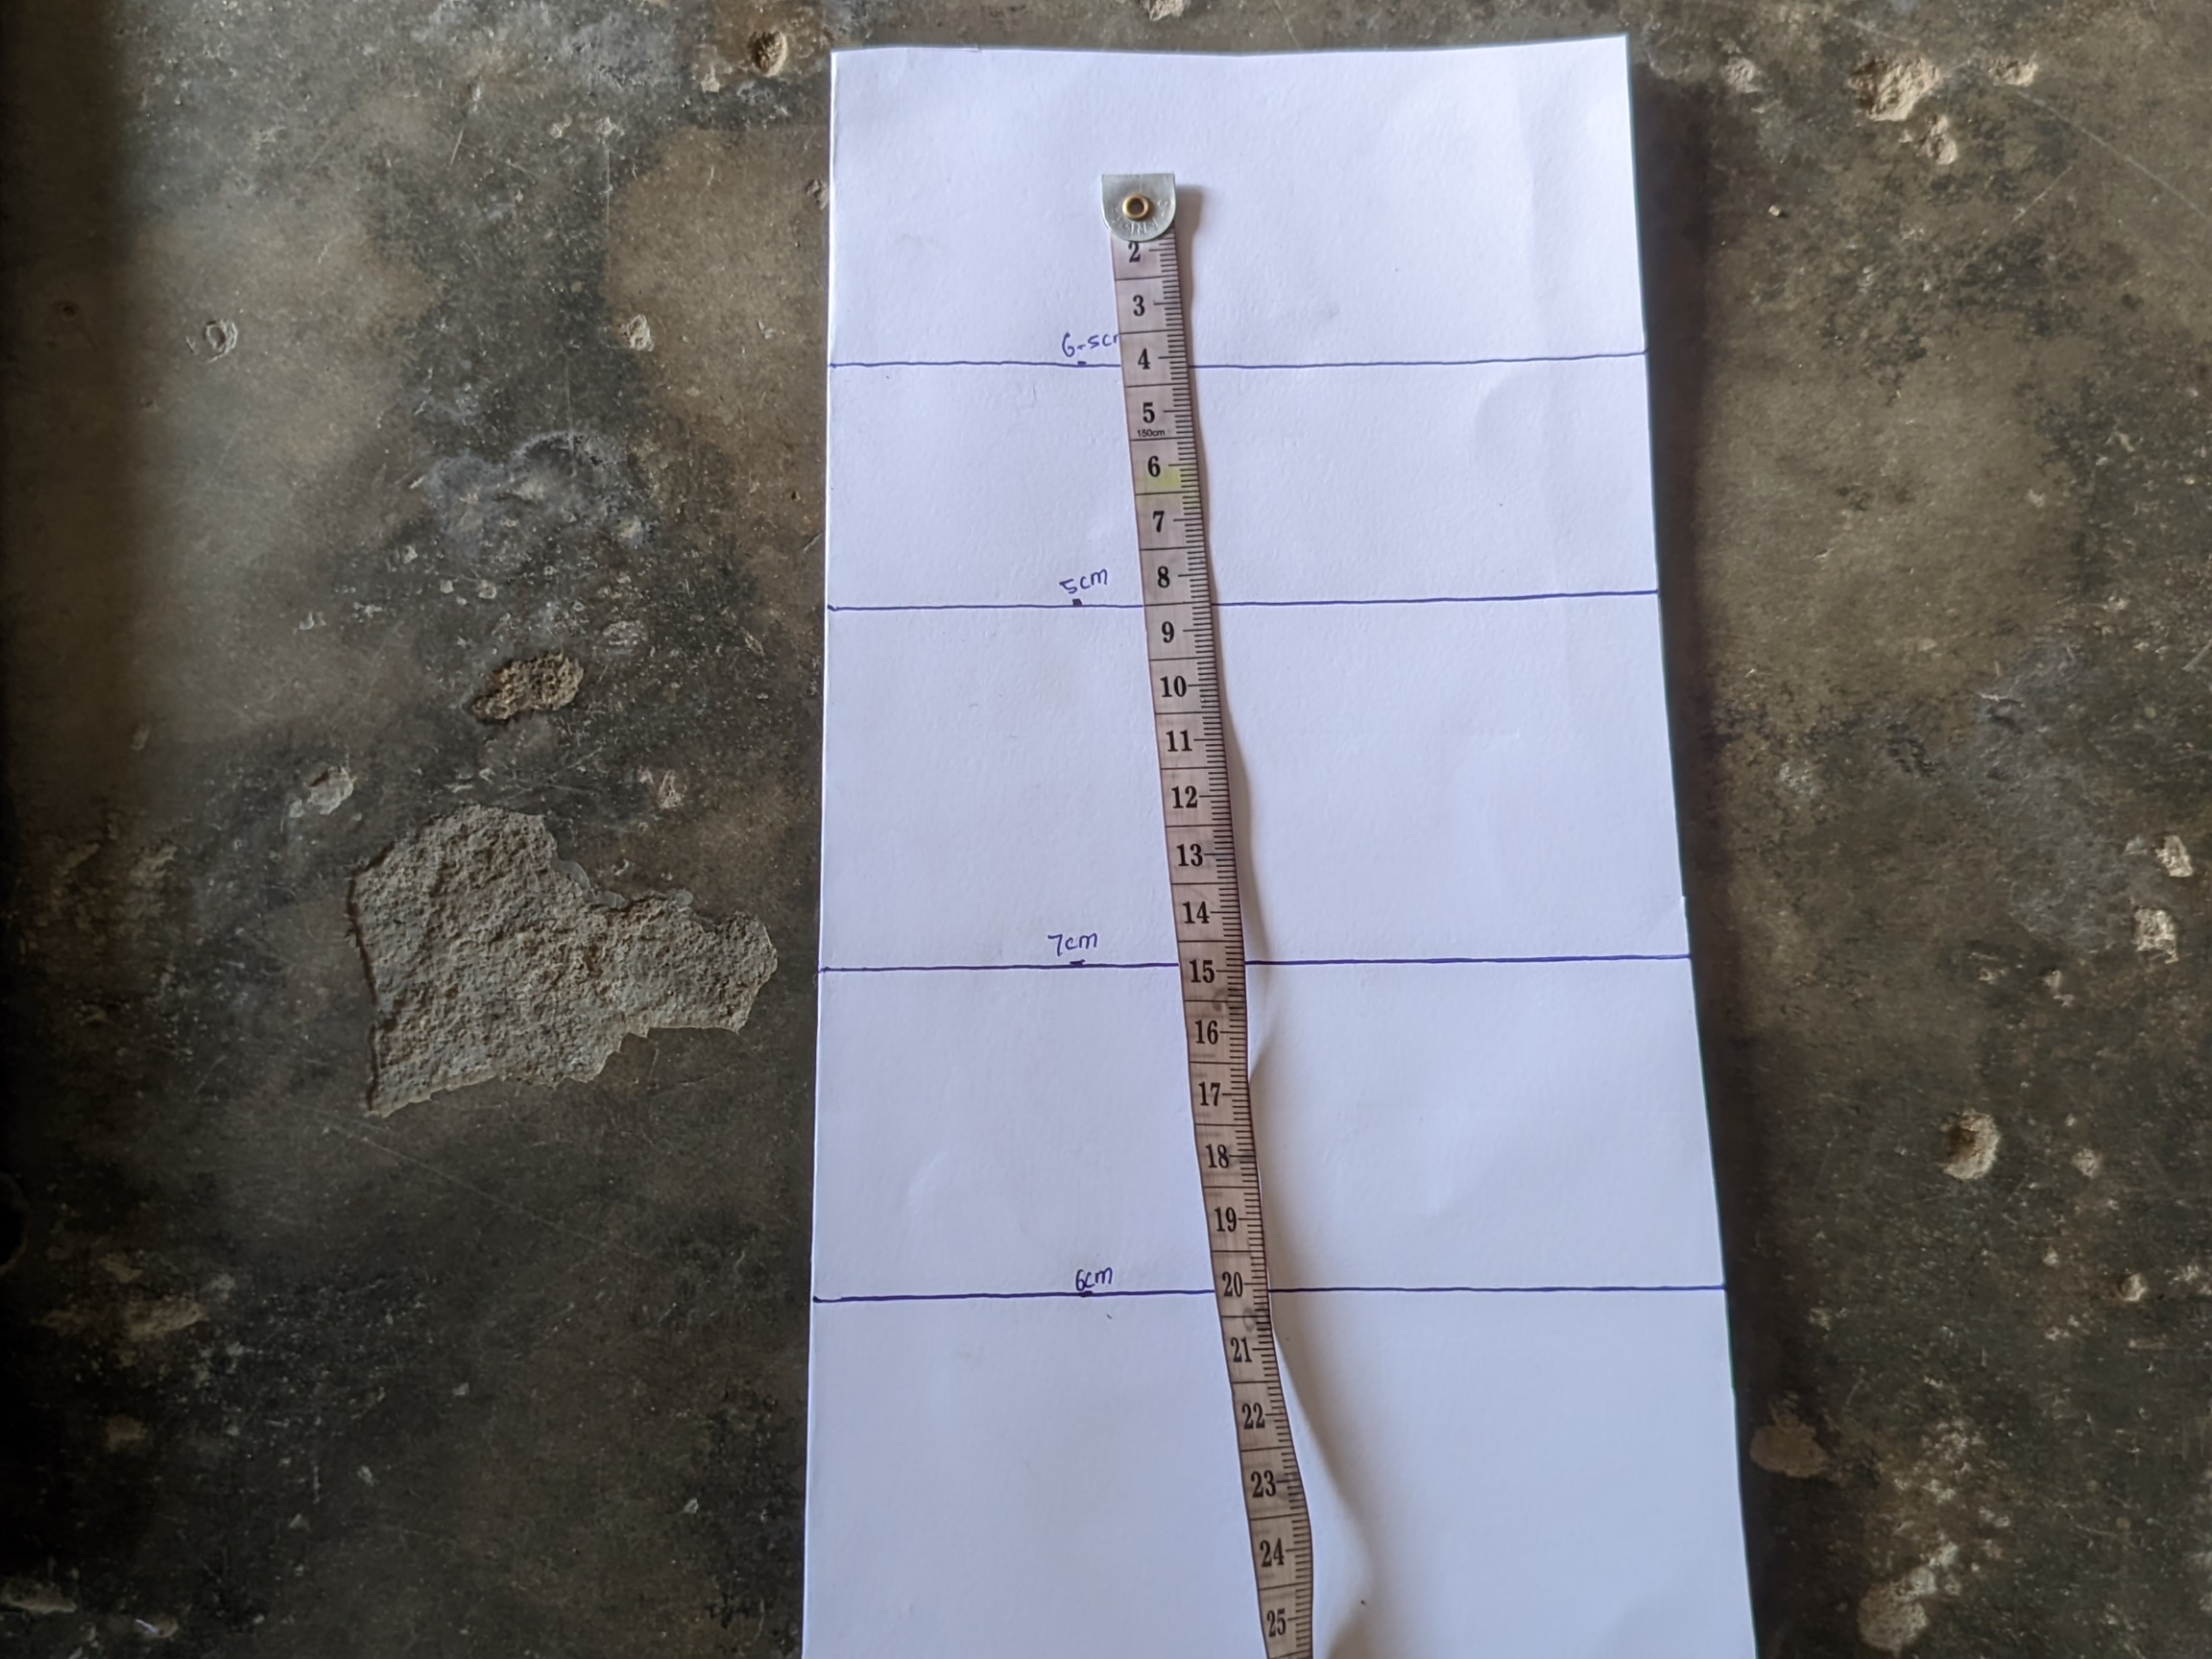
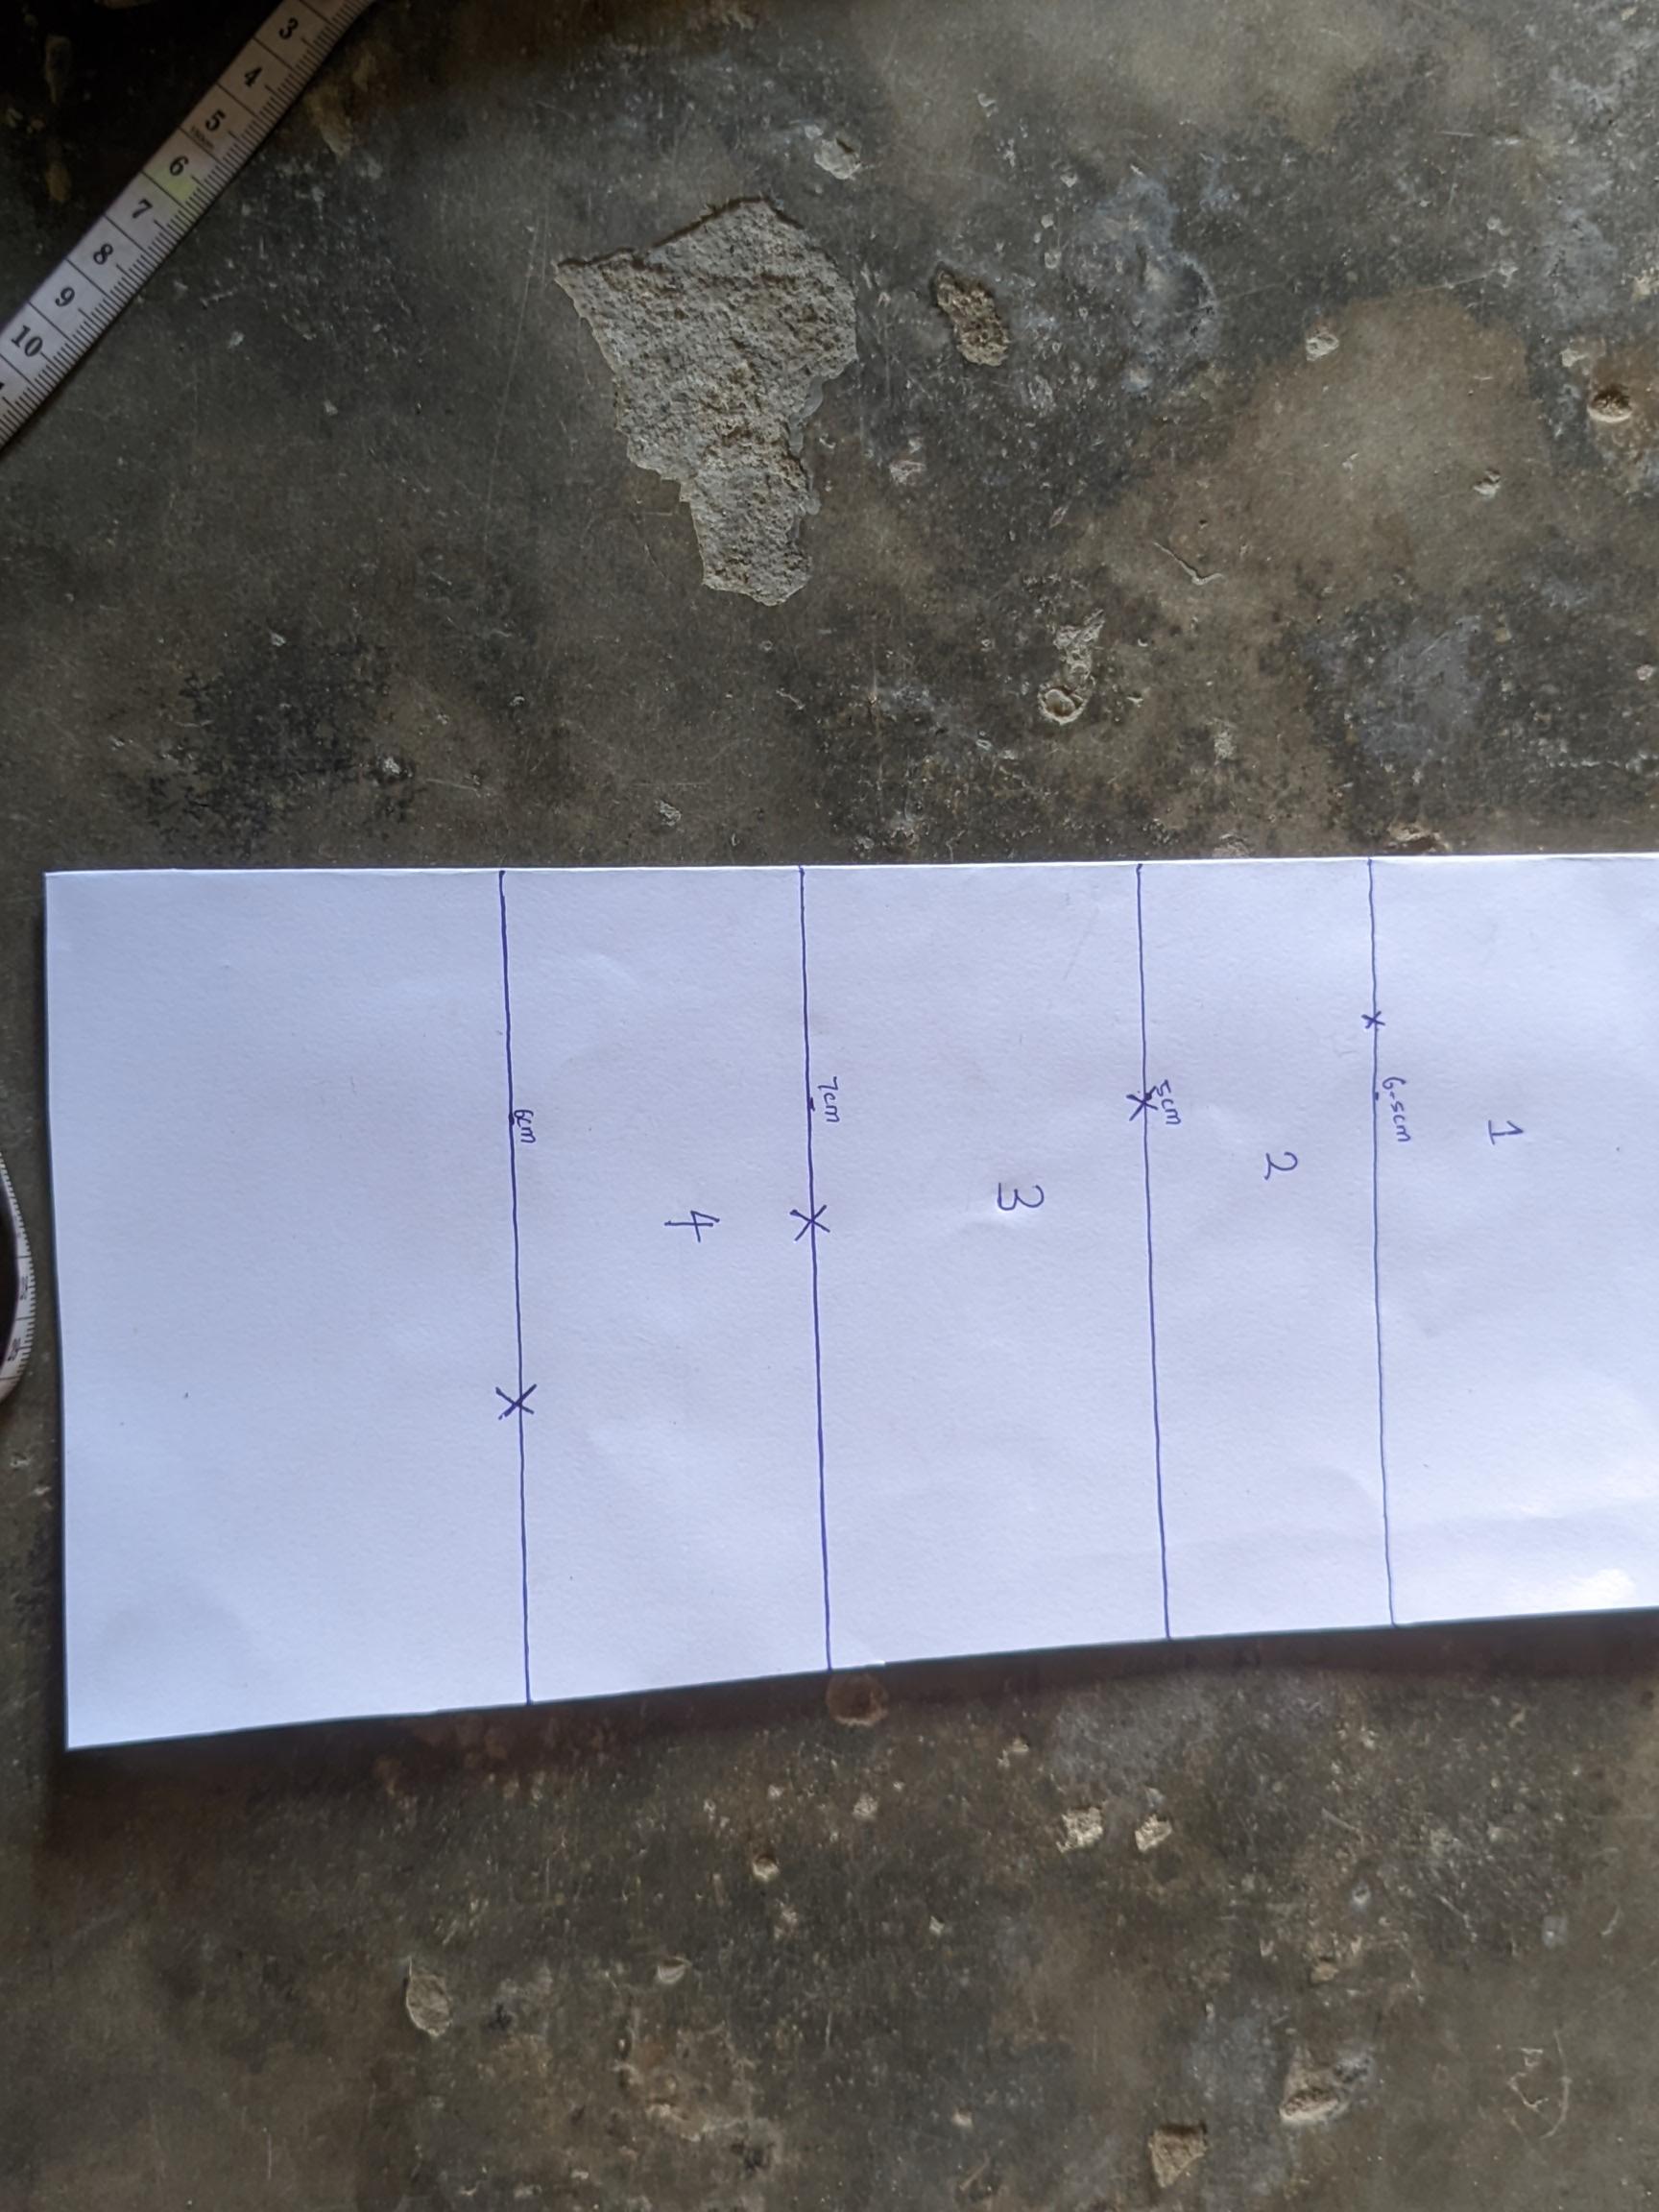
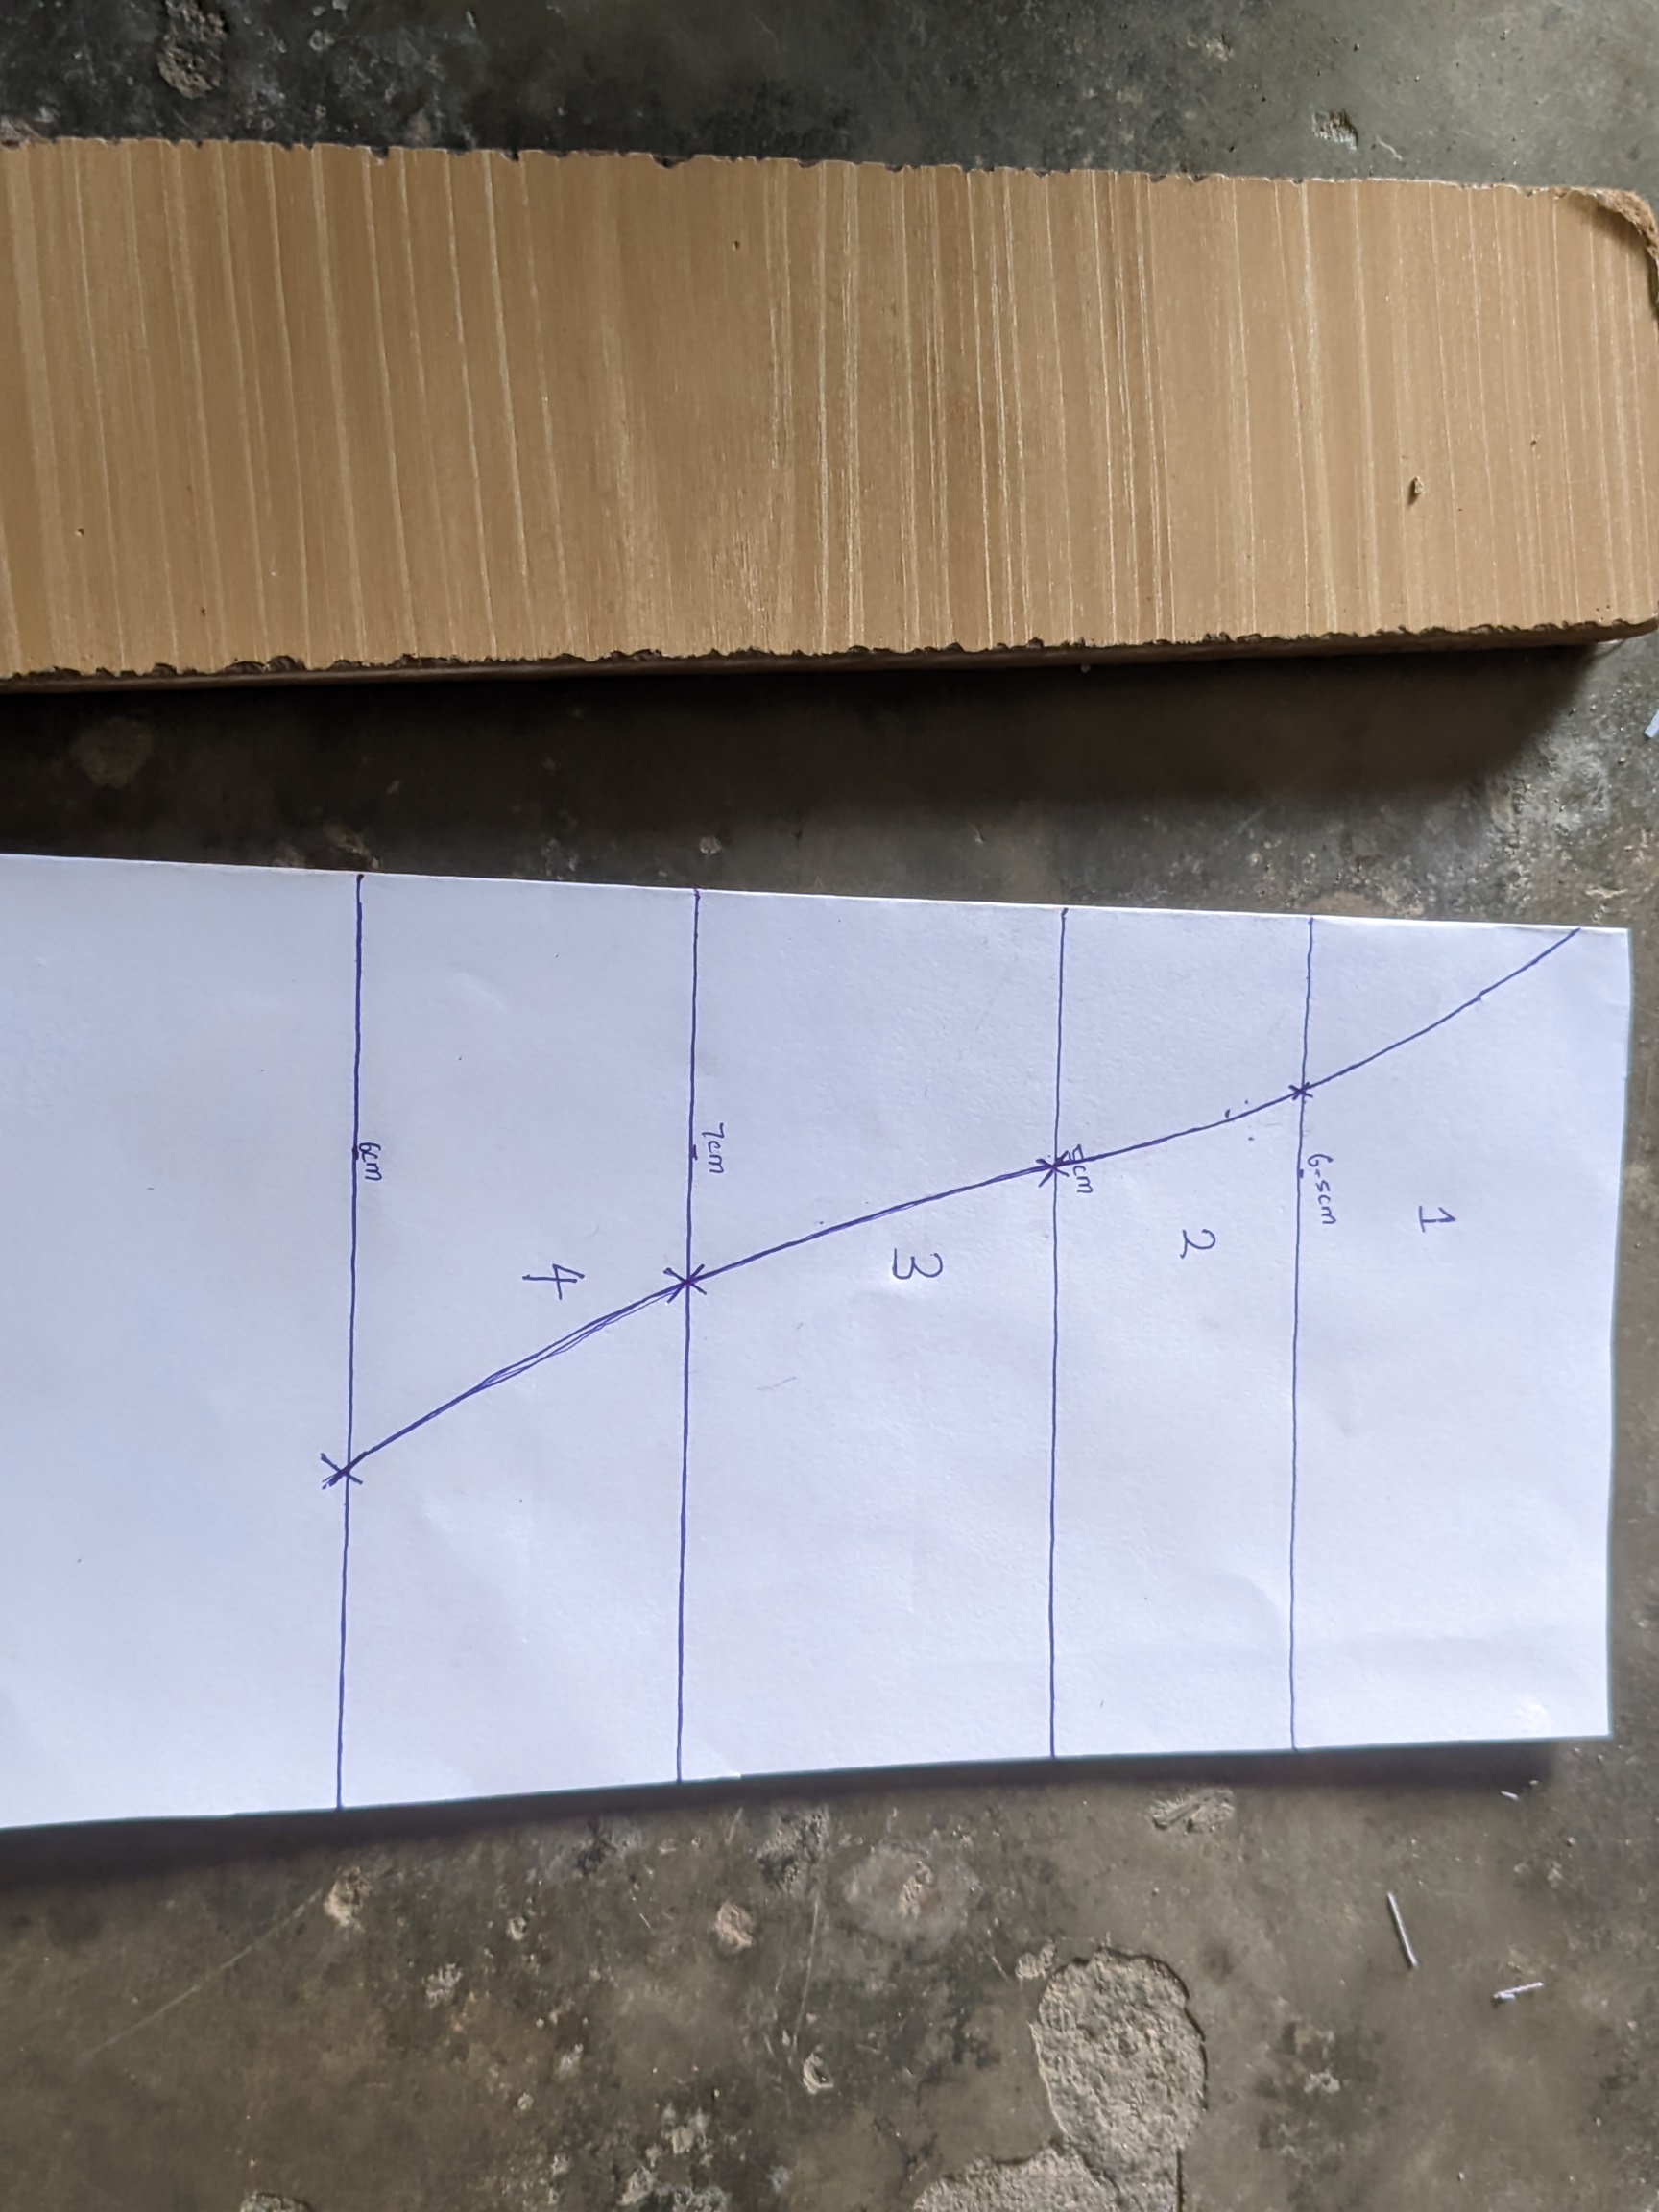
- I purchased a piece of cardboard for this purpose and cut a little part out of it. I then used it to mark my measurements as listed in the tutorial. Vertically, I use the following measurements as marked below. After that, I drew horizontal lines to cross them together, giving them a good gap space.
Low 2.559 inches (6.5 cm)
2- Low 1.969 inches (5 cm)
3- Low 2.756 inches (7 cm).
4- Low 3,973 inches ( 6 cm)
There are 0.787 inches (1,5 cm) left to make the curve.
 |  |  |
|---|
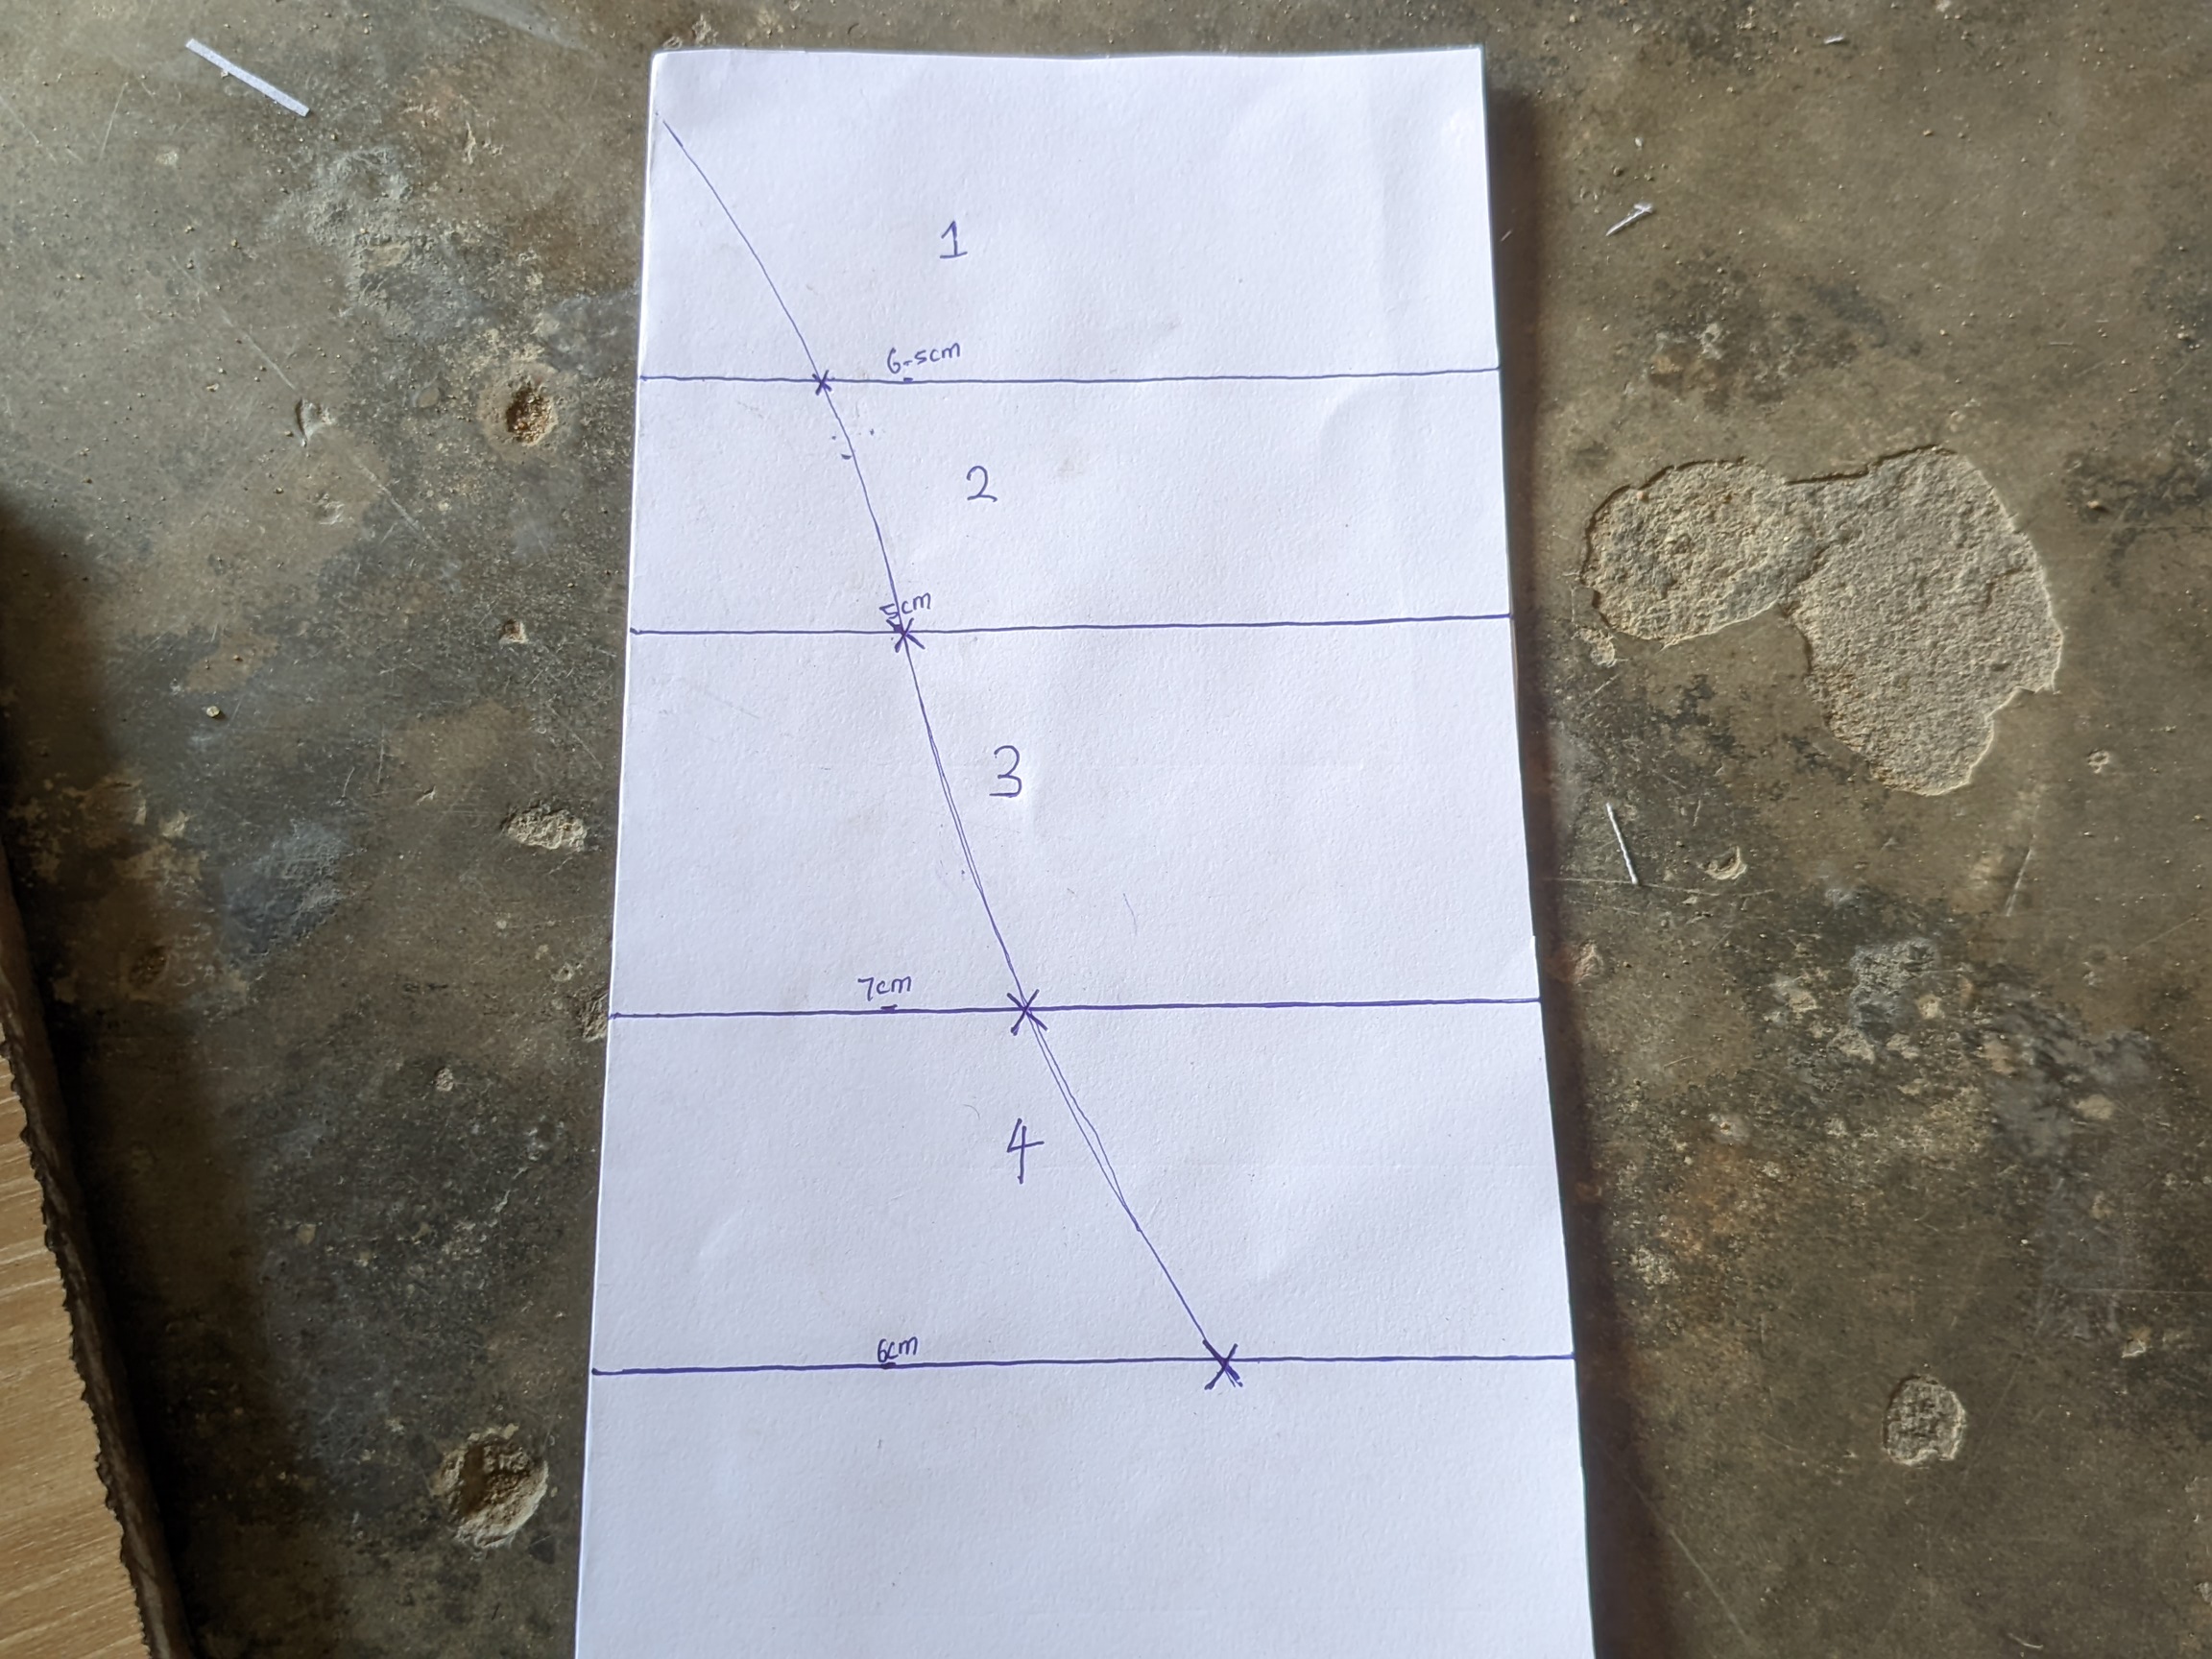
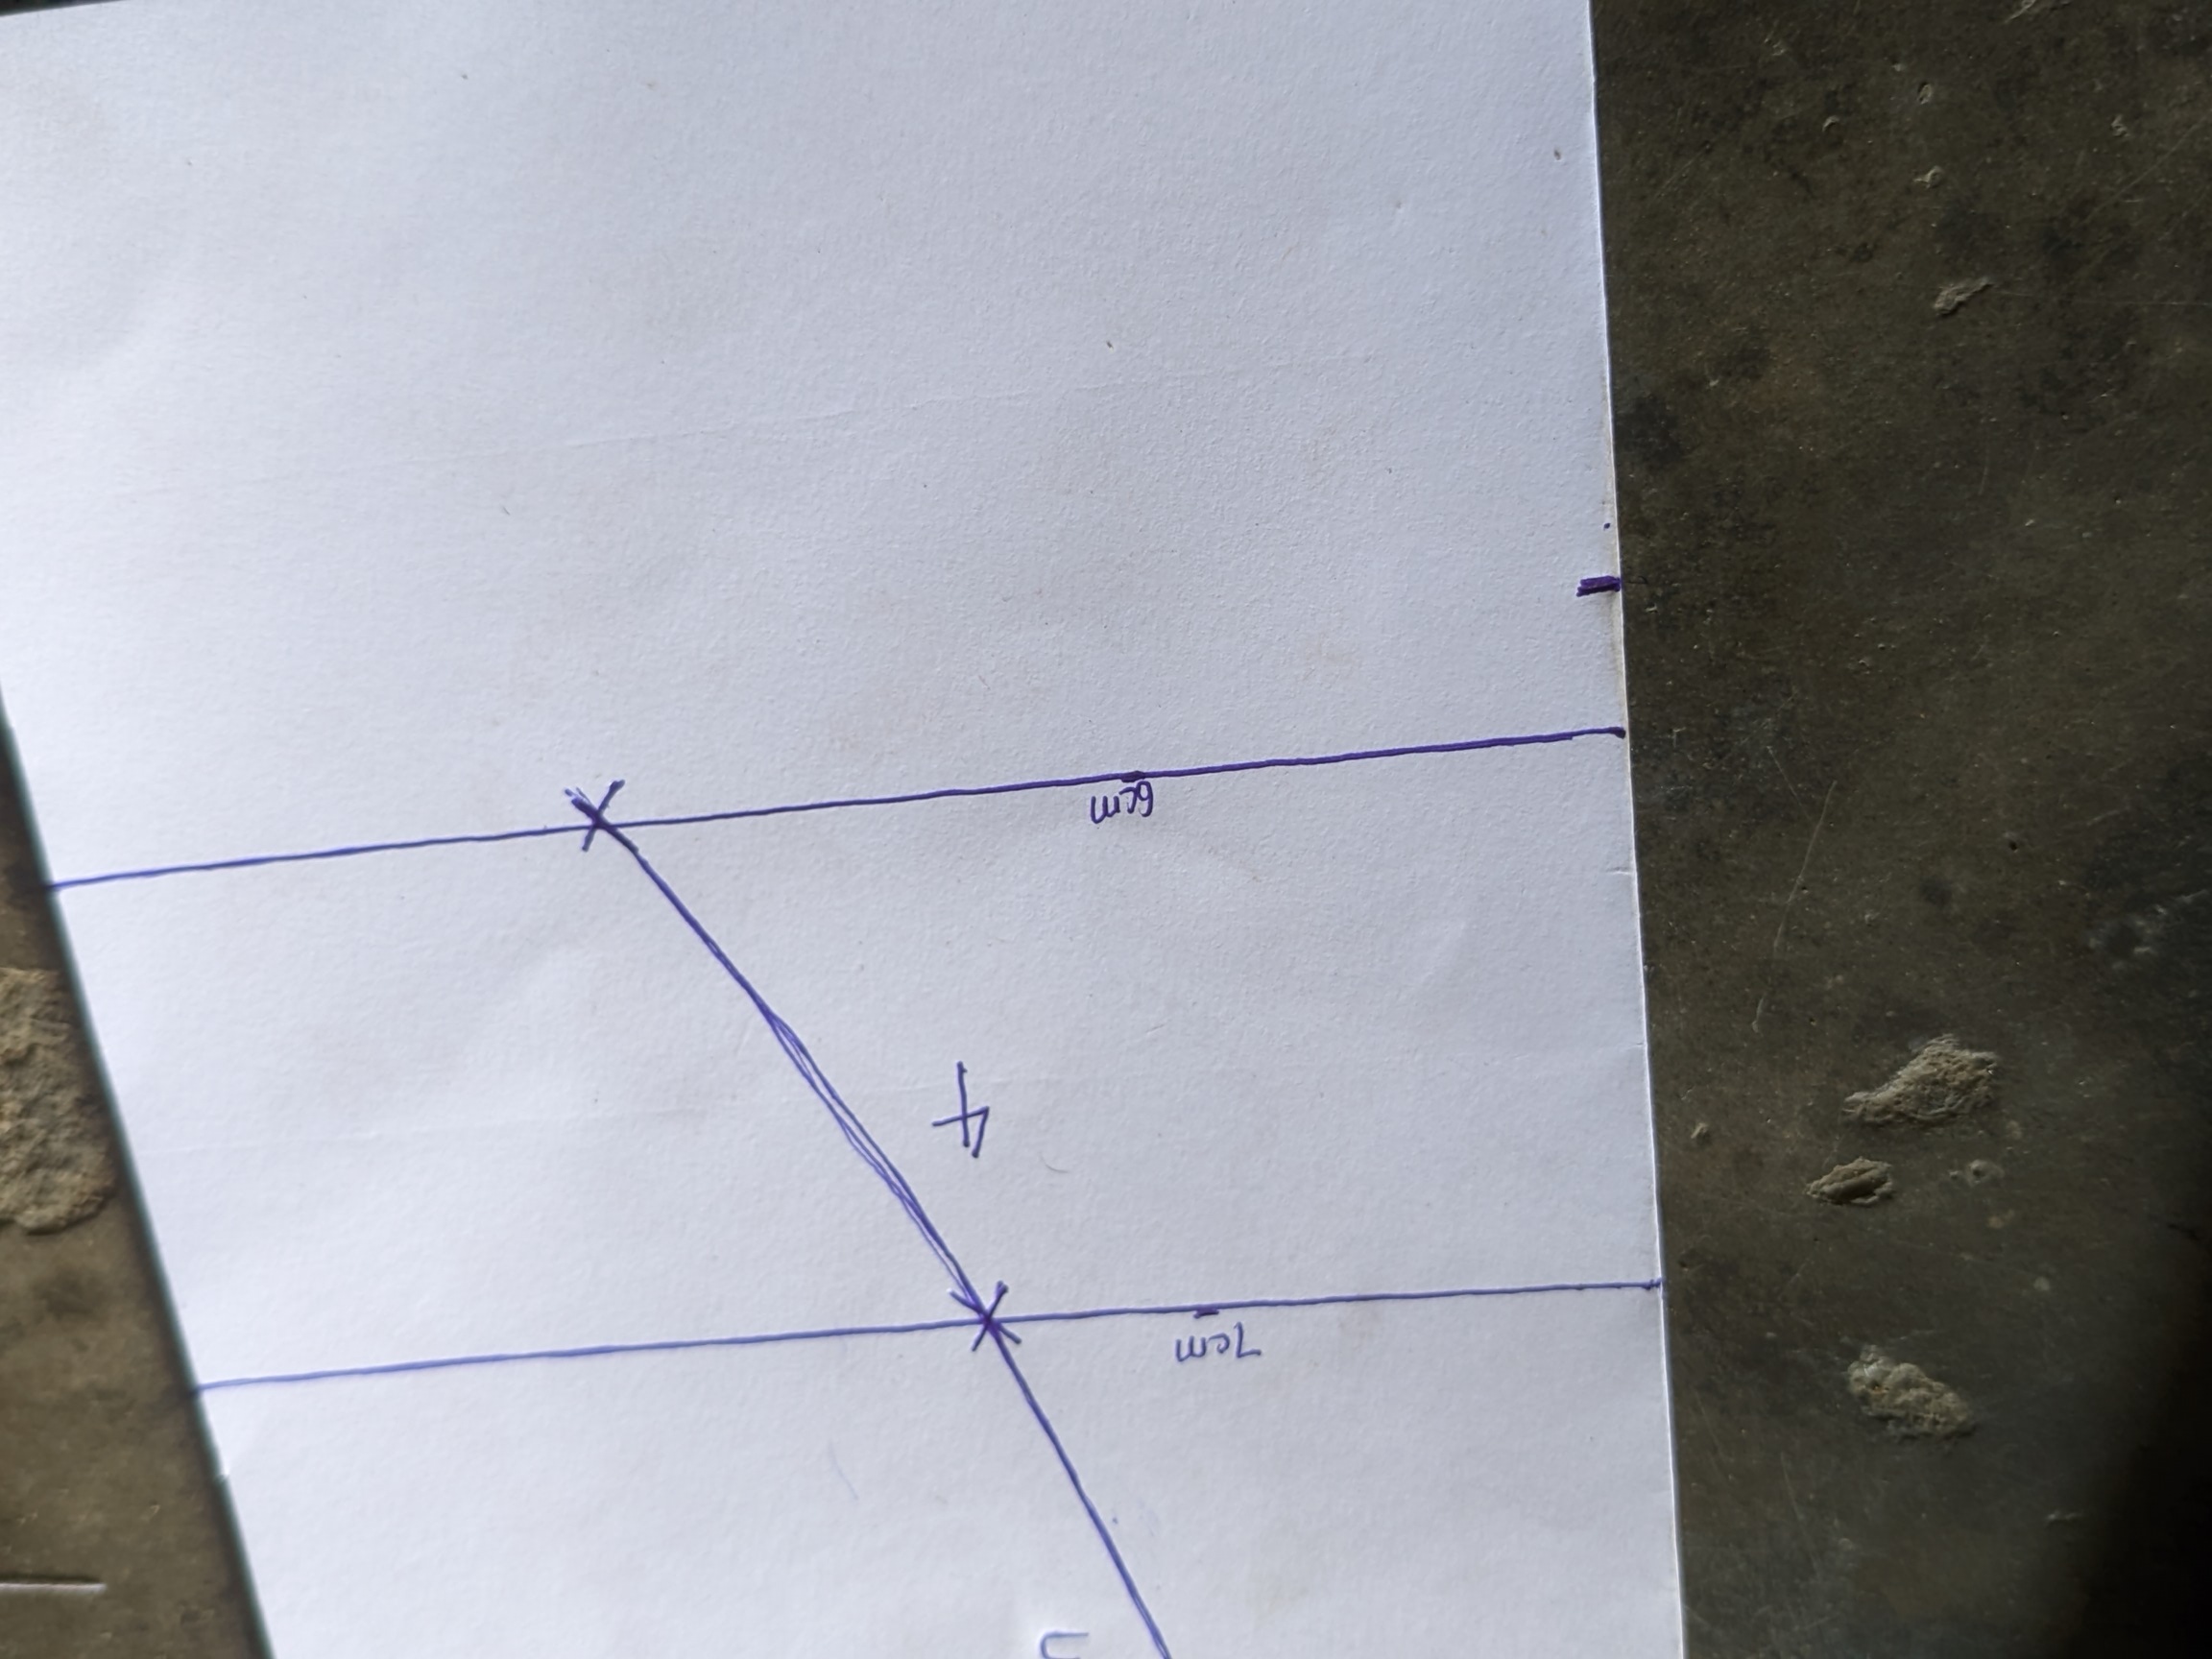
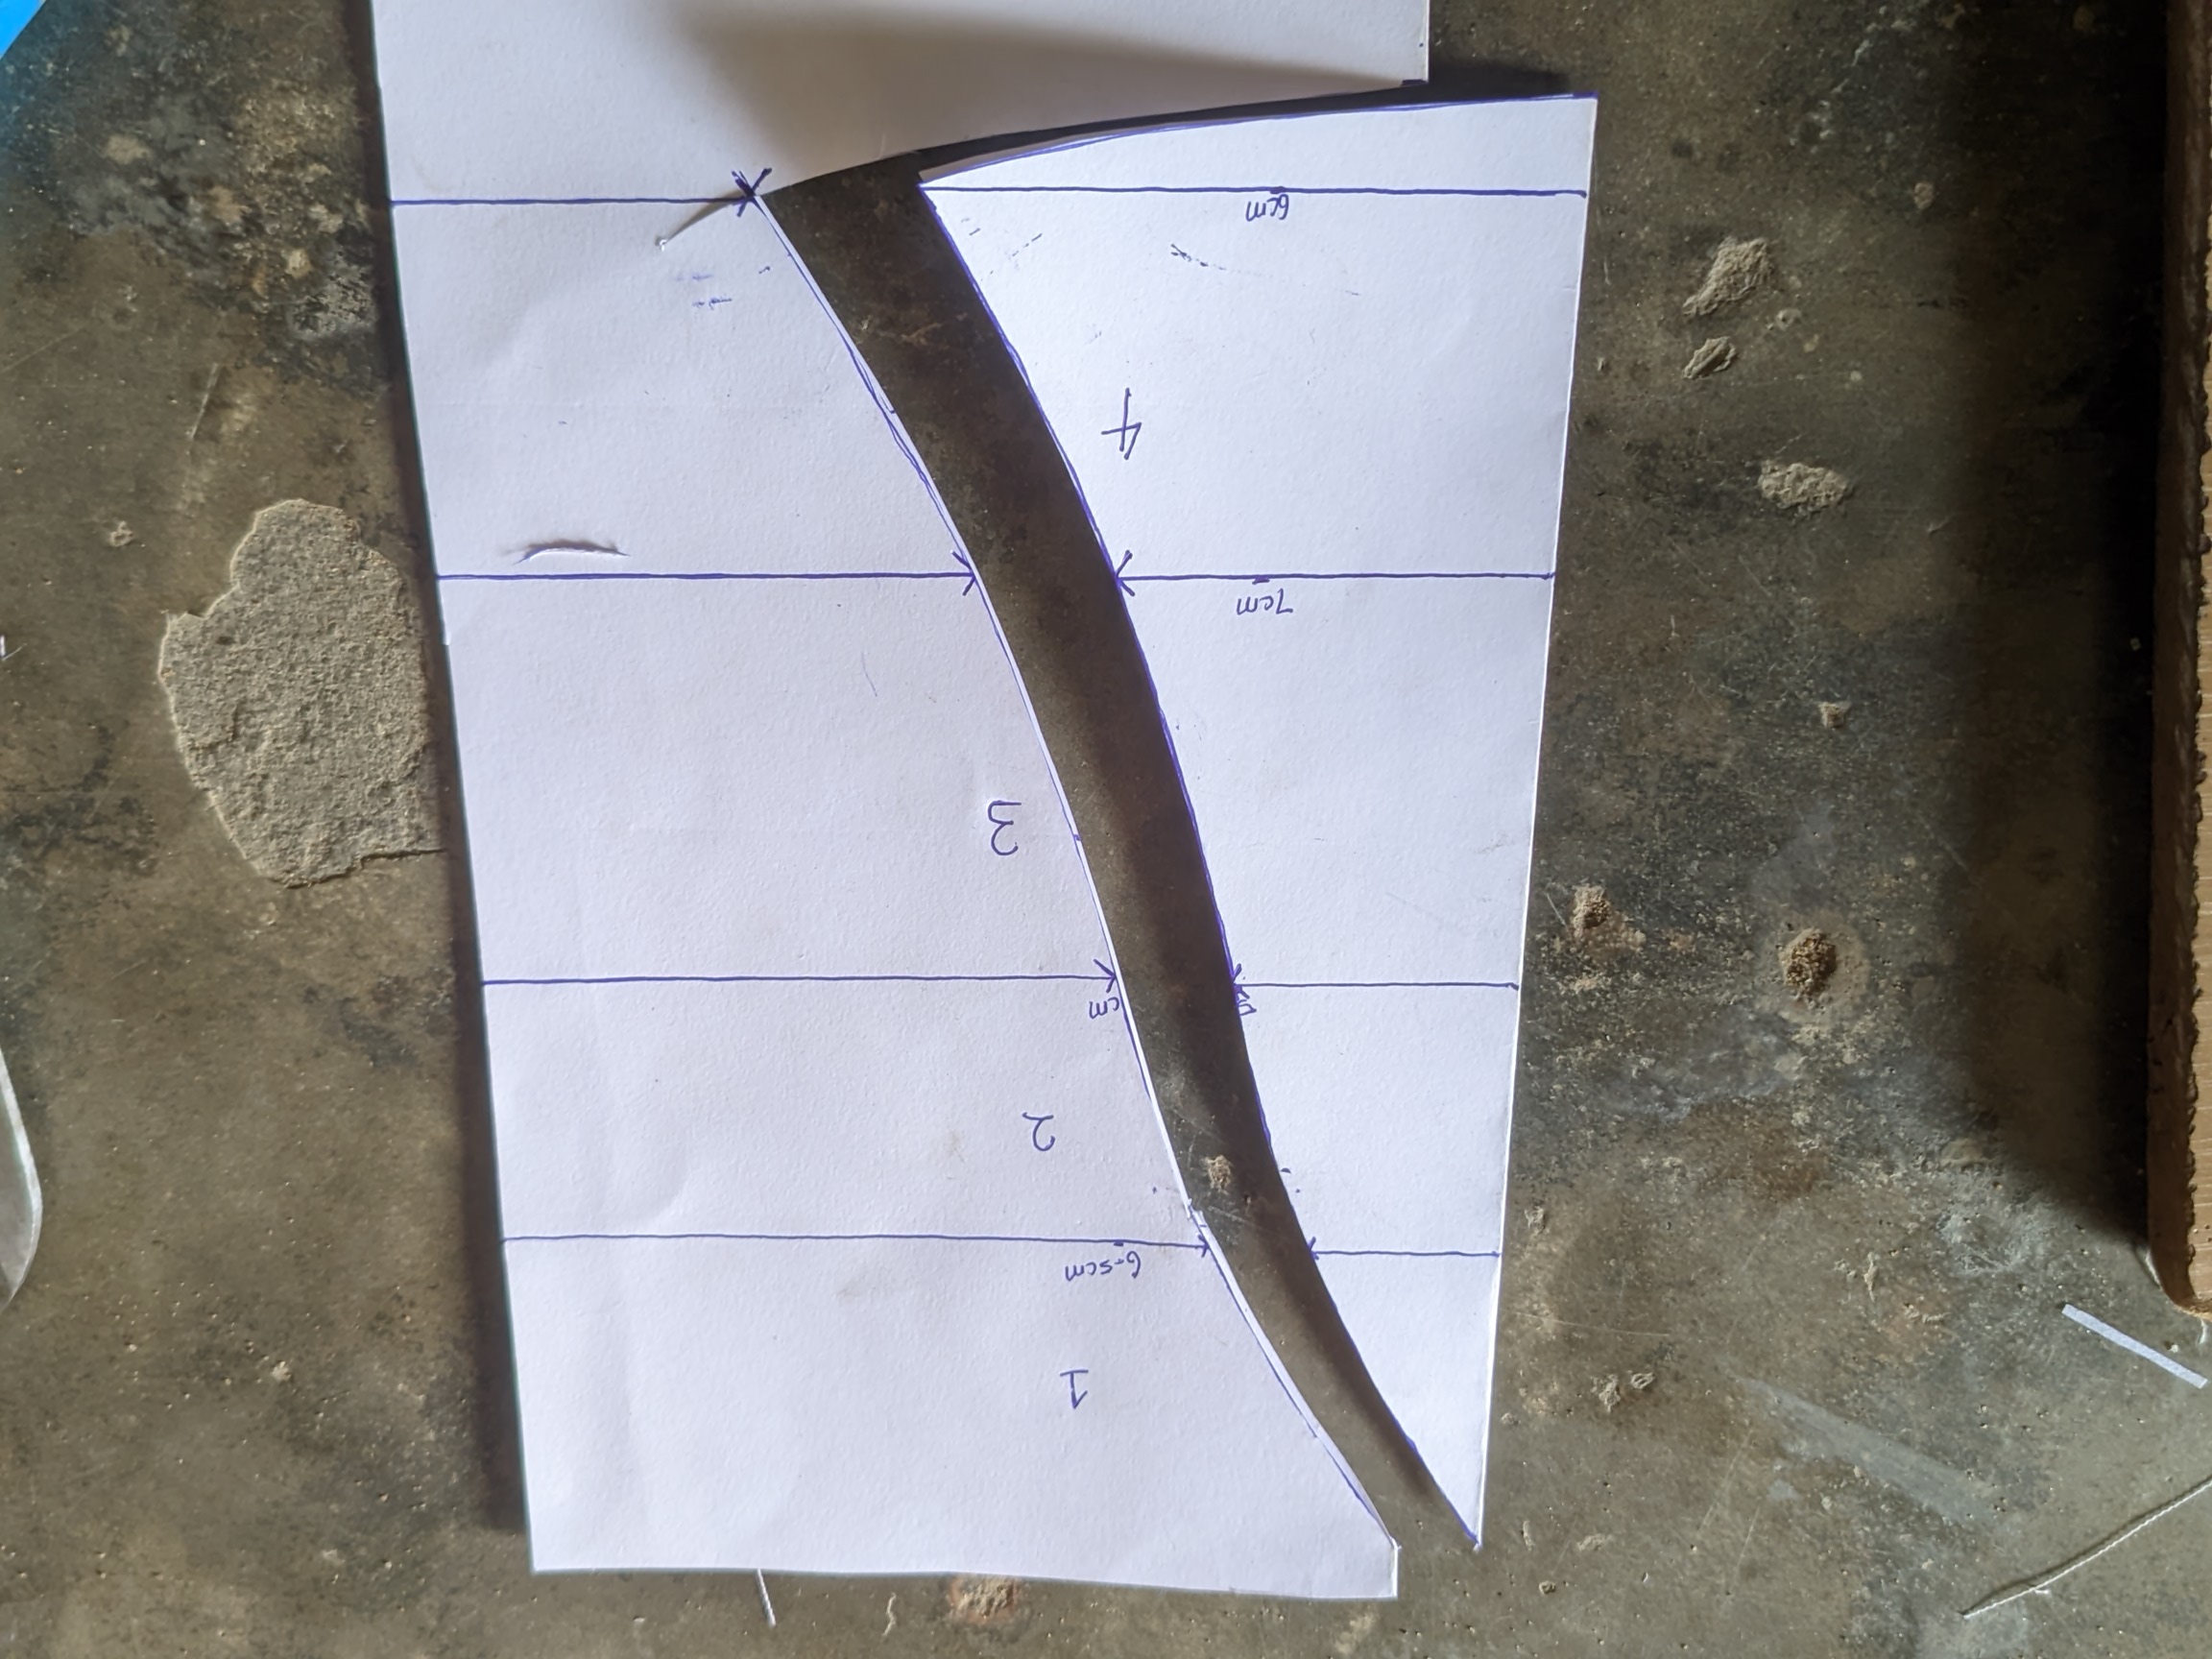
- After marking them vertically, I did it horizontally, and since I don't have a French curve to connect the lines or measurements used, I used a broomstick. This reminded me of what we usually used to draw curves in high school when plotting a mathematics or physics graph. I held the broomstick tight while connecting each X which I marked, and do you know what? It gave it a perfect curve. These are the measurements.
 |  |
|---|---|
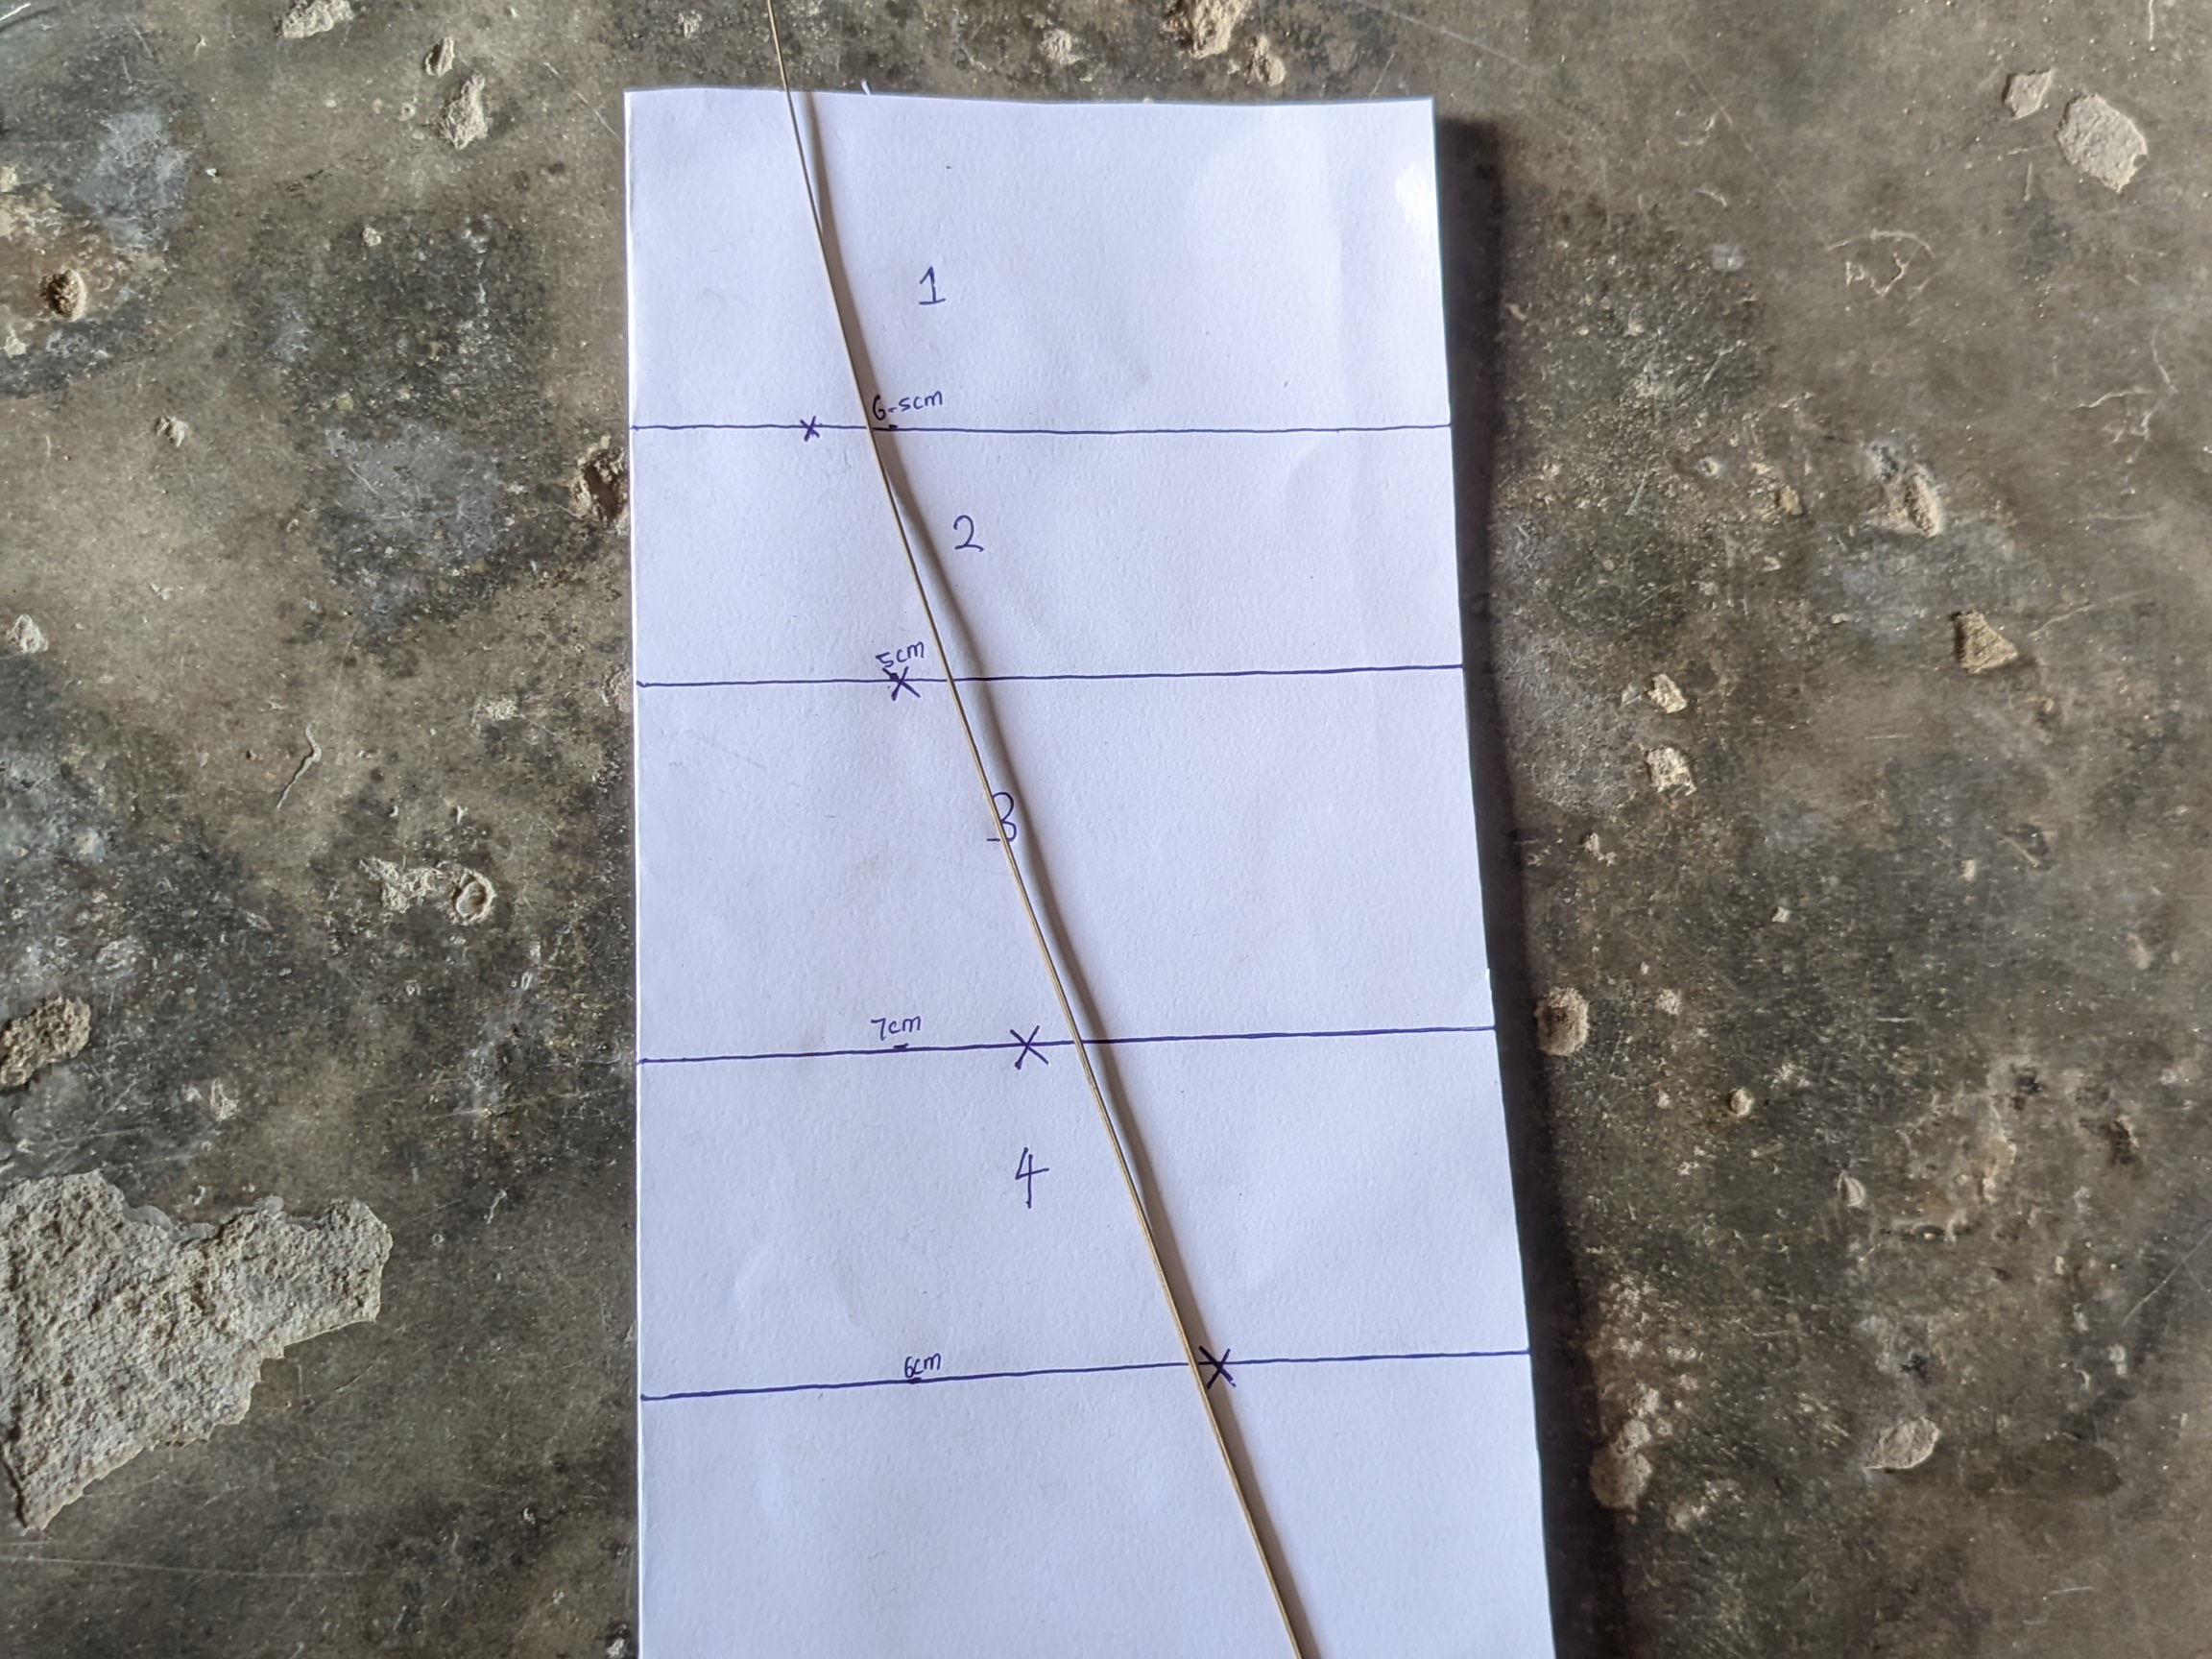 |  |
1- Measure 1.496 inches (3.8 cm)
2- Measure 1,969 inche (5 cm)
3- Mesuare 2,756 inches (7 cm)
4- Mesuare 3,937 inches ( 10 cm)
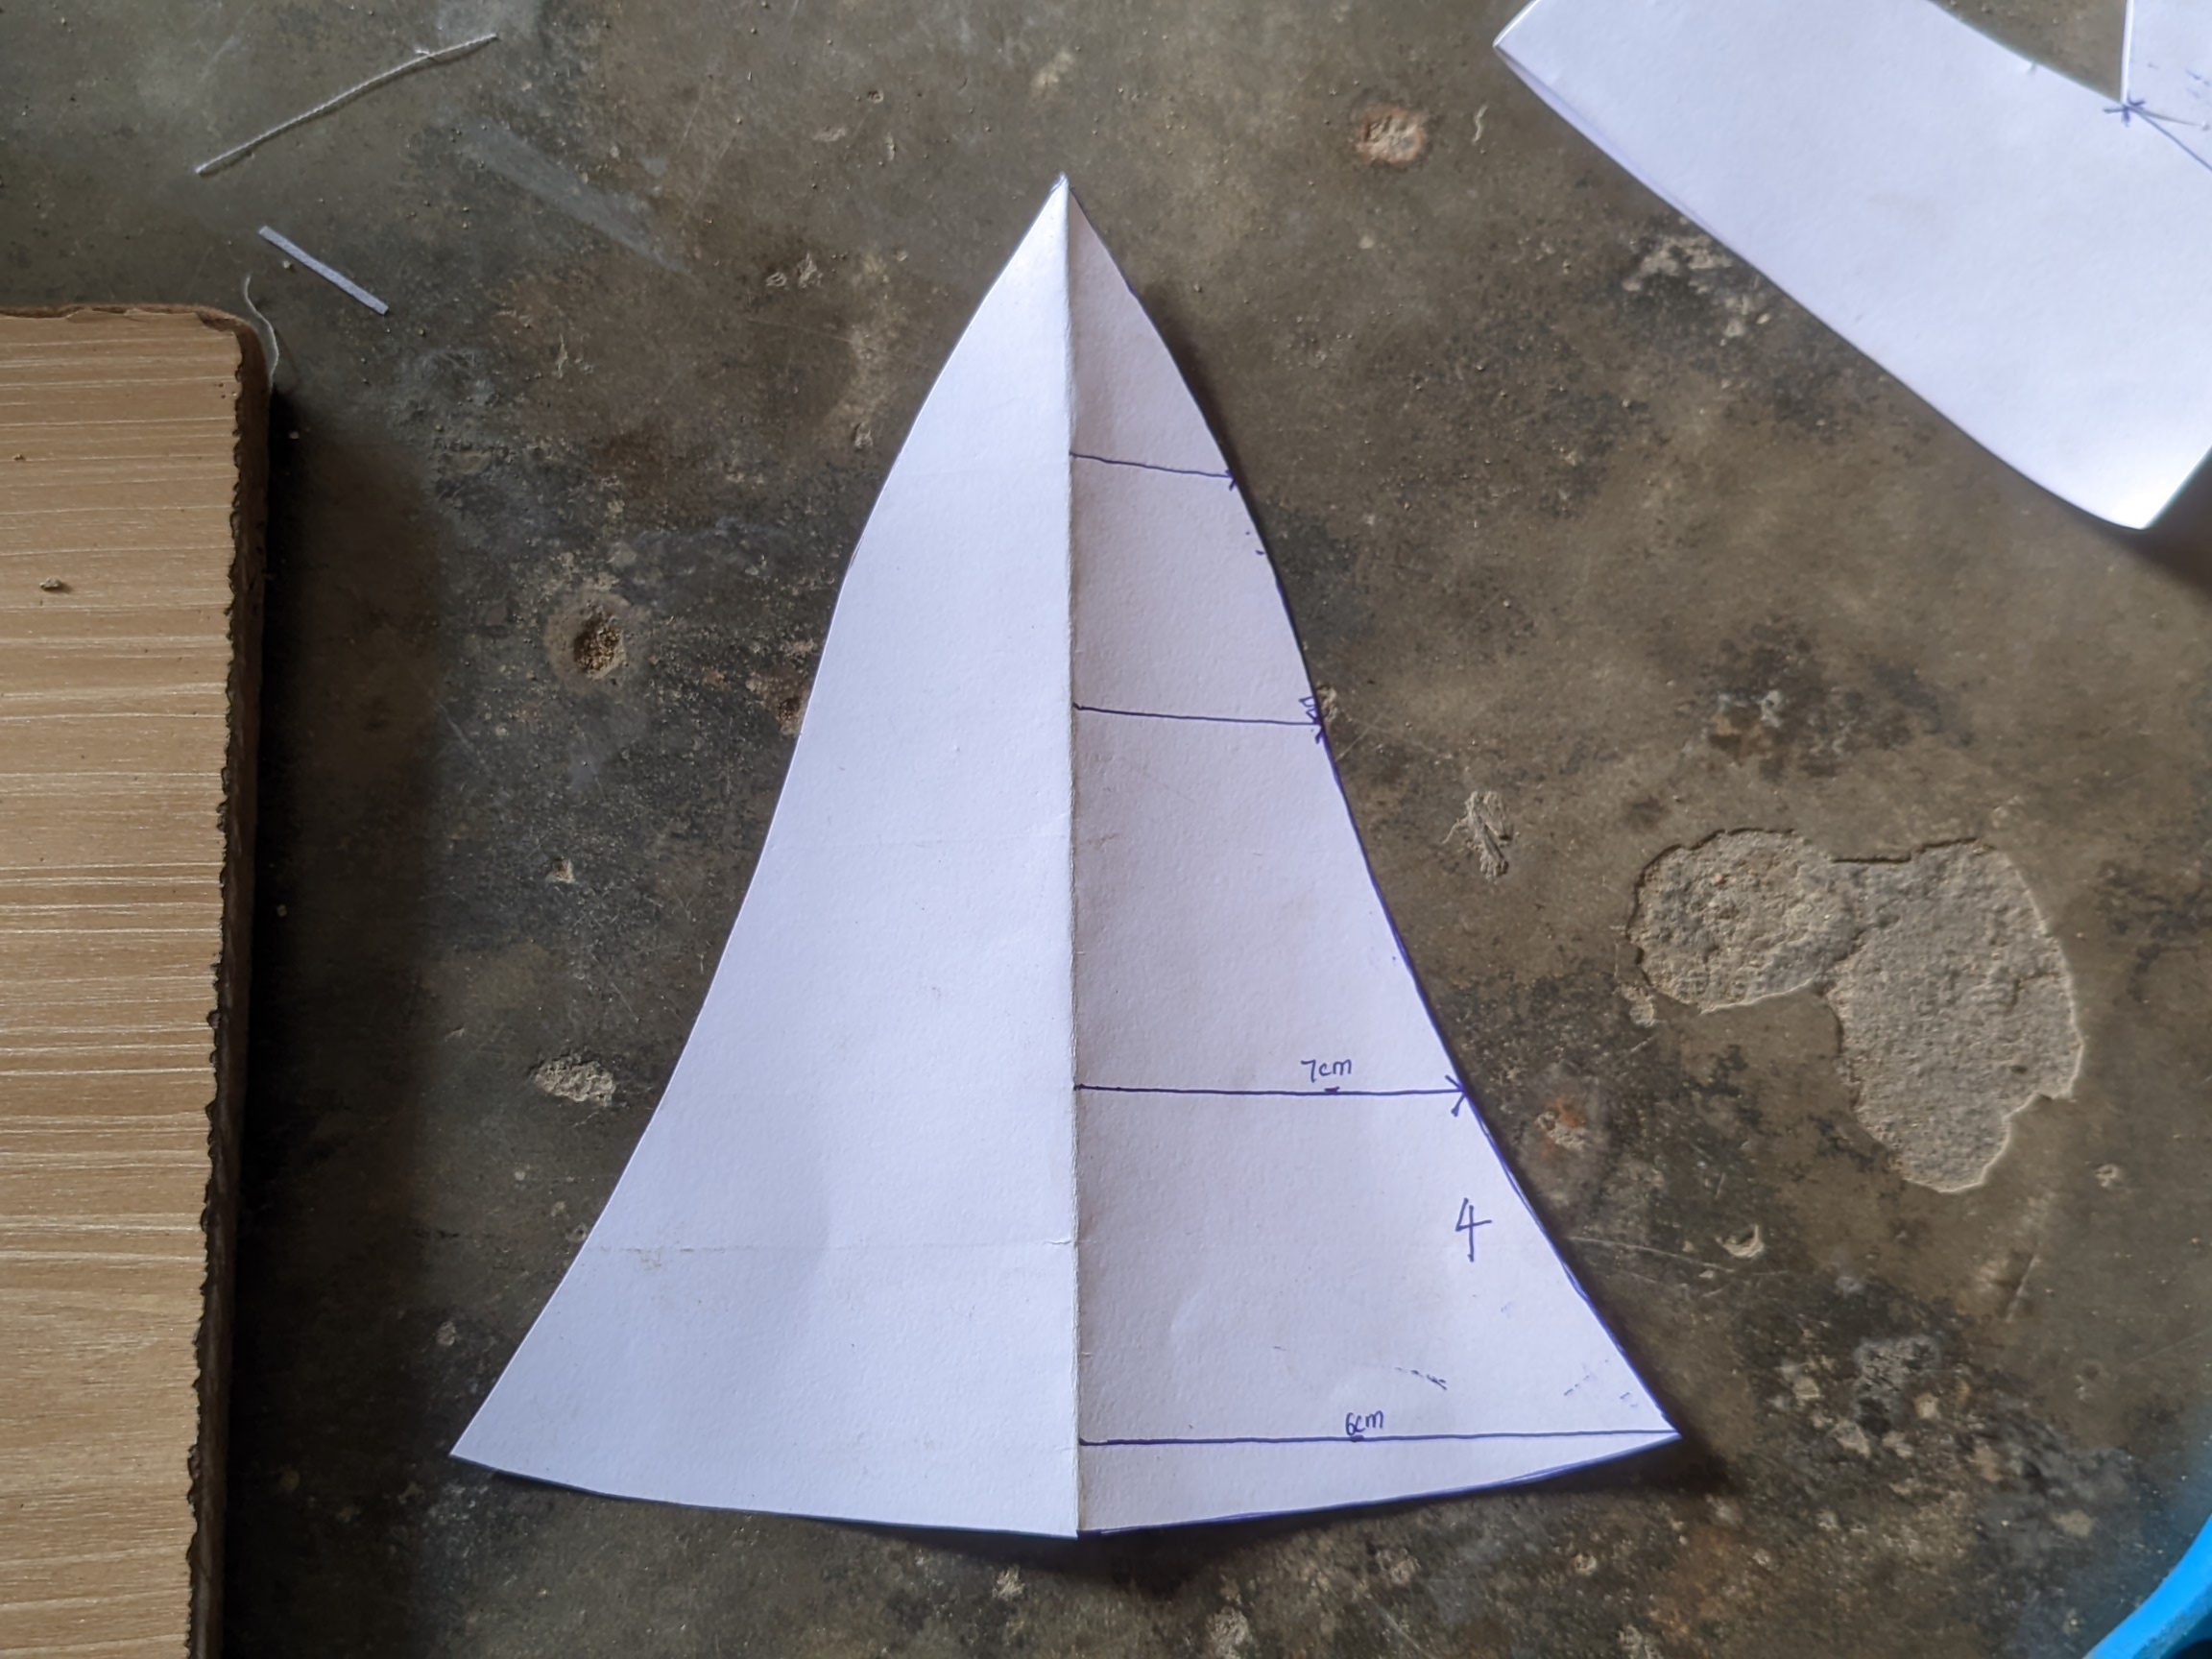
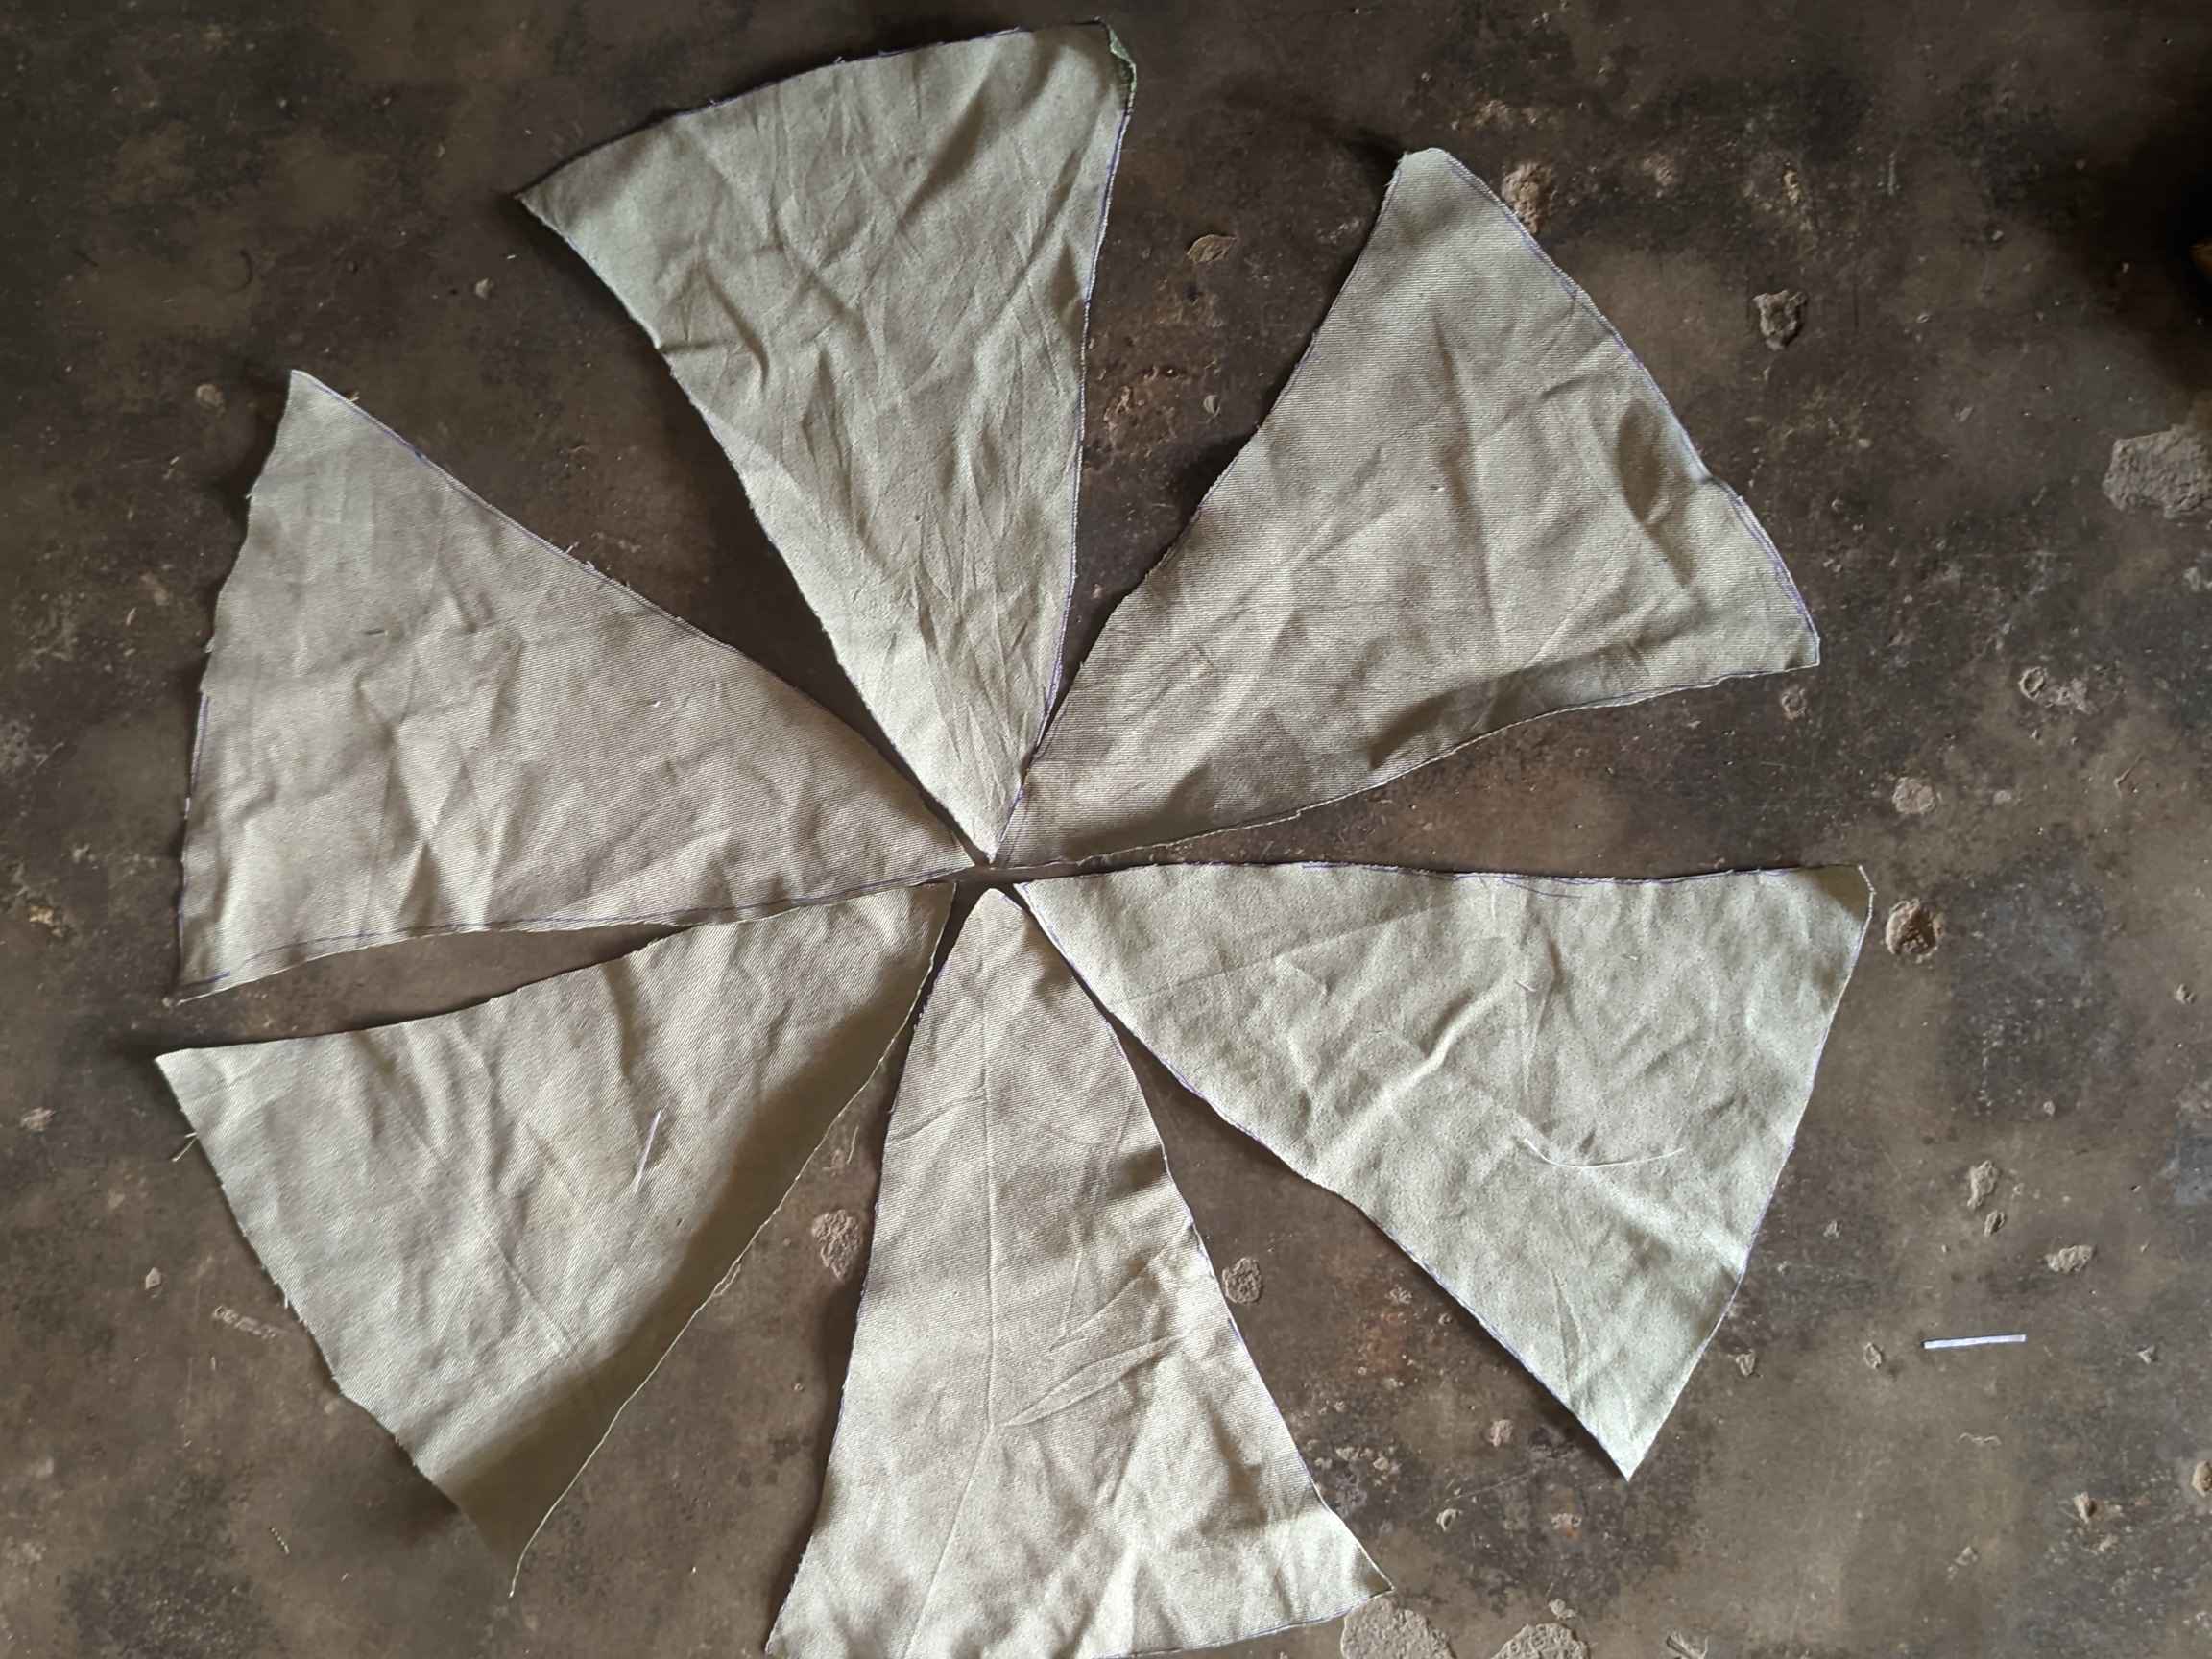
- After drawing the curve with the broomstick, I used a scissor to cut out the parts that won't be useful, and it gave me a mountain-like shape, as you can see. I used this shape and placed it on the materials I brought from the trash can and drew the shape with a pen, corresponding to the shape placed on the material. I first did the cravings on a chino material before using a cotton material, which would serve as the inner.
 |  |
|---|---|
 |  |
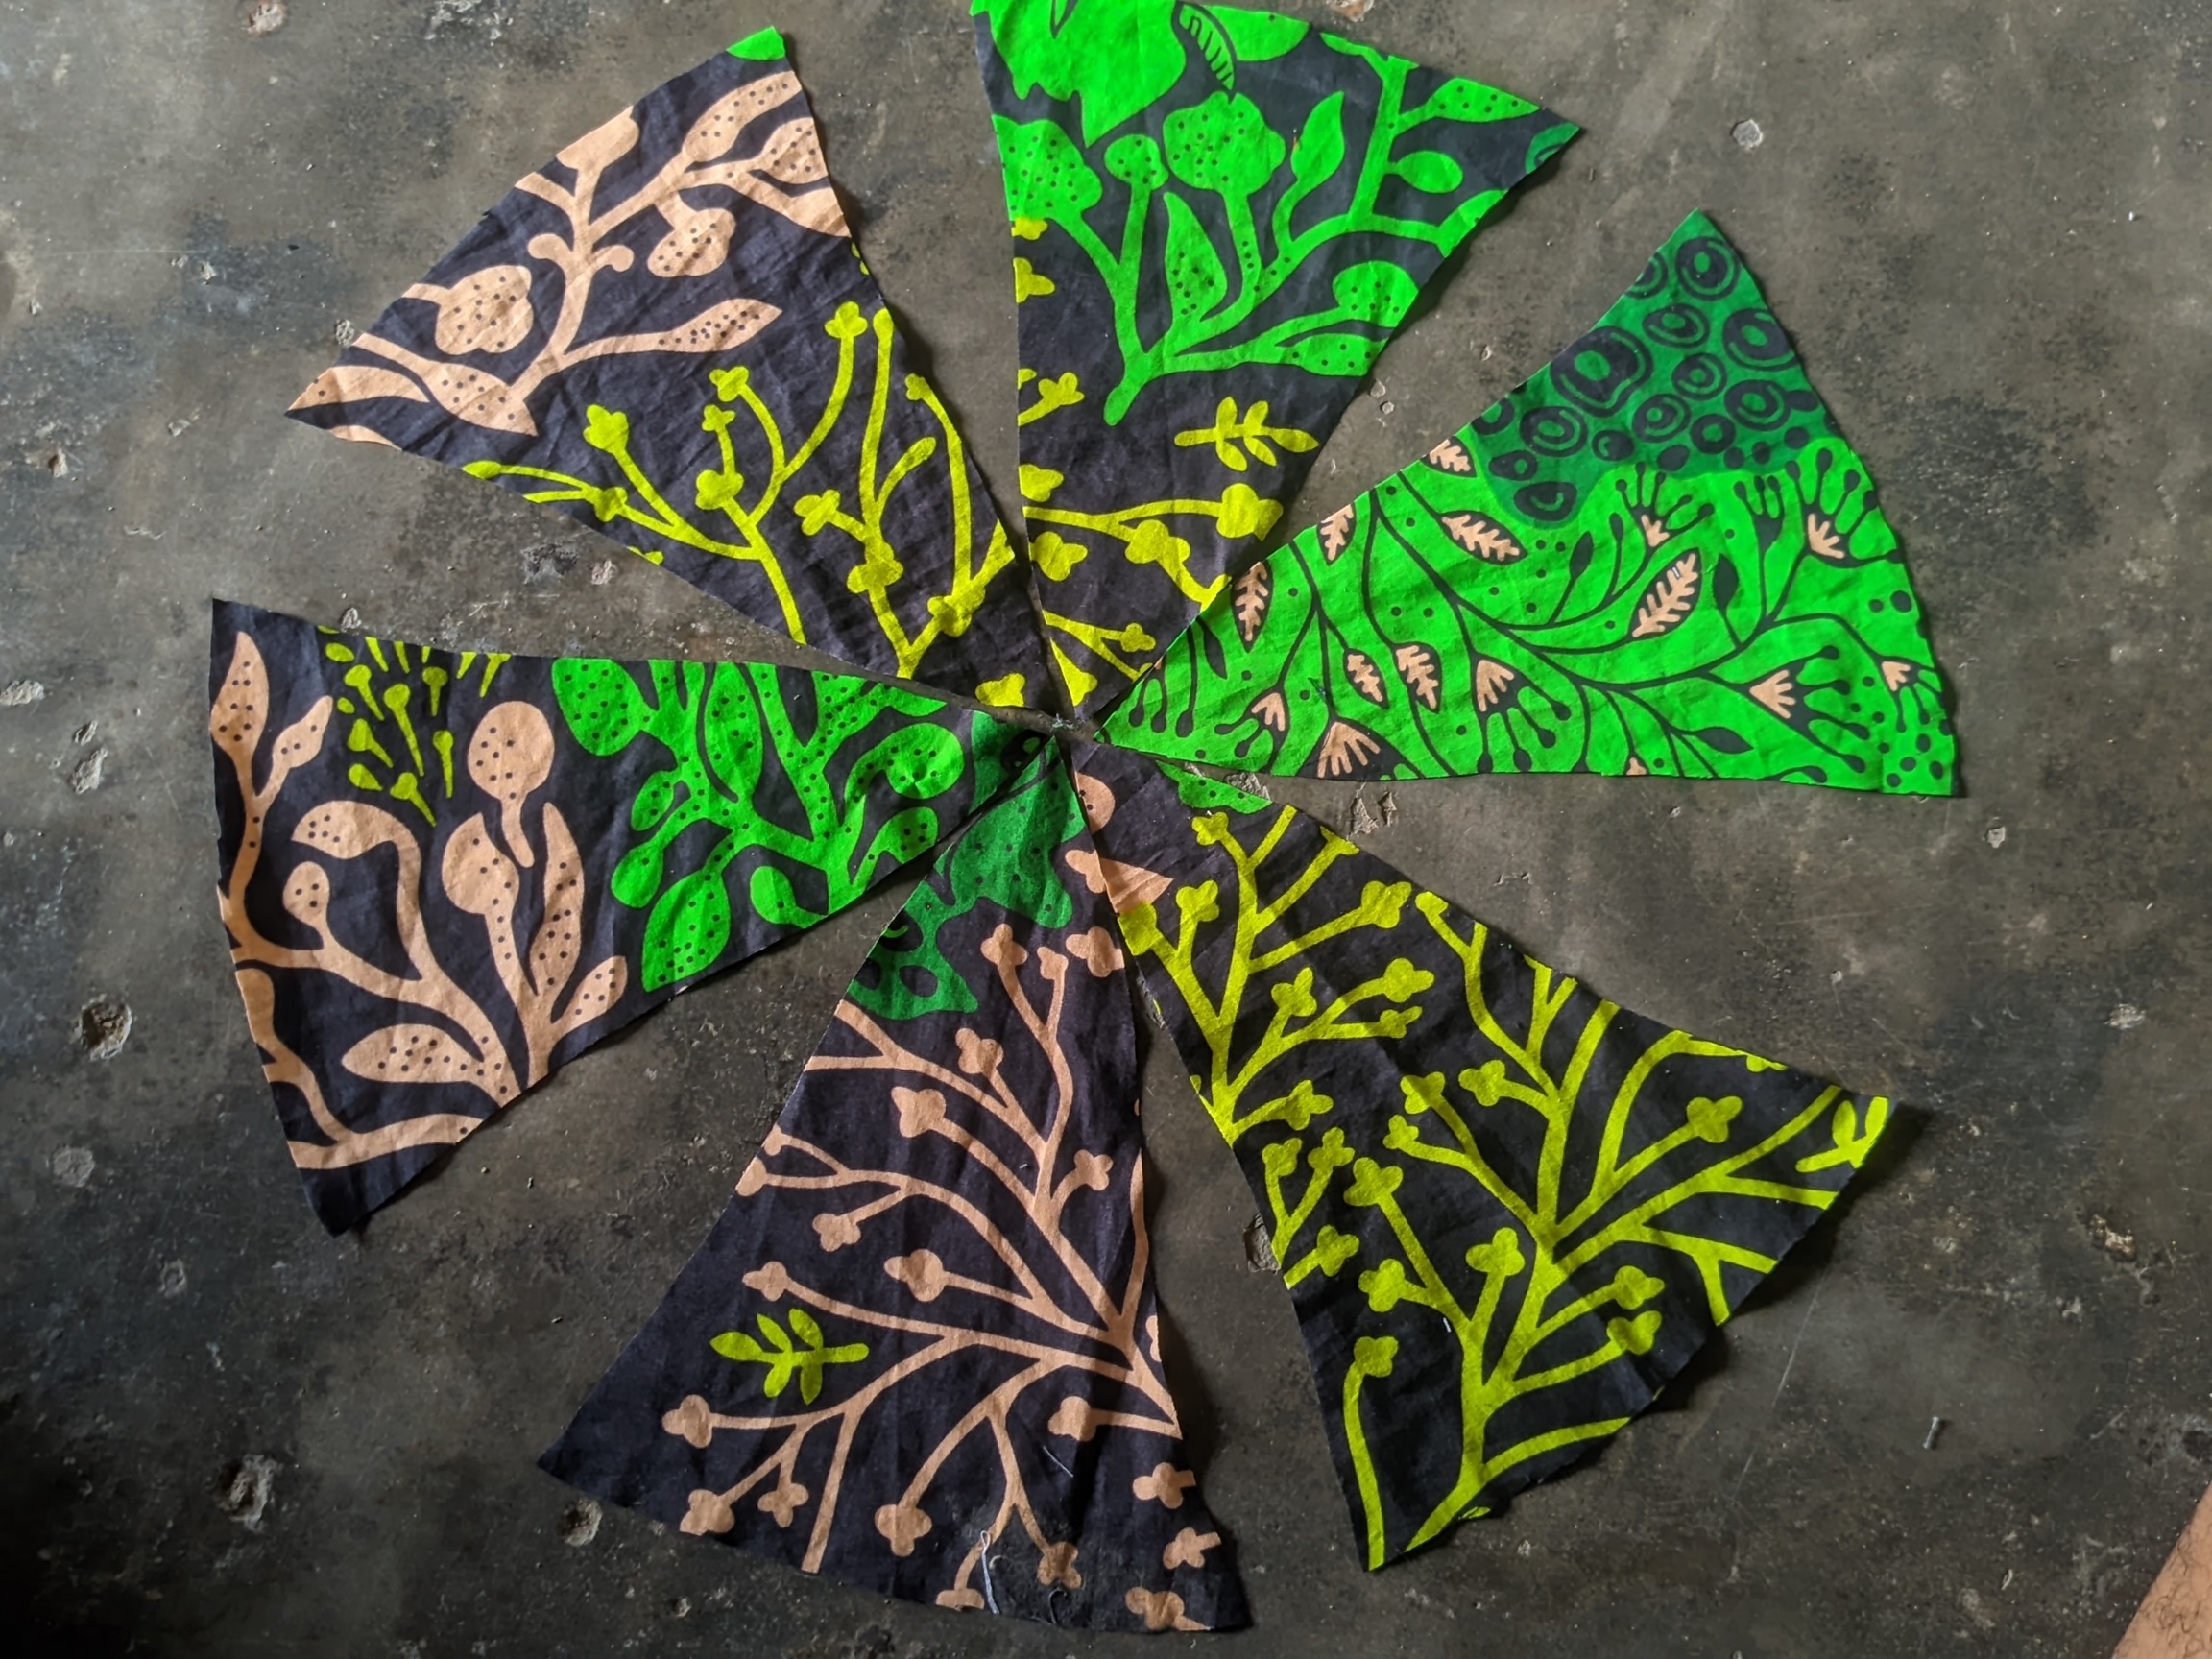
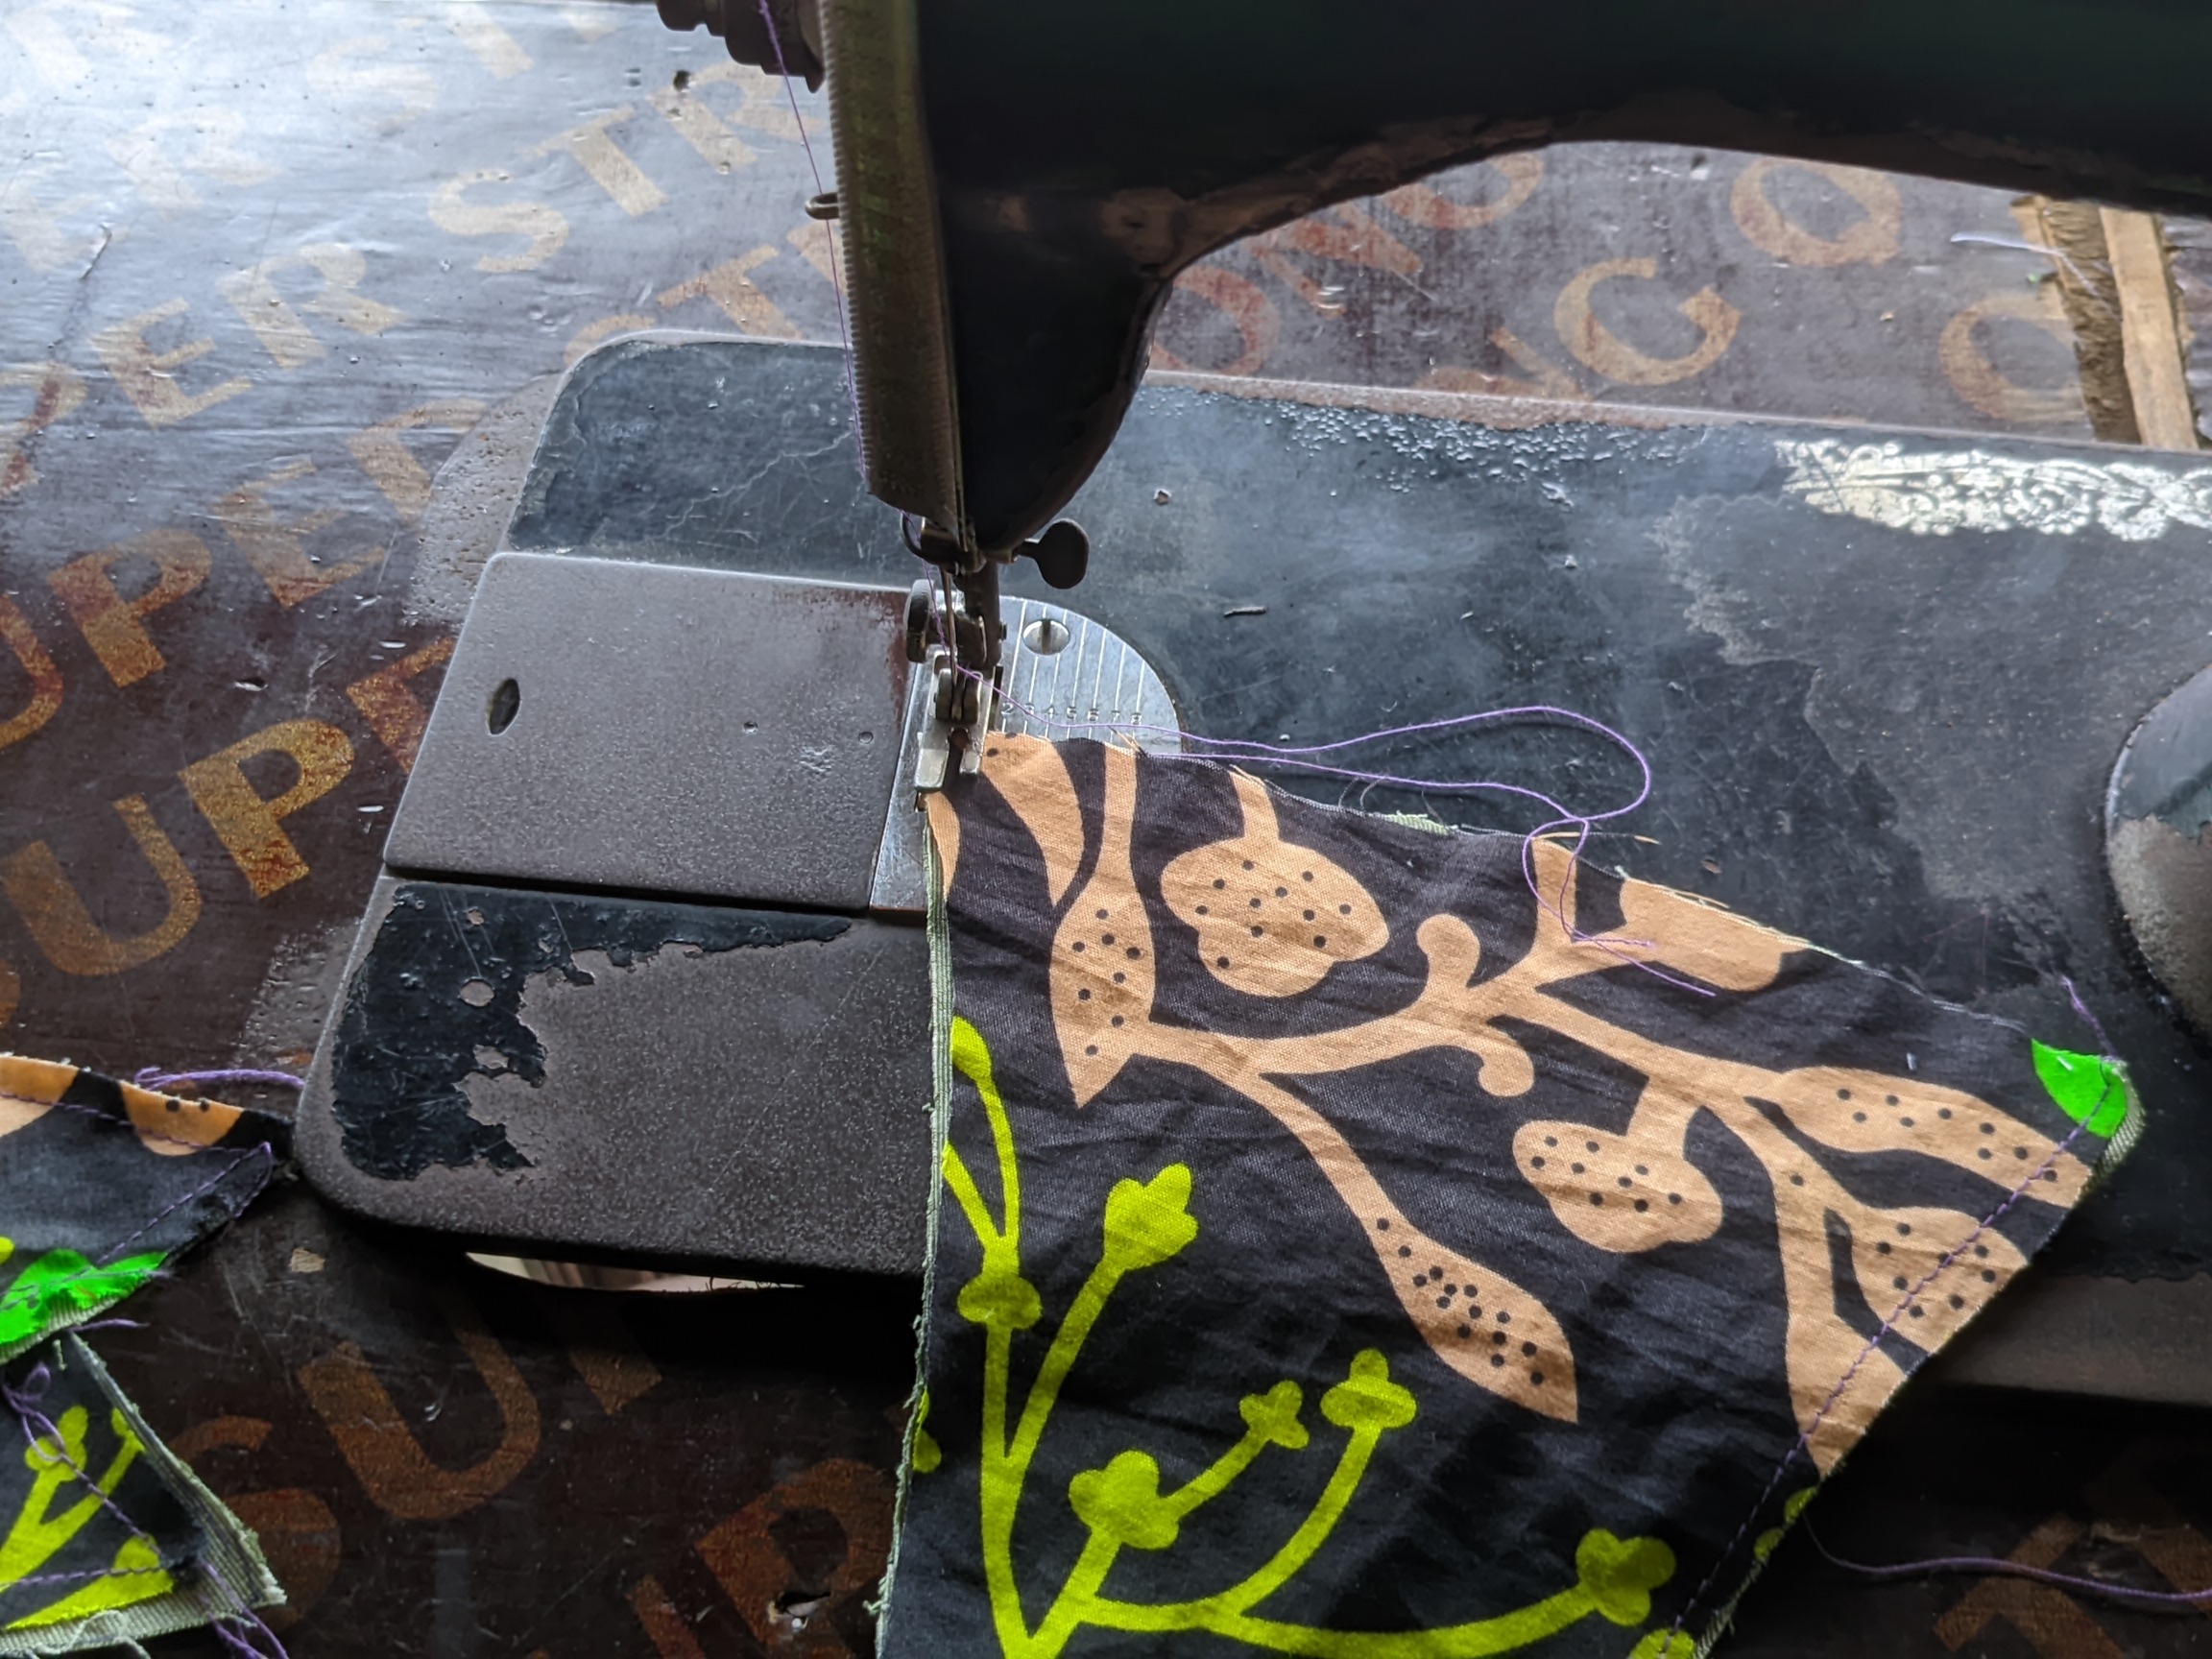
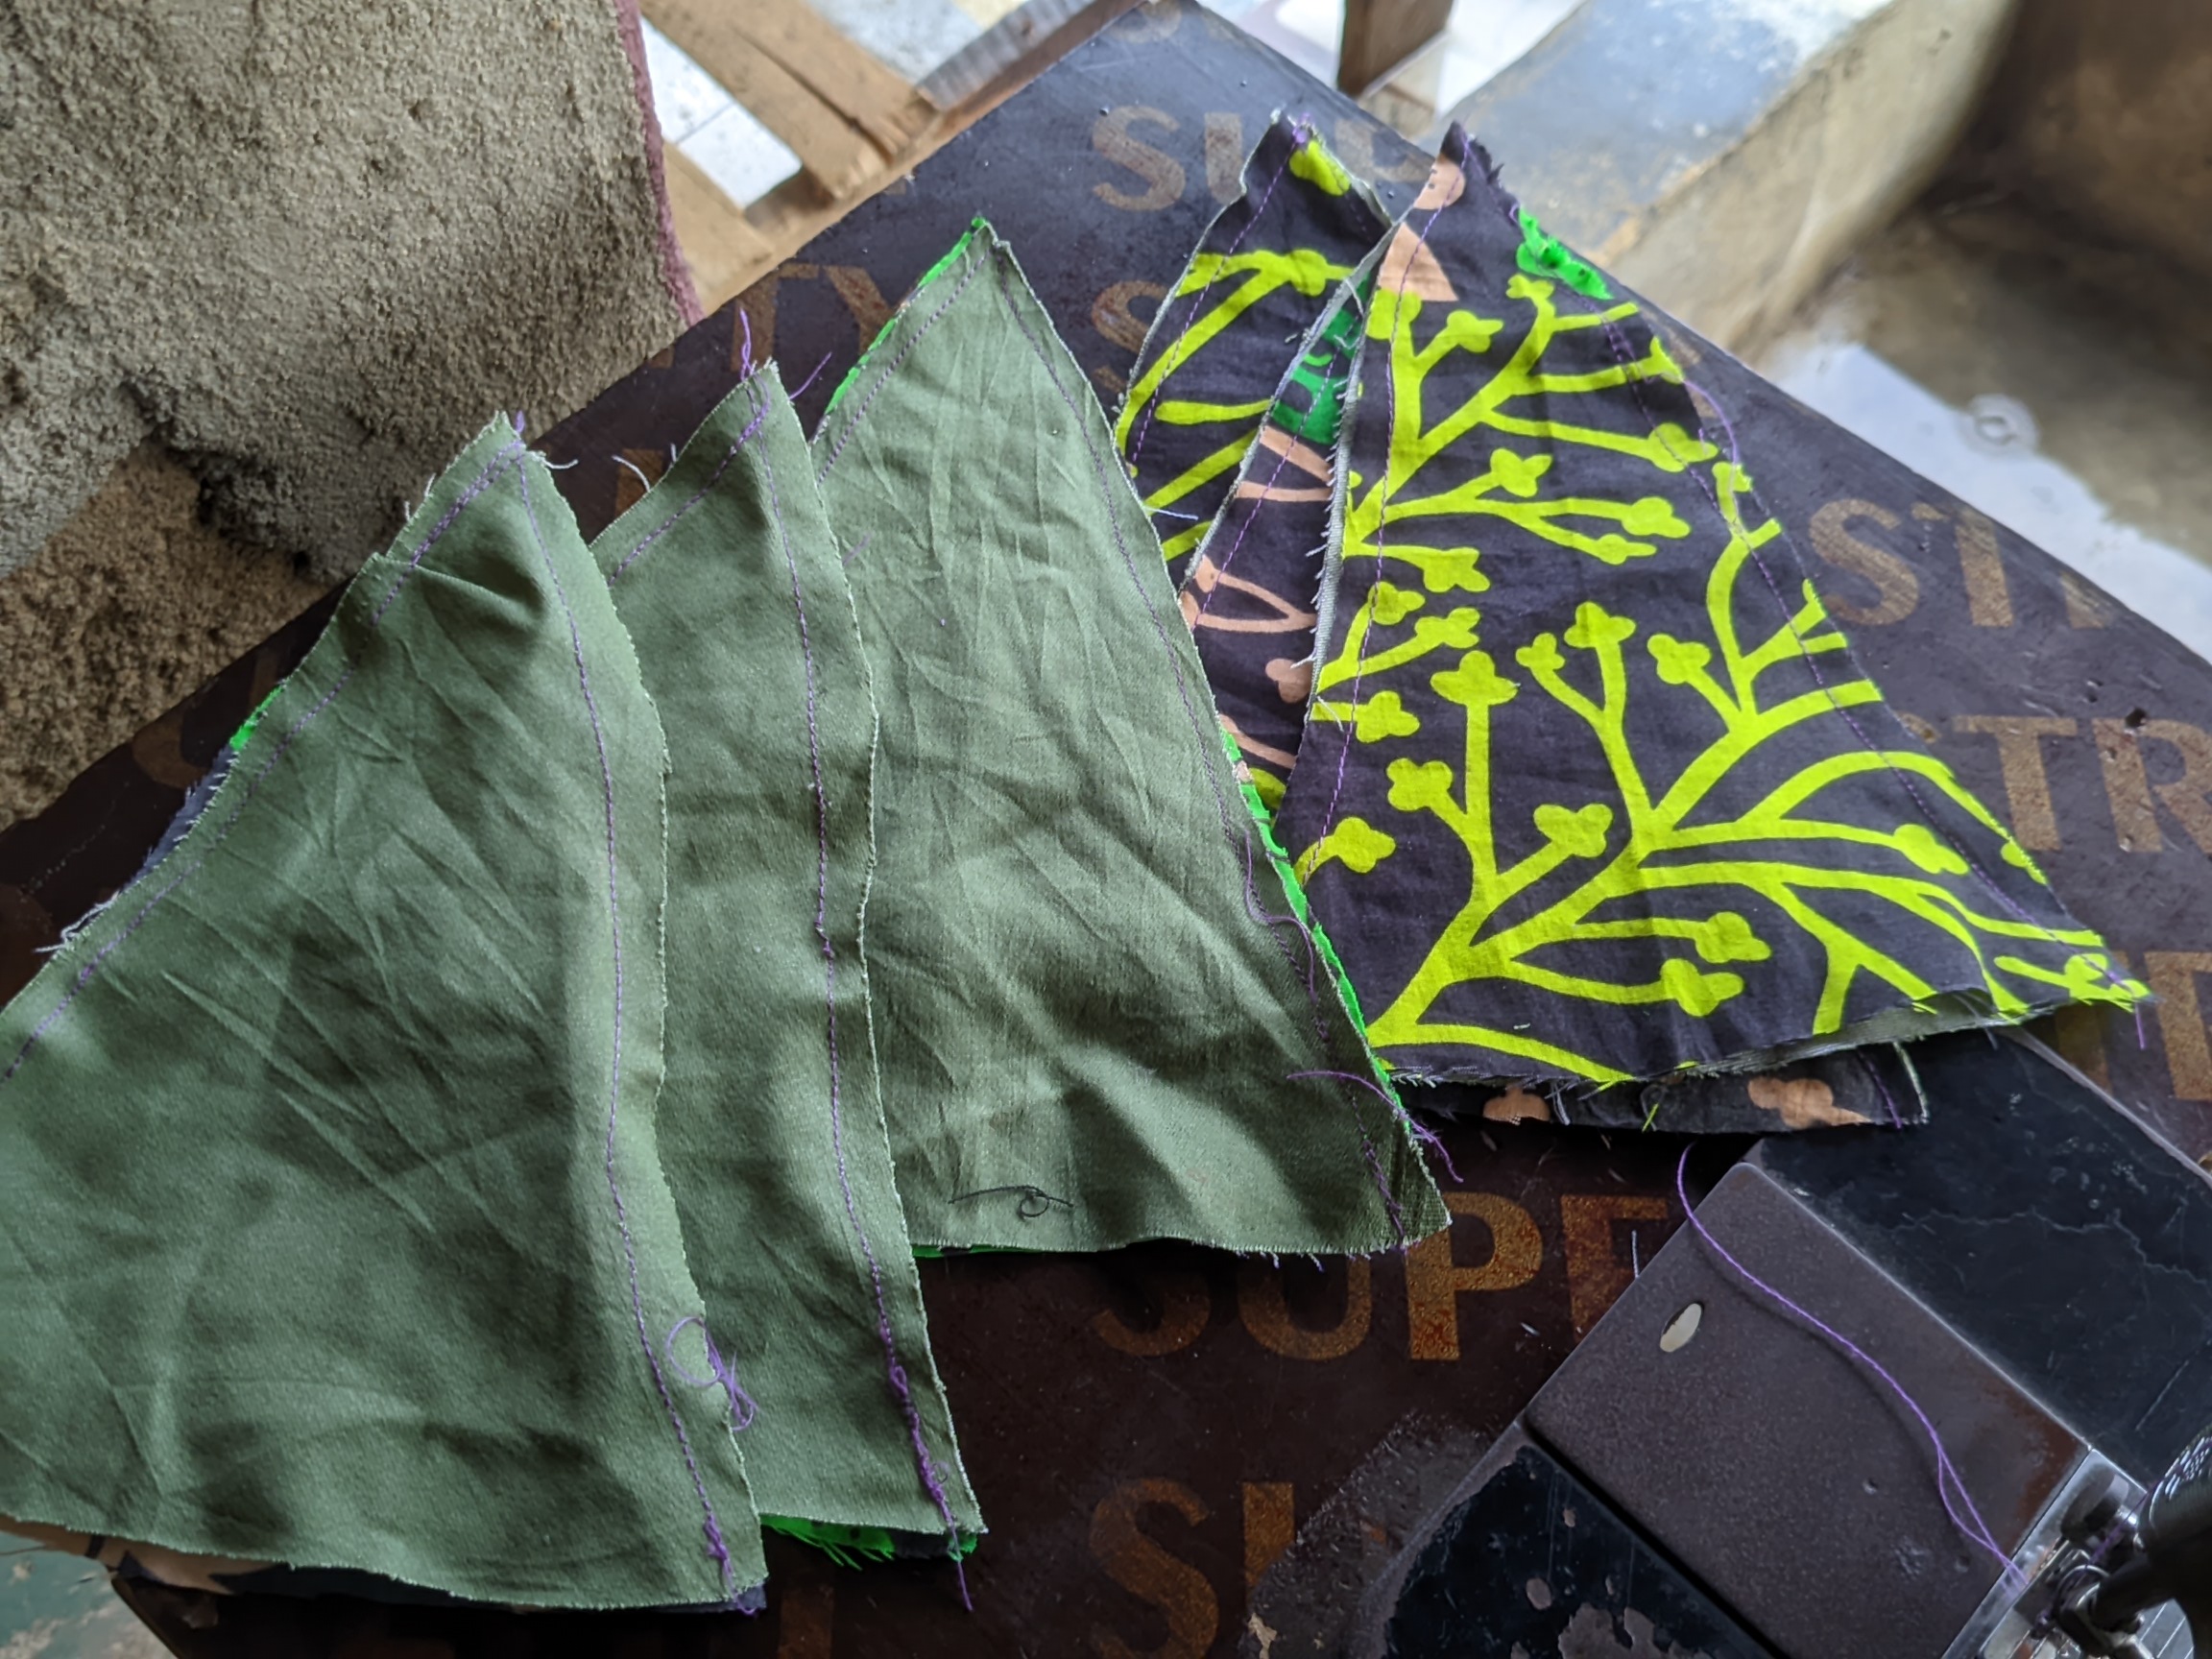
- I carved out 6 pieces in each of the materials. After arranging them together, I then used my dad's sewing machine to join them together. I was extra careful about how I sewed it because of the nature of the material. The chinos' material likes extending because it's not elastic in nature.
 |  |
|---|---|
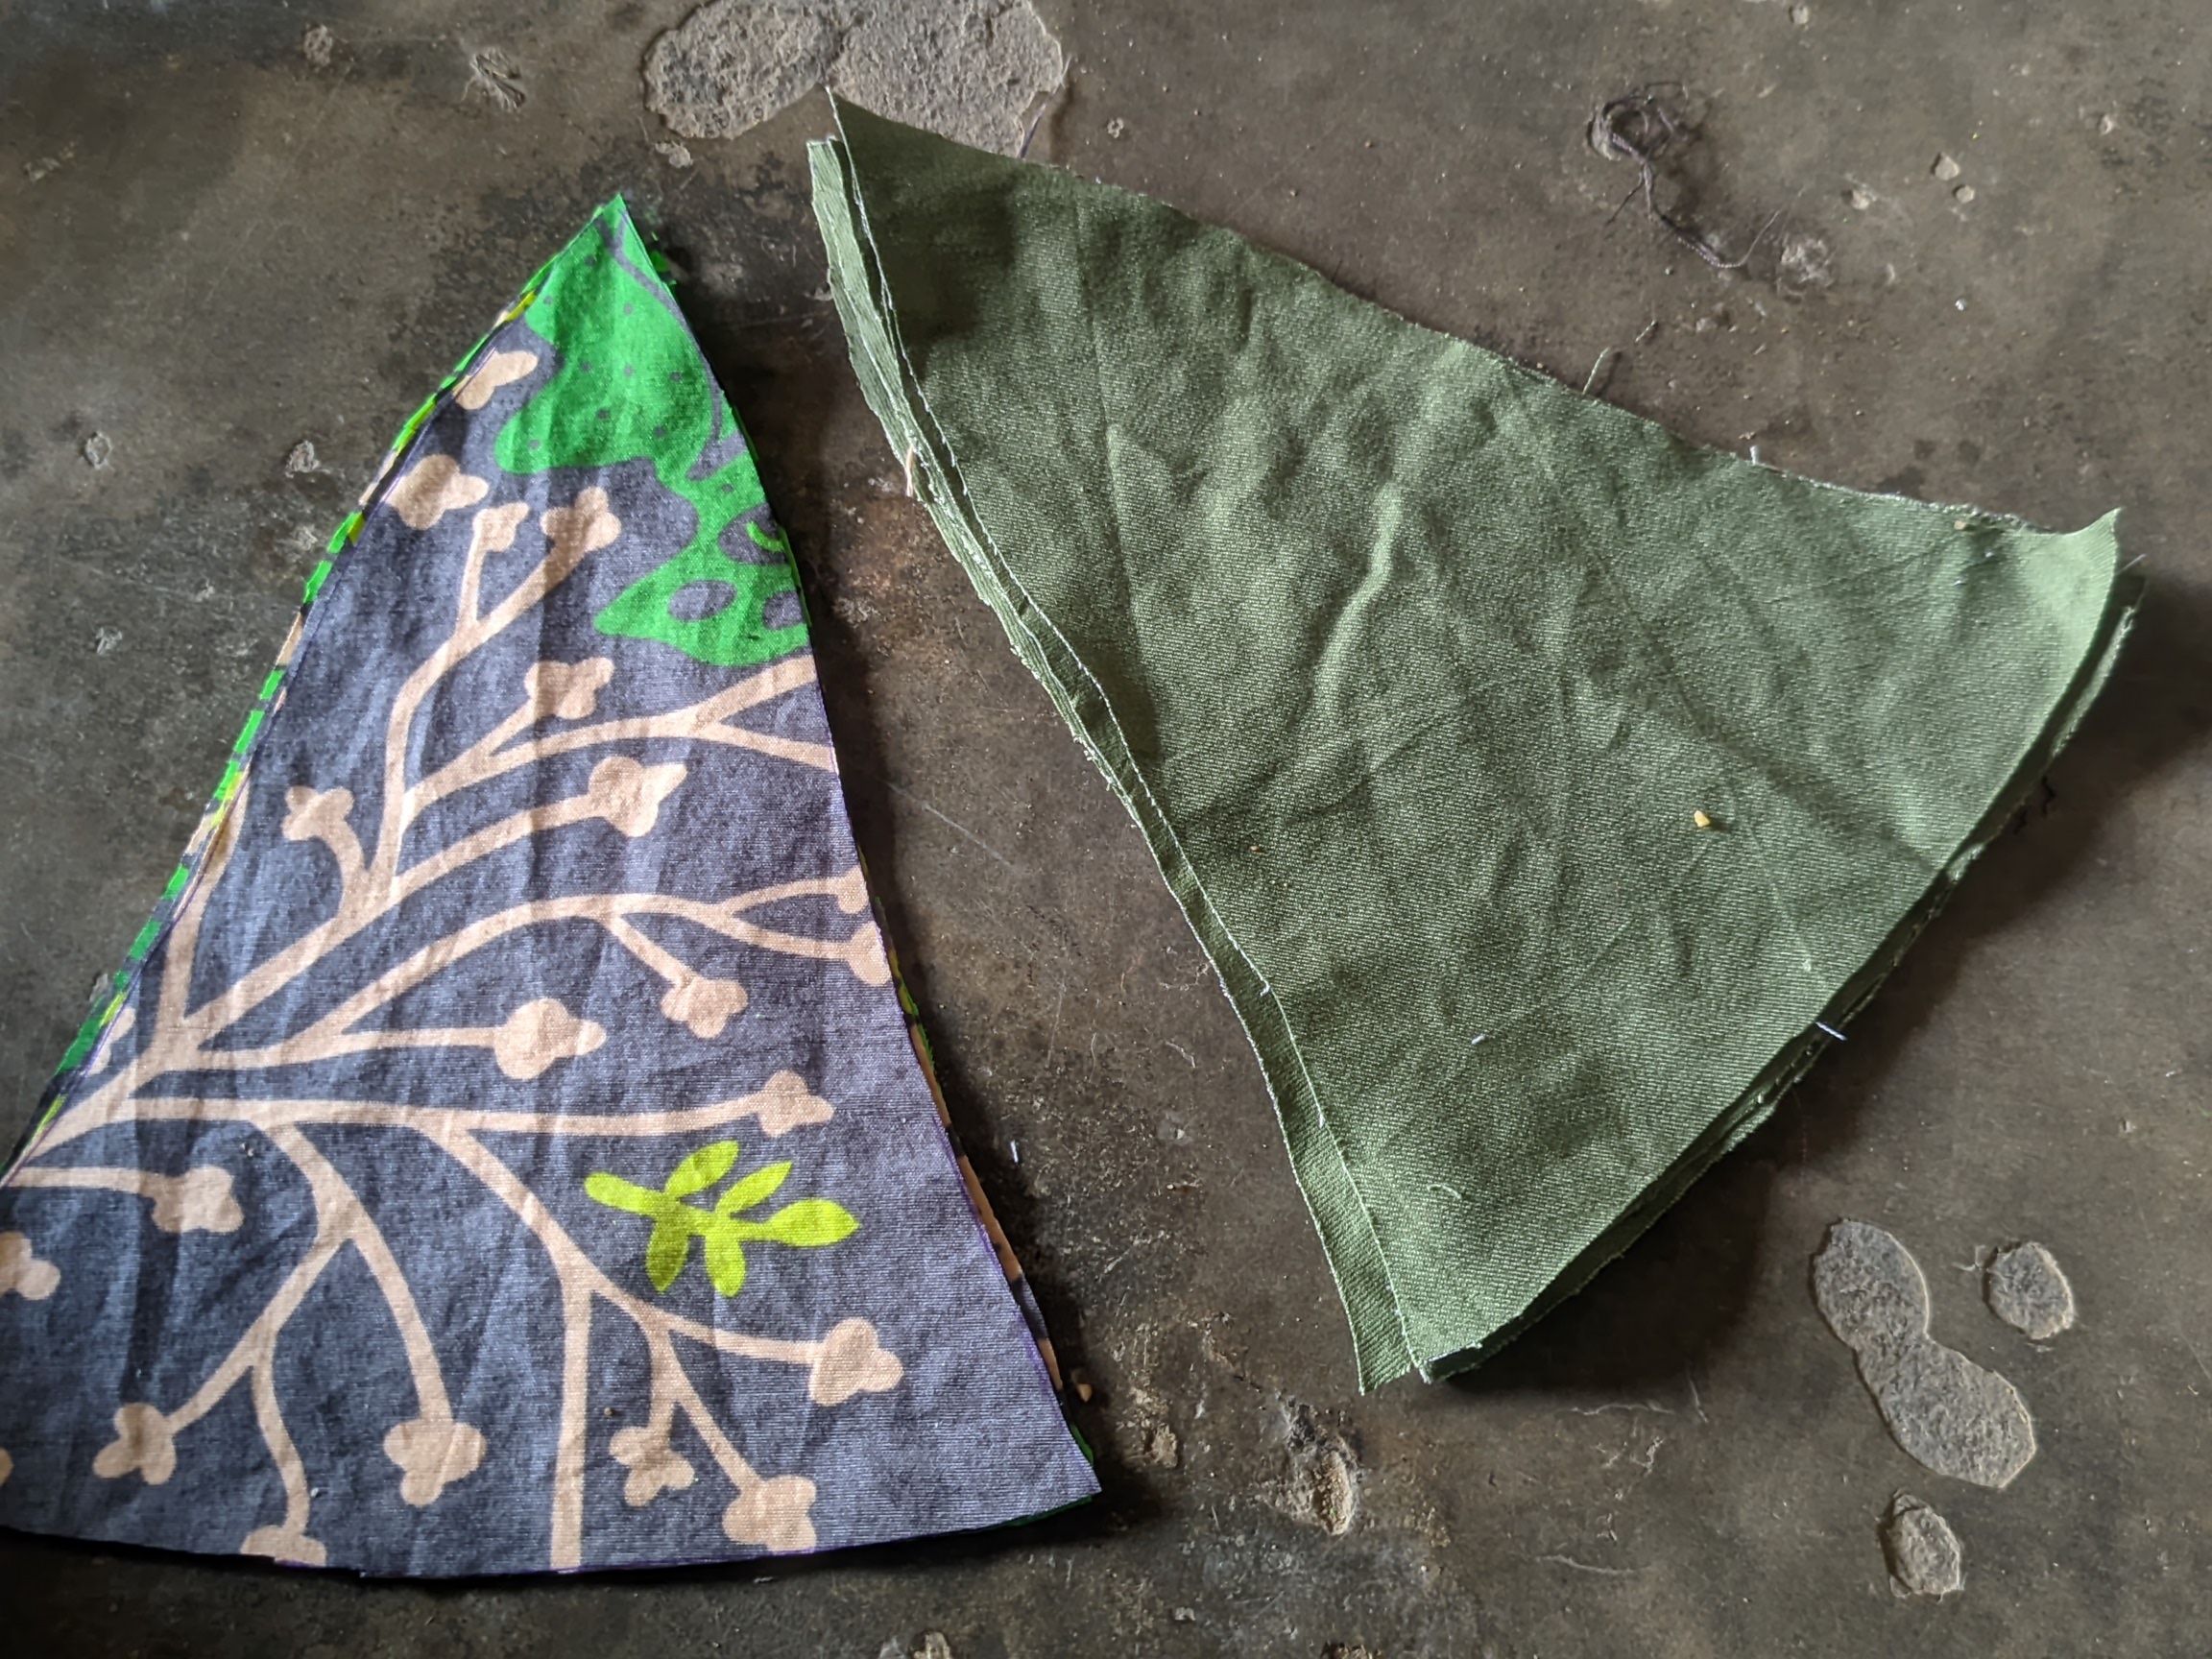 |  |
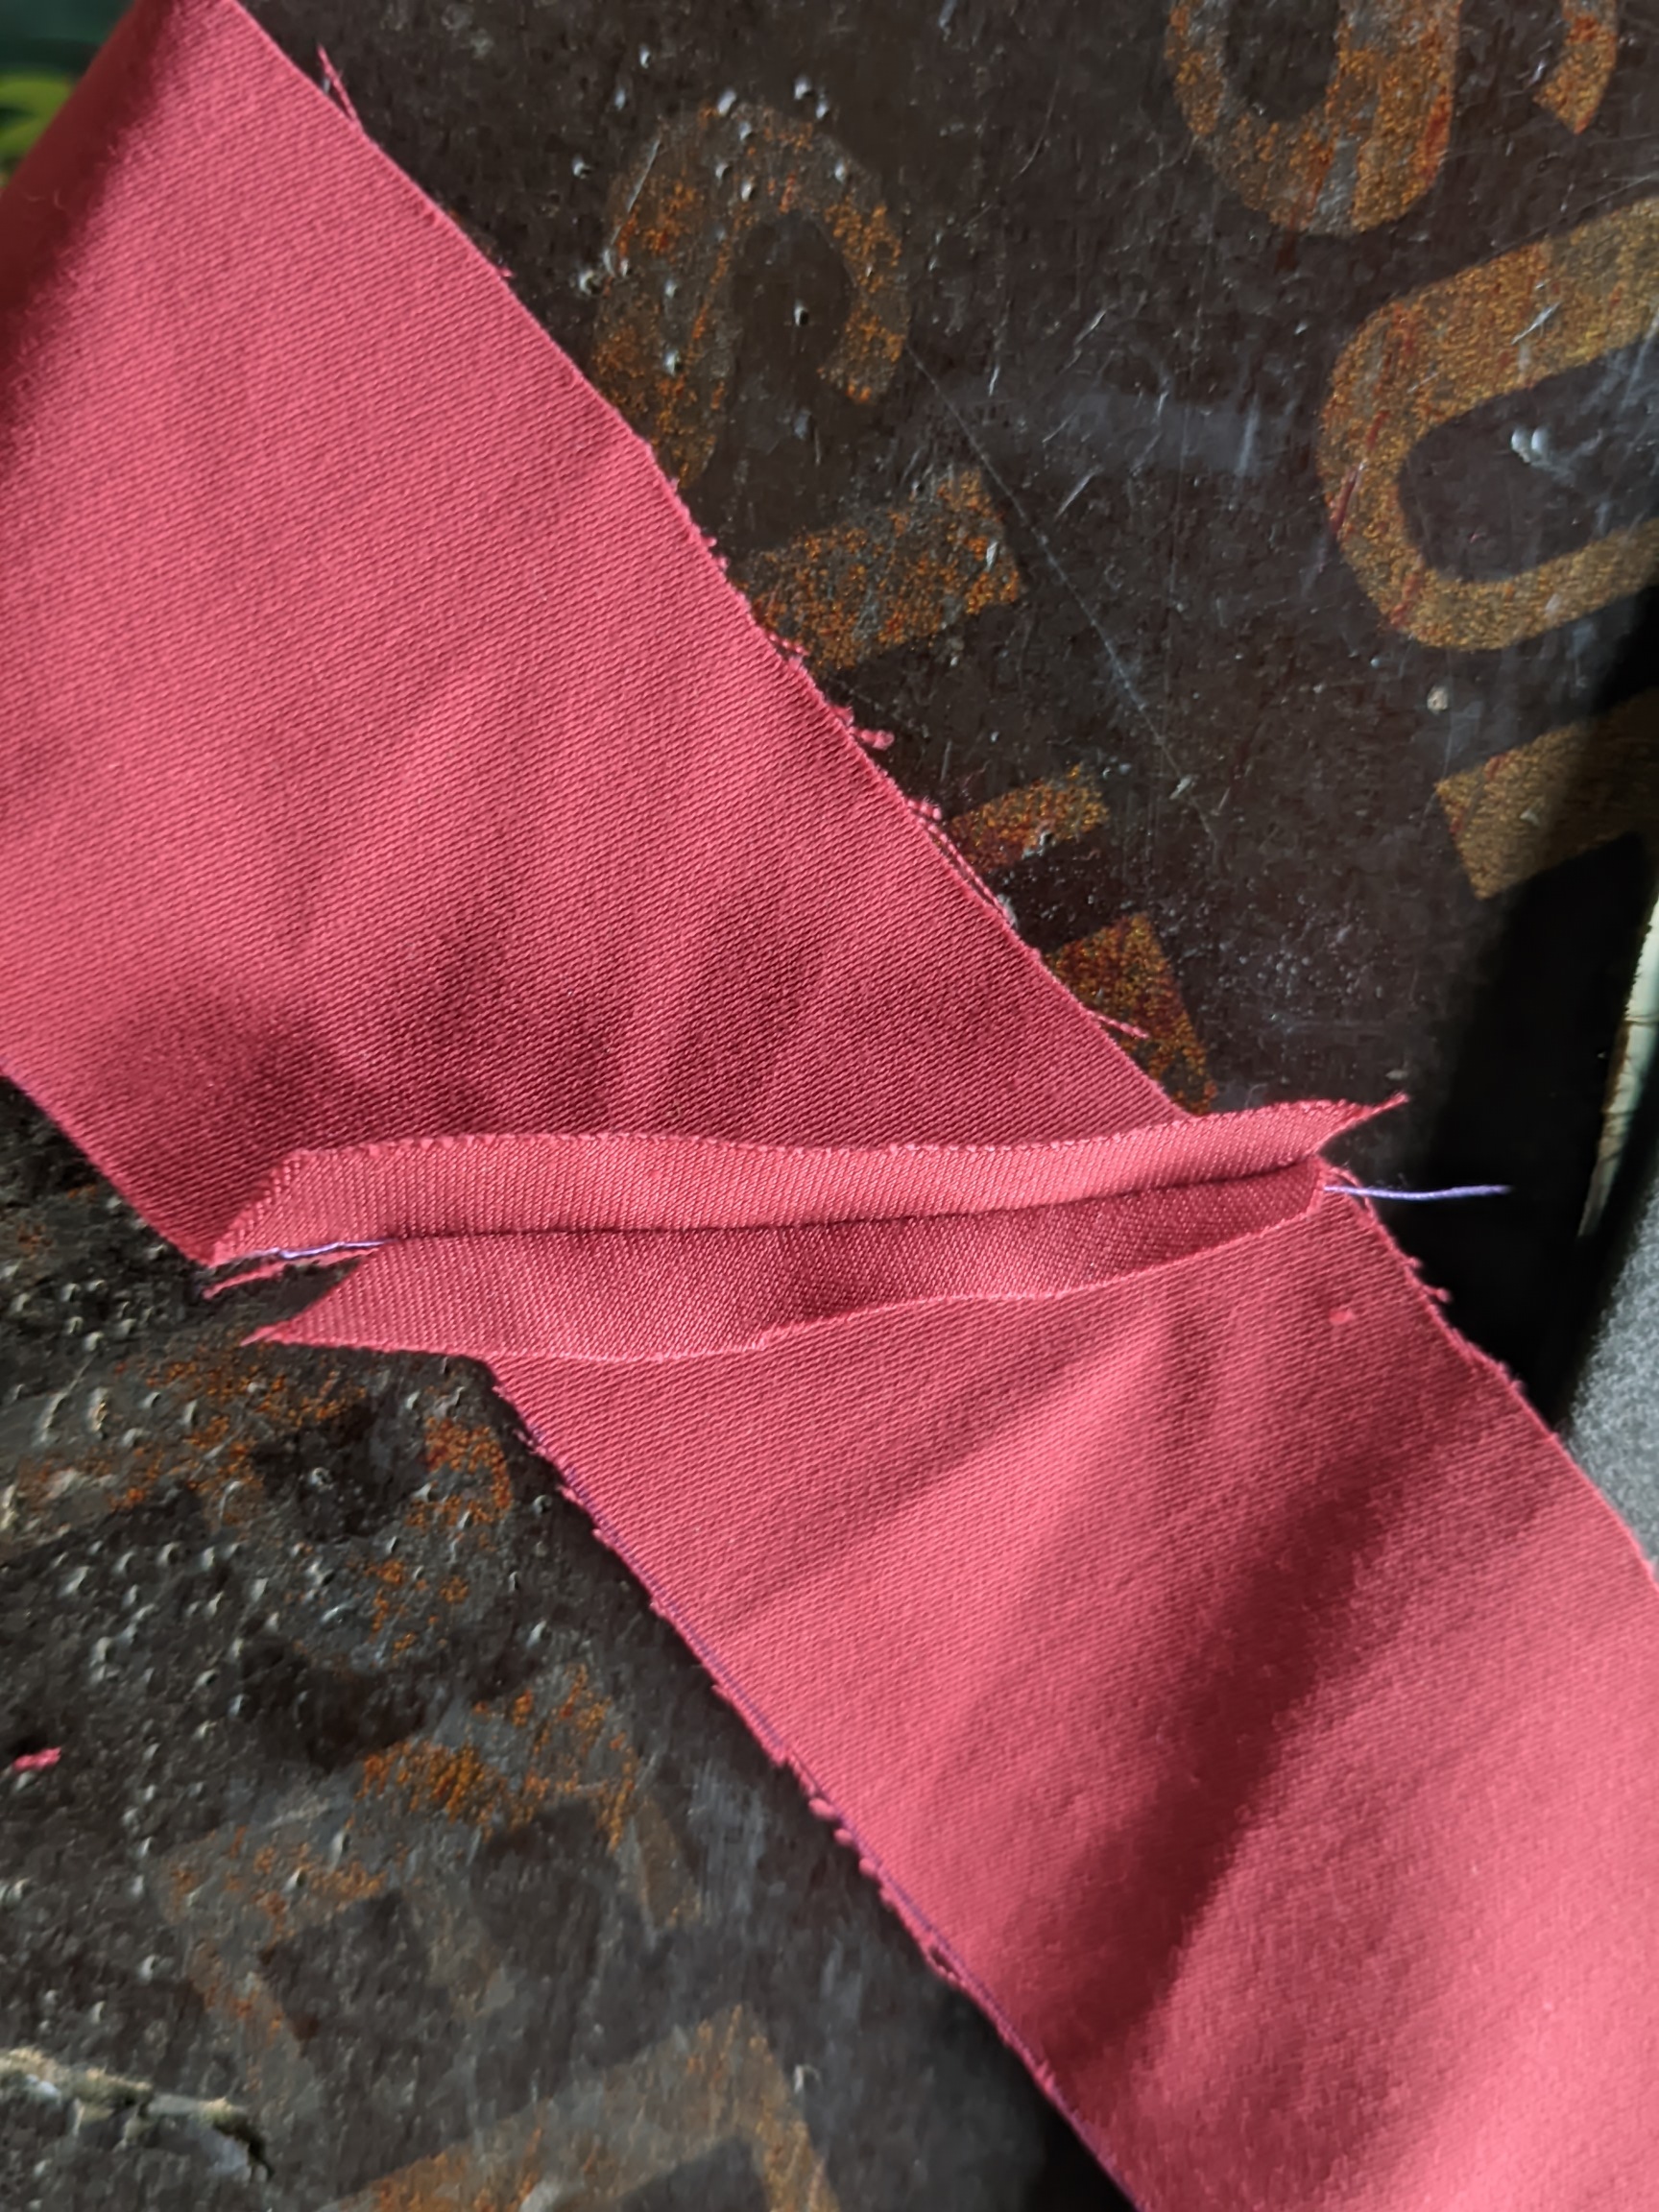
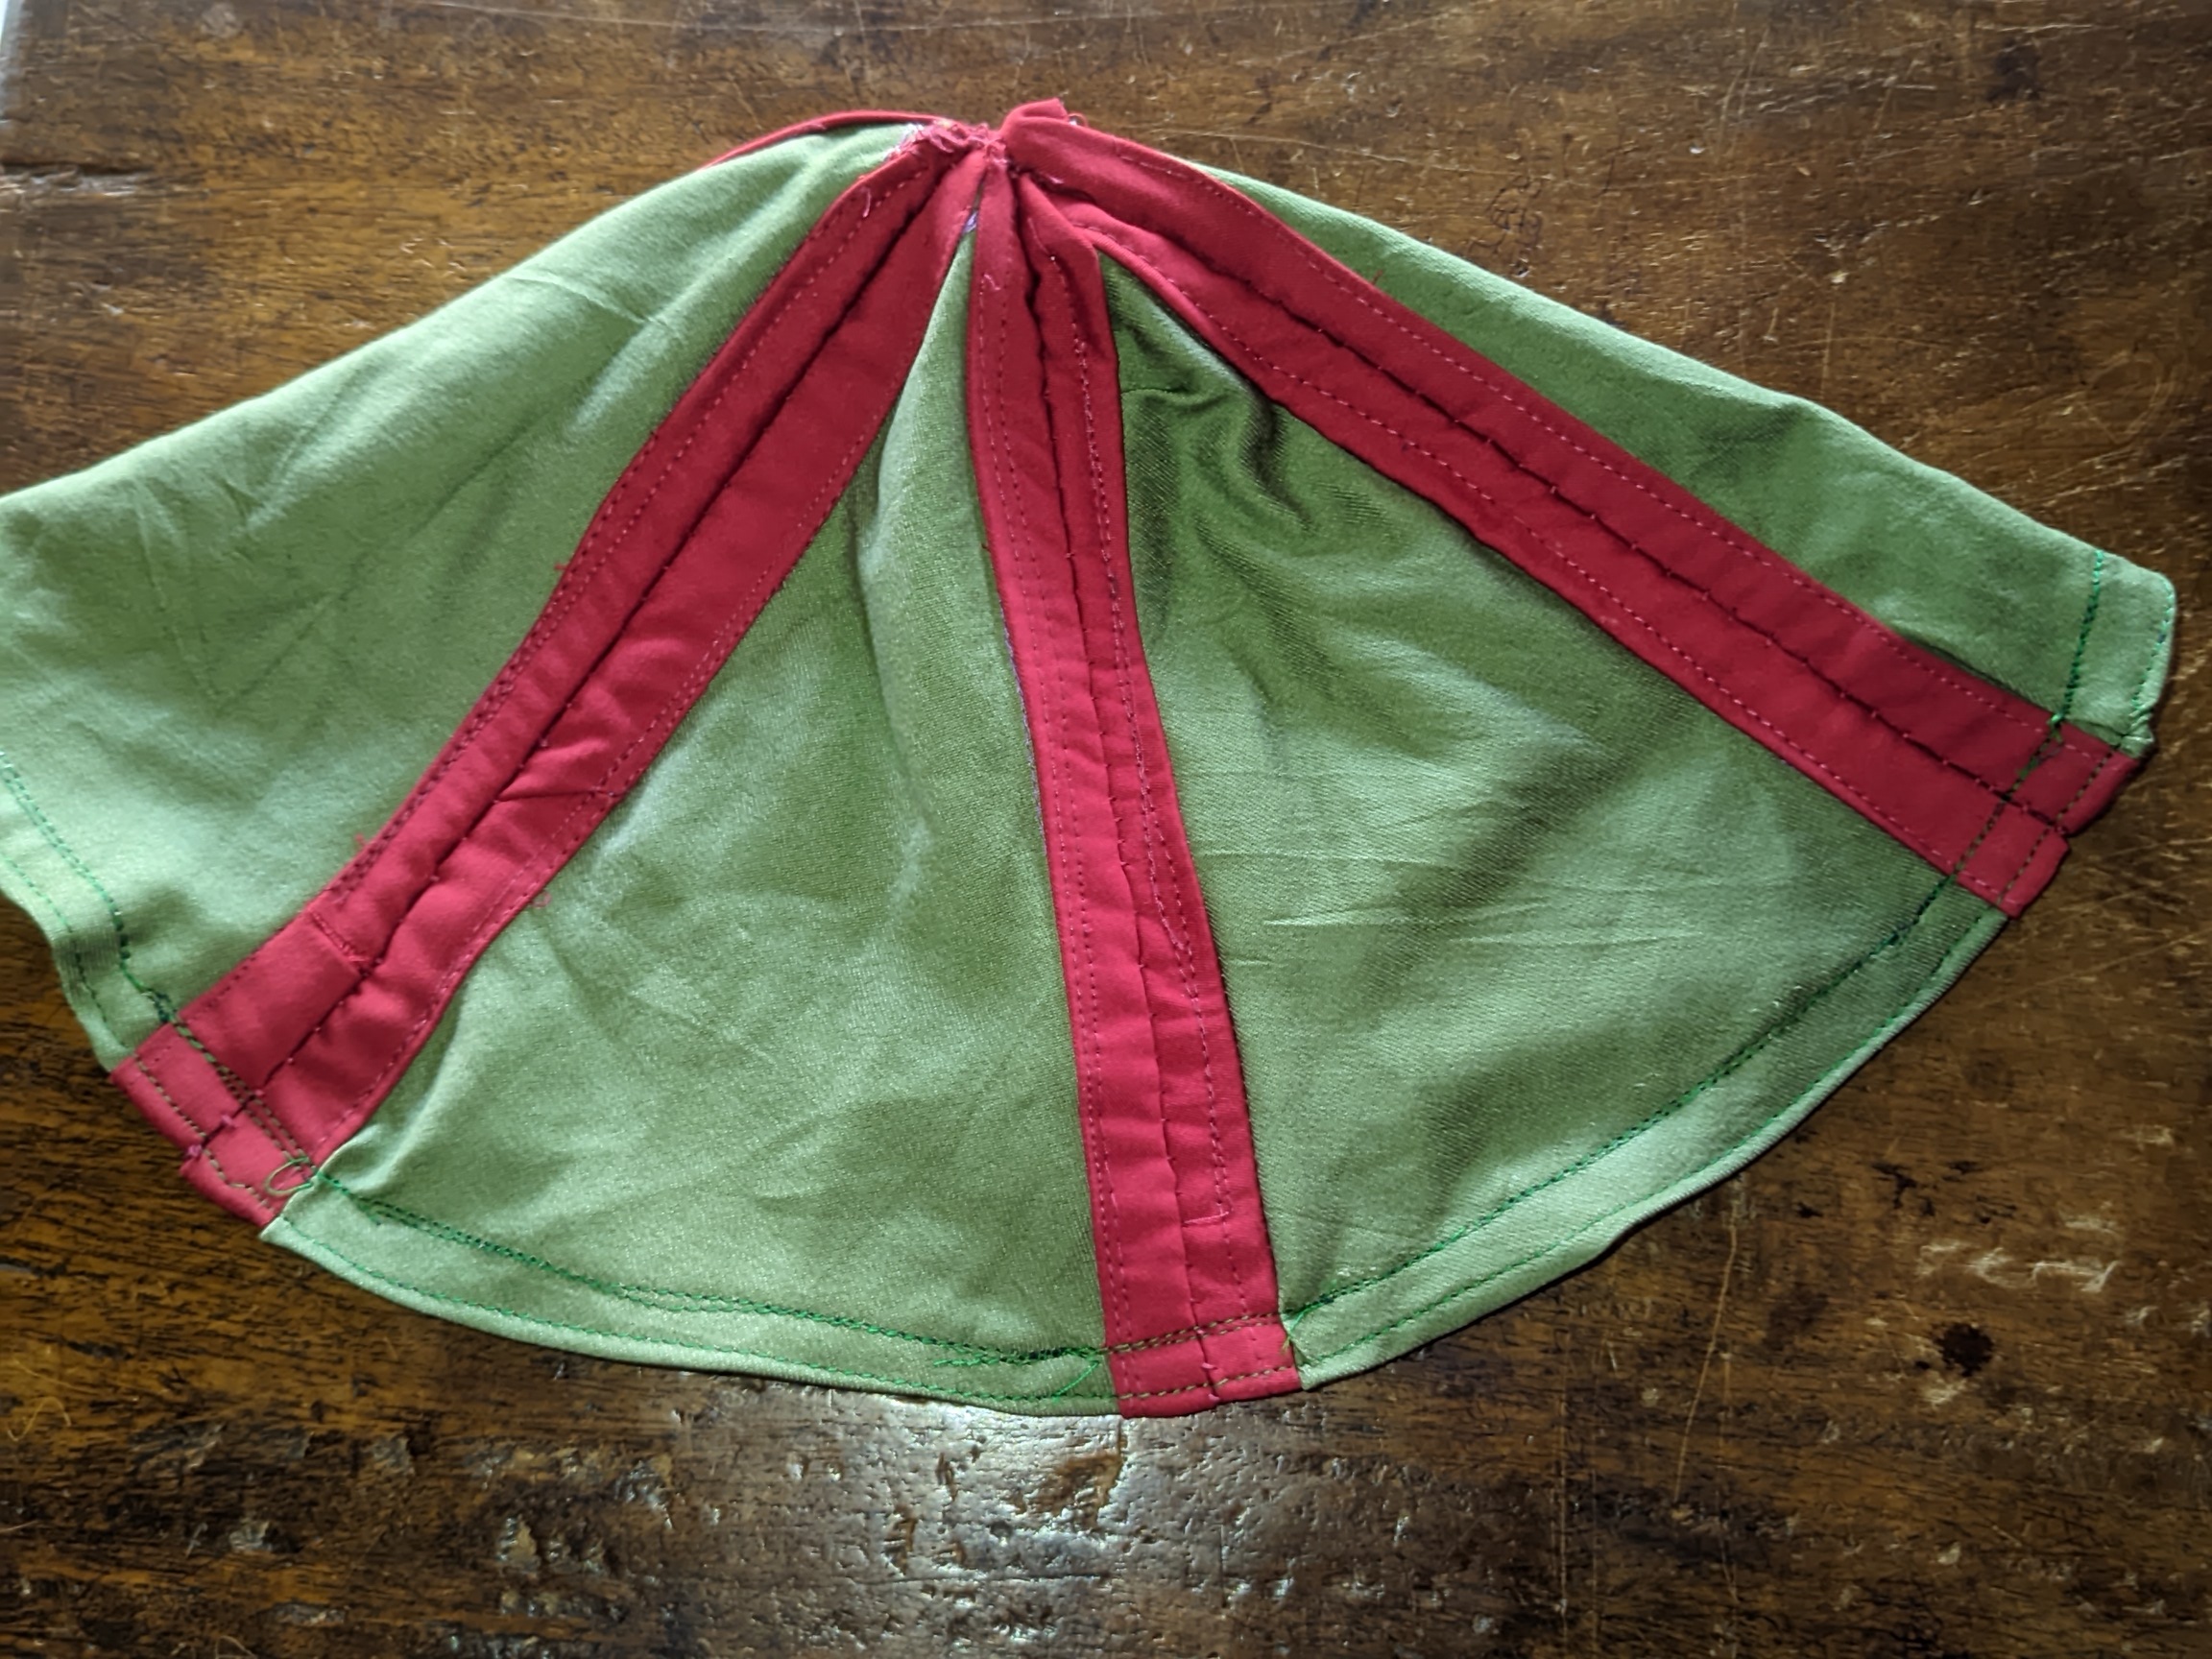
- After joining all 6 pieces on a coffee day, motivation stopped. I continued the next day by using a bias to cover the rough edges up, as you can see. The bias also added a good design to it. It's not as if it couldn't be joined directly, but the bias made that possible so that the interior of the hat can be used if one doesn't want to use the exterior.
|  |
|---|---|
 |  |
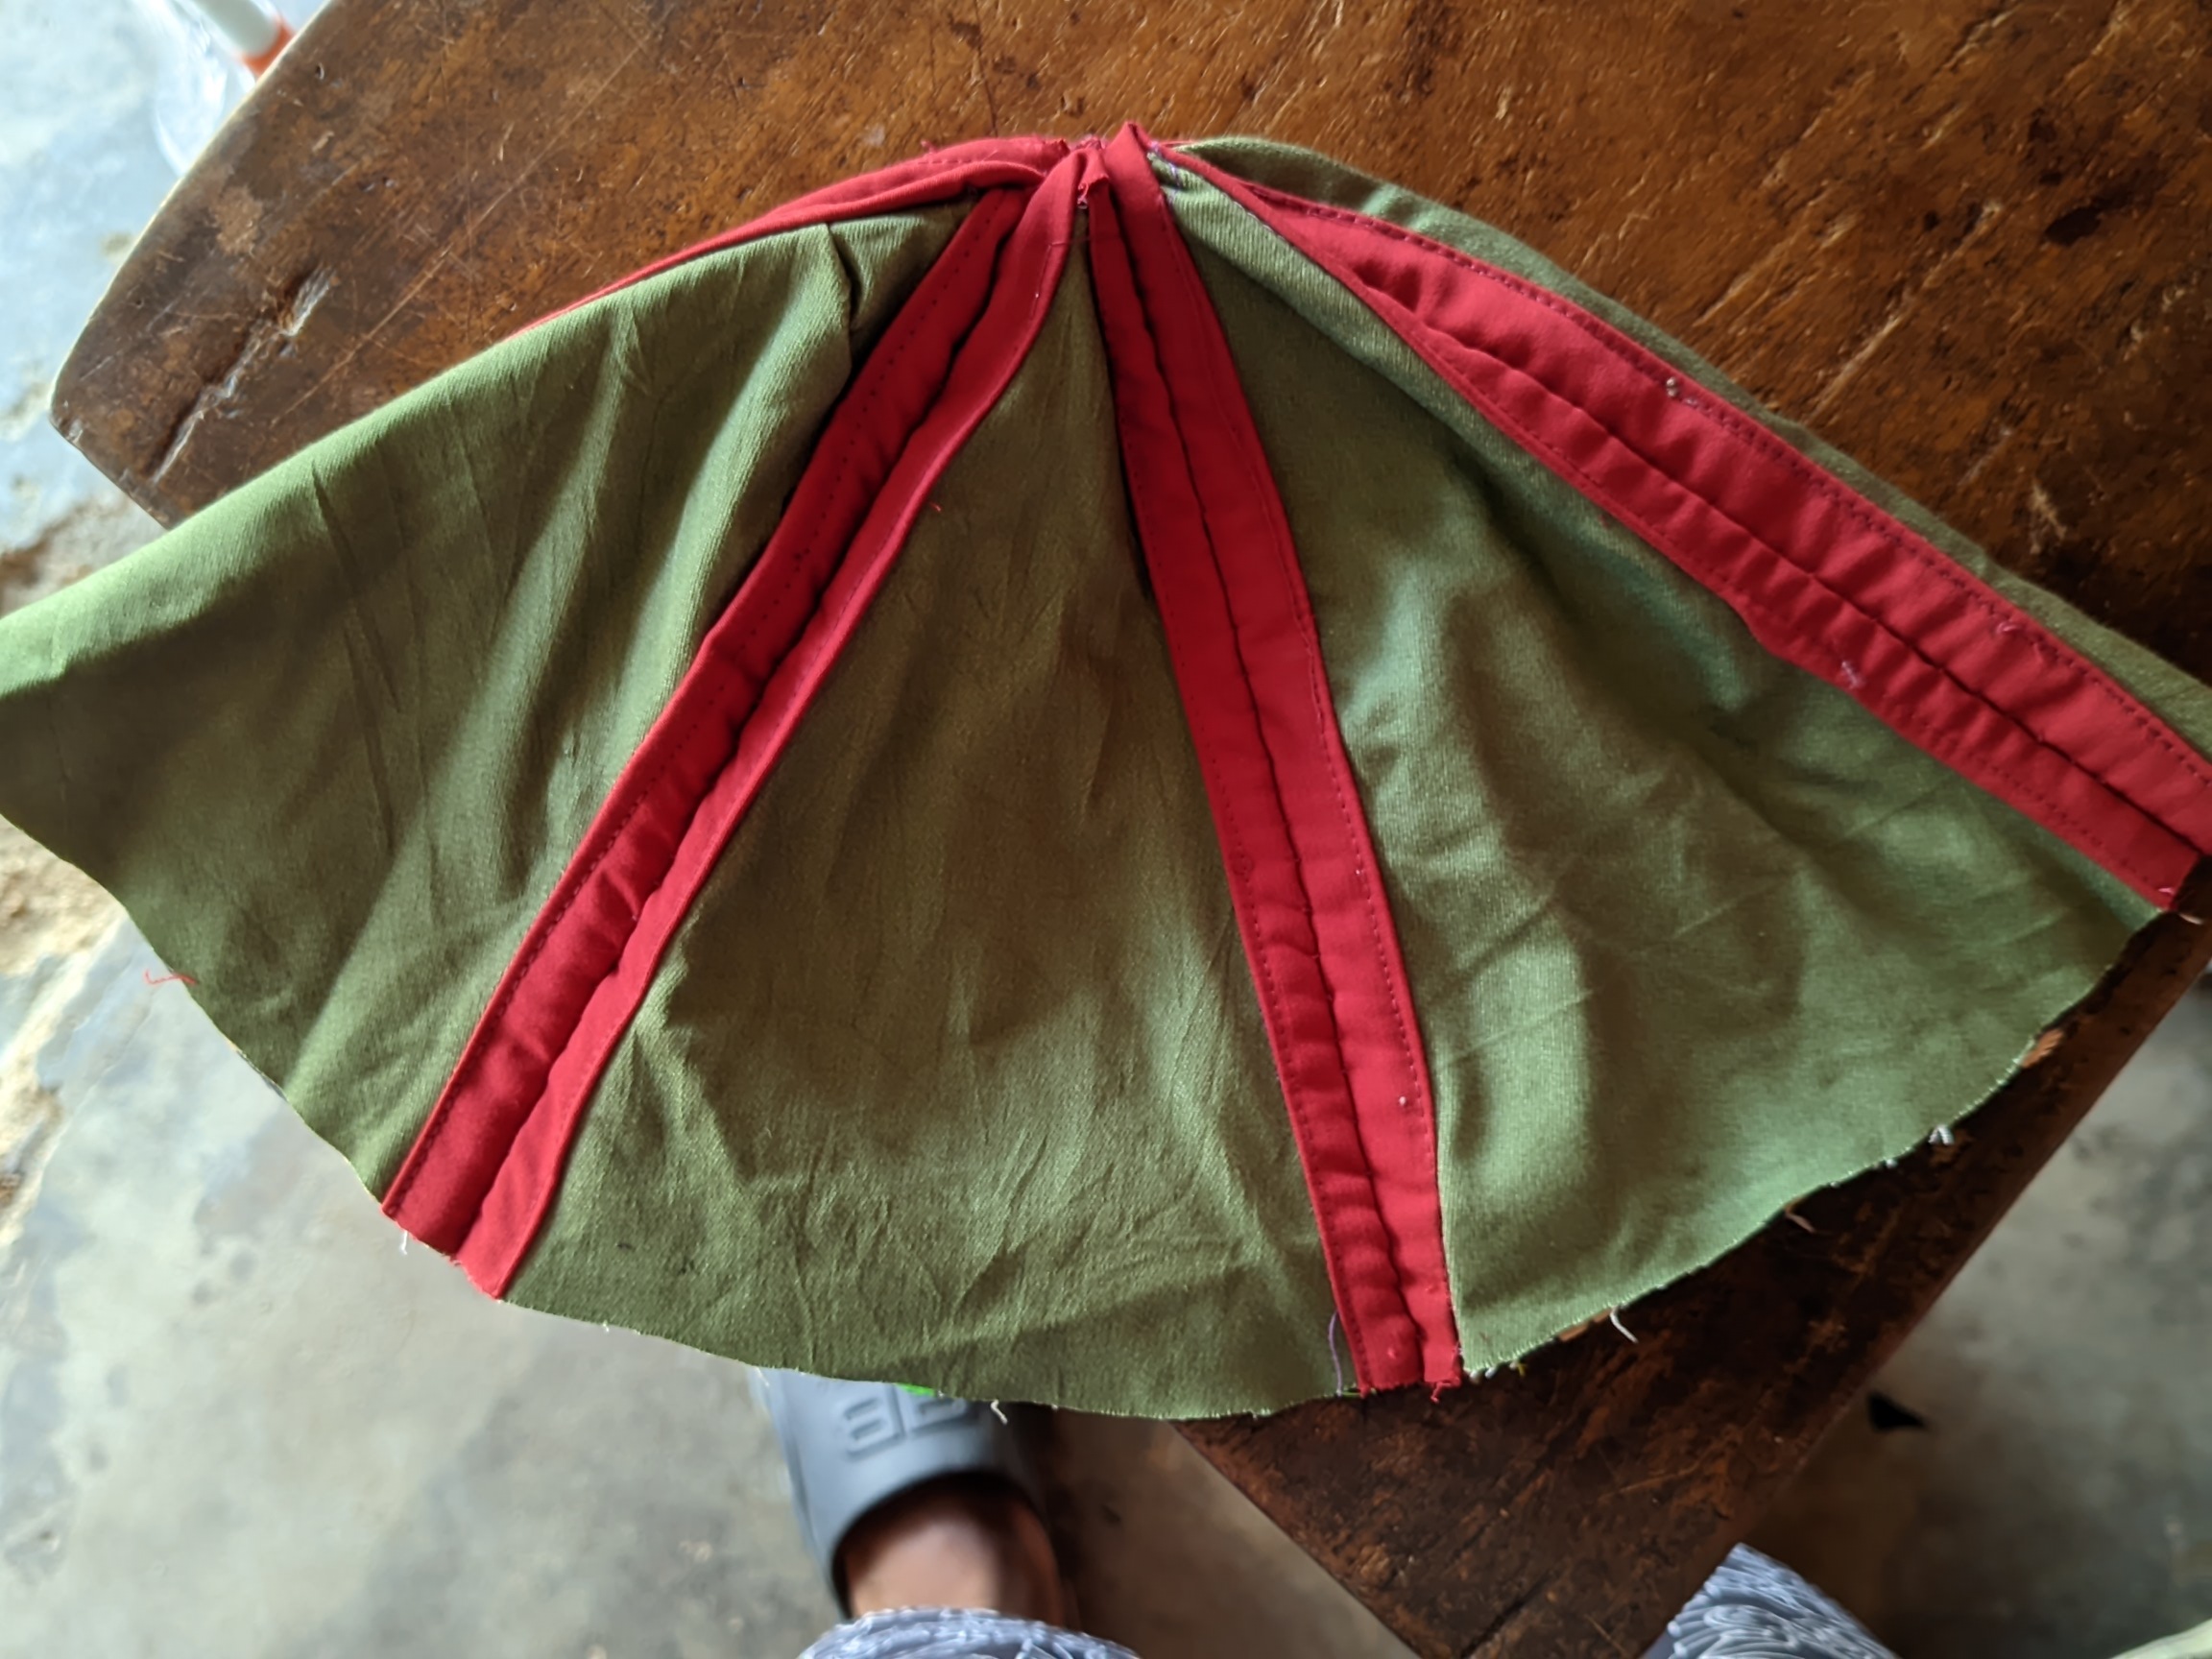
- After connecting the bias on the 6 pieces, I used another day to join them together using hand-sewing stitches. I used a French knot to connect them tightly. After connecting them, motivation ended. I used another day to cover the edges below, and that was how I used one week to sew the foldable hat. It was my first time, and I noticed some errors or mistakes made as to why my hat wasn't standing like the tutor's own. I'll definitely improve on my second time fitting, and I'll tag the tutor to it.
|  |
|---|---|
 | Testing my hat |
- This is the final product of my foldable hat. I can be very portable, as you can see.
Test Video |
|---|
What would I want to do with this skill? |
|---|
I would definitely love to make it on a commercial basis if I mastered the art of sewing it. This would have really been something many would rush to get, especially students. This challenge is really helpful, and it's quite interesting to know that I've learned a skill from this.
Comments on other people's posts |
|---|
https://steemit.com/ecological3r-s30w3/@bossj23/tcbda7
https://steemit.com/ecological3r-s30w3/@bossj23/tcbddl
I invite @blessedlife, @sualeha and @ripon0630...........
https://x.com/i/status/2035788181023387828
Upvoted! Thank you for supporting witness @jswit.
Hey friend, I understand your point about the hat. It was a challenge for me too, and even though I tried to shape it, I feel like it didn't turn out as well as the teacher's. But we gave it a shot! 😃👍 I like those colors. Those hats need stiffer fabric, some kind of padding to give them more shape. This challenge definitely had its difficulties.
Thanks so much for the commendation. You did great too.
@blessedlife 🌷

Hola amigo.
Felicidades por tu bonito trabajo.
Con amor y mucho logramos hacer cosas increíbles.
Te deseo suerte en el concurso.
Thank you ma.
Yo también pienso que este es un producto comercializable al perfeccionar la práctica en la confección.
Te cuento que sentí el mismo temor que tú para abordar este proyecto. Pensé que tenía muchos pasos y yo que coso a mano tardaría una eternidad. Un día hice el patrón y otro me decidí y armé de valor para cortar y coser y así de no tan fácil estuvo listo. Sentí que algo me iluminó jejeje.
Eres bendito entre las mujeres. Para que el sombrero calce bien, debes tener el estilo, en verdad bastante femenino de doblar un poco el ala por la parte frontal, eso creo.
Como siempre, fue un gusto leer tu dedicación y observaciones.
Éxitos.
You've said everything ma. I only try my best to be good and to be good always. Best wishes and thanks for the commendations.
Hola su gorro se ve llamativo con los colores, muy bien que explica como lo confecciono, suerte
Thanks so much. The hat will look great on you 😁
#play
Saludos amigo. crear siempre será un motivo para estar felices, es increíble como se elaboran piezas con retazos, tela que prácticamente desechamos. Te felicito por tu gran creación.
Thank you very much. We learn everyday