How I Deconstructed an Old Cage to Build a New Home for my Native Fowl
Greetings to my fellow Steemians!
Today, I want to take you on a journey of hard work, sweat, and creativity. In our homes, we often have structures that have served their time. My family’s native fowl cage was one of those. It had become "spoiled beyond repair" the wood was weak, and it was no longer a safe place for our birds.
My mom gave me a challenge:
"Pull it down, save what is good, and build something better." Instead of seeing it as a chore, I saw it as an engineering project. Here is the detailed breakdown of my progress so far.
1. The Starting Point:
 | this is the former condition of the cage |
|---|
| When I started pulling the zinc carefully, so that I won't damage some necessary materials | 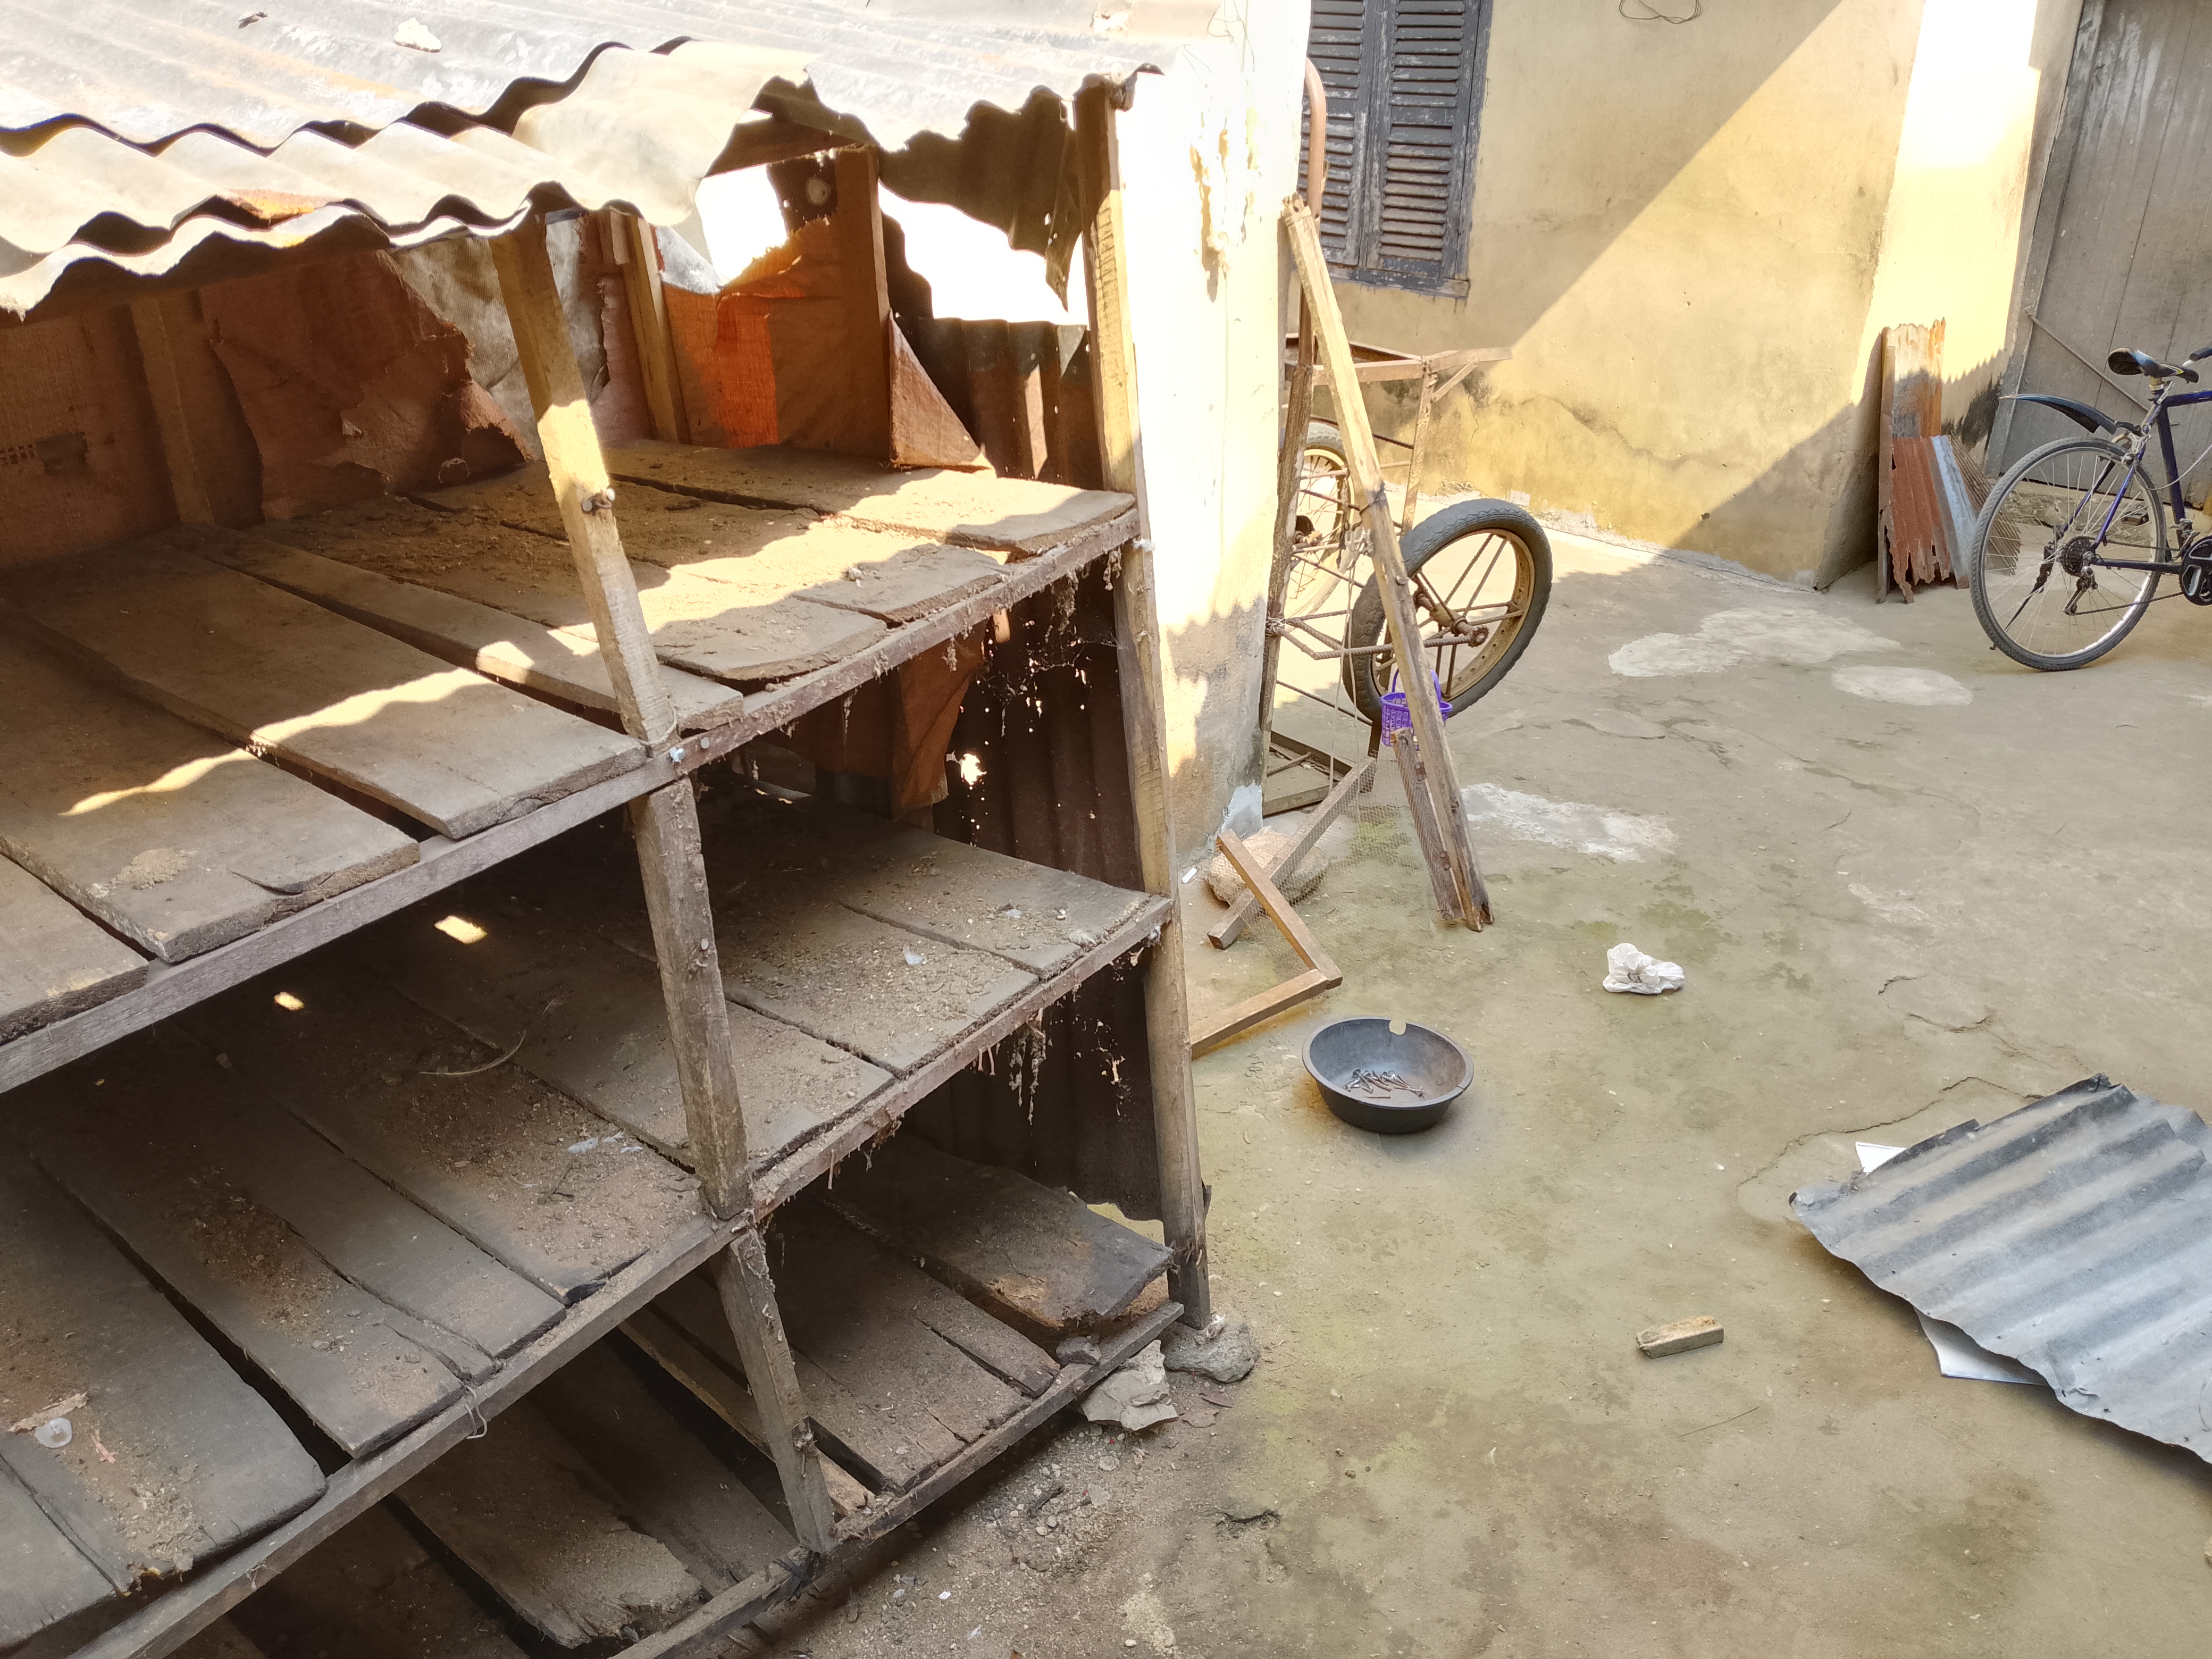 |
|---|
 | The Demolition |
|---|
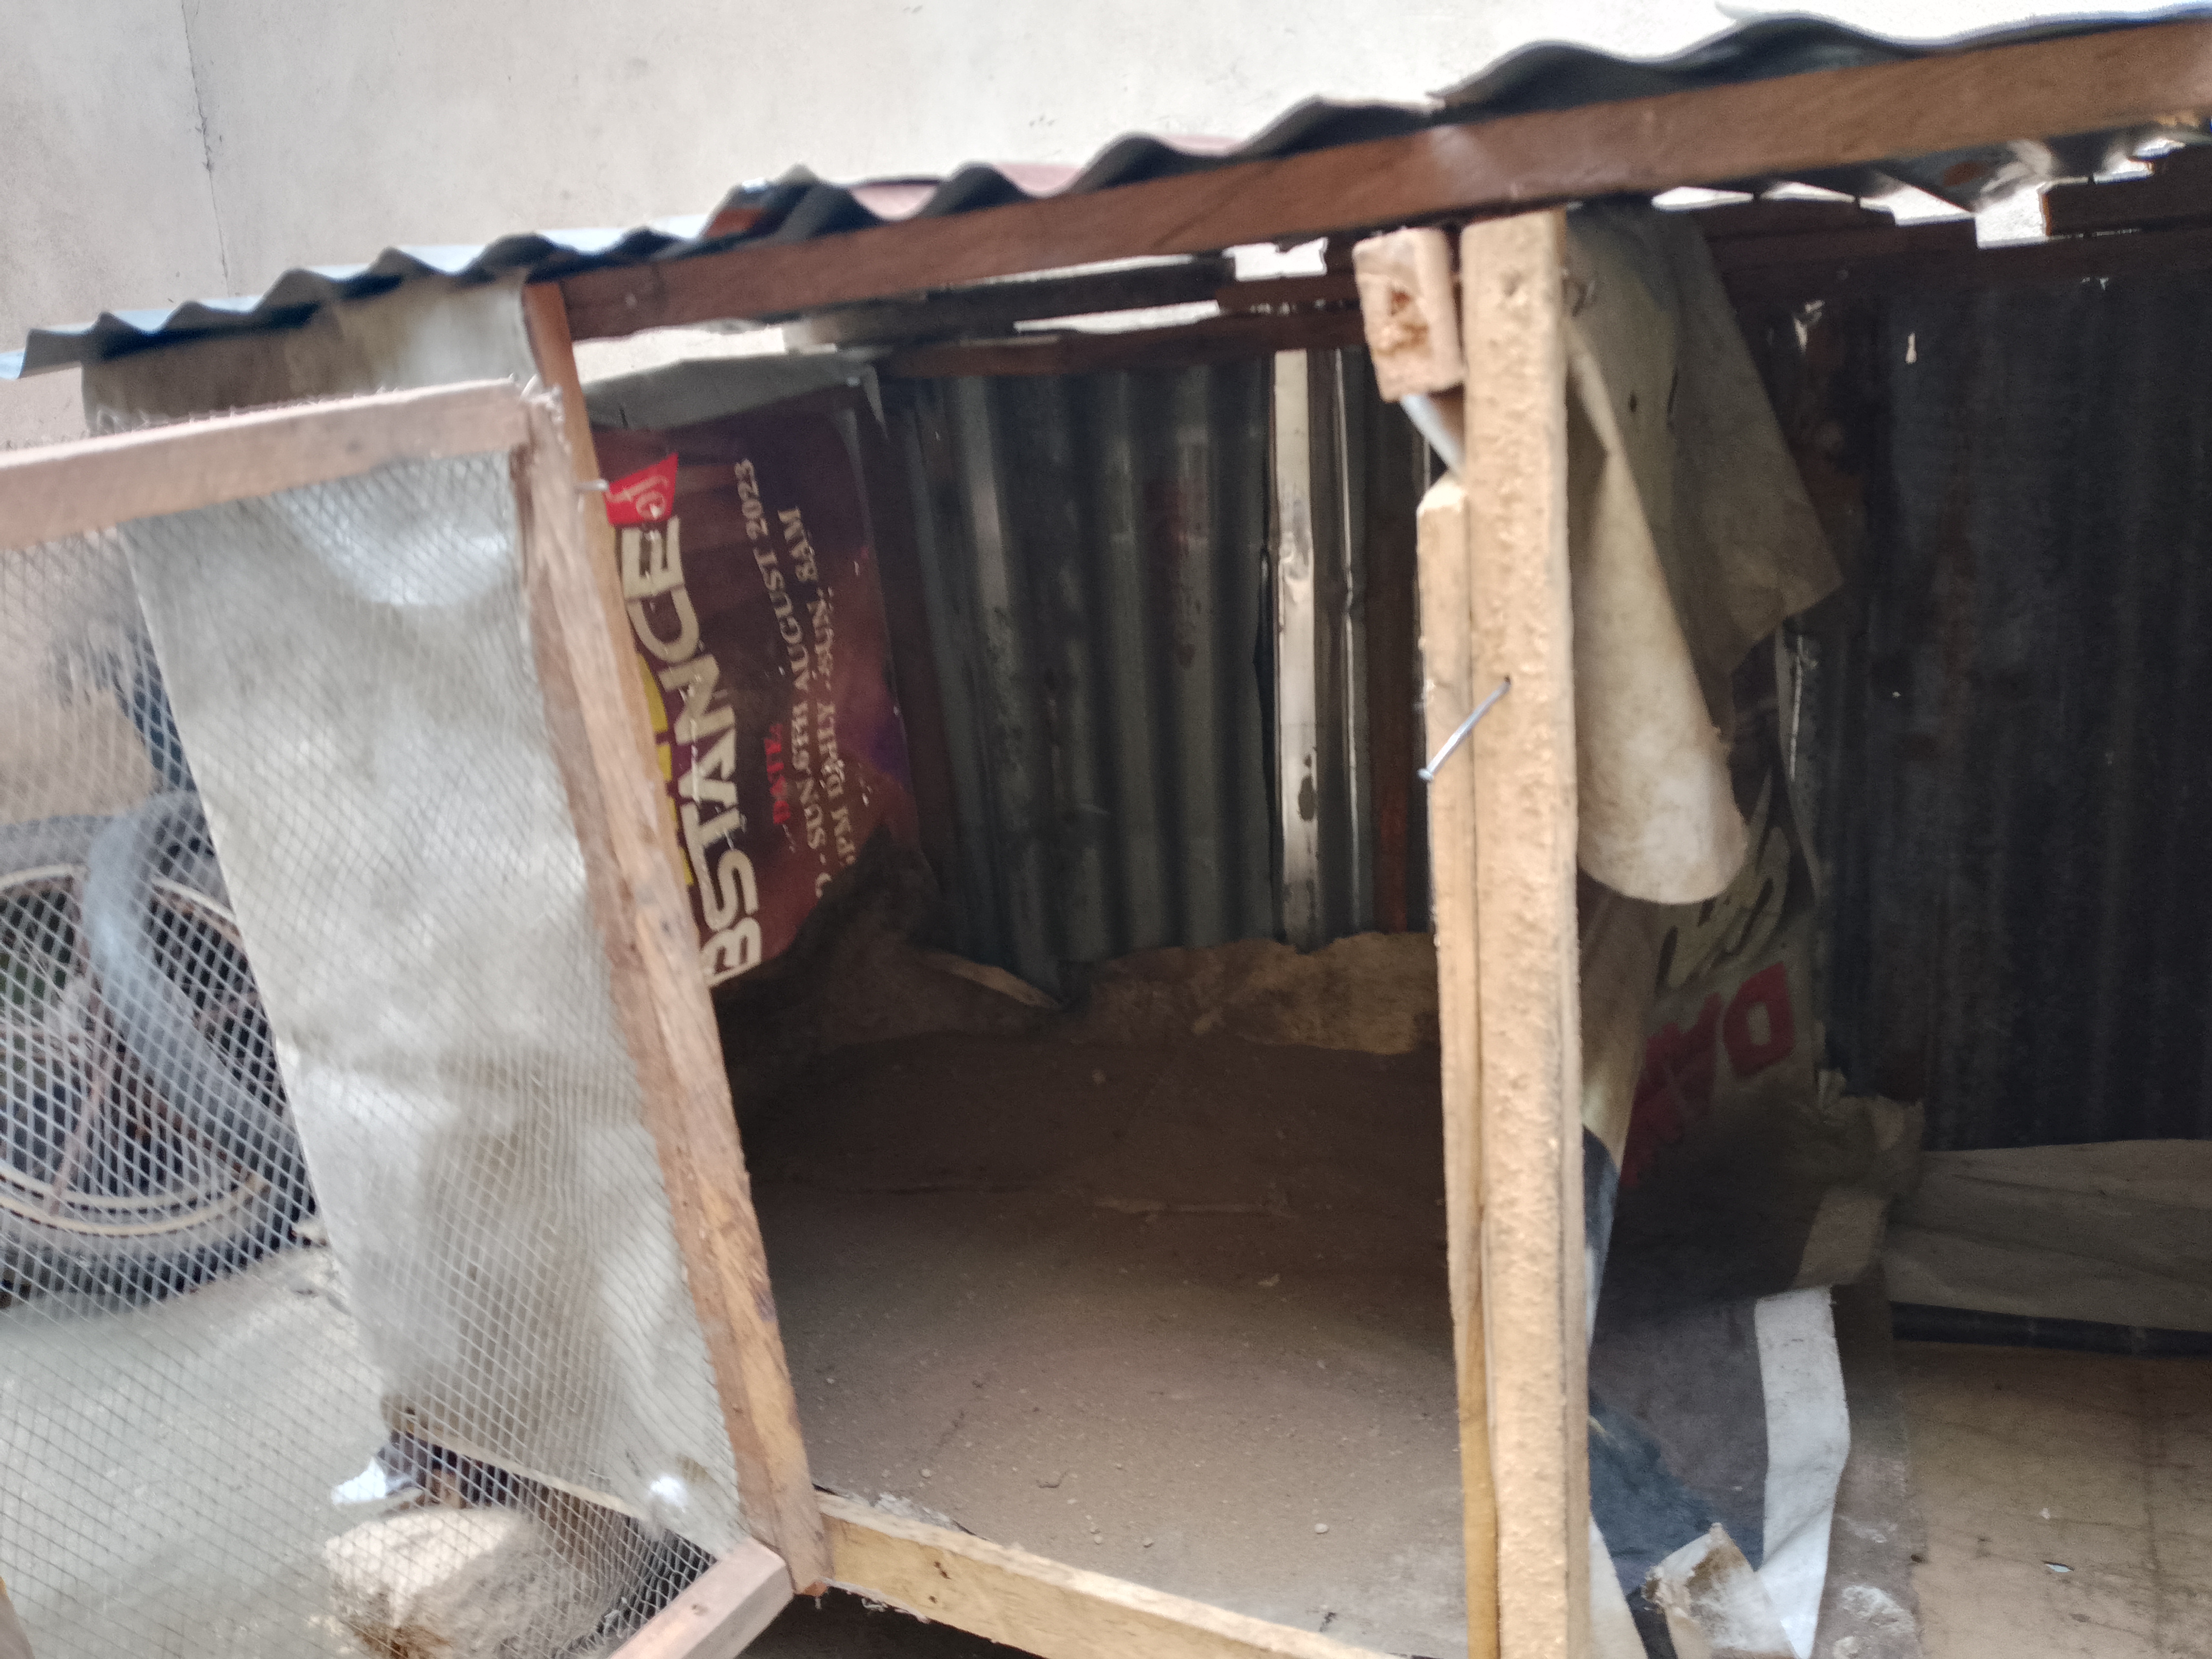
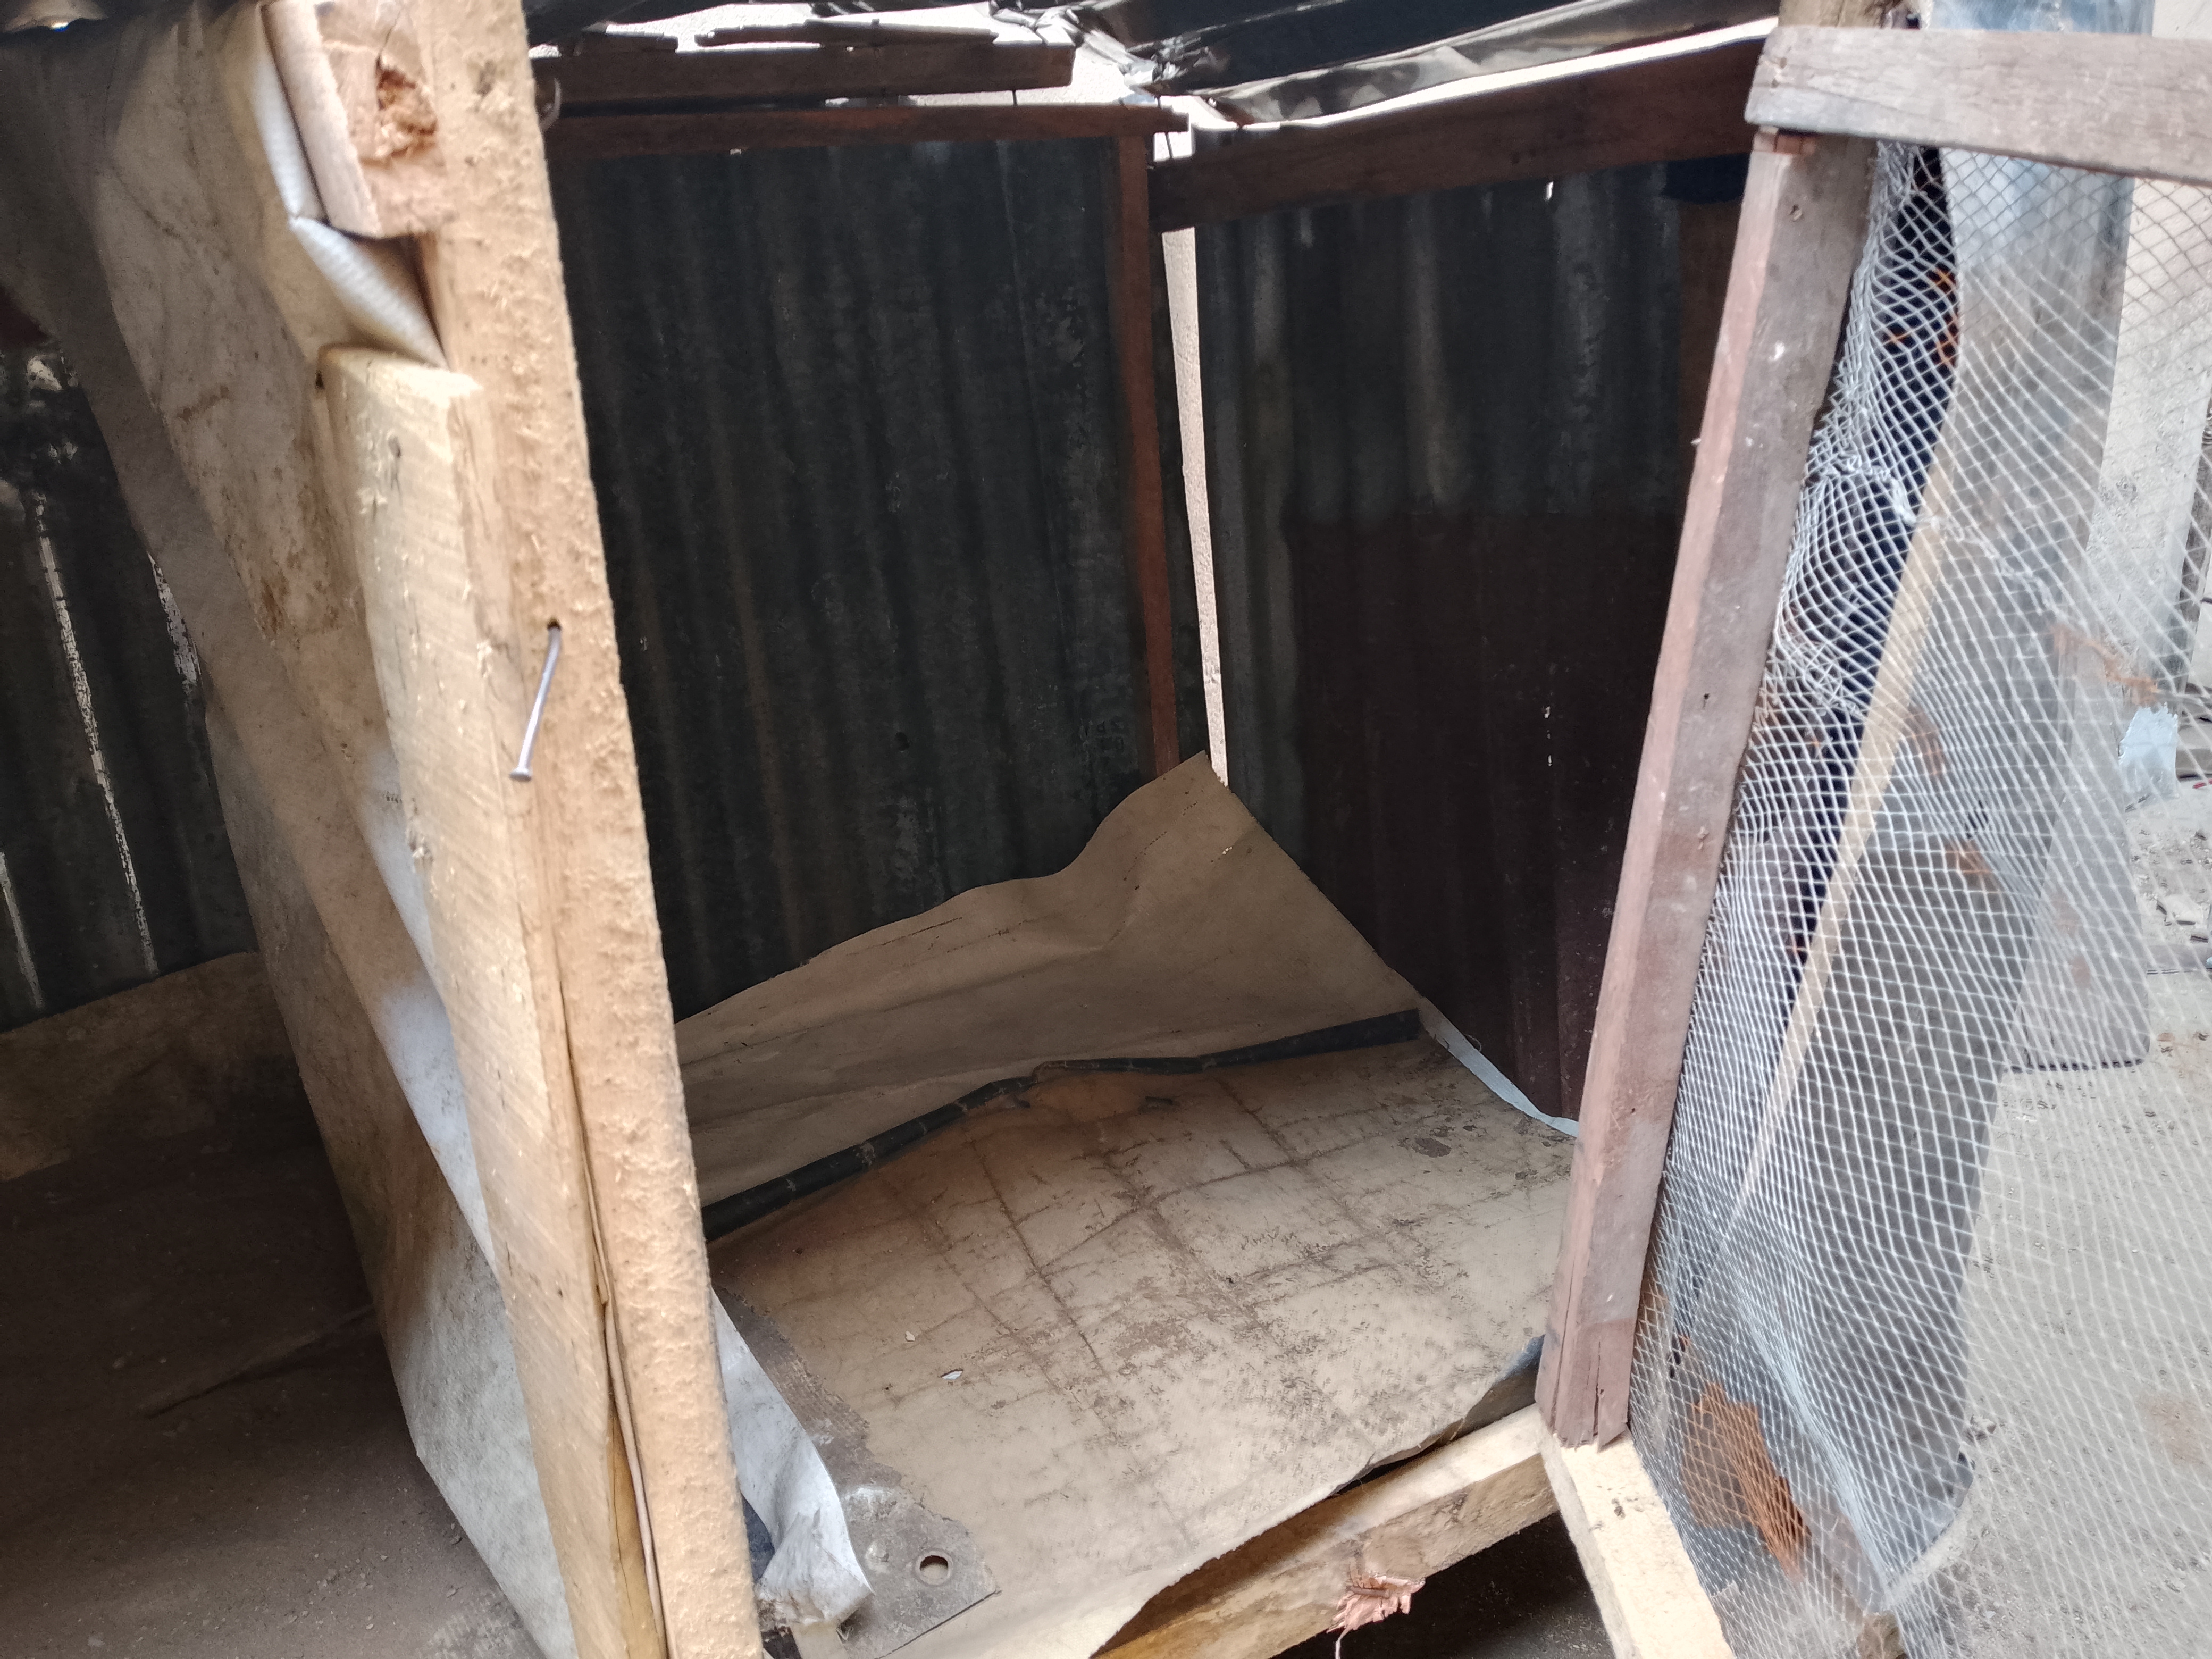
Assessments and Demolition
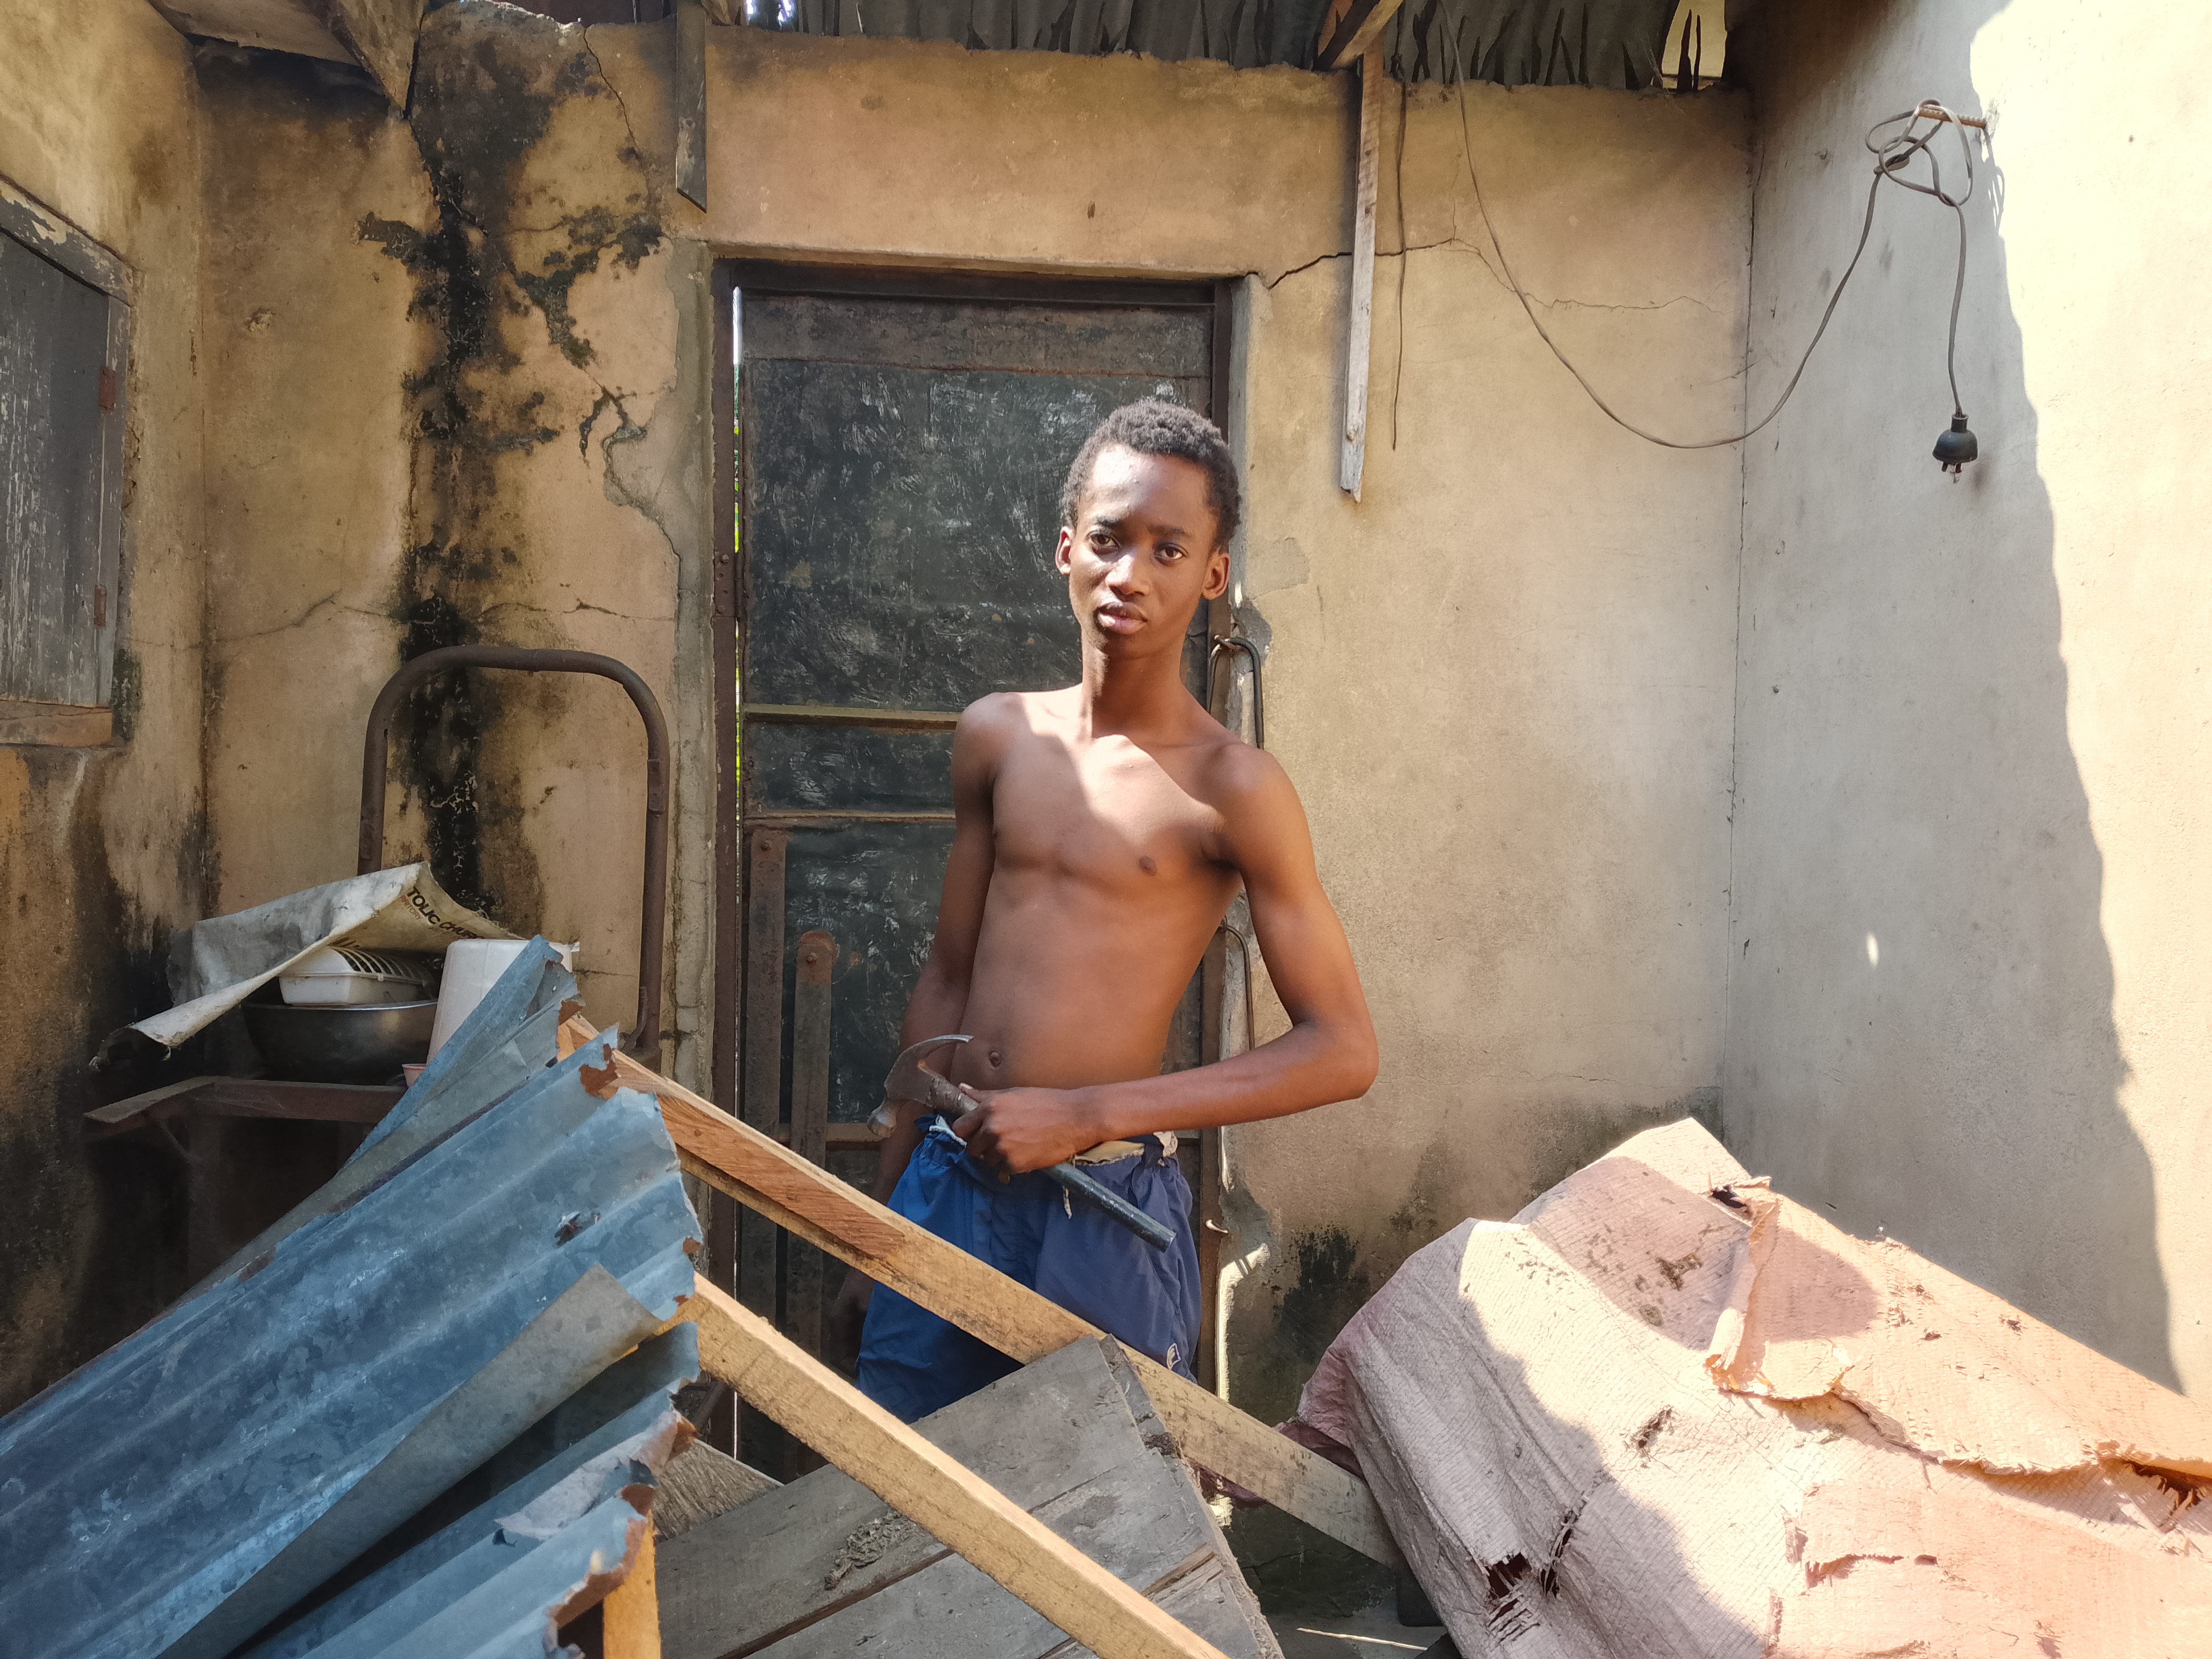
Before you build, you must destroy—but you must destroy with a plan. Looking at the old cage (as you can see in my first few photos), it was a dark, cramped space made of old corrugated zinc and rotting planks.
My first task was to carefully pull it apart. I didn't just use a hammer to smash it; I had to carefully remove the nails to make sure the wood didn't split. I needed every inch of "good" wood I could find.
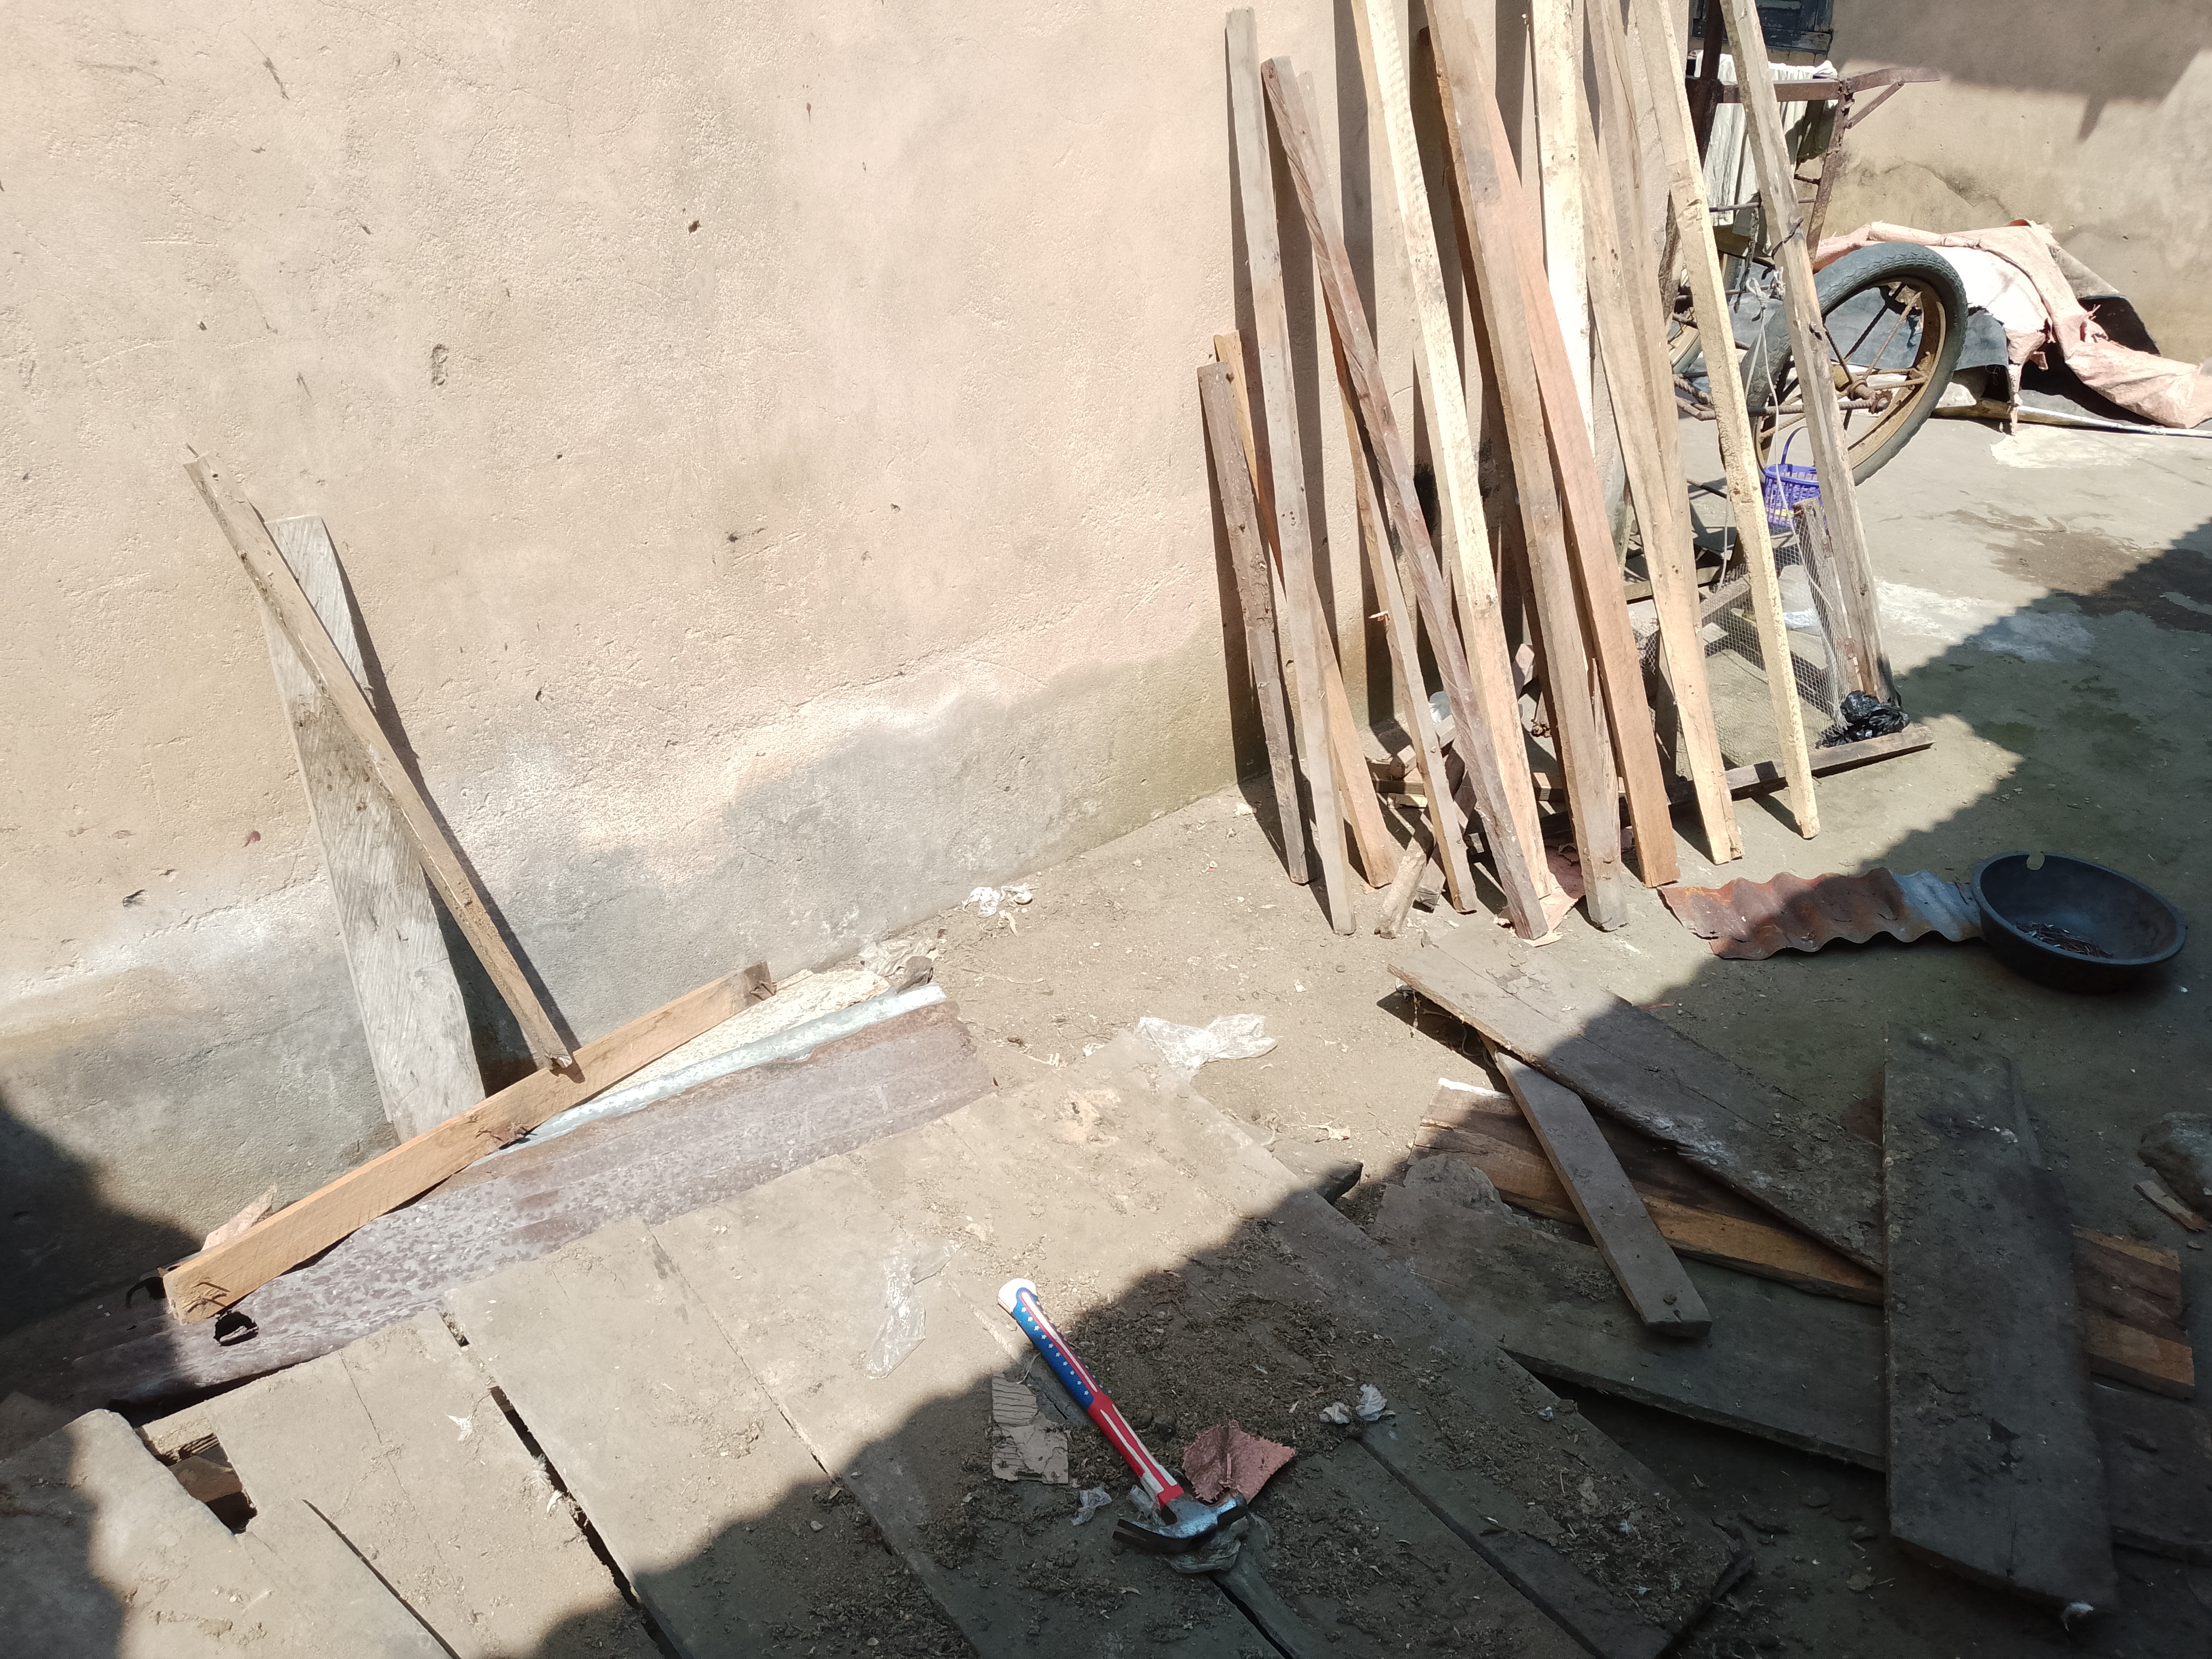
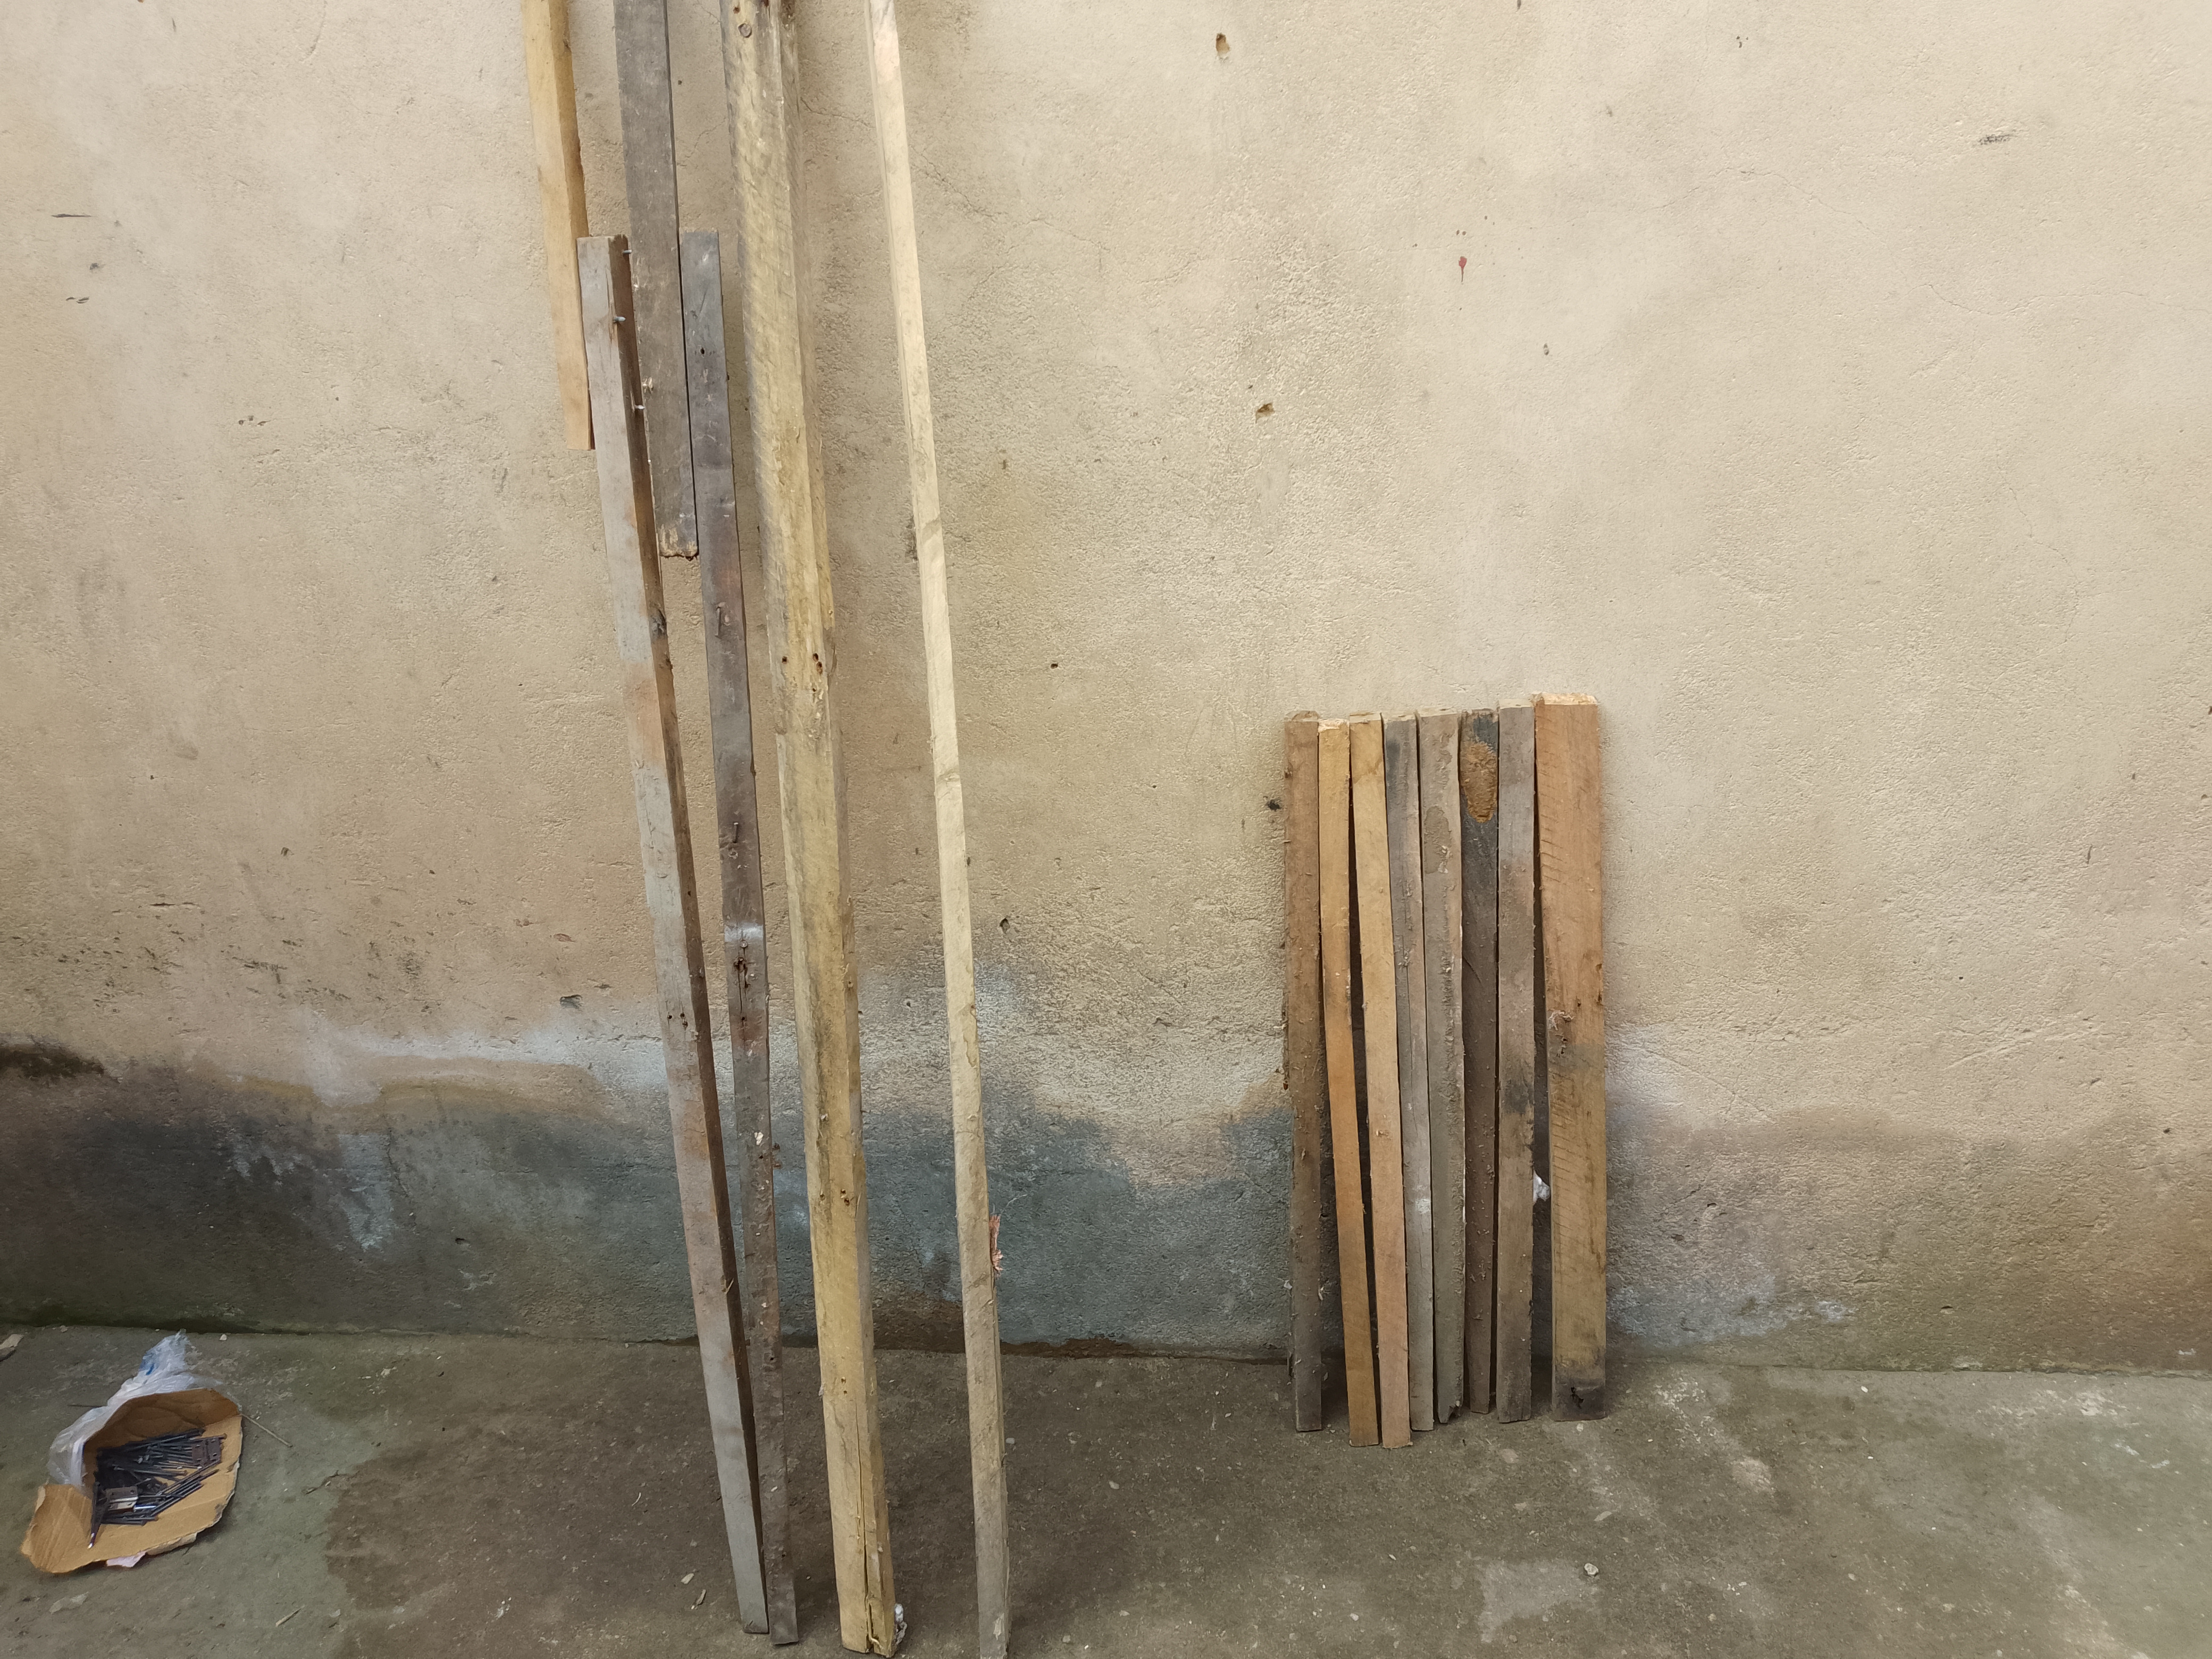
2. Sorting the "Gold" from the Trash:
| Getting the planks and zincs ready. “Does once that are still good ooh” | 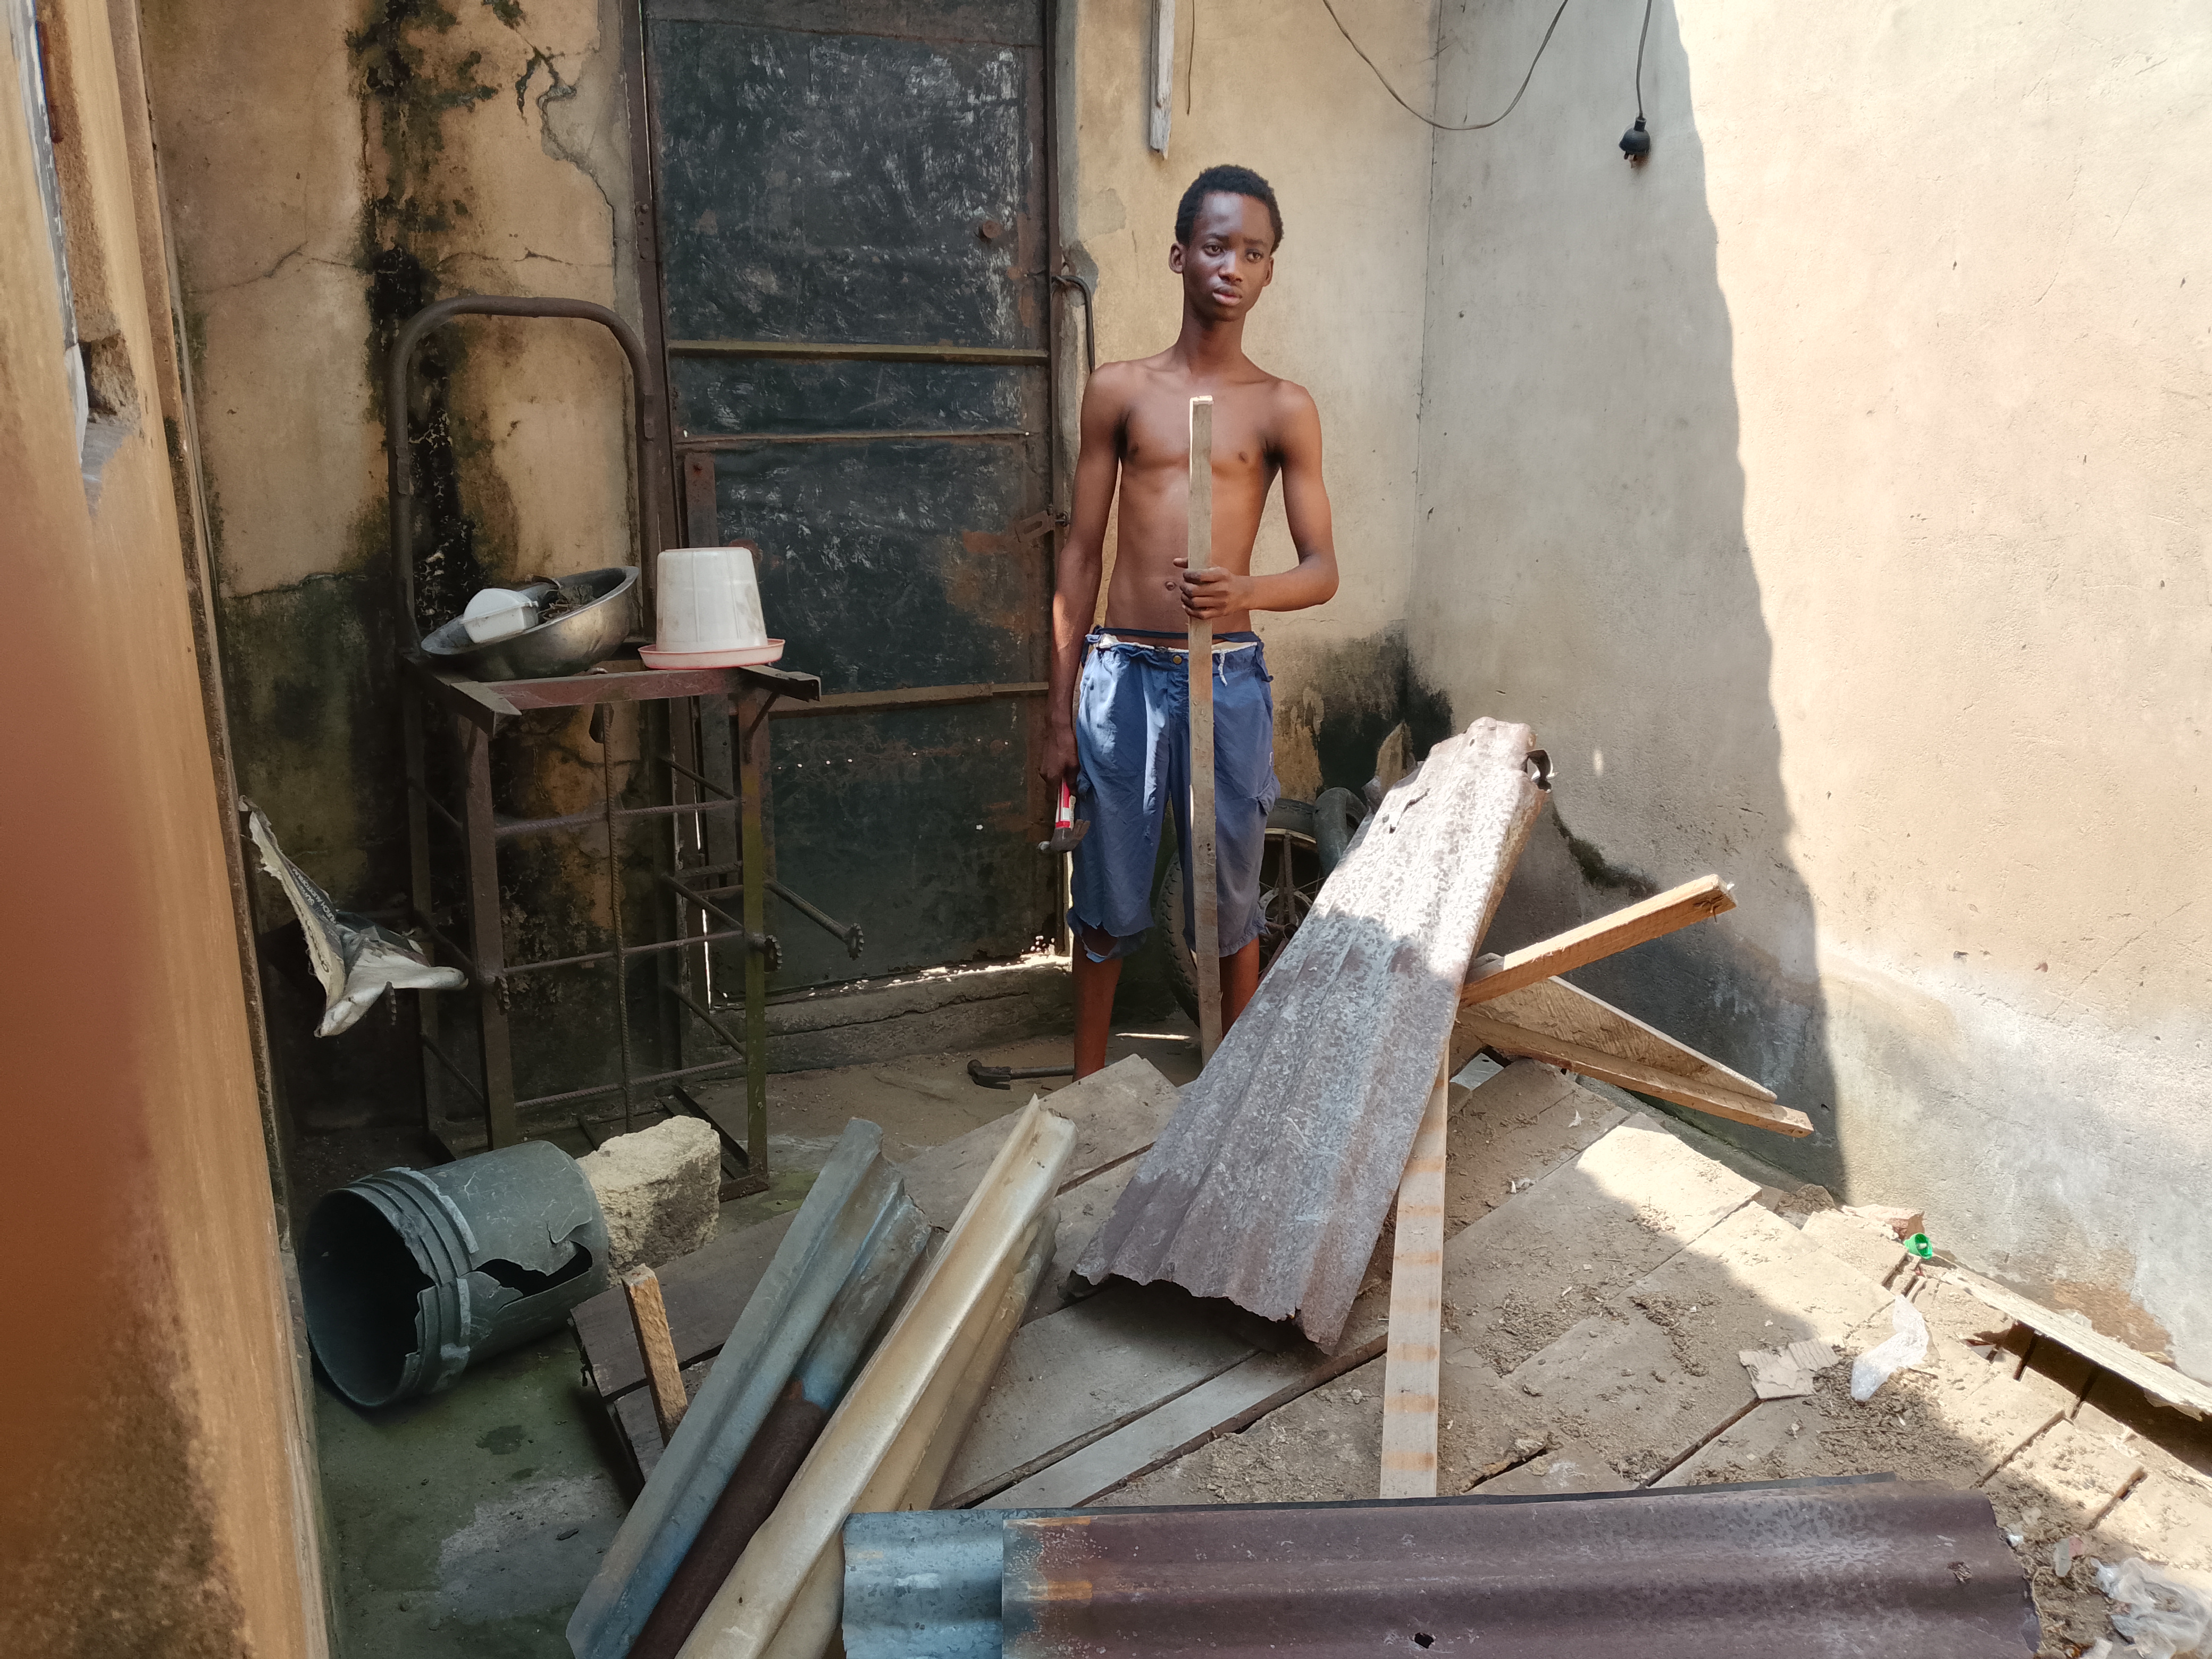 |
|---|
 | getting the woods ready for the battle |
|---|
Once the old structure was down, I had a pile of materials. I spent a long time sorting them out:
The Long Sticks: These are the most valuable. I stood them up against the wall to keep them straight.
The Planks: These will be used for the floor and the solid side walls.
The Zinc (Corrugated Iron): Even though it’s a bit rusty, it’s still waterproof. I set these aside for the final roofing stage.
The Hardware: I collected every old nail and hinge. In a recycling project, nothing goes to waste!
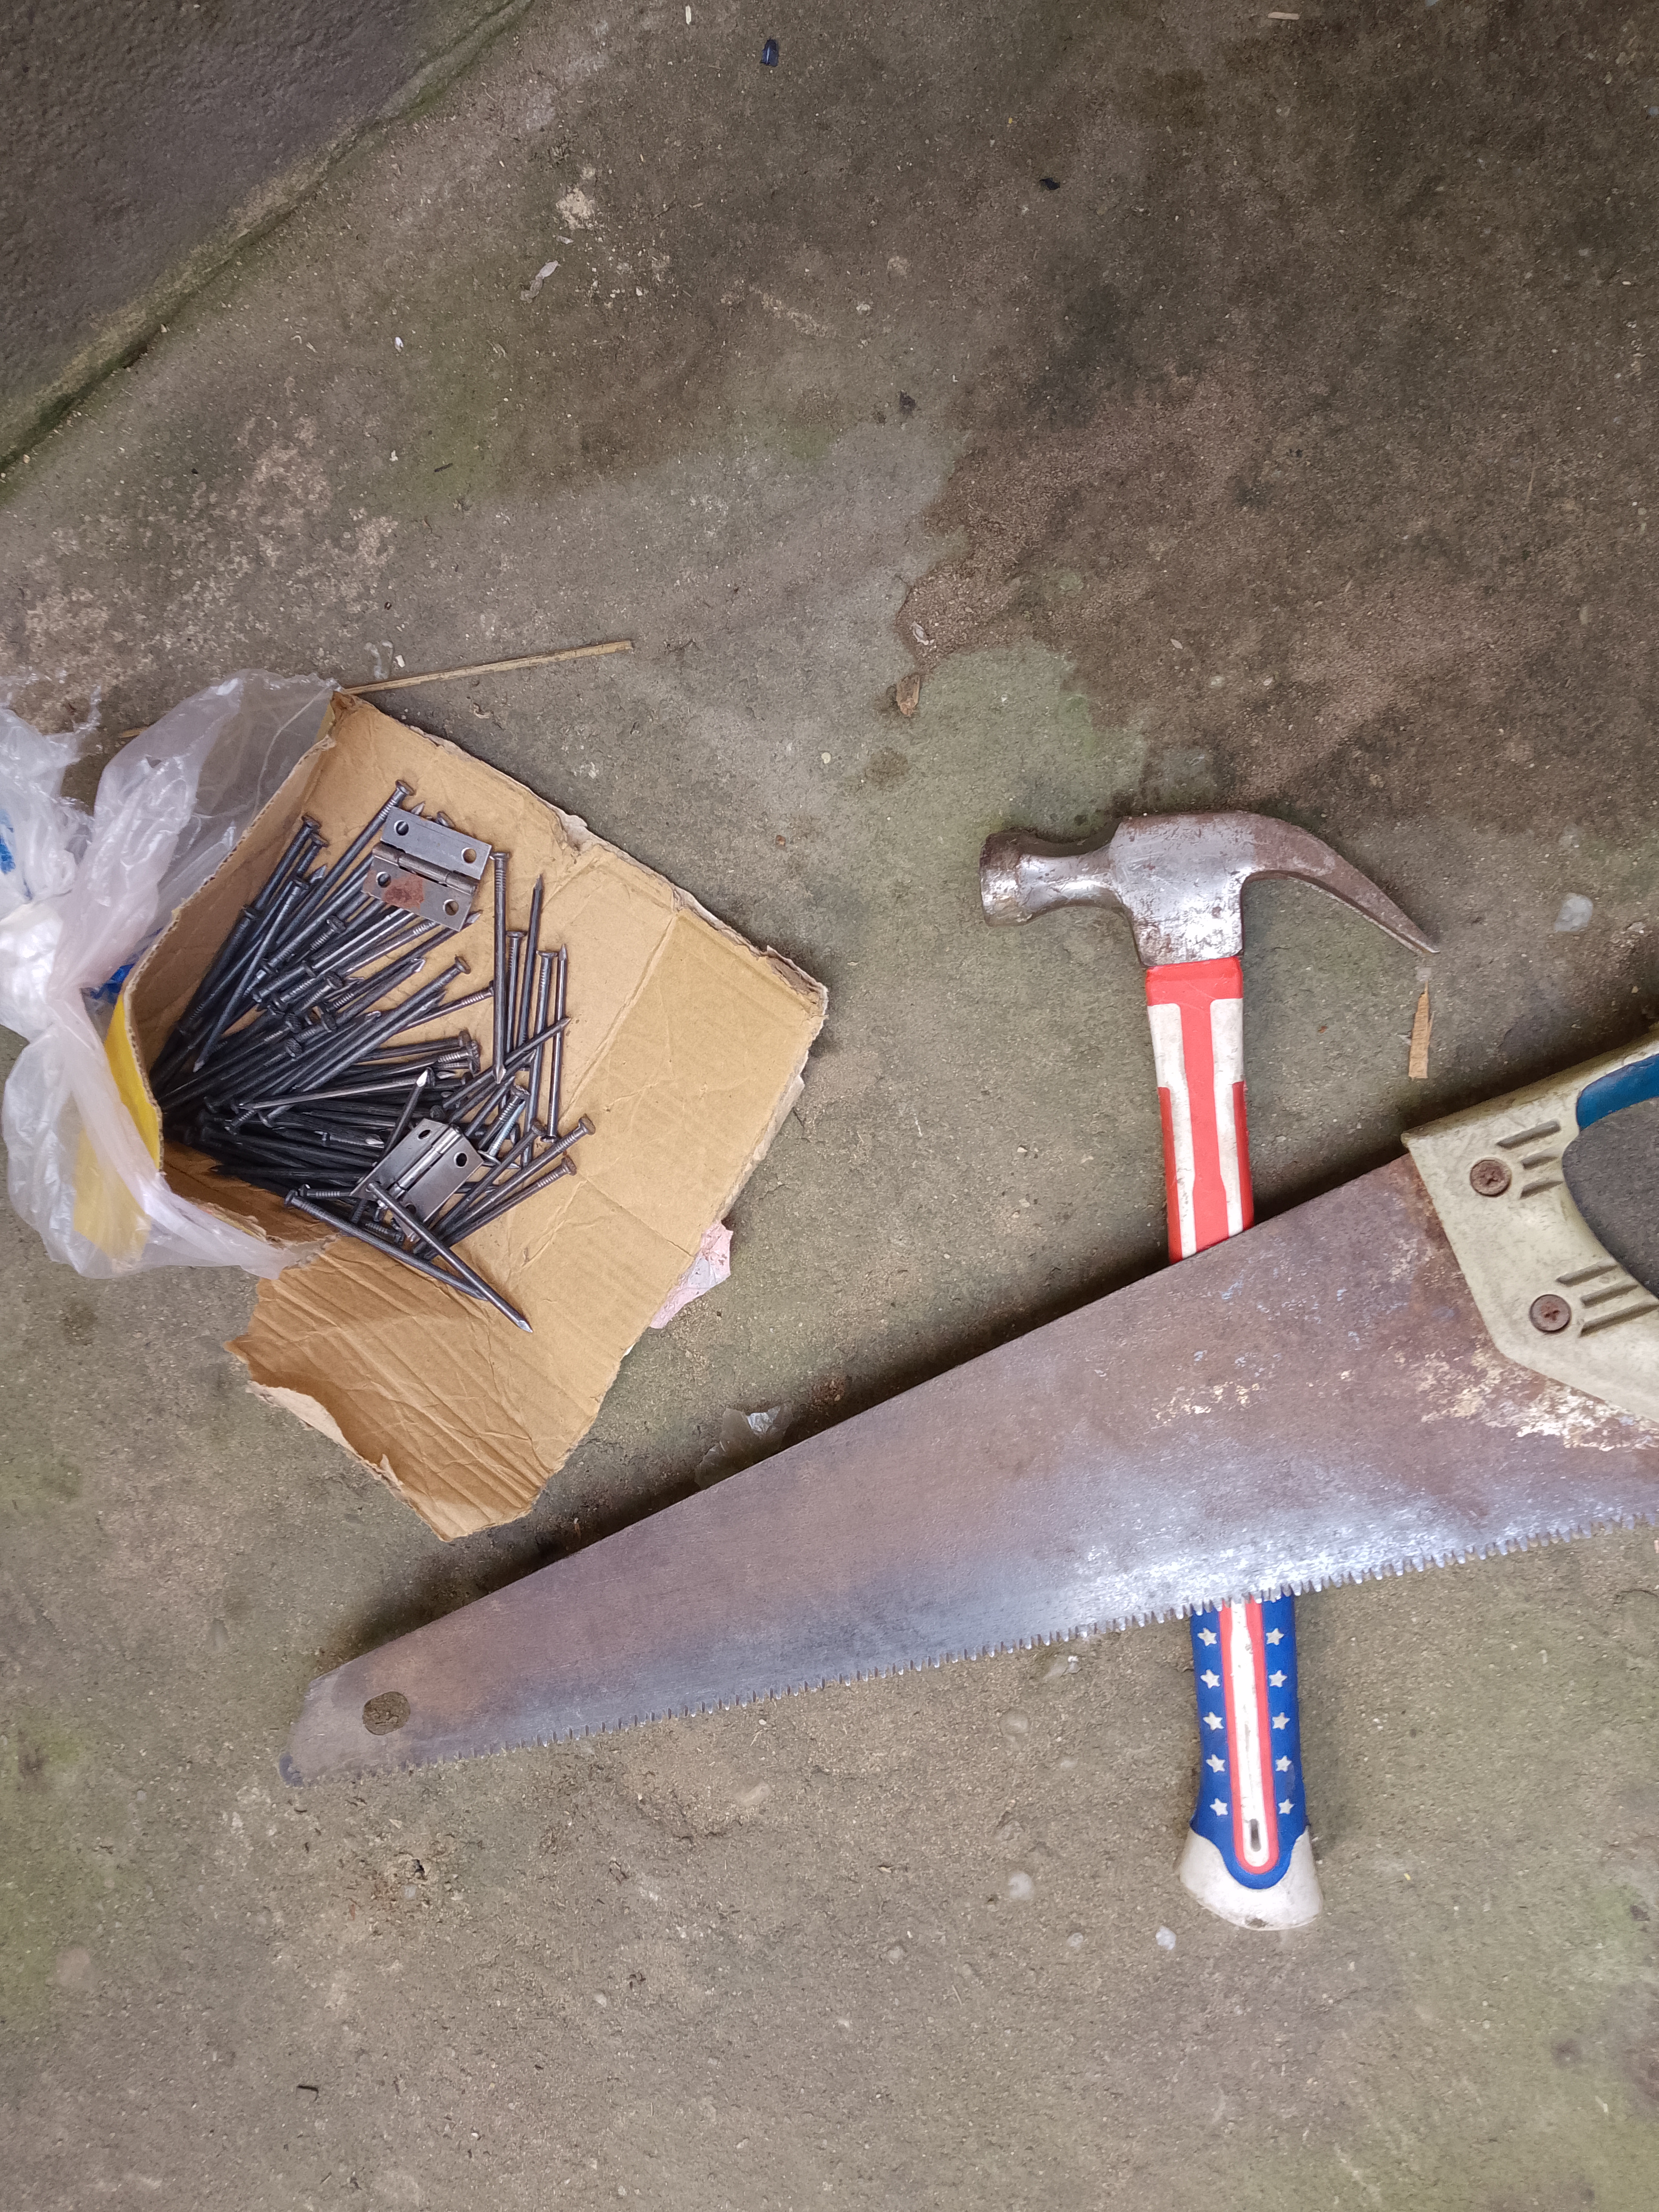
3. Precision Cutting:
The Foundation of the Frame
| Cutting the woods with the saw | 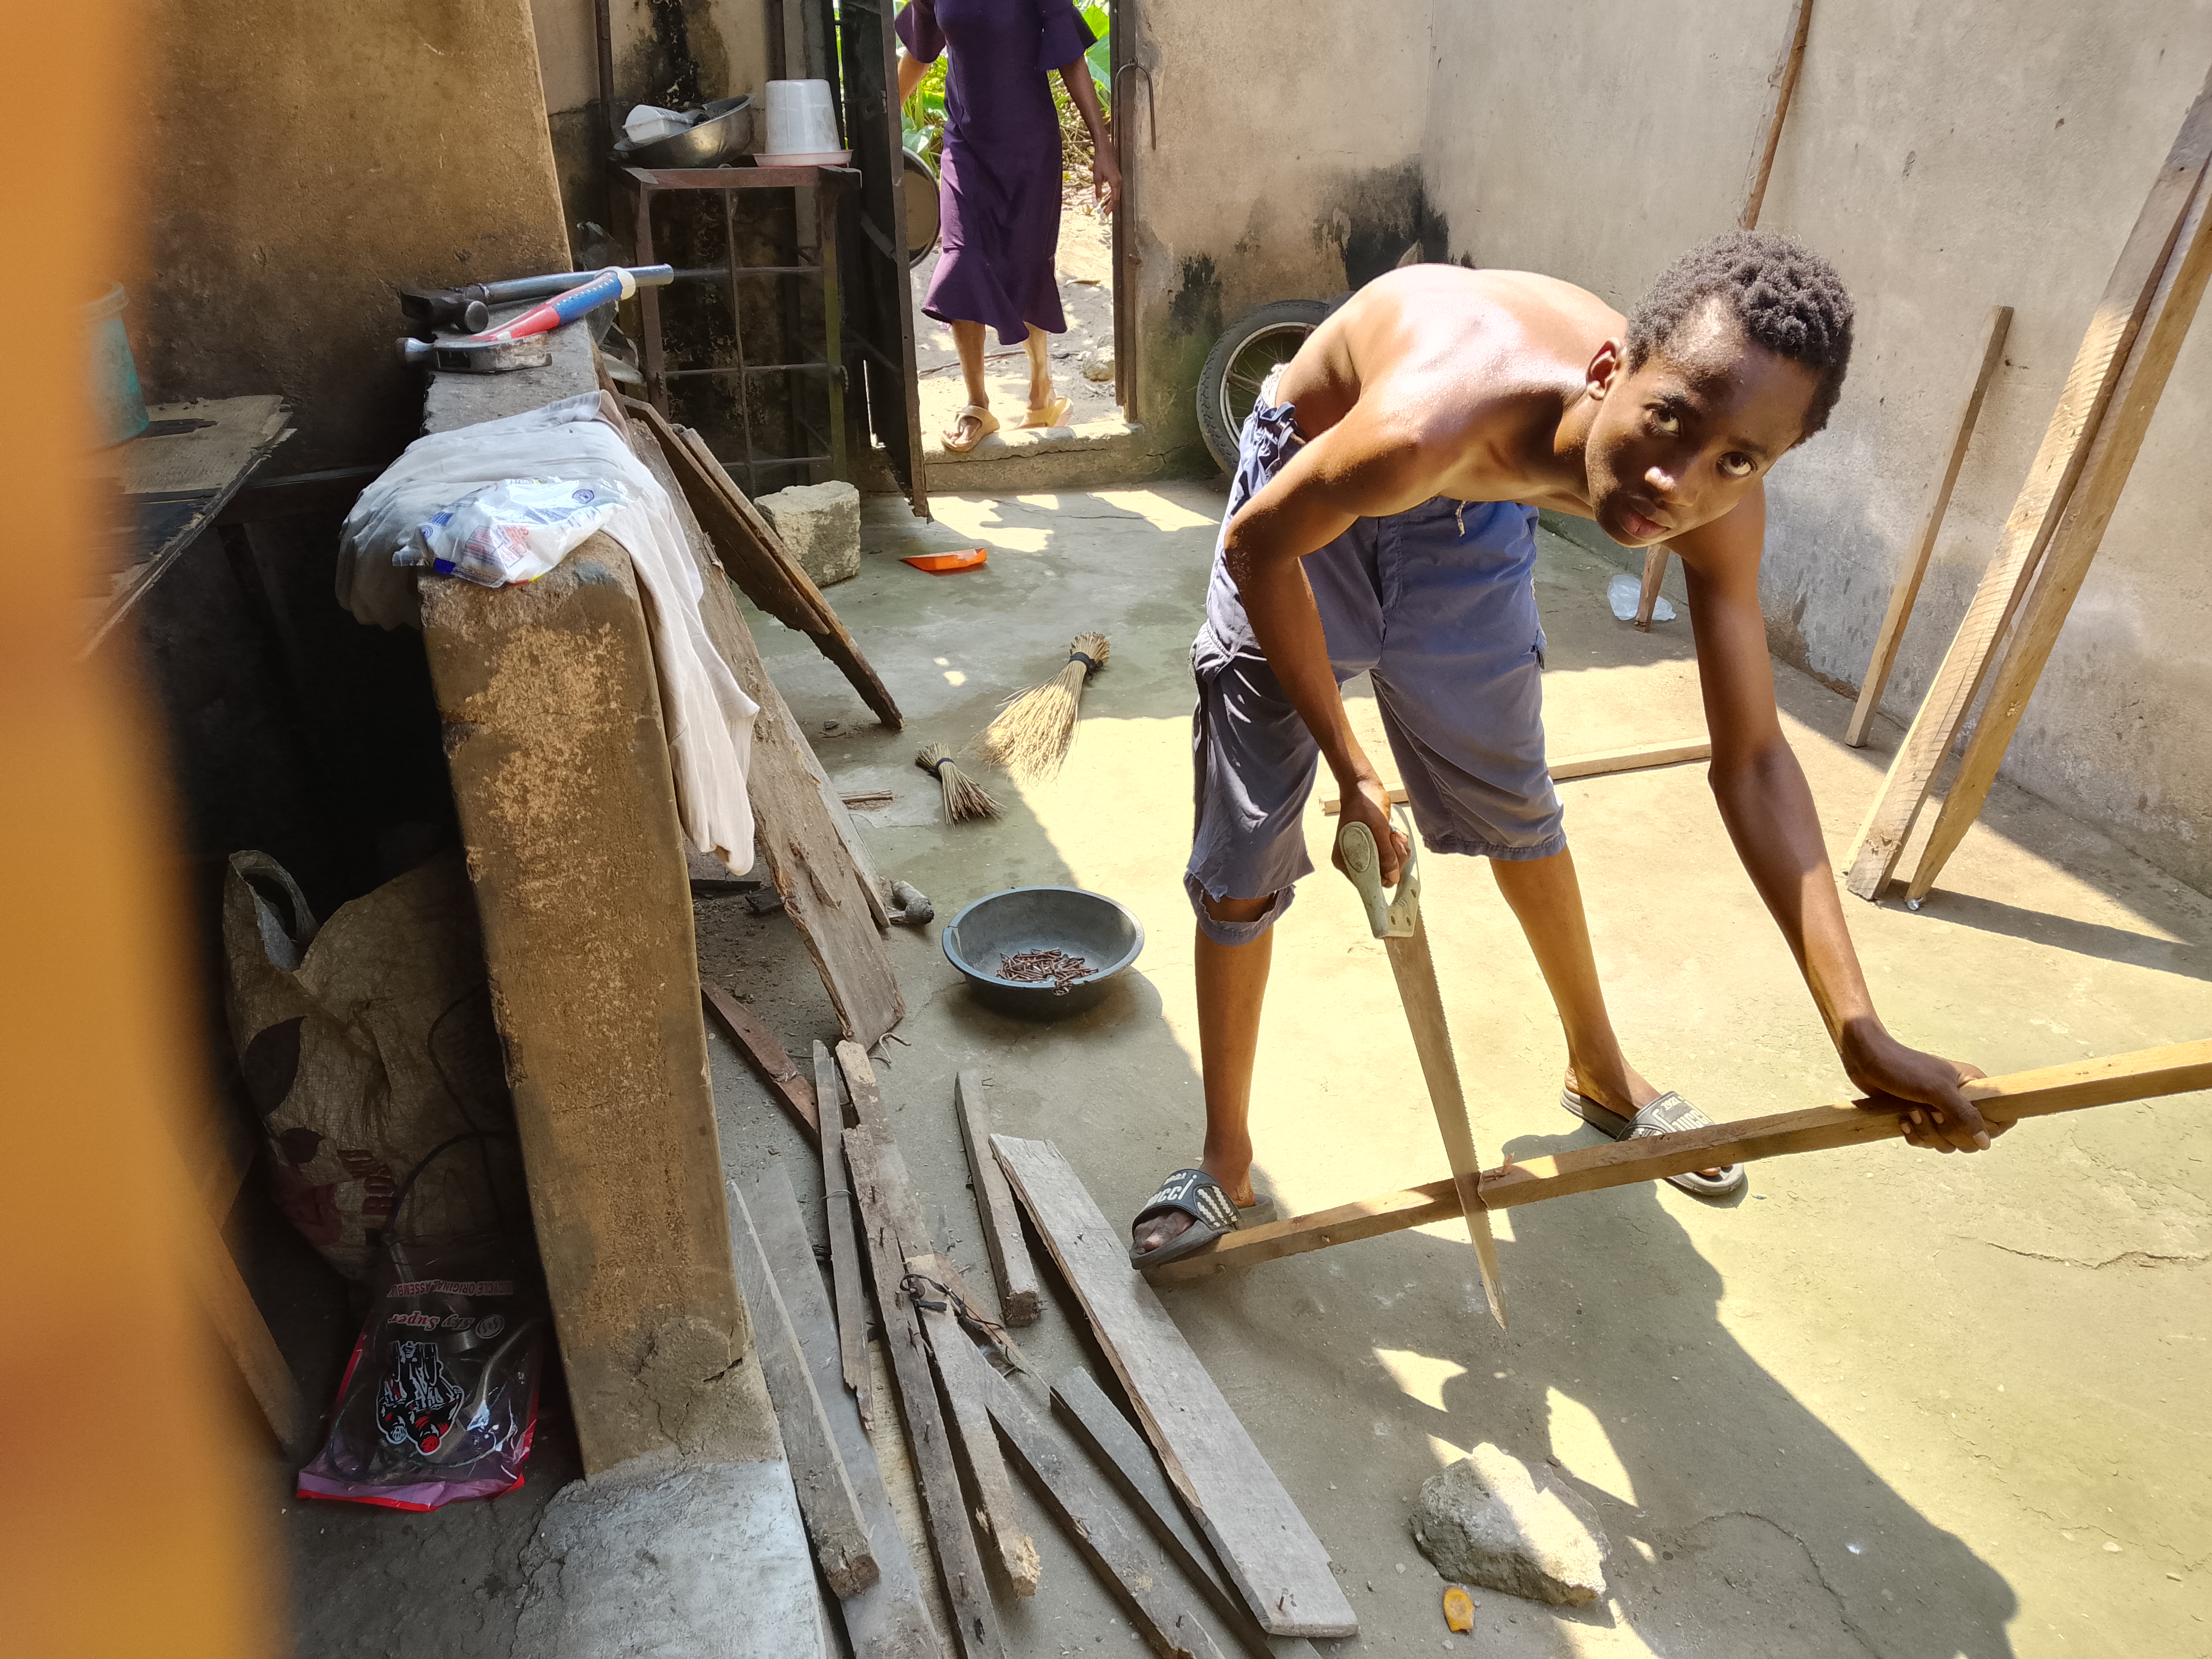 |
|---|---|
 | The Pillers and rails that would connect the pillars. |
| - | - |
The most important tool in this phase was my handsaw. A cage is only as good as its measurements. I had to sit on the ground, holding the wood steady with my feet (as you see in the photos), to get a straight cut. But when cutting it I was so careful to avoid injury, but even as that I still sustain some injuries
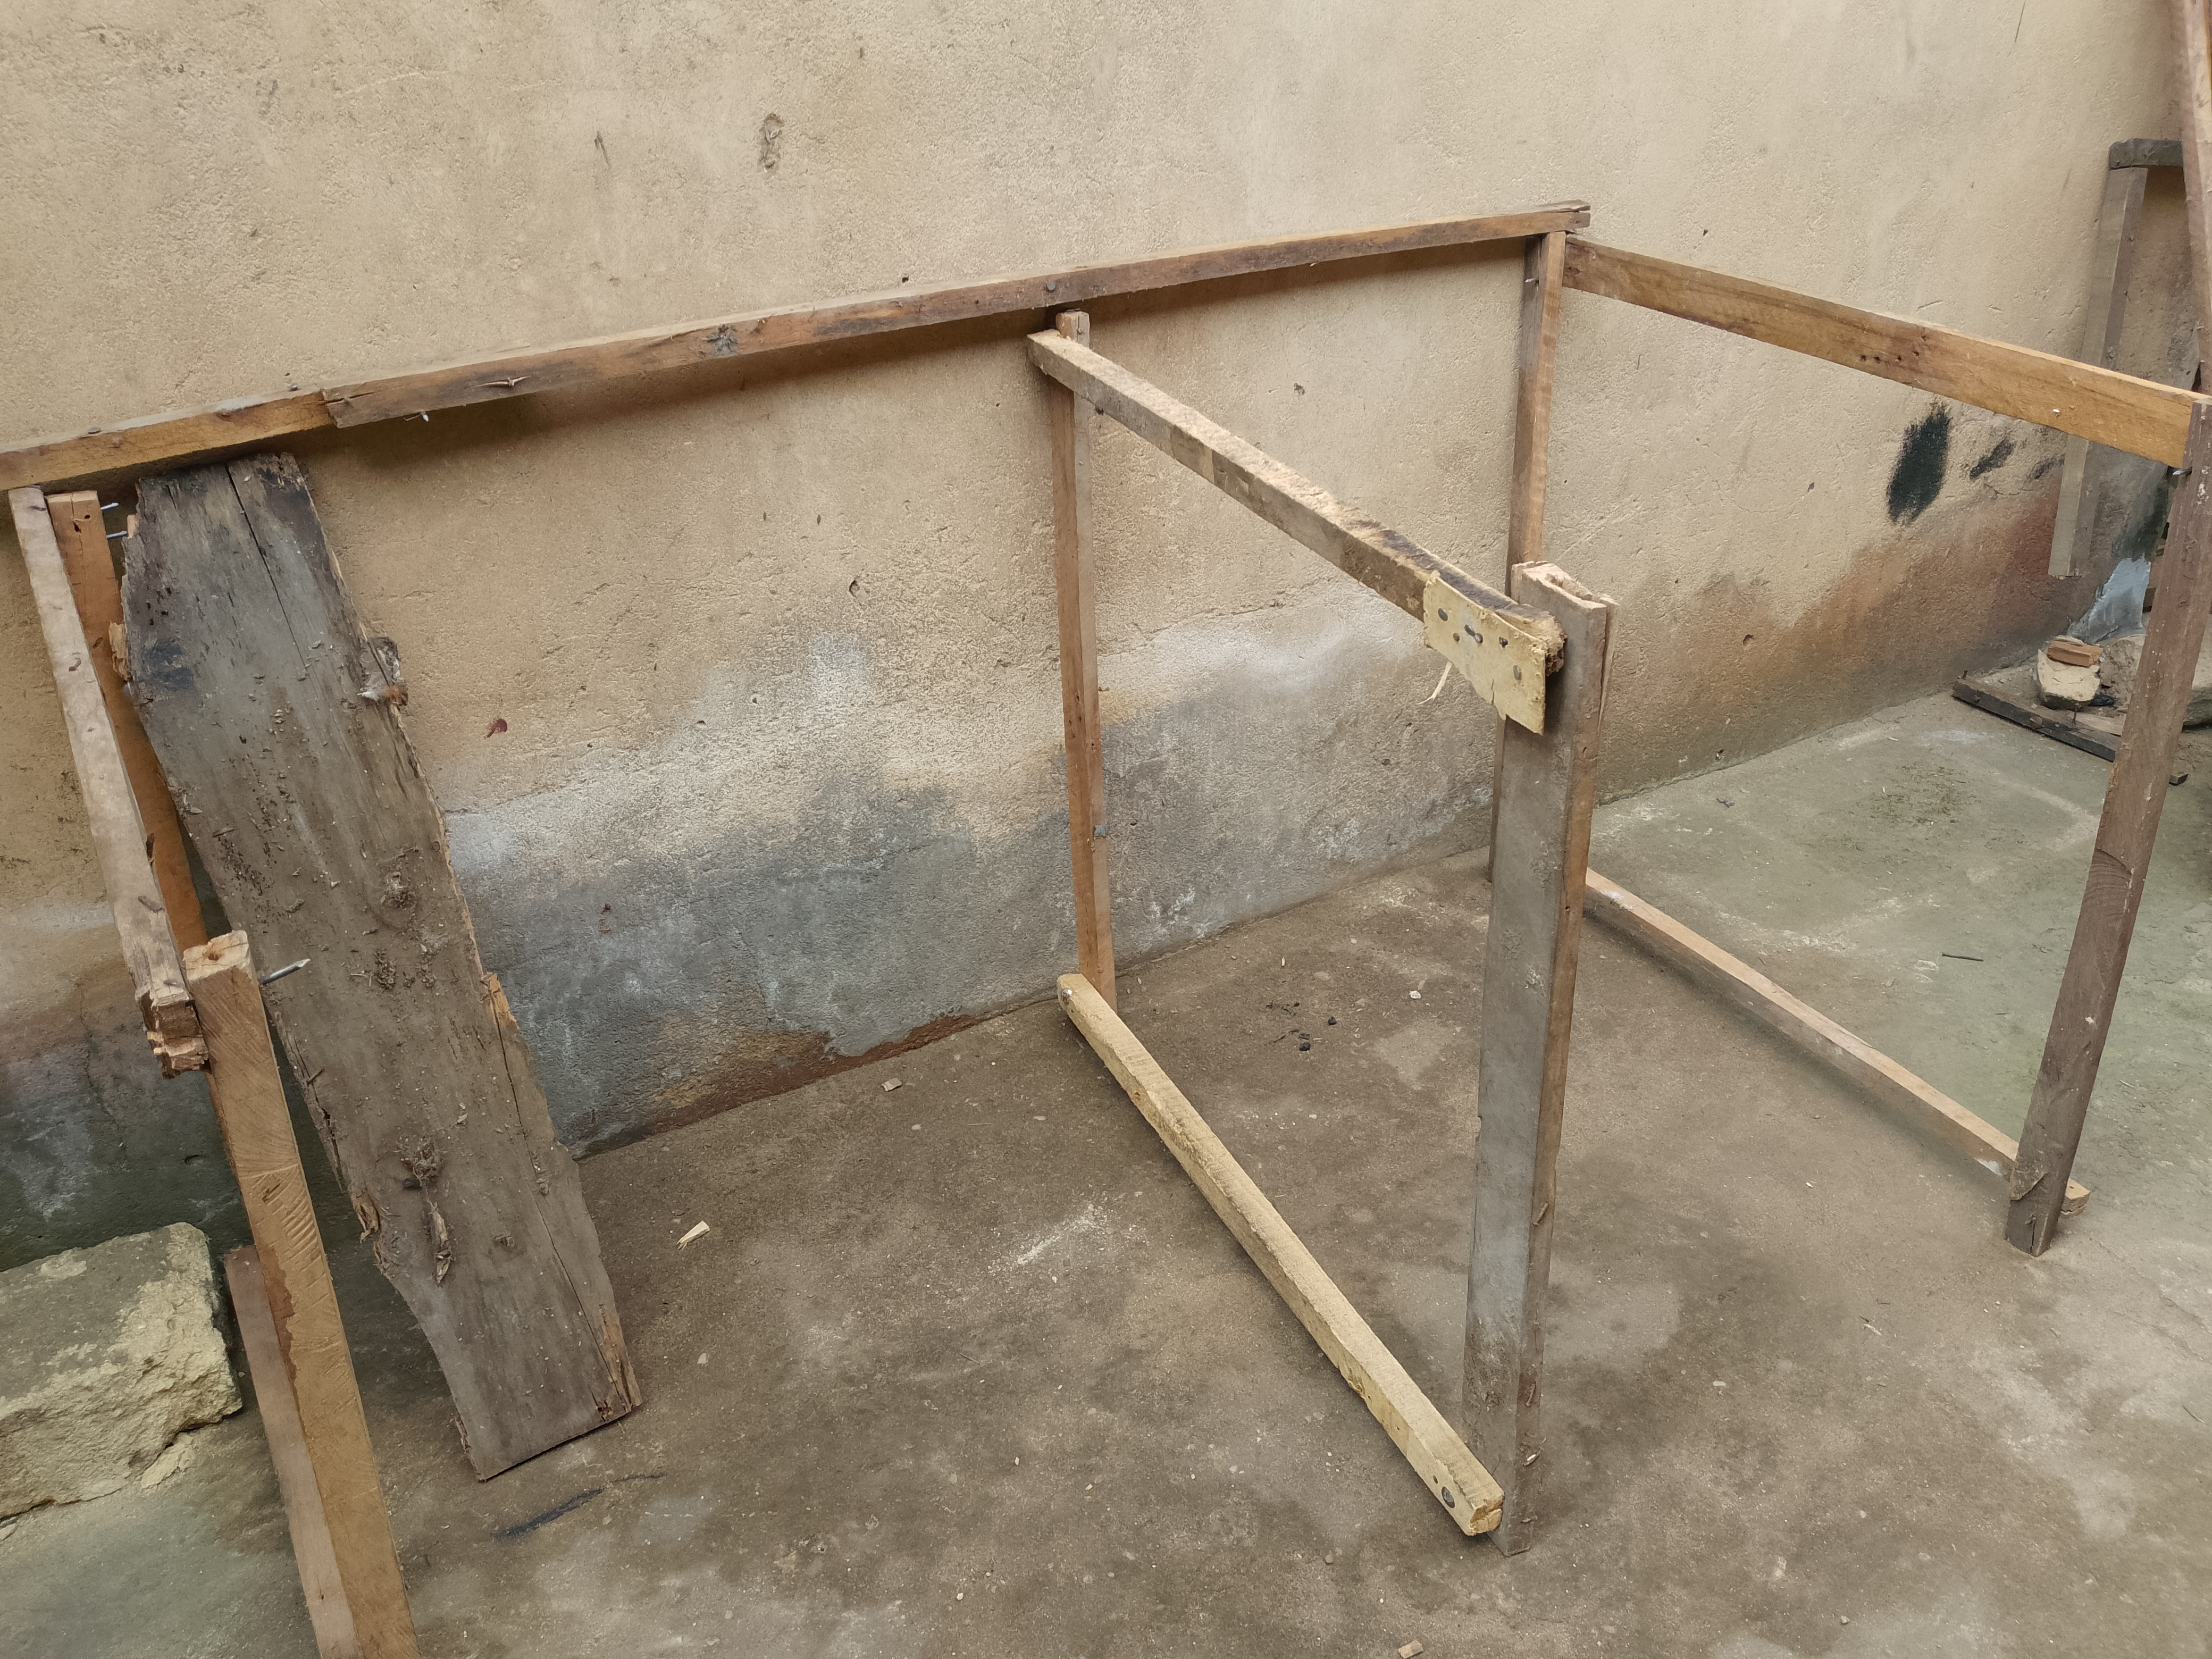
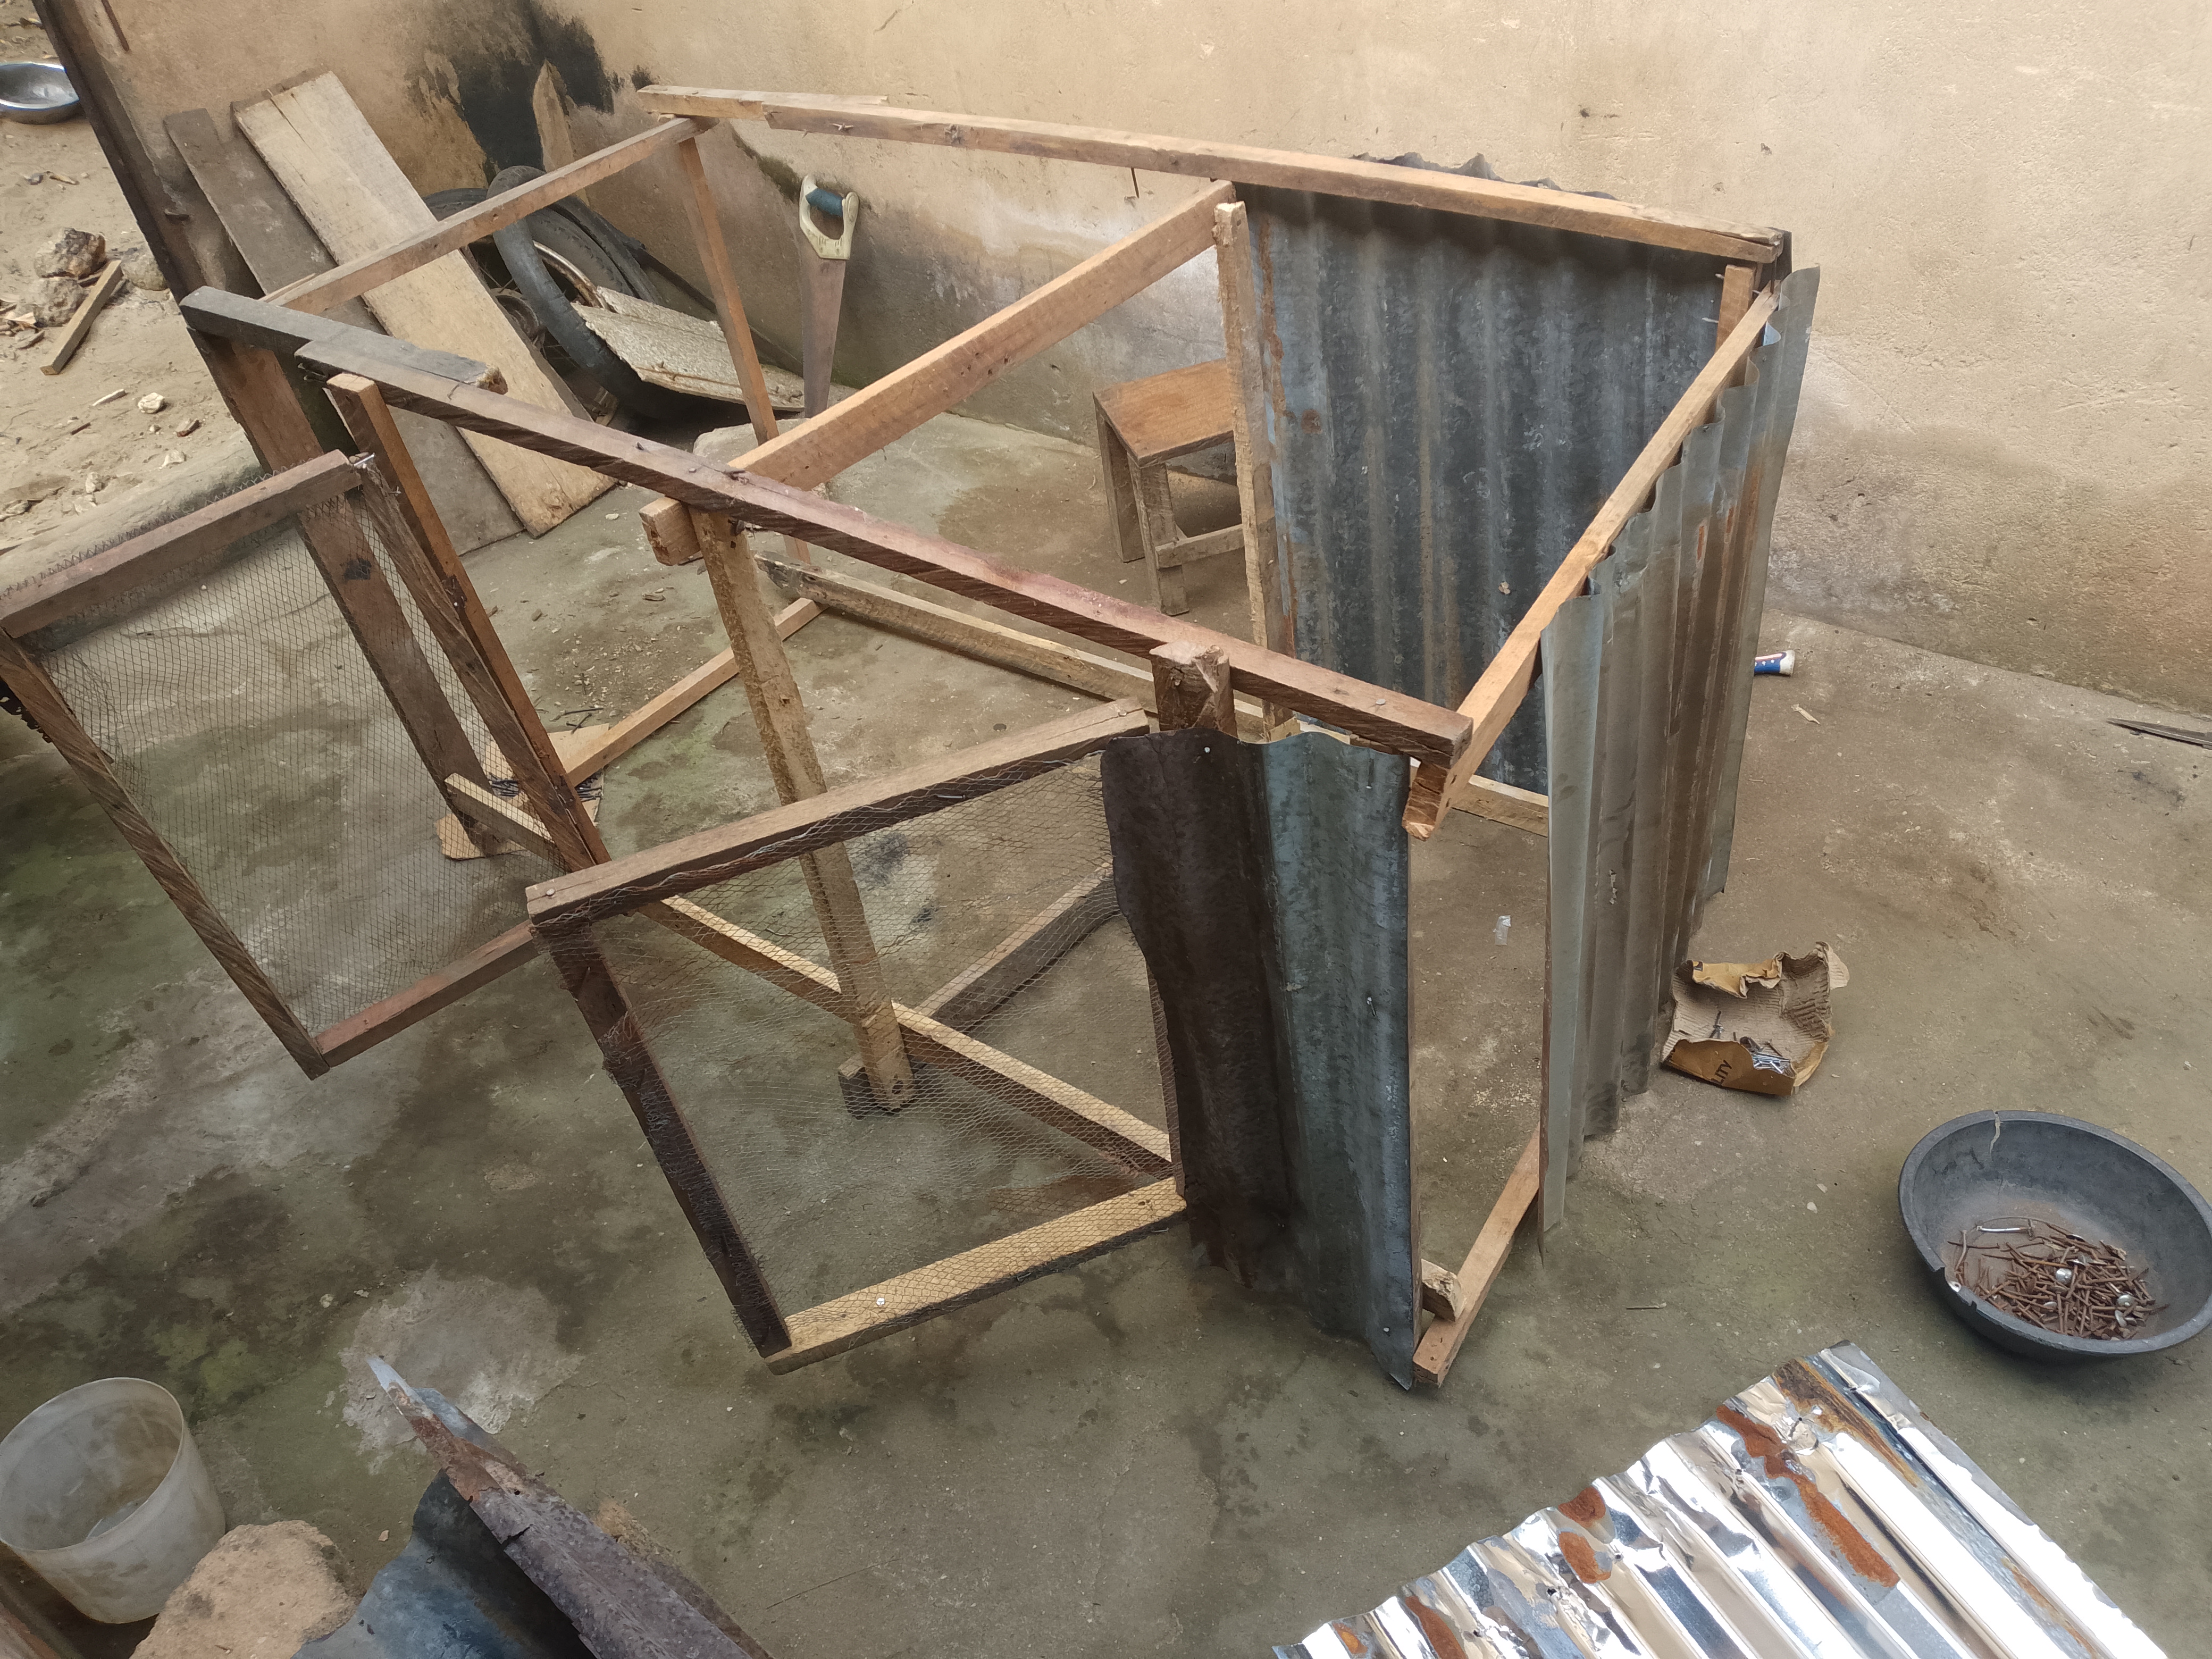
4. Constructing the "Skeleton"
| The first Skeleton Frame |  |
|---|
This is where the project started to look real. I laid the pieces on the concrete floor to ensure everything was flat.
The upper Base: I nailed the upper rails to the pillars first.
The Upper Rails:
 | Adding the top rails because the bottom was now steady. |
|---|
The Central Divider: This is a key design choice. I decided to make this cage a double-room apartment. I added a frame right down the middle. This adds massive strength to the whole structure and allows us to separate the mother hen and her chicks in their own space.
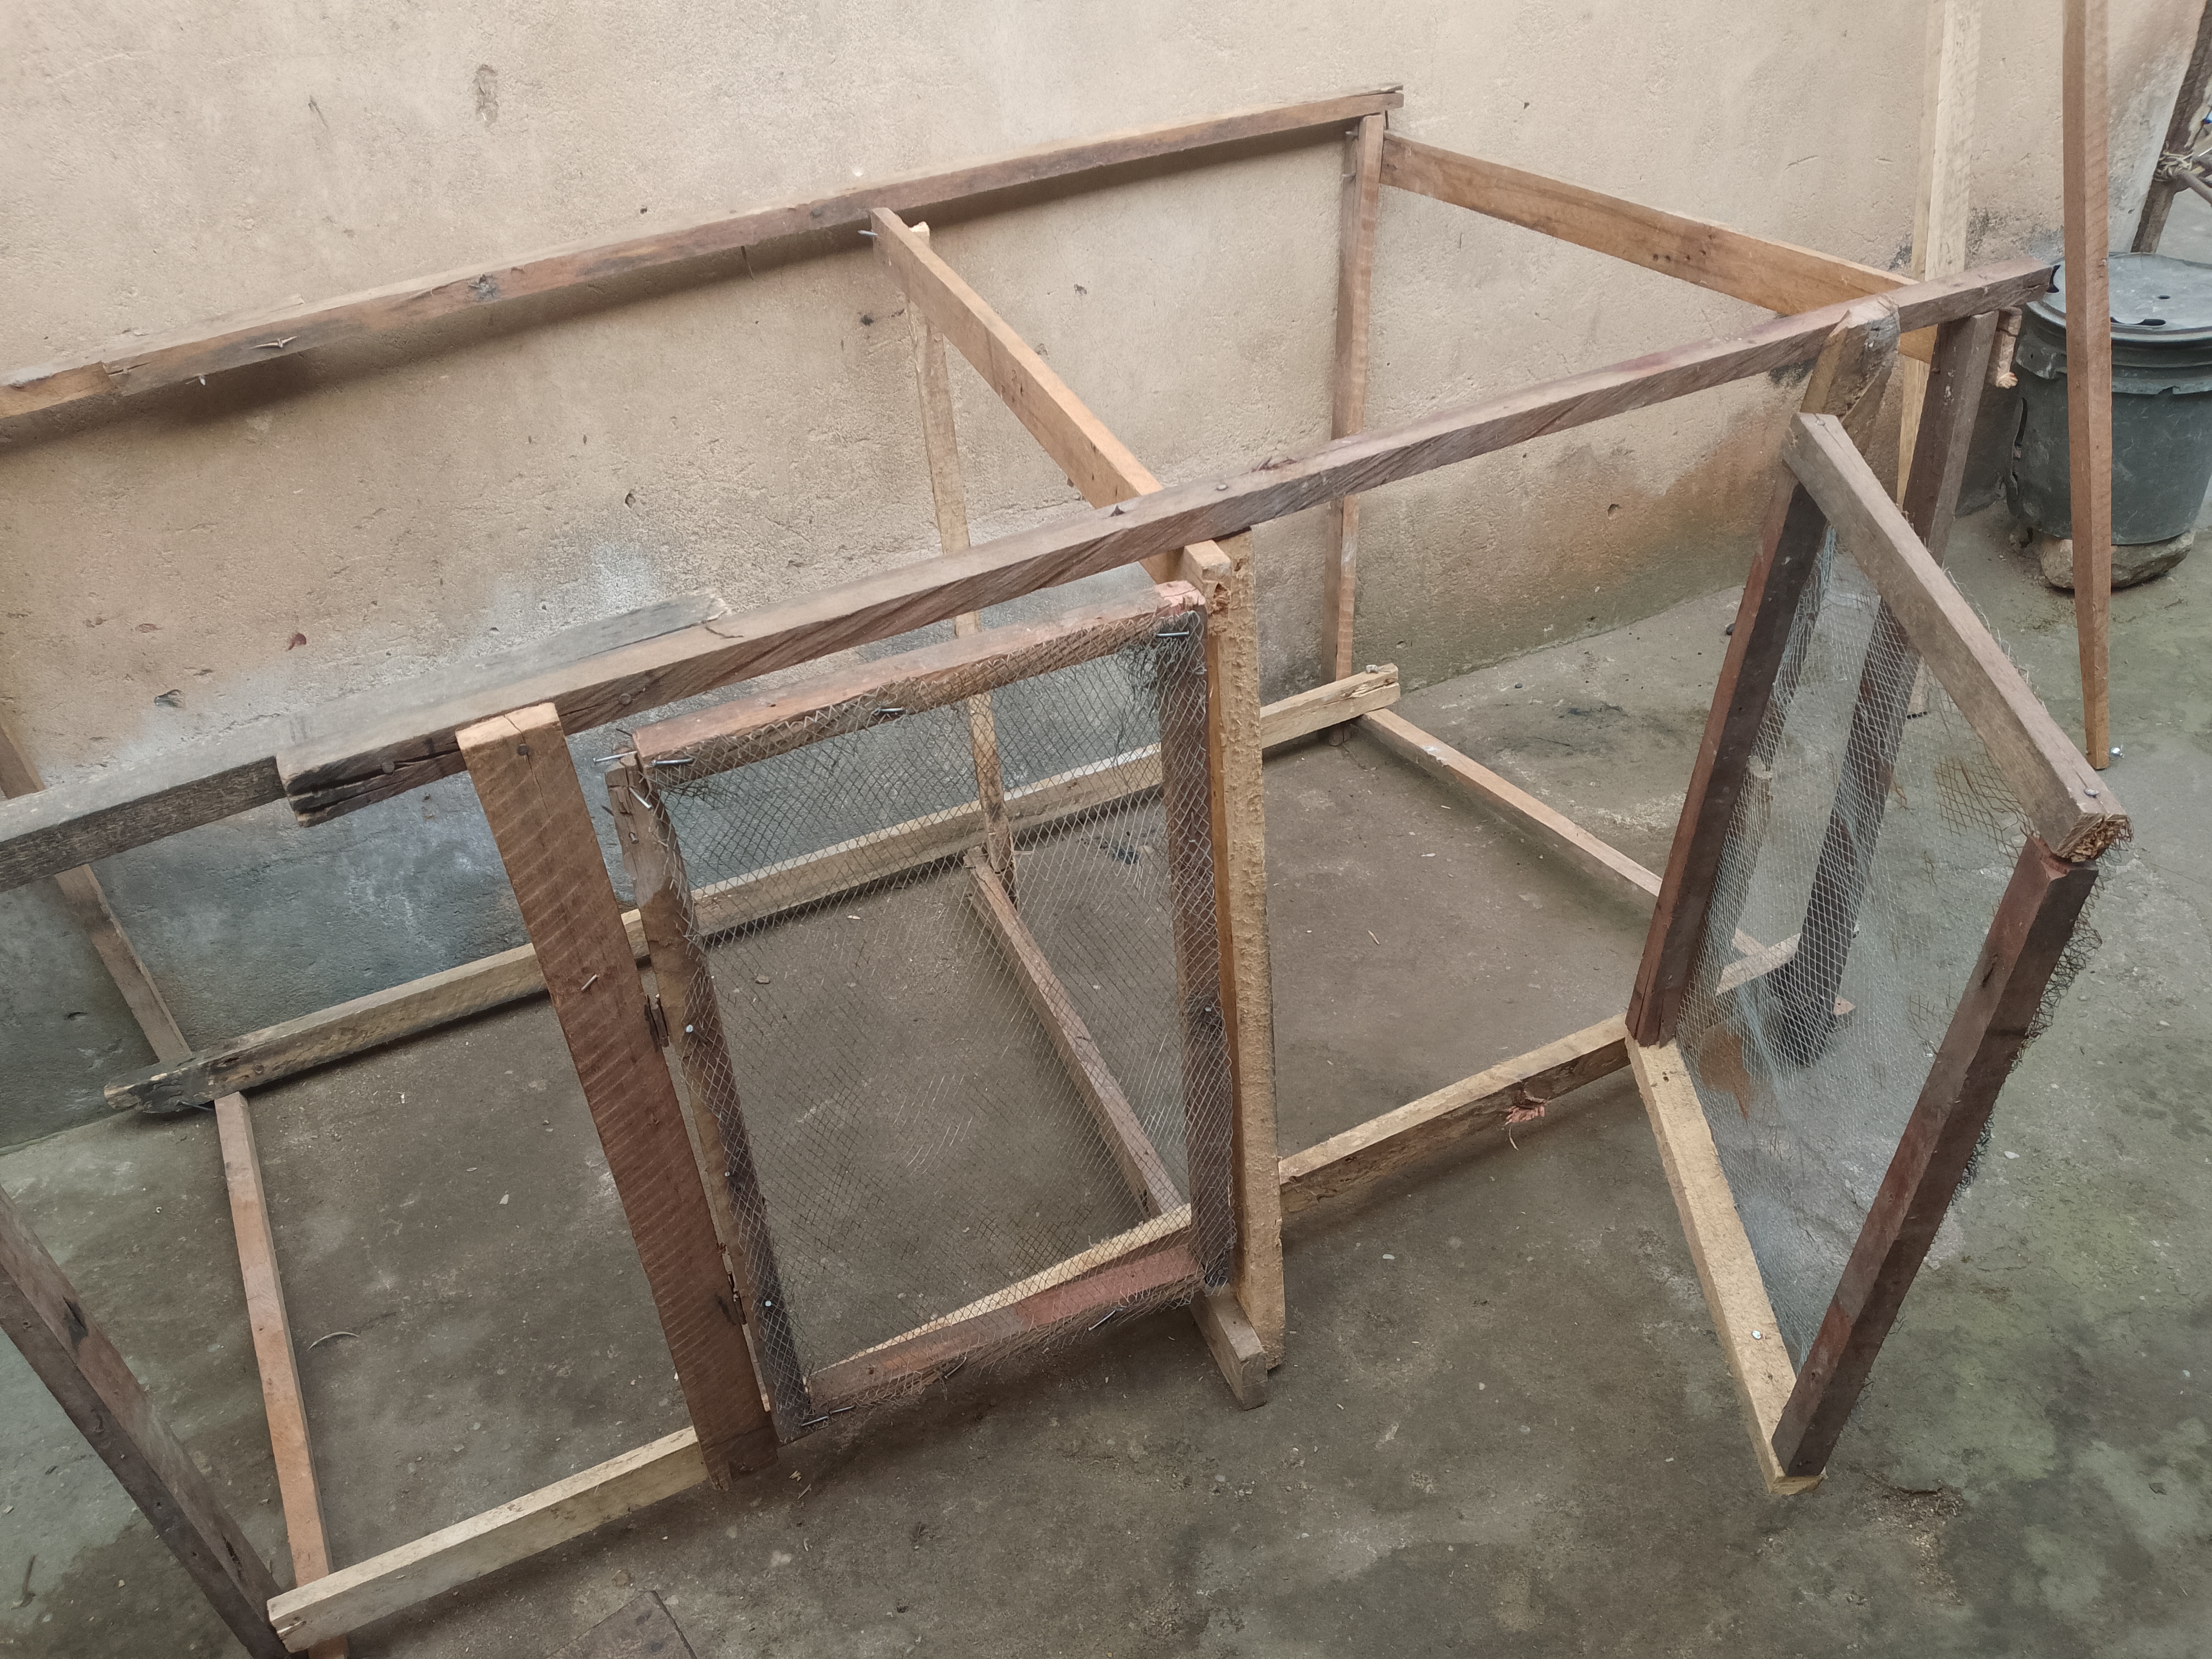
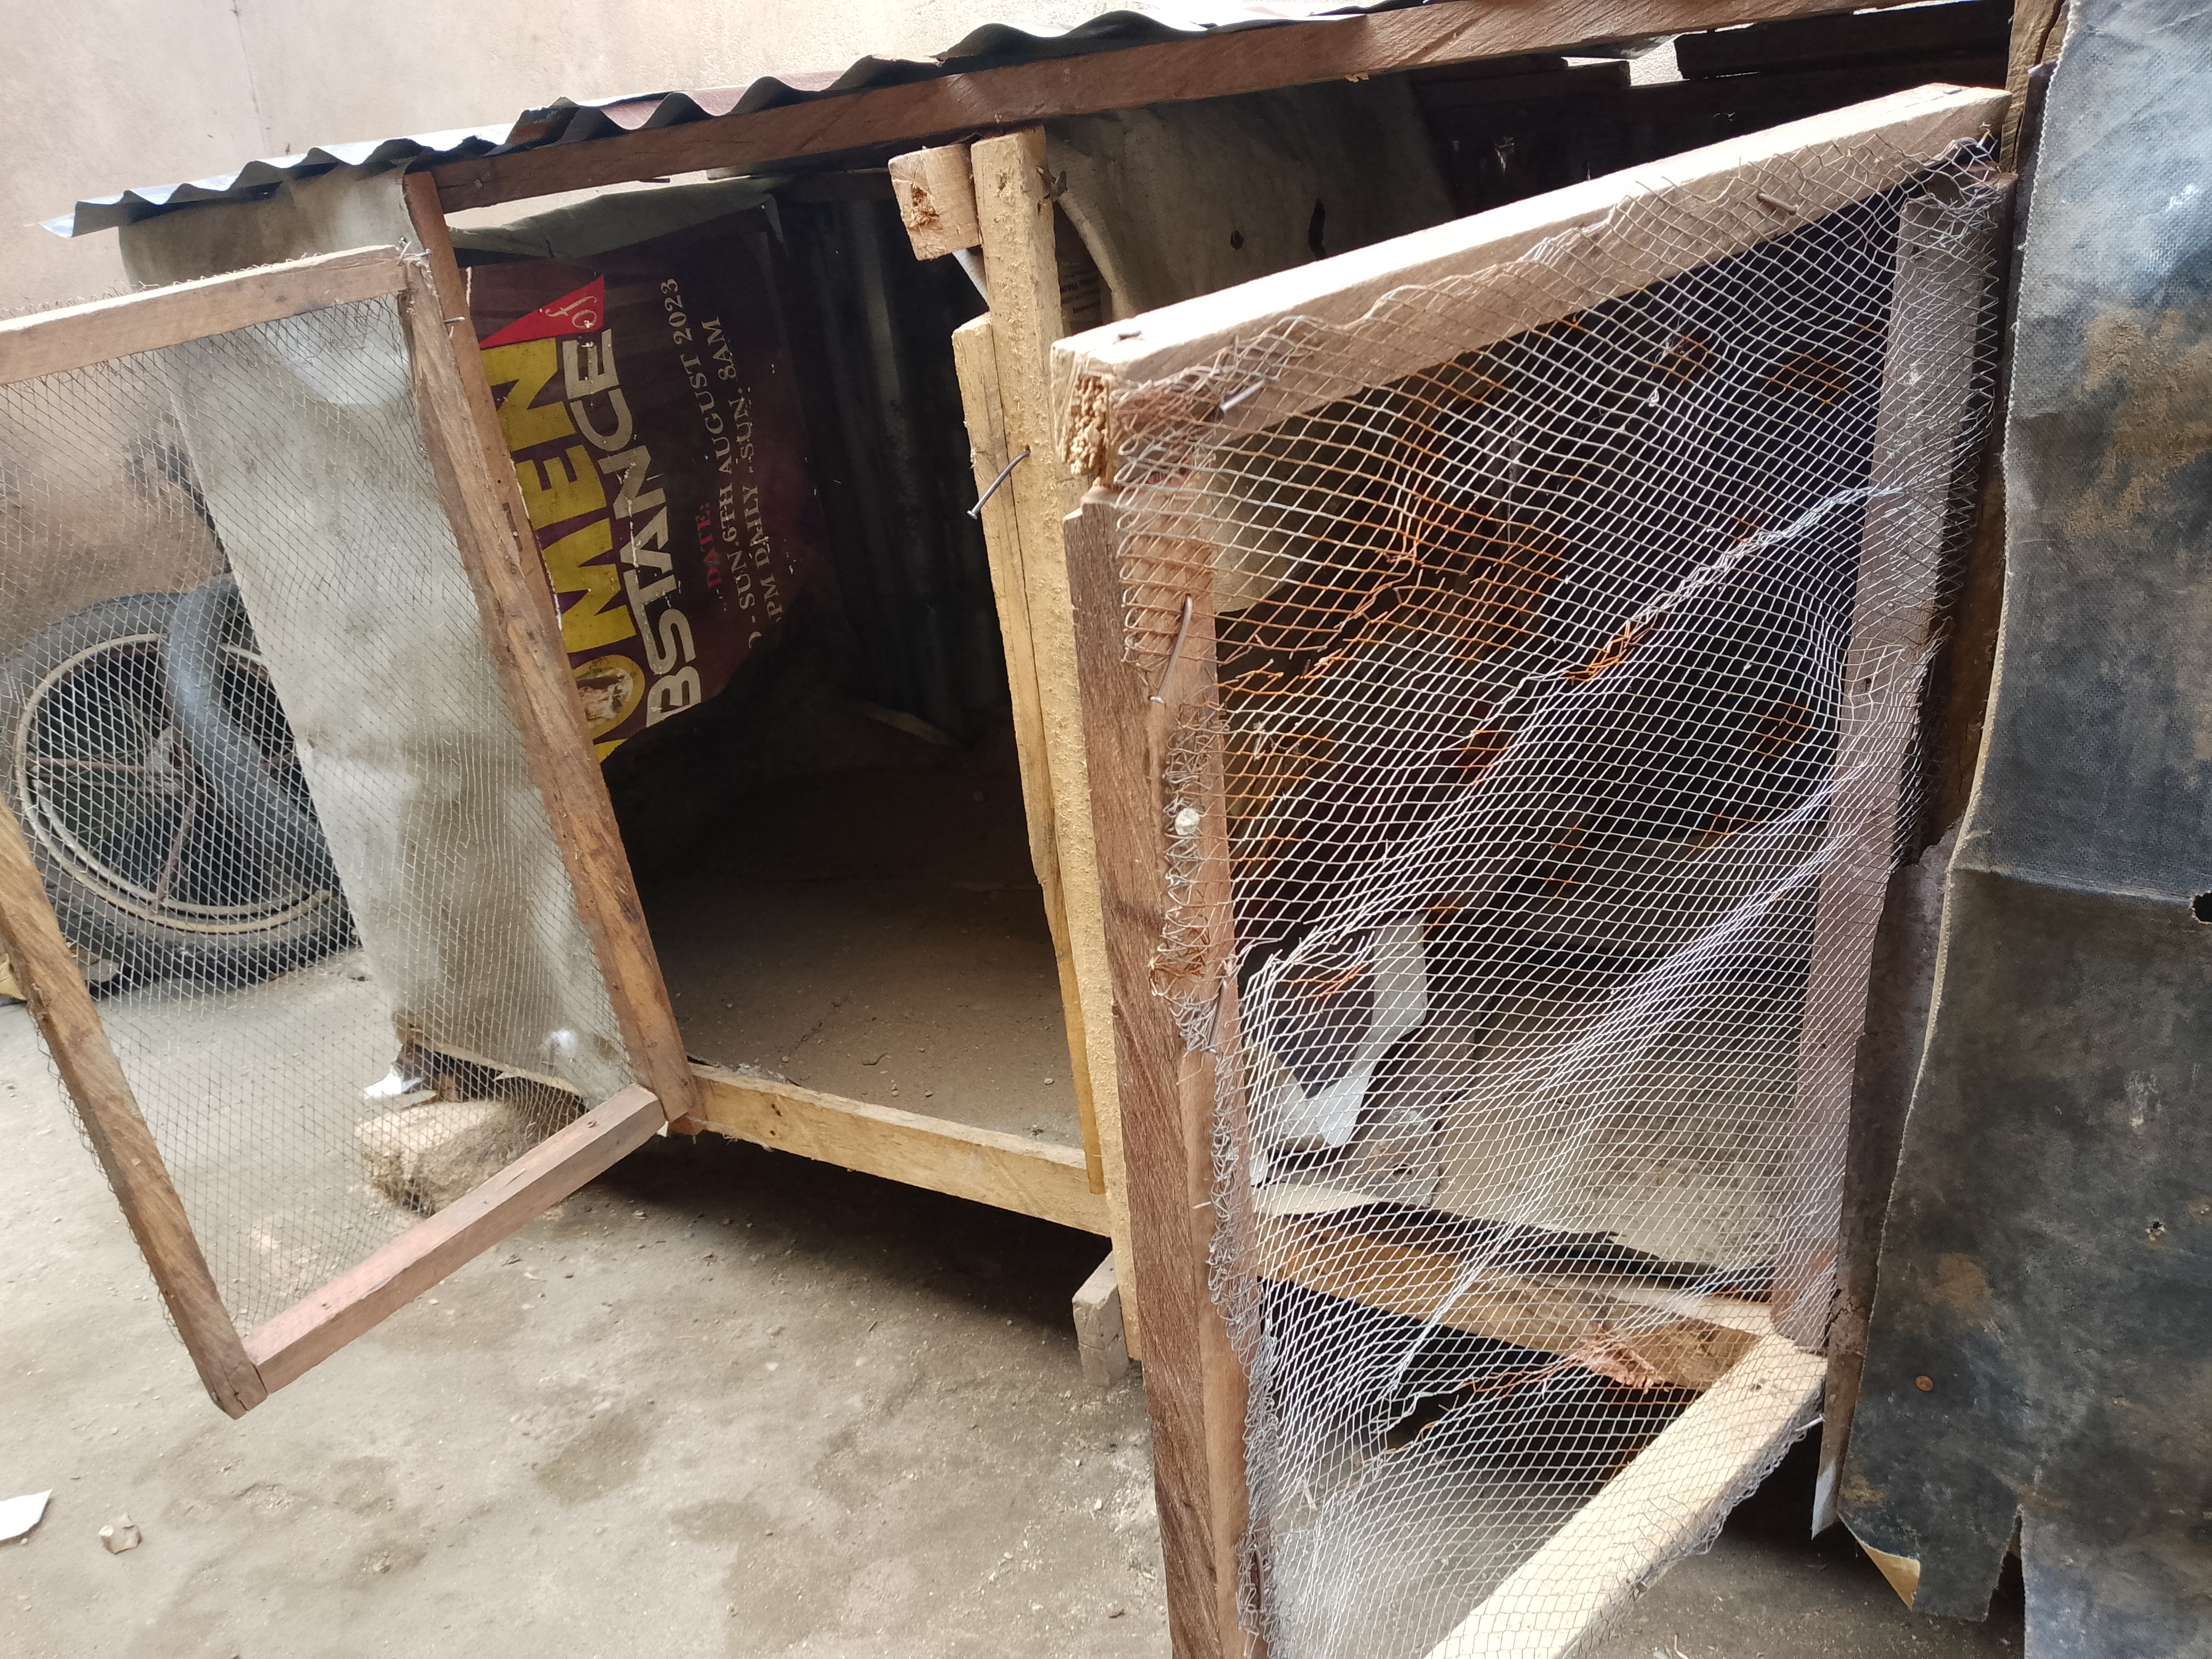
5. Building the "Breathable" Doors
A cage in our climate needs a lot of airflow, or the birds will get sick. I used thinner strips of wood to create rectangular door frames. I then took the net and stretched it across these frames.
 |  |
|---|
Technique: You have to pull the net very tight before nailing it, or it will sag.
Status: I have the frames ready and the net attached. These will be fixed to the main cage using the small metal hinges I salvaged.
Current Progress Report
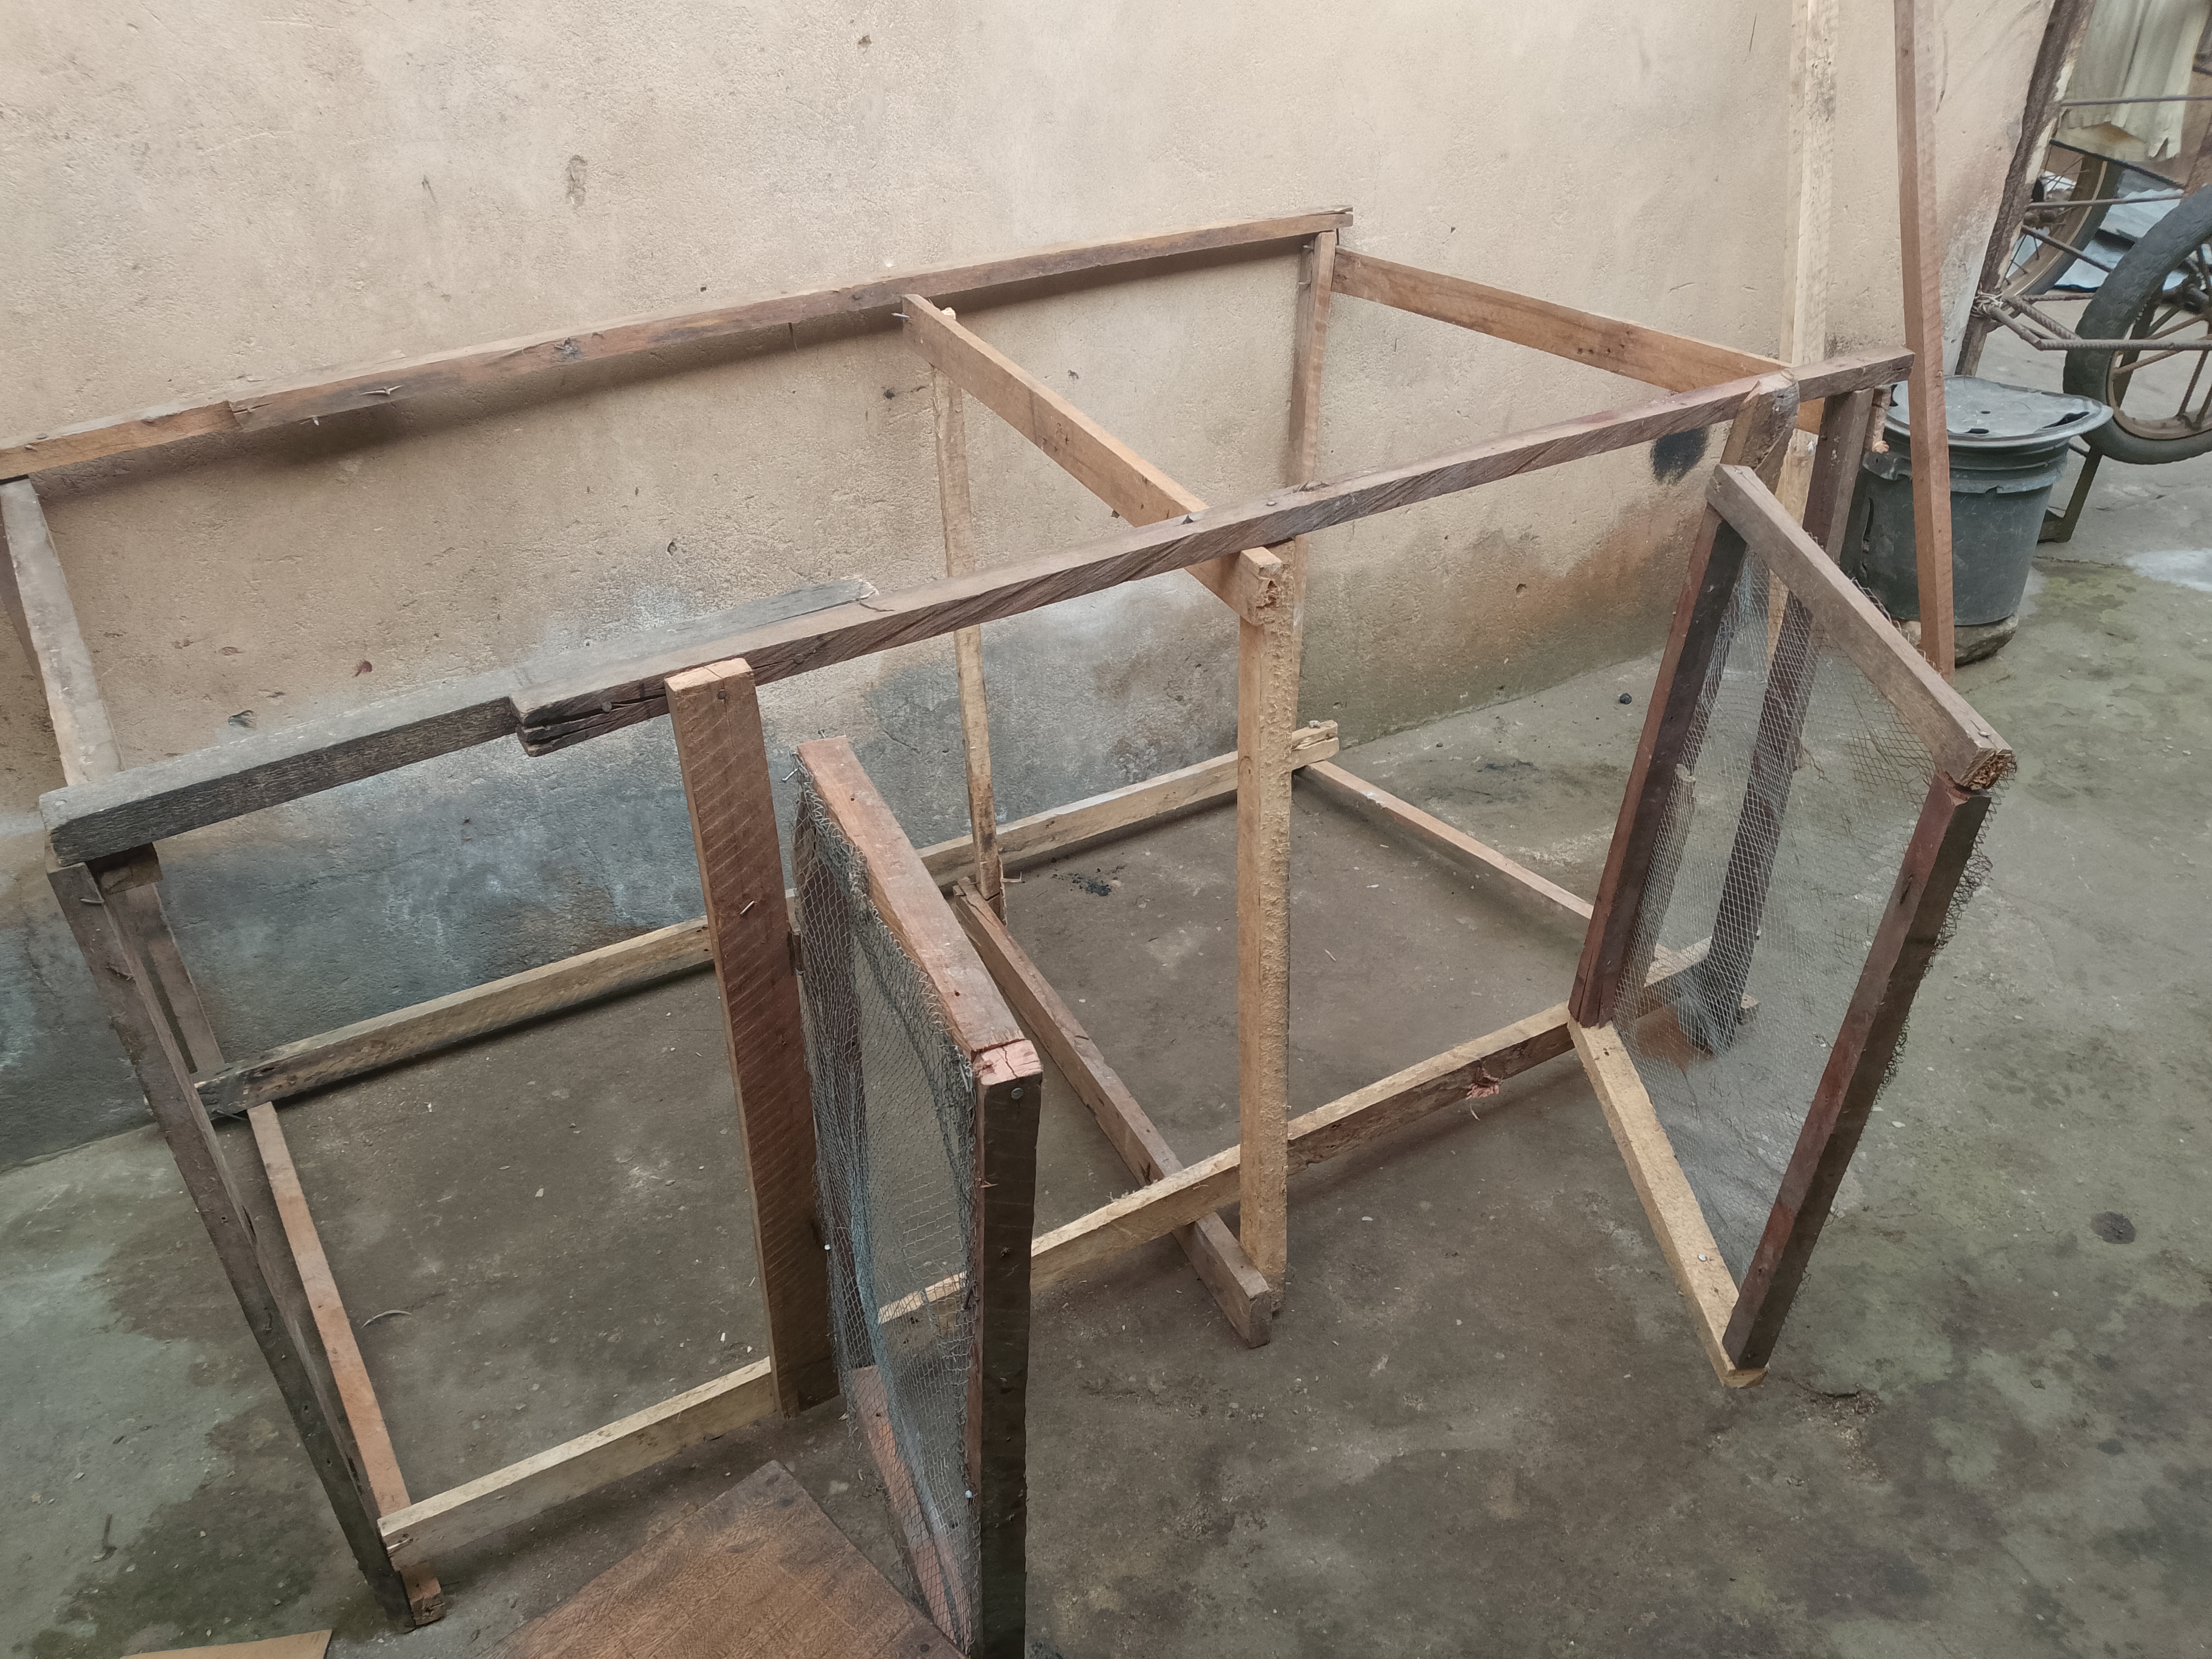
As of right now, the Main Skeleton Frame is standing strong. It is sturdy, balanced, and the double-compartment design is looking great. I have my door frames ready, and my tools, my hammer and my saw, are still working hard.
What’s Next? The "bones" are finished, but the "skin" is missing!
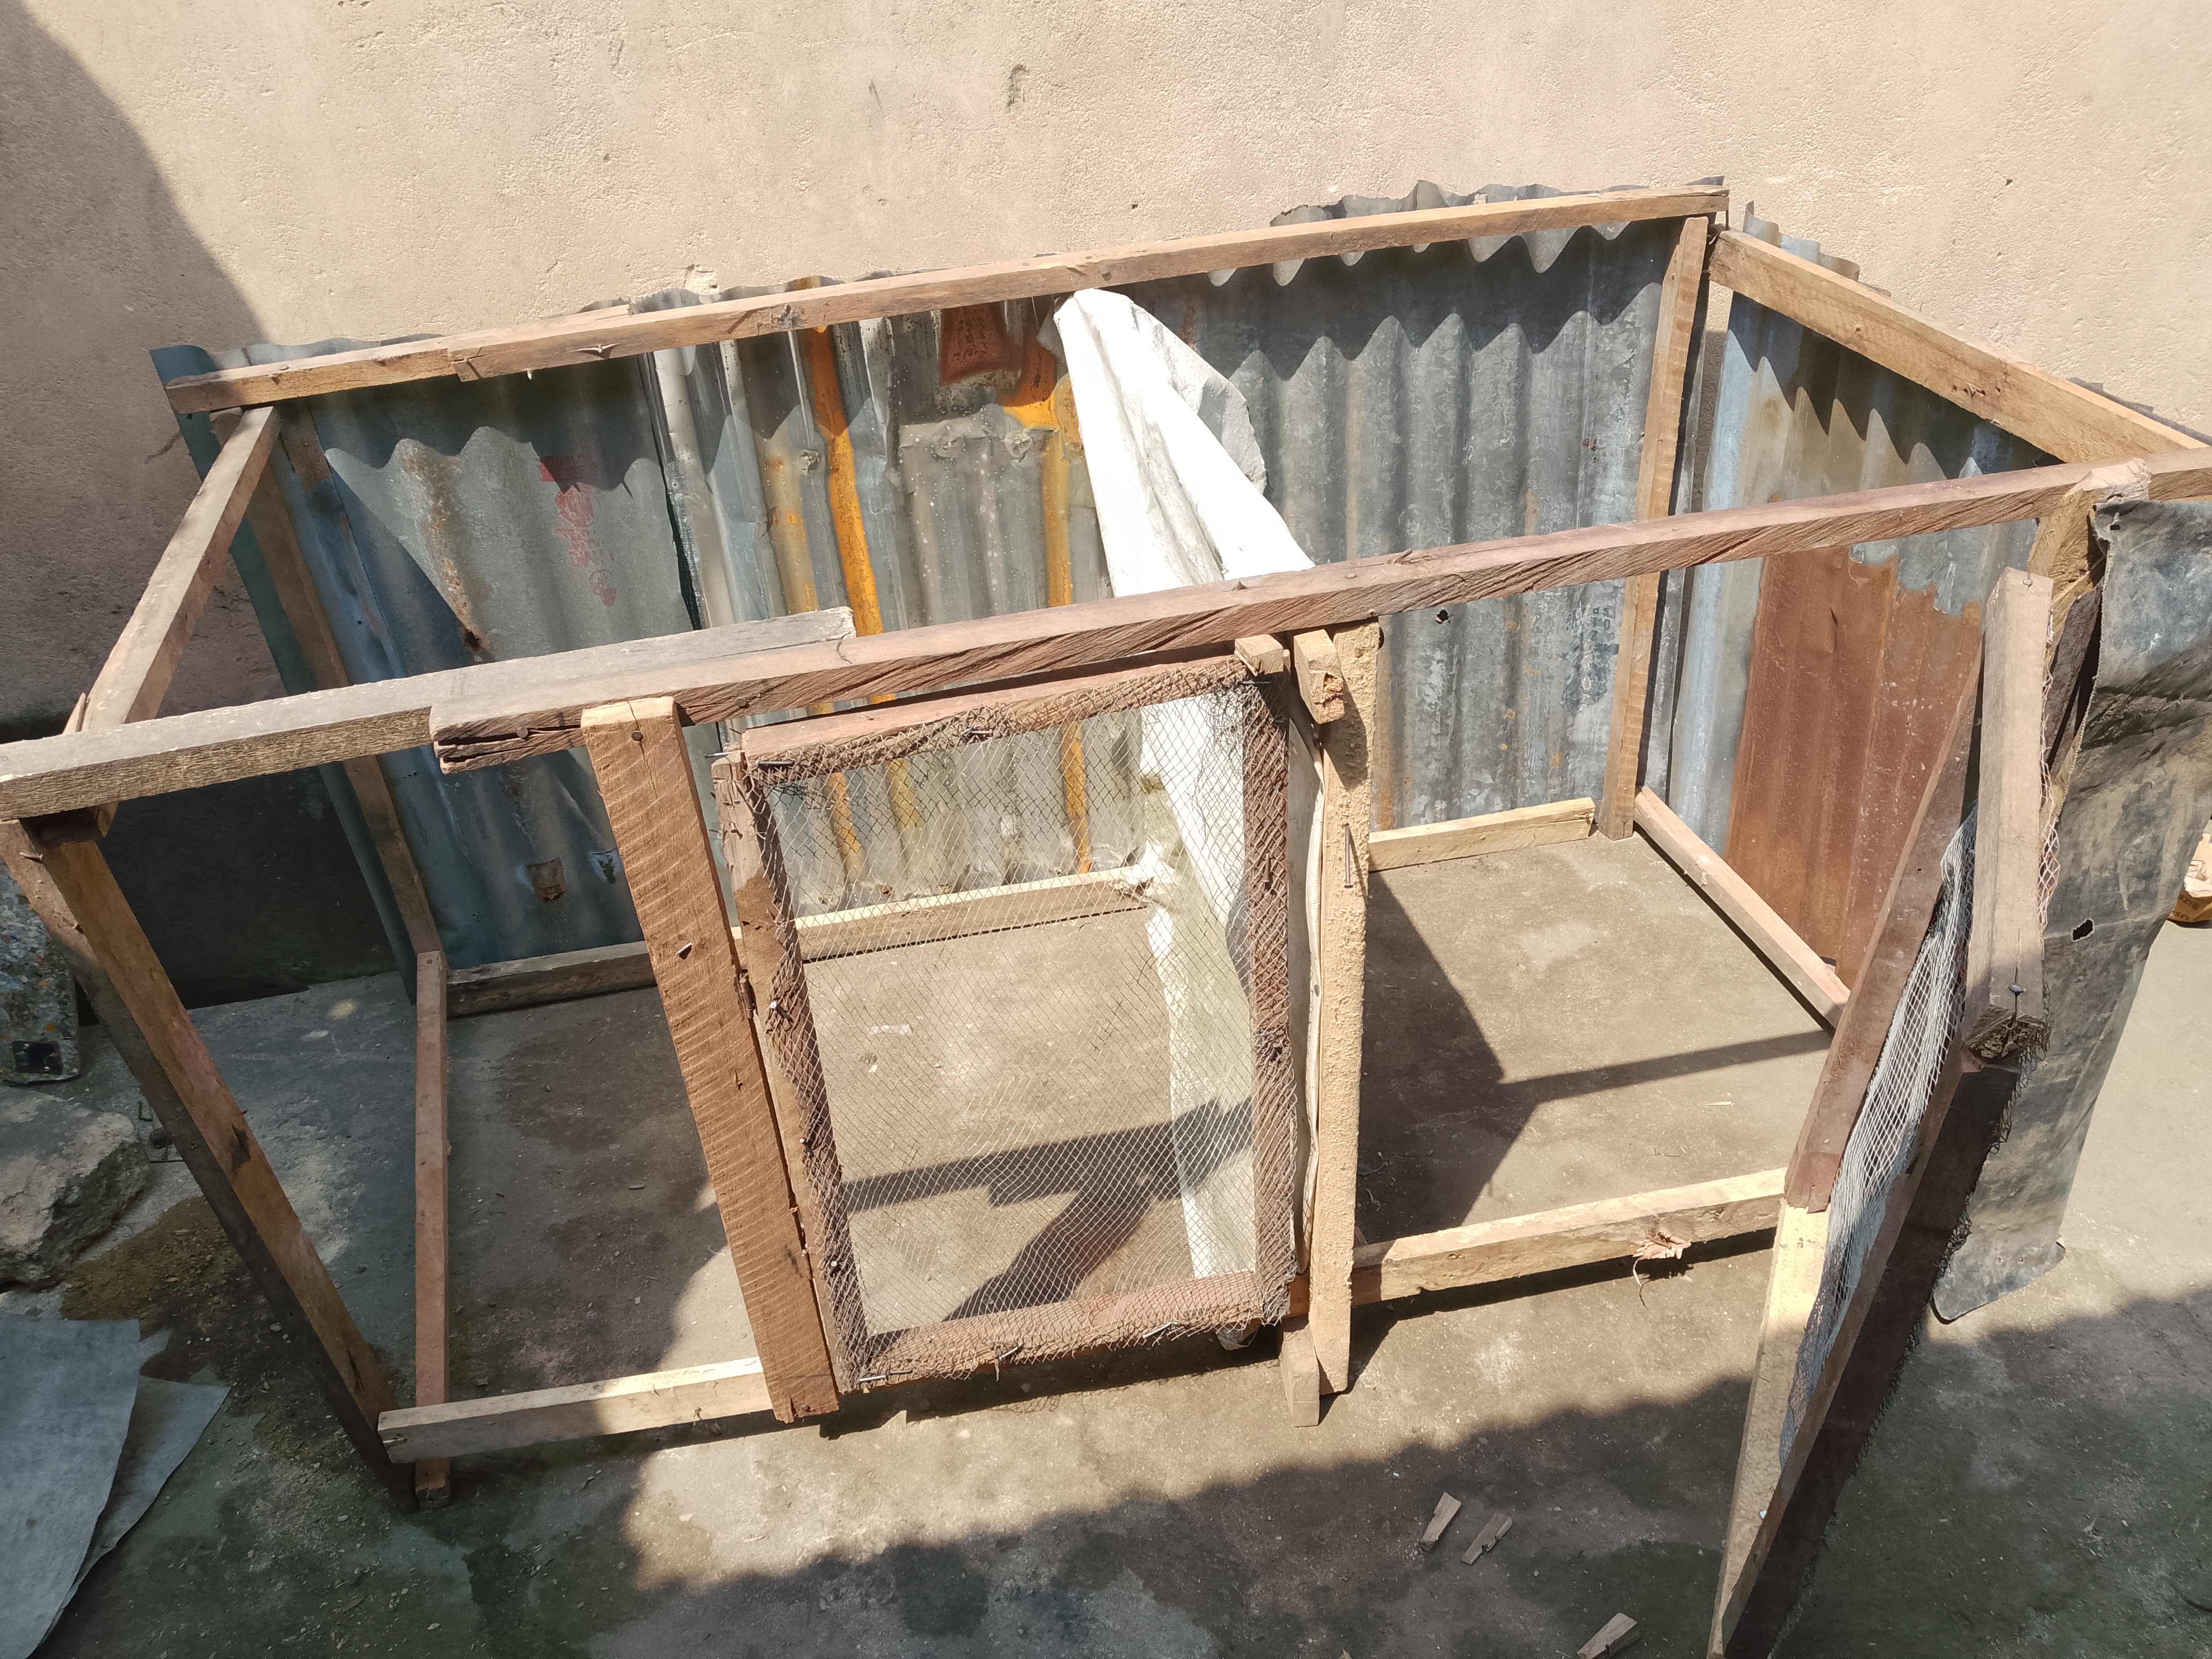
6. Weatherproofing the Walls:
Zinc and Fabric
it is time to make it cozy and protected from the elements.
 |  |
|---|
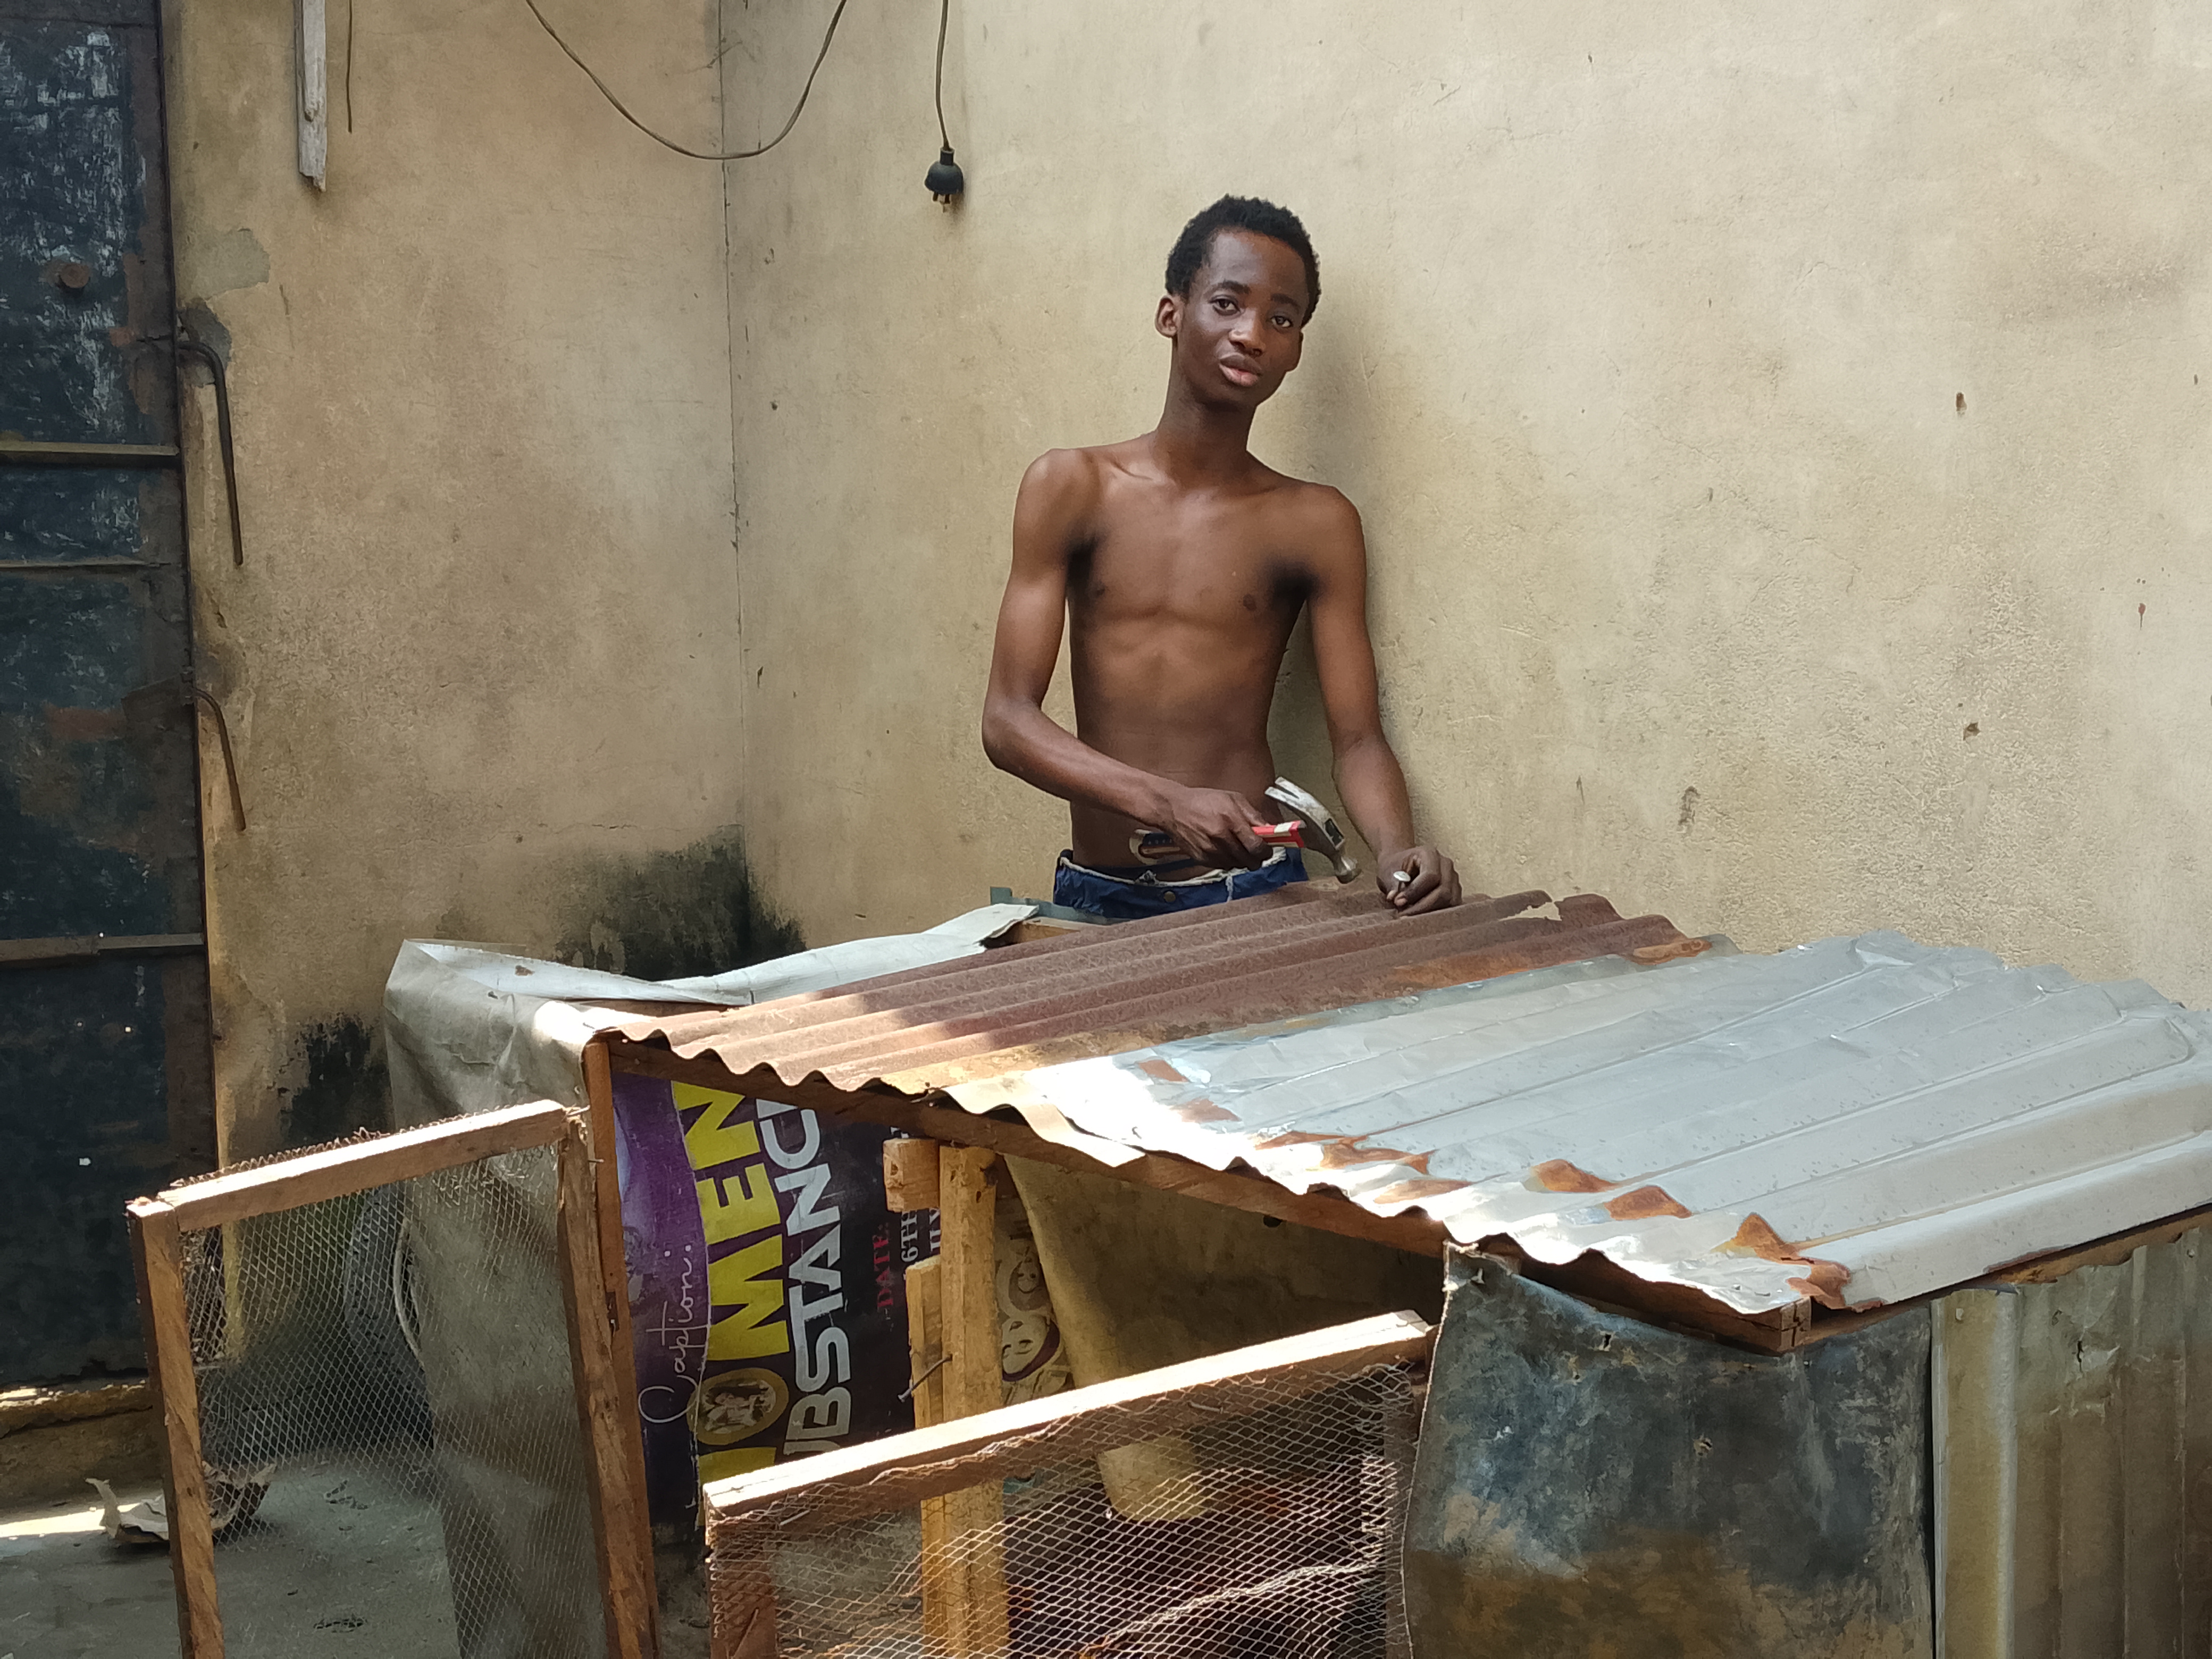
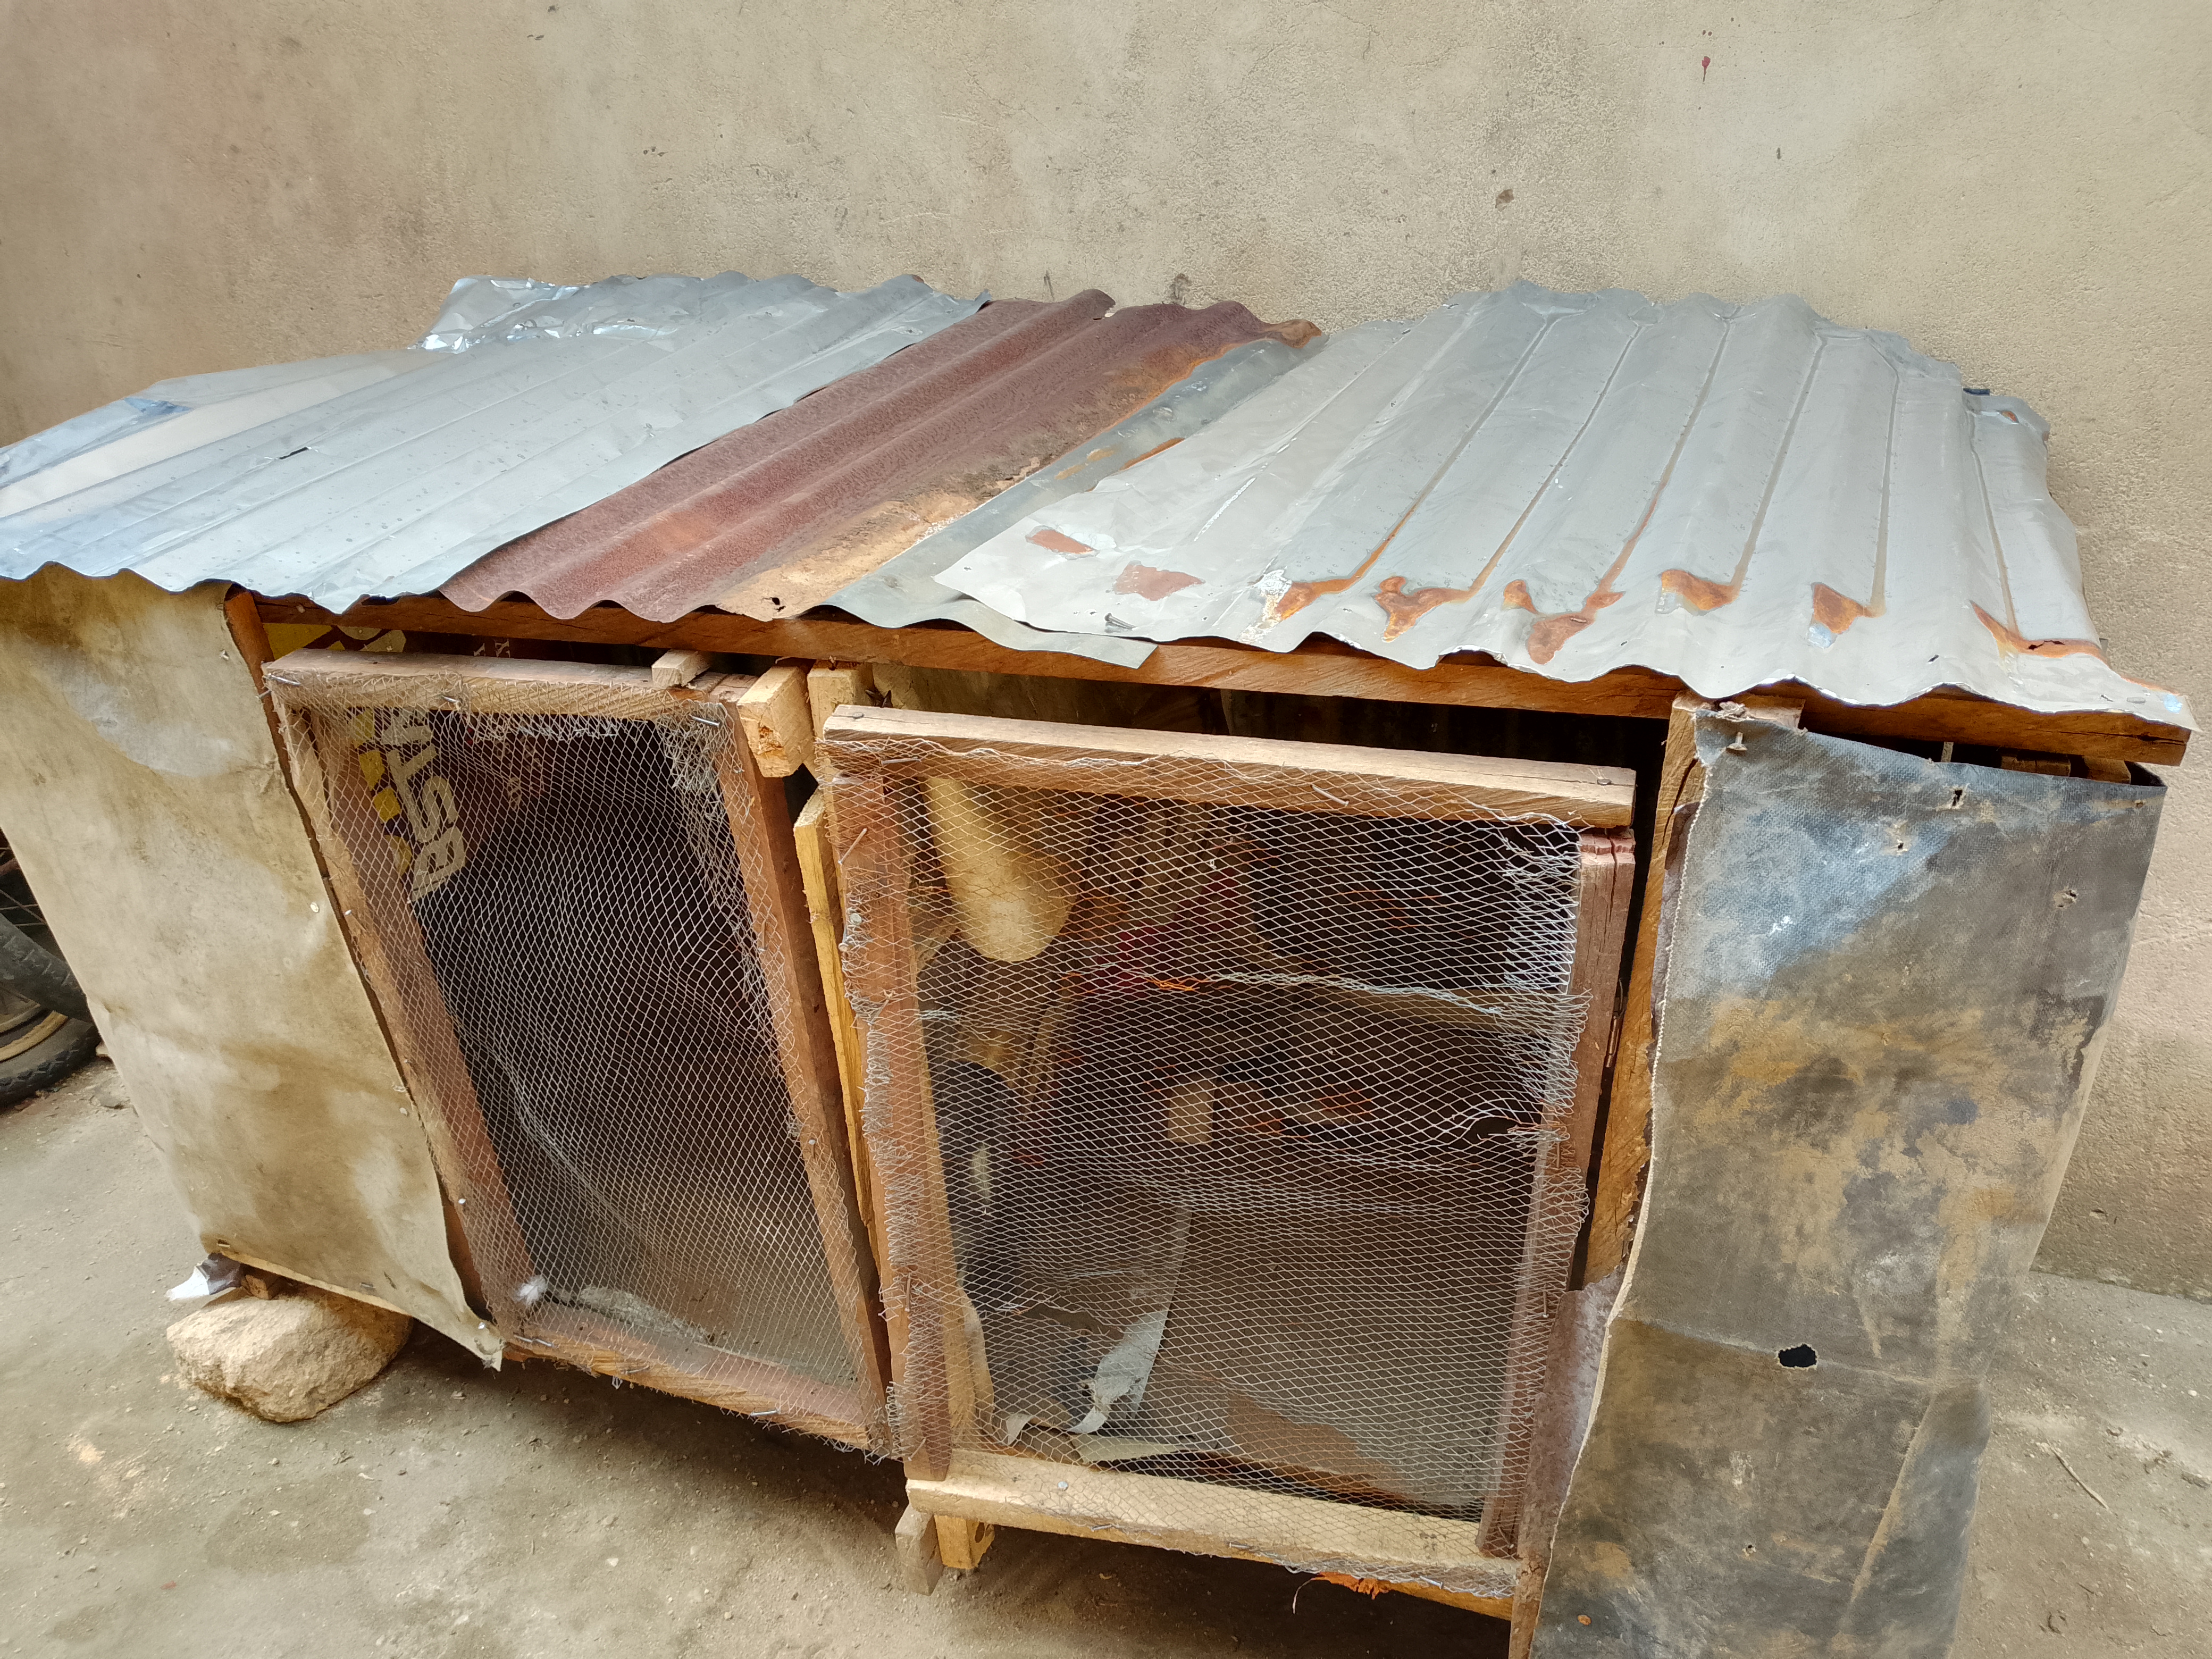
The Back and Sides (Zinc): For the back and part of the sides, I reused the corrugated zinc sheets from the old cage. I carefully nailed these to the wooden frame. Zinc is excellent because it's strong, waterproof, and protects the birds from strong winds and rain.
The Front (net and Fabric):
For the front, where the doors are, I kept the net for ventilation. However, you'll also notice I added some fabric or sack material on the sides and even over parts of the zinc inside. This is an extra layer of insulation, especially for those colder nights or when strong winds blow. It creates a warmer, more sheltered environment for the birds.
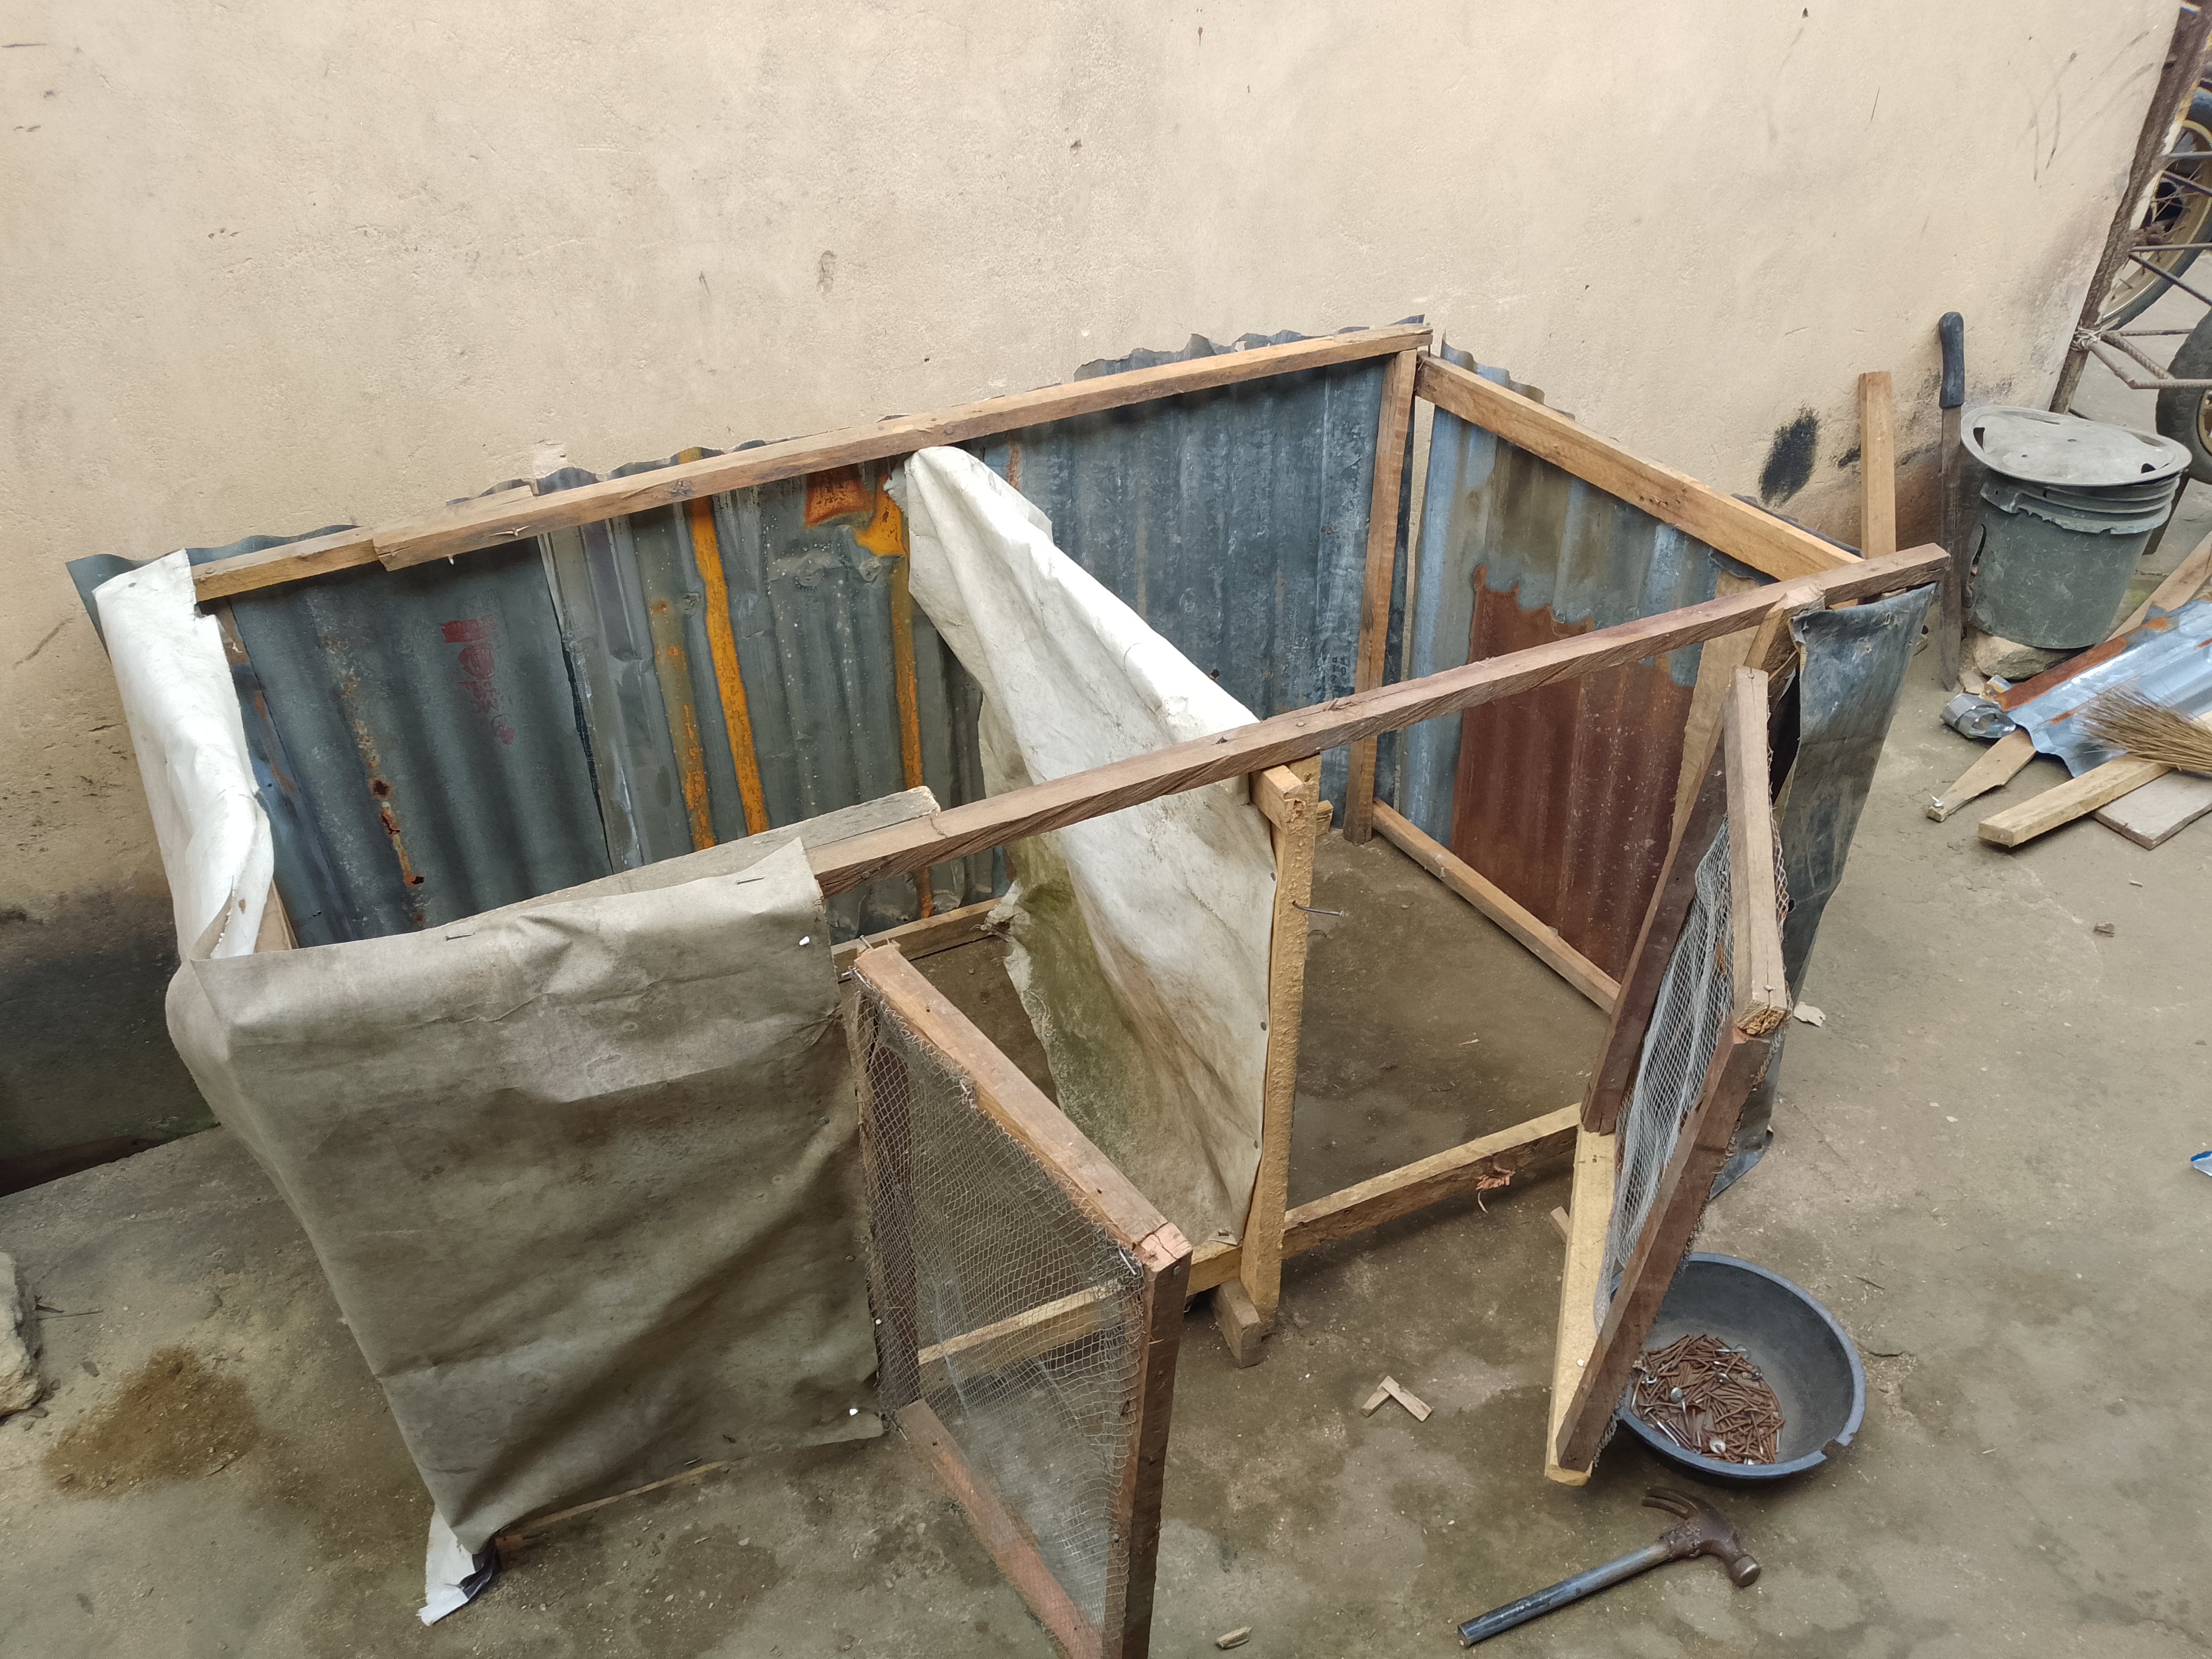
7. The All-Important Roof:
Protection from Above
No home is complete without a roof! Using more of the salvaged corrugated zinc, I fashioned a sturdy roof.
Slanted Design: I made sure the roof has a slight slope. This is crucial for drainage. When the rain falls, it won't pool on top of the cage but will run off cleanly, keeping the inside dry.
Securing the Roof: The zinc sheets were carefully placed over the top wooden rails and securely nailed down. This makes the cage truly waterproof.
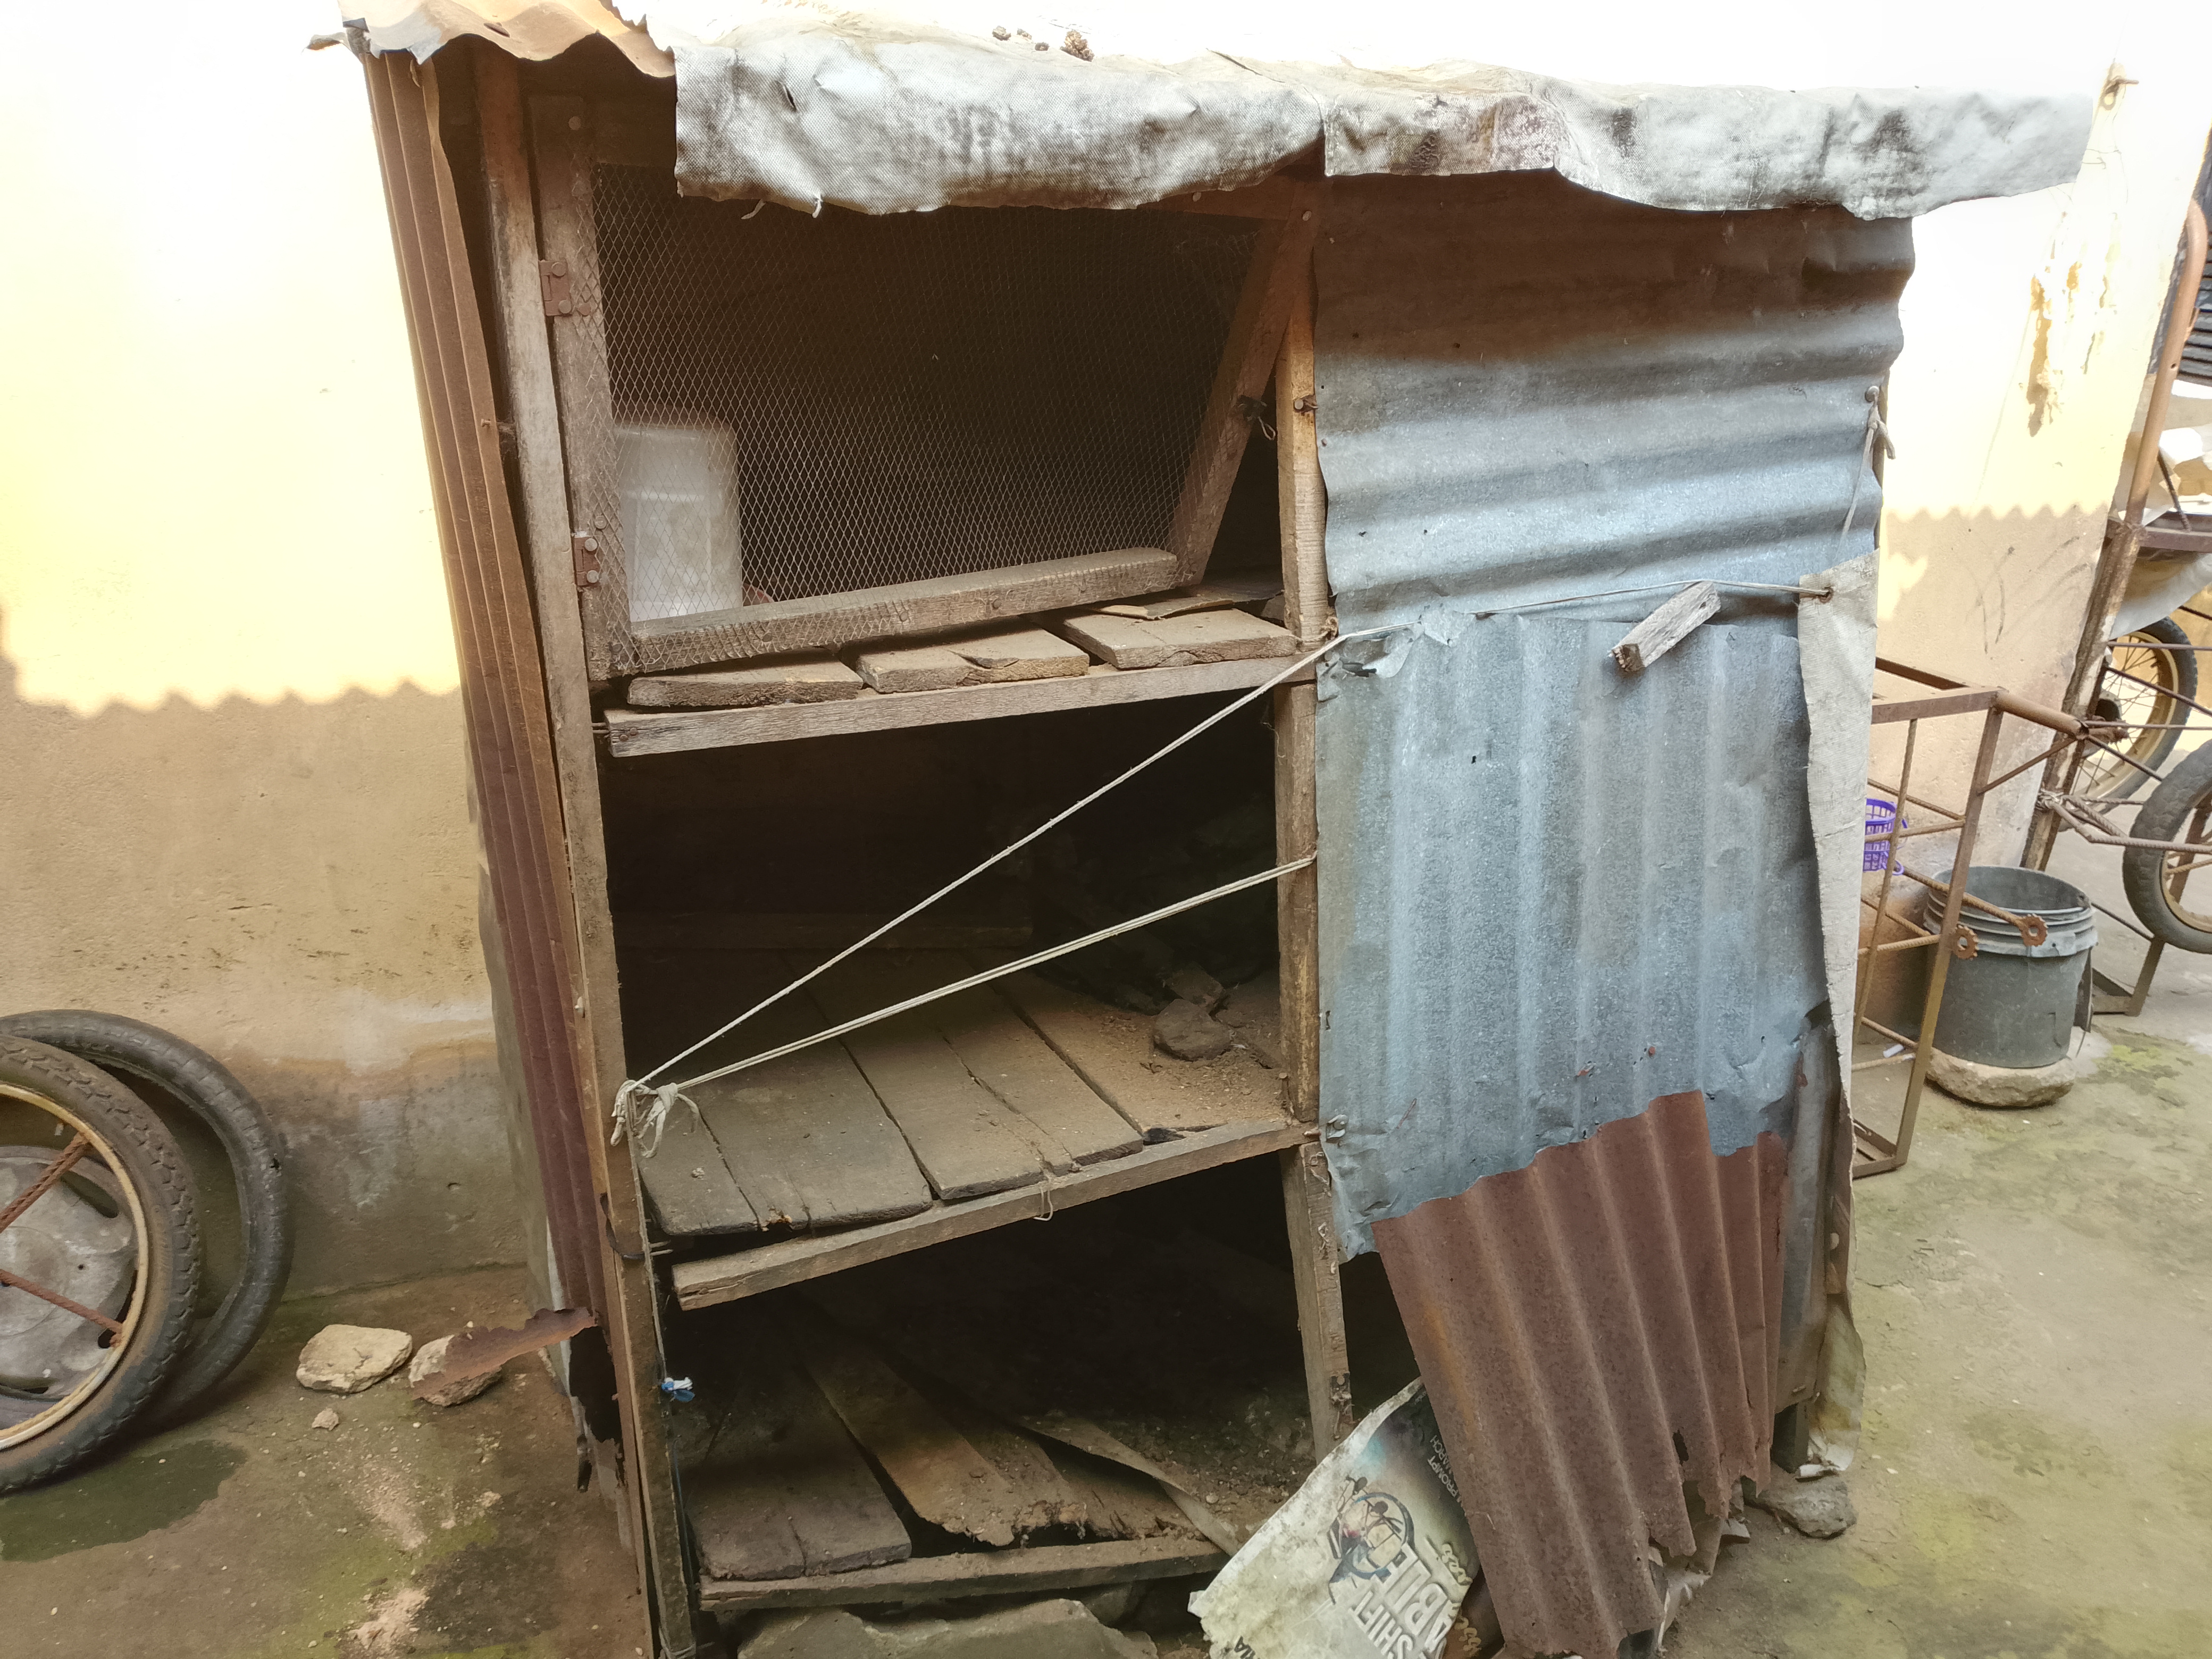
8. Giving the Birds a Solid Ground:
The Floor Installation
With the main frame standing, the next crucial step was to give our fowl a proper floor.
The Raised Floor: installed wooden planks across the bottom. This is important because it raises the birds off the cold, damp ground, which is much healthier for them, I used the sand to to pour on the ground of the cage so that it can be easier to sweep when they leave in the morning.
Spacing for Hygiene: Notice the small gaps I left between the floor planks. This isn't a mistake! These tiny spaces allow droppings to fall through, making the cage much easier to clean. Good hygiene prevents diseases, which is vital for healthy bir
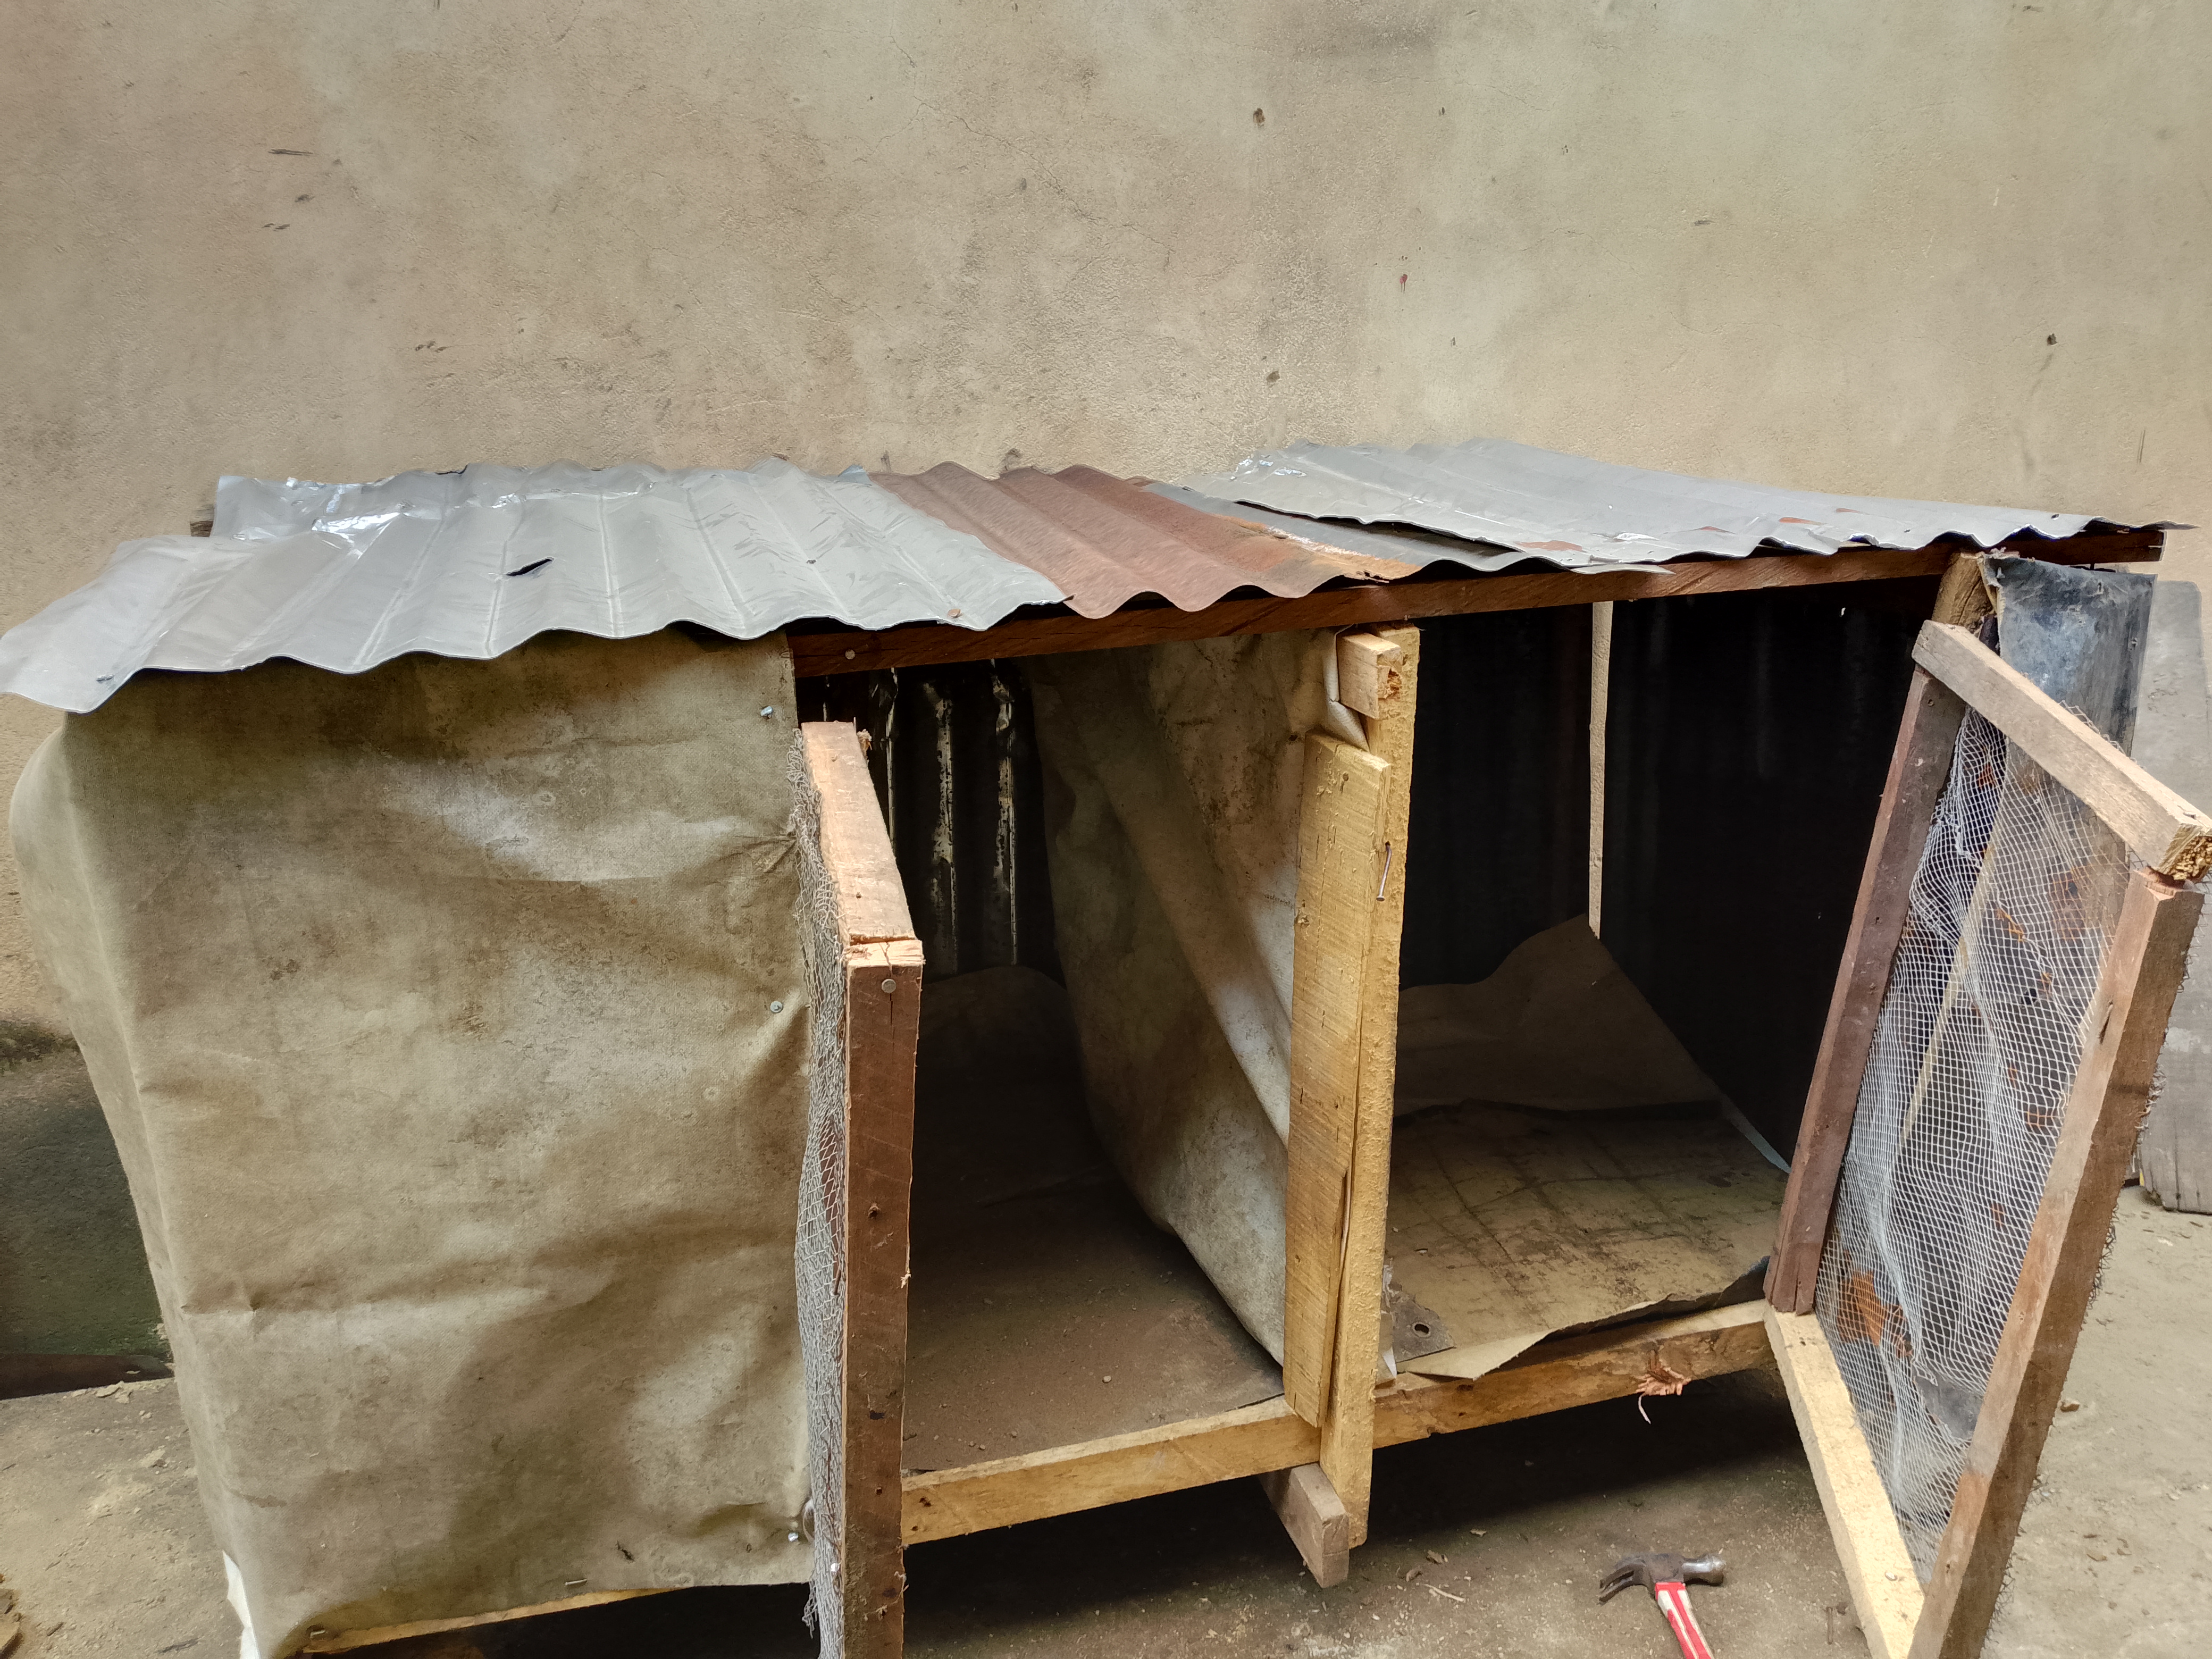
A Home for Sleep, A Nook for Eggs!
Now, here's where my design gets specific and smart, something I learned from observing our birds! I realized that our native fowl need different spaces for different activities.
The Bigger Side (Sleeping & Roaming): If you look closely, you'll see one compartment of the cage is intentionally bigger than the other. This larger side is designed as the main living area. This is where all the fowl can comfortably roost, eat, and move around during the night or when they need shelter.
The Smaller Side (The Nesting Box): The smaller compartment isn't just a random division. It's purpose-built as a dedicated nesting area. Fowl prefer a quieter, more private space when they want to lay eggs. By creating this smaller, more secluded section, I've provided a perfect, safe spot for the hens to lay their eggs. This design makes it easier to collect eggs and ensures the birds feel secure during this important time.
The Final Touches and a Proud Moment!
Standing back and looking at the finished cage, I feel a real sense of accomplishment. From a pile of broken wood and rusty zinc, I’ve managed to construct a functional, durable, and thoughtfully designed home for our native fowl. It's a testament to the power of recycling, simple tools, and a bit of ingenuity.
 |  |
|---|
 | |
|---|
Lessons learned so far: Don't be in a hurry to throw things away. That "spoiled" cage was actually a "gold mine" of free materials. All it took was a saw, a hammer, and some vision.
This project not only saved us money but also taught me valuable lessons about planning, execution, and making the most of what you have. Our birds now have a safer, cleaner, and more comfortable place to live, and that's the best reward of all.
I hope this detailed walkthrough inspires some of you to look at old items differently and perhaps start your own DIY projects!
Thank you for following my building journey on Steemit! If you have any questions or tips, please share them in the comments below.
My Twitter shared Link
https://x.com/i/status/2009282321954767272
We support quality posts, good comments anywhere and any tags.
Thank you so much ❤️
I really really appreciate..