Pencil drawing tutorial // portrait drawing of a lady
Greetings to everyone, and I hope you all are having a wonderful day. There is something deeply satisfying about watching a blank sheet of paper slowly transform into a face filled with emotions and character. When I started this drawing, I didn’t rush the process. I wanted every line, every shadow, and every curve to feel meaningful. With a simple pencil in my hand and a clear image in my mind, I began translating emotion and elegance onto the page. Here's how I created it.

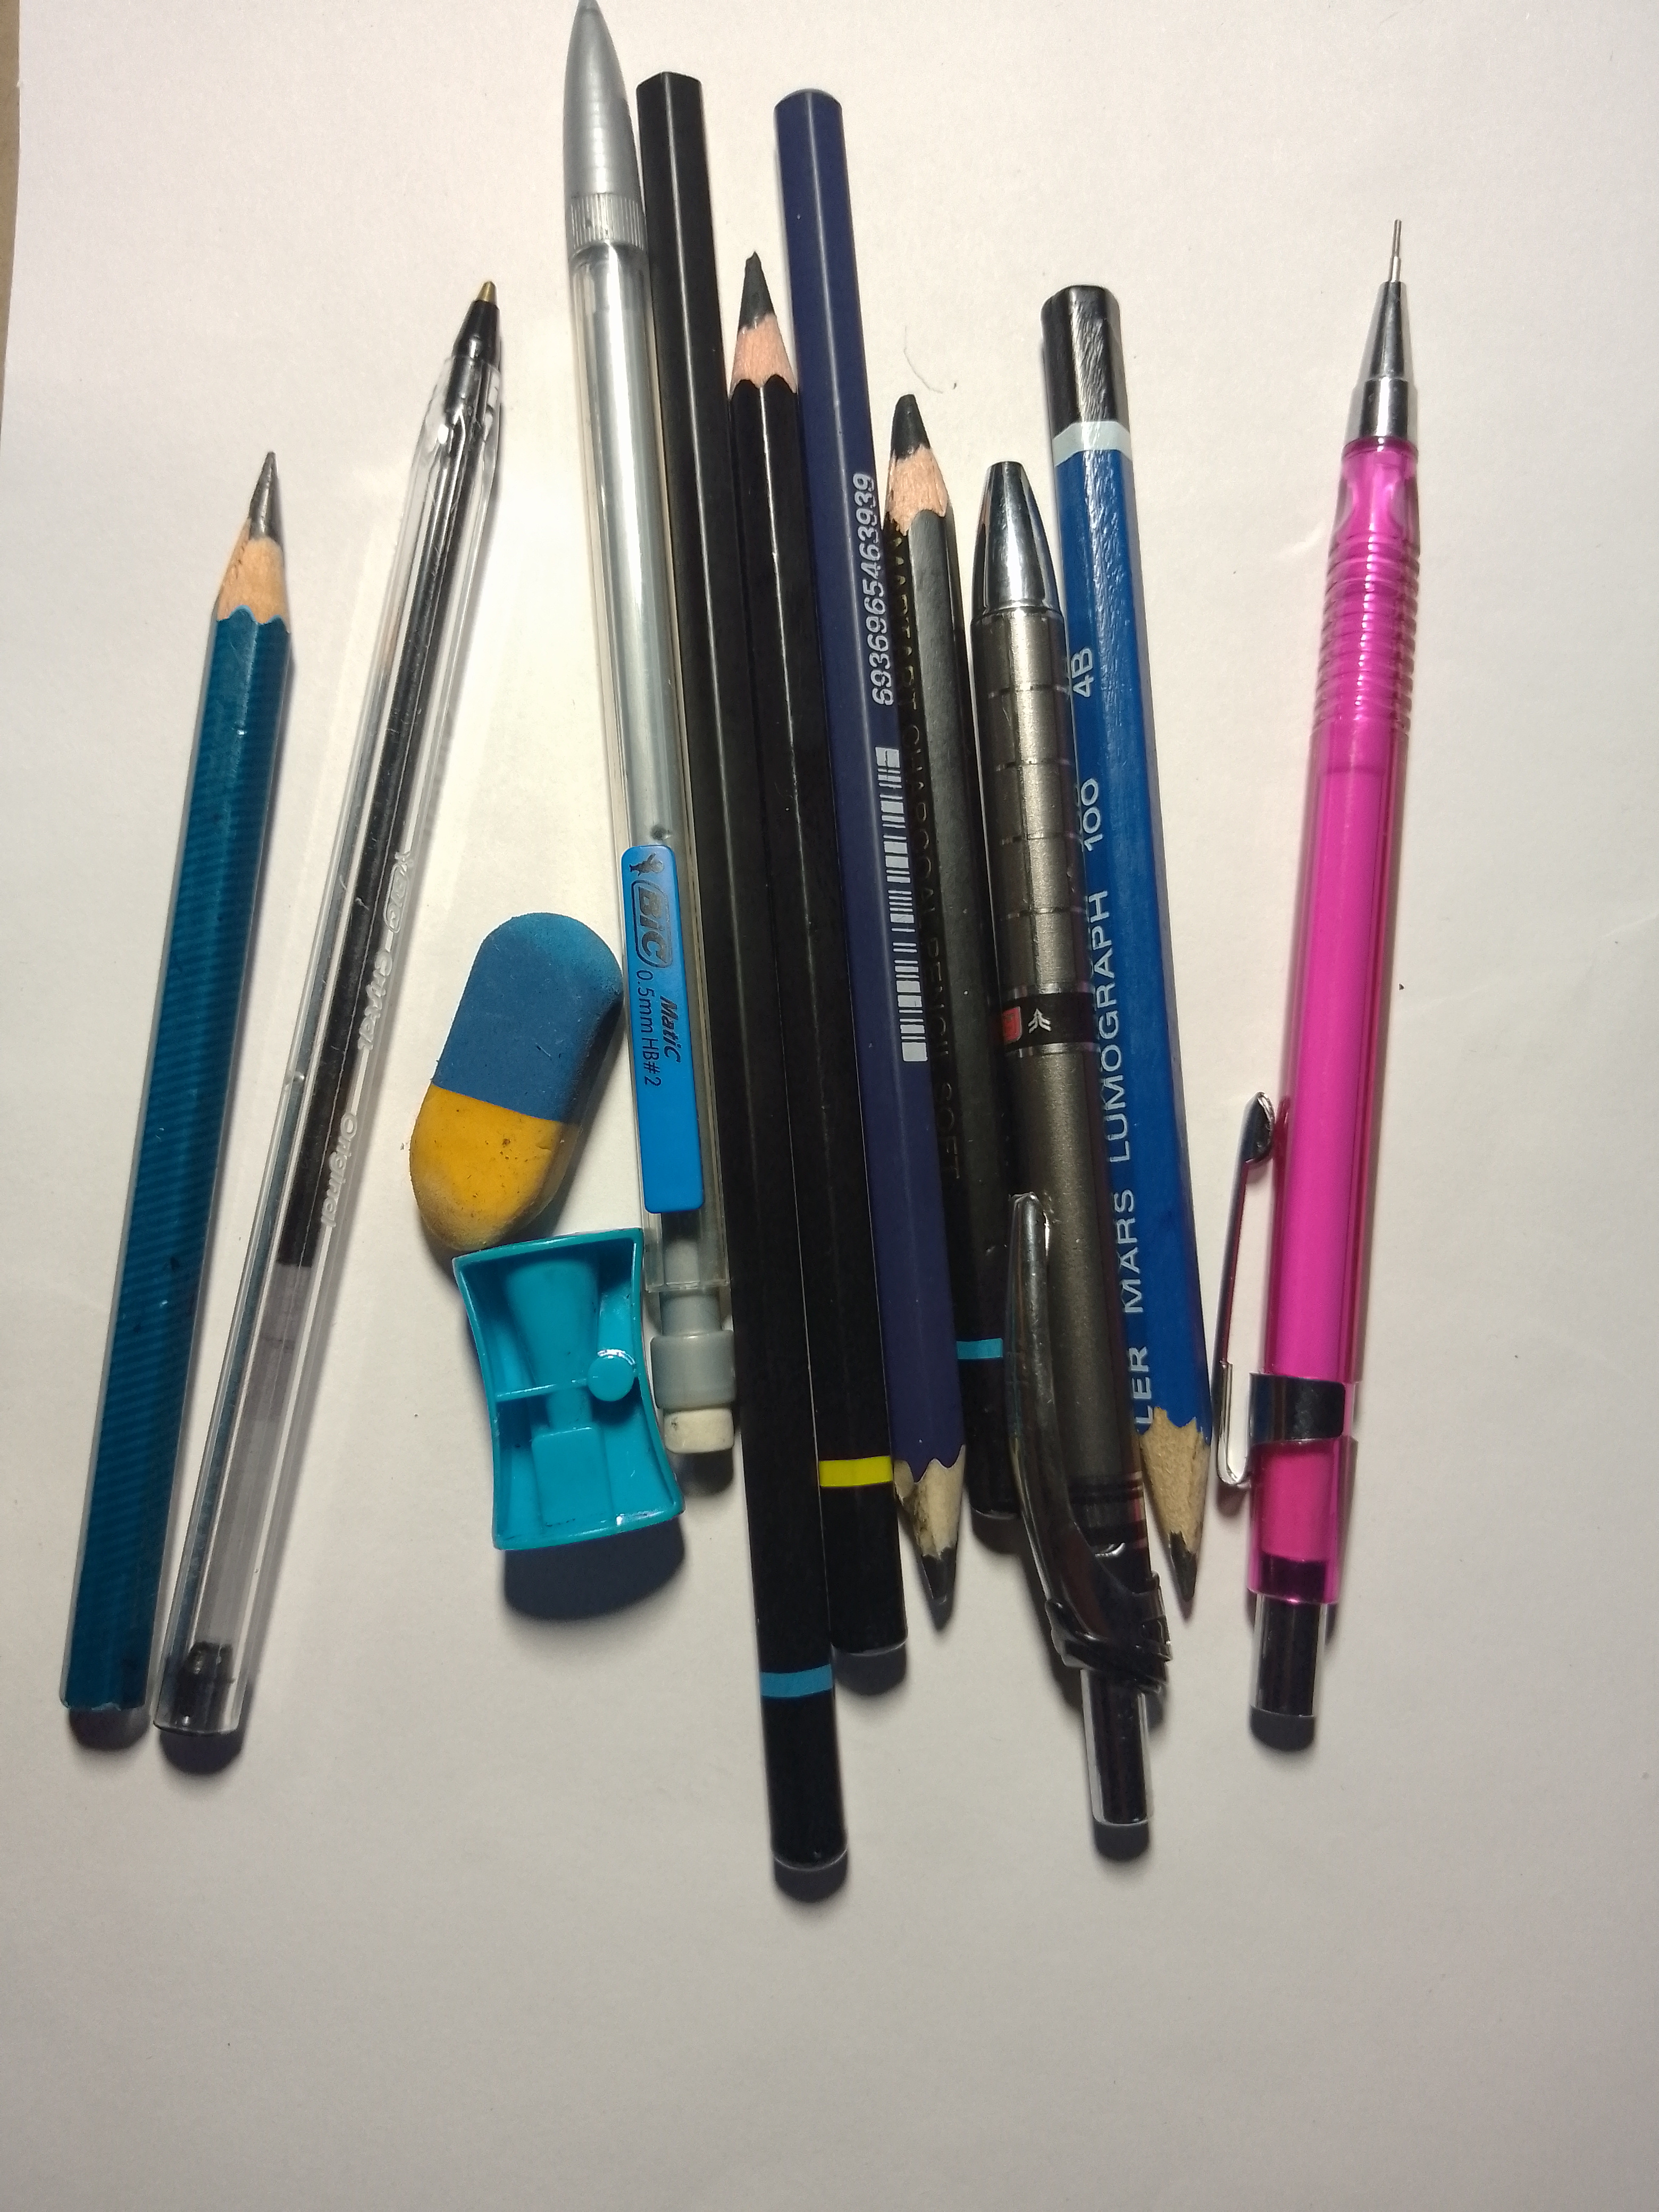
Drawing items
• A4 paper
• mechanical pencil
• graphite pencil
• 6B and 4B pencils
• black pen
• eraser
• sharpener
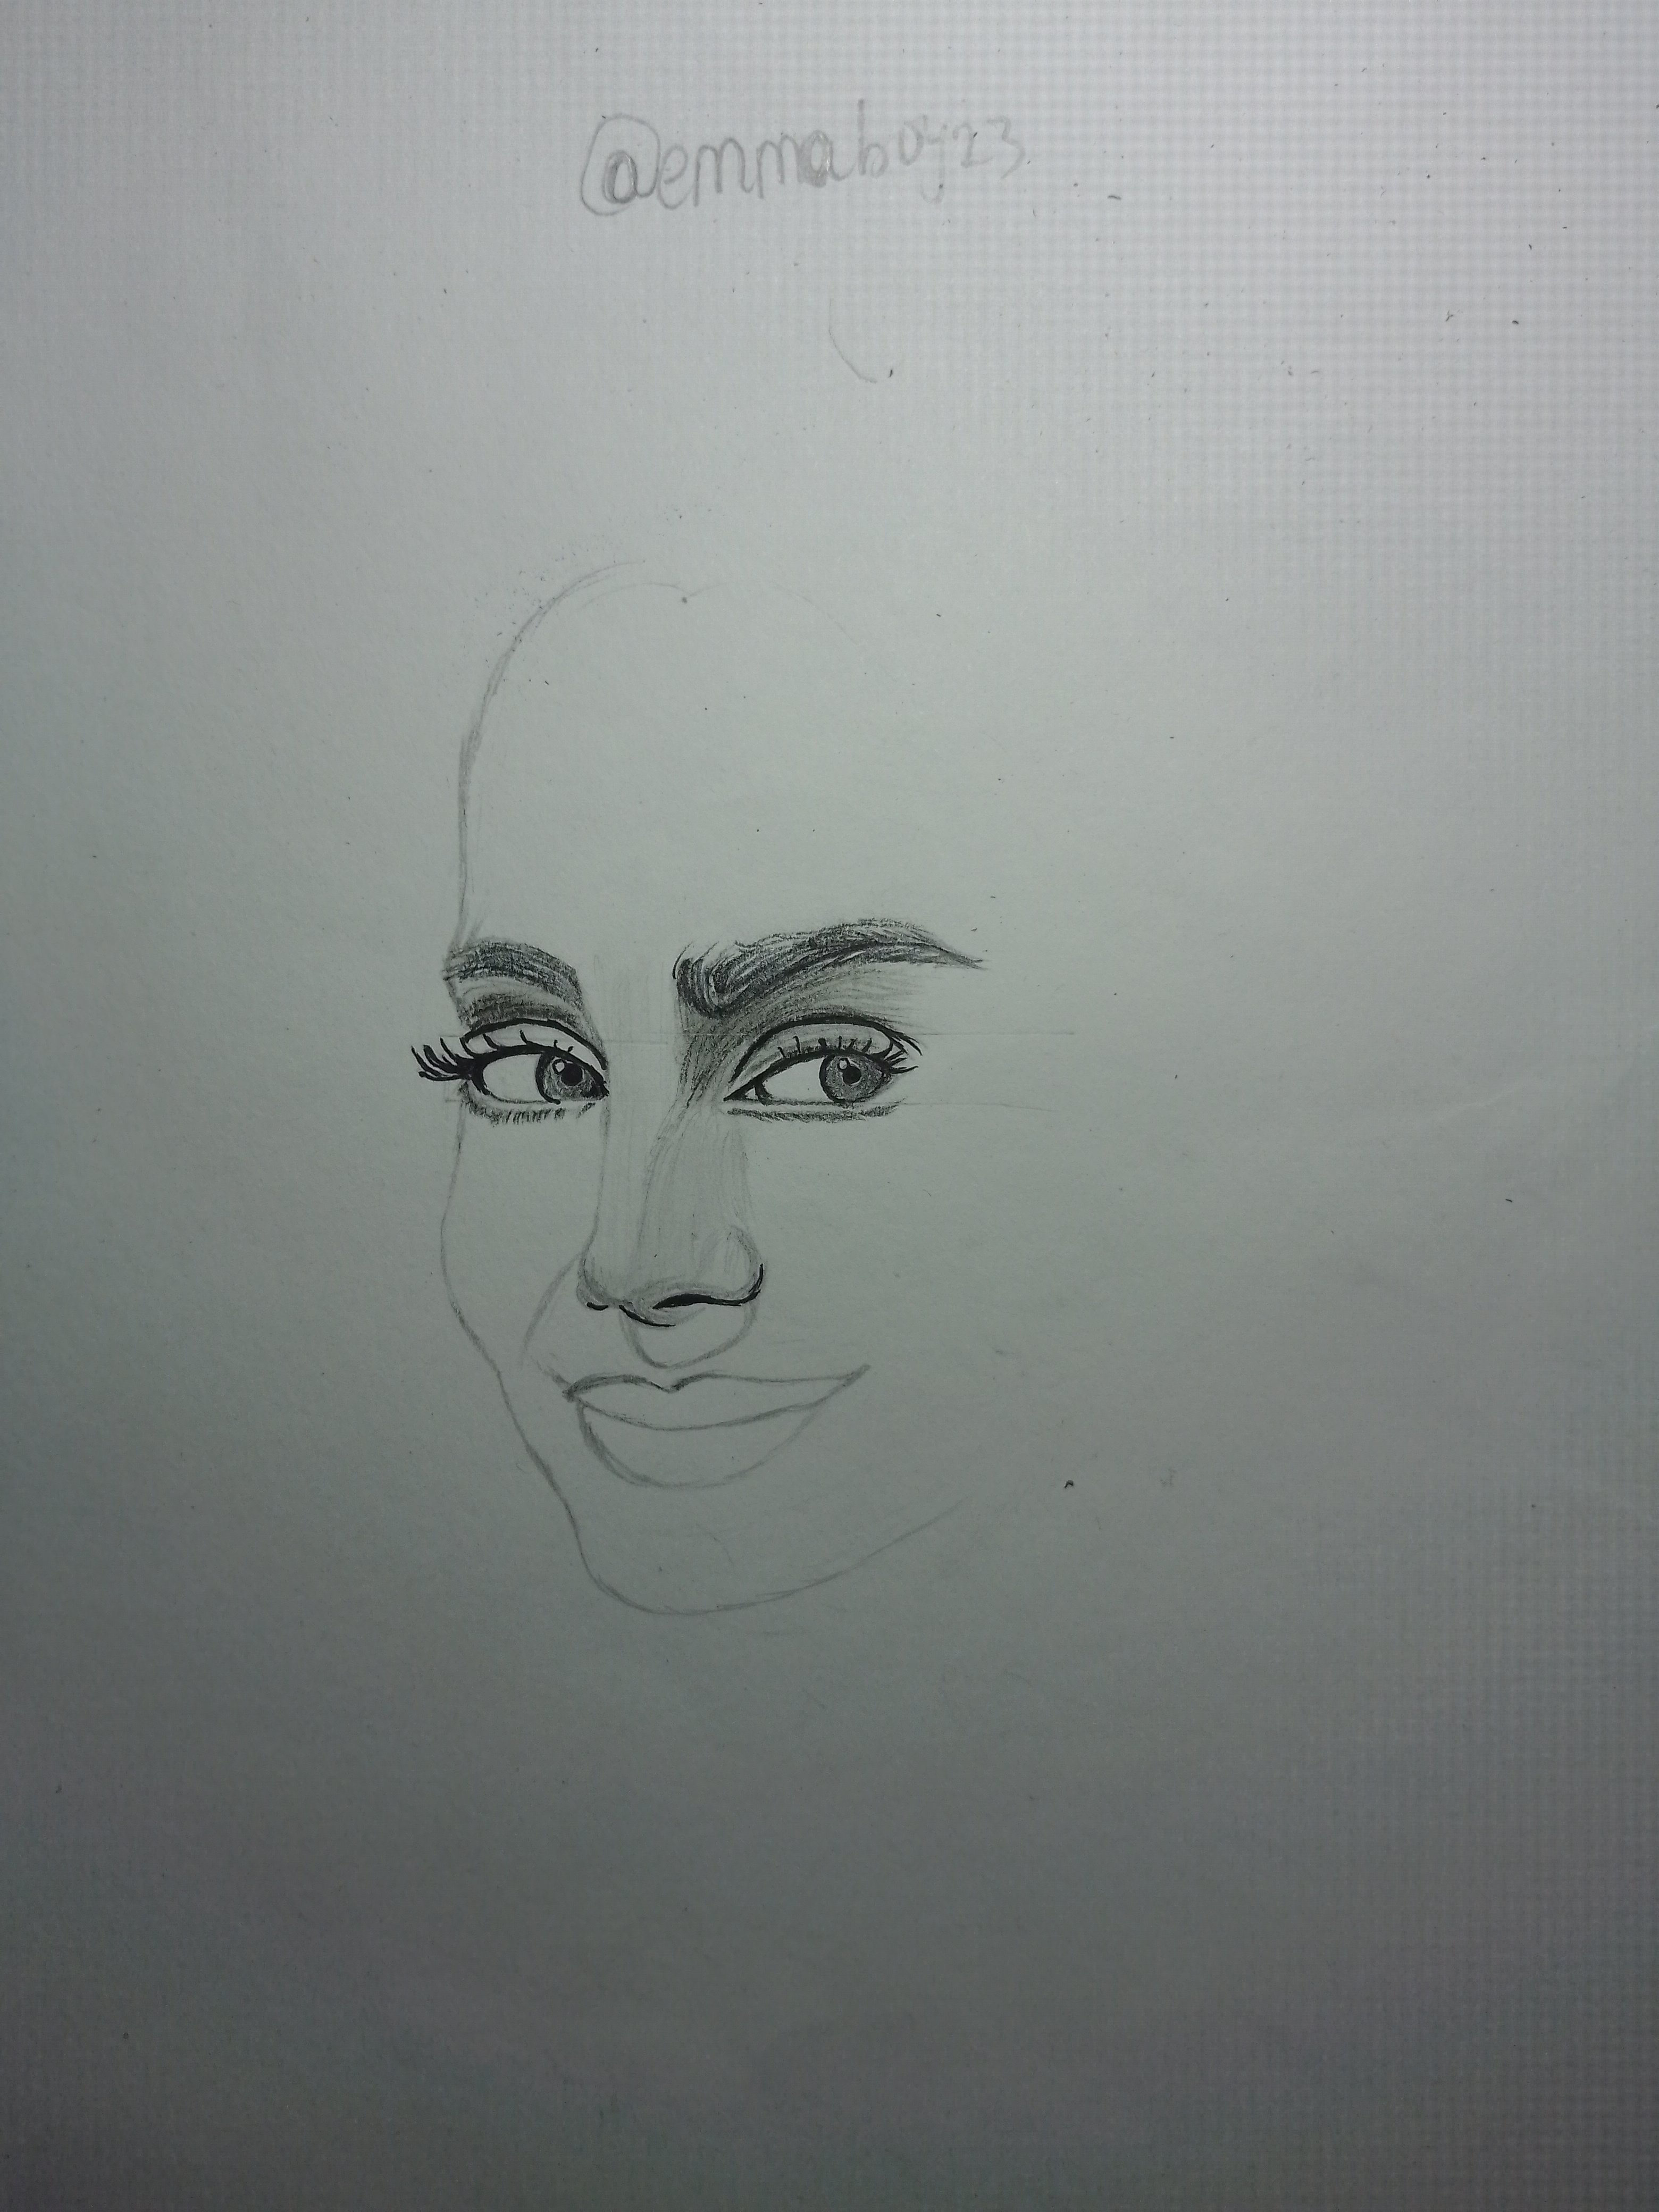
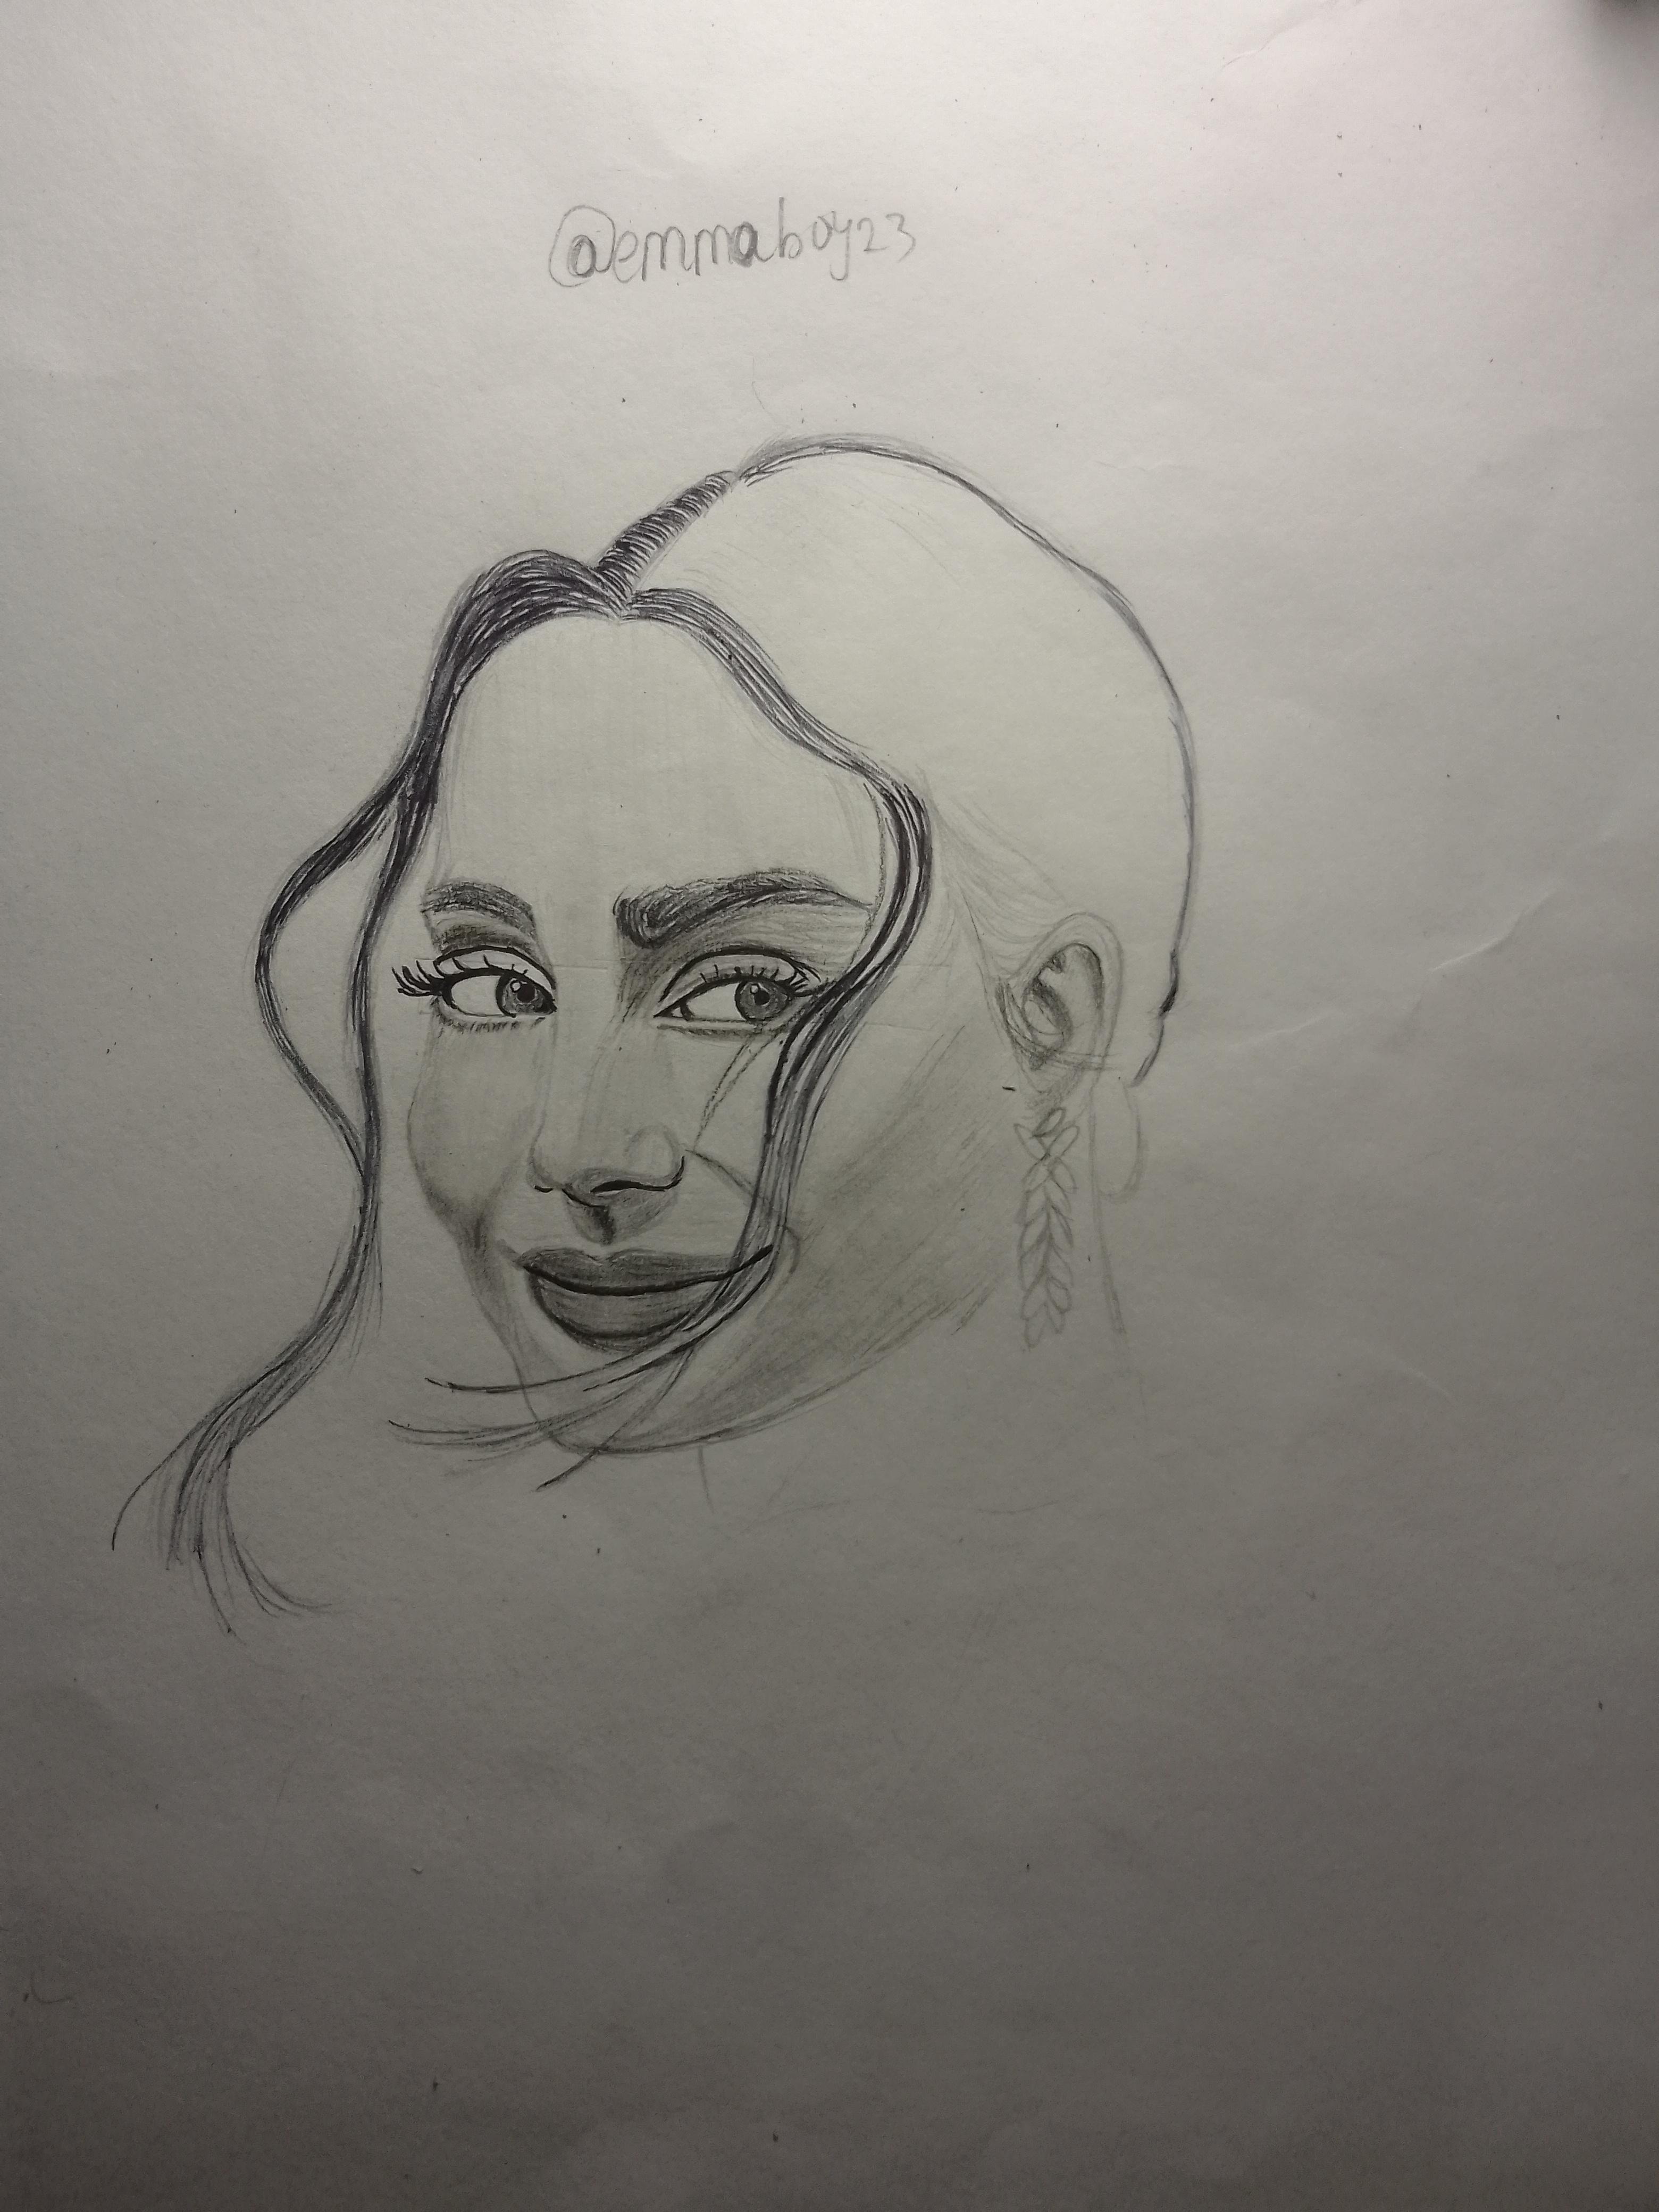
Step 1
First I started with the eyes. This is where the drawing truly began to feel alive. I carefully shaped the upper and lower eyelids, then added the pupils and a soft highlight to give them a gentle sparkle. The lashes were drawn with small, upward strokes, and the eyebrows were built up gradually with short, hair-like lines.
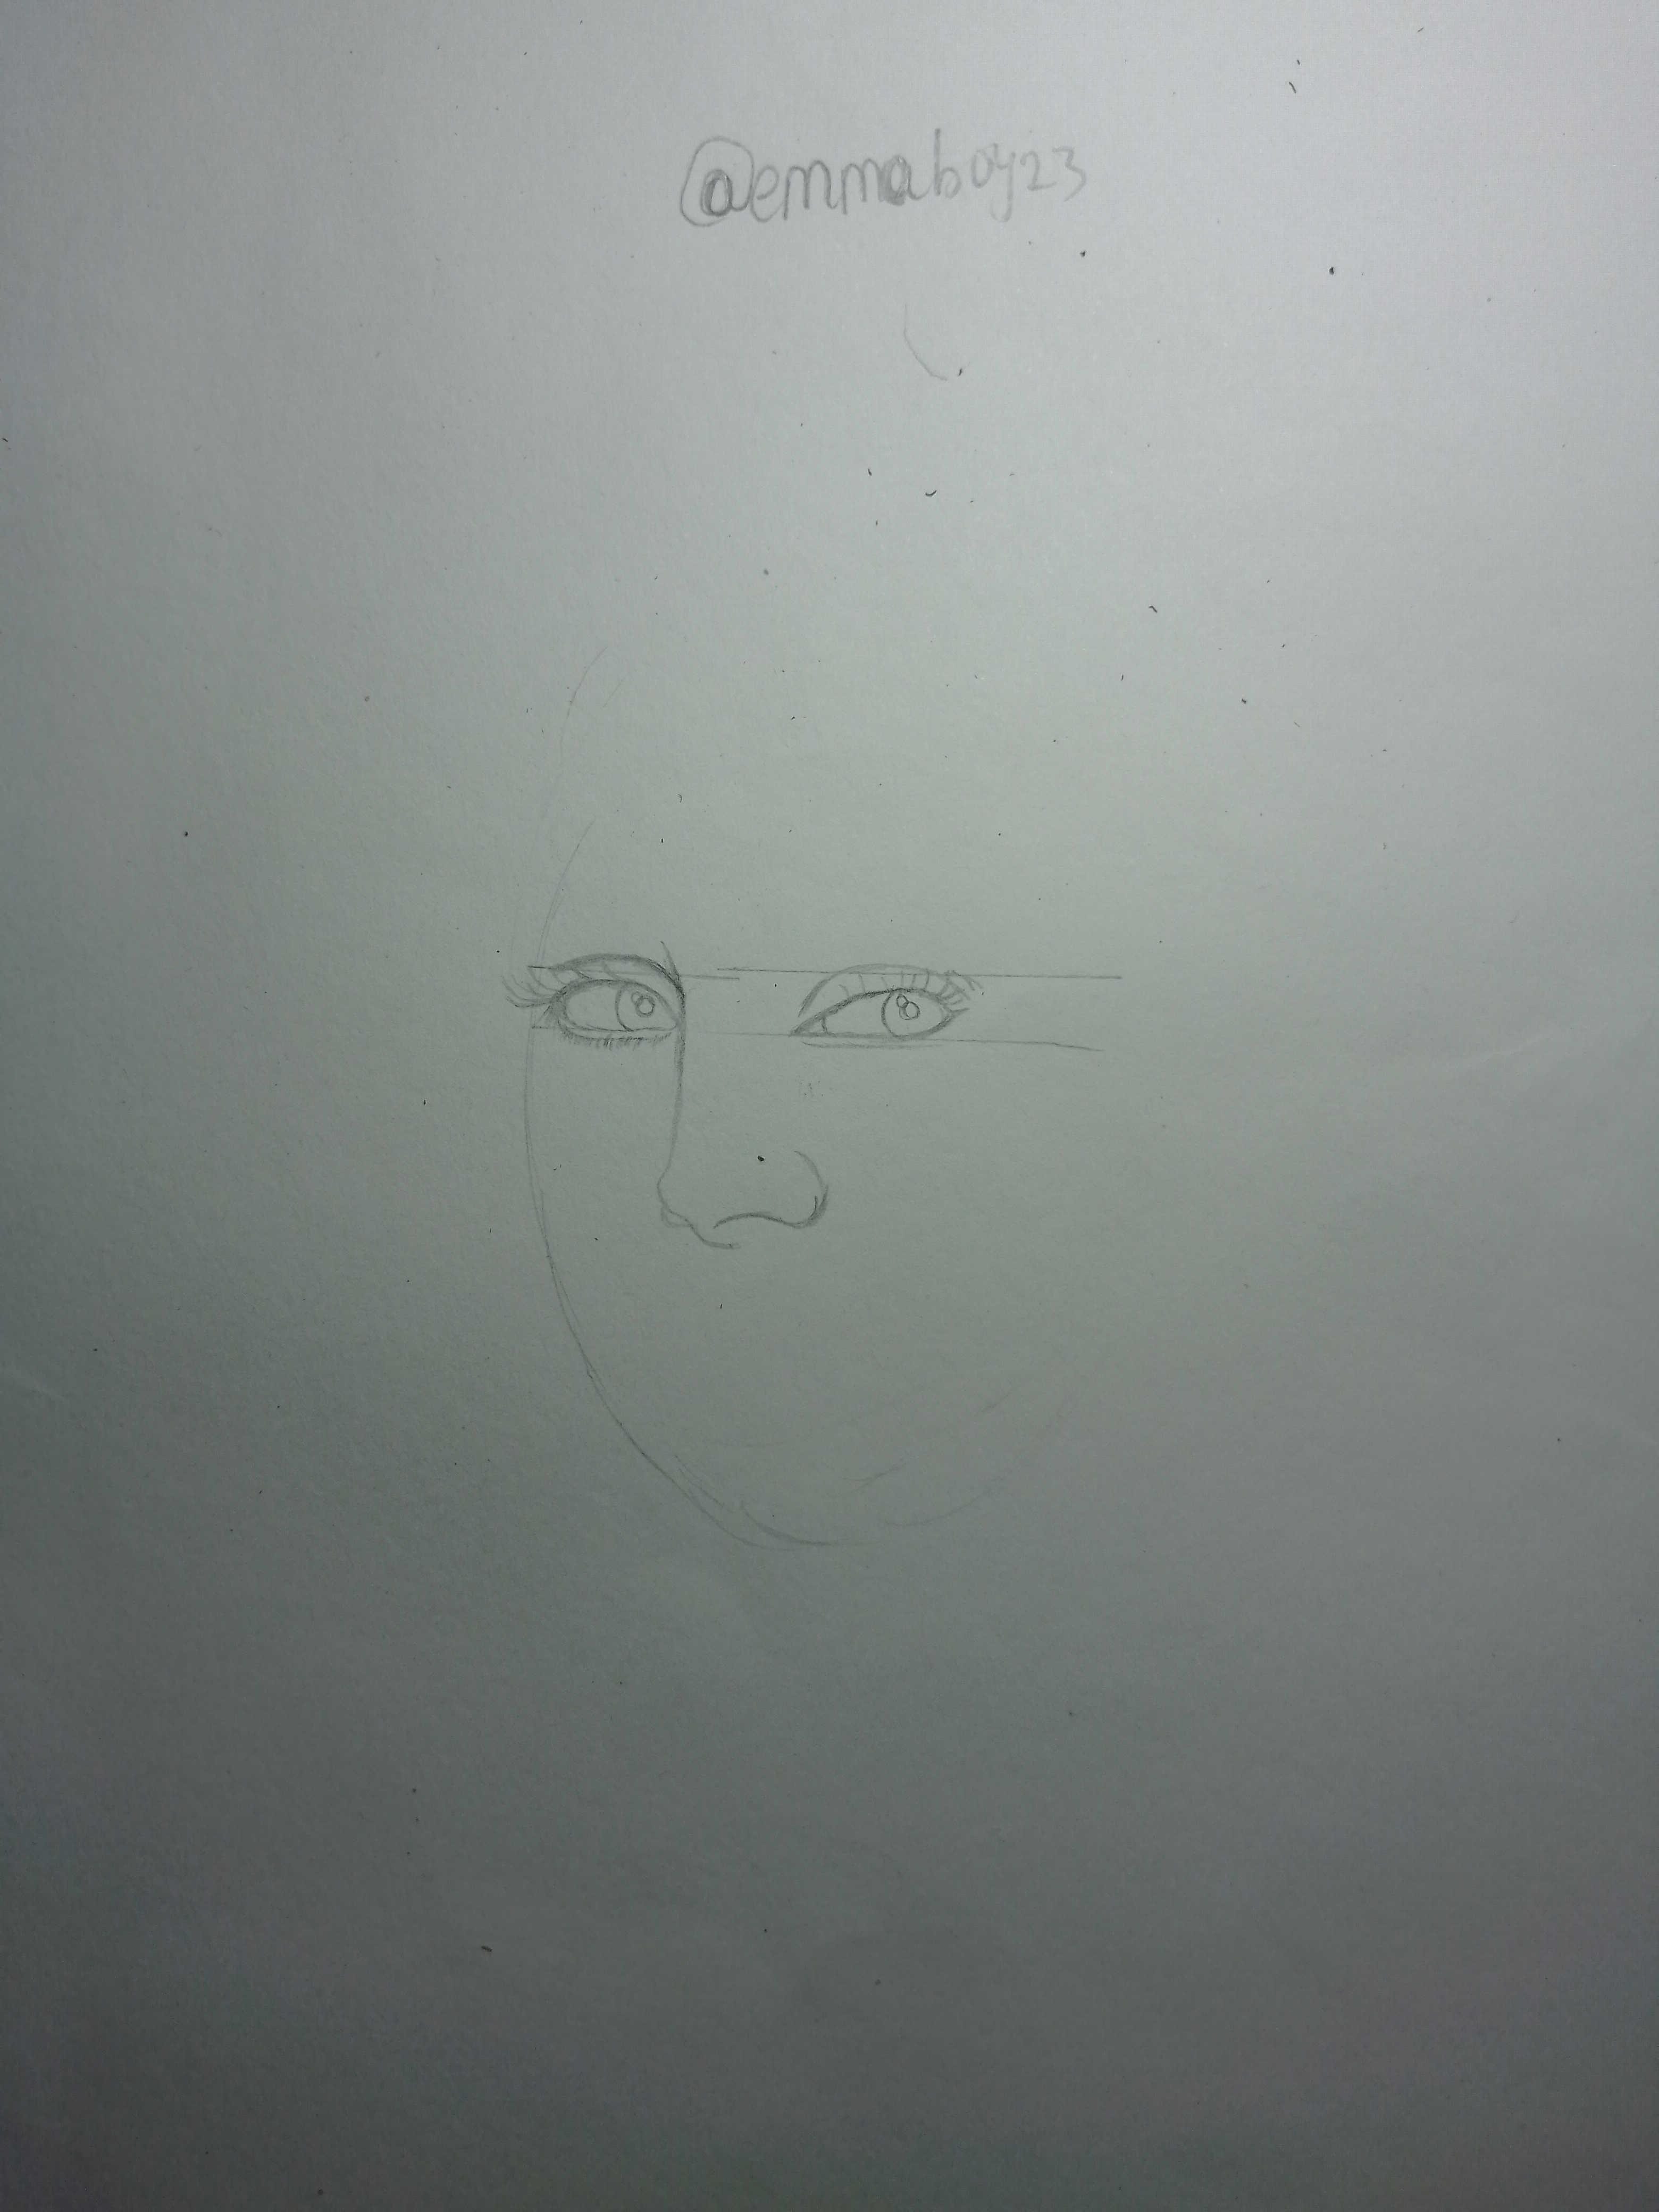
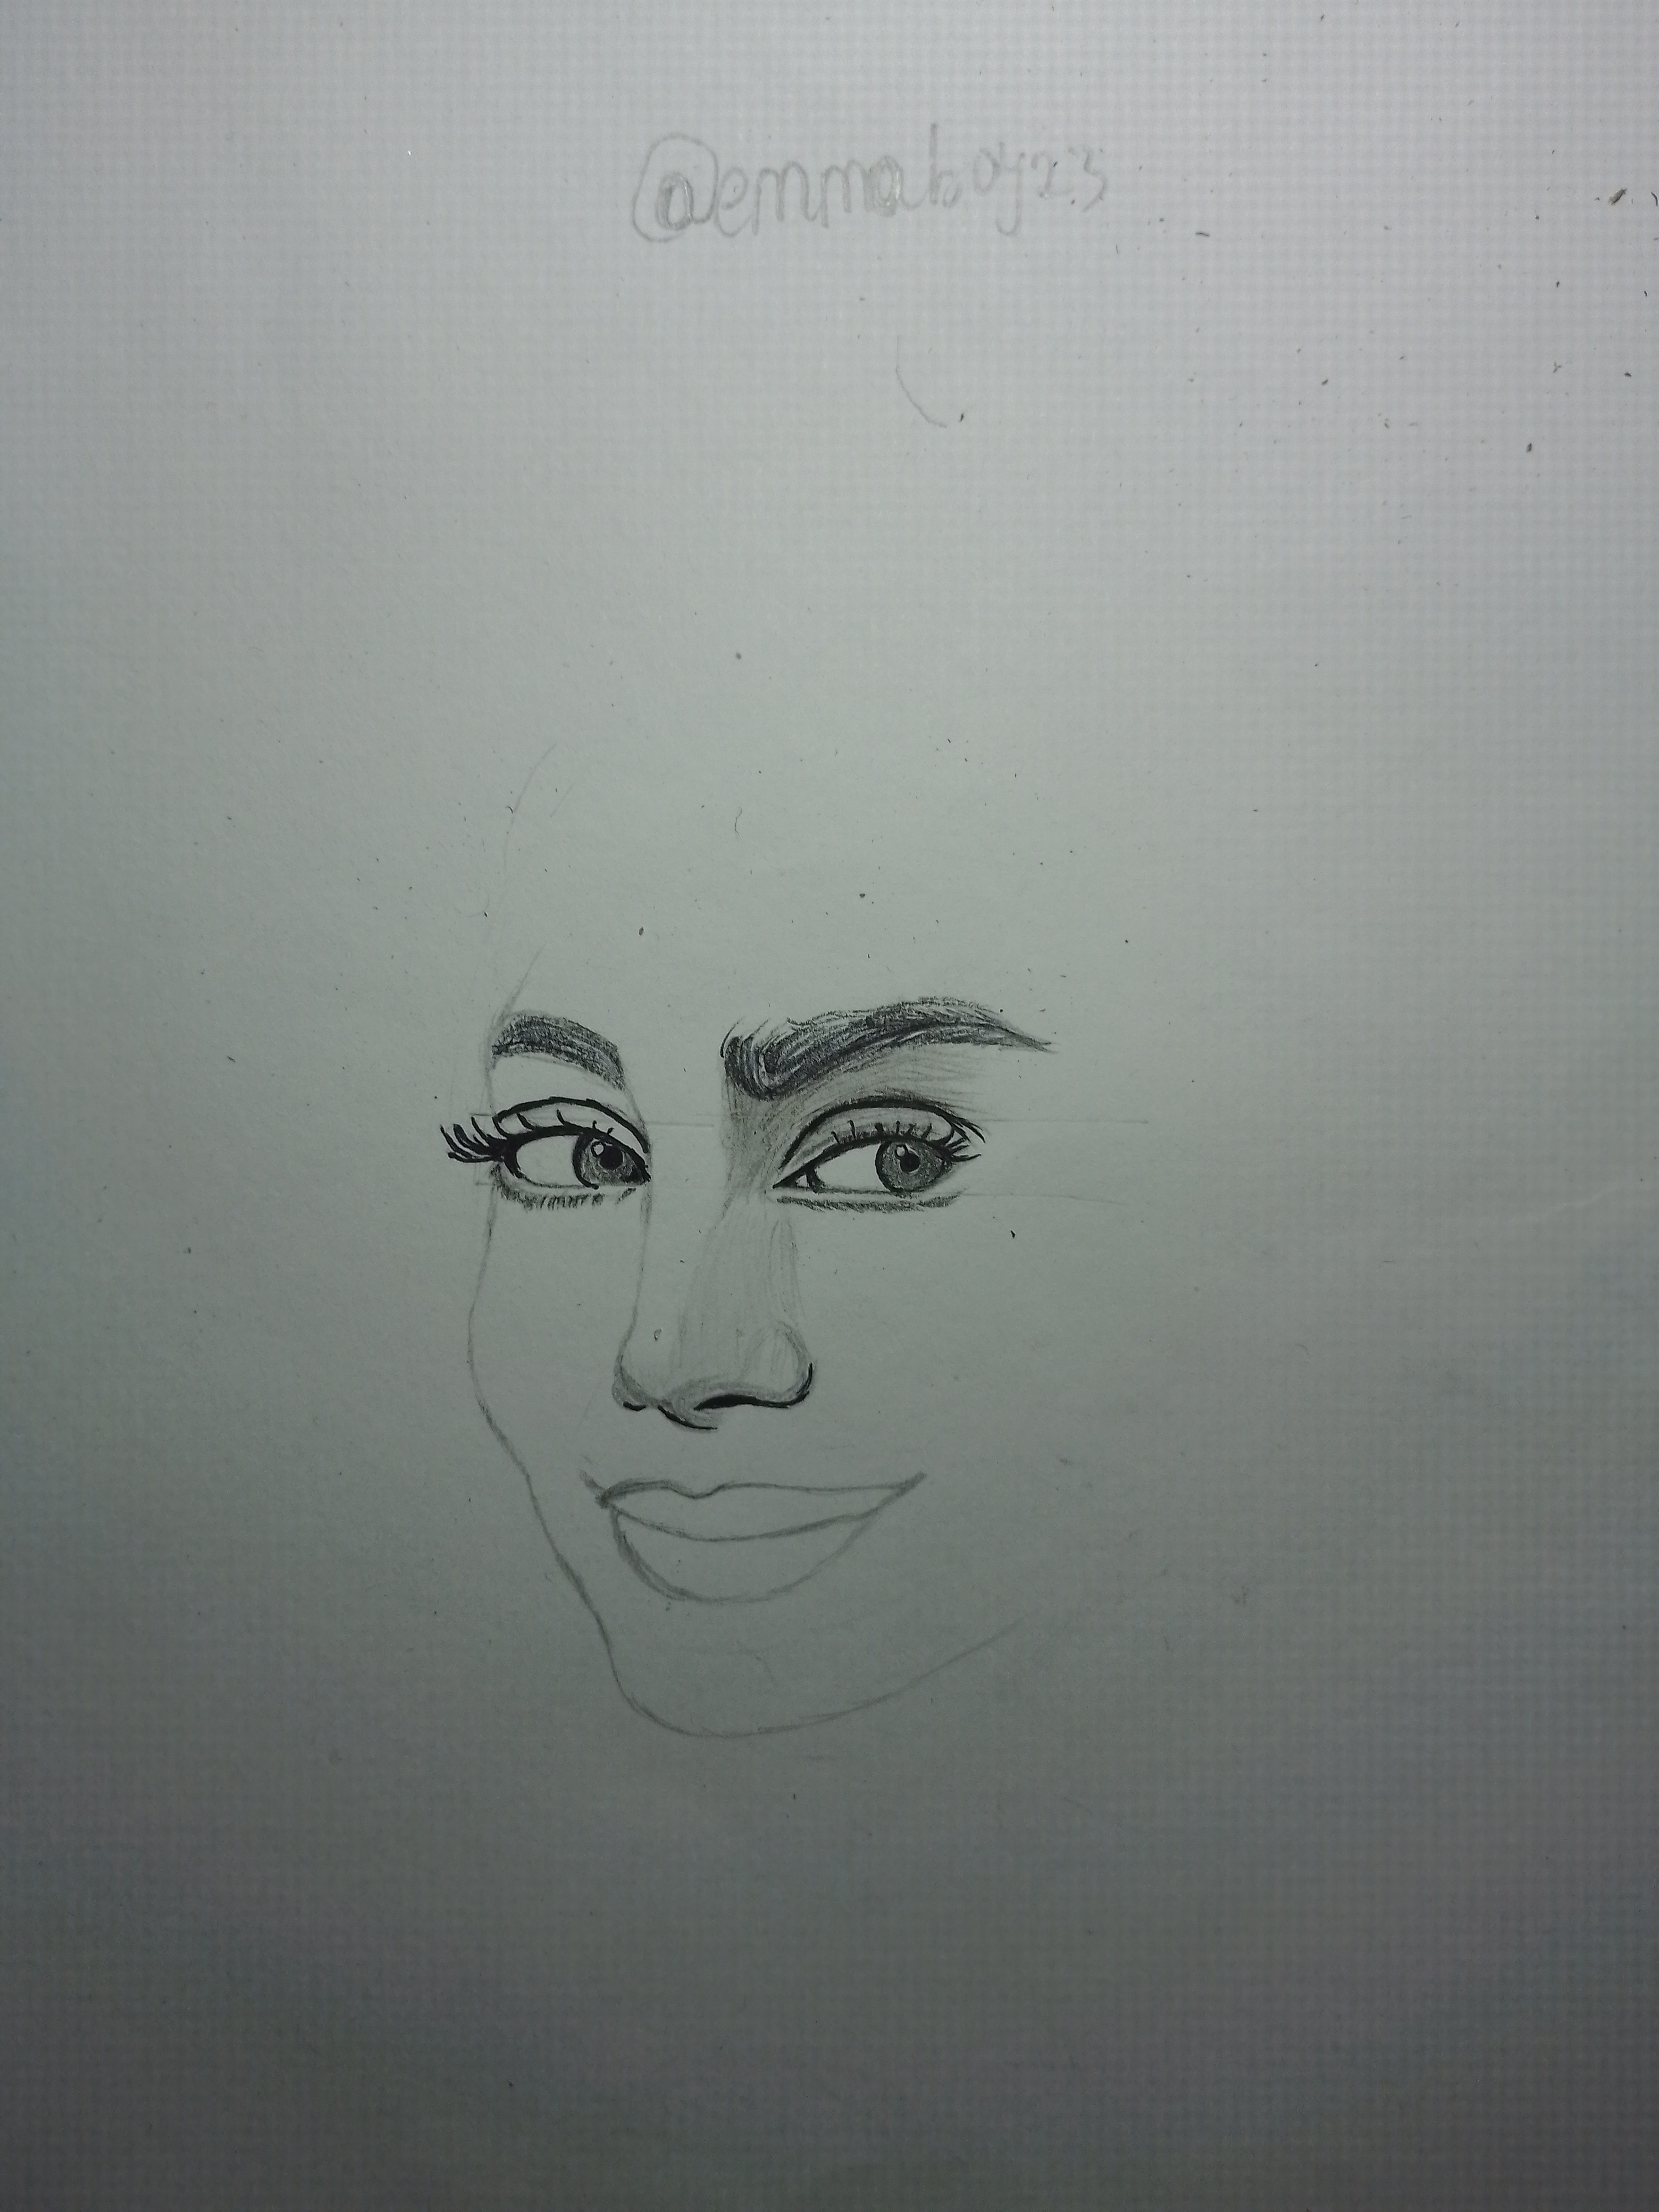
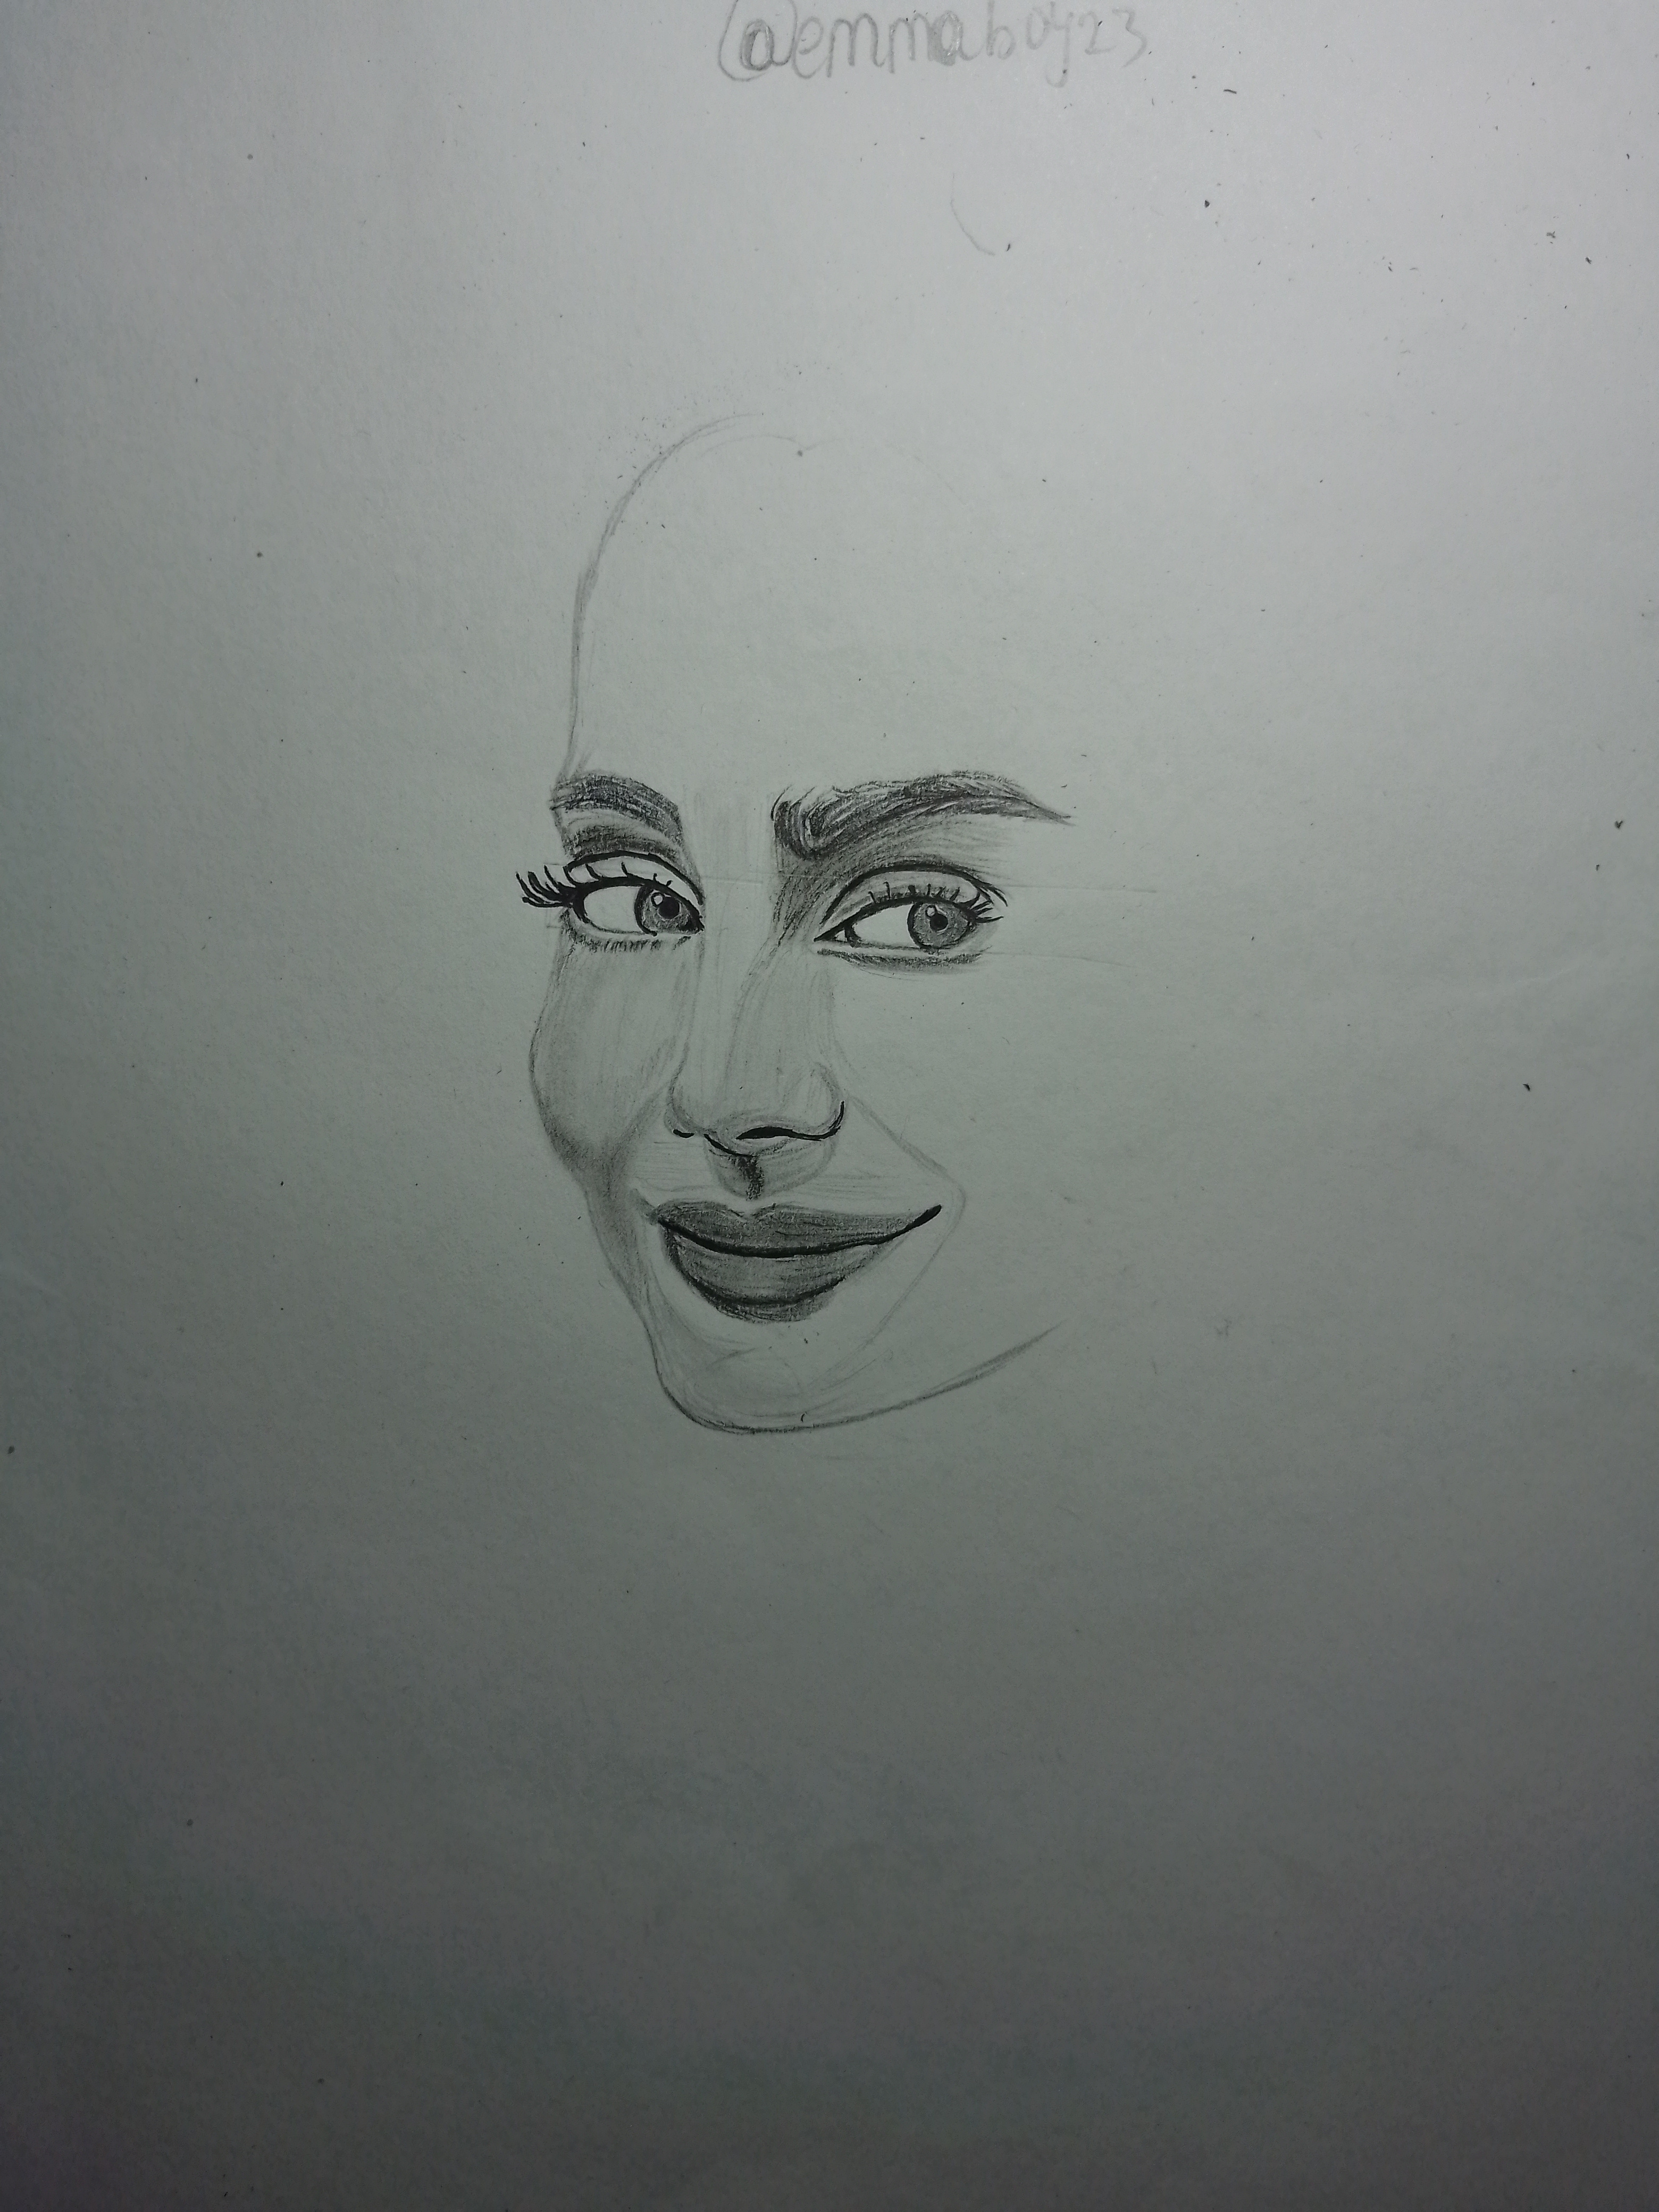
Step 2
After that, I moved on to the nose. Instead of using bold outlines, I relied mostly on shading. I added soft shadows around the sides of the nose to show depth and structure. This technique made the nose appear smoother and more natural. Then I shaped the lips, carefully defining the edges and adding gentle shading between them.
Step 3
Next I shaded the face and also sketched the shape of the hair as well.
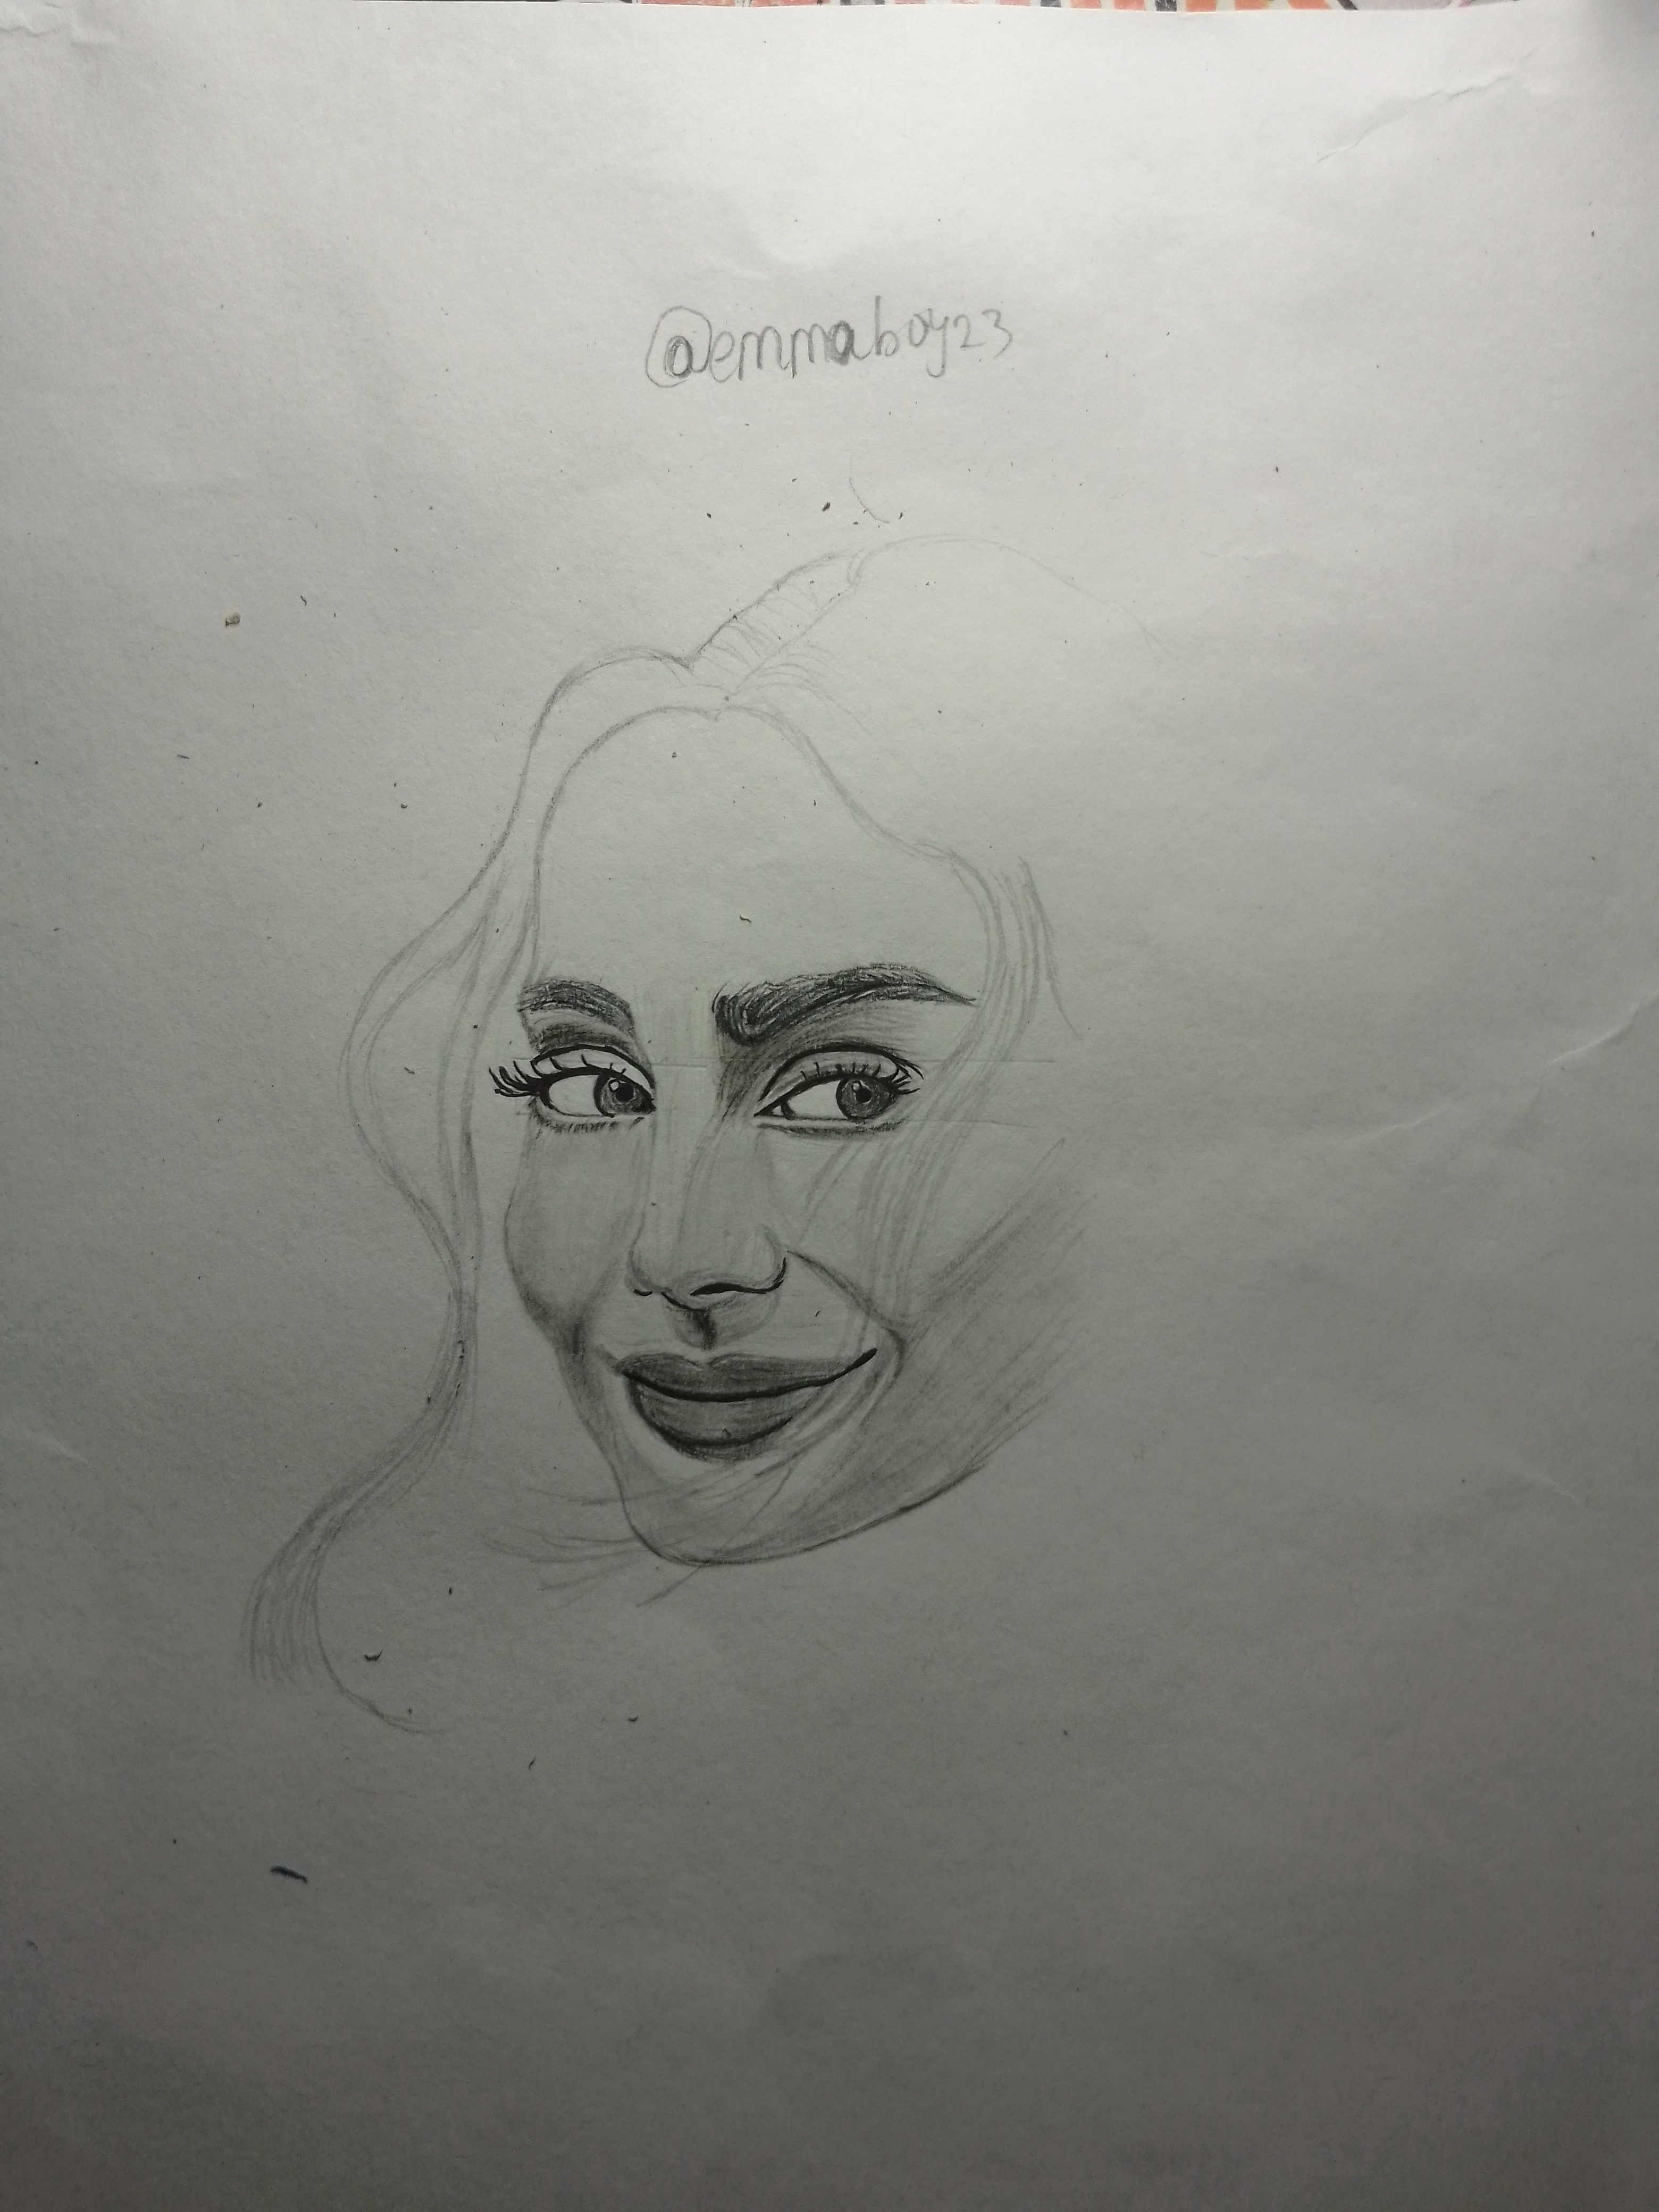
Step 4
Next was the hair. The hair was created by following its natural flow. I studied the direction in which the strands fell and used long, smooth strokes to guide my pencil accordingly. I made the base of the hair slightly darker, then allowed the strands to become lighter toward the ends.
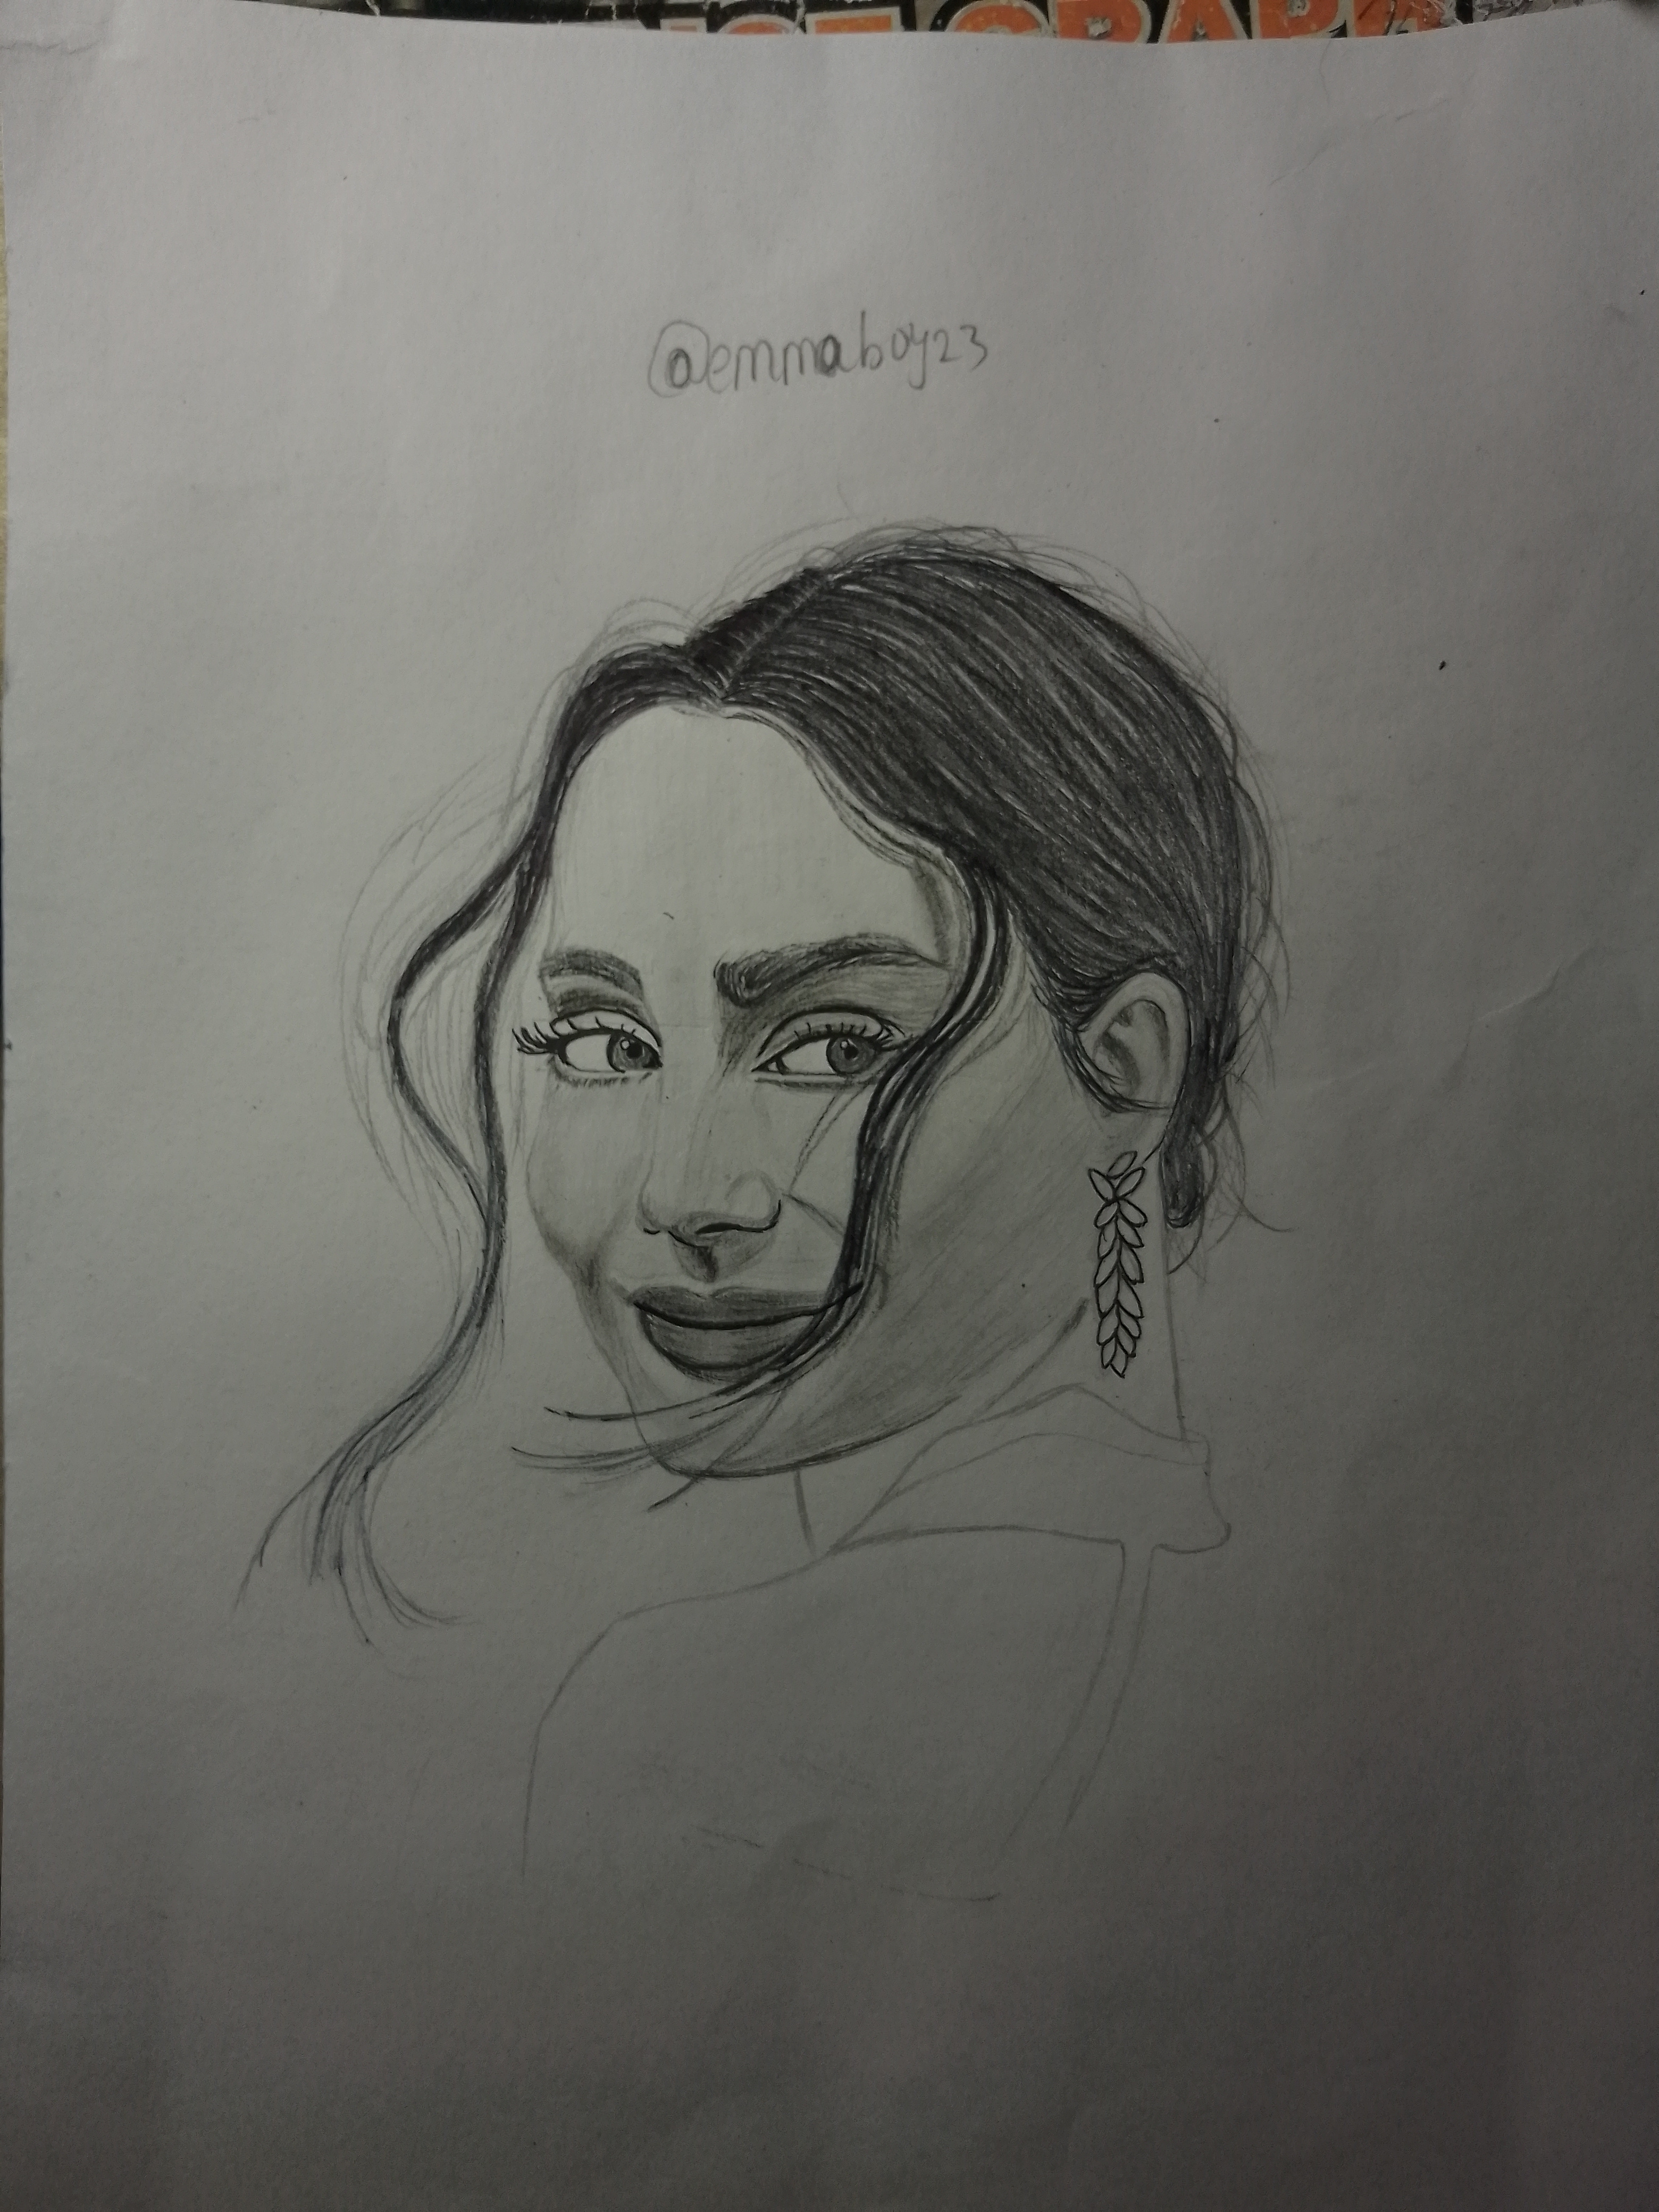
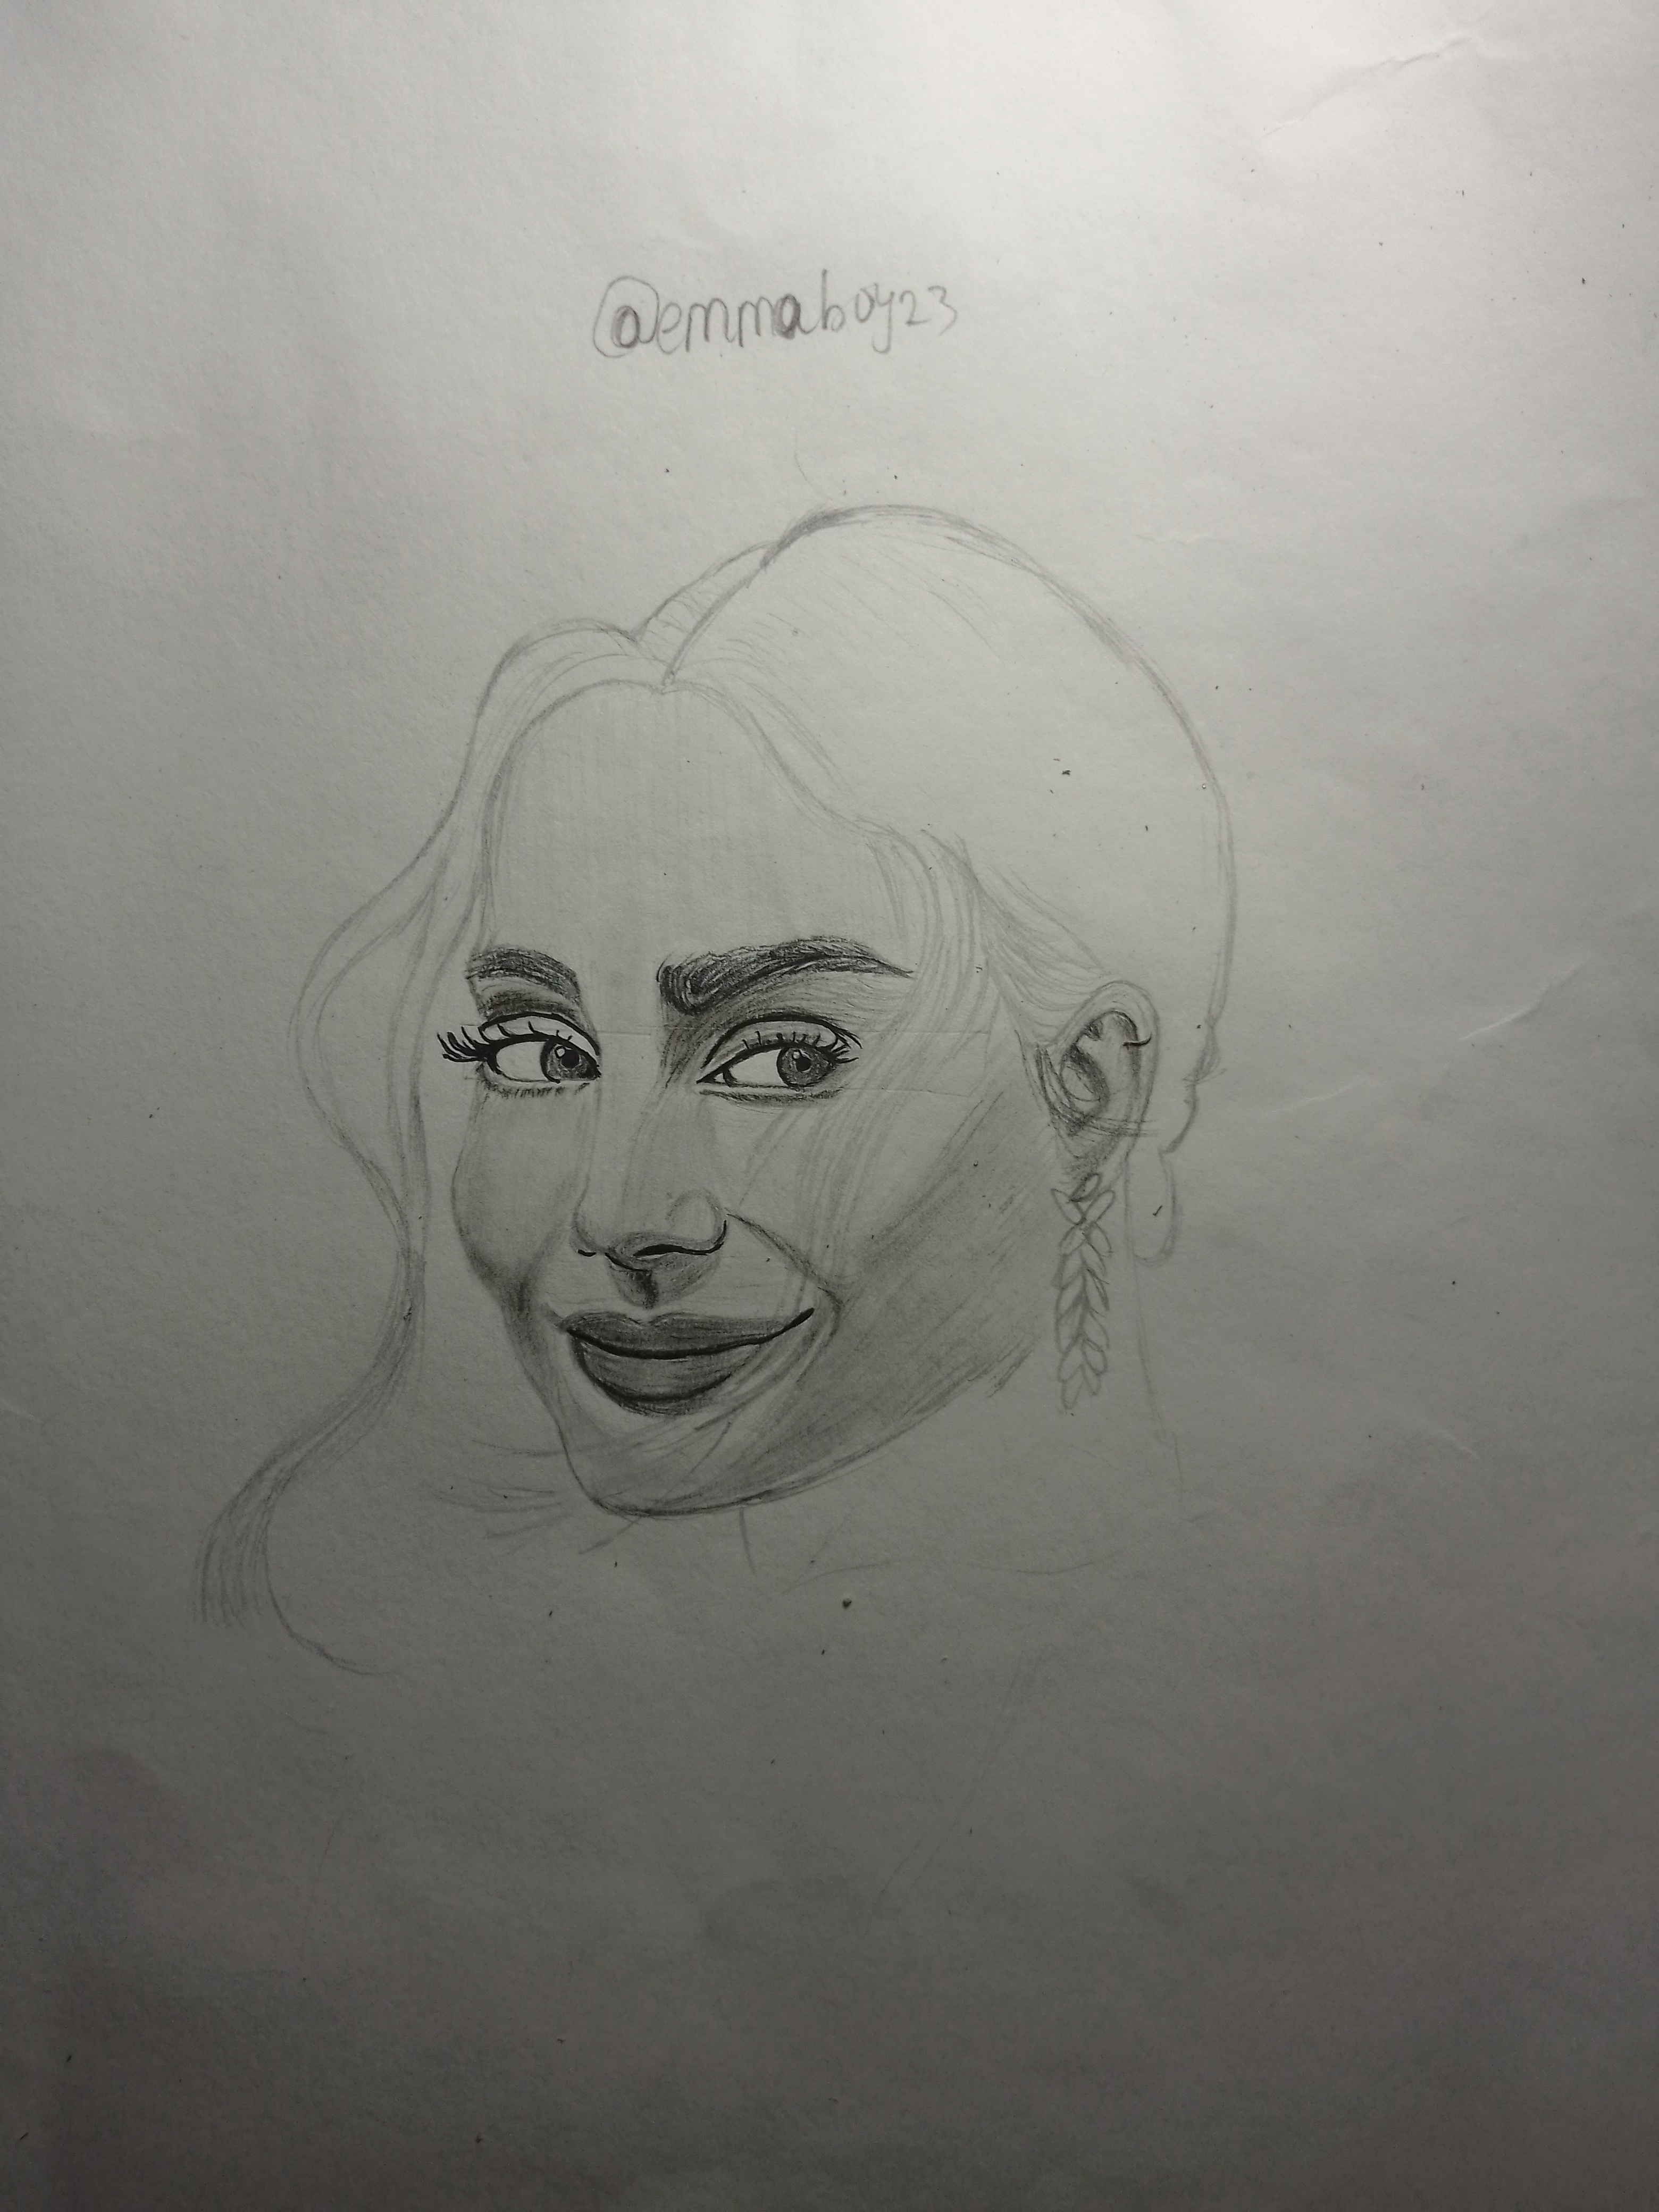
Step 5
After completing the facial details, I moved down to the neck, shoulder, and clothing. These areas were lightly shaded to support the main focus of the drawing, which is the face. I softened the edges and blended the shadows to ensure a smooth and natural finish.
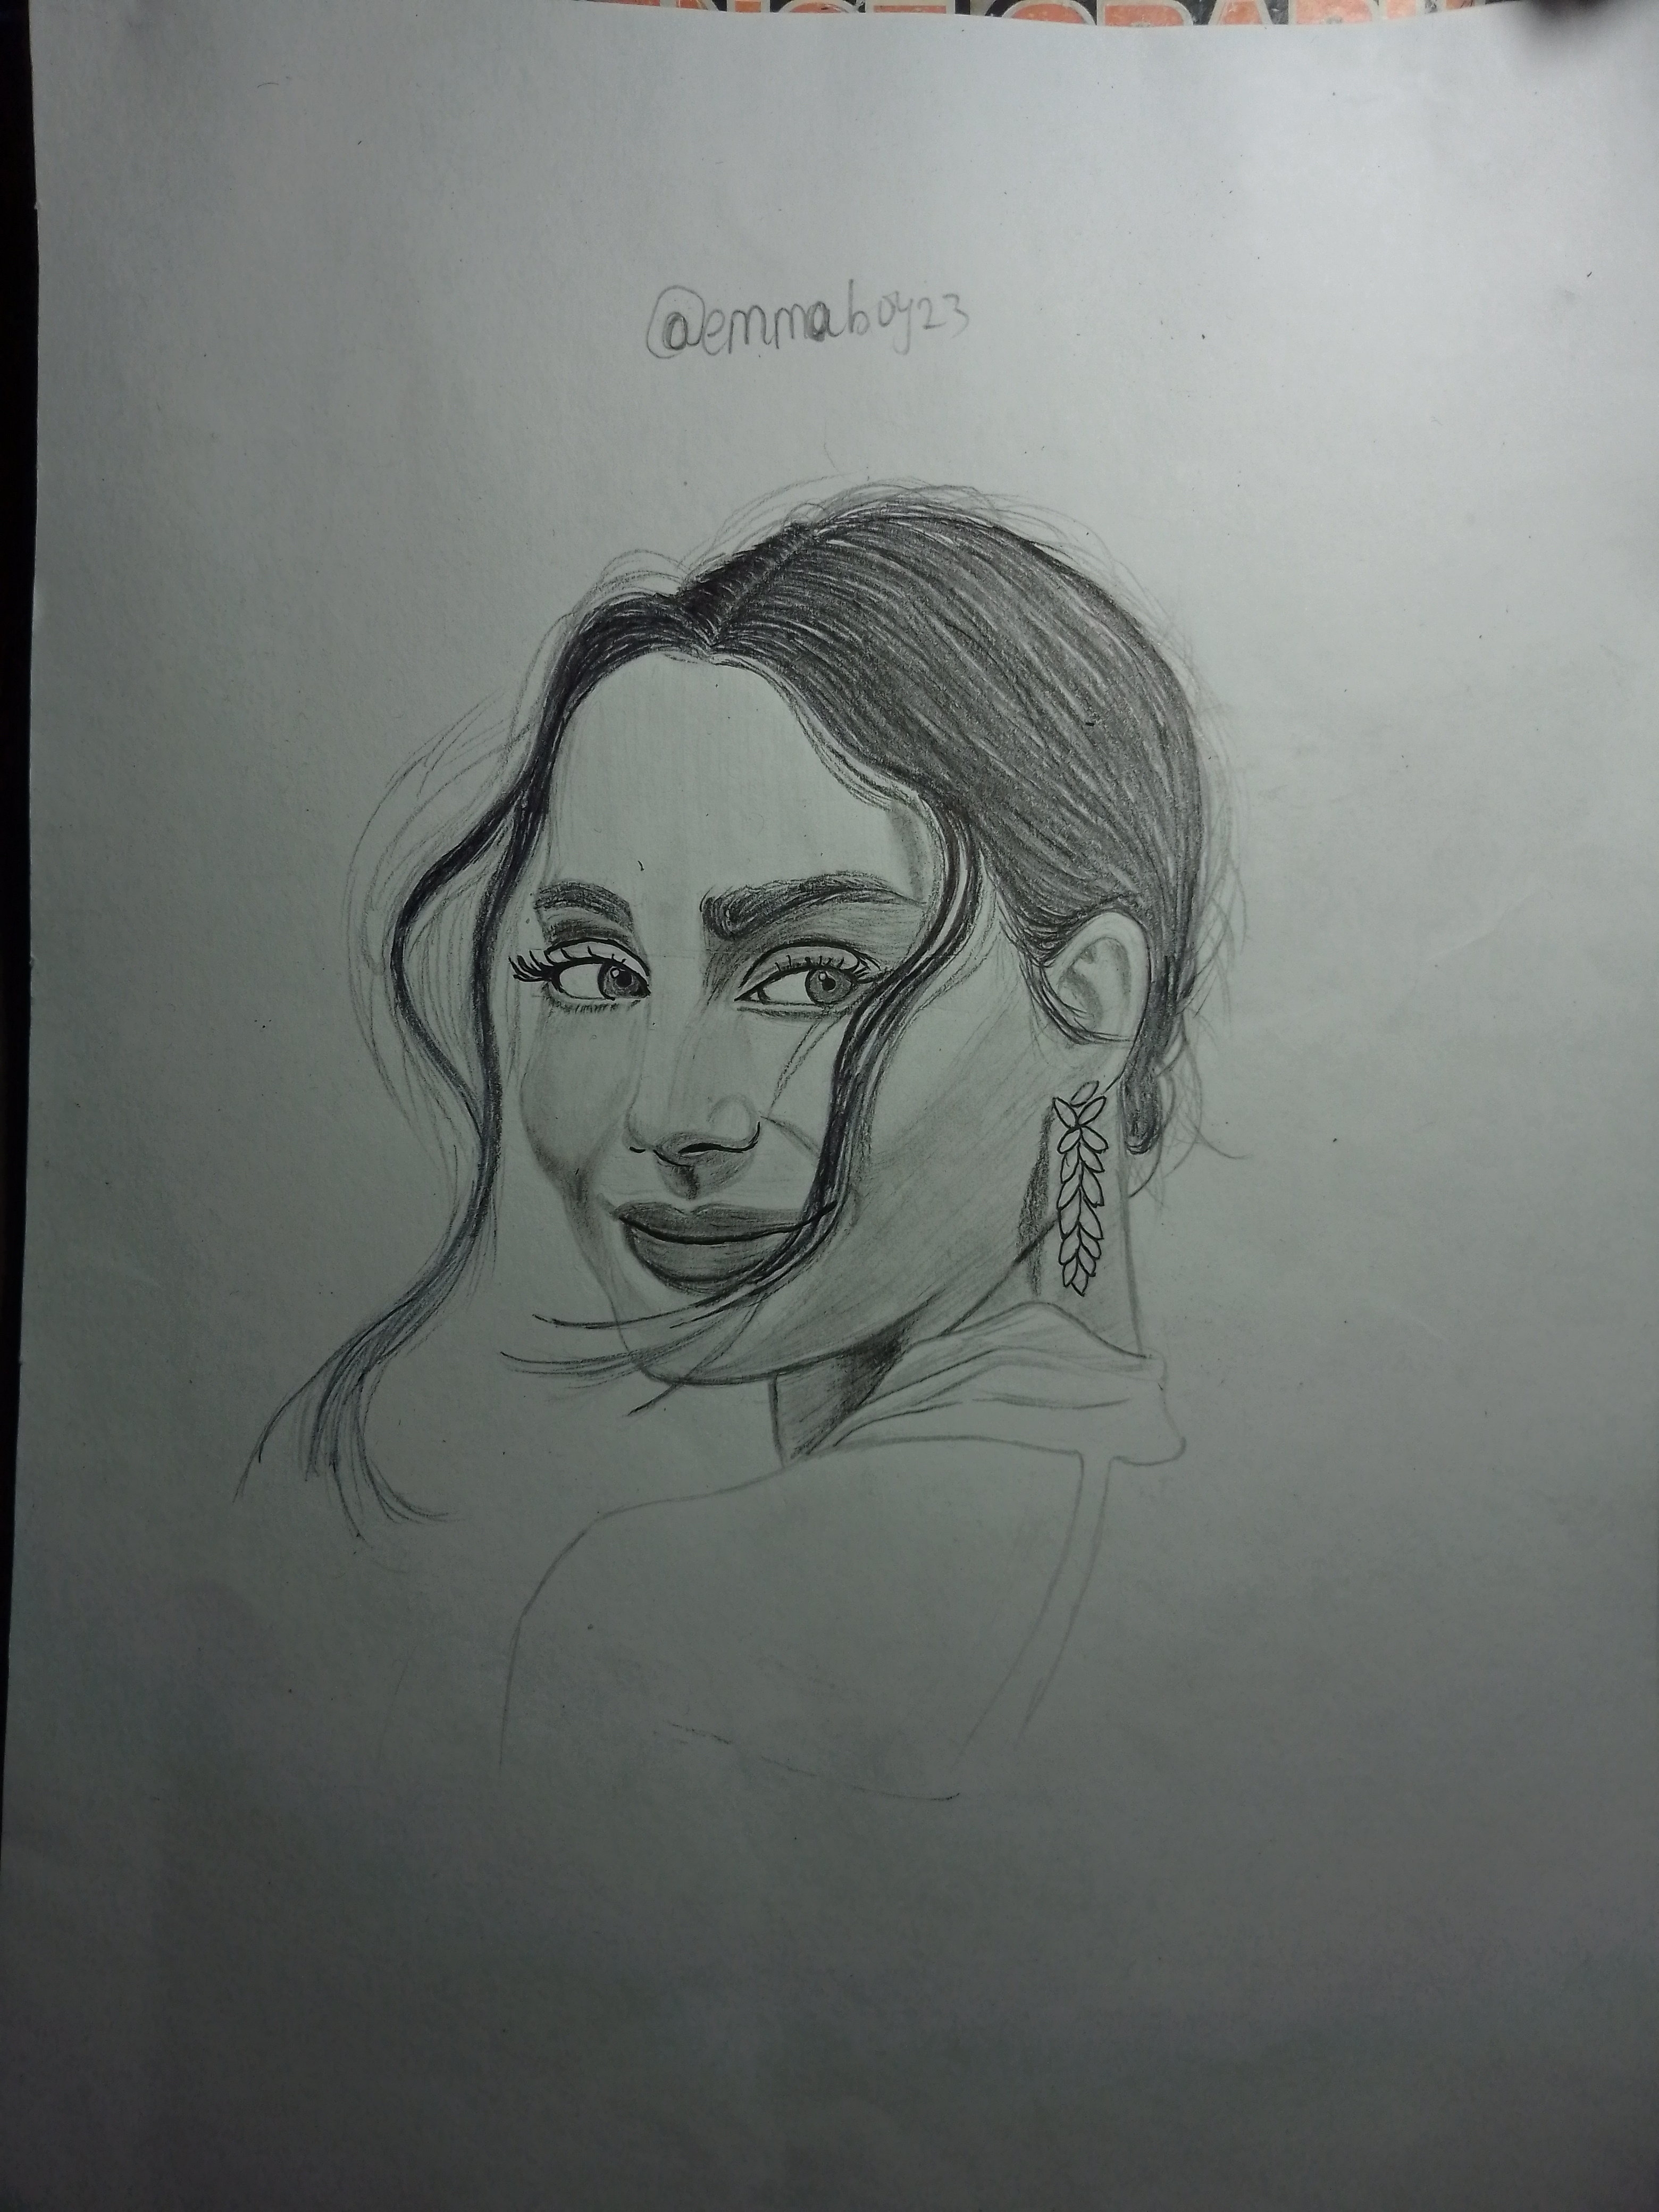
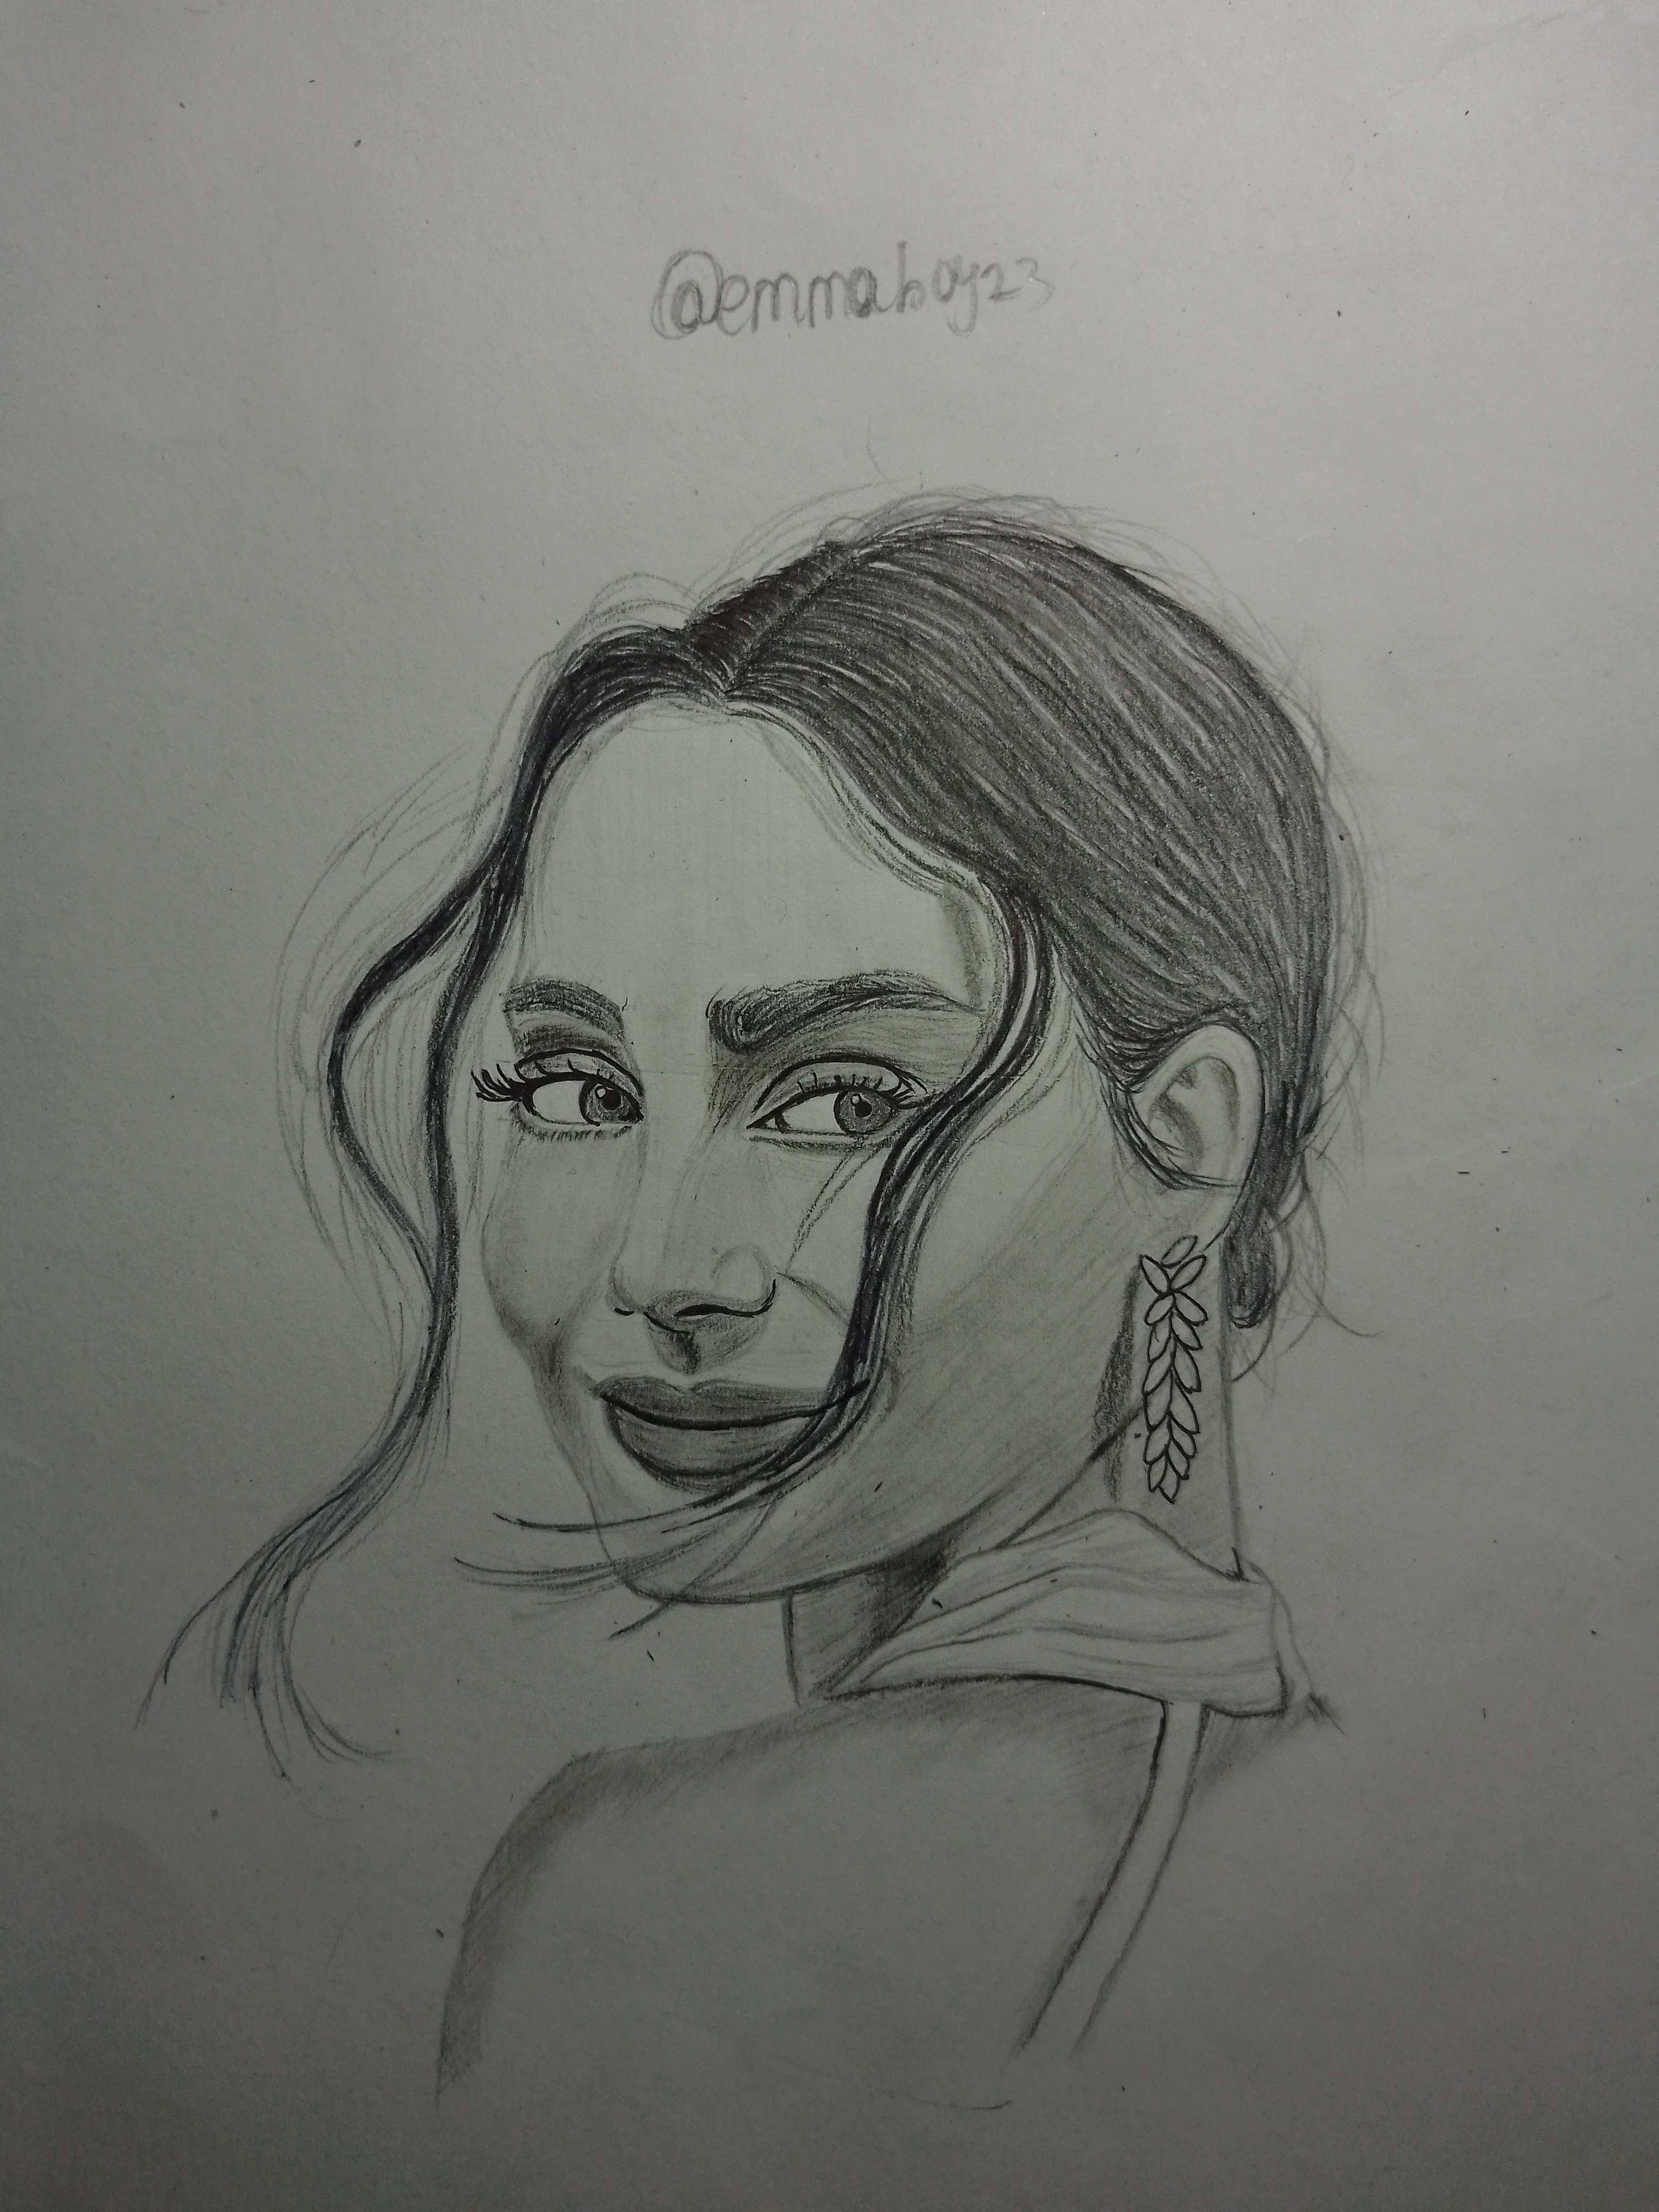
Step 6
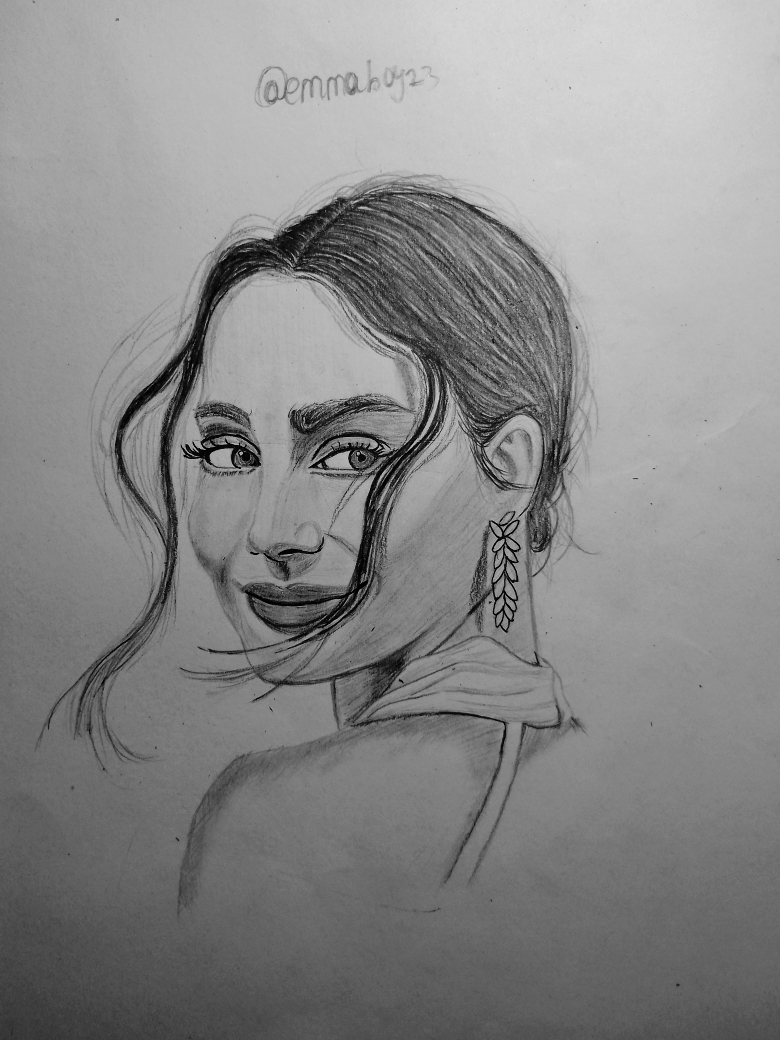
Next I refined my drawing and added details and contrast where necessary, and below is my final result.
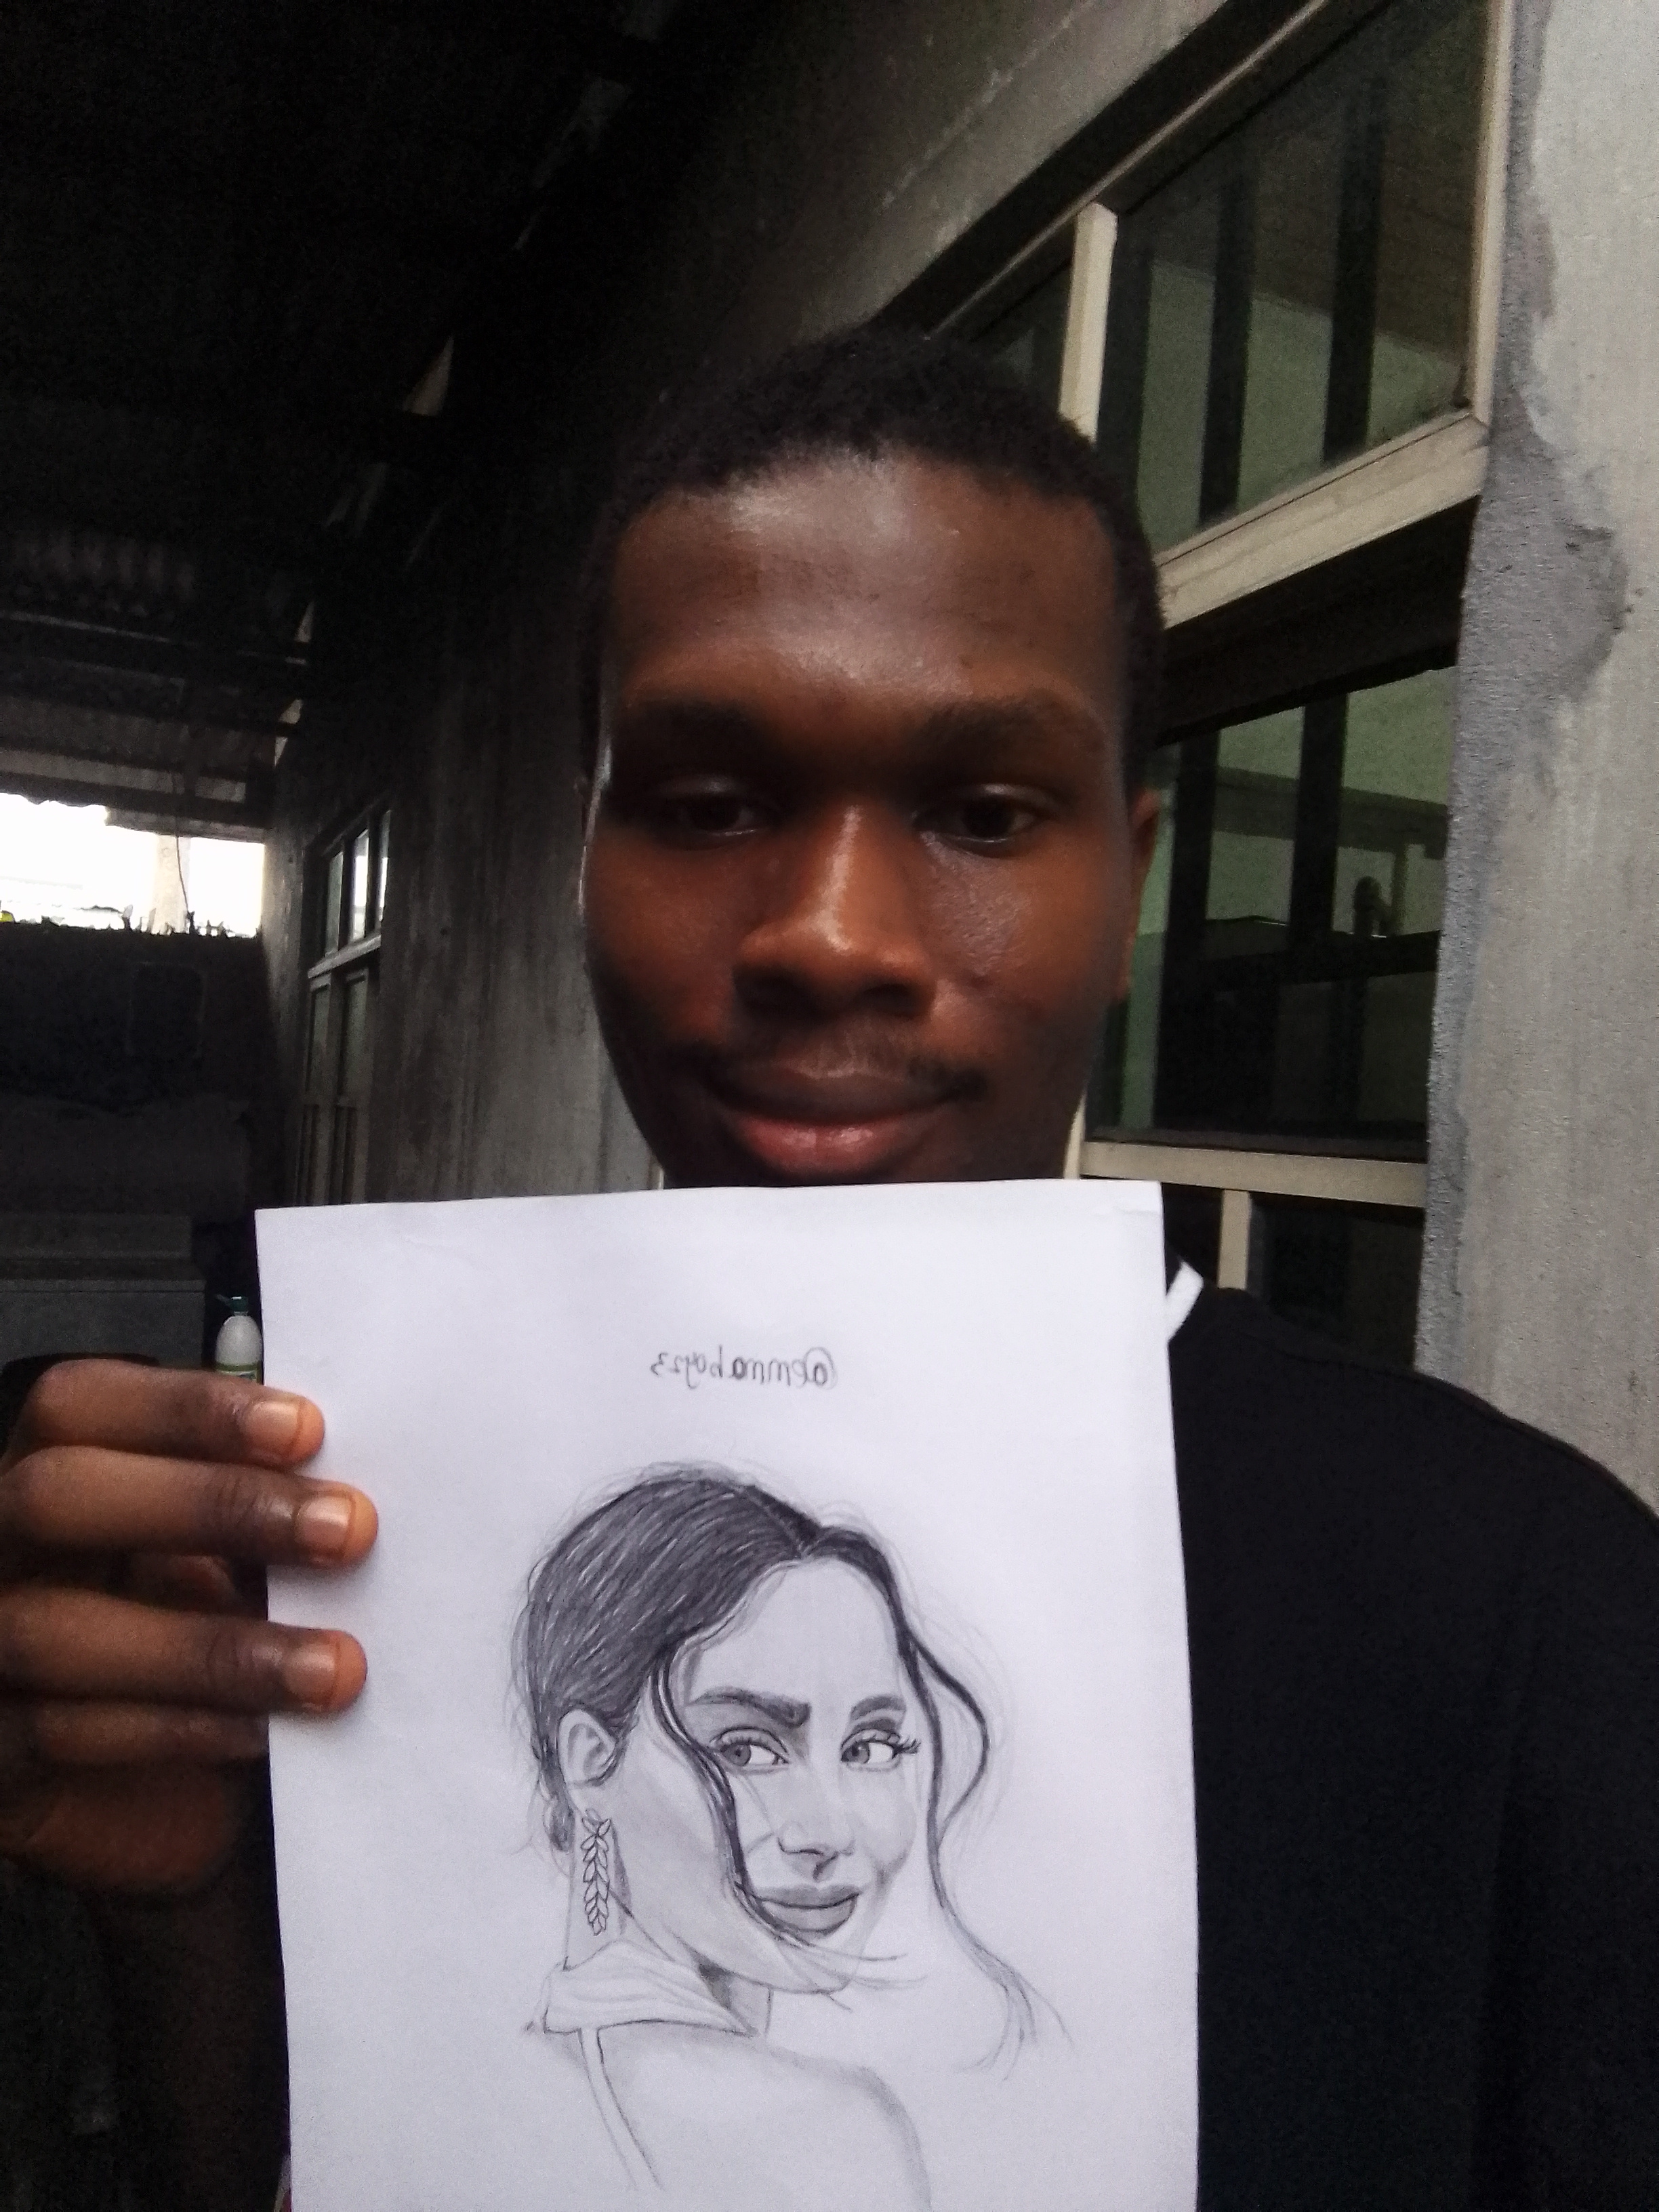
My selfie with my drawing
Thank you for reading. I’m grateful to be sharing my art with this community, and I look forward to growing further with every sketch I create. Thank you all, and have a nice day.
Inviting
THANKS FOR YOUR TIME
Posted with Speem
My Twitter promotion link
https://twitter.com/emmaboy23/status/1997906453303046314?t=PqAMO0ICzuu3OTIhOY7pIg&s=19
"Great post! I really like your ideas."
Hi friend
#play
Speem Video Watcher Team @ninapenda
Your post have been rewarded by the Speak on Steem curator team!
Ways to support us:
Curated by @bijoy1
Thank you @bijoy1 for the support, I really appreciate it