Little Cat in a Cup — Step by step journey of my pencil drawing
Peace be upon you friends! 🌸
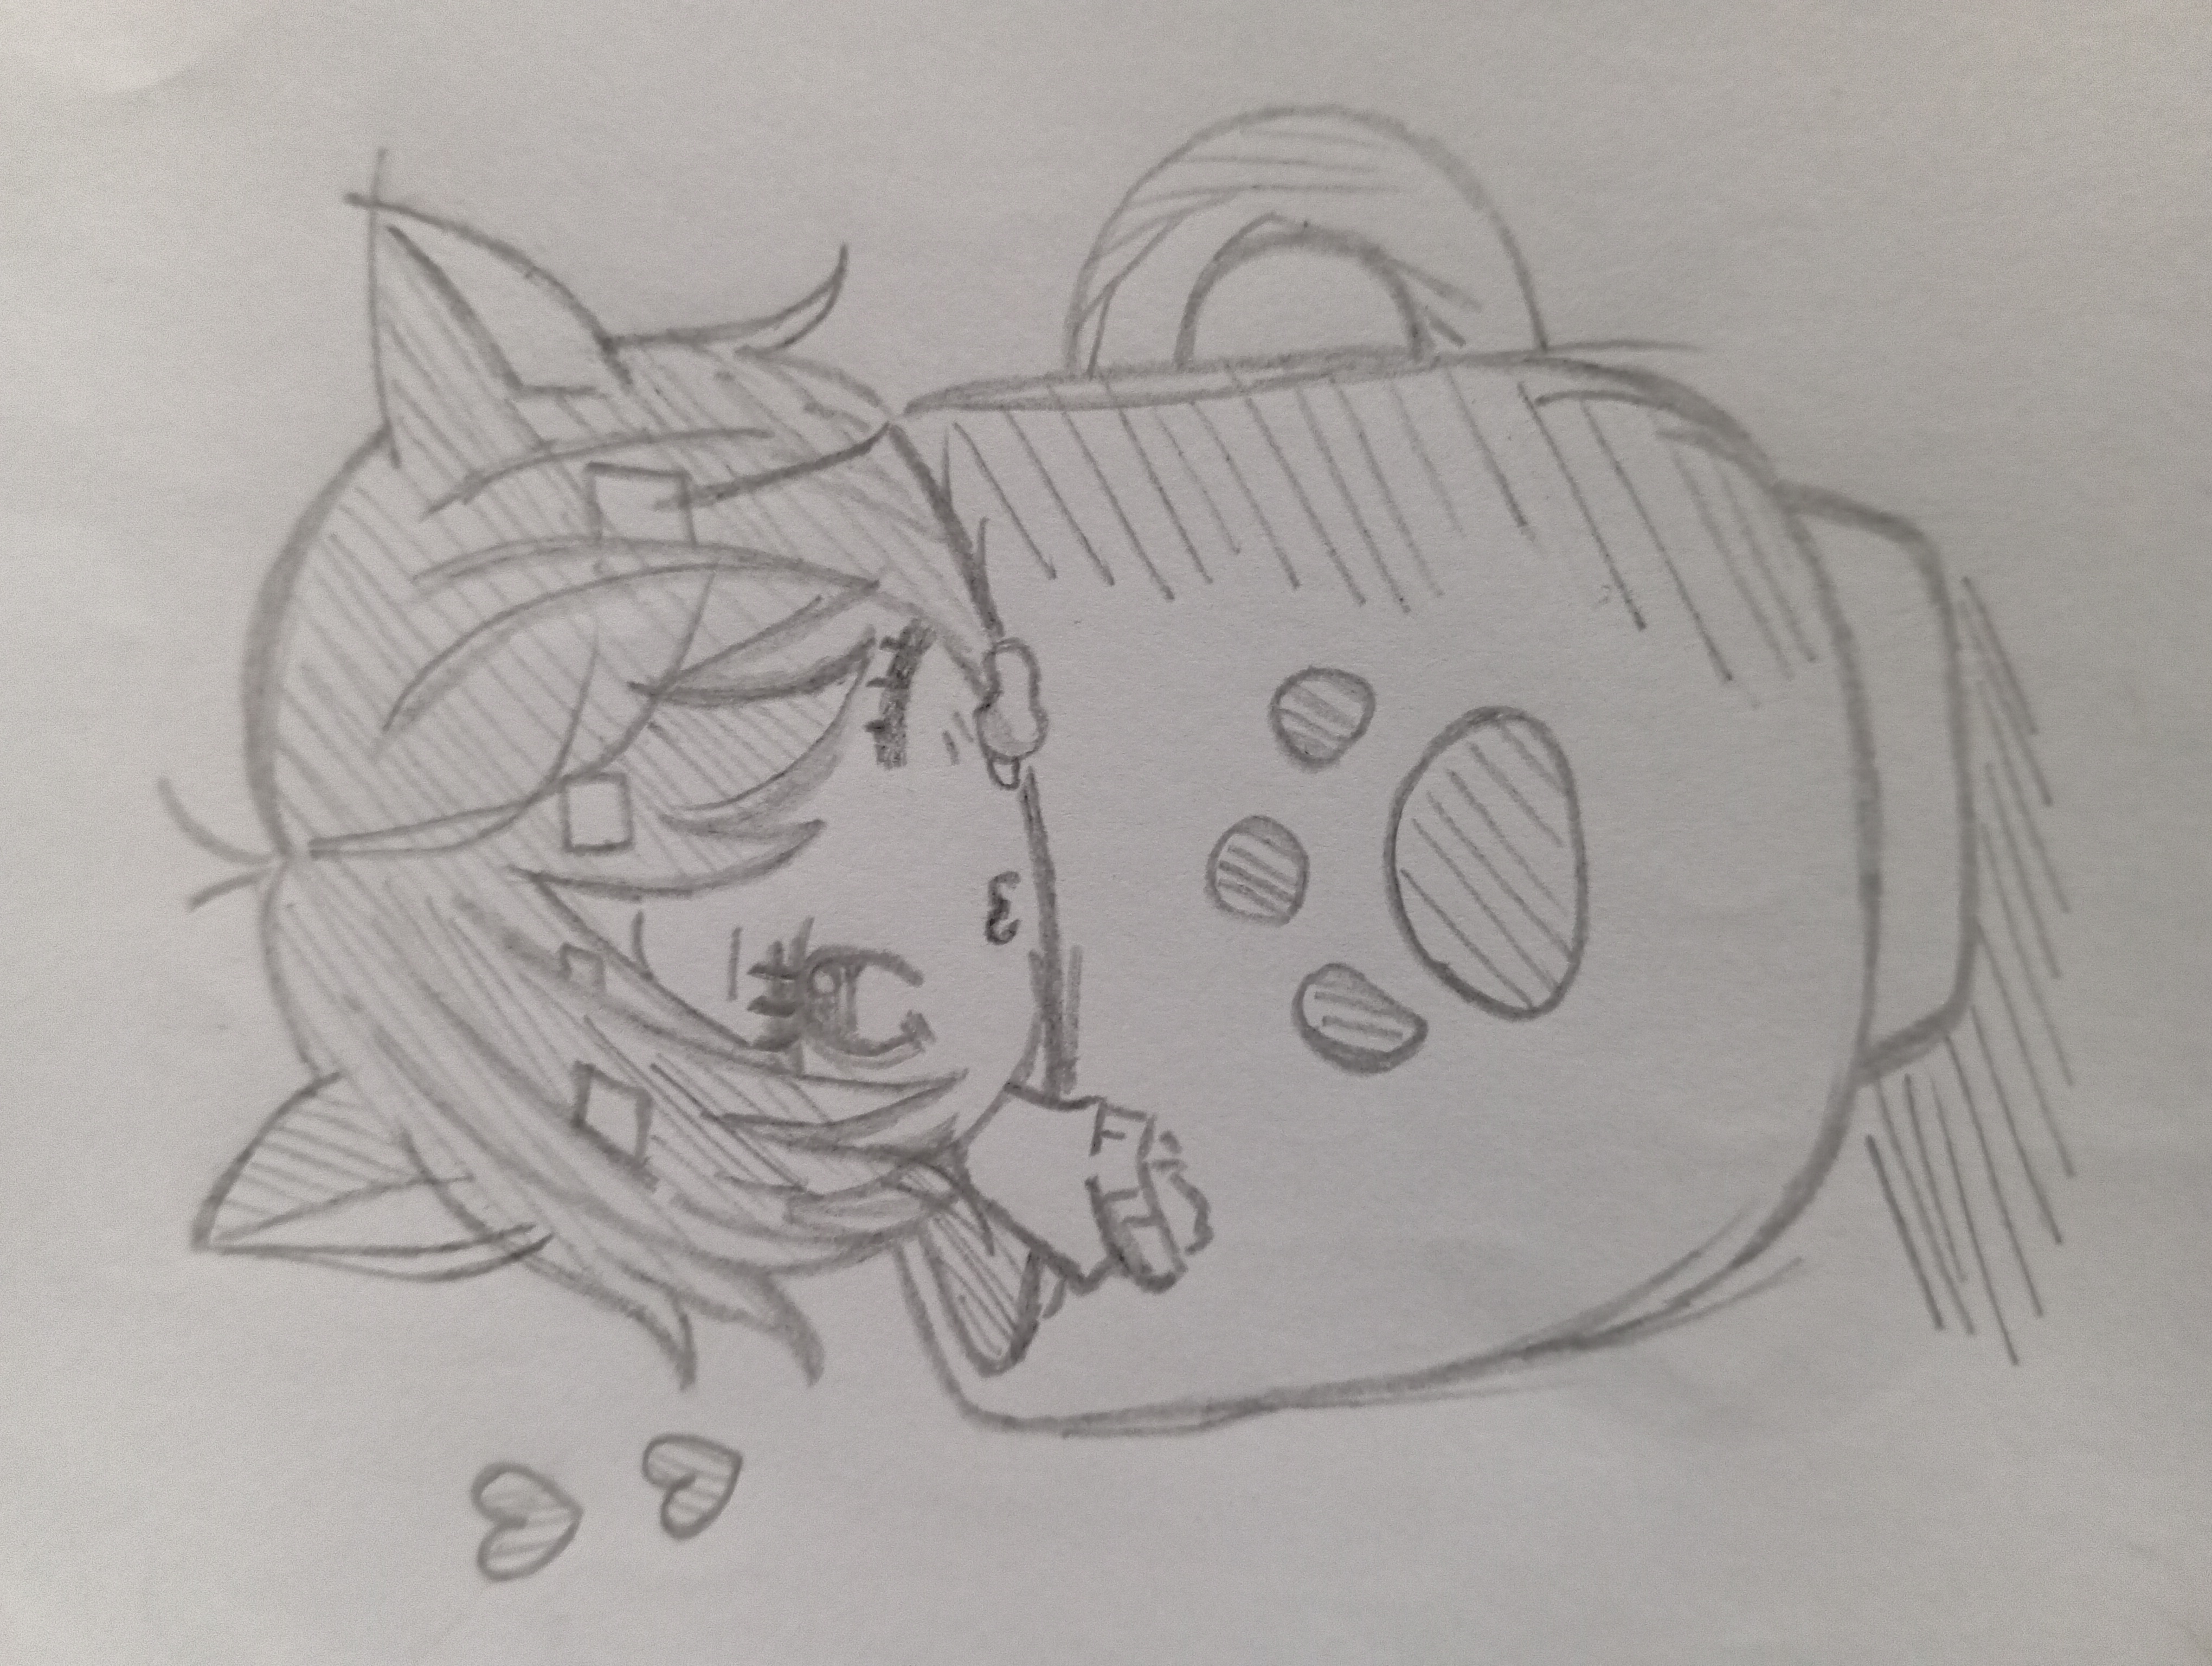
The image above shows the different stages of my drawing. At first only the basic outline of the cup was drawn, then the cat's head and ears were added, and finally the face, paws, heart, shading and markings on the cup were completed.
✏️ Equipment used
For this drawing I used very simple things:
✏️ Pencil
📄 White paper
🧽 Rubber
🔪 Sharpener
The great thing about simple pencil sketching is that you can get creative with just a few basics.
📝 Step 1: Basic sketch of the cup
First I made the outer shape of the cup. I made the cup slightly wider and rounder so that later the cat's head inside could be clearly seen.
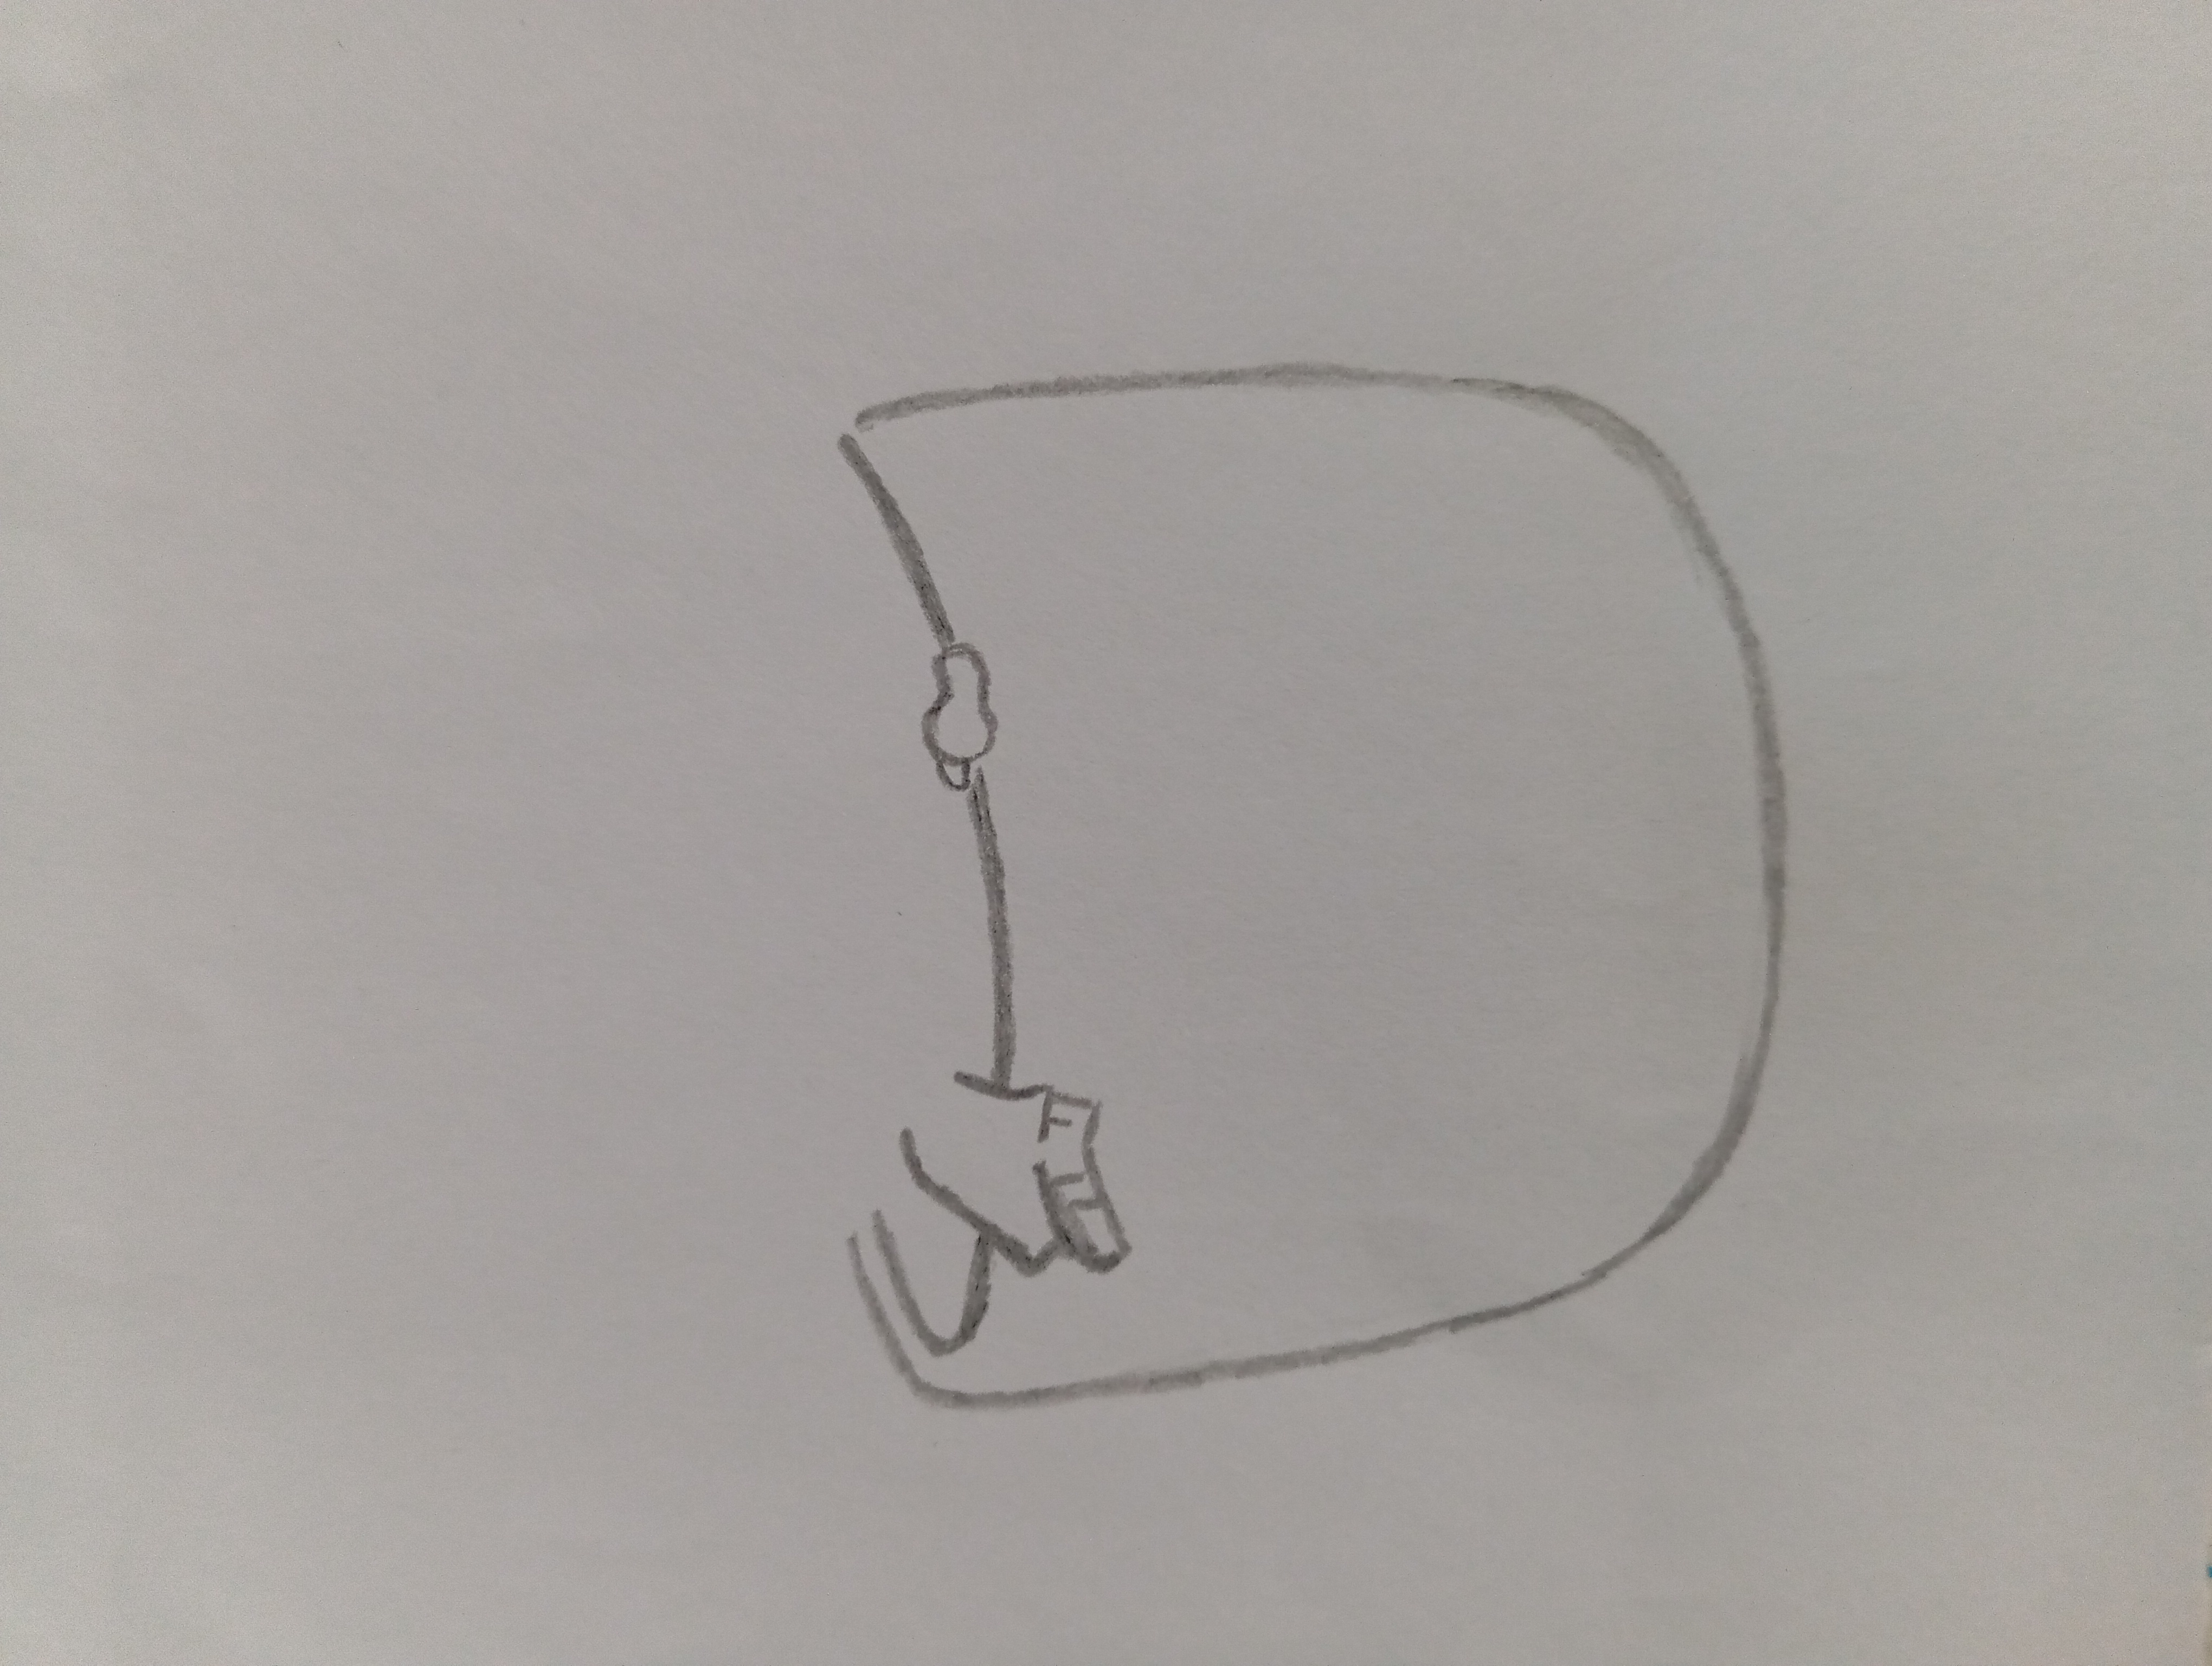
After that decided the place to make the handle of the cup. At this stage I kept the lines light so that it would be easy to change the shape.
🐱 Step 2: Cat's head and ears
In the next step, make the cat's head on top of the cup. First created the overall shape of the head and then added pointed ears on both sides.
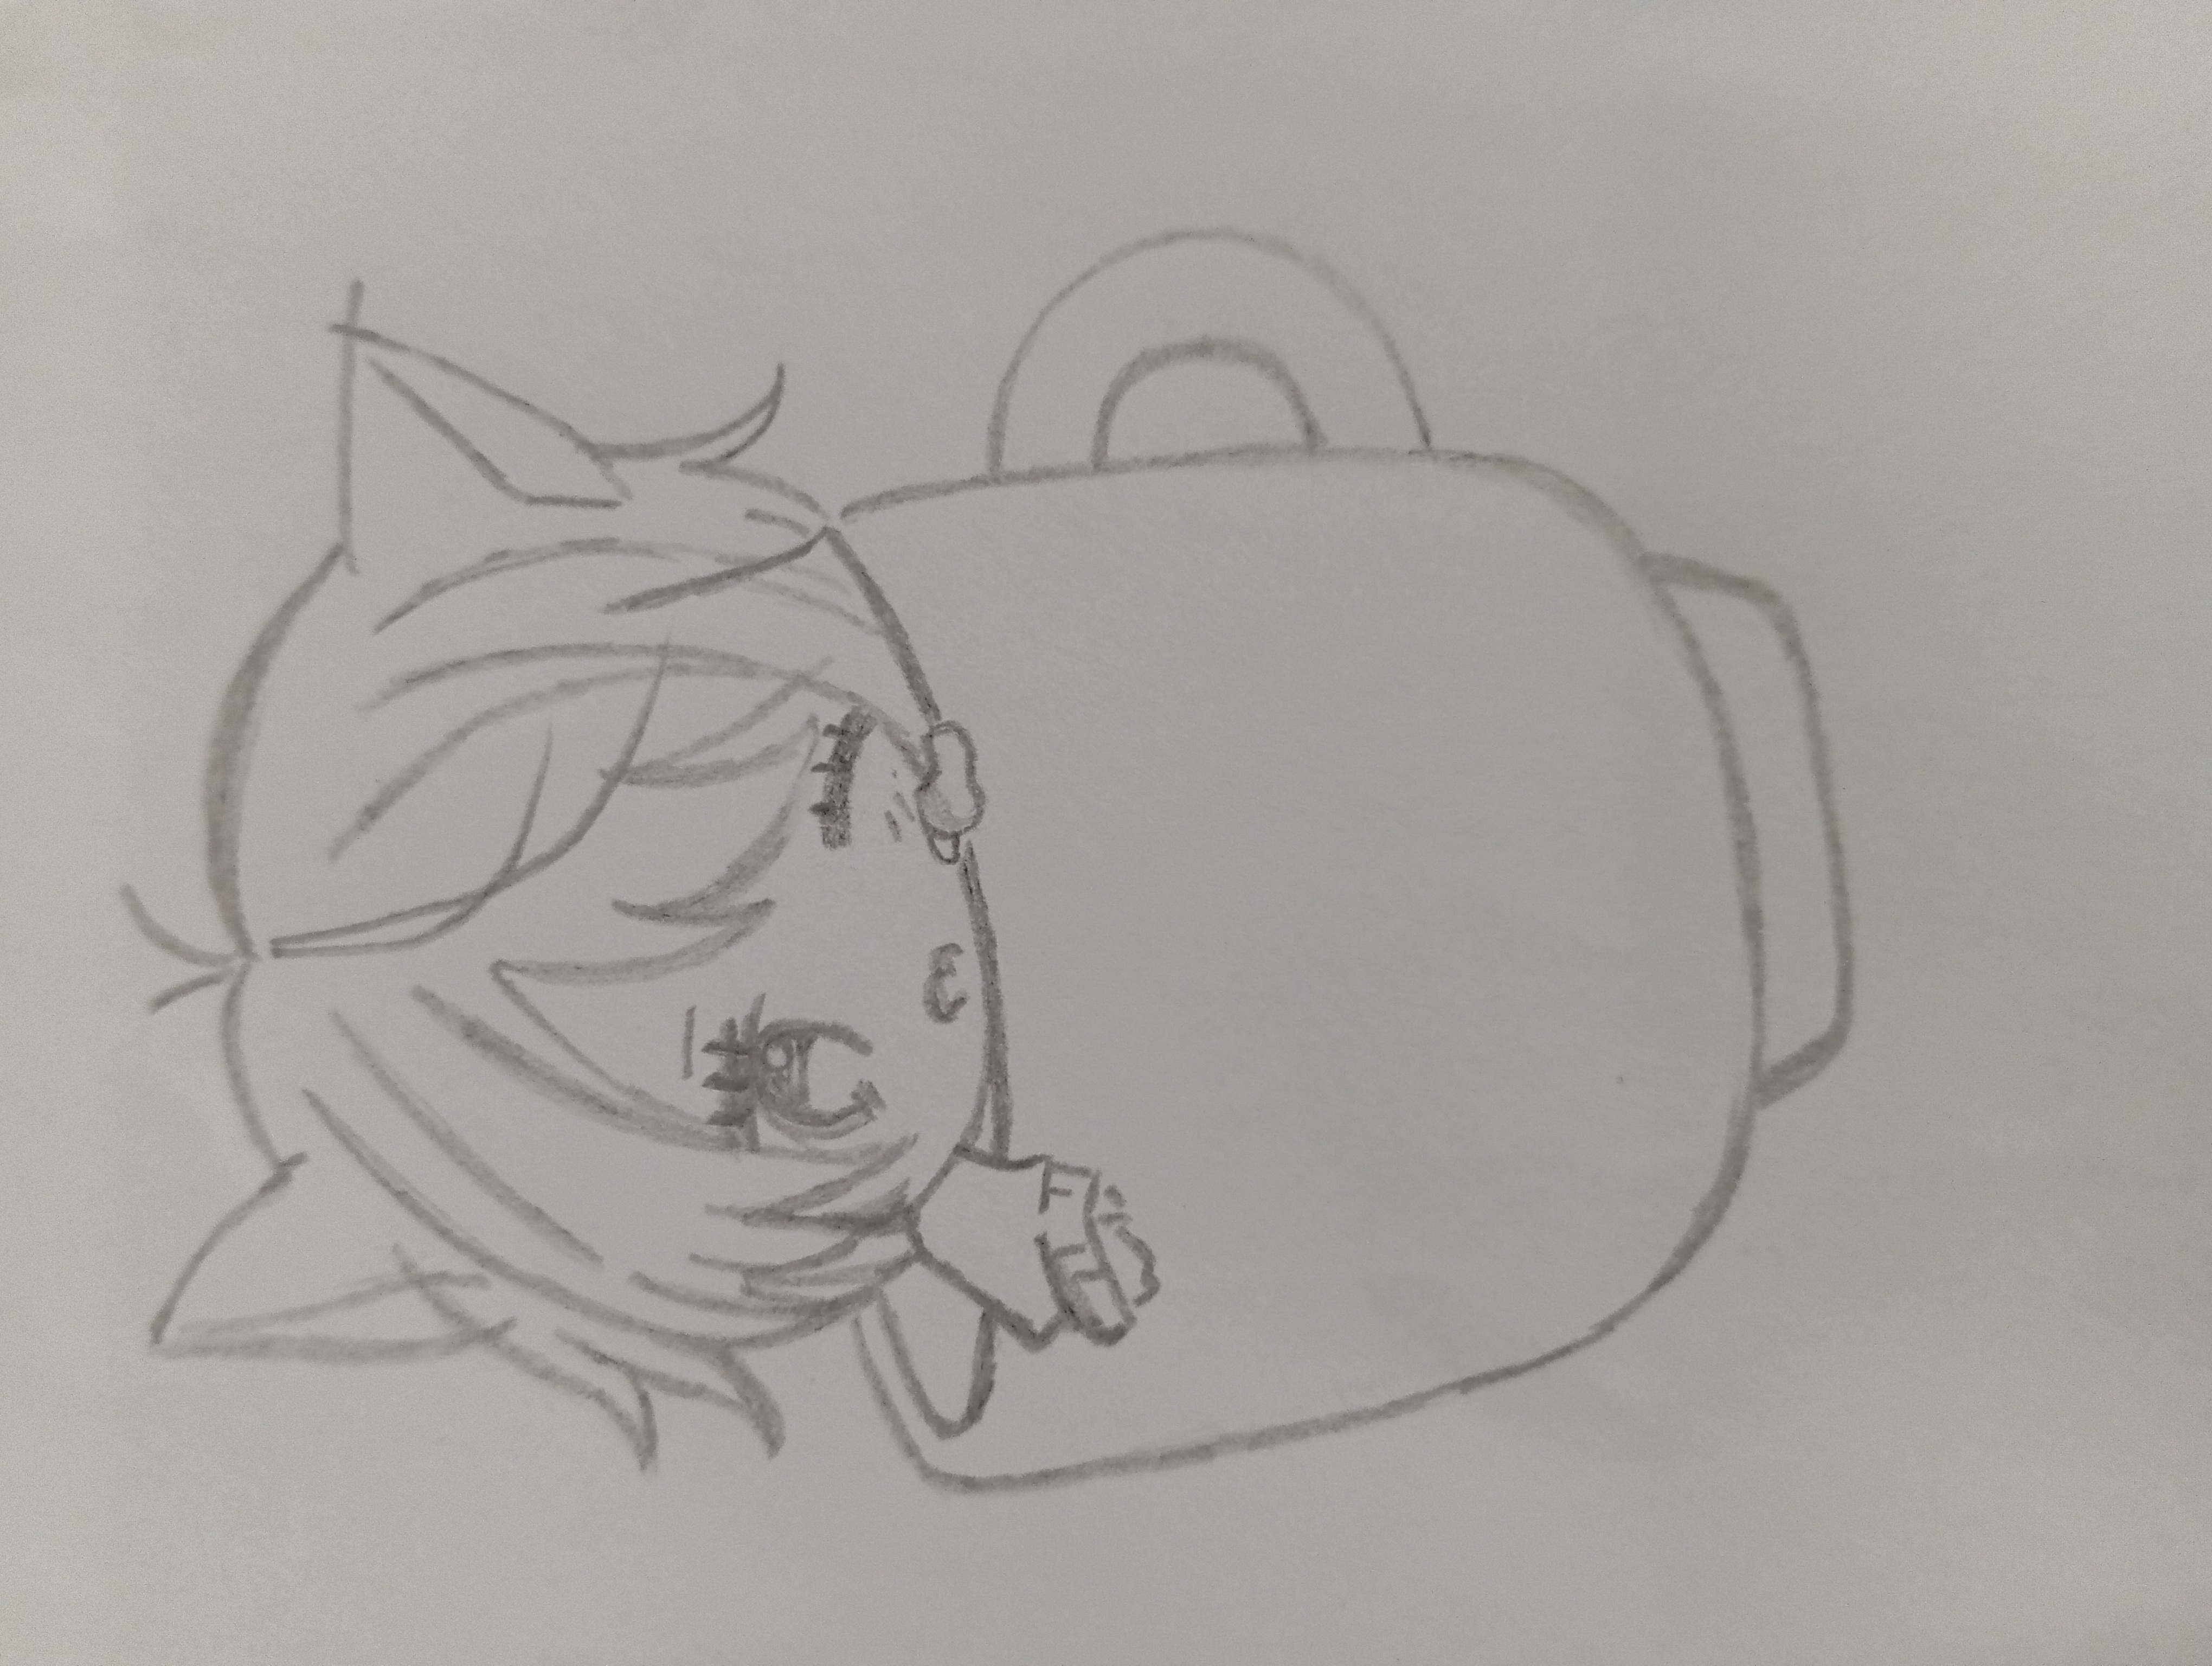
Cat ears immediately give this character a distinct look. I also drew a few light lines inside the ears to make them more defined.
👀 Step 3: Face Details
Now I worked on the face of the cat. The big eyes, small nose and closed eye style gave the character a more cute and innocent look.
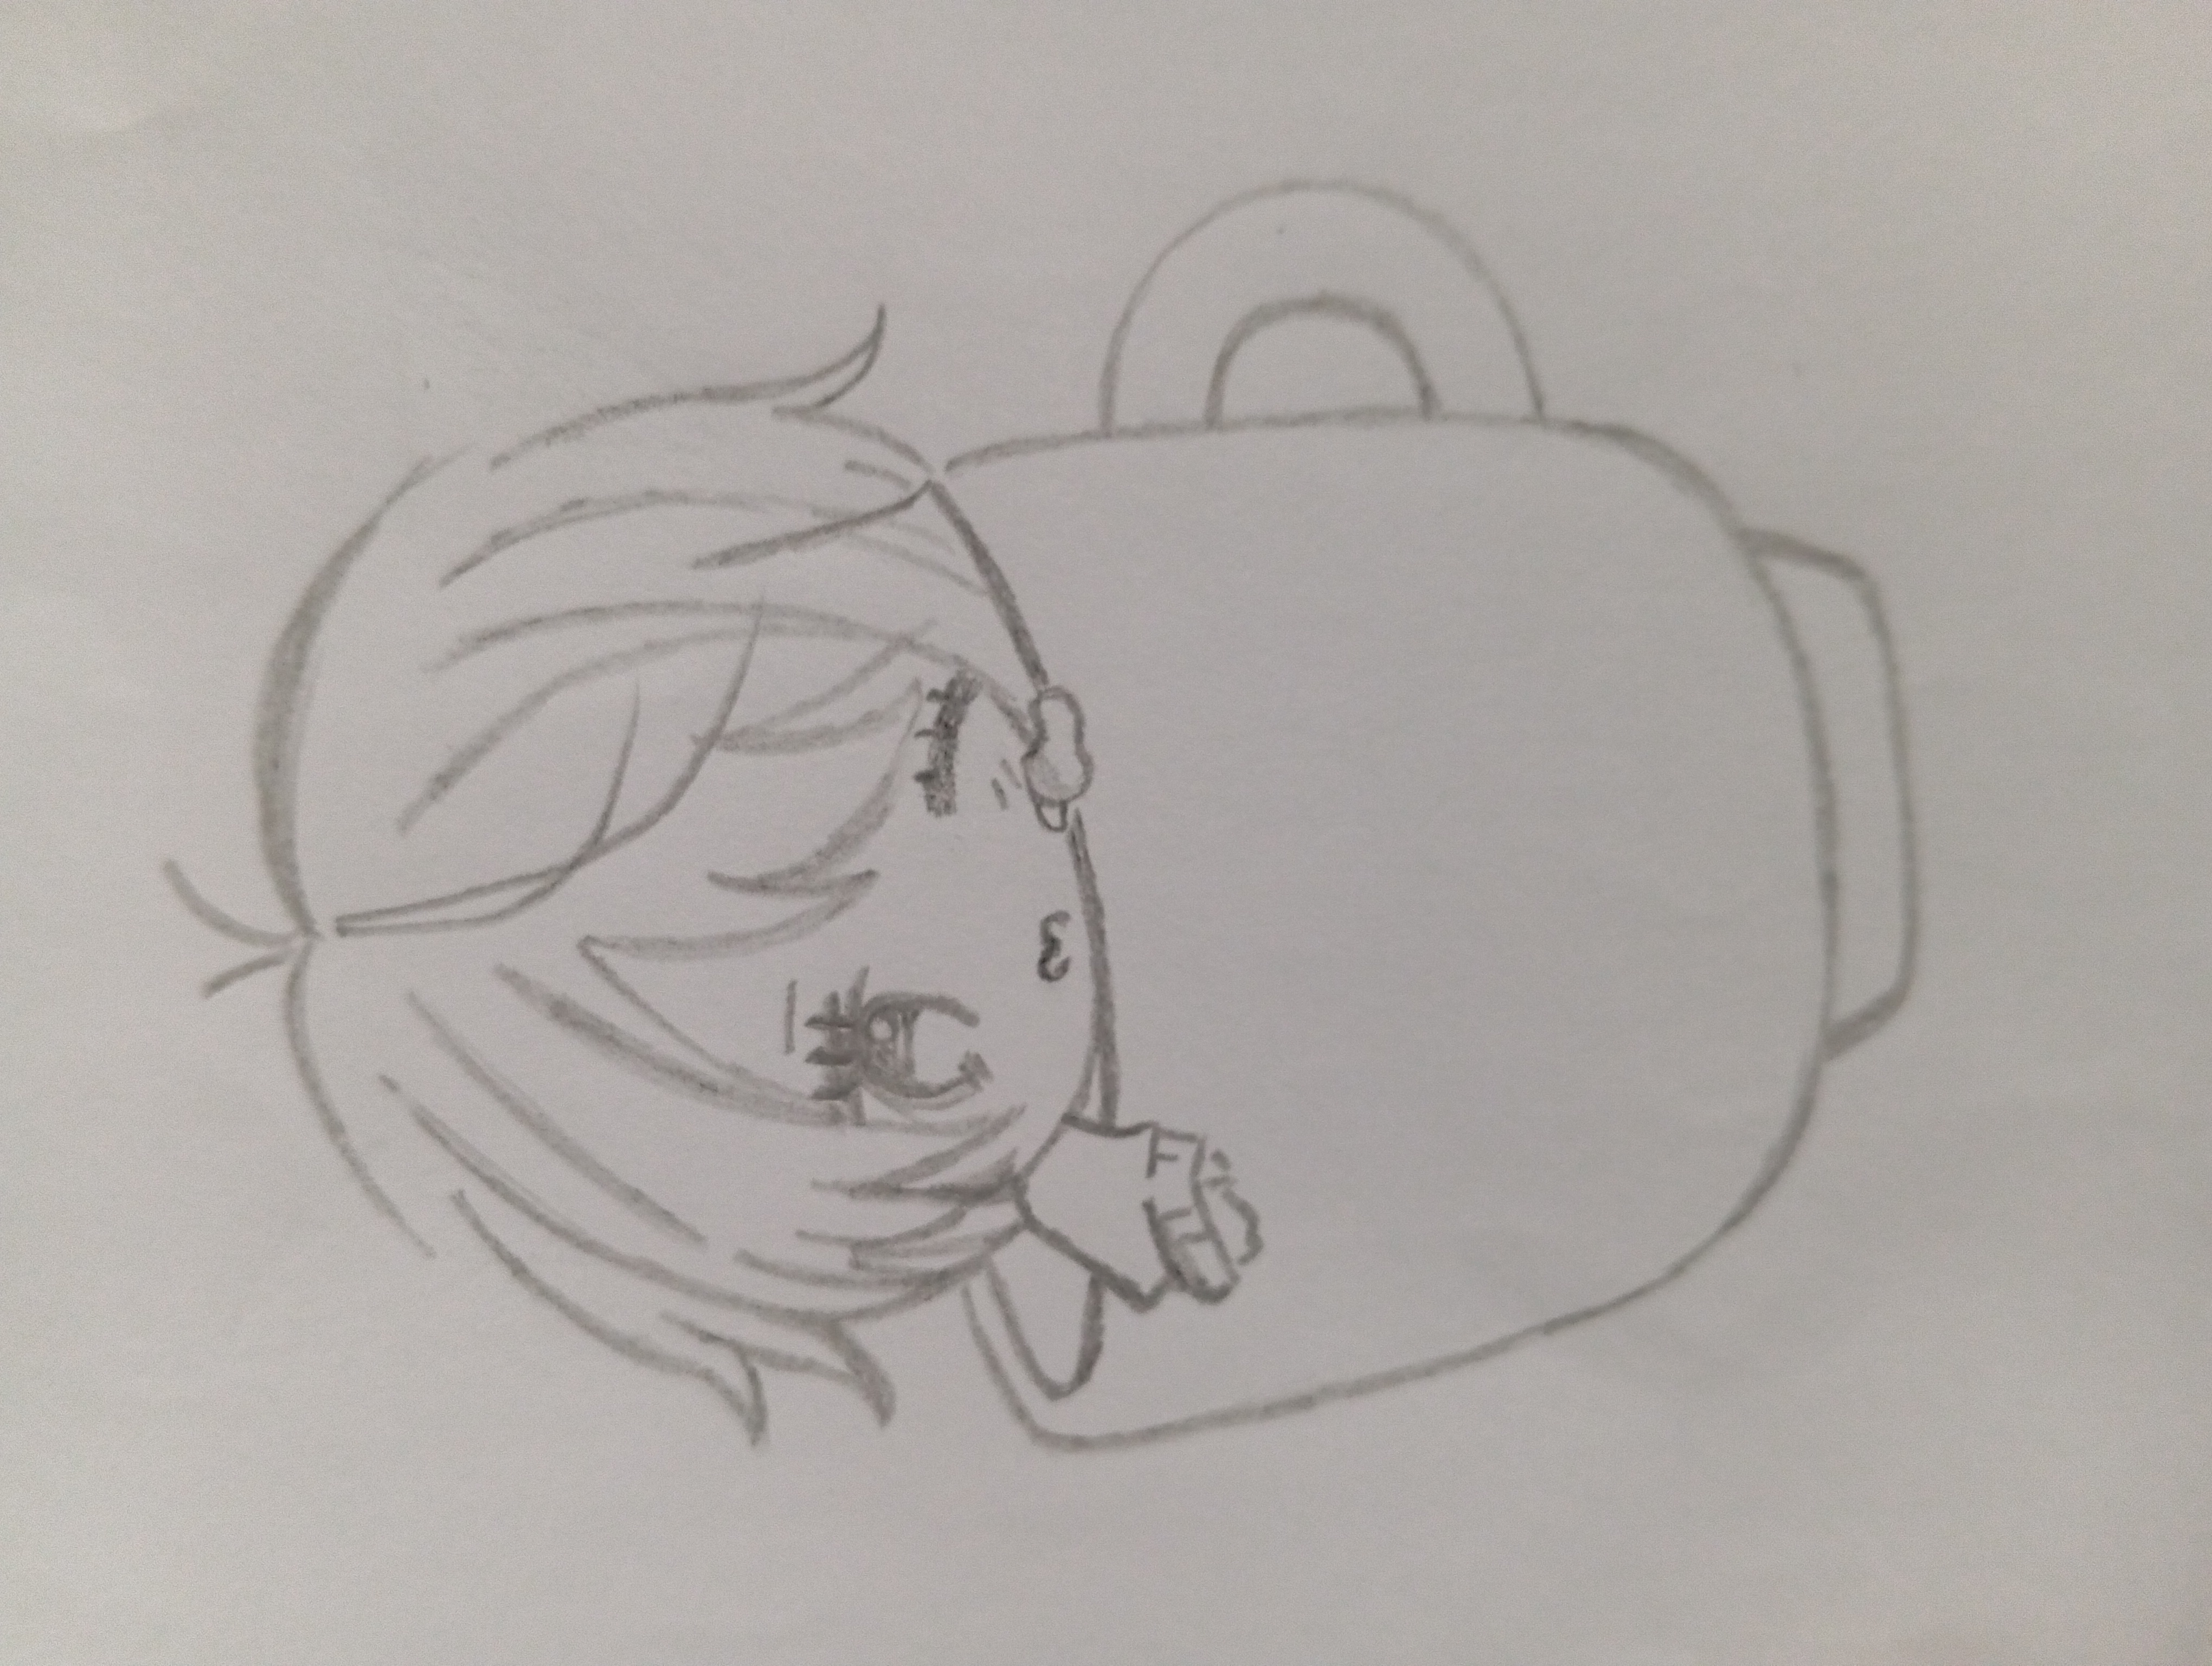
Not much detail was needed when creating facial expressions. With just a few appropriate lines, Billy's comical and calm demeanor came to the fore.
🐾 Step 4: Claw and Cup Design
A small cat's paw was then made on the rim of the cup. Then added a large paw print to the center of the cup.
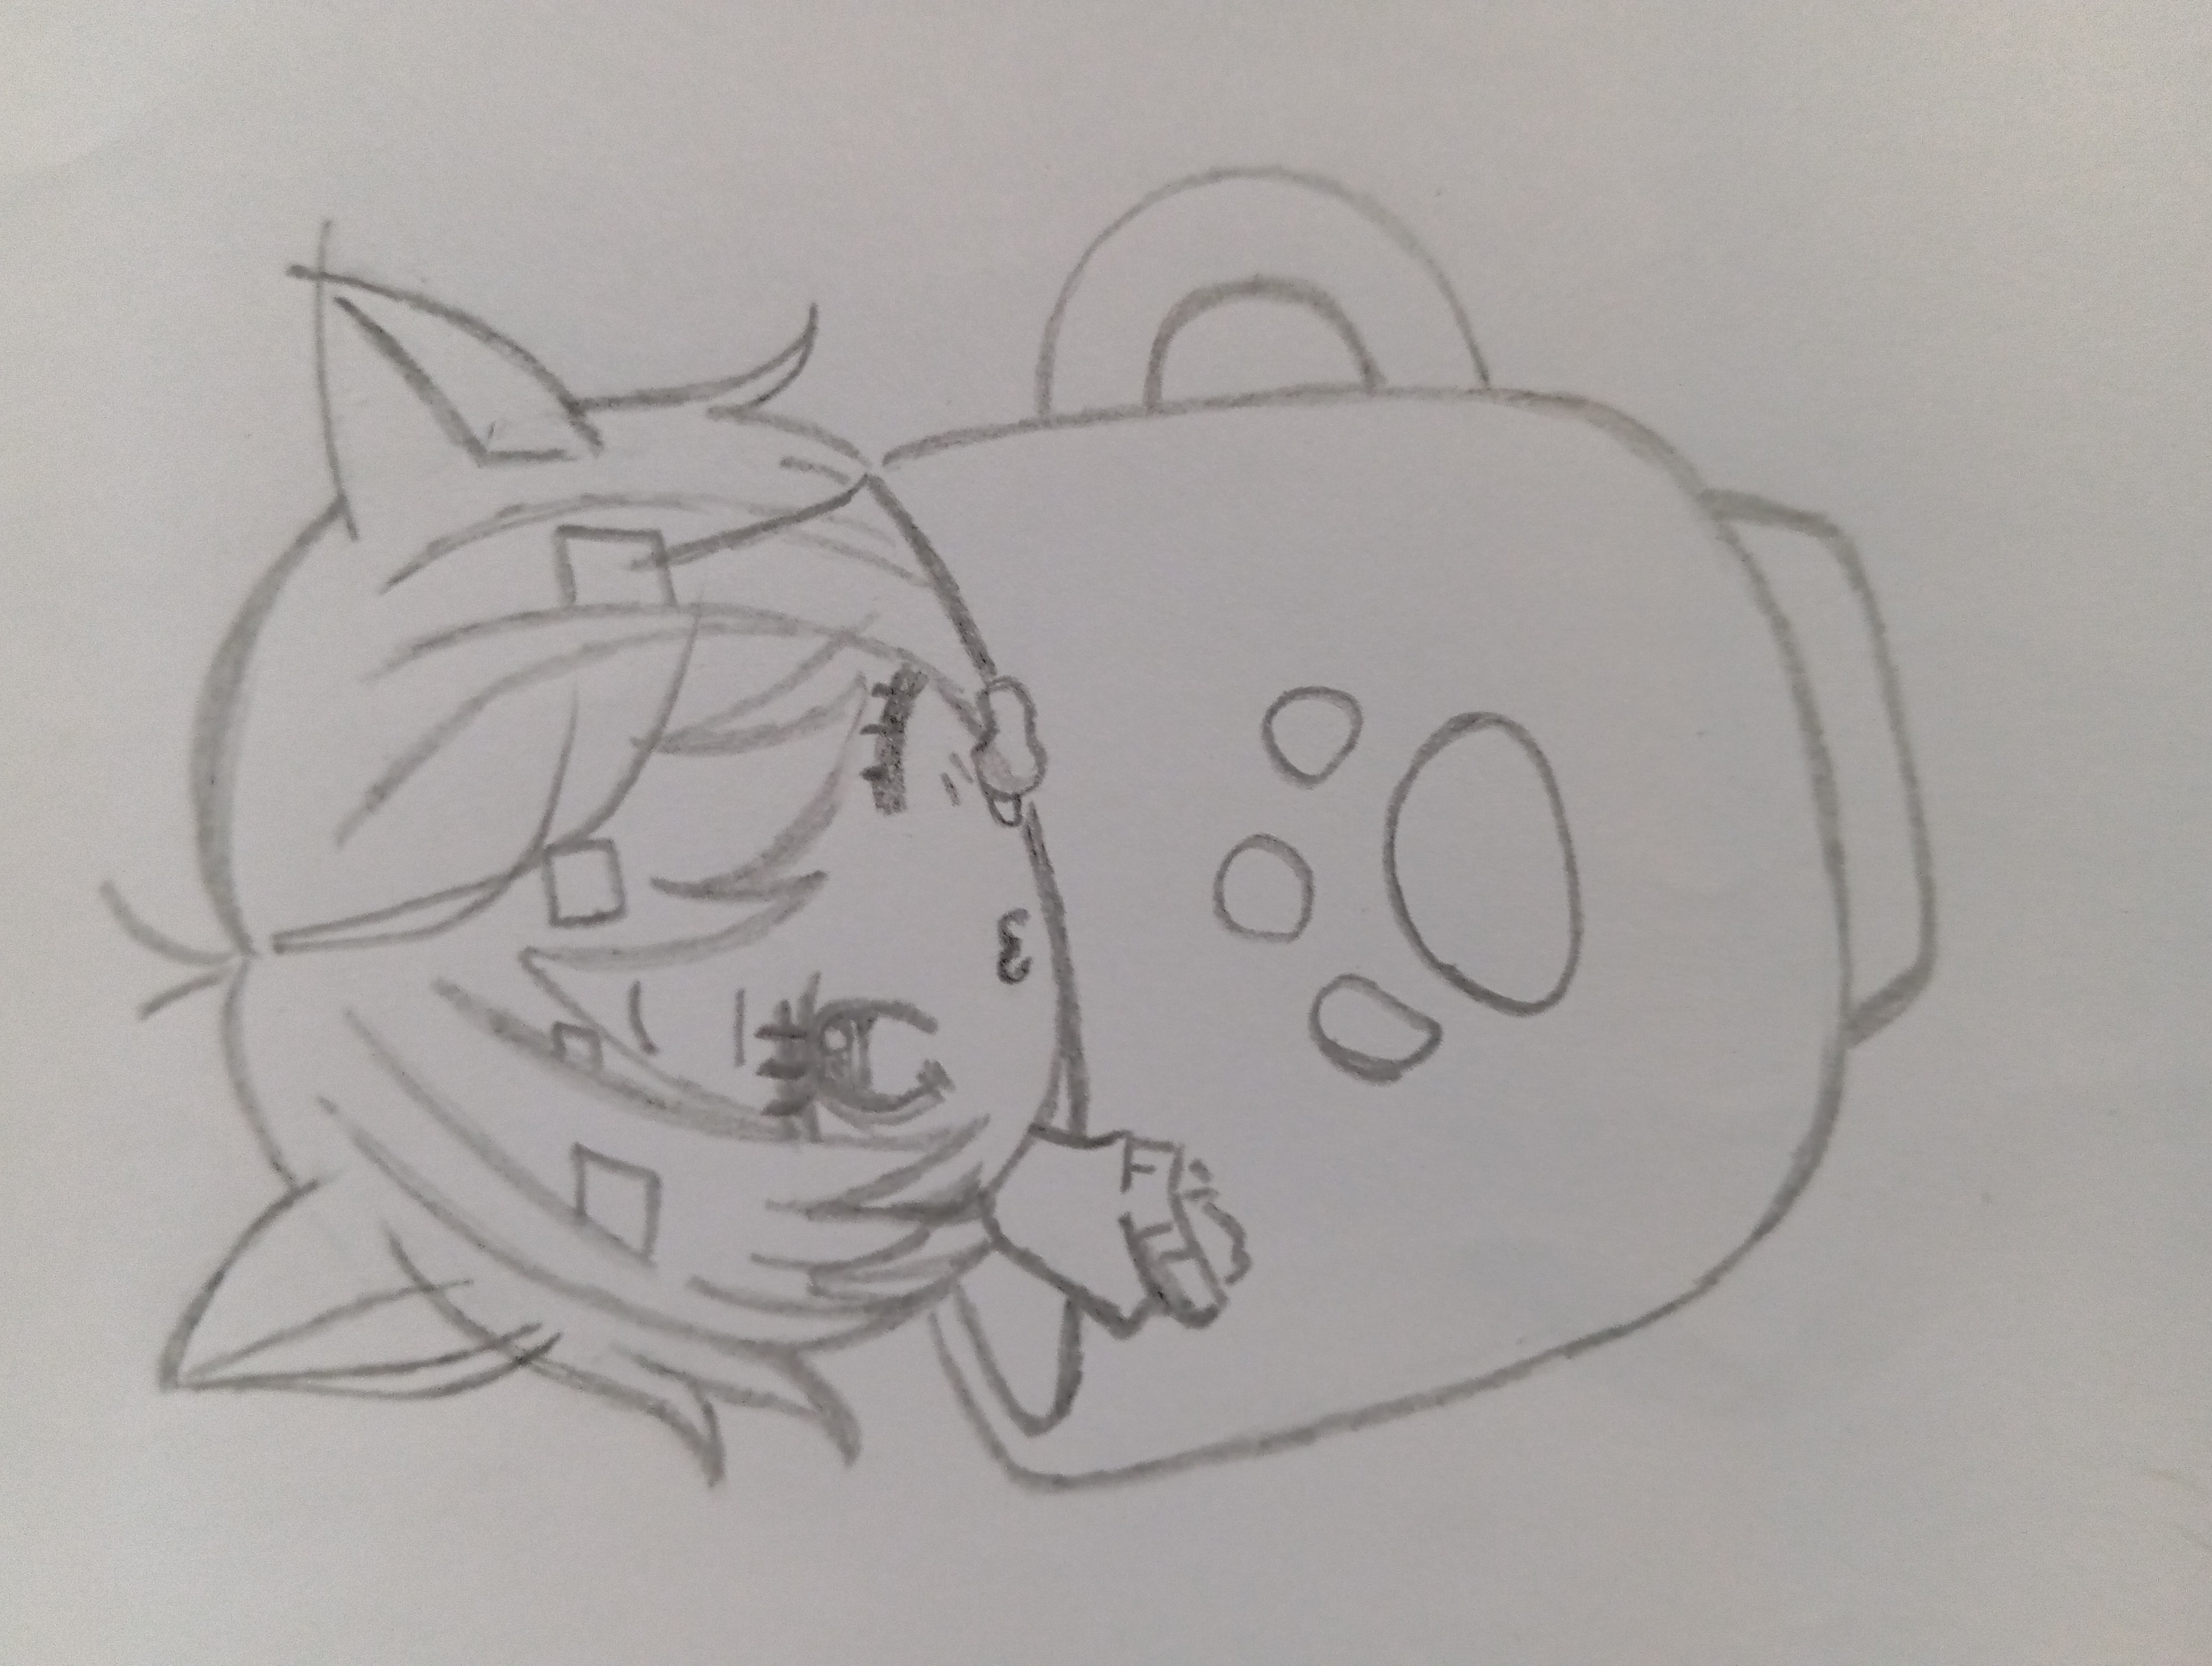
I particularly like this detail because it immediately suggests that the design of the cup also relates to the character of the cat.
At the same stage I also completed the bottom part of the cup and further defined its shape.
💕 Step 5: Small decorative details
In the next step I made small hearts around the cat. These hearts give the drawing a more friendly and beautiful look.
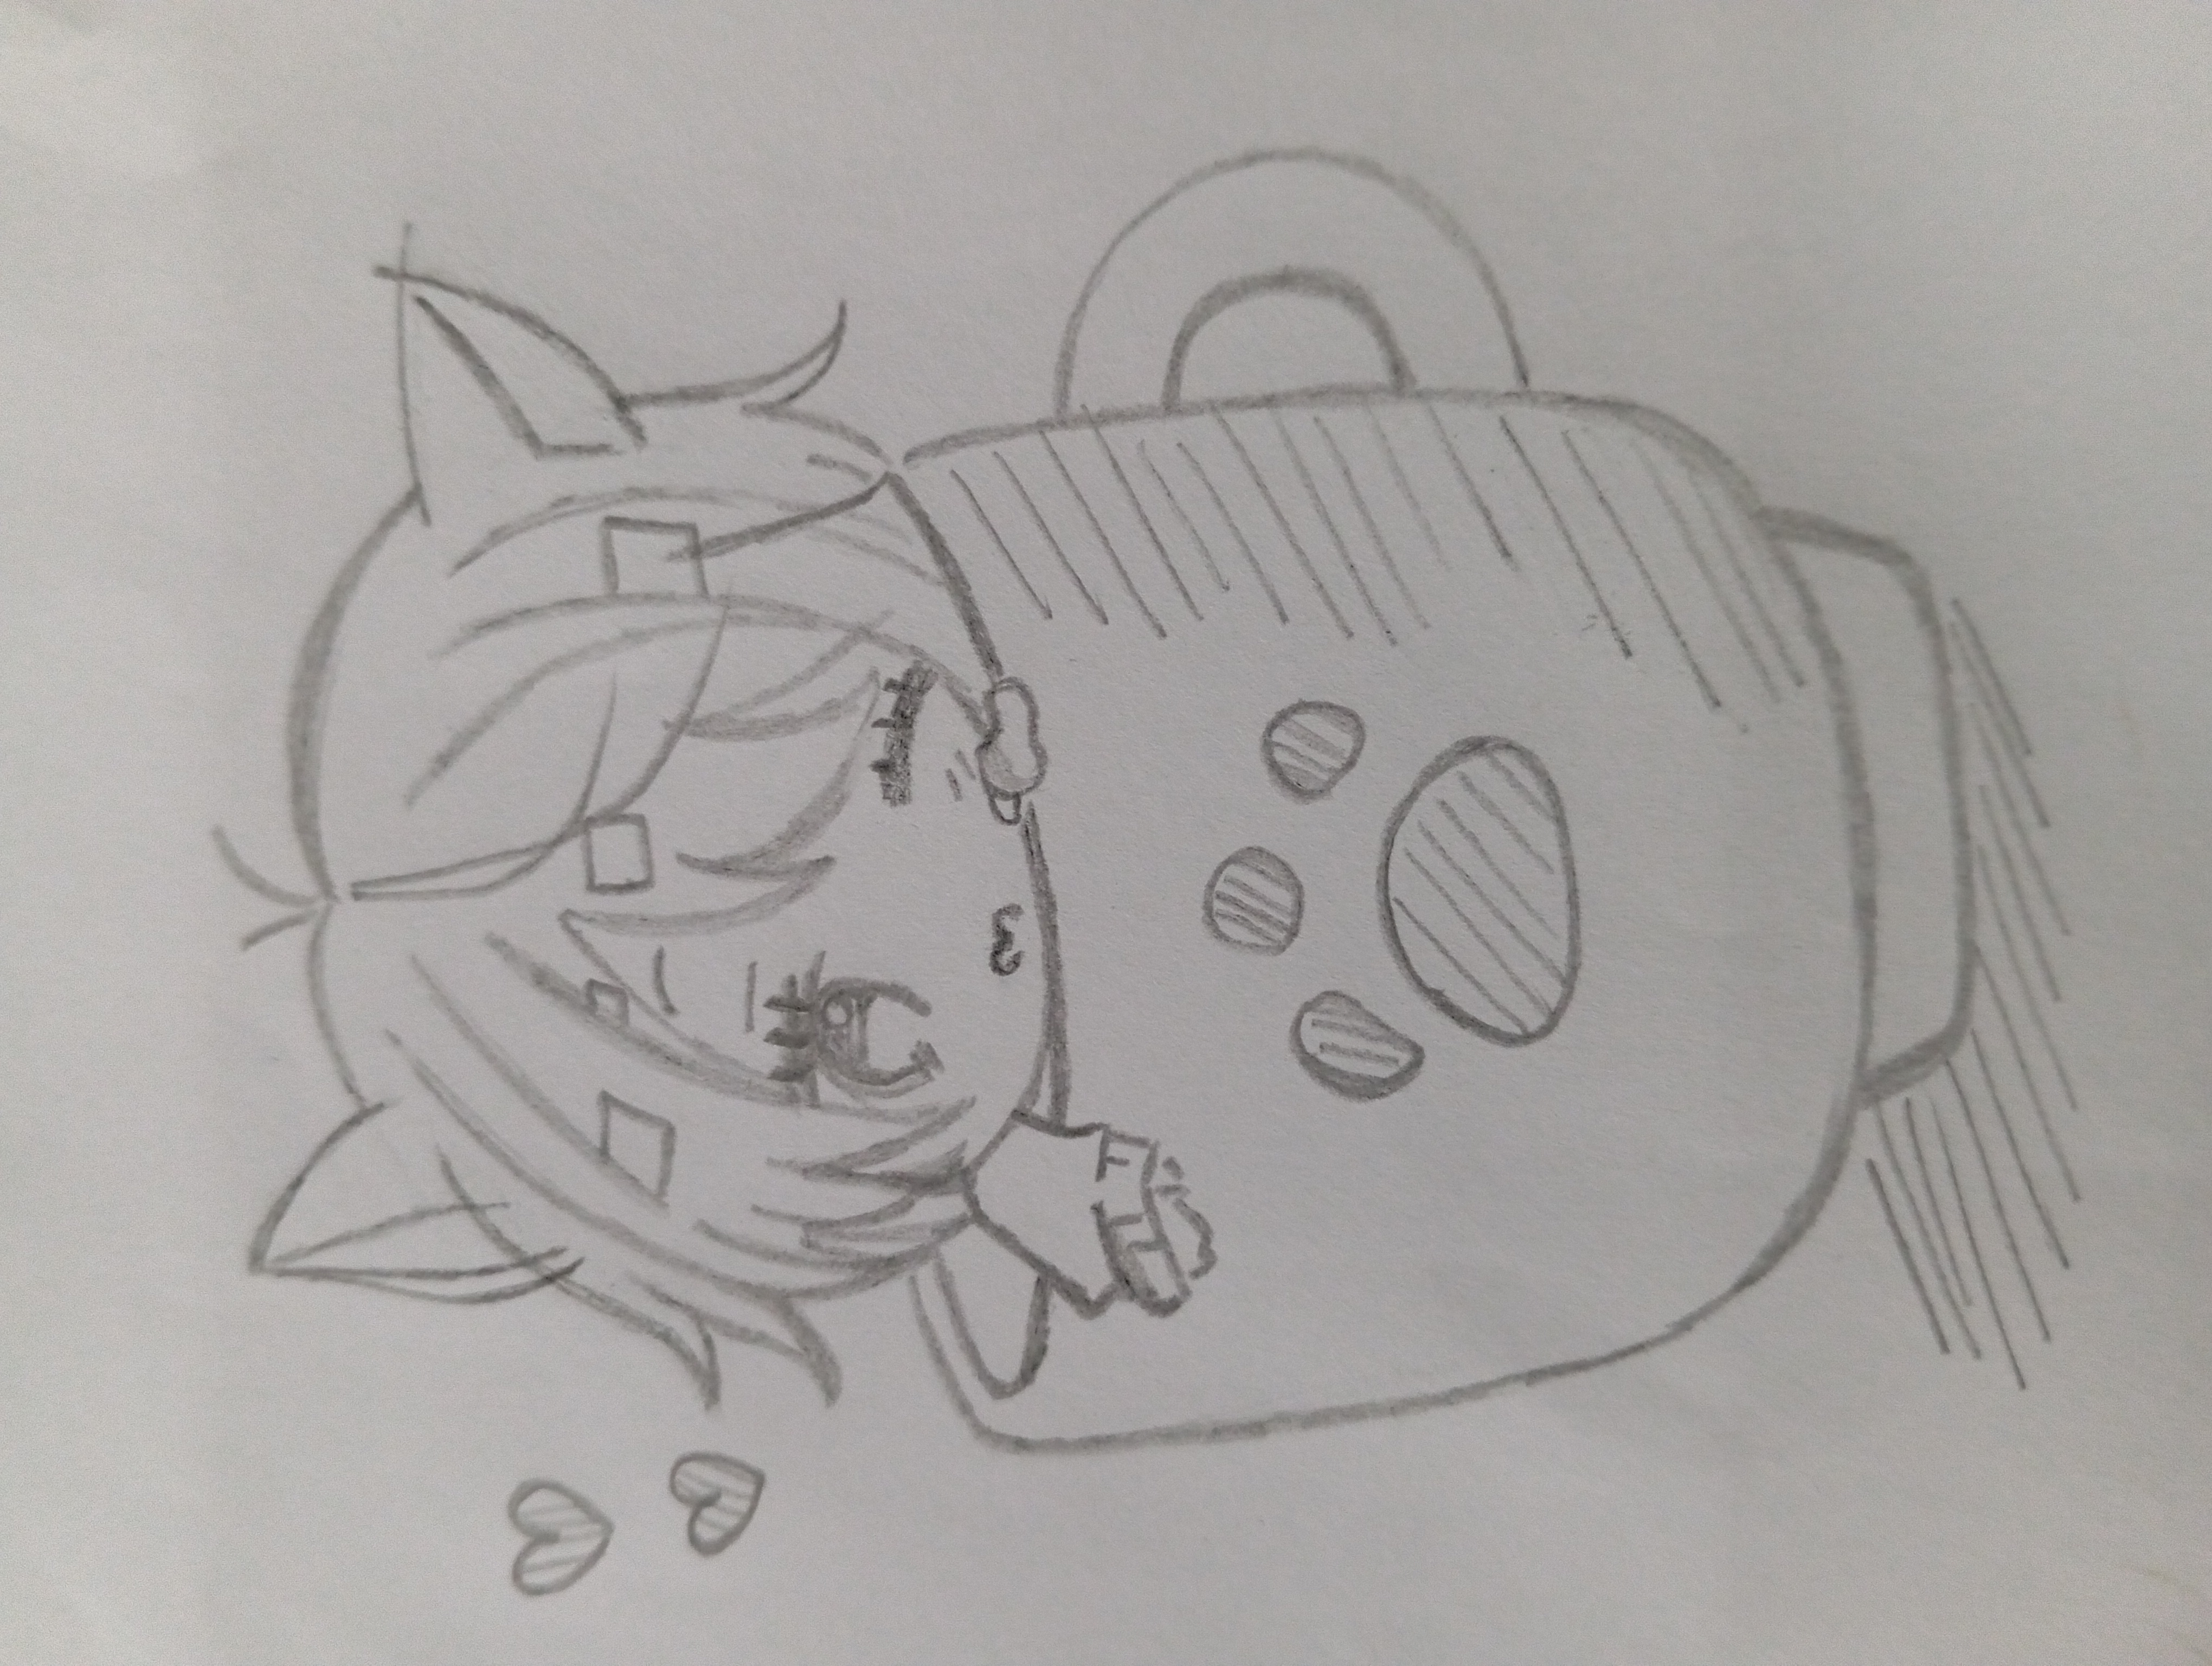
Also added more lines to the hair on the cat's head and parts of the body to add more detail to the image.
🌑 Step 6: Shading and Final Shape
Finally I started light shading with a pencil. Shaded by lines on the right side of the cup, the cat's hair and the bottom part of the ground.
For shading I used different pressure on the pencil. Keep the lines slightly prominent where more depth is to be shown and use lighter lines elsewhere.
After this final step, a simple cup sketch was transformed into a full and beautiful chibi cat character.
Learn from this drawing
This drawing taught me that creating an interesting character doesn't always require an overly complex design.
A simple cup, cat ears, big eyes and a few small details can make a unique image. Especially if the drawing is done step by step, the task feels much easier.
I had the most fun with this drawing doing the cat face and the final shading. At first there were only cups and a few lines, but with each new stage the picture became clearer.
@abdullaht
@maryam86
@ghosvisions
Best Regards,
@taaher1
Congratulations! Your post has been upvoted from sc-07 account.
0.00 SBD,
0.03 STEEM,
0.03 SP
X link
https://x.com/i/status/2088153057594859990