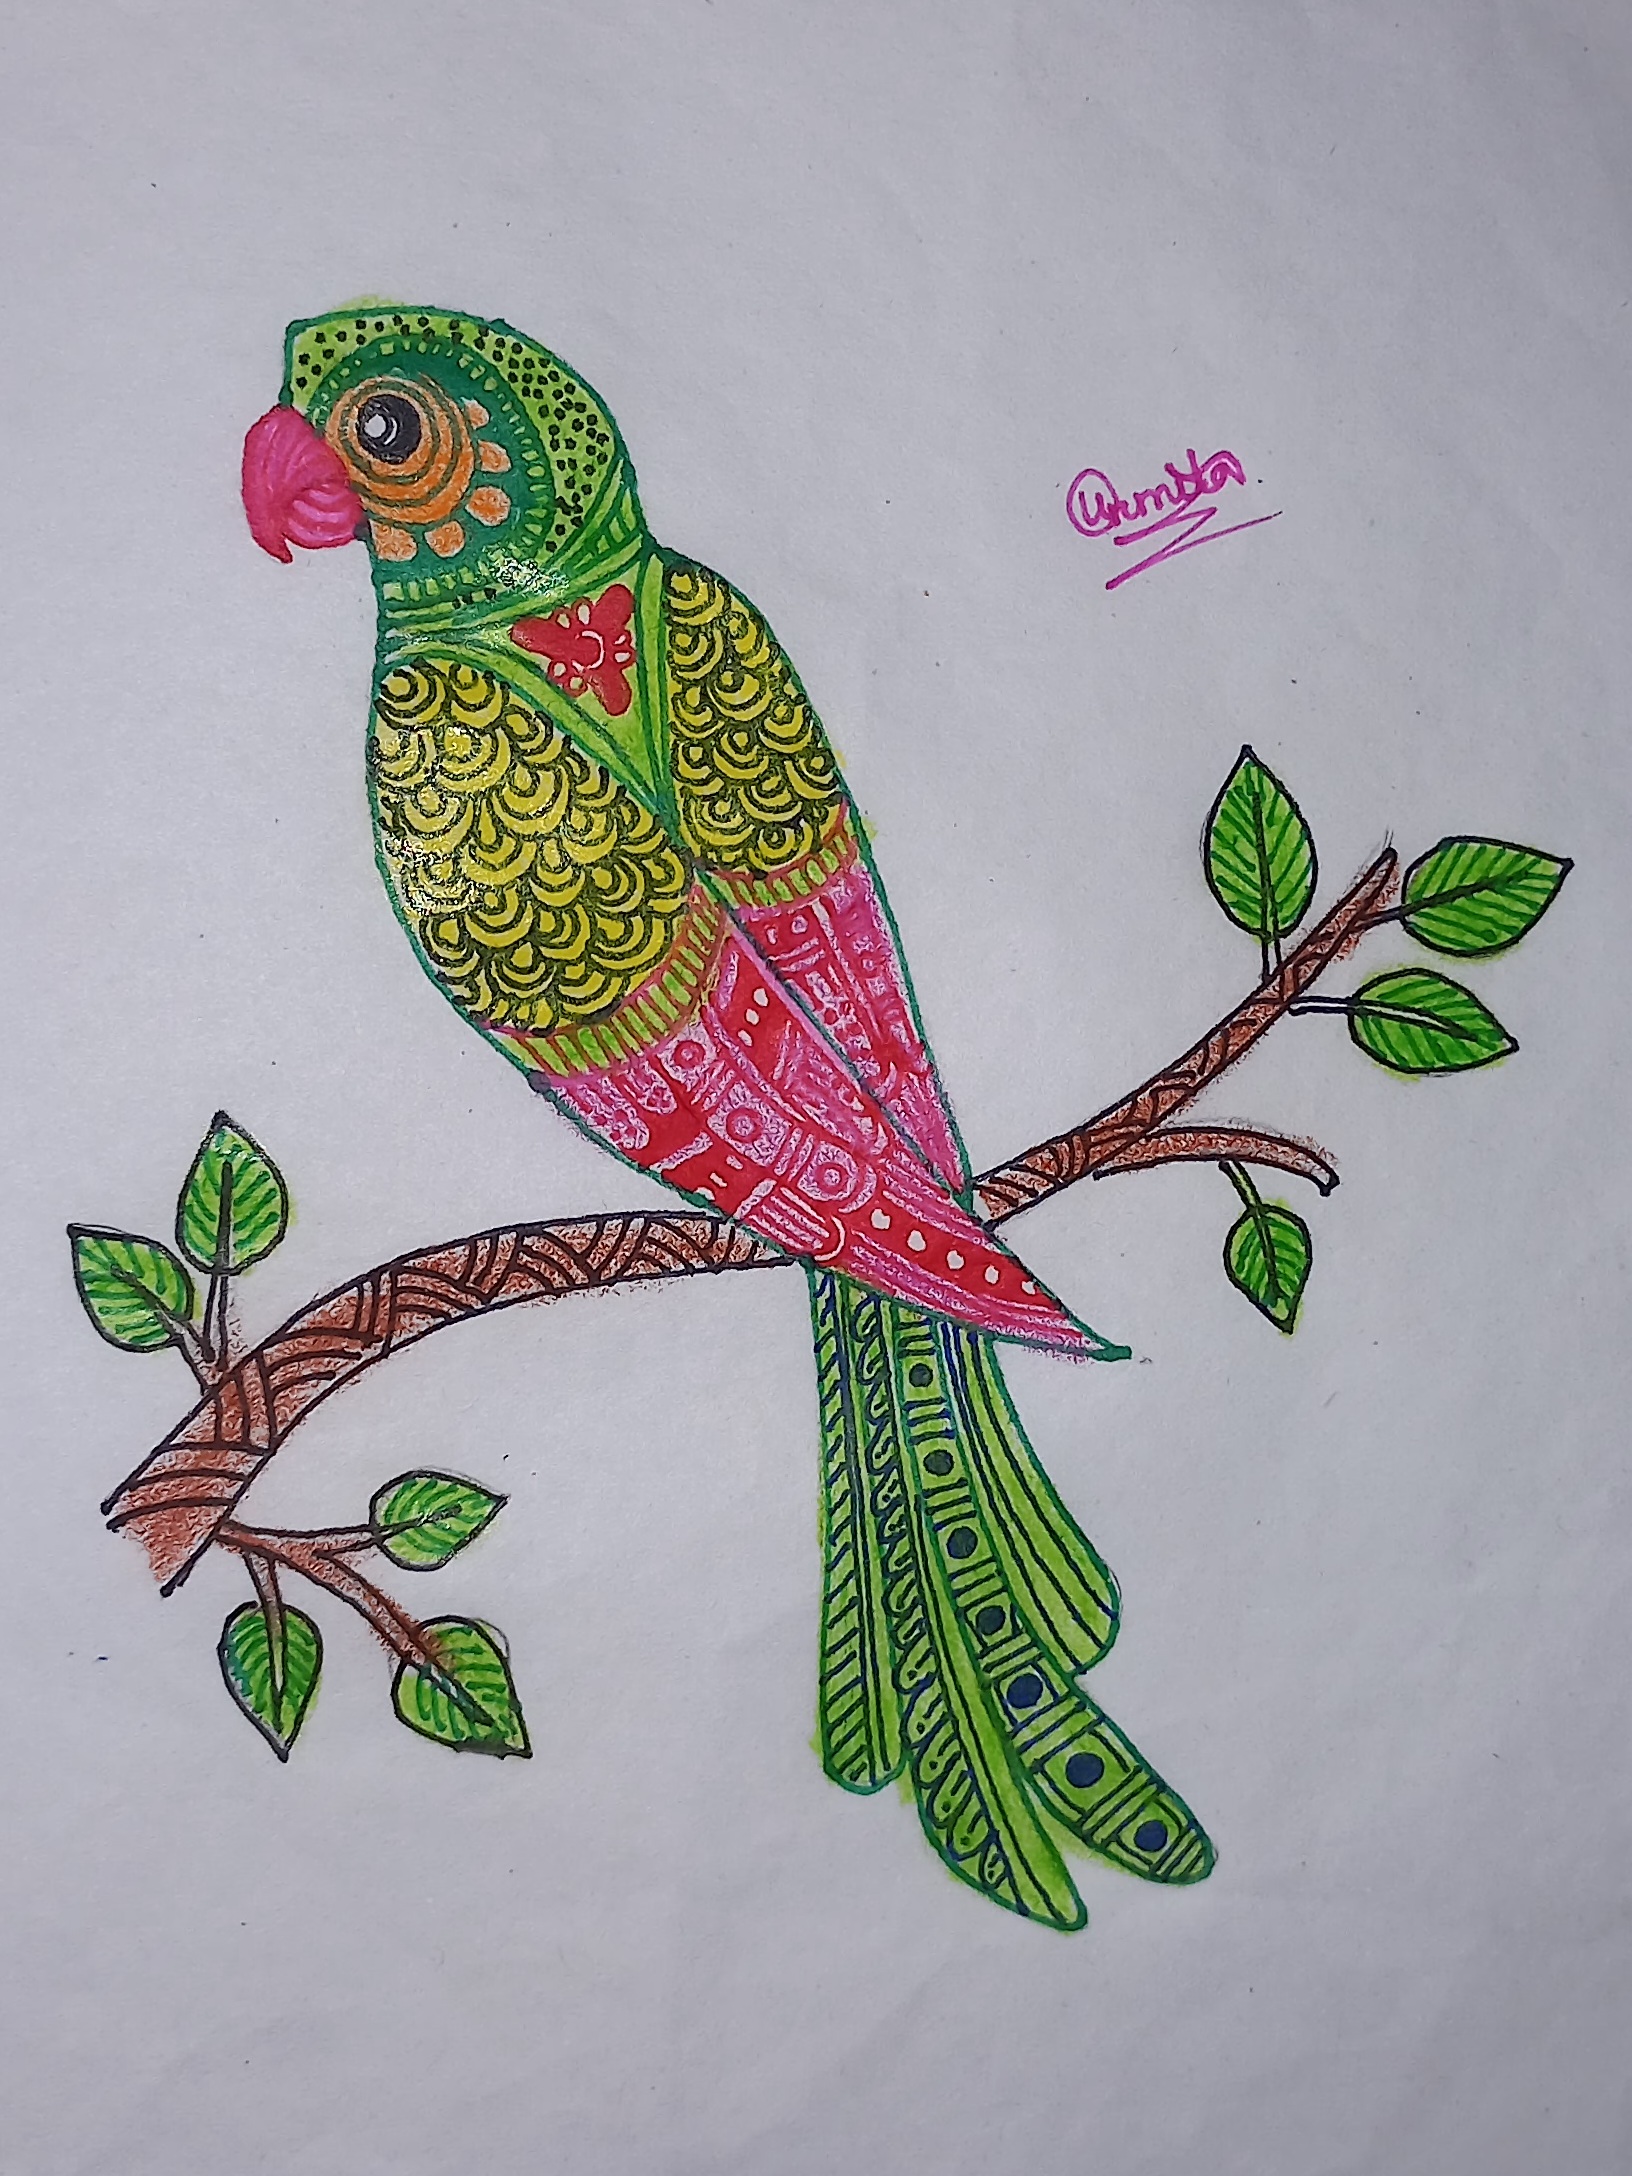
Drawing tutorial : Mandala designed parrot😍
Greetings friends!!
This is @urmilanath650 from @bangladesh
How are you friends?? Hope all of my dear steemians are well and happy by the mercy of Almighty Lord and so am I. Today I have come here to share a very beautiful drawing tutorial with you. I have drawn a parrot and beautifully designed this with colorful Mandala art. Hope you all will like this pretty parrot so much. So let's see the required tools and steps to make this beautiful picture...
- White paper
- Pencil
- Eraser
- Black color pen
- Green color pen
- Red color pen
- Pink color pen
- Blue color pen
- Diamond color (Light green, pink, yellow, chocolate)
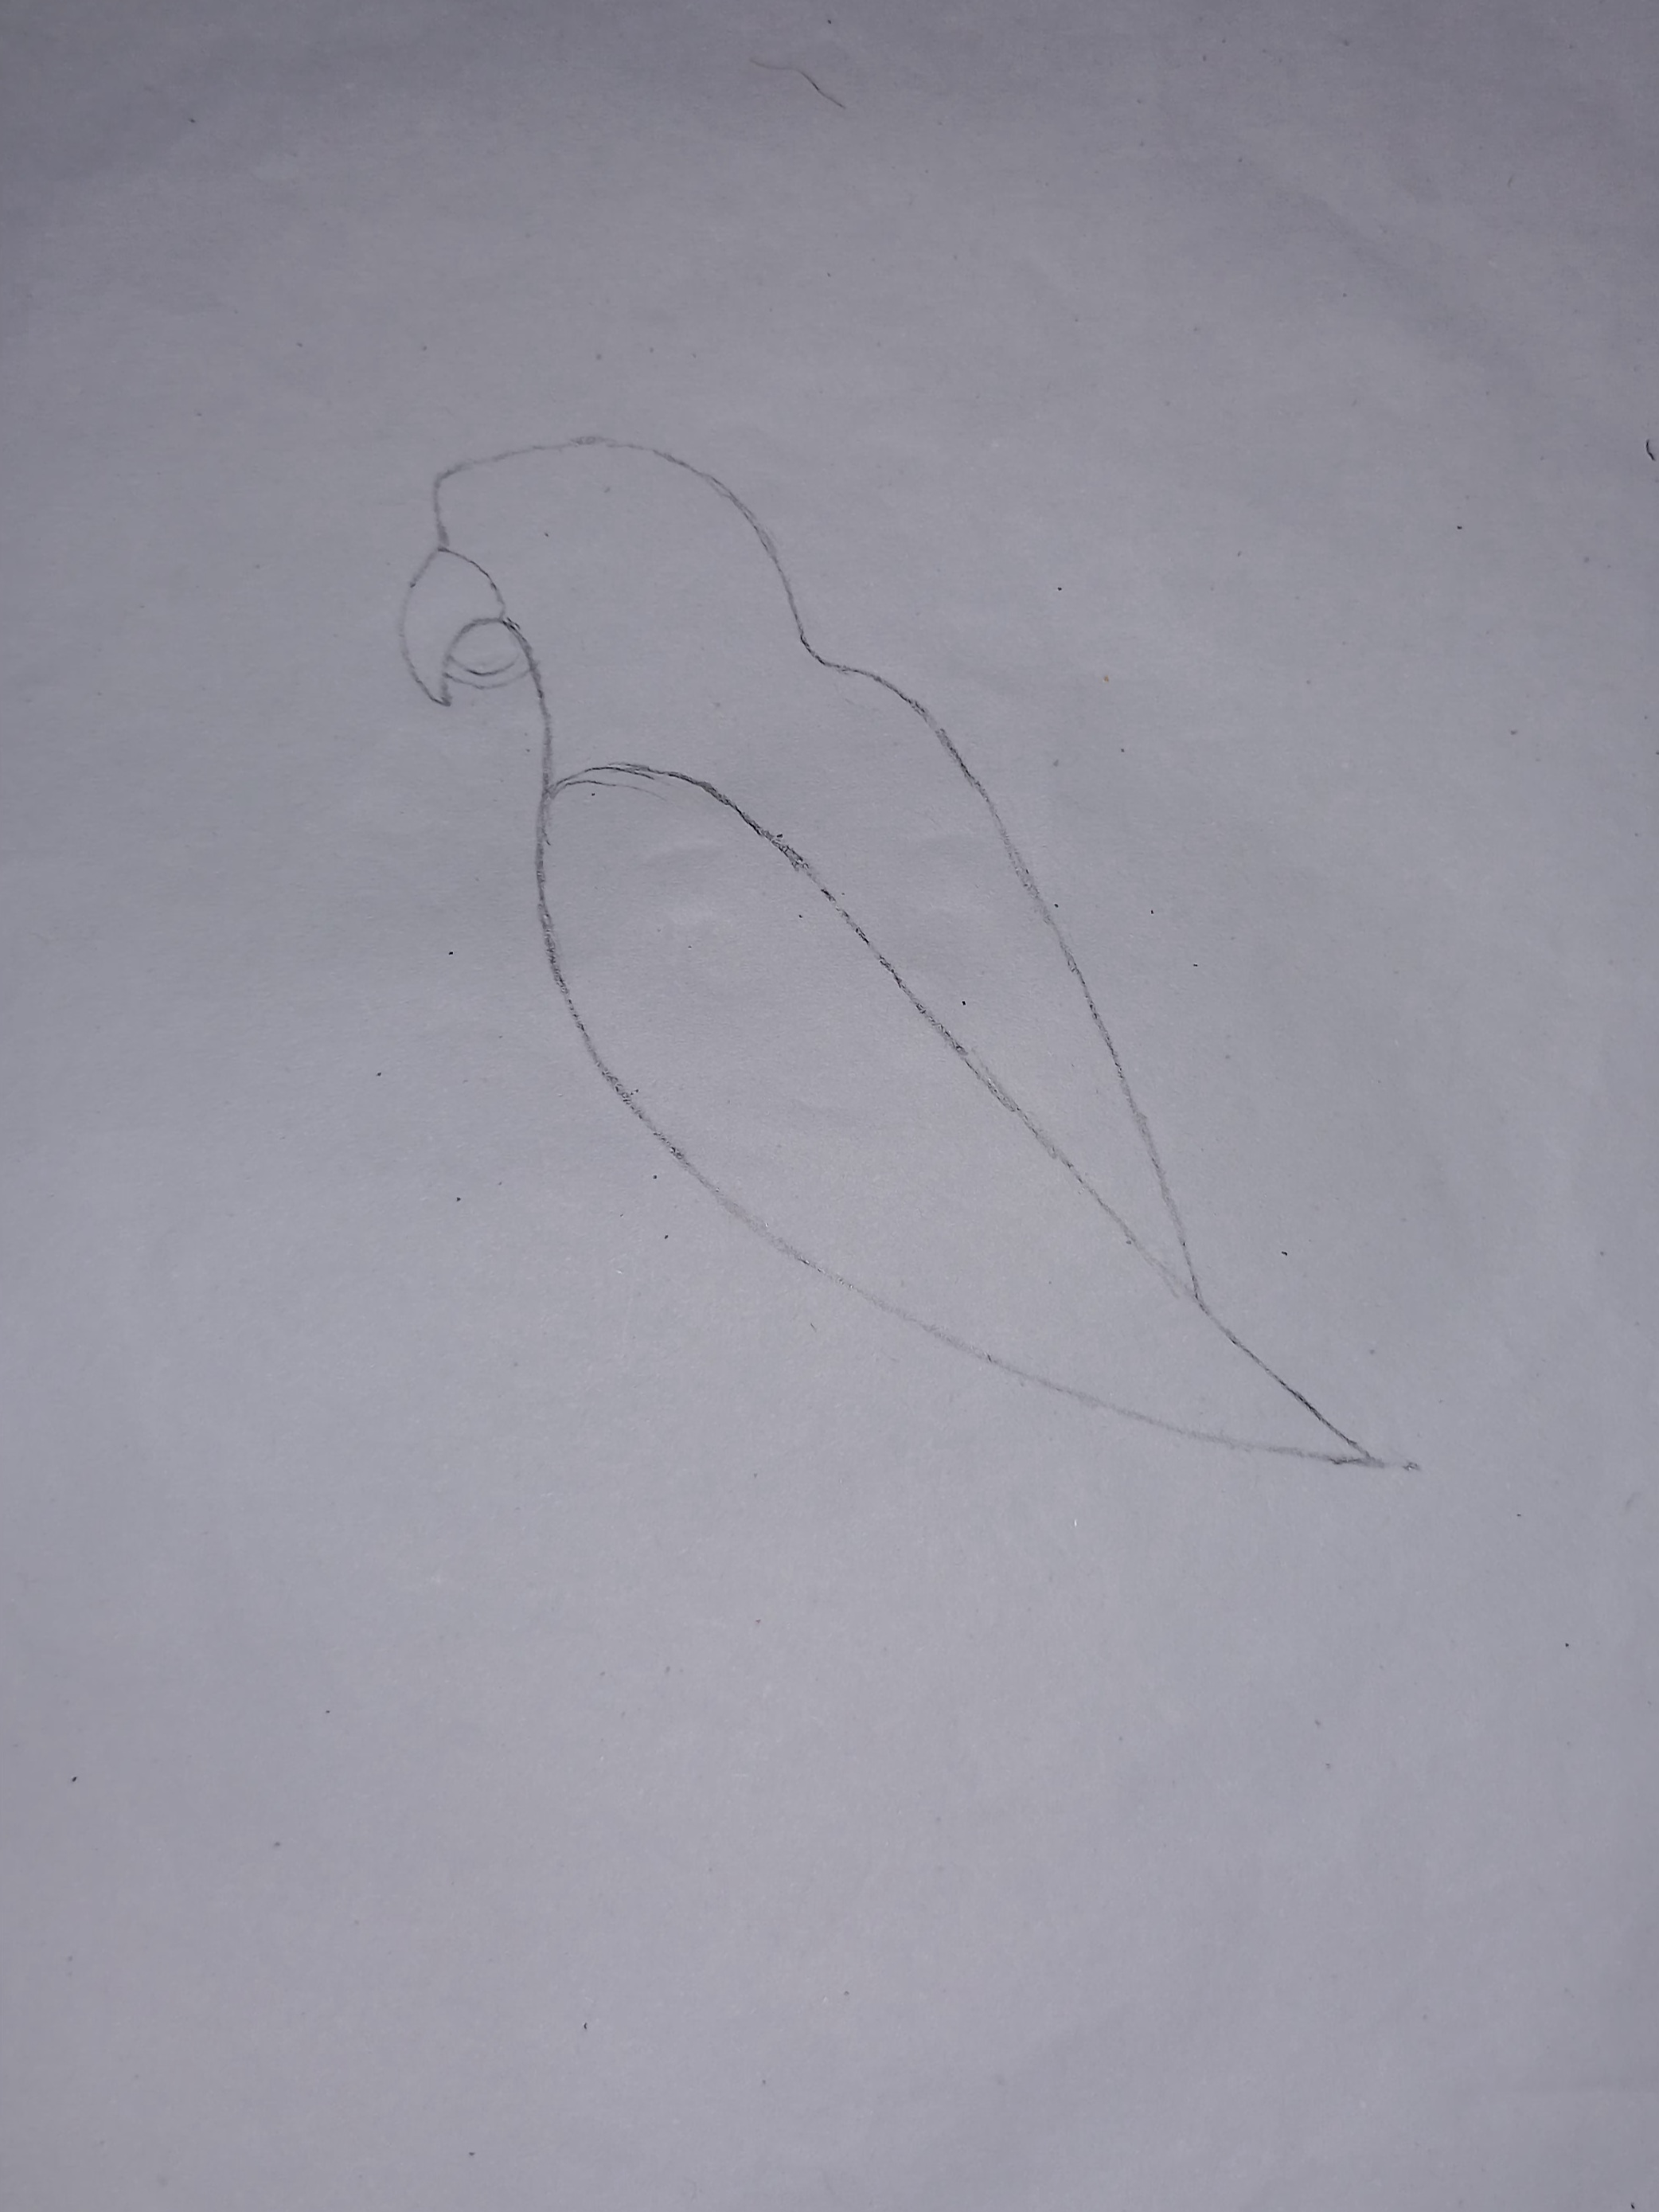
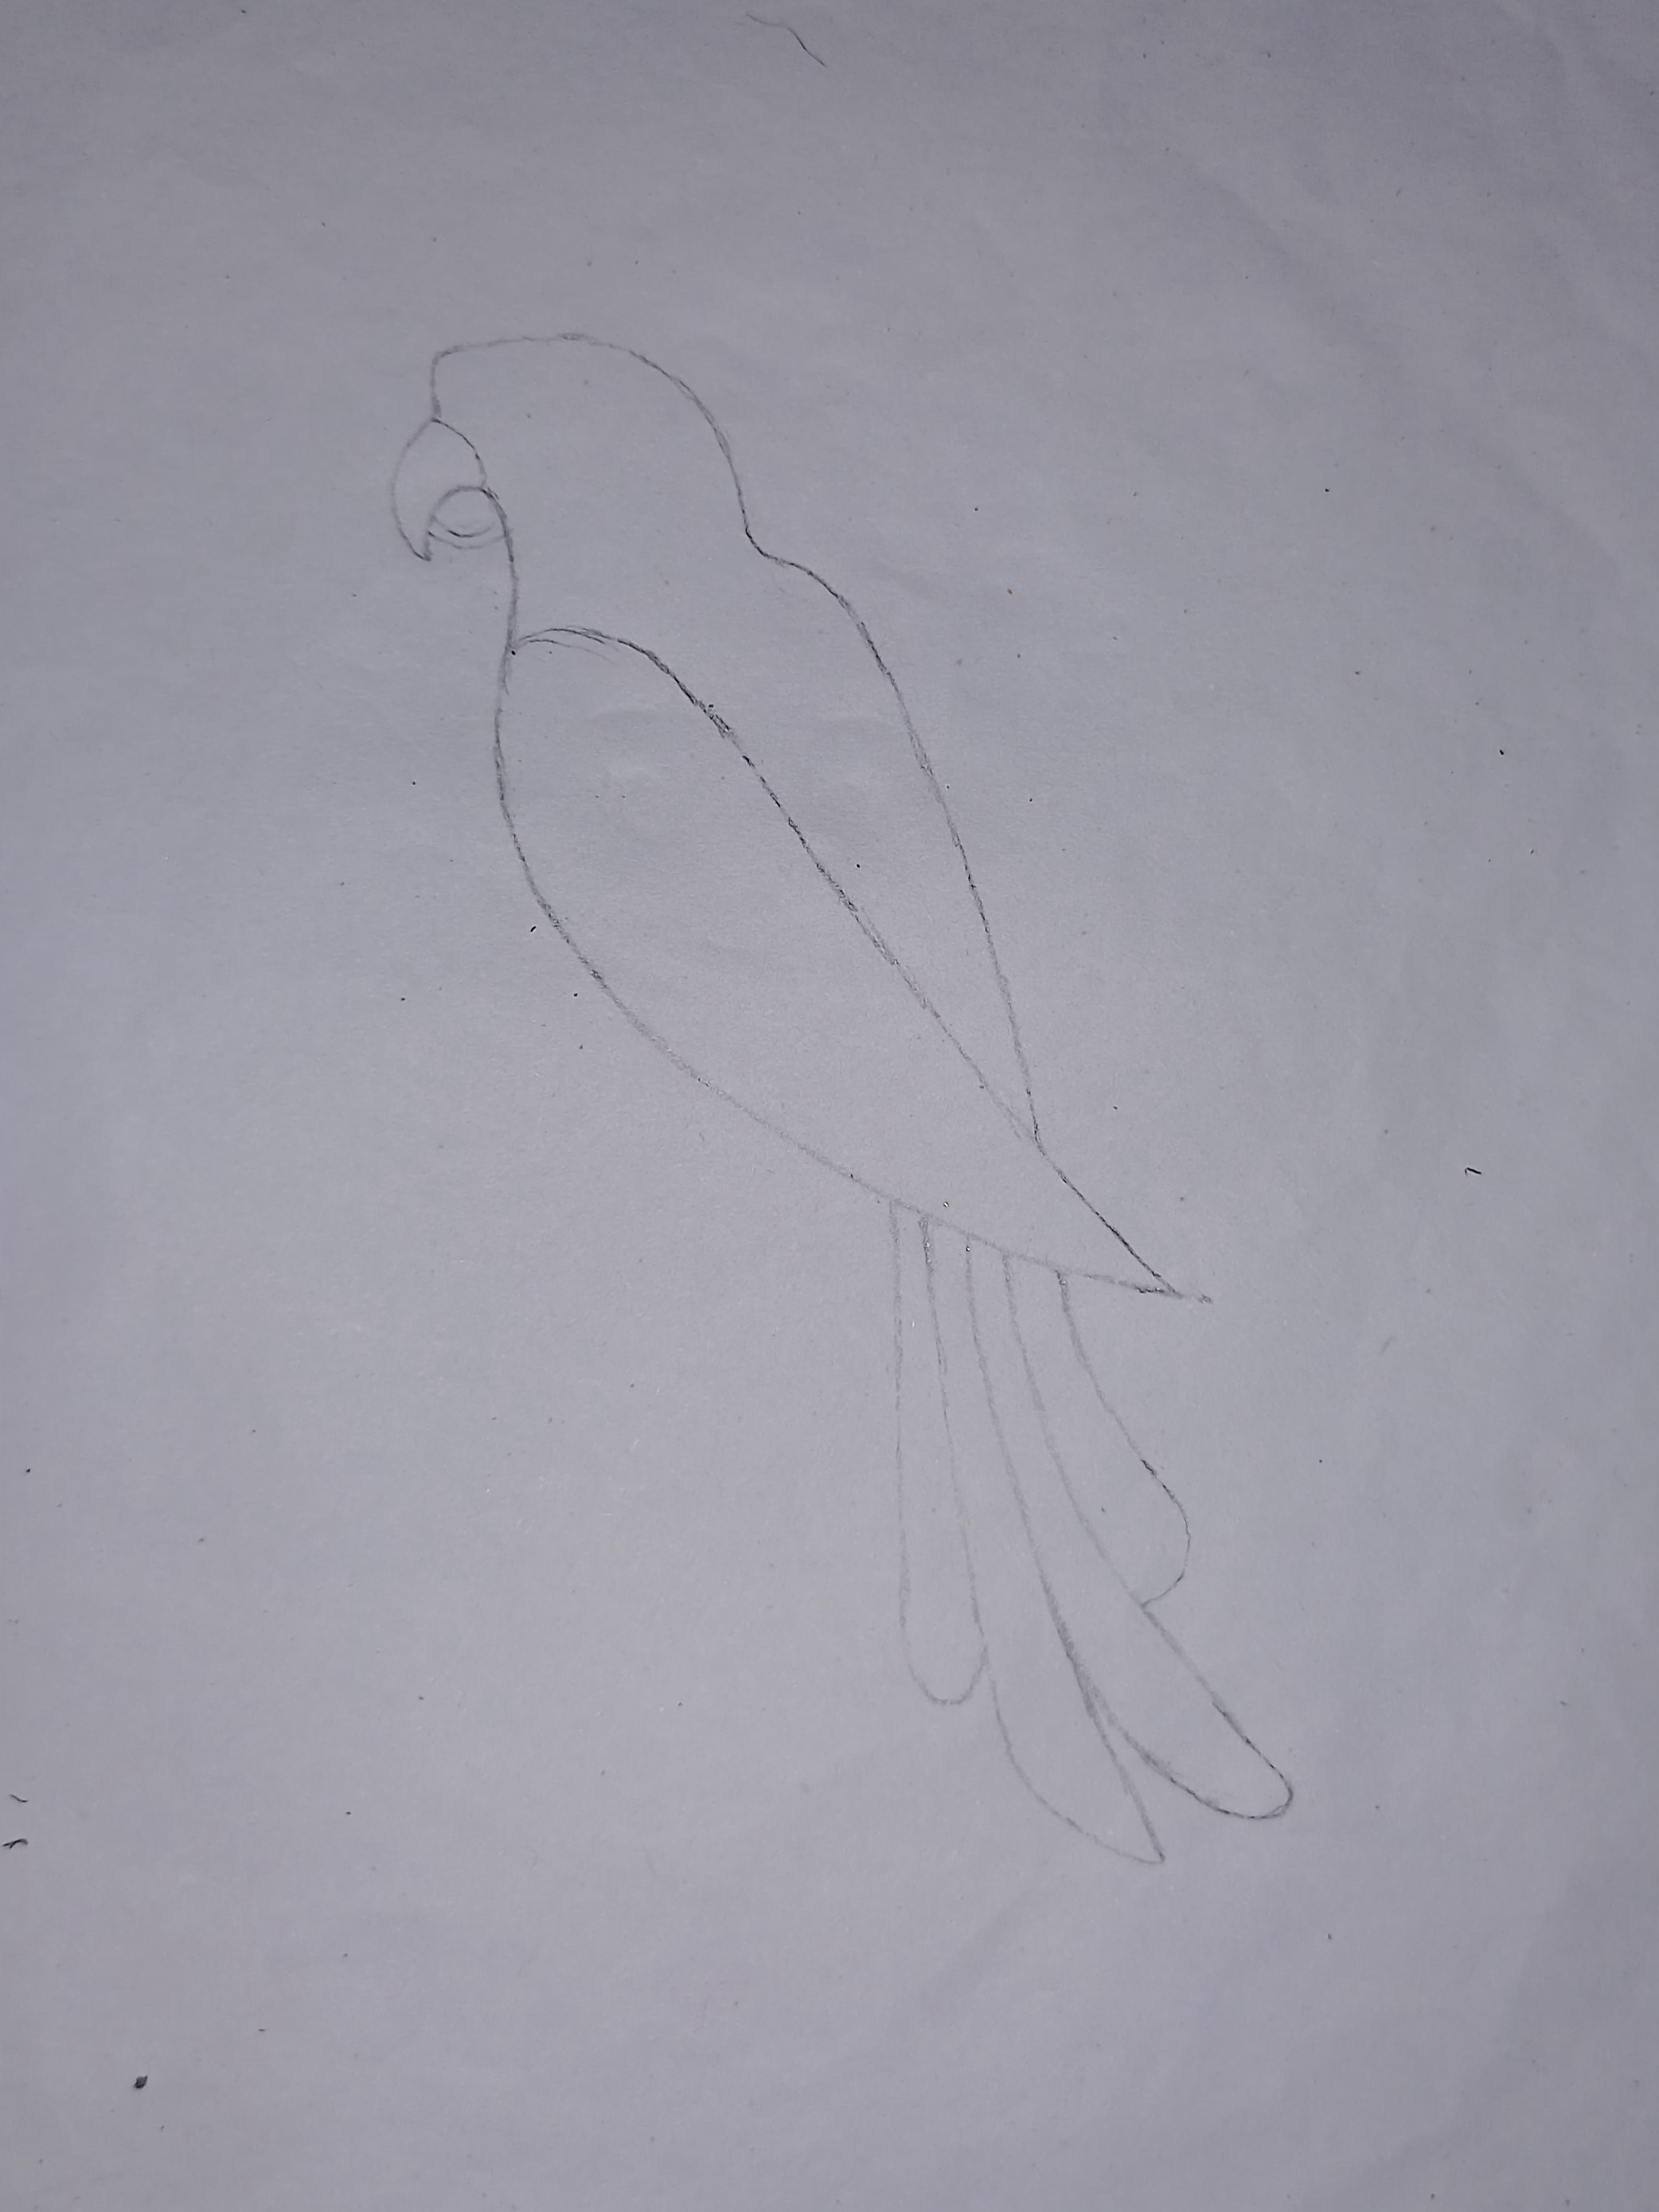
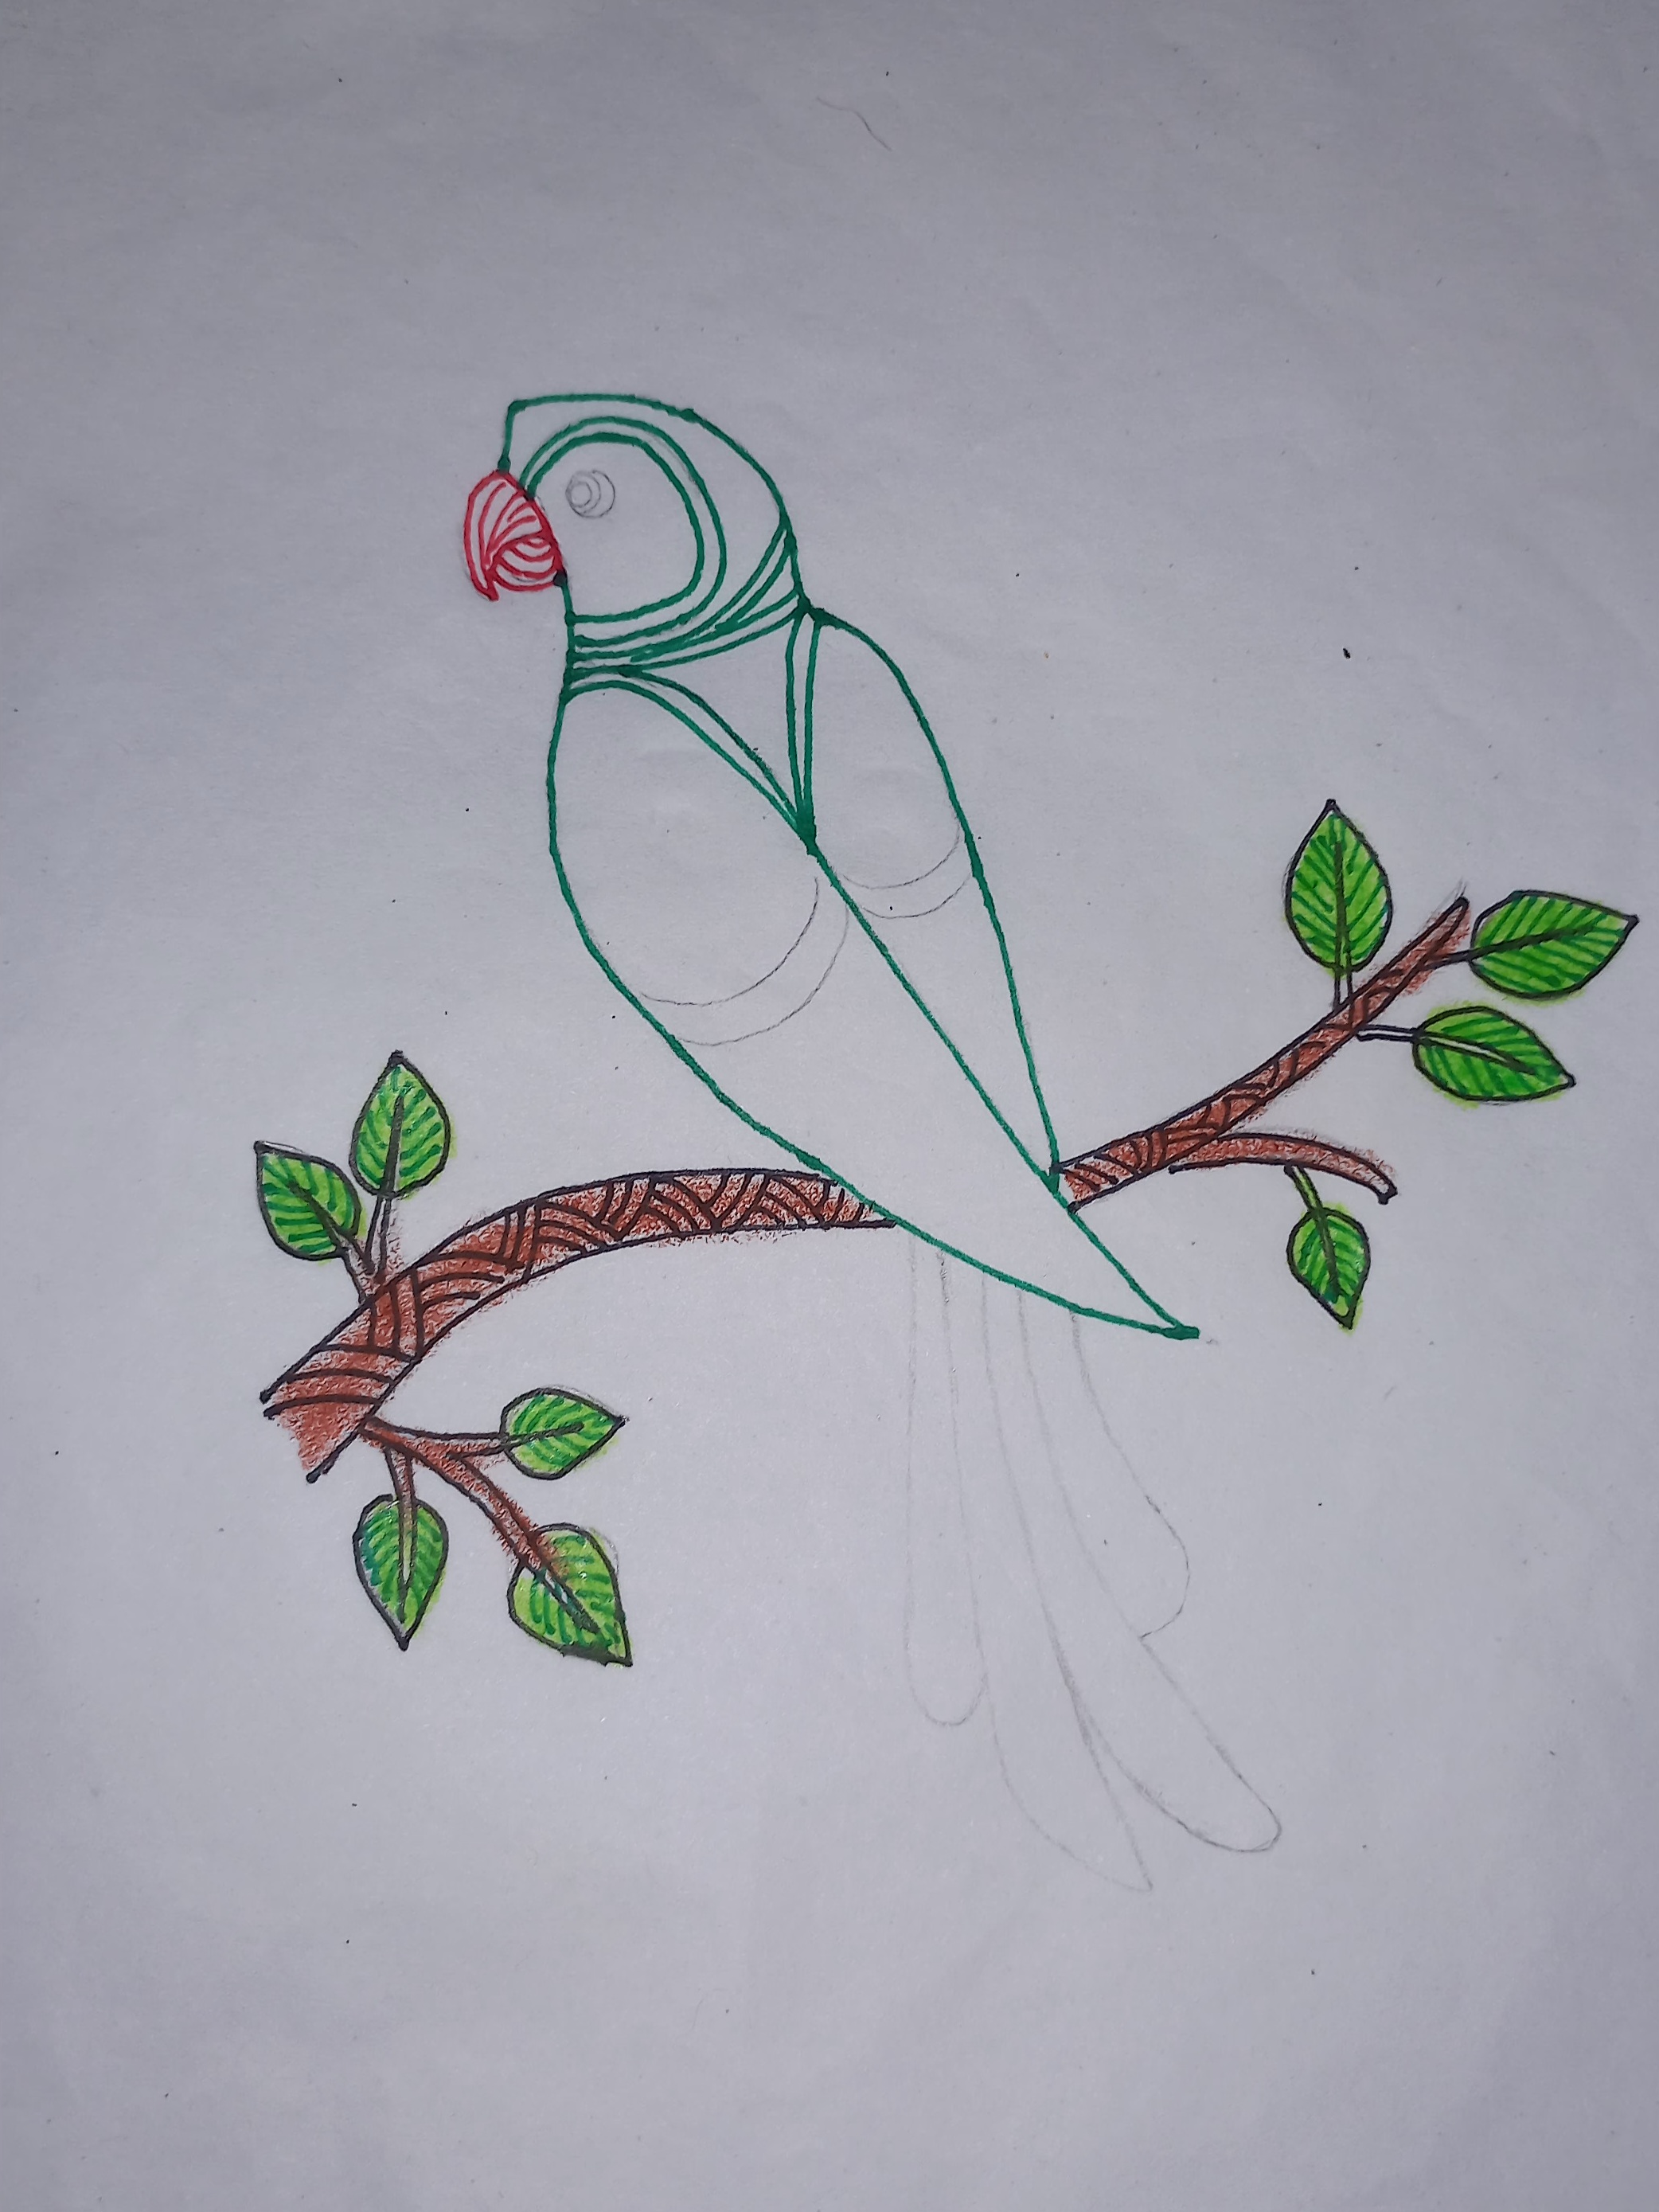
At first draw a parrot. Draw its beak first. Then draw head, long wings and at last long segmented tail.
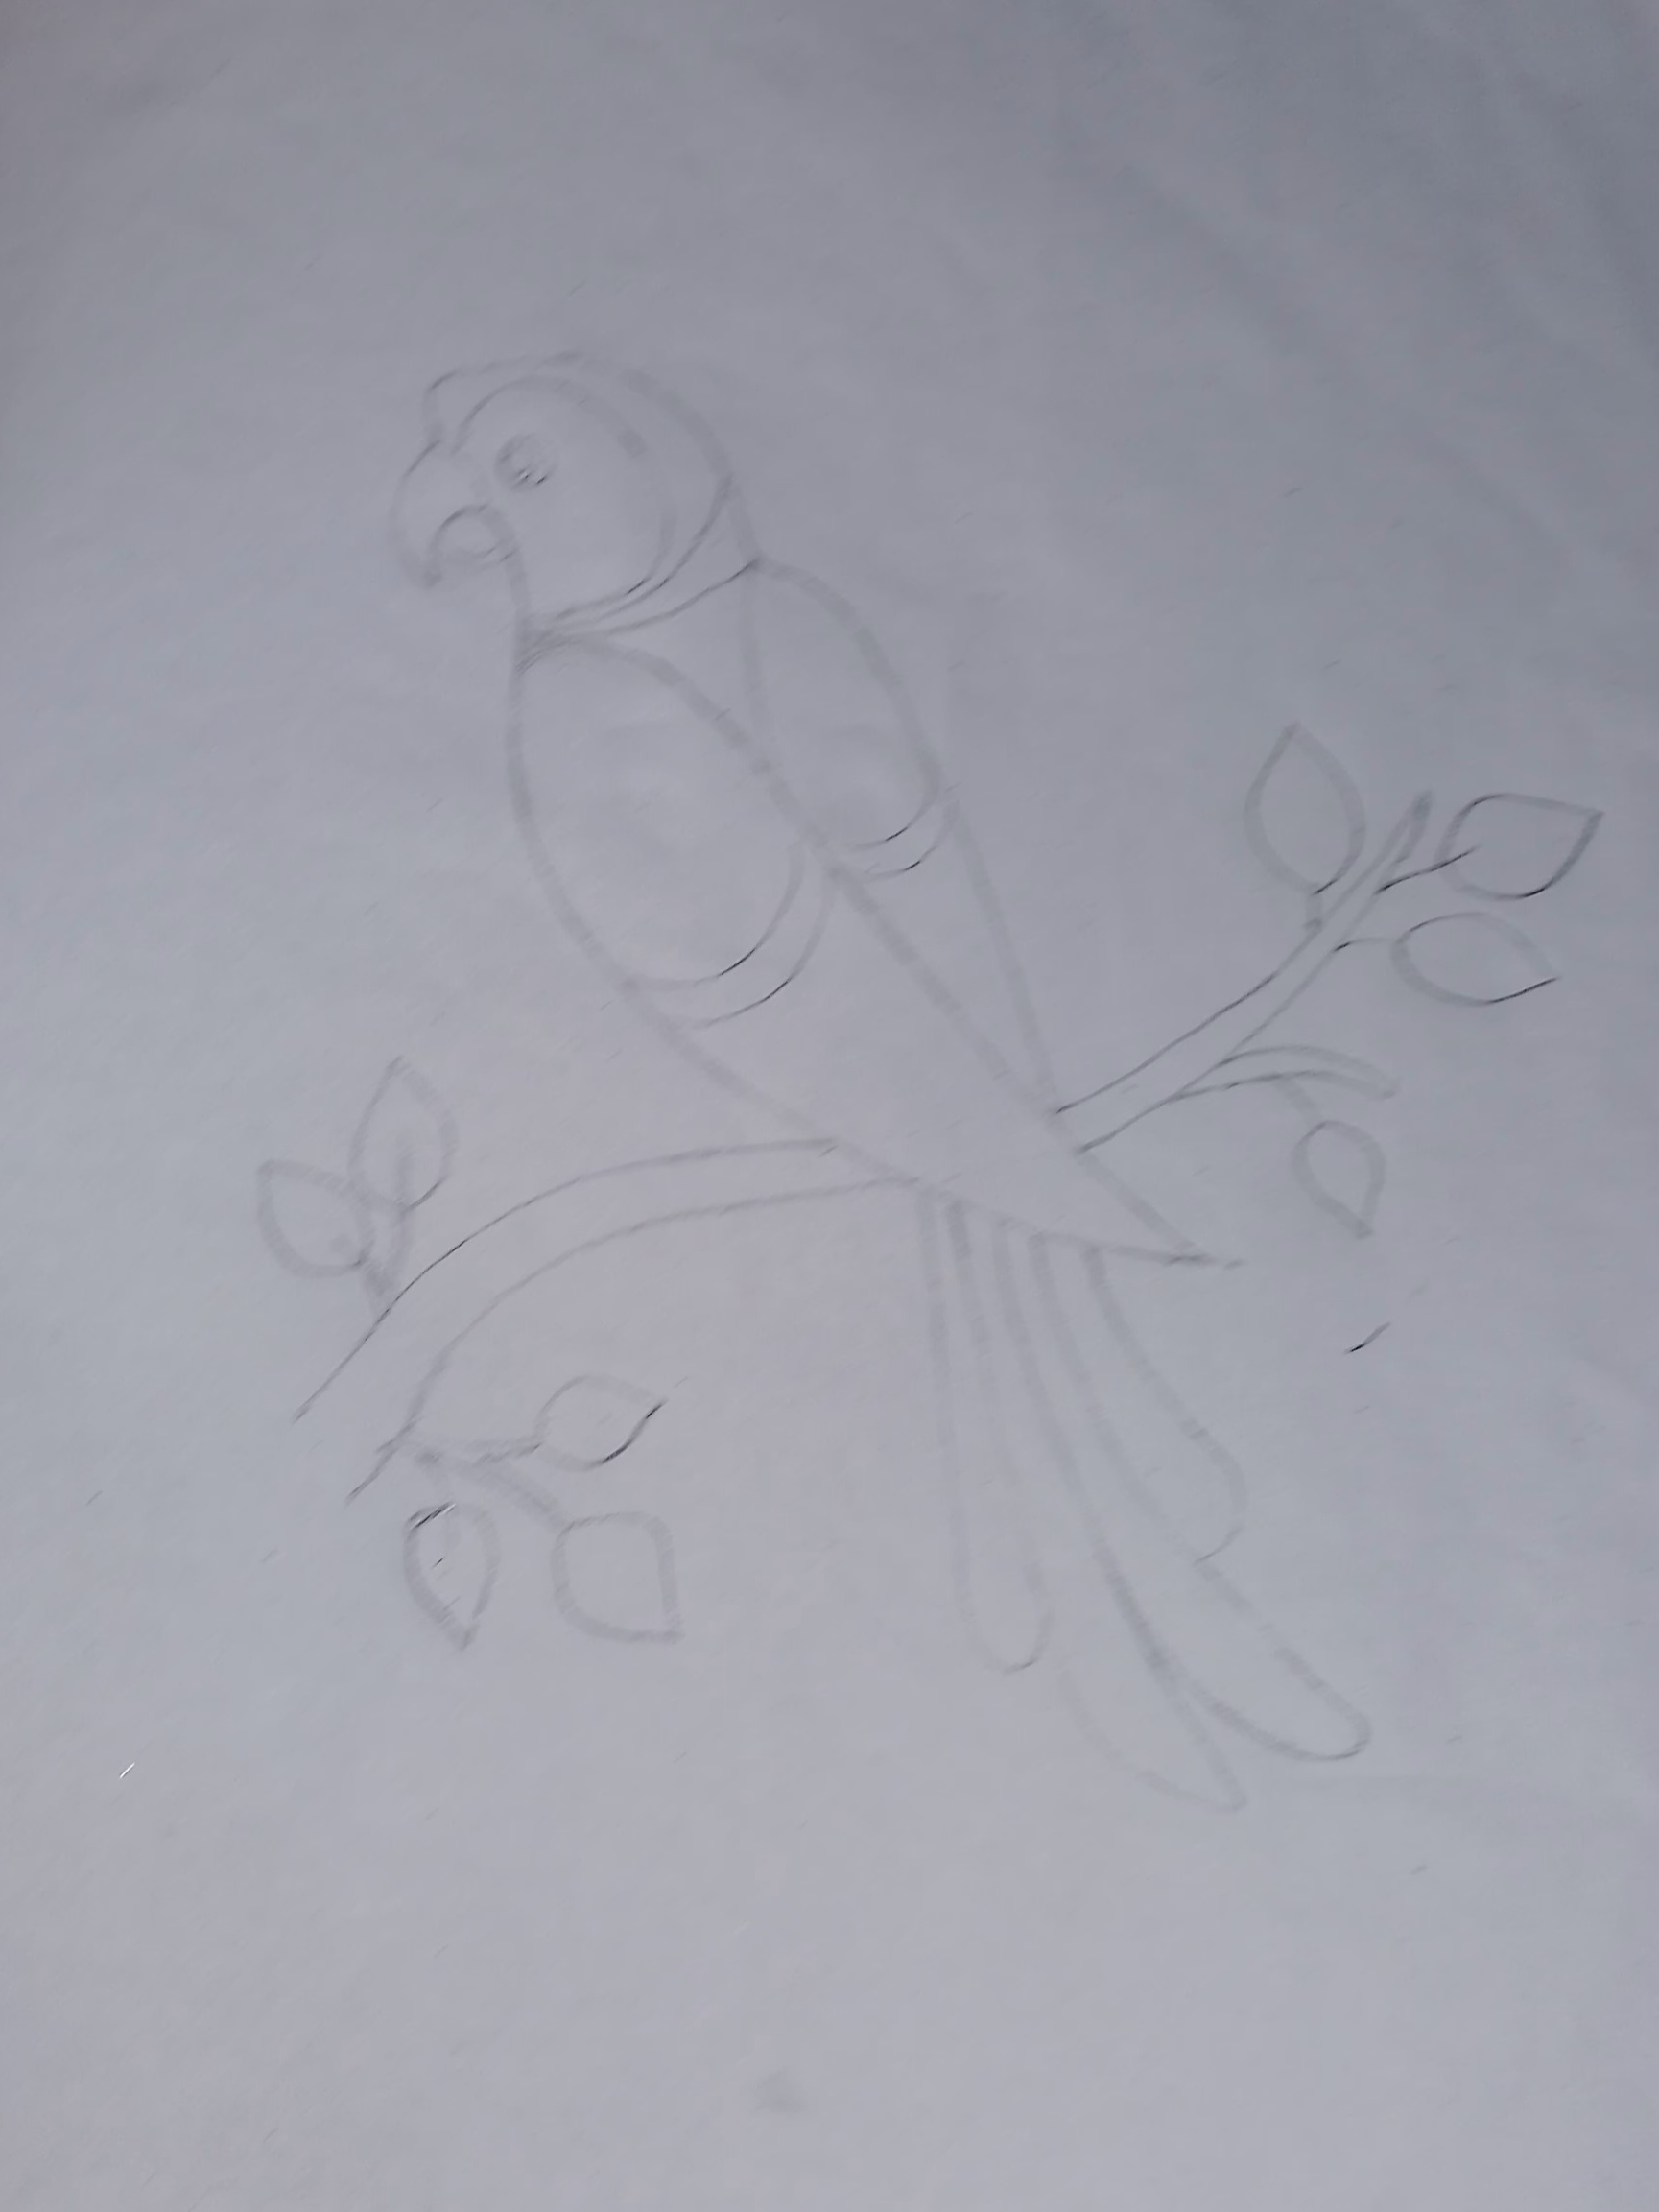
Draw a tree branch on which the parrot sits. Draw several leaves at two sides. Draw several segments of black lines in the branch and paint it with chocolate color. Paint leaves with light green color. Draw the beak outline with red and the bird's outlines with green color pen.
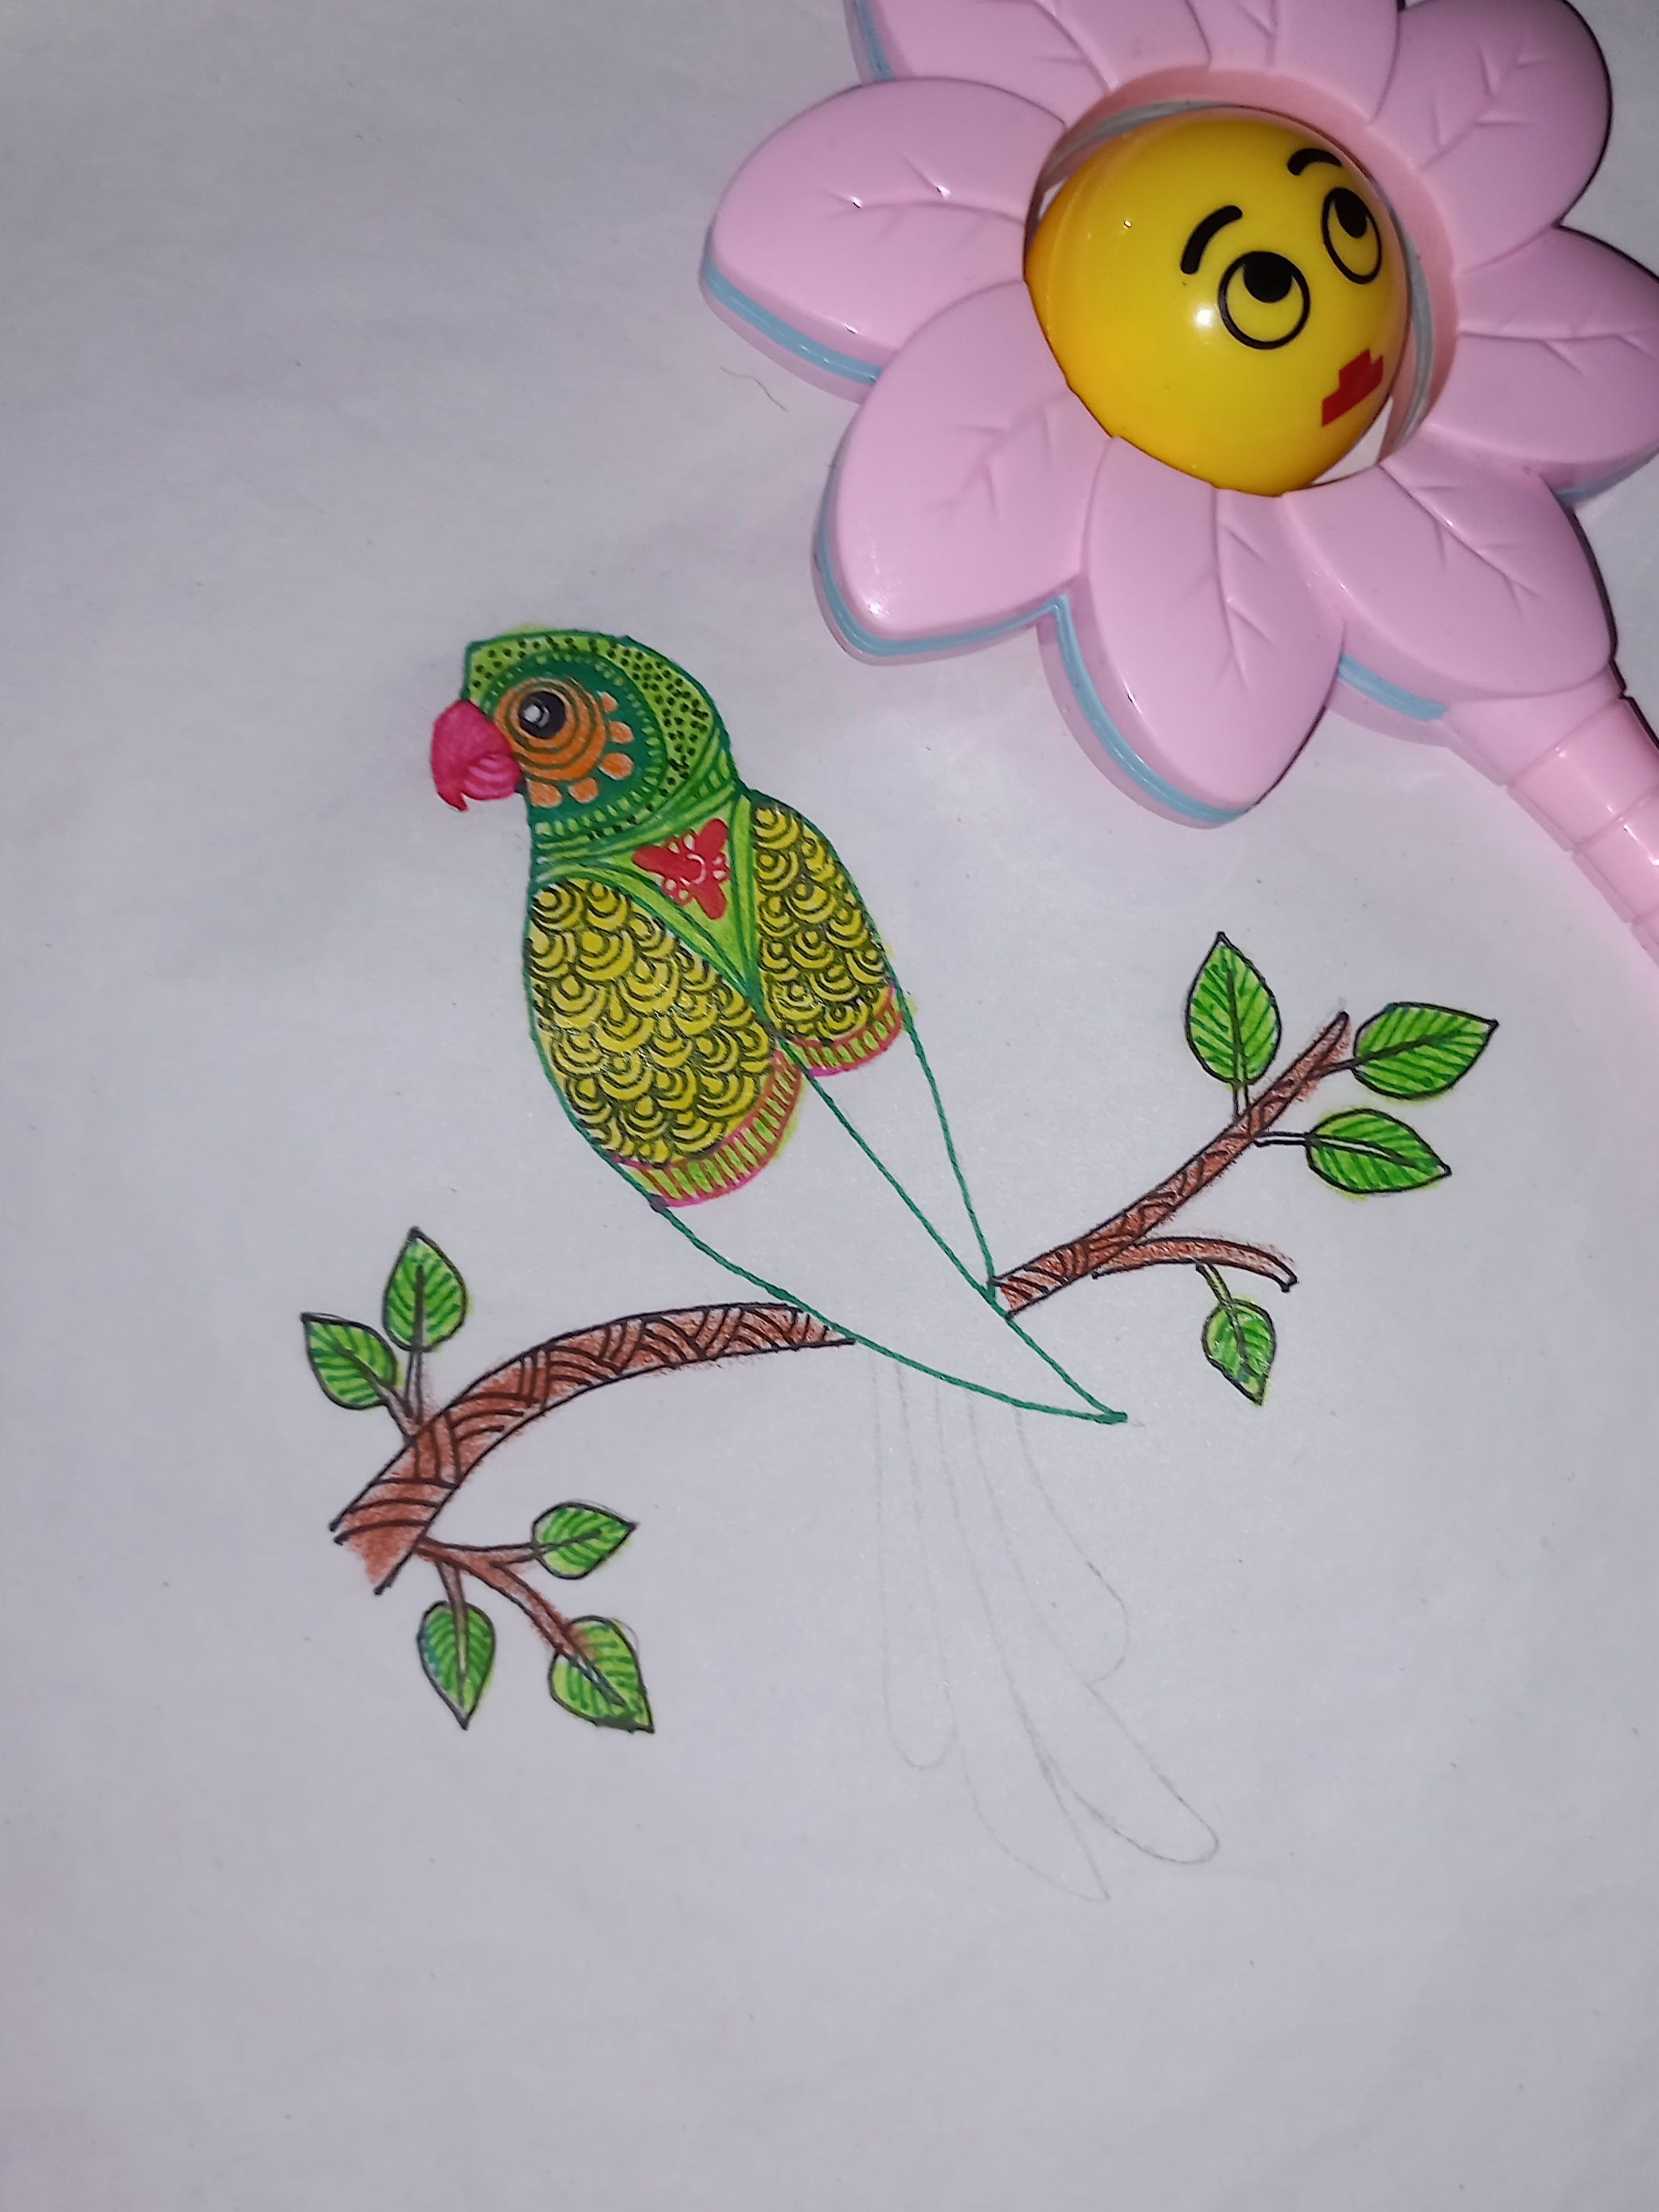
Design the beak and head area with red and green color pen respectively. Paint the eye with black color pen. Design its back with red and black color pen and paint with light green and yellow colors.
Design lower body part with red color pen and paint with pink color. Design the tail segments with green and blue color pens and paint with light green color.
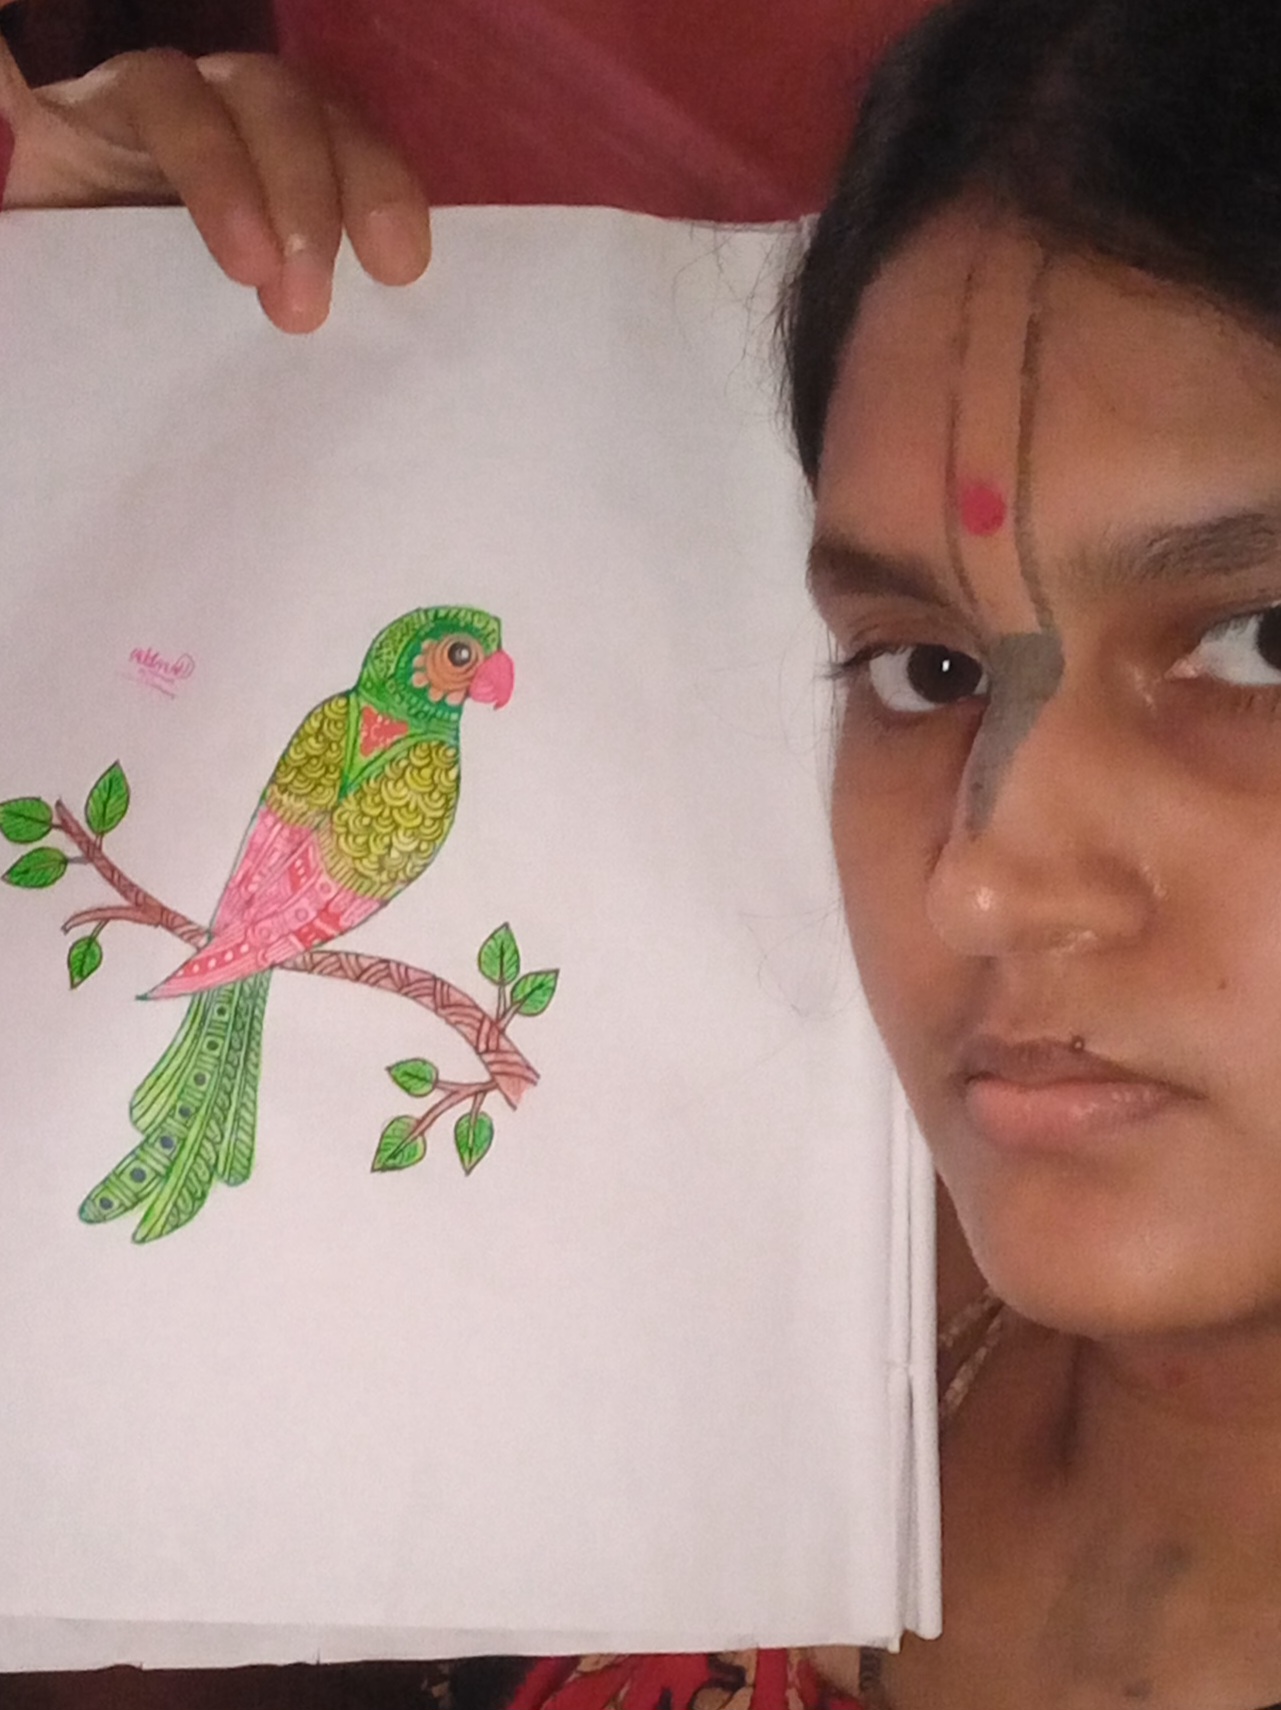
This beautiful parrot drawing and designing is finished here. I have explained the detail process in the above four steps. Hope you all have enjoyed this amazing drawing tutorial so much. Ending here for today...