Drawing tutorial || will Smith pencil portrait
Hello, dear Steemians!
I hope everyone is doing okay, and welcome back to my blog, and I wish you all a productive week. Today, I am excited to share the complete process behind my latest pencil portrait of the legendary actor, Will Smith. His bright smile, expressive eyes, and well-defined facial features inspired me to recreate his portrait using only graphite pencils. Every new portrait teaches me something different, and this piece was no exception. Below, I will take you through the steps I followed to complete this drawing.
Drawing items
• A4 paper
• mechanical pencil
• 2B and 5B pencil
• graphite pencil
• charcoal pencil
• black pen
• eraser
• blending tissue
• sharpener

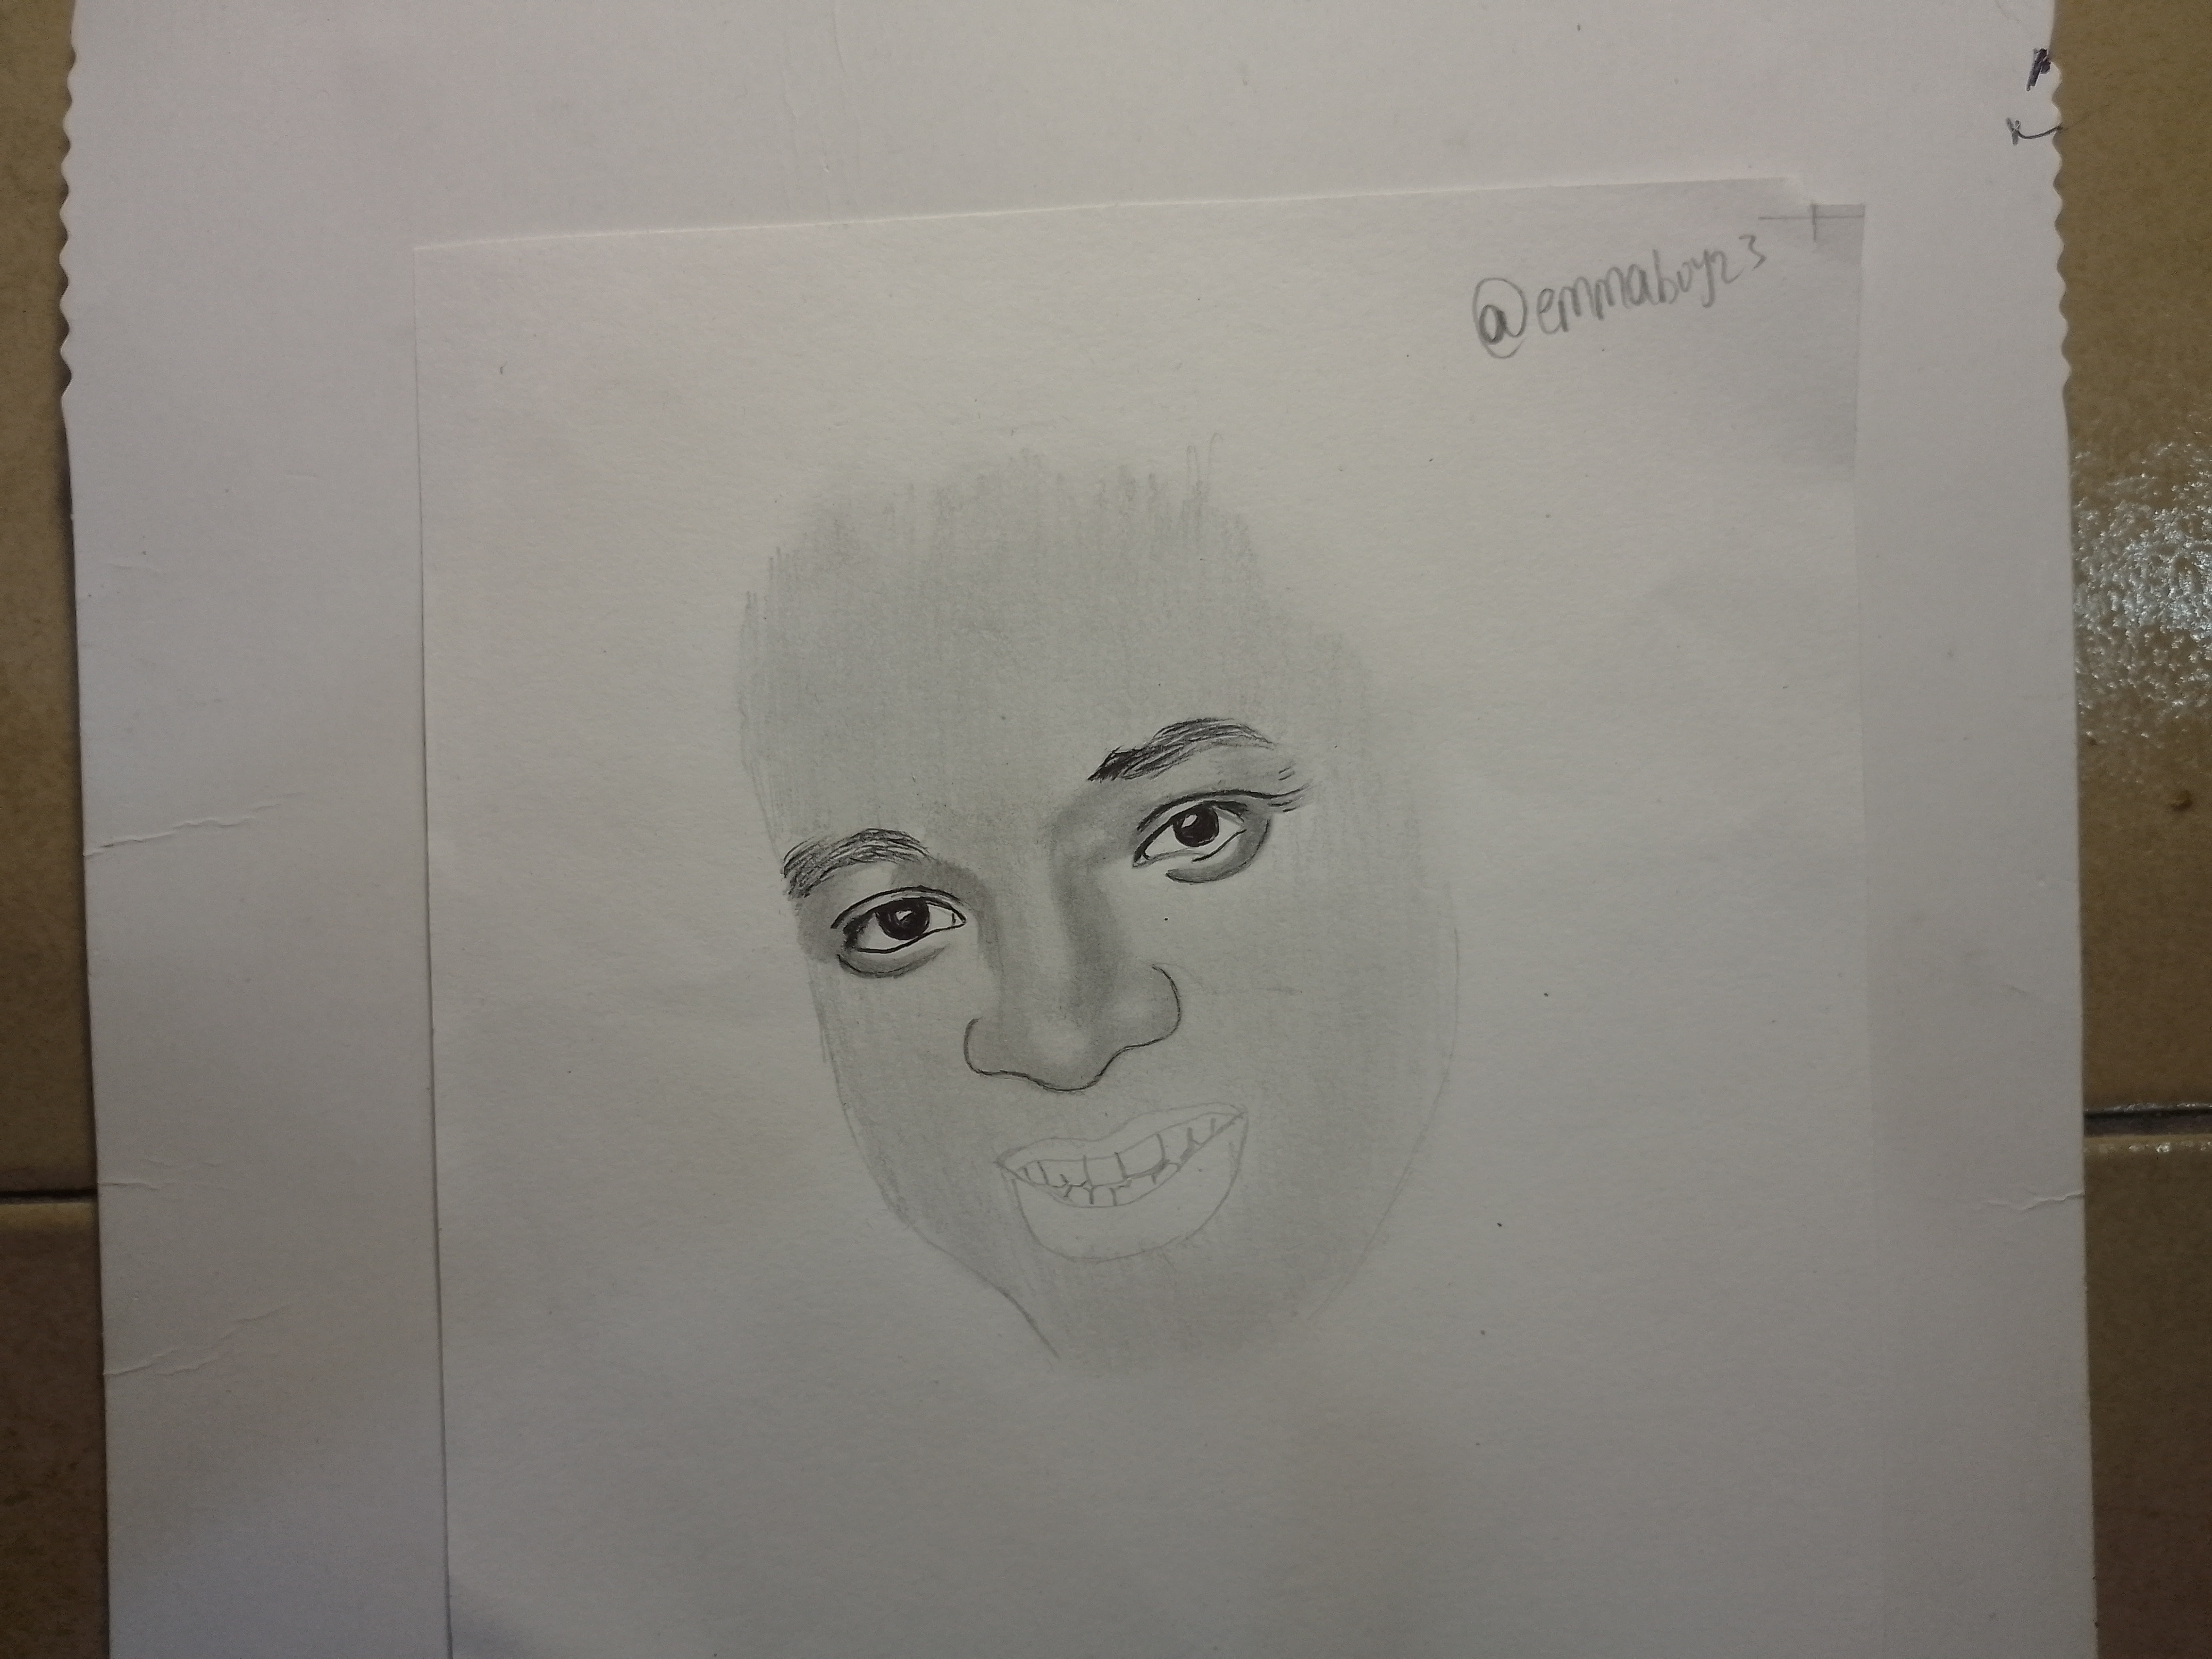
Step 1
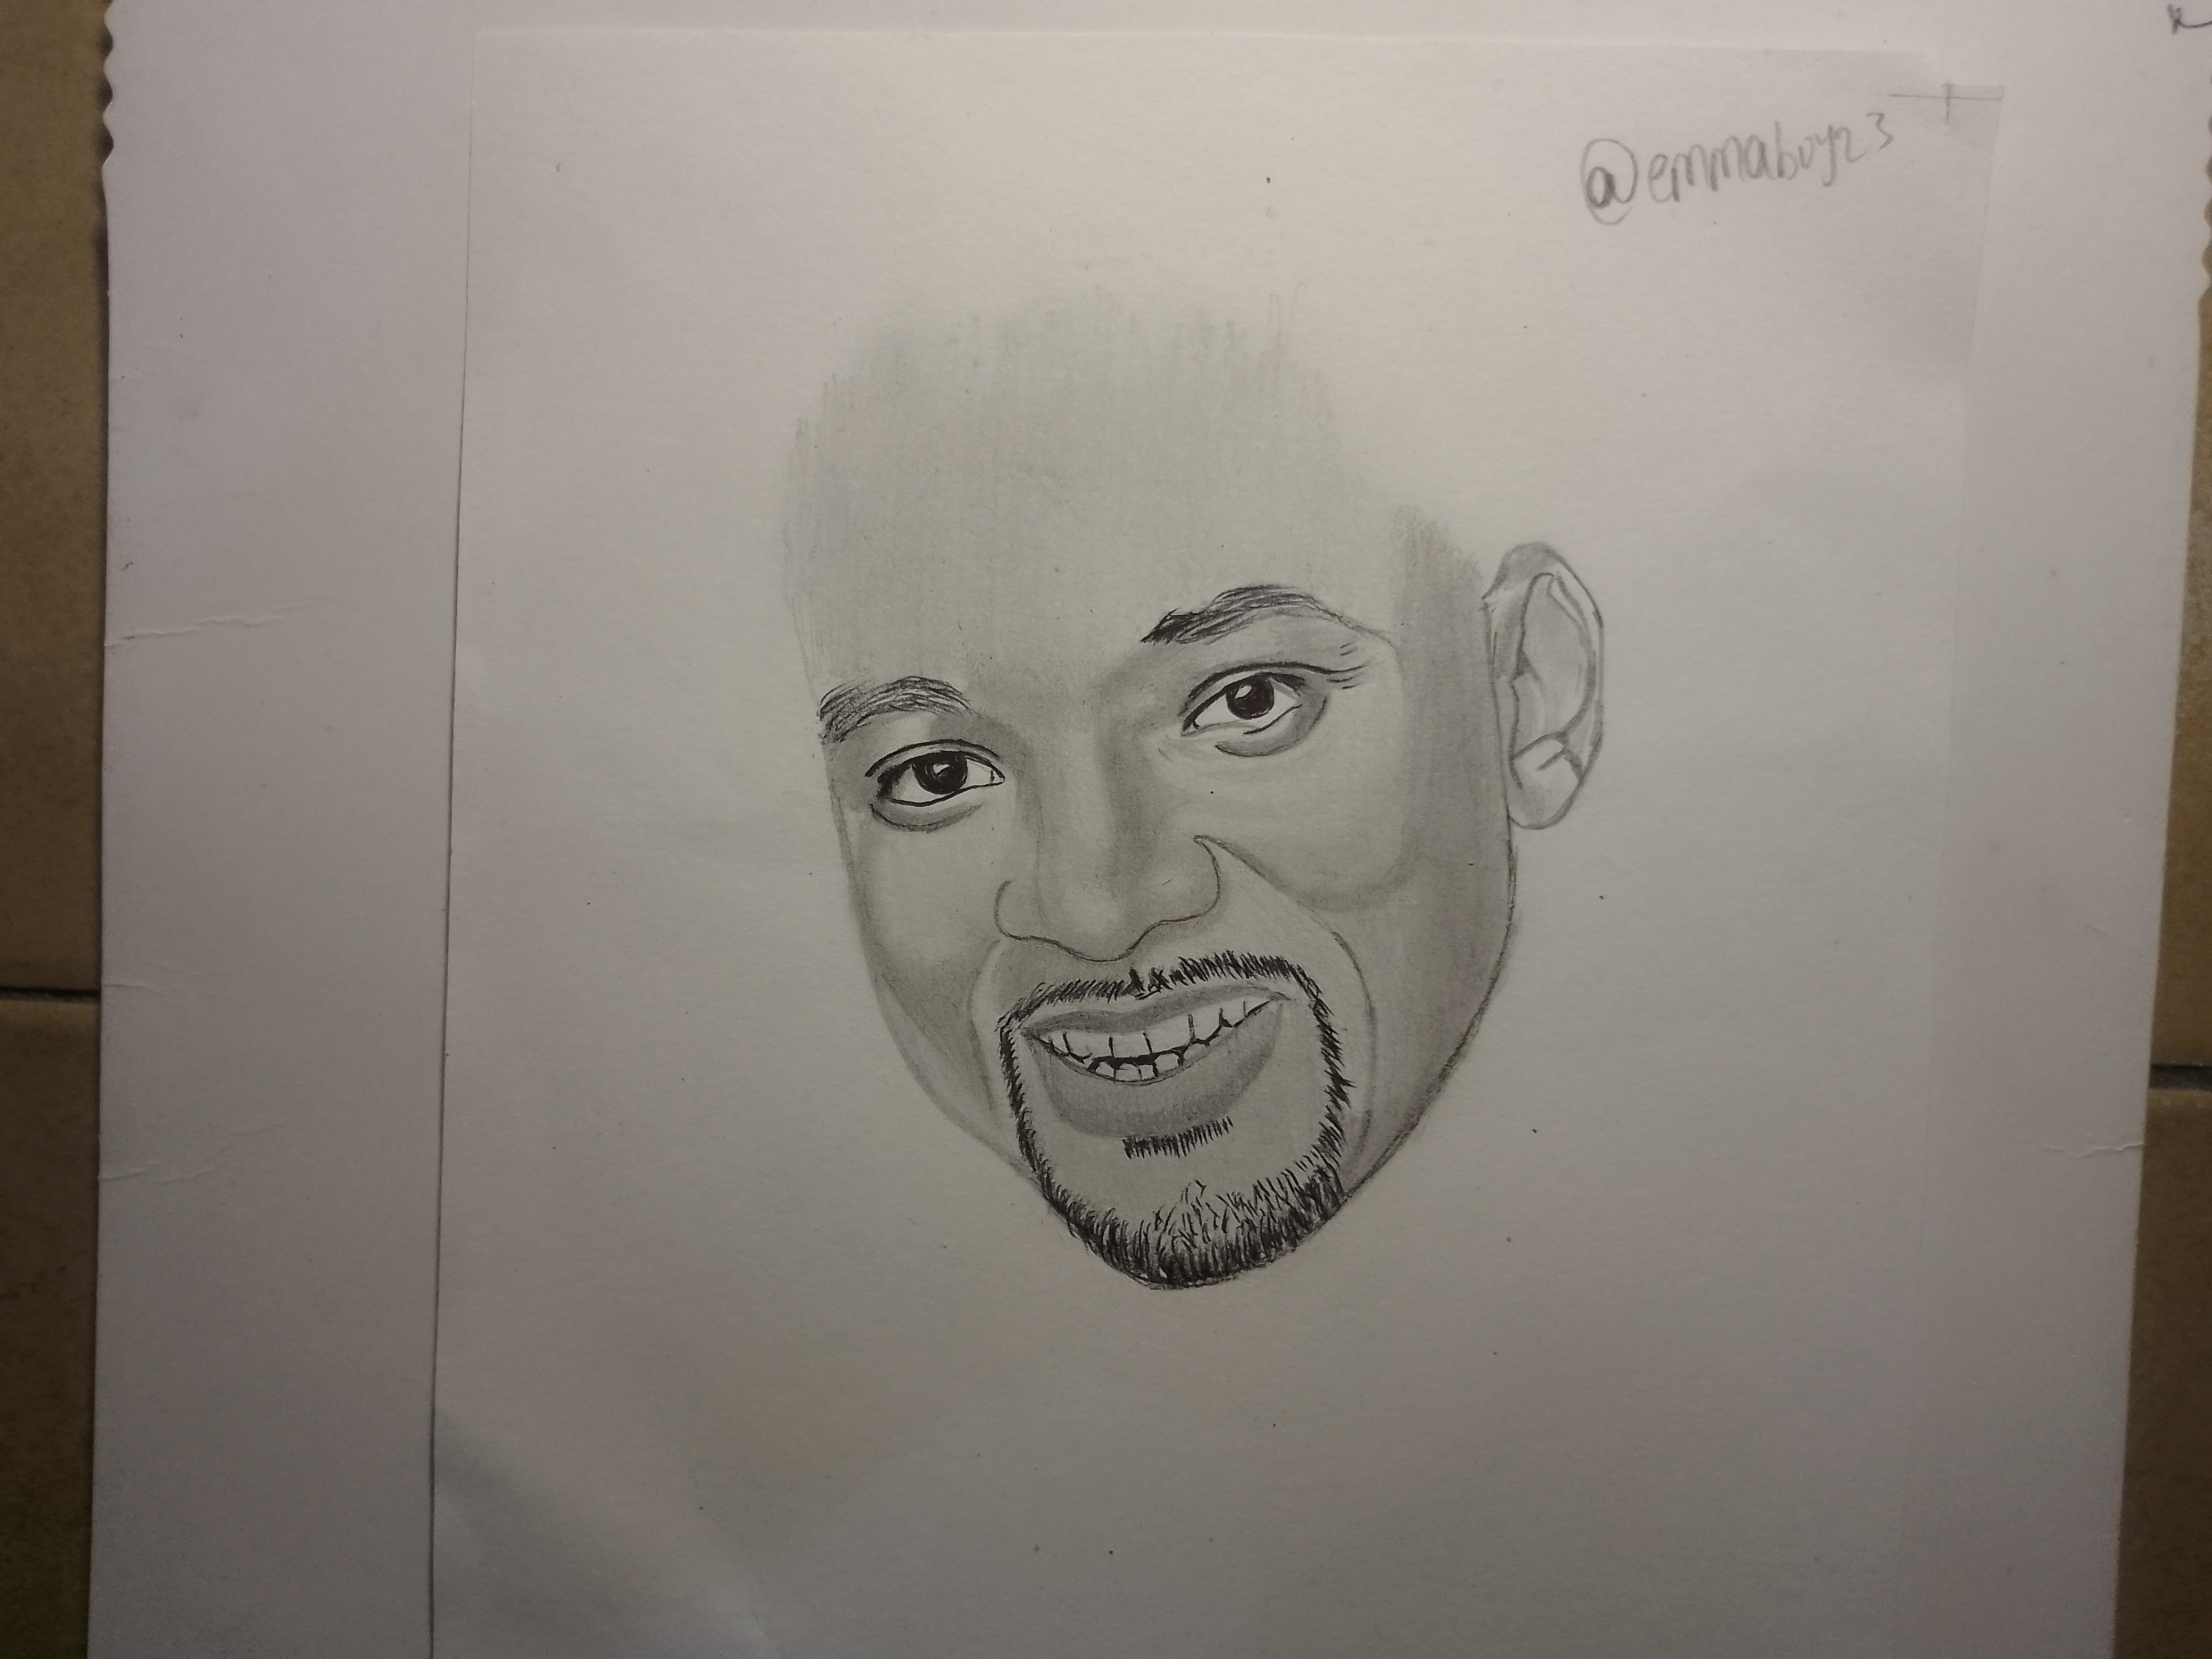
I started by drawing the facial features first. I drew the eyes first since they usually become the center of attention in every portrait. I carefully developed the eyebrows, eyelids, pupils, and highlights before moving on to the nose and lips.
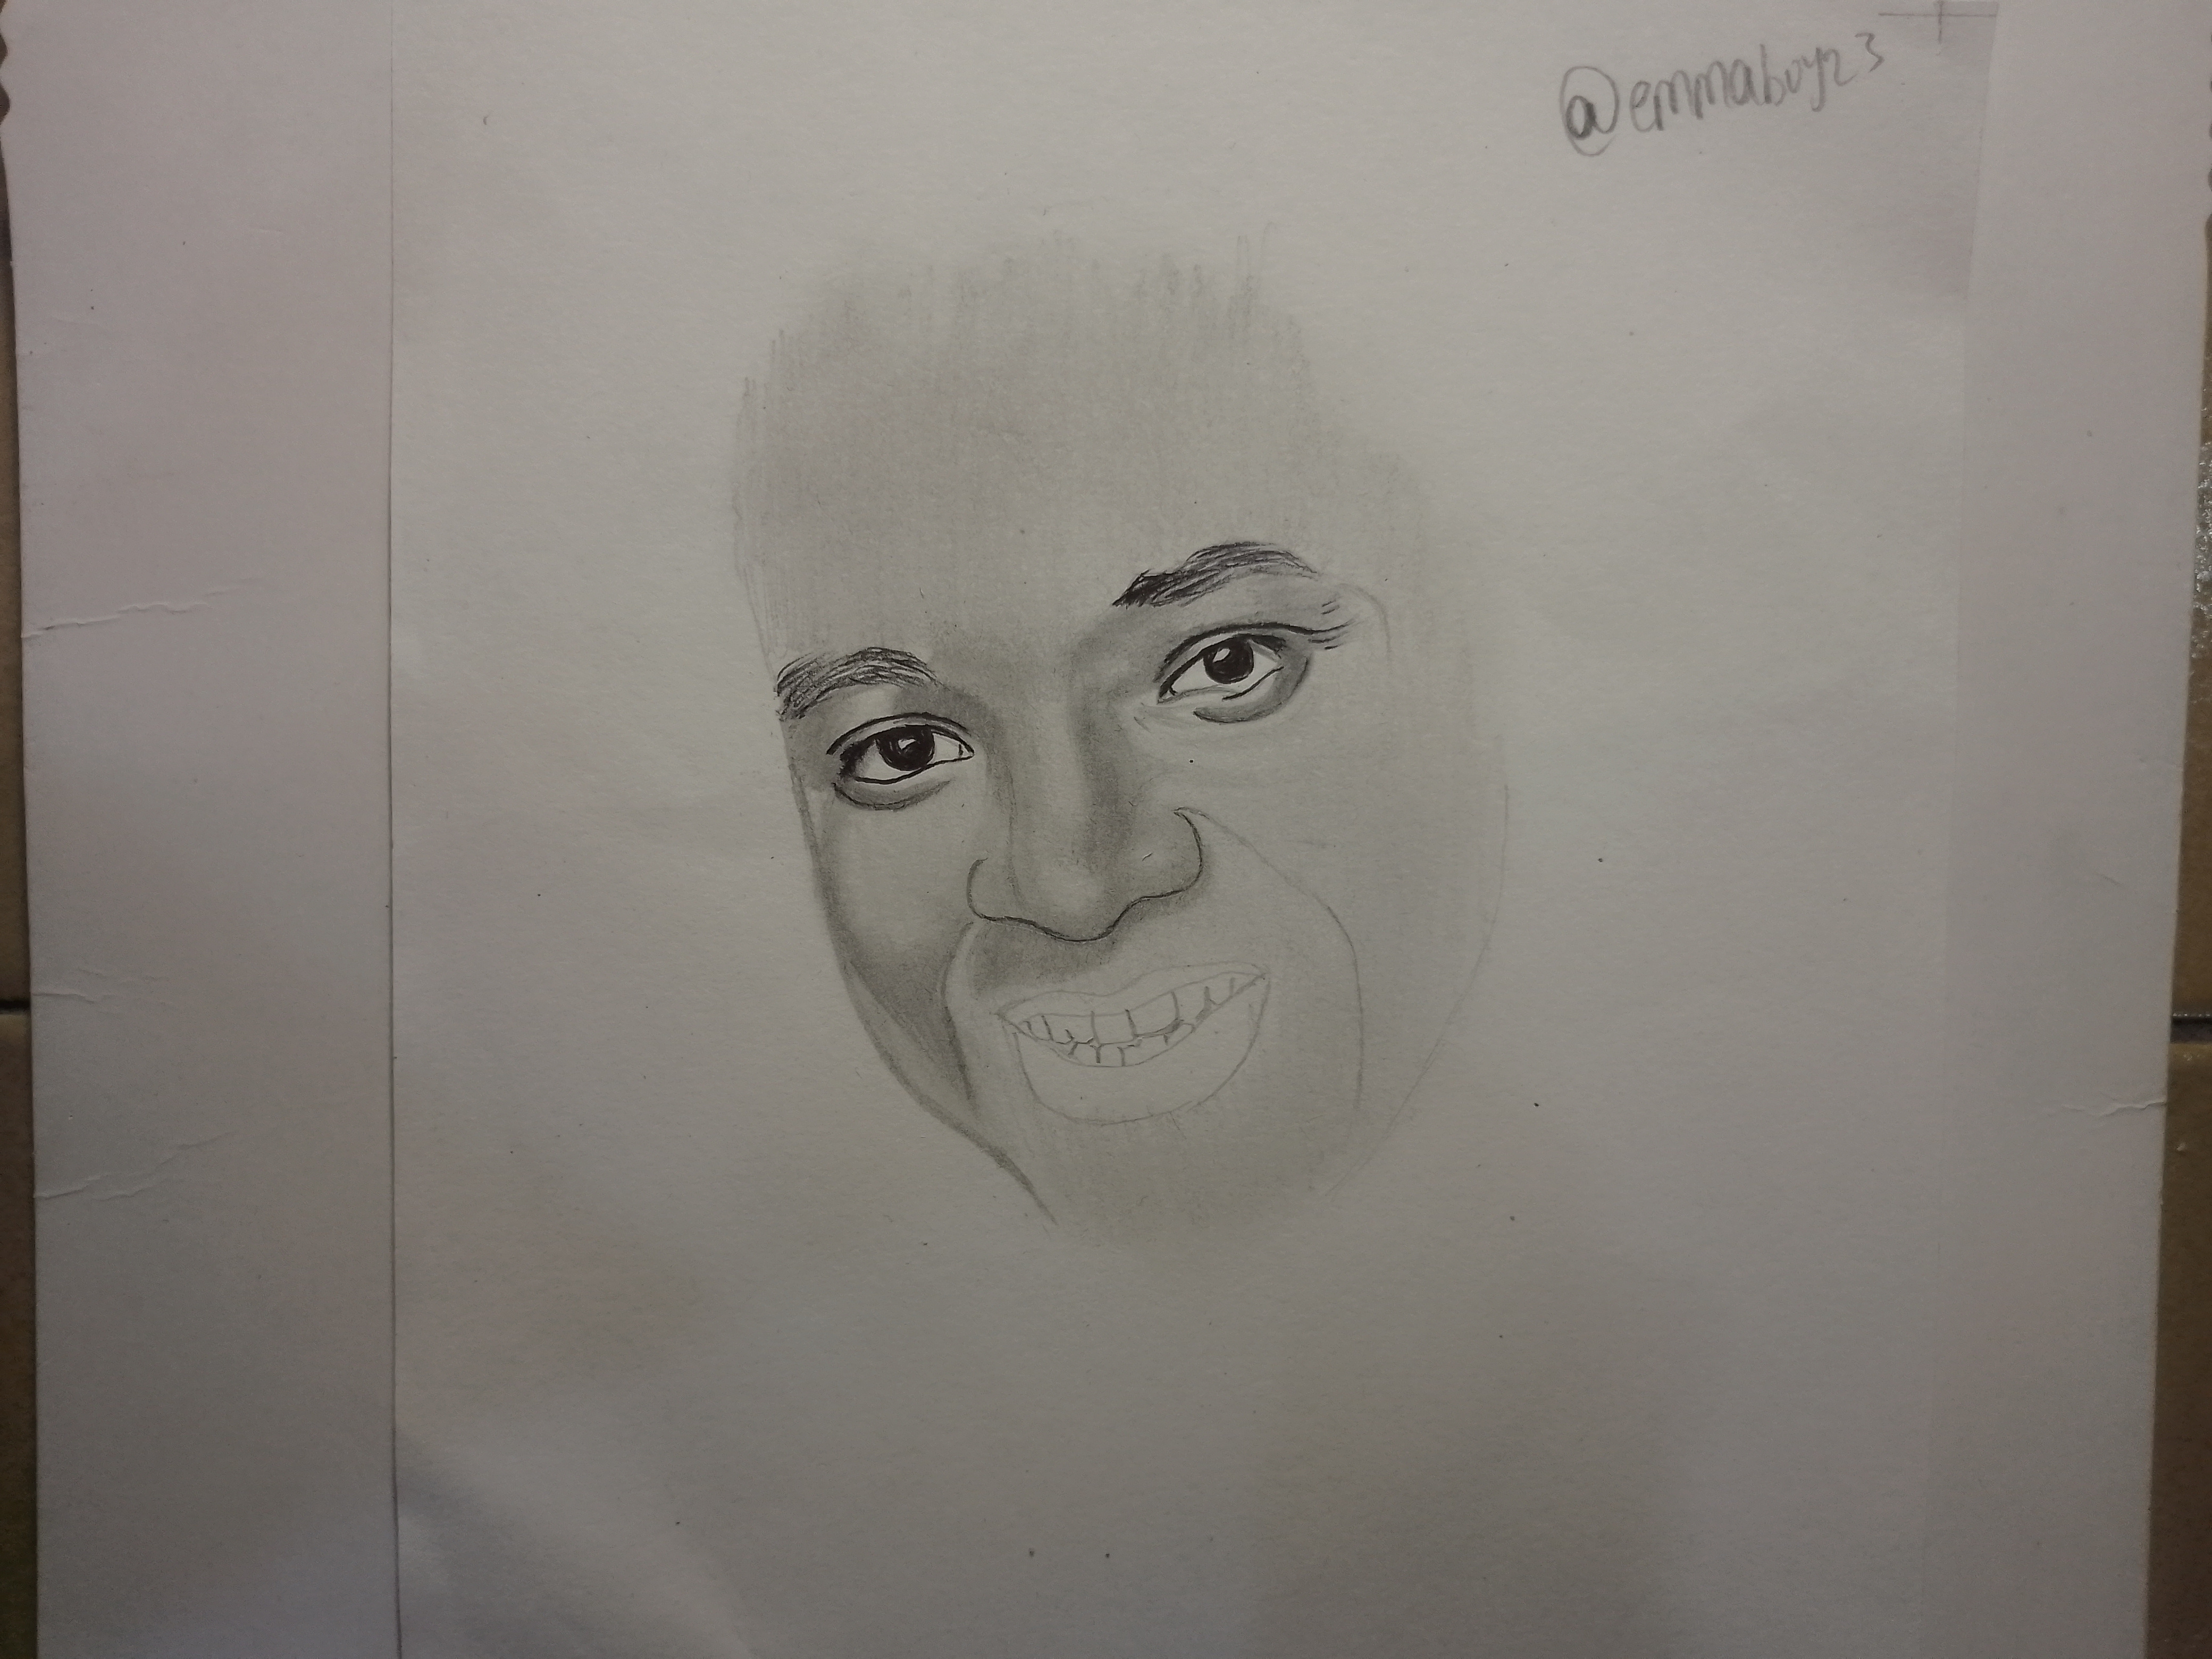
Step 2
Next I began to shade; I slowly built multiple layers of shading across the forehead, cheeks, nose, and jawline. I blended the graphite carefully to create smooth skin tones while preserving the brighter highlights that give the portrait a three-dimensional appearance. I also added the beard's while shading the face.
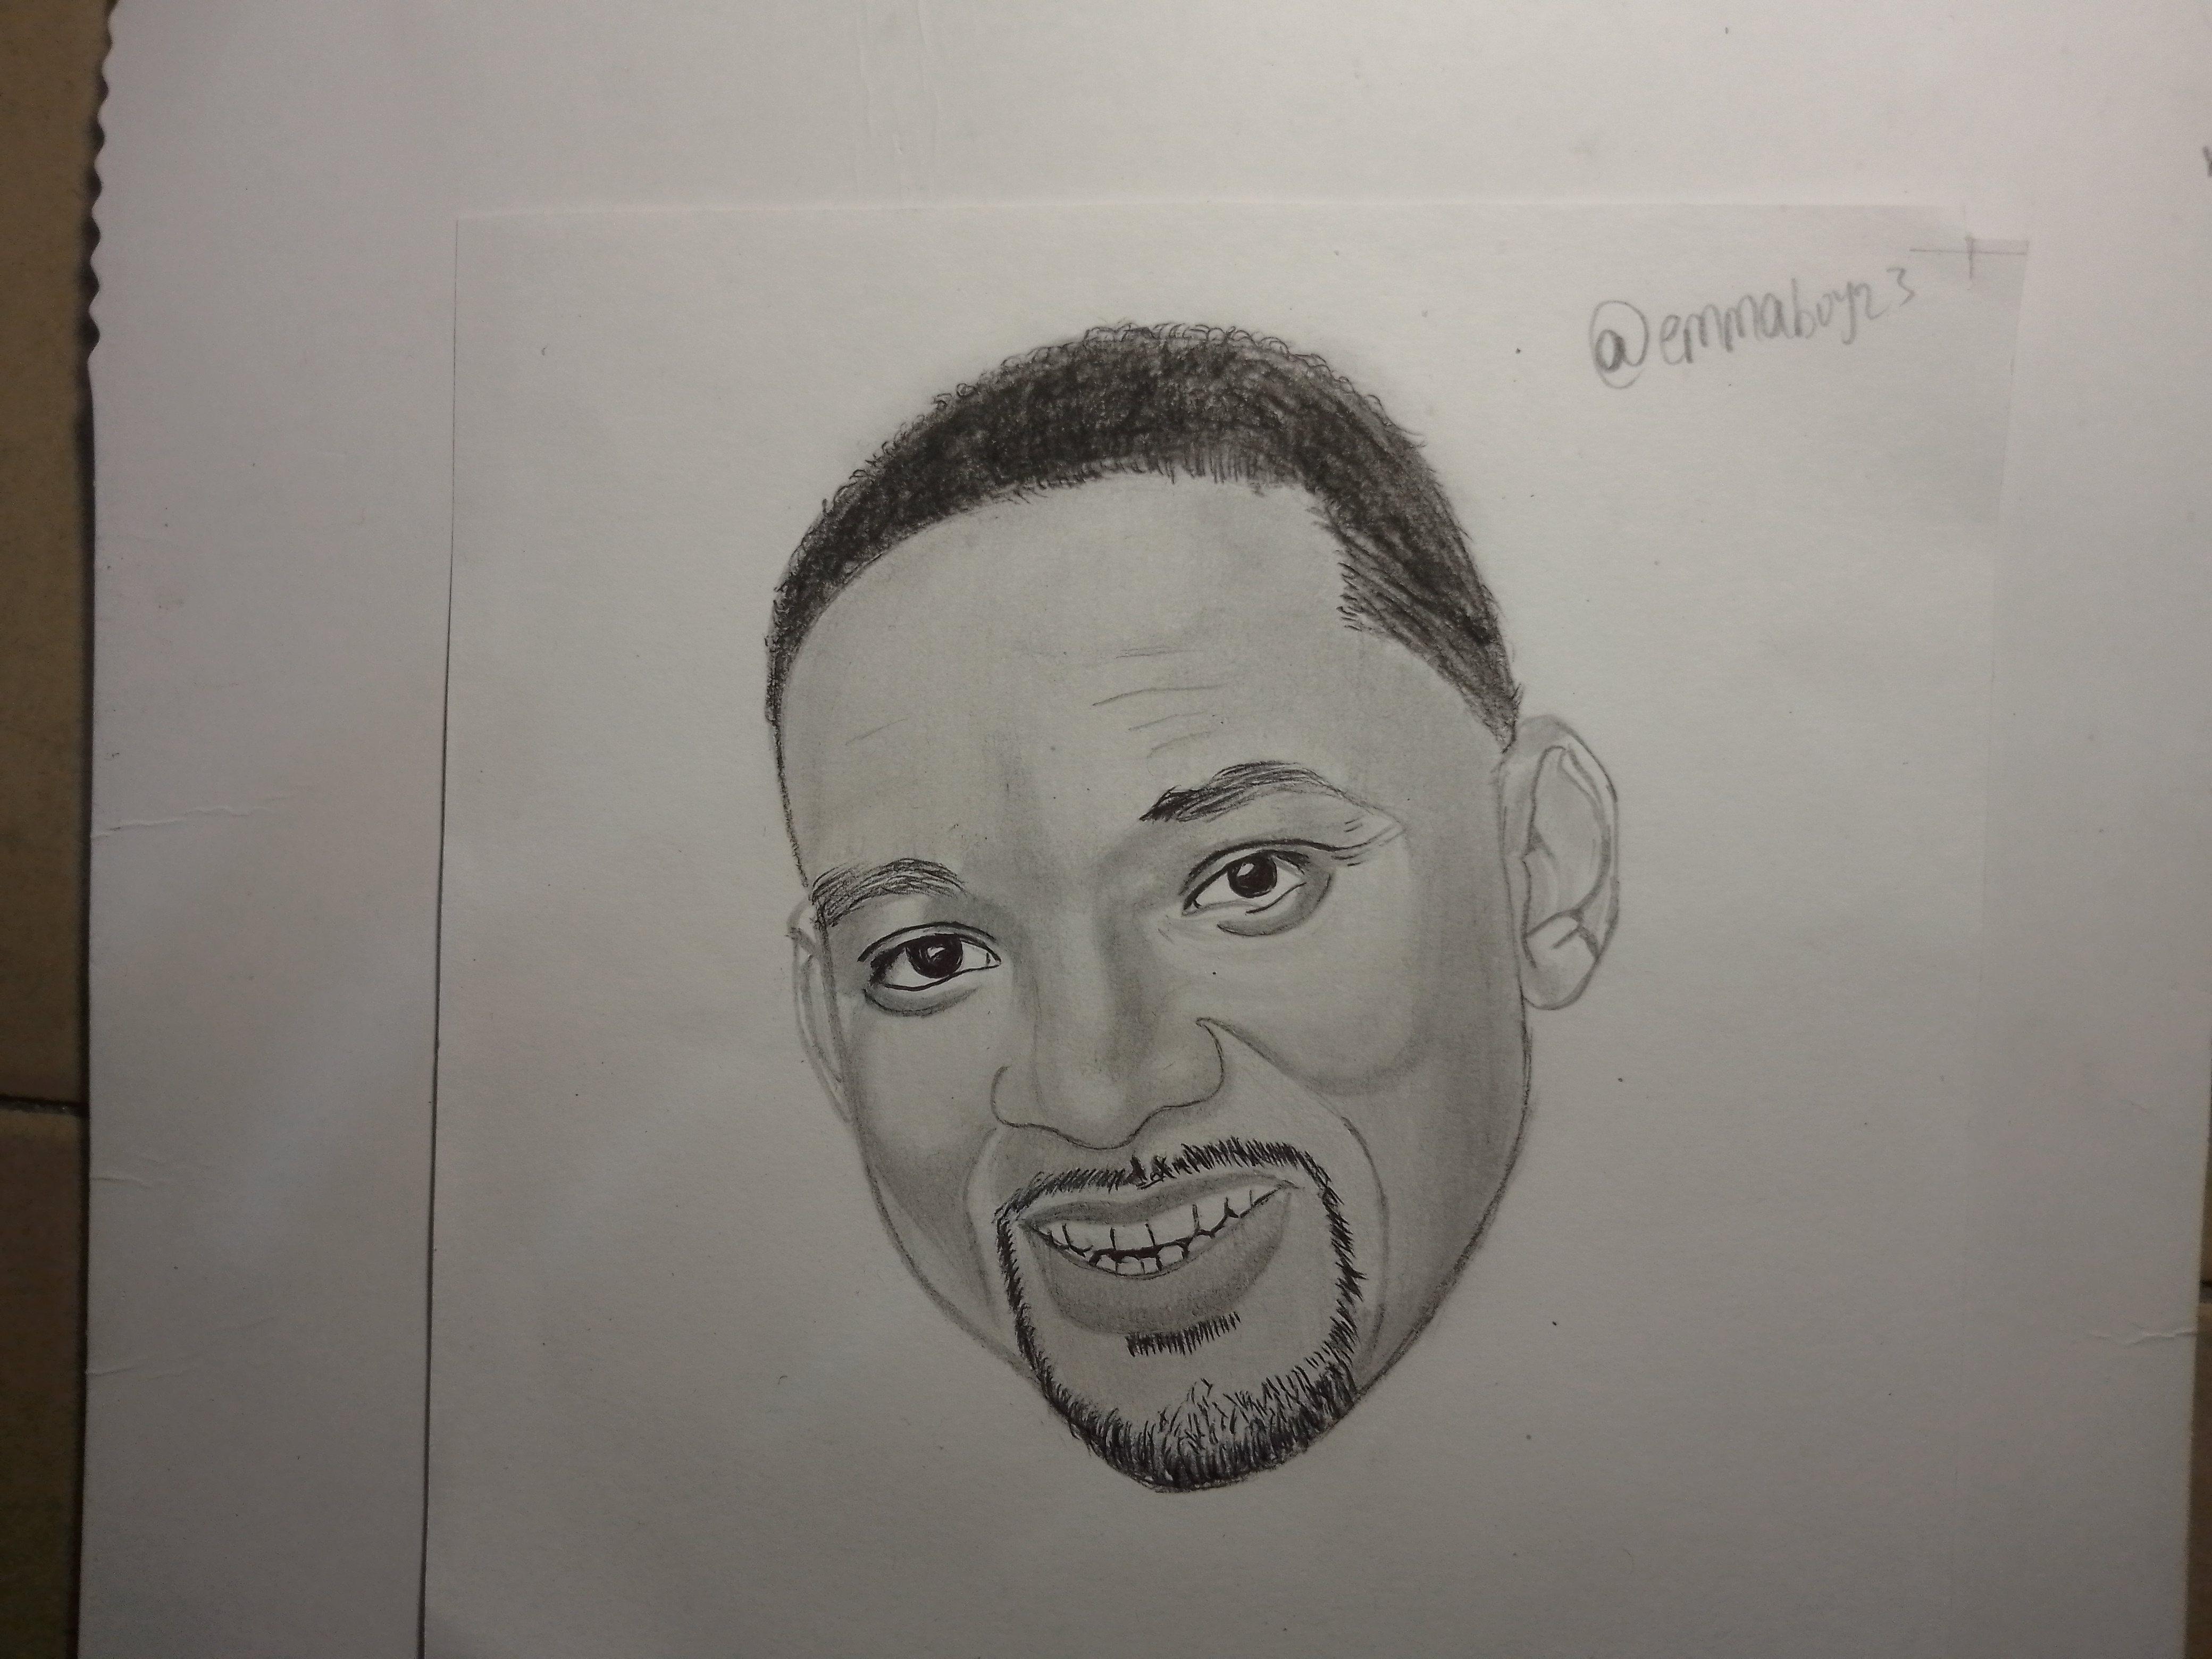
Step 3
For the hair, I gradually built up darker values using repeated pencil strokes to create depth while keeping the hairline neat and clean.
Step 4
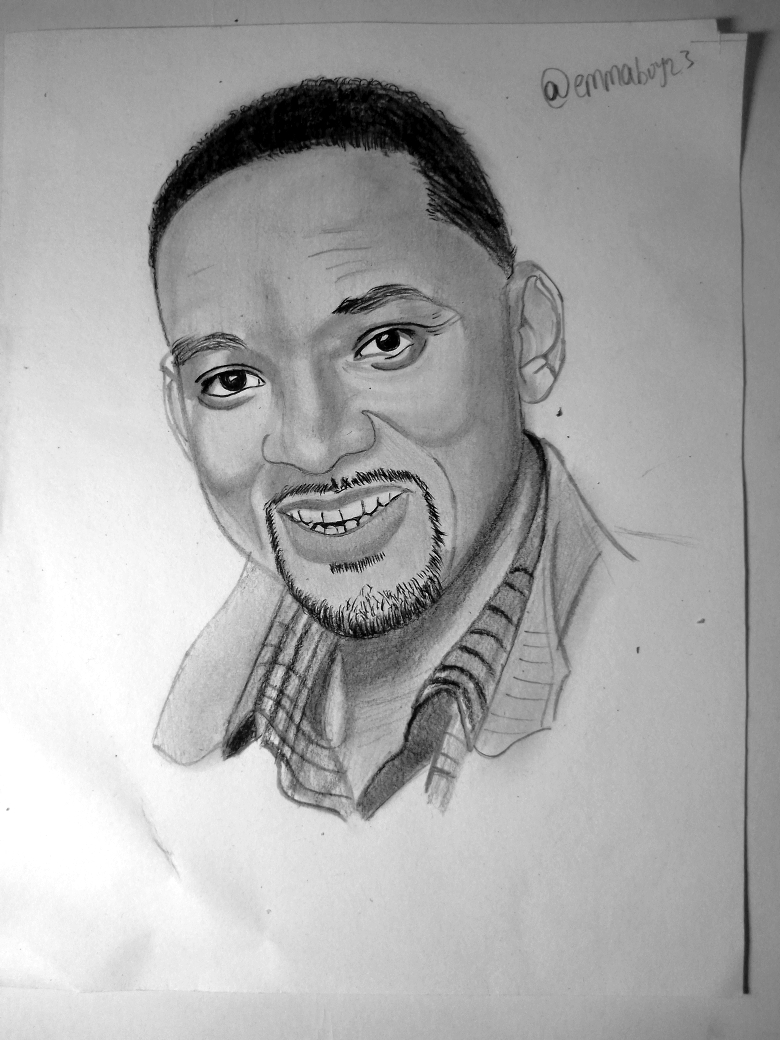
Once the face was finished, I added the collar and clothing. Although they are secondary elements, I still paid attention to the folds and shadows because they help frame the portrait and make the entire artwork look more complete.
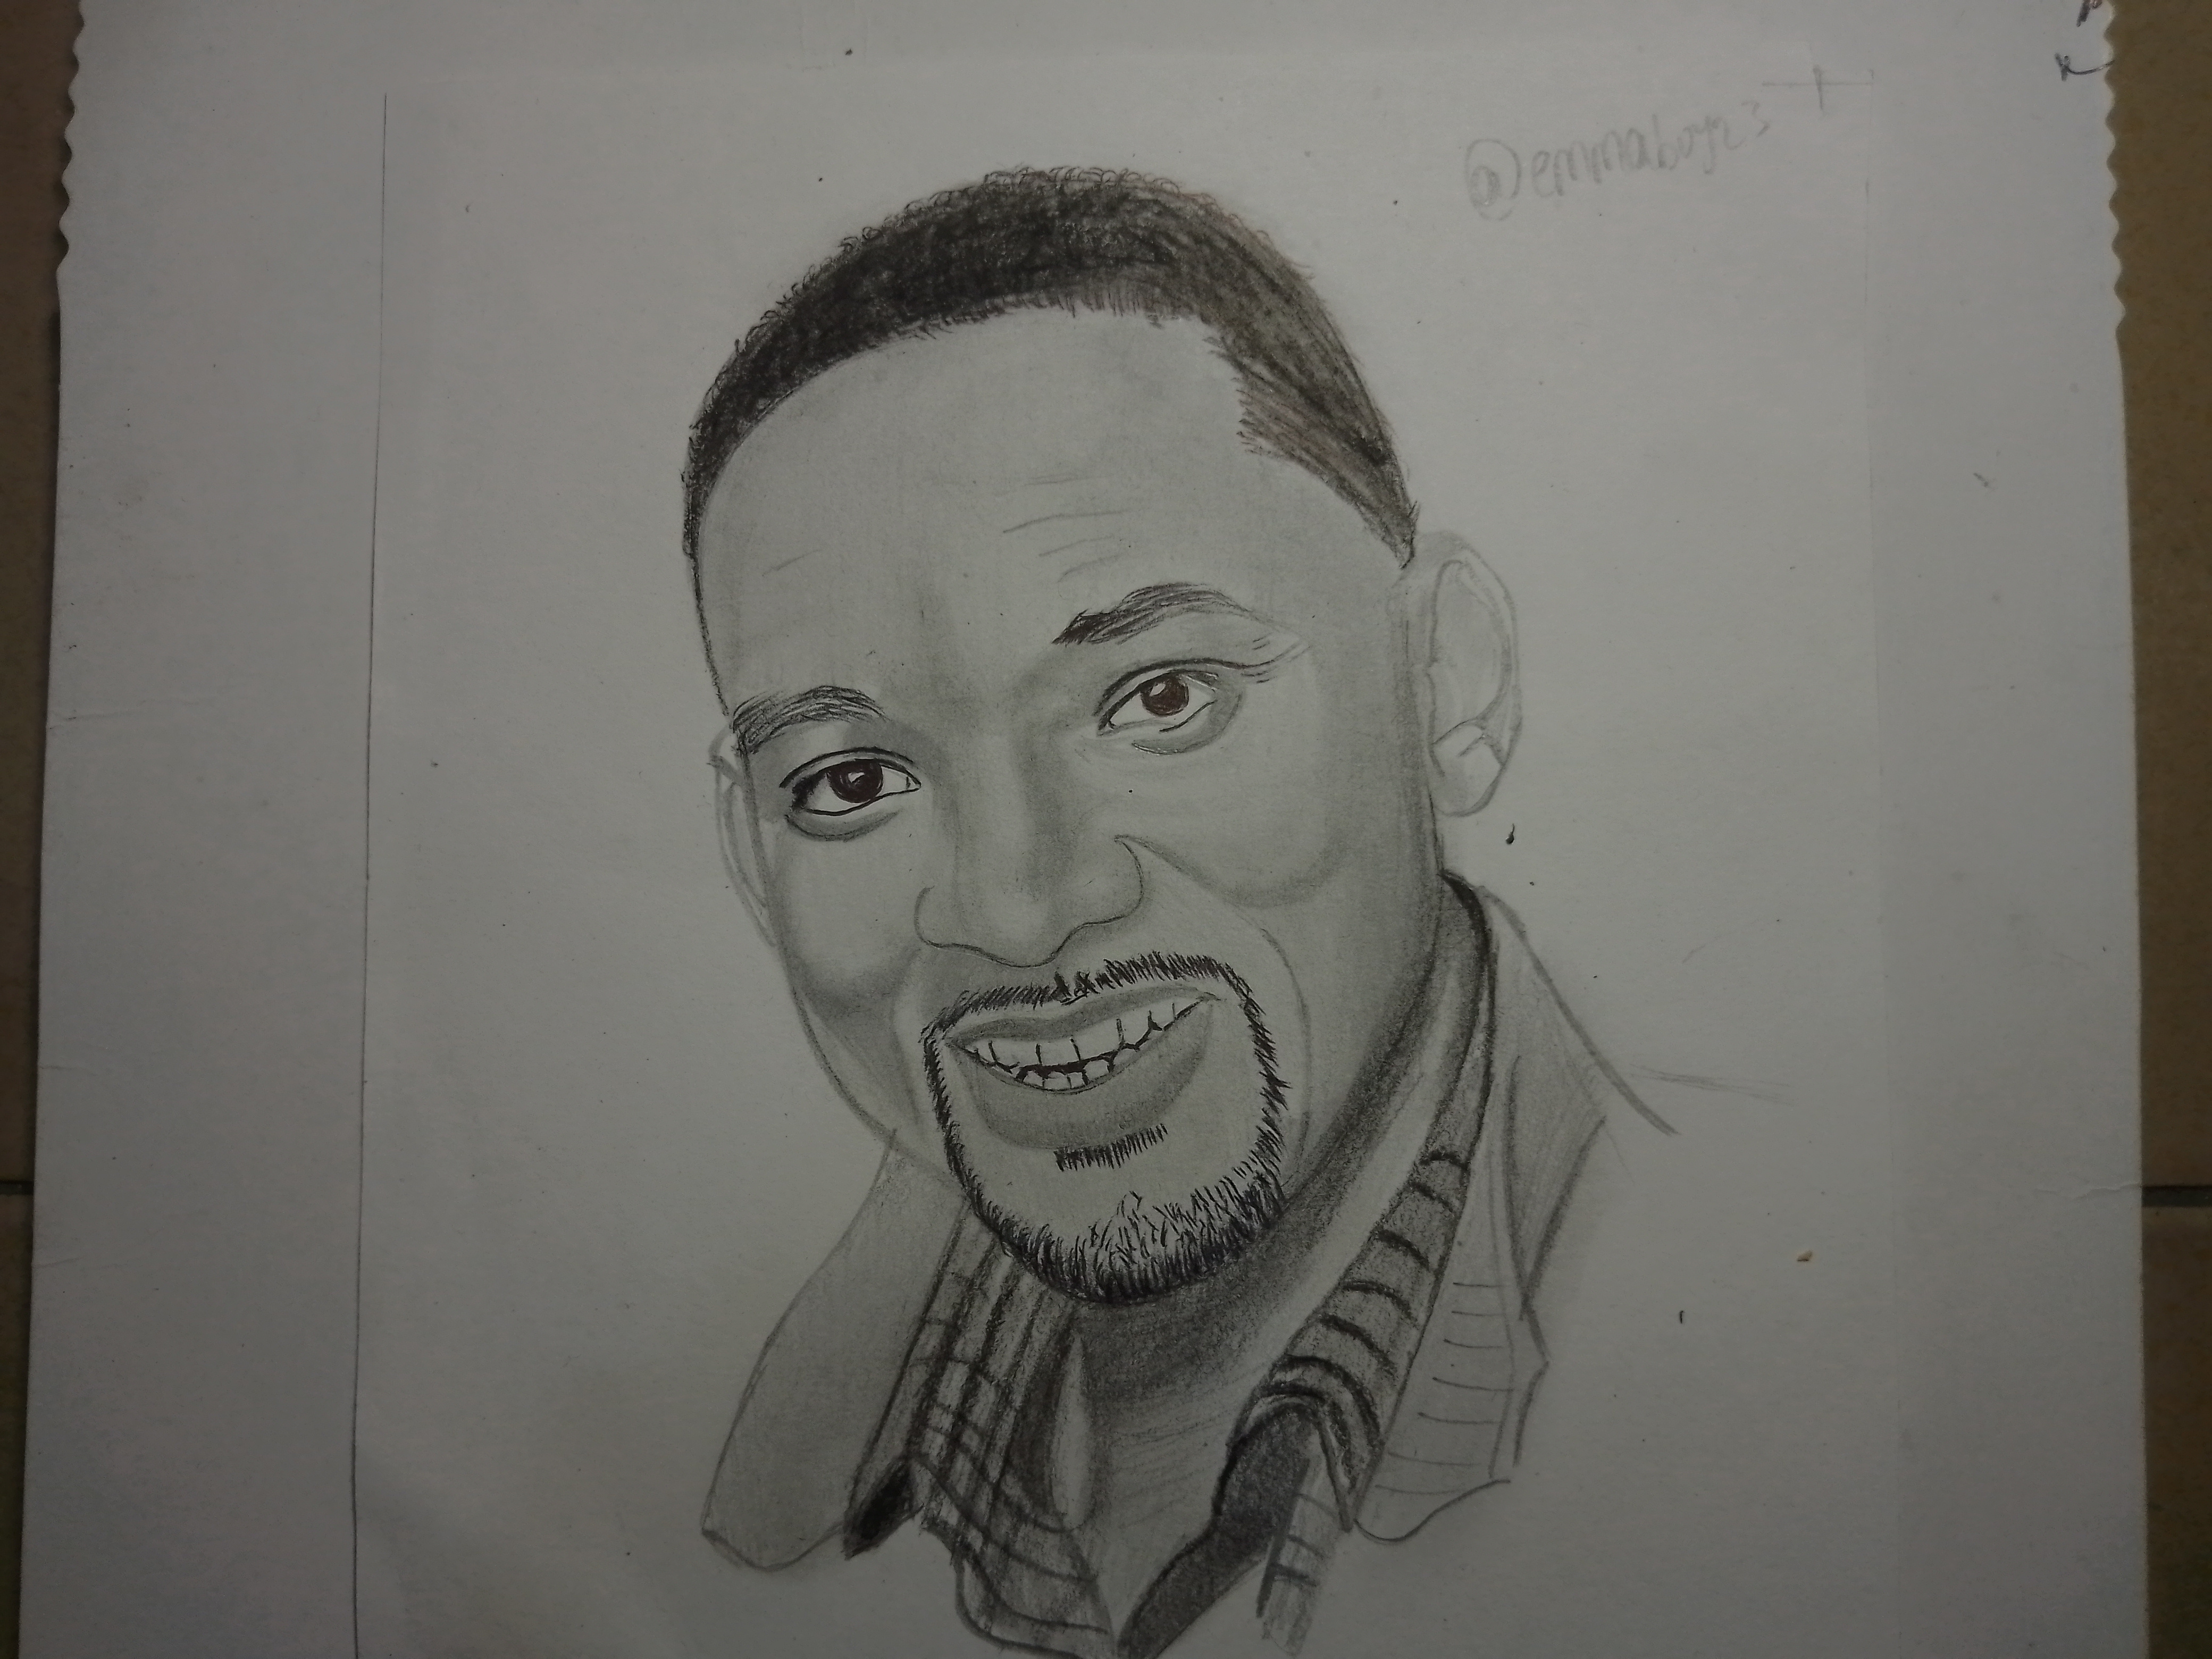
Step 5
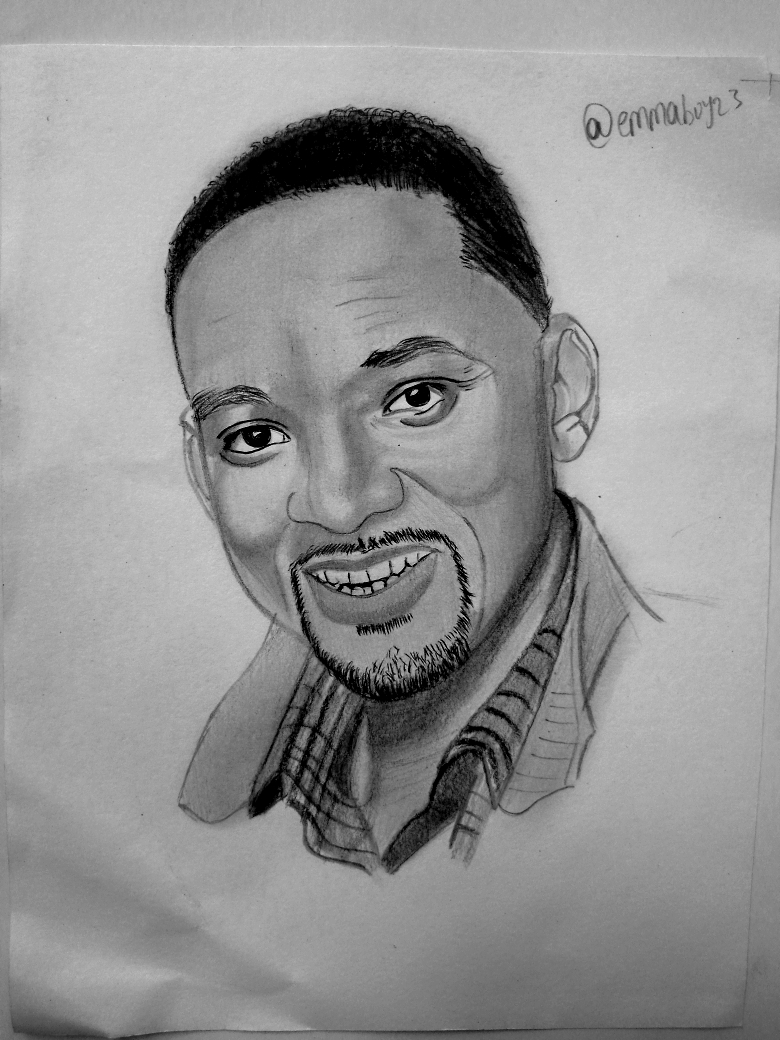
For this final step, I added little details, cleaned up pencil marks, and made small adjustments where necessary, and below is my final result.
My selfie with my drawing
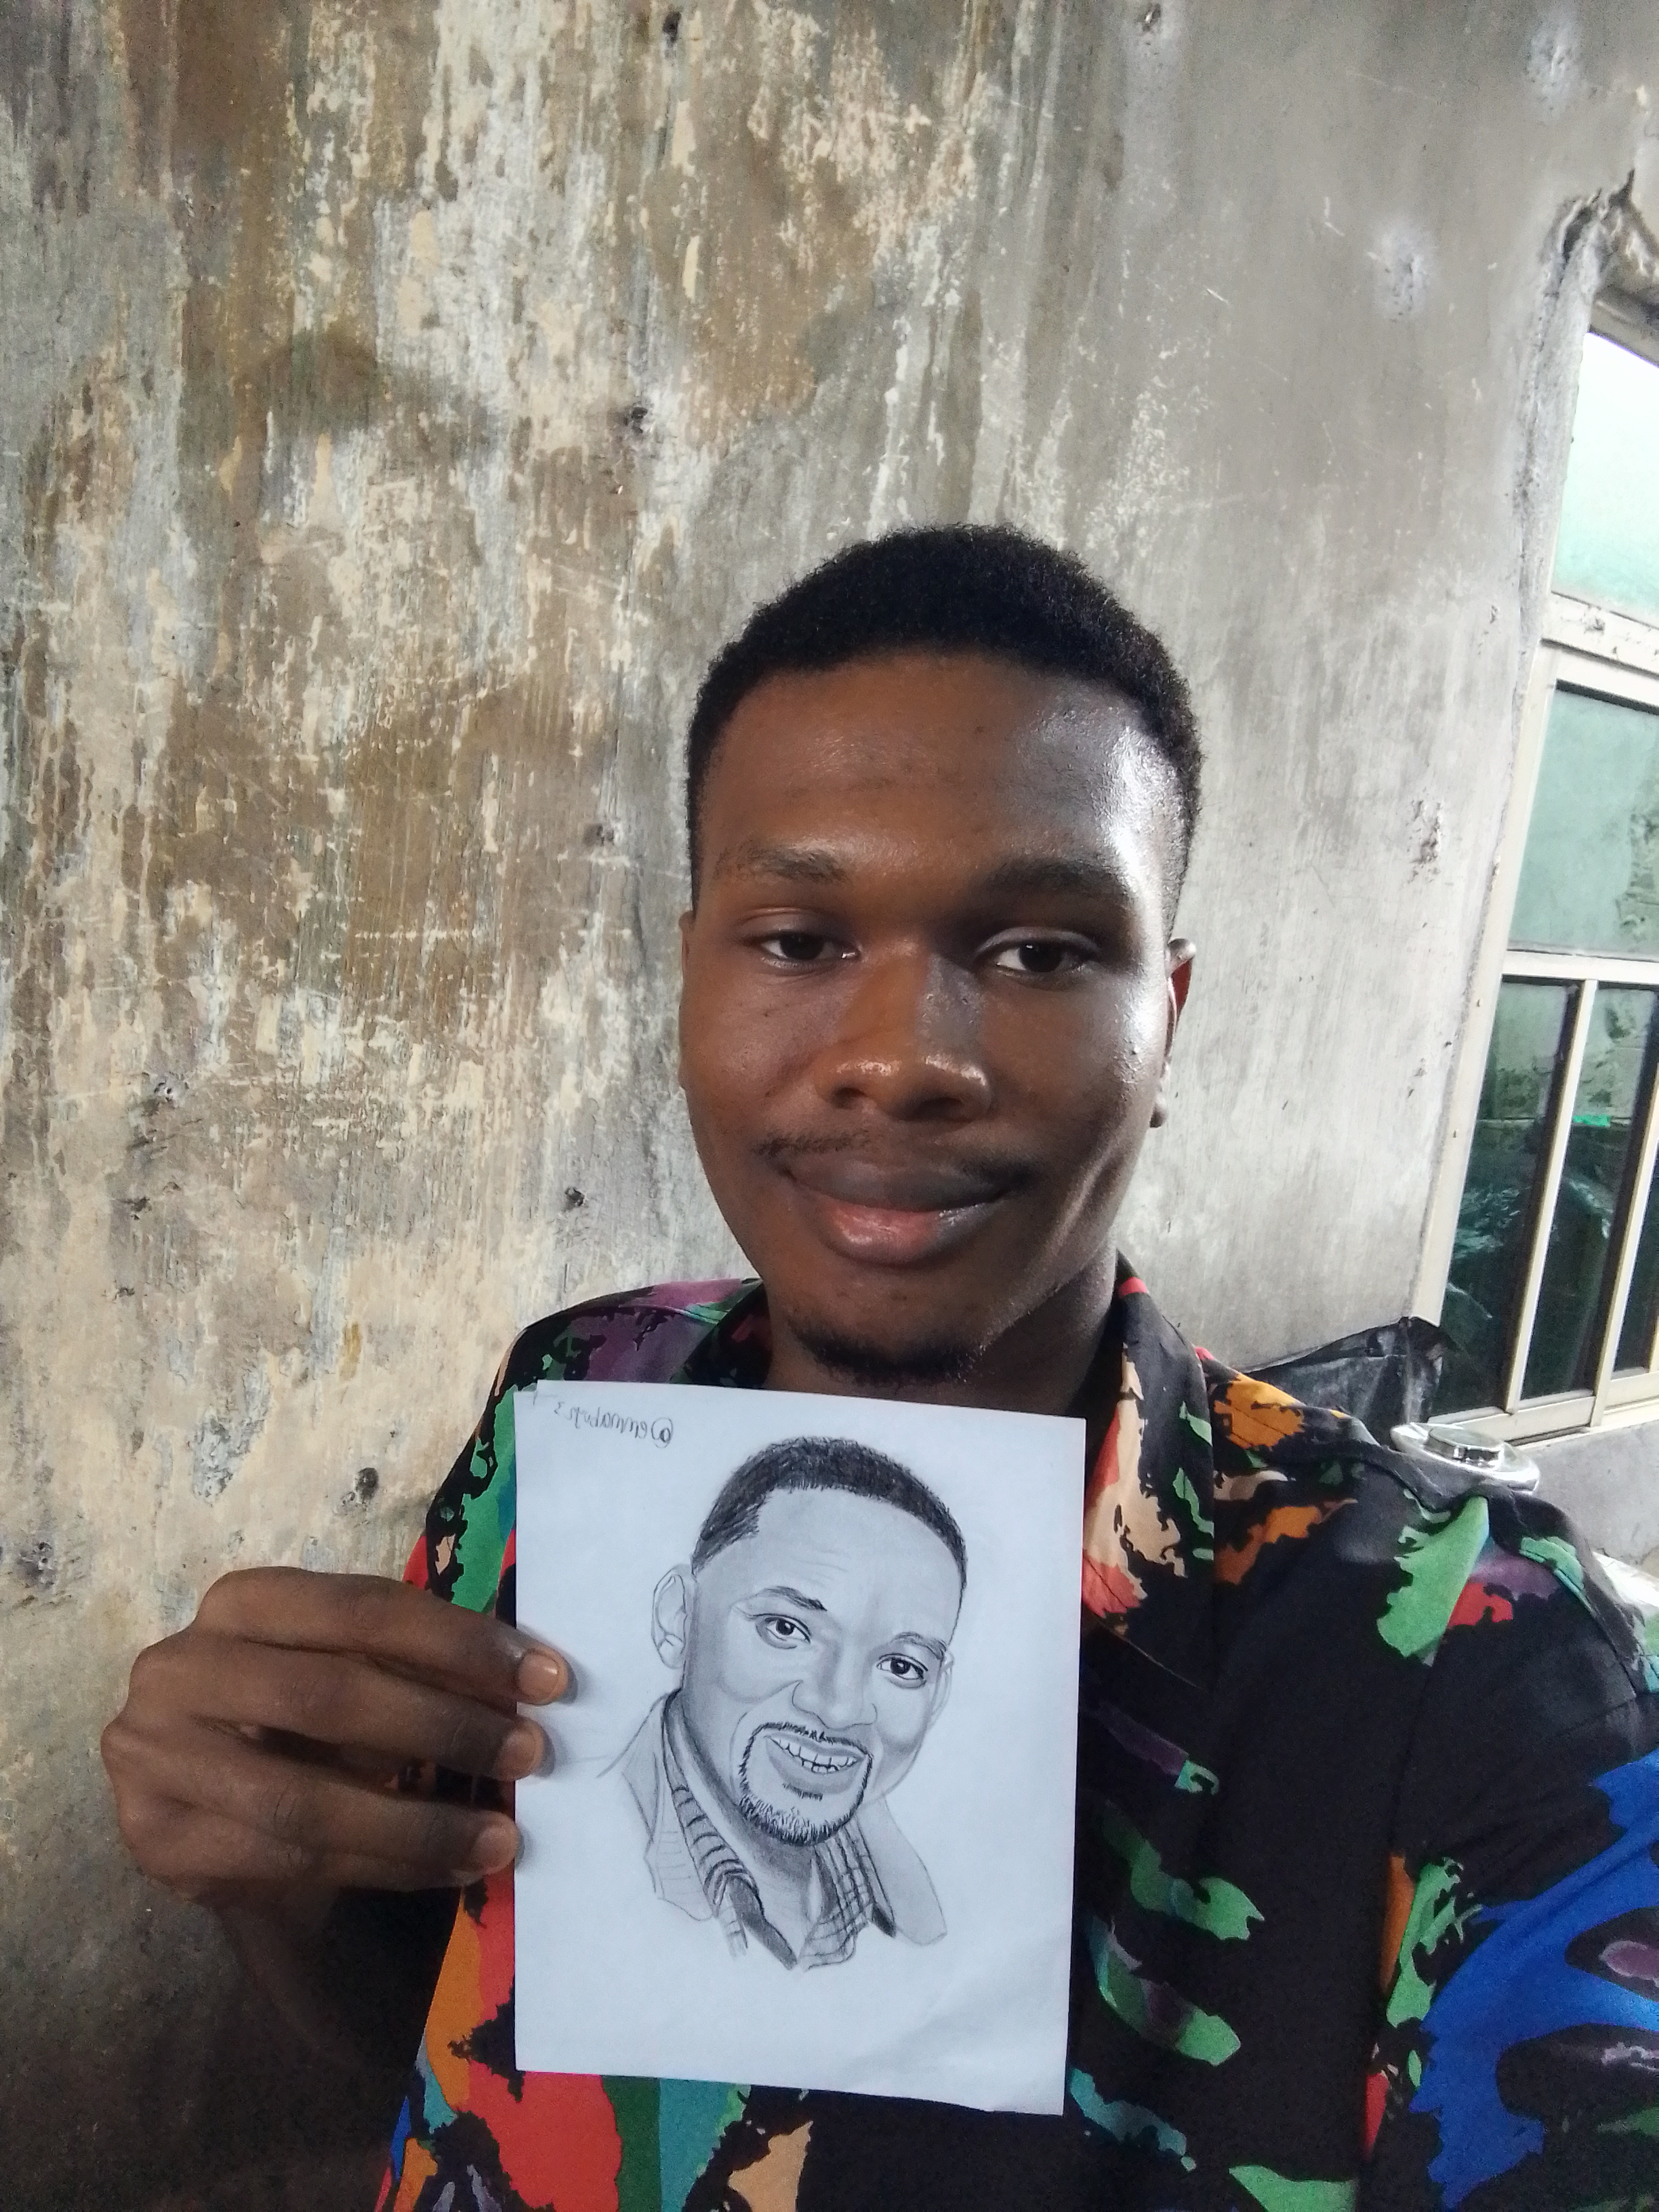
One lesson I learned from this artwork is that patience is far more important than speed. Realistic portrait drawing cannot be rushed. Every layer of shading, every adjustment, and every tiny detail contributes to the final result. Although the process required several hours, seeing the portrait gradually come to life made every minute worthwhile. Thank you so much for taking the time to visit my blog. I truly appreciate every visit, and I hope you enjoyed following my creative process.
Inviting
THANKS FOR READING
Posted with Speem
I saw the amazing drawing😍. my eyes stayed on this drawing and I didn't look anywhere else. When I saw this drink step by step. how did you draw this drink? You have really made a beautiful sketch in a very wonderful and simple way and with simple materials. First of all. I liked the way you wrote the post. Now, I liked the words that you have written in the post. The rest is like a step by step drawing. Really, no one can work so hard to make this drawing. It really doesn't look like a drink made by an ordinary person. You have drawn the 👀 and nose 👃 very well. No part of the face has been turned sideways. No part of the face has been distorted. It is a very decent drawing.Best of luck 😊 🤞. keep working with your hard work and effort Insha Allah. you will definitely get the fruits of it.
0.00 SBD,
6.57 STEEM,
6.57 SP
Thank you
Thanku