Learnwithsteem || Tutorial on How to Change a Spoiled Zip in a Short [Mini Trouser]
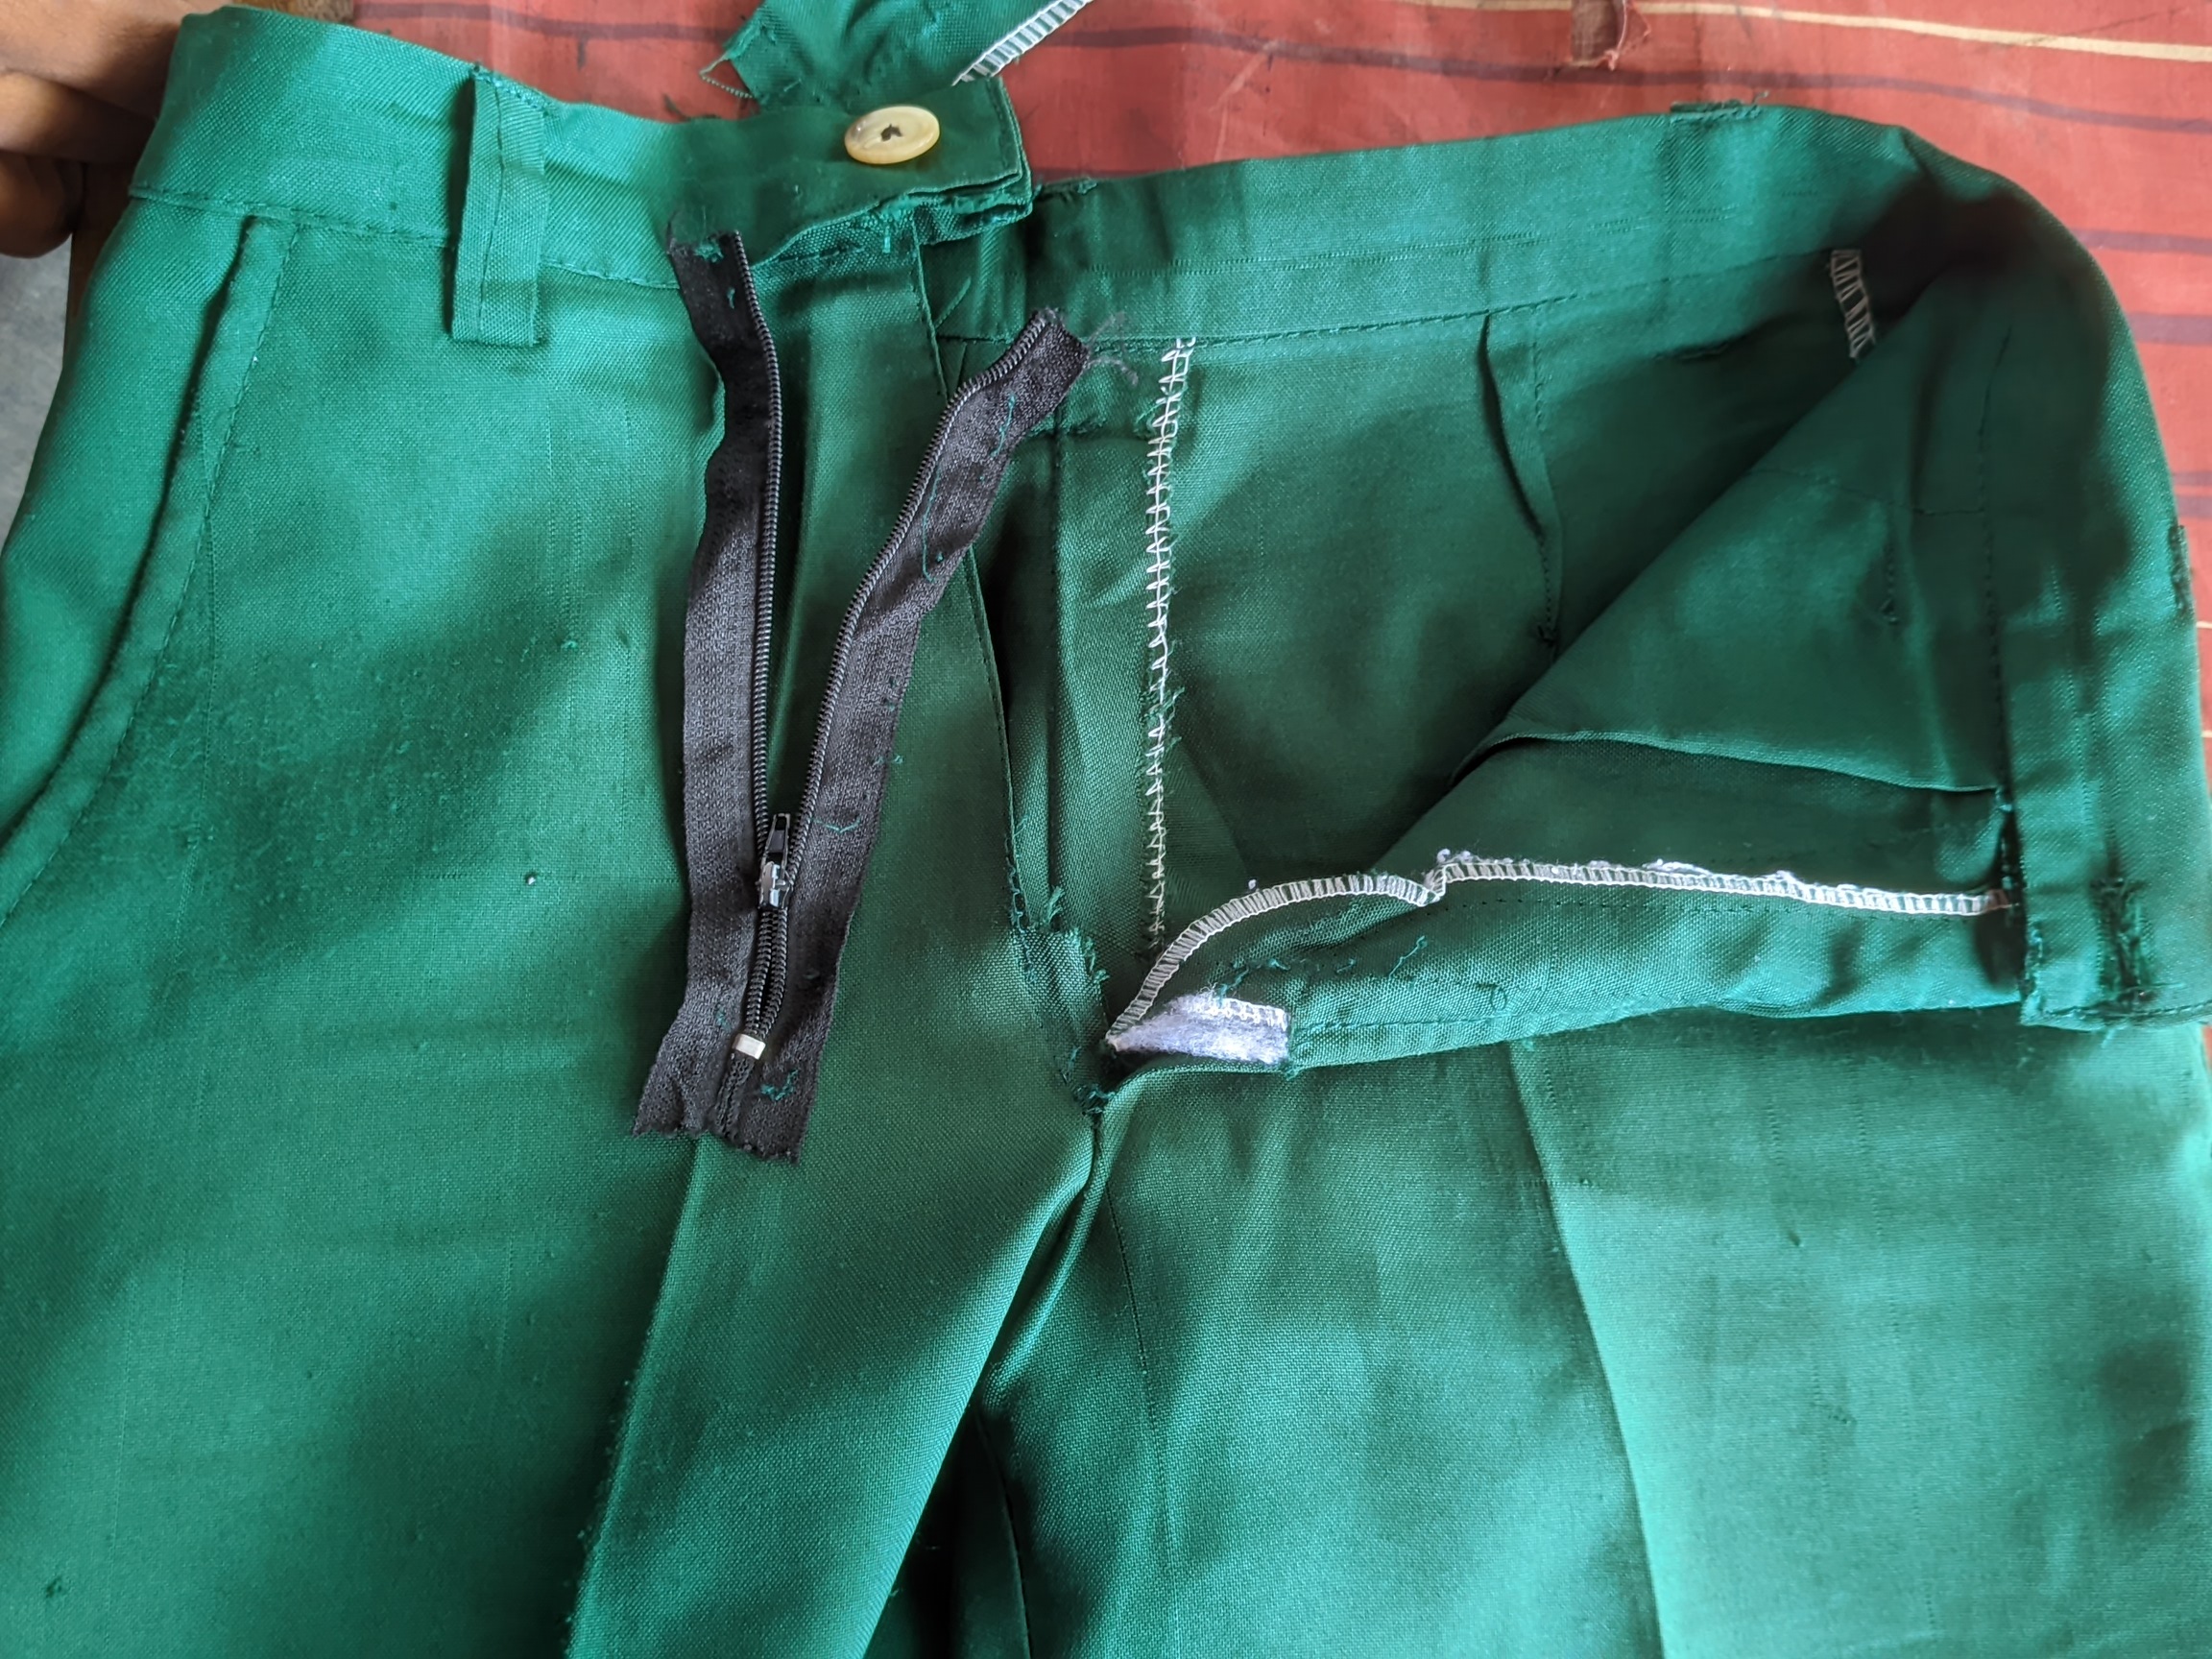
One of the major problems guys face when wearing trousers is the zip. Now, in a situation where this zip spoils, some use a thread and needle to lock it completely. This is economical though, but it's not as strategic as buying a new zip for 100 naira and then putting it yourself.
In this post, I'll be showing you that you can learn how to put a new zip yourself if your zip spoils without paying 500 naira to a tailor to do so, that's if you have a sewing machine at home or you're perfect in using hand sewing to sew straight. To make it neat, the sewing machine is advisable.
So my customer brought his school short for me to change the zip as his current zip was condemned. I told him to come back in 30 minutes and get it. How can you replace an old zip with a new one. These are the steps to getting this done effectively.
Steps on how to replace a spoiled short or trouser zip with a new one |
|---|
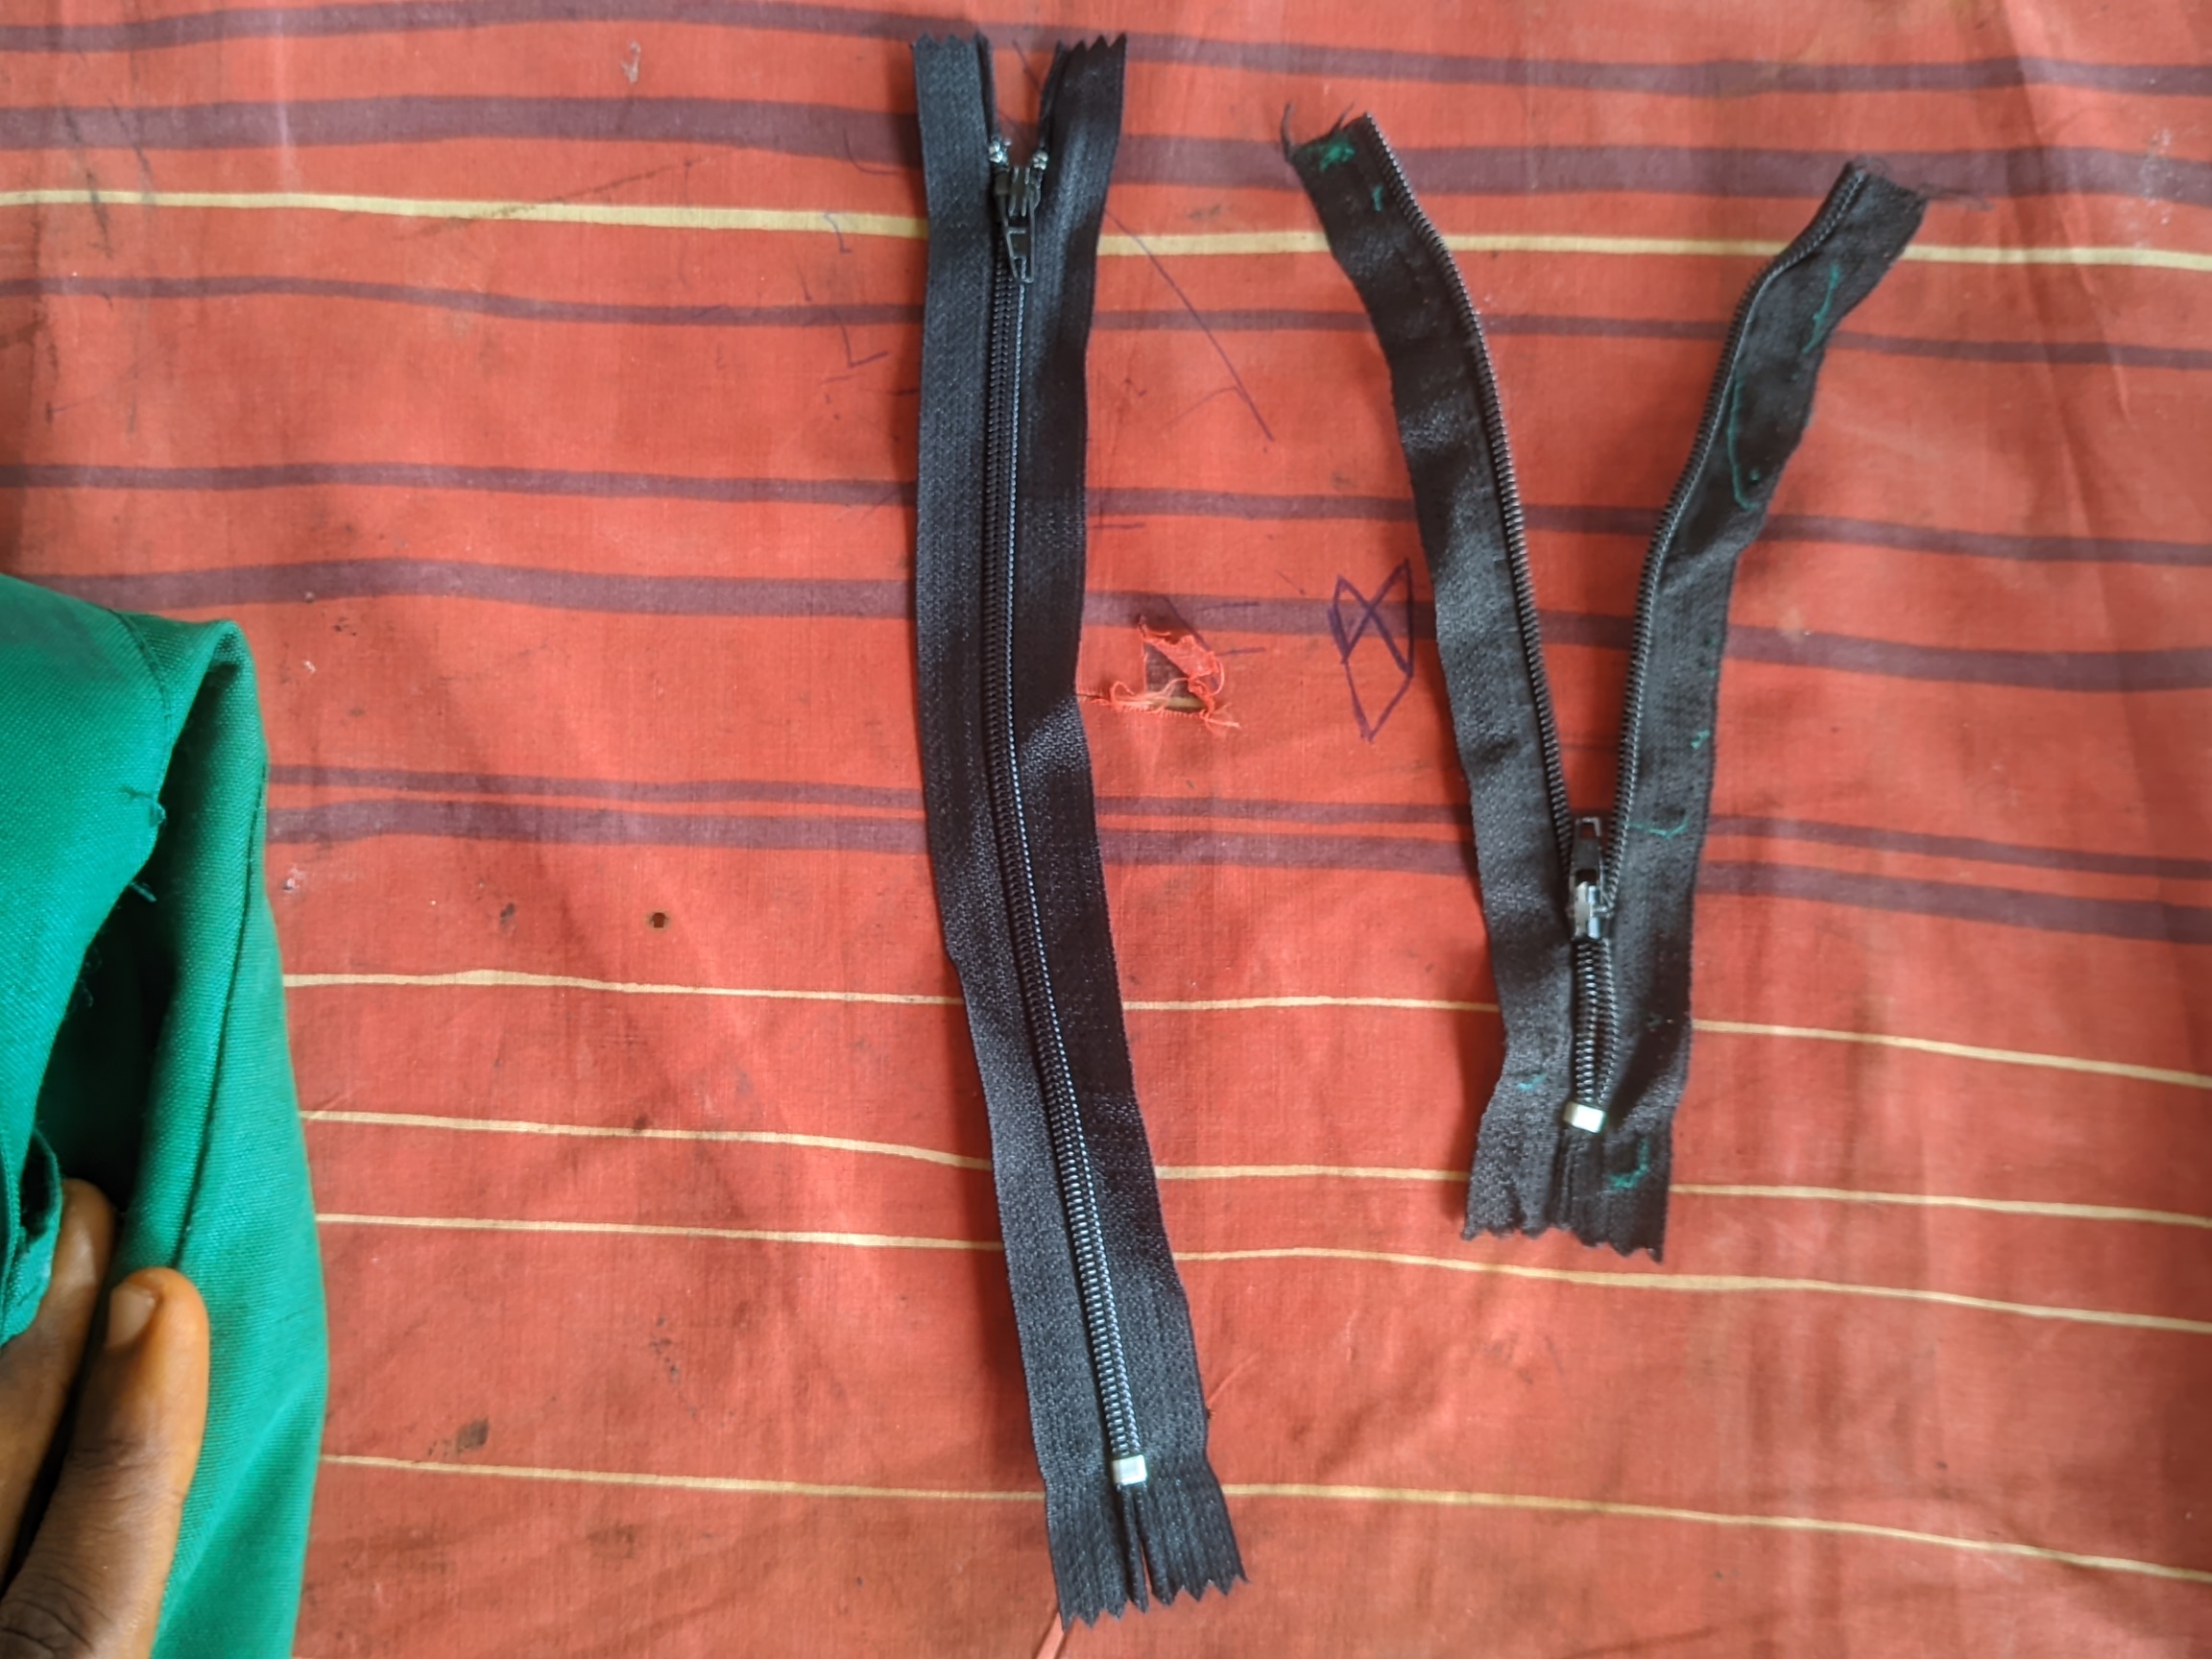
- The first step is to remove the old zip completely from the short with the help of a razor or needle. After removing the zip, you'll remove the back flap that was attached to the zip for balance. This is the zip I removed and this is the new one. The new one may be looking longer...Don't worry, you'll see the magic. While removing the zip, be very careful of the careful of waist band which is the area where the button is placed.
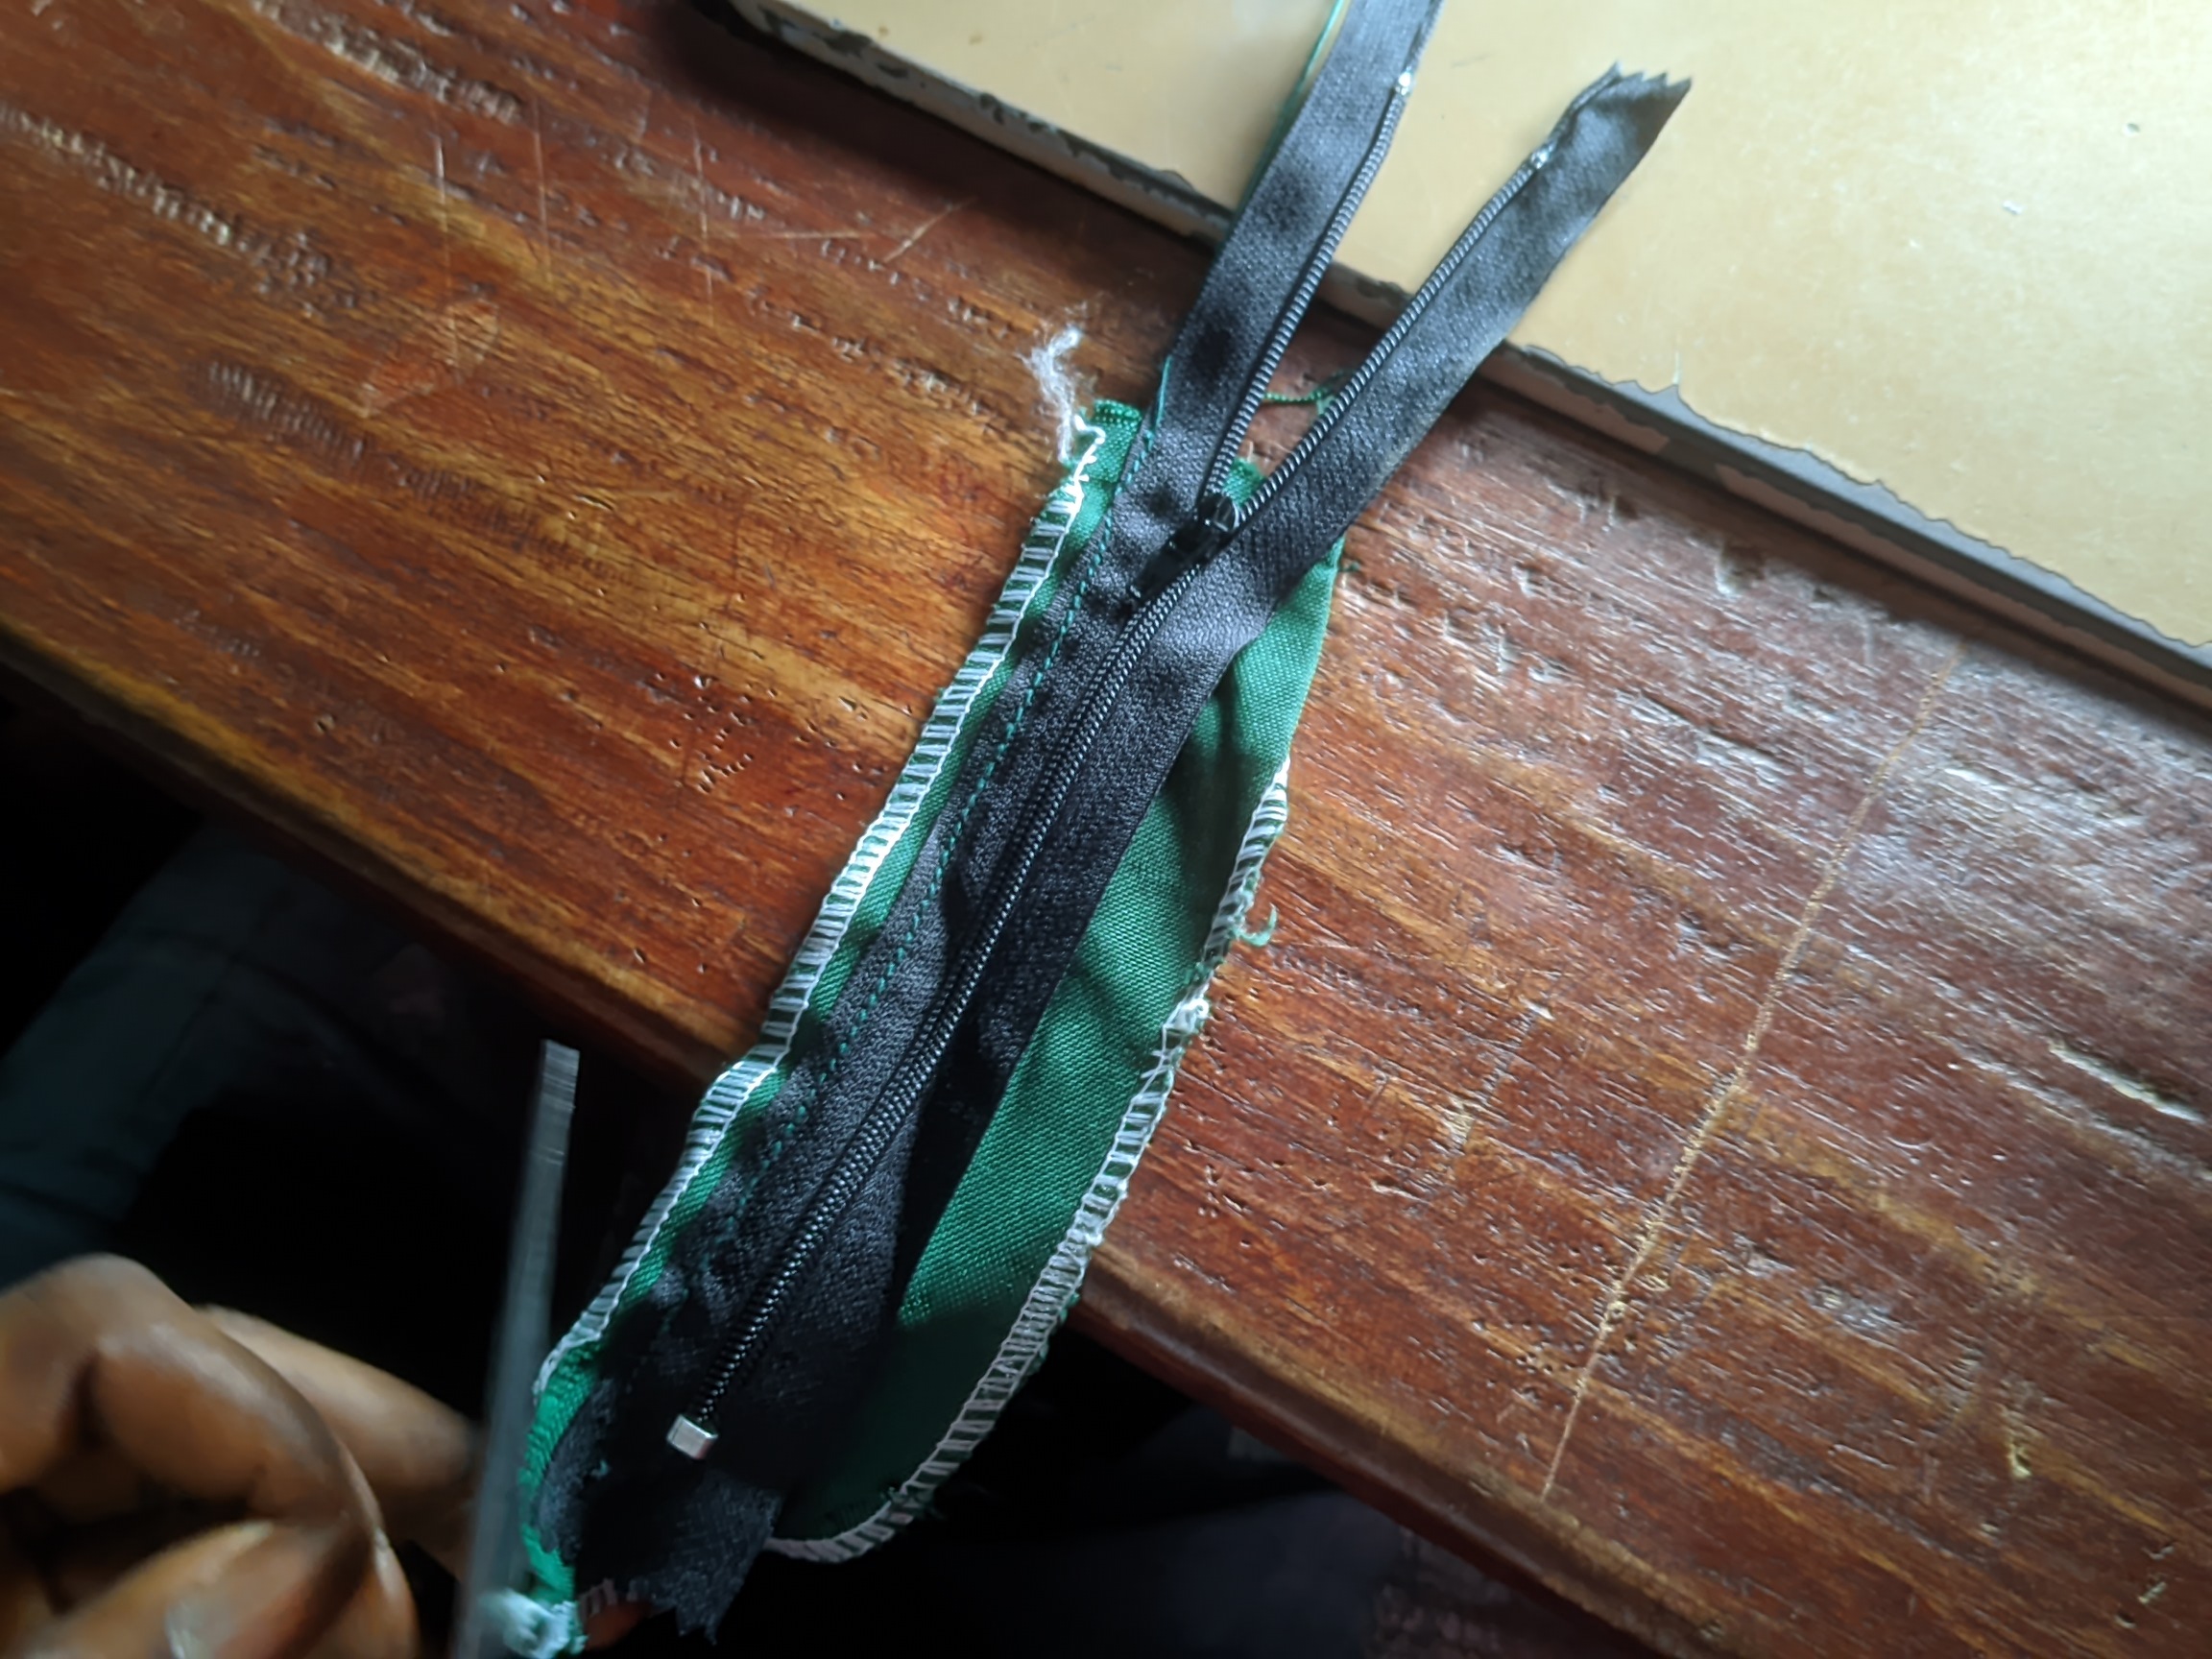
After that, I sew the new zip on the flap with the bottom of the zip facing the curved part of the flap snd the top is facing the straight or flat side of the flap since it would be sewn together when joining the waistband line. After that, I turned the back of the short to fix the back flap in it's place while the zip was fully shown. The left-hand size of the flap was sewn to the zip. After that, I dragged the zip down so I can sew the right side to the front flap and this was done inside so that it doesn't show when the flap is covered.
My zip was fixed, but that wasn't the end. I had to hold it firm by sewing on the first front side of the short so that the flap can be pinned. I made a curve with it, starting from the waistband. After joining the front and back flap to the zip, I joined the end of the zip to the waistband. But before I did that, I cut some part off so that it would fit into the waistband and then sew it under so that it won't be visible.
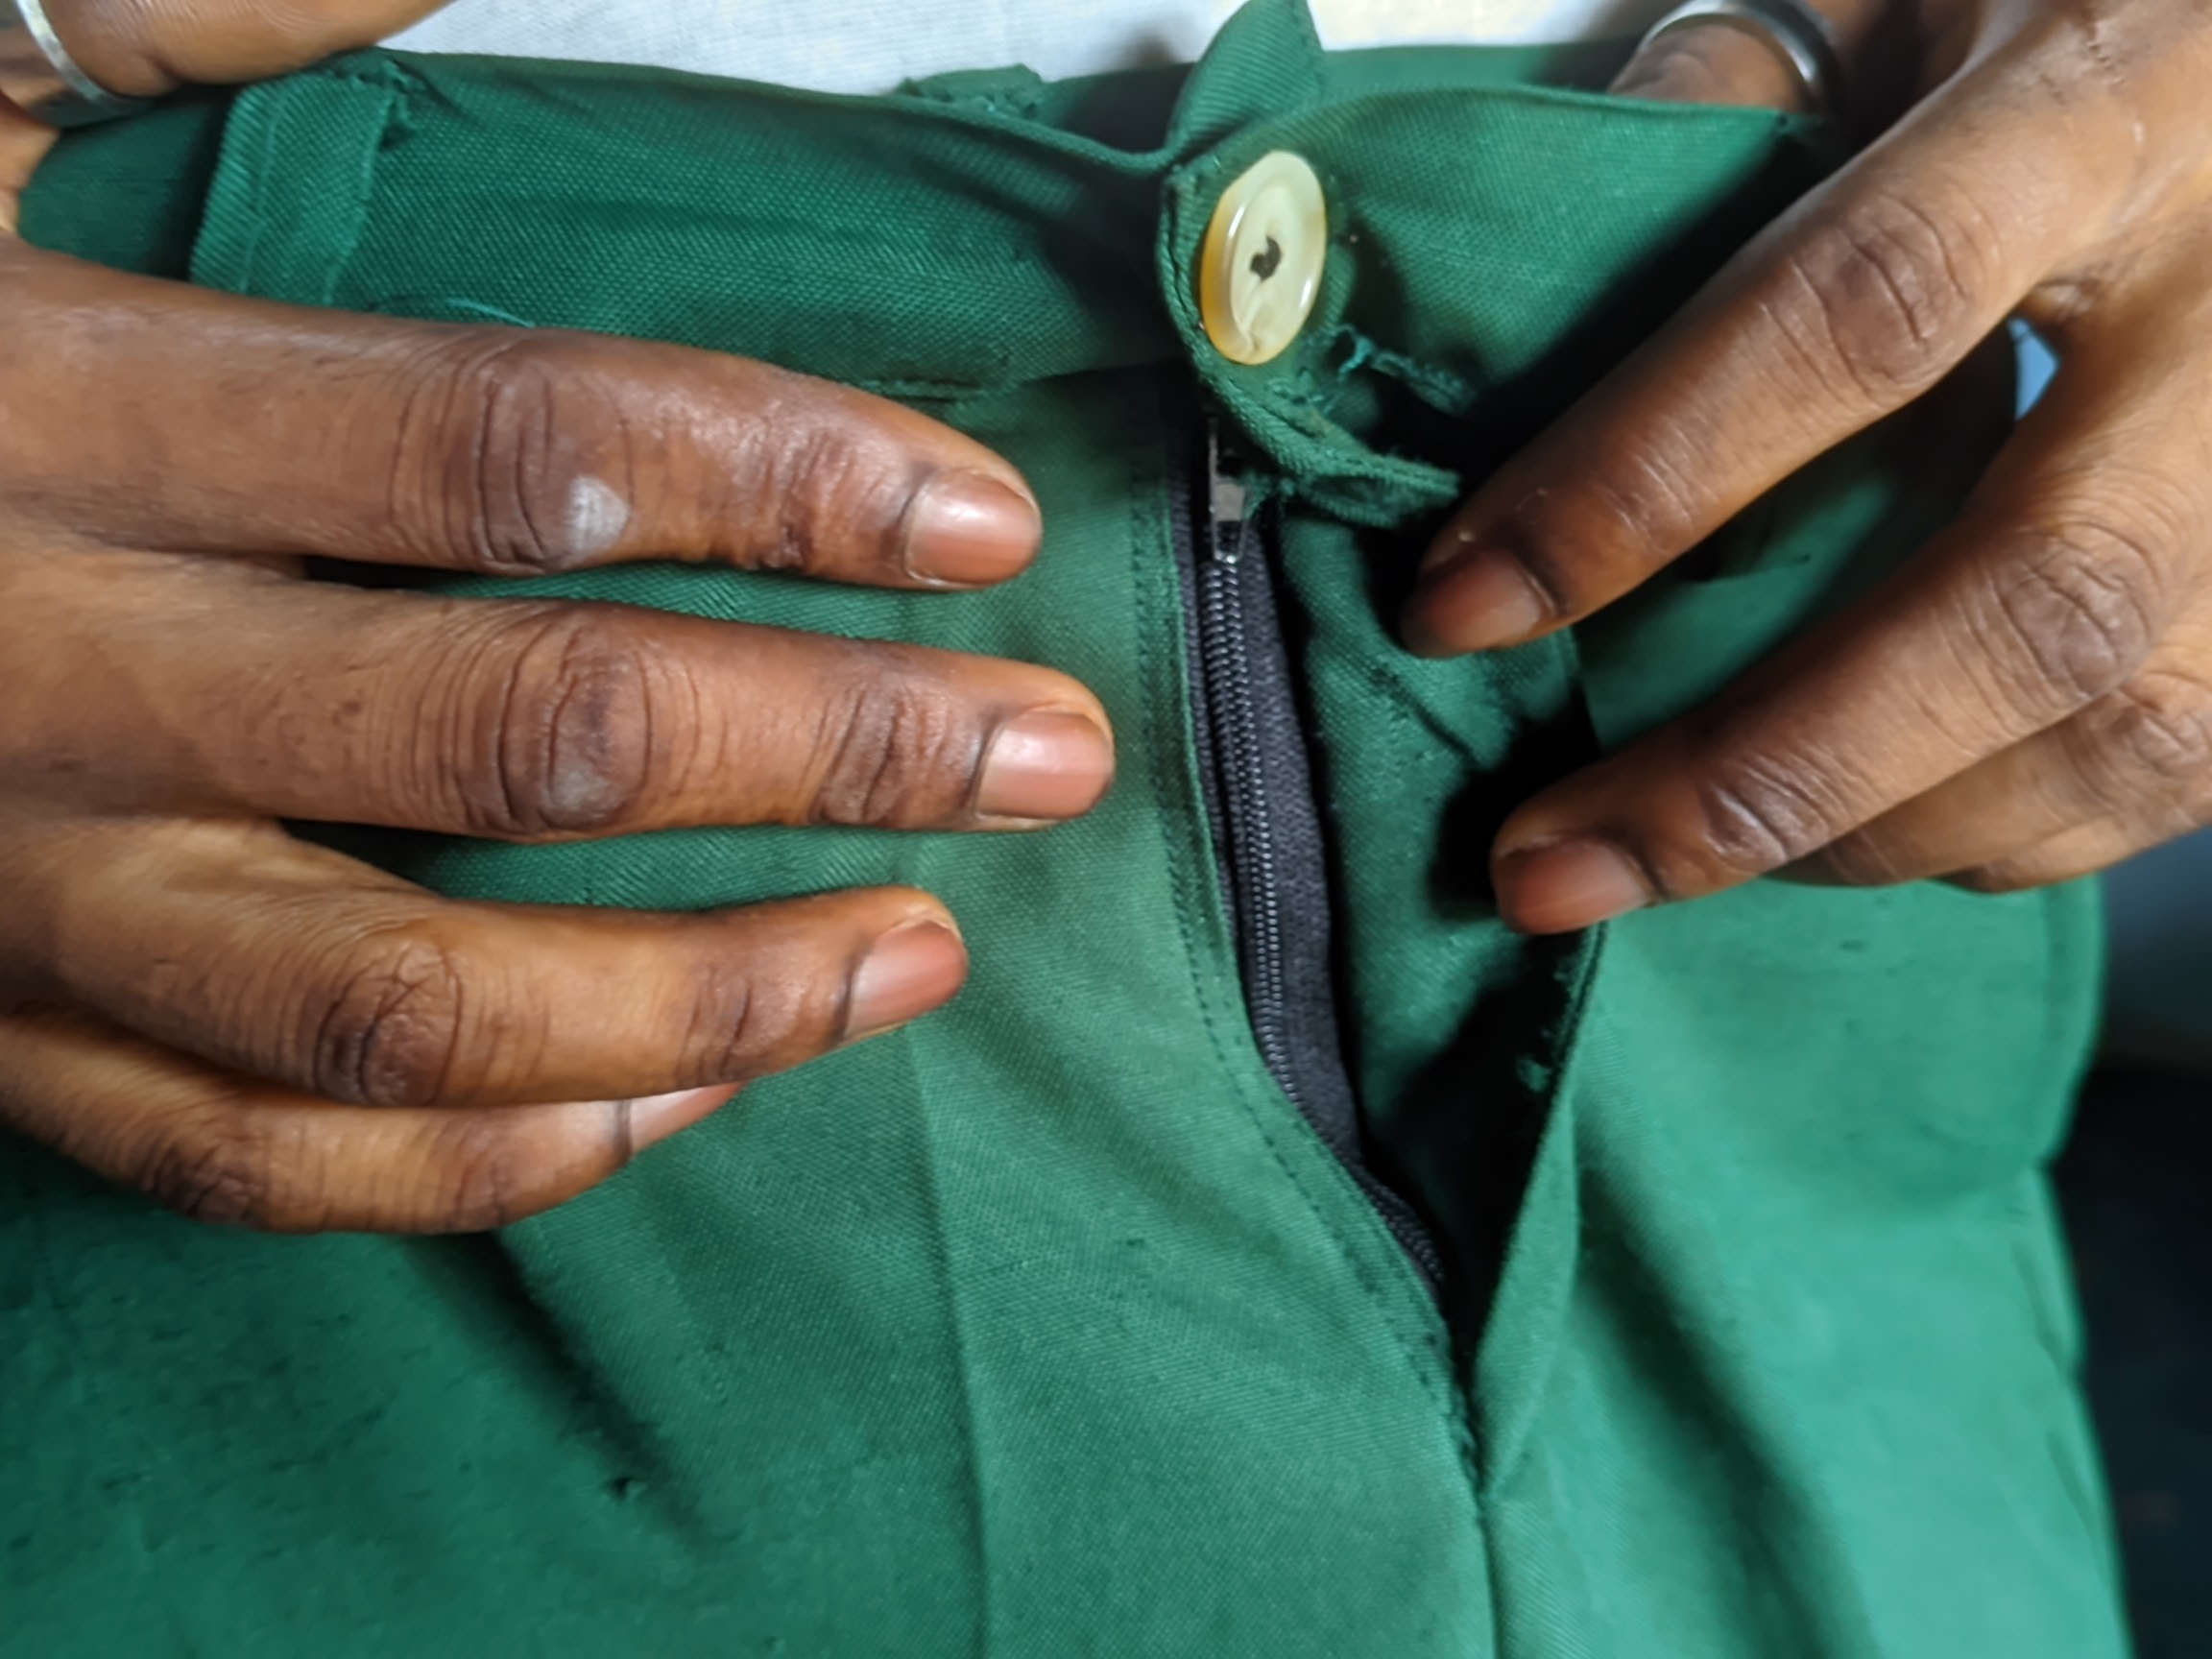
- That's how I came up with my finished product and it looked so neat on sewing machine. ..
Materials Needed for this changes |
|---|
- Sewing machine
- New black Zip
- Razor
- Green
These are the three things needed to create this magic. In my next post, I'll share a tutorial on how to measure or get your own measurement by yourself so you can give to your tailor or if you want to learn sewing, this is the basics you must learn .
Video Tutorial |
|---|
Check my next post.
This is a very practical tutorial because a damaged zip is something almost everyone has experienced at one point. I like that you didn't just show the finished result, but also explained each step, especially the part about removing the old zip carefully to avoid damaging the waistband. That's the kind of detail beginners need.
I also smiled when you mentioned that the new zip looked longer at first but later fit perfectly. 😂 That's something that could easily confuse someone learning for the first time. The finished work looks neat, and it's a good reminder that learning simple sewing skills can save money instead of replacing an entire pair of shorts over a faulty zip.
I'm looking forward to your next tutorial on taking body measurements. I think it will be helpful for people who want to learn sewing or simply know their correct measurements before visiting a tailor. Keep up the good work! 👏🧵
Curated by: @ ripon0630
Useful guides: