Easy & Step-by-step Drawing Tutorial of Transforming Number 4 into a Beautiful Fish, for Kids & Beginners
Assalamualaikum Everyone. I hope all of you are doing well and having a great time.
Today, I am back with another easy and creative drawing tutorial for kids and beginners. So, I will share with you how to transform a number "4" into a beautiful fish step-by-step. You can make it easily if you follow all the steps that I will share with you.
- White paper
- Lead pencil
- Eraser
- Pencil colors
- Black pointer
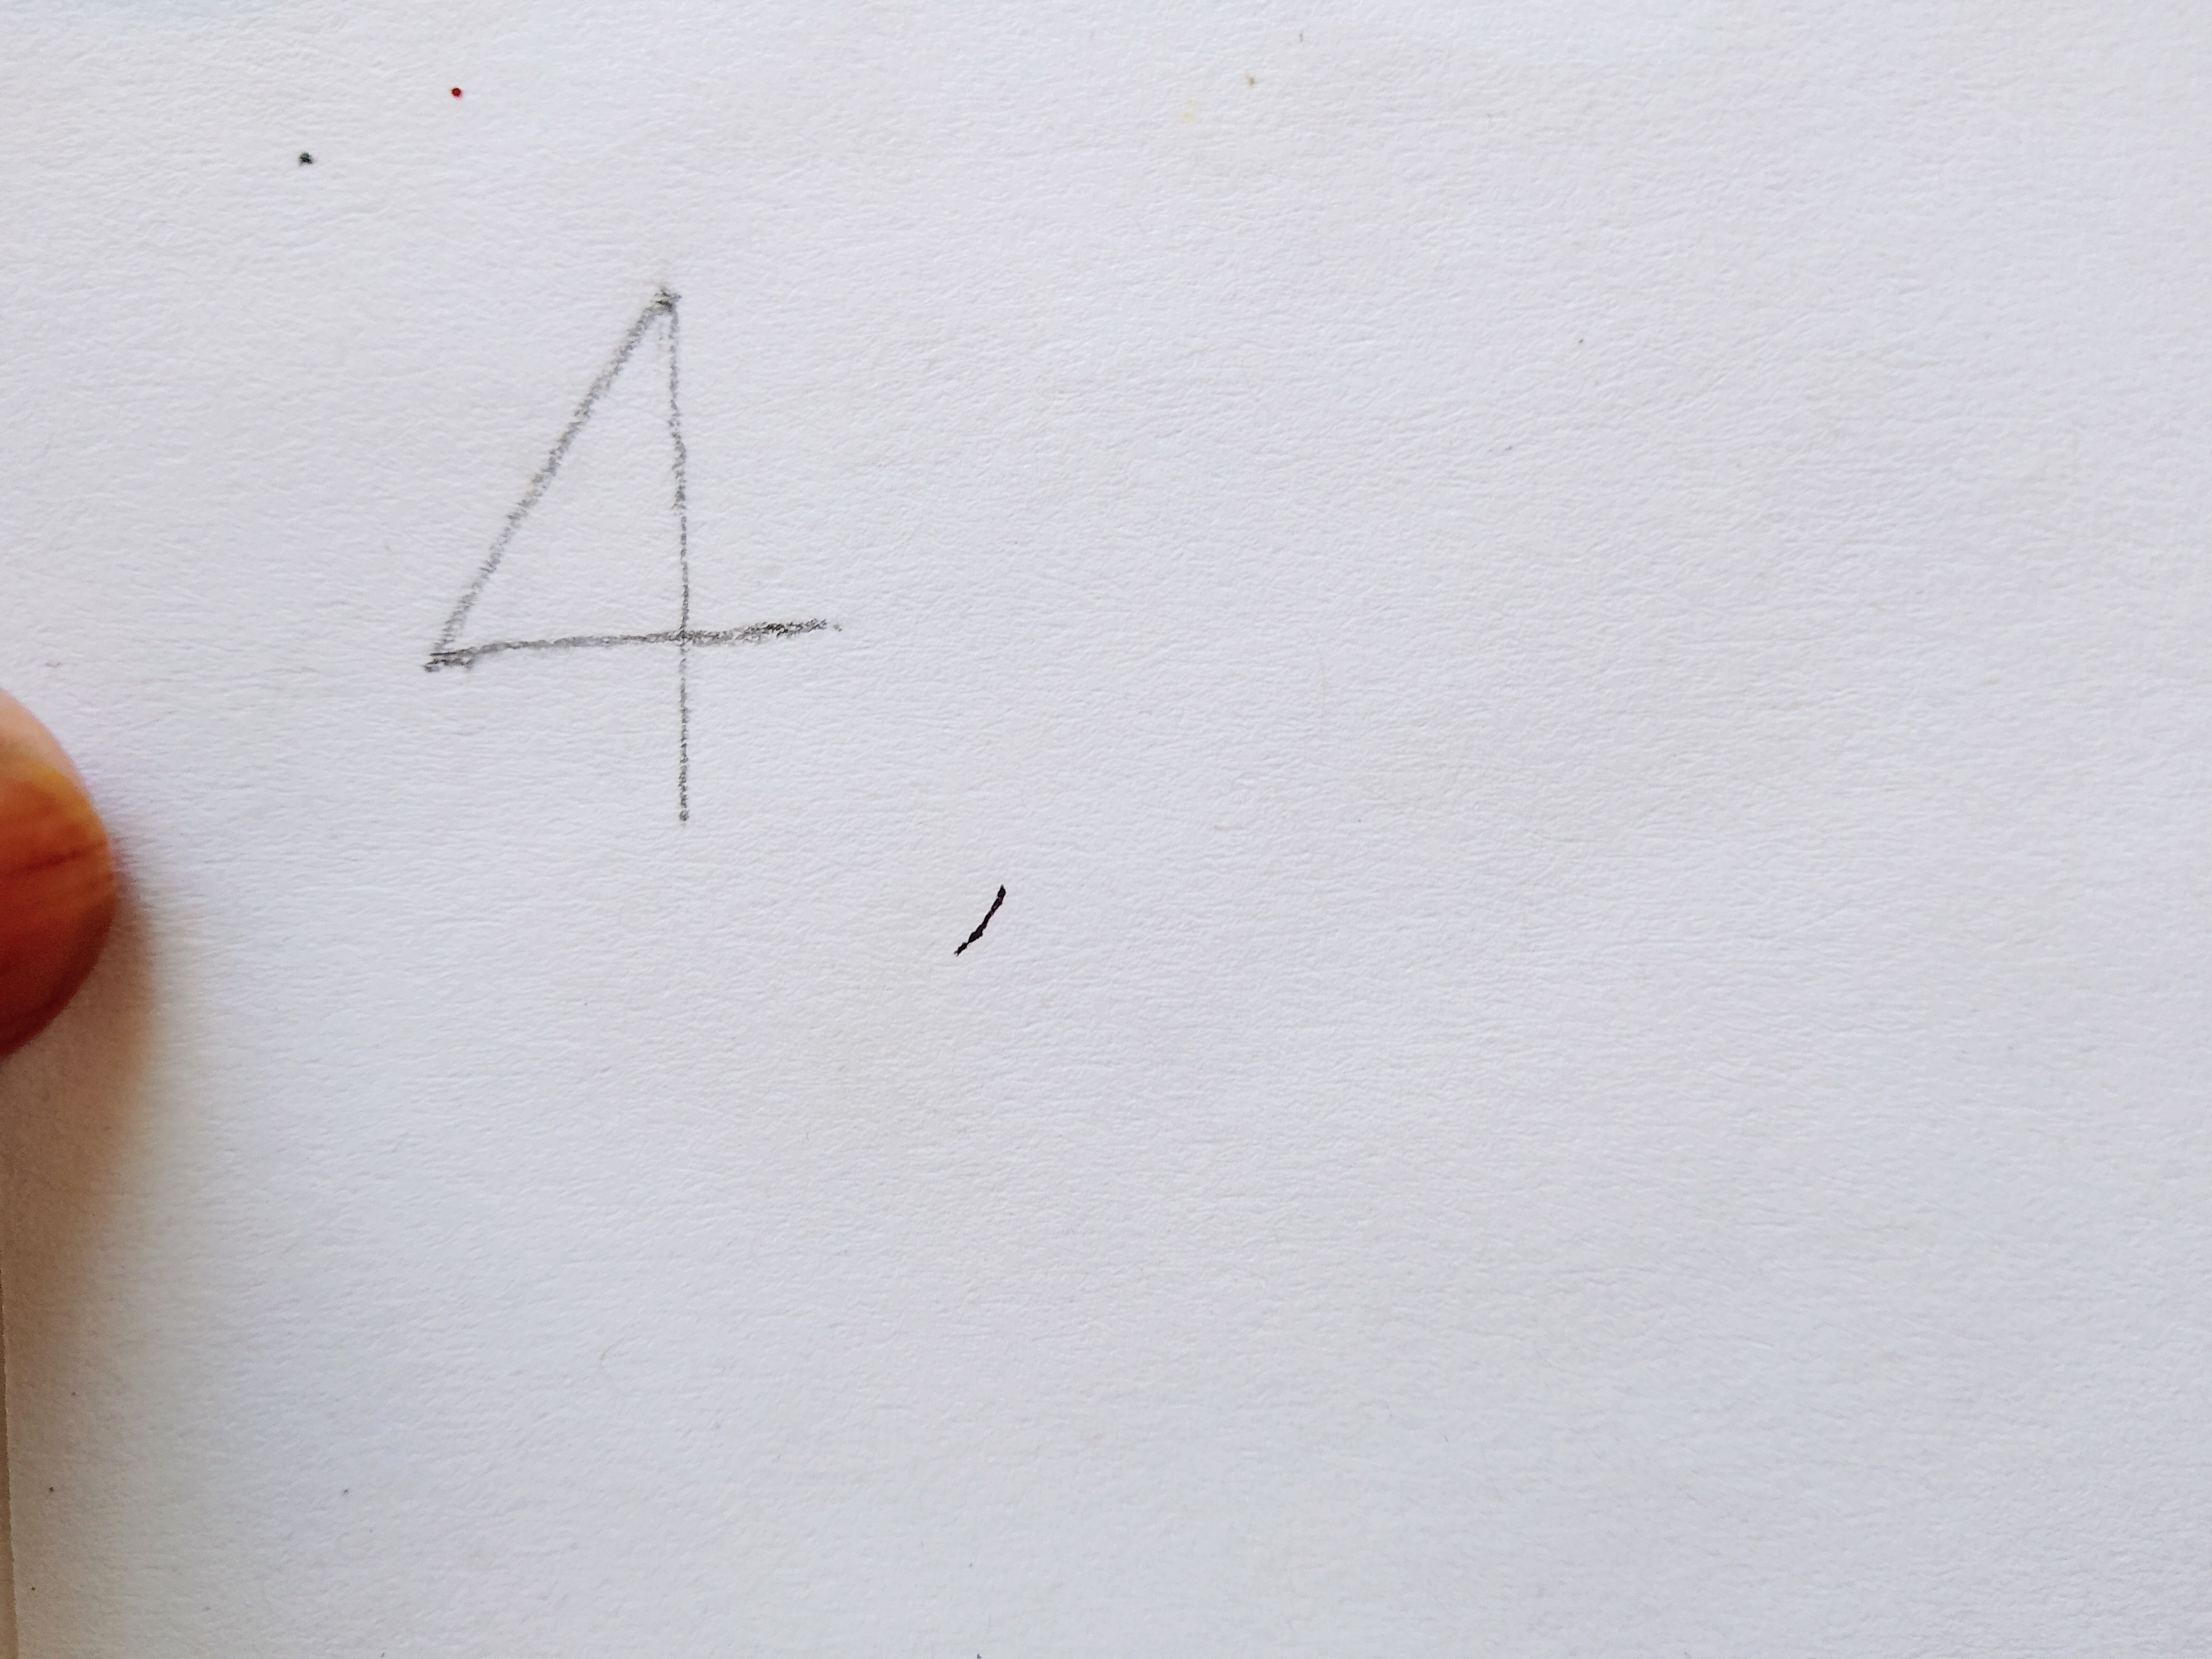
First, draw a number 4 on white paper with lead pencil as shown in the photo.
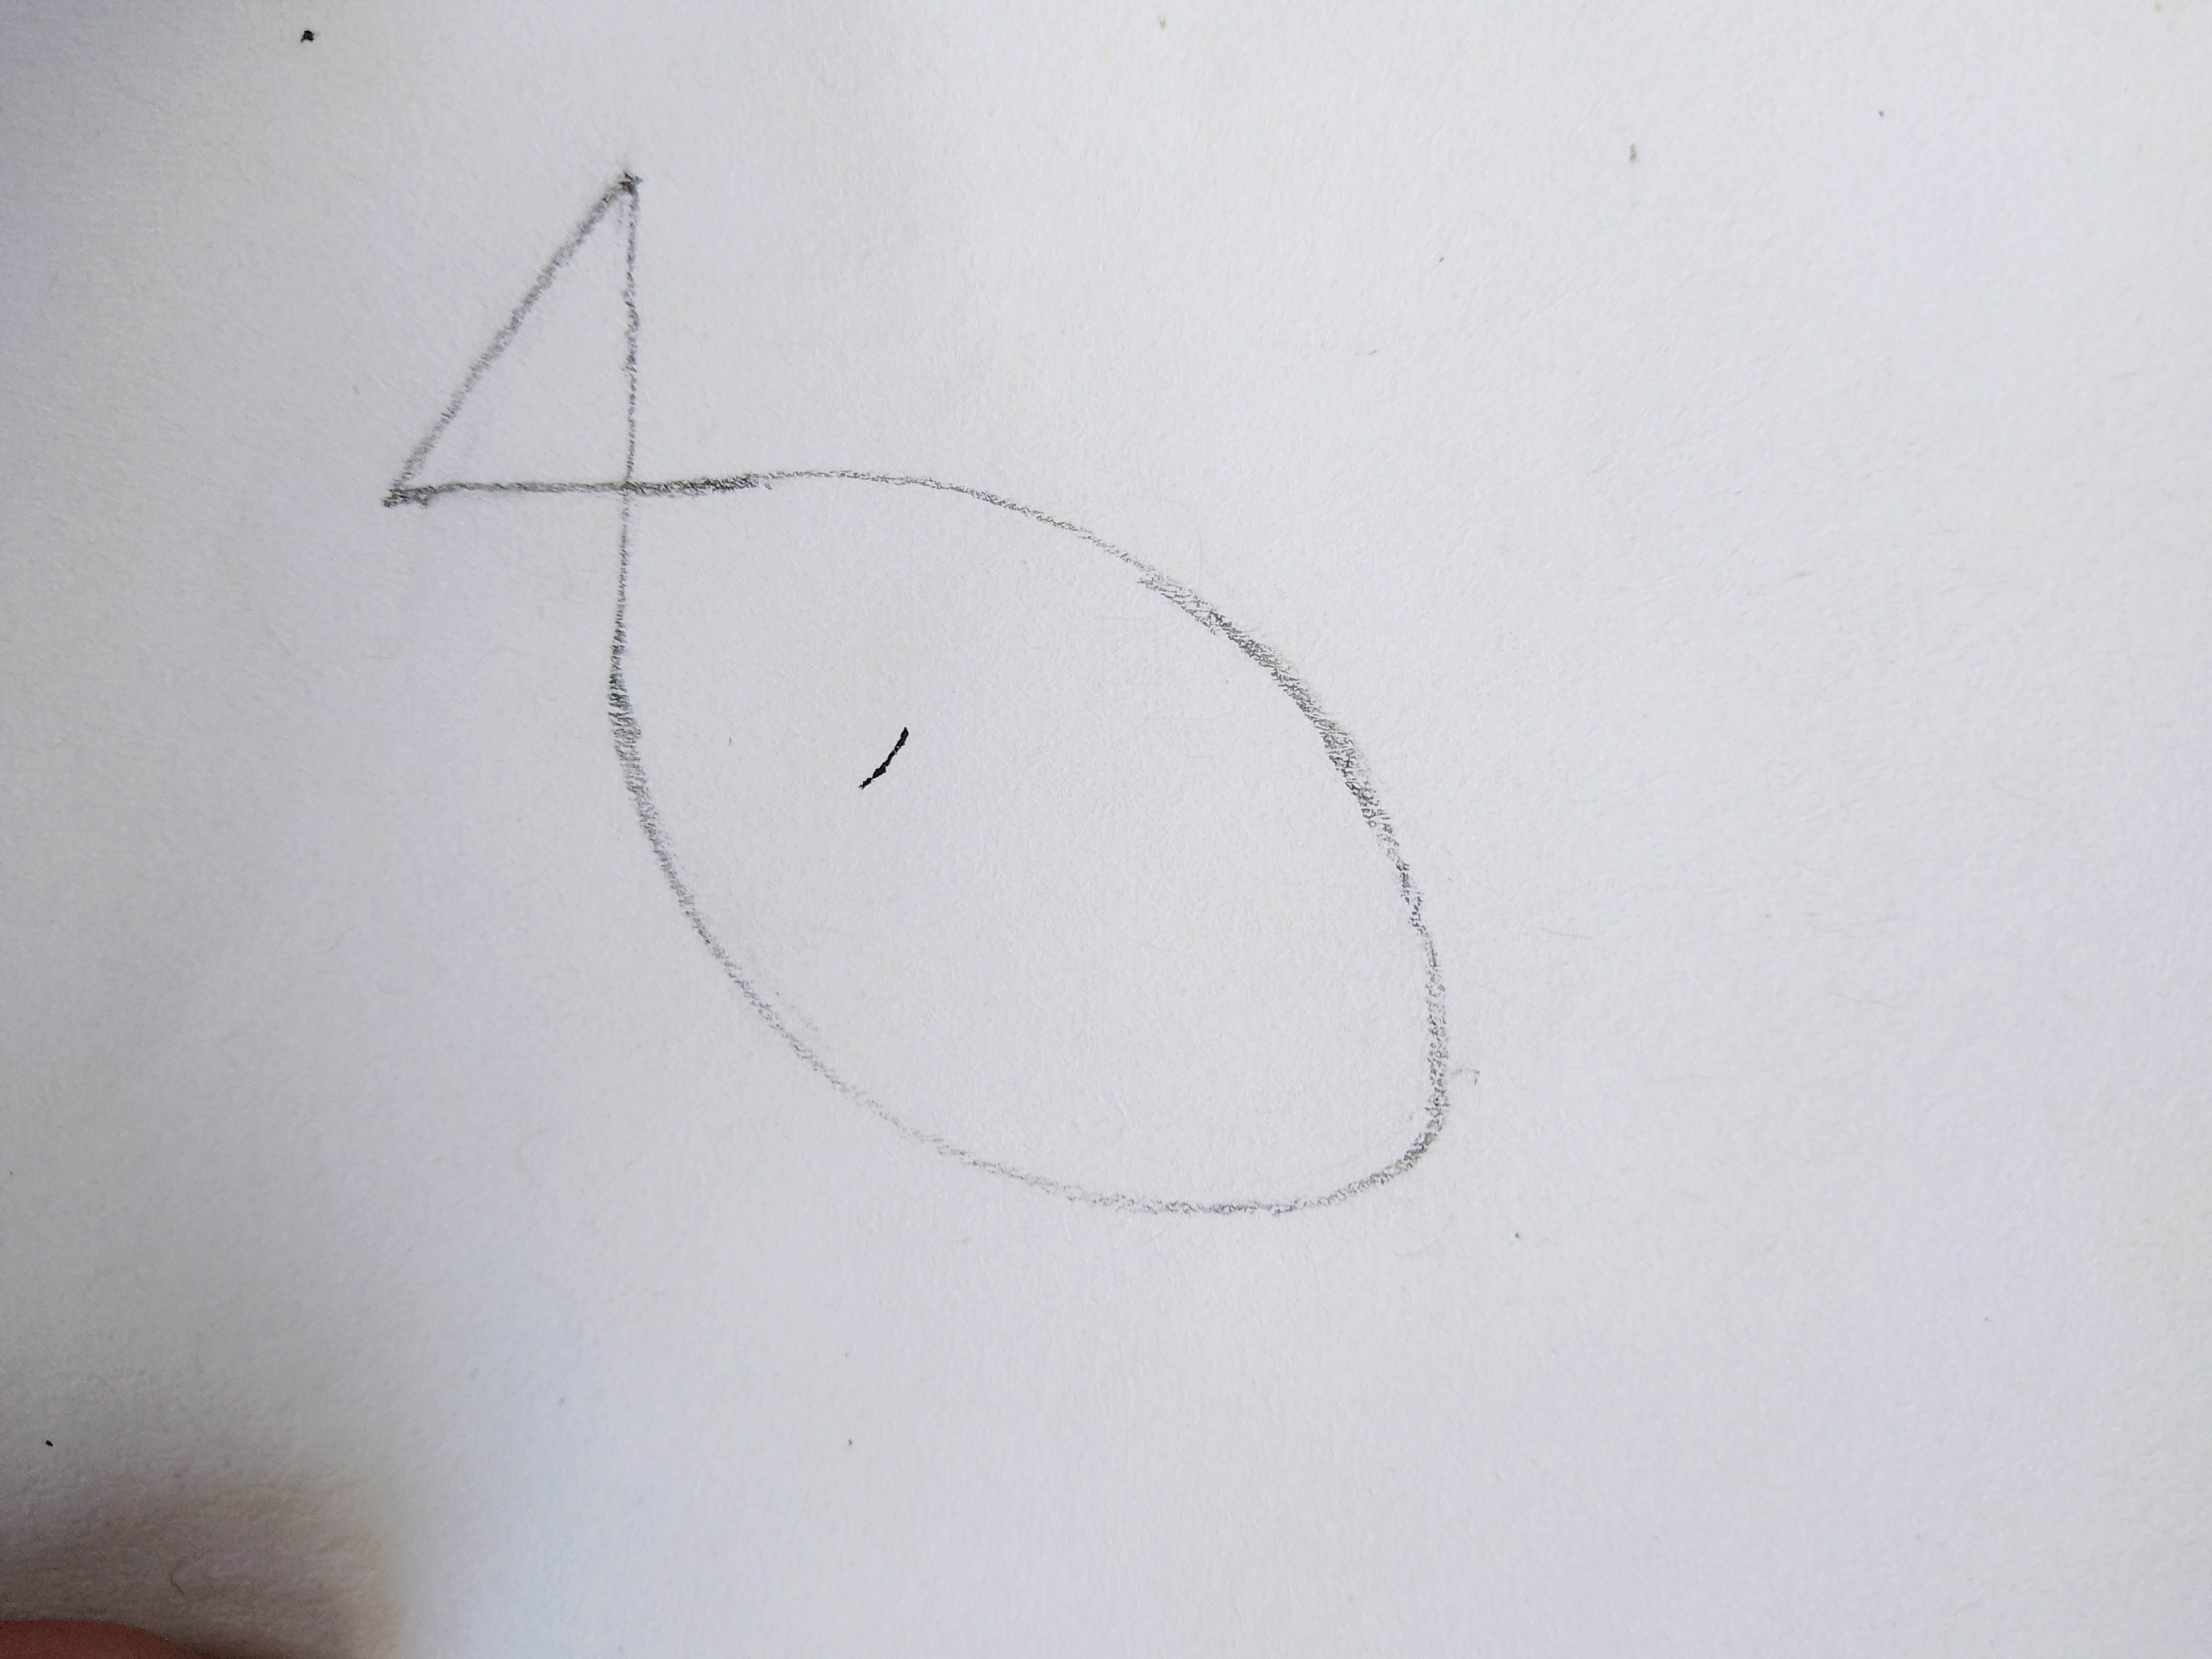
Draw a curved line from one bottom corner of the number 4 and connect it to the other to make an oval shape as shown in the photo. By doing this, body of the fish and its tail will be formed.
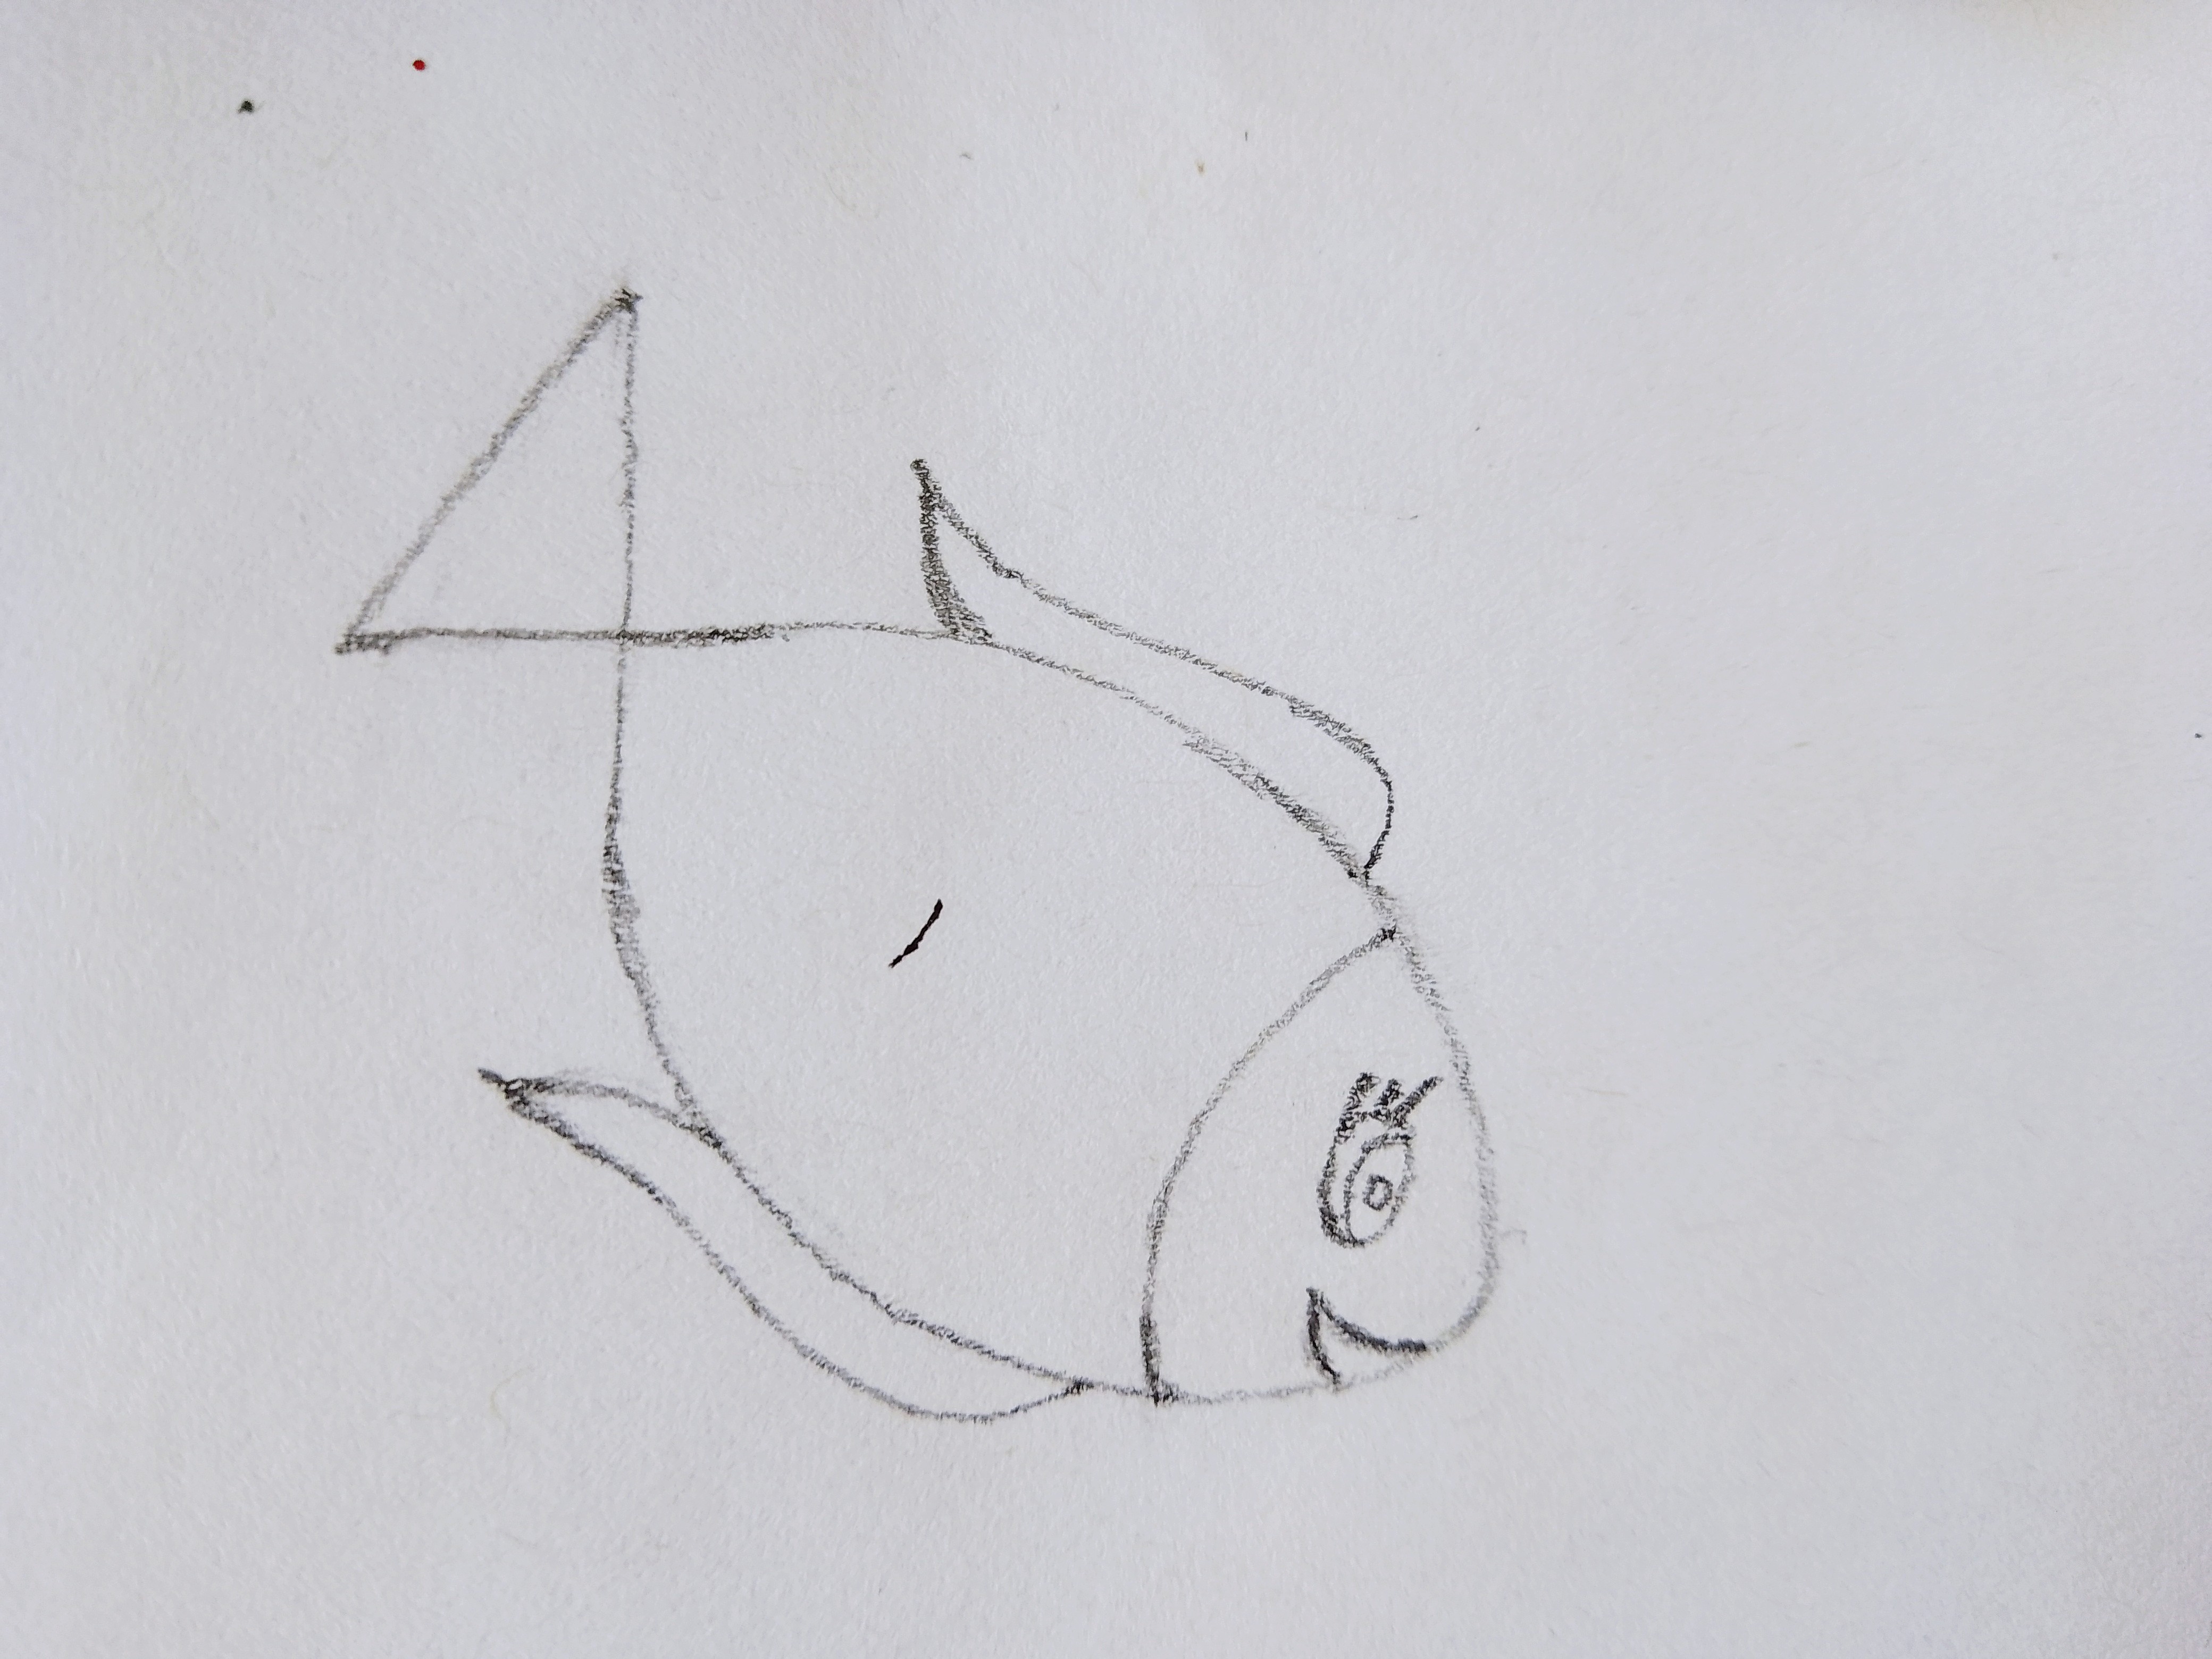
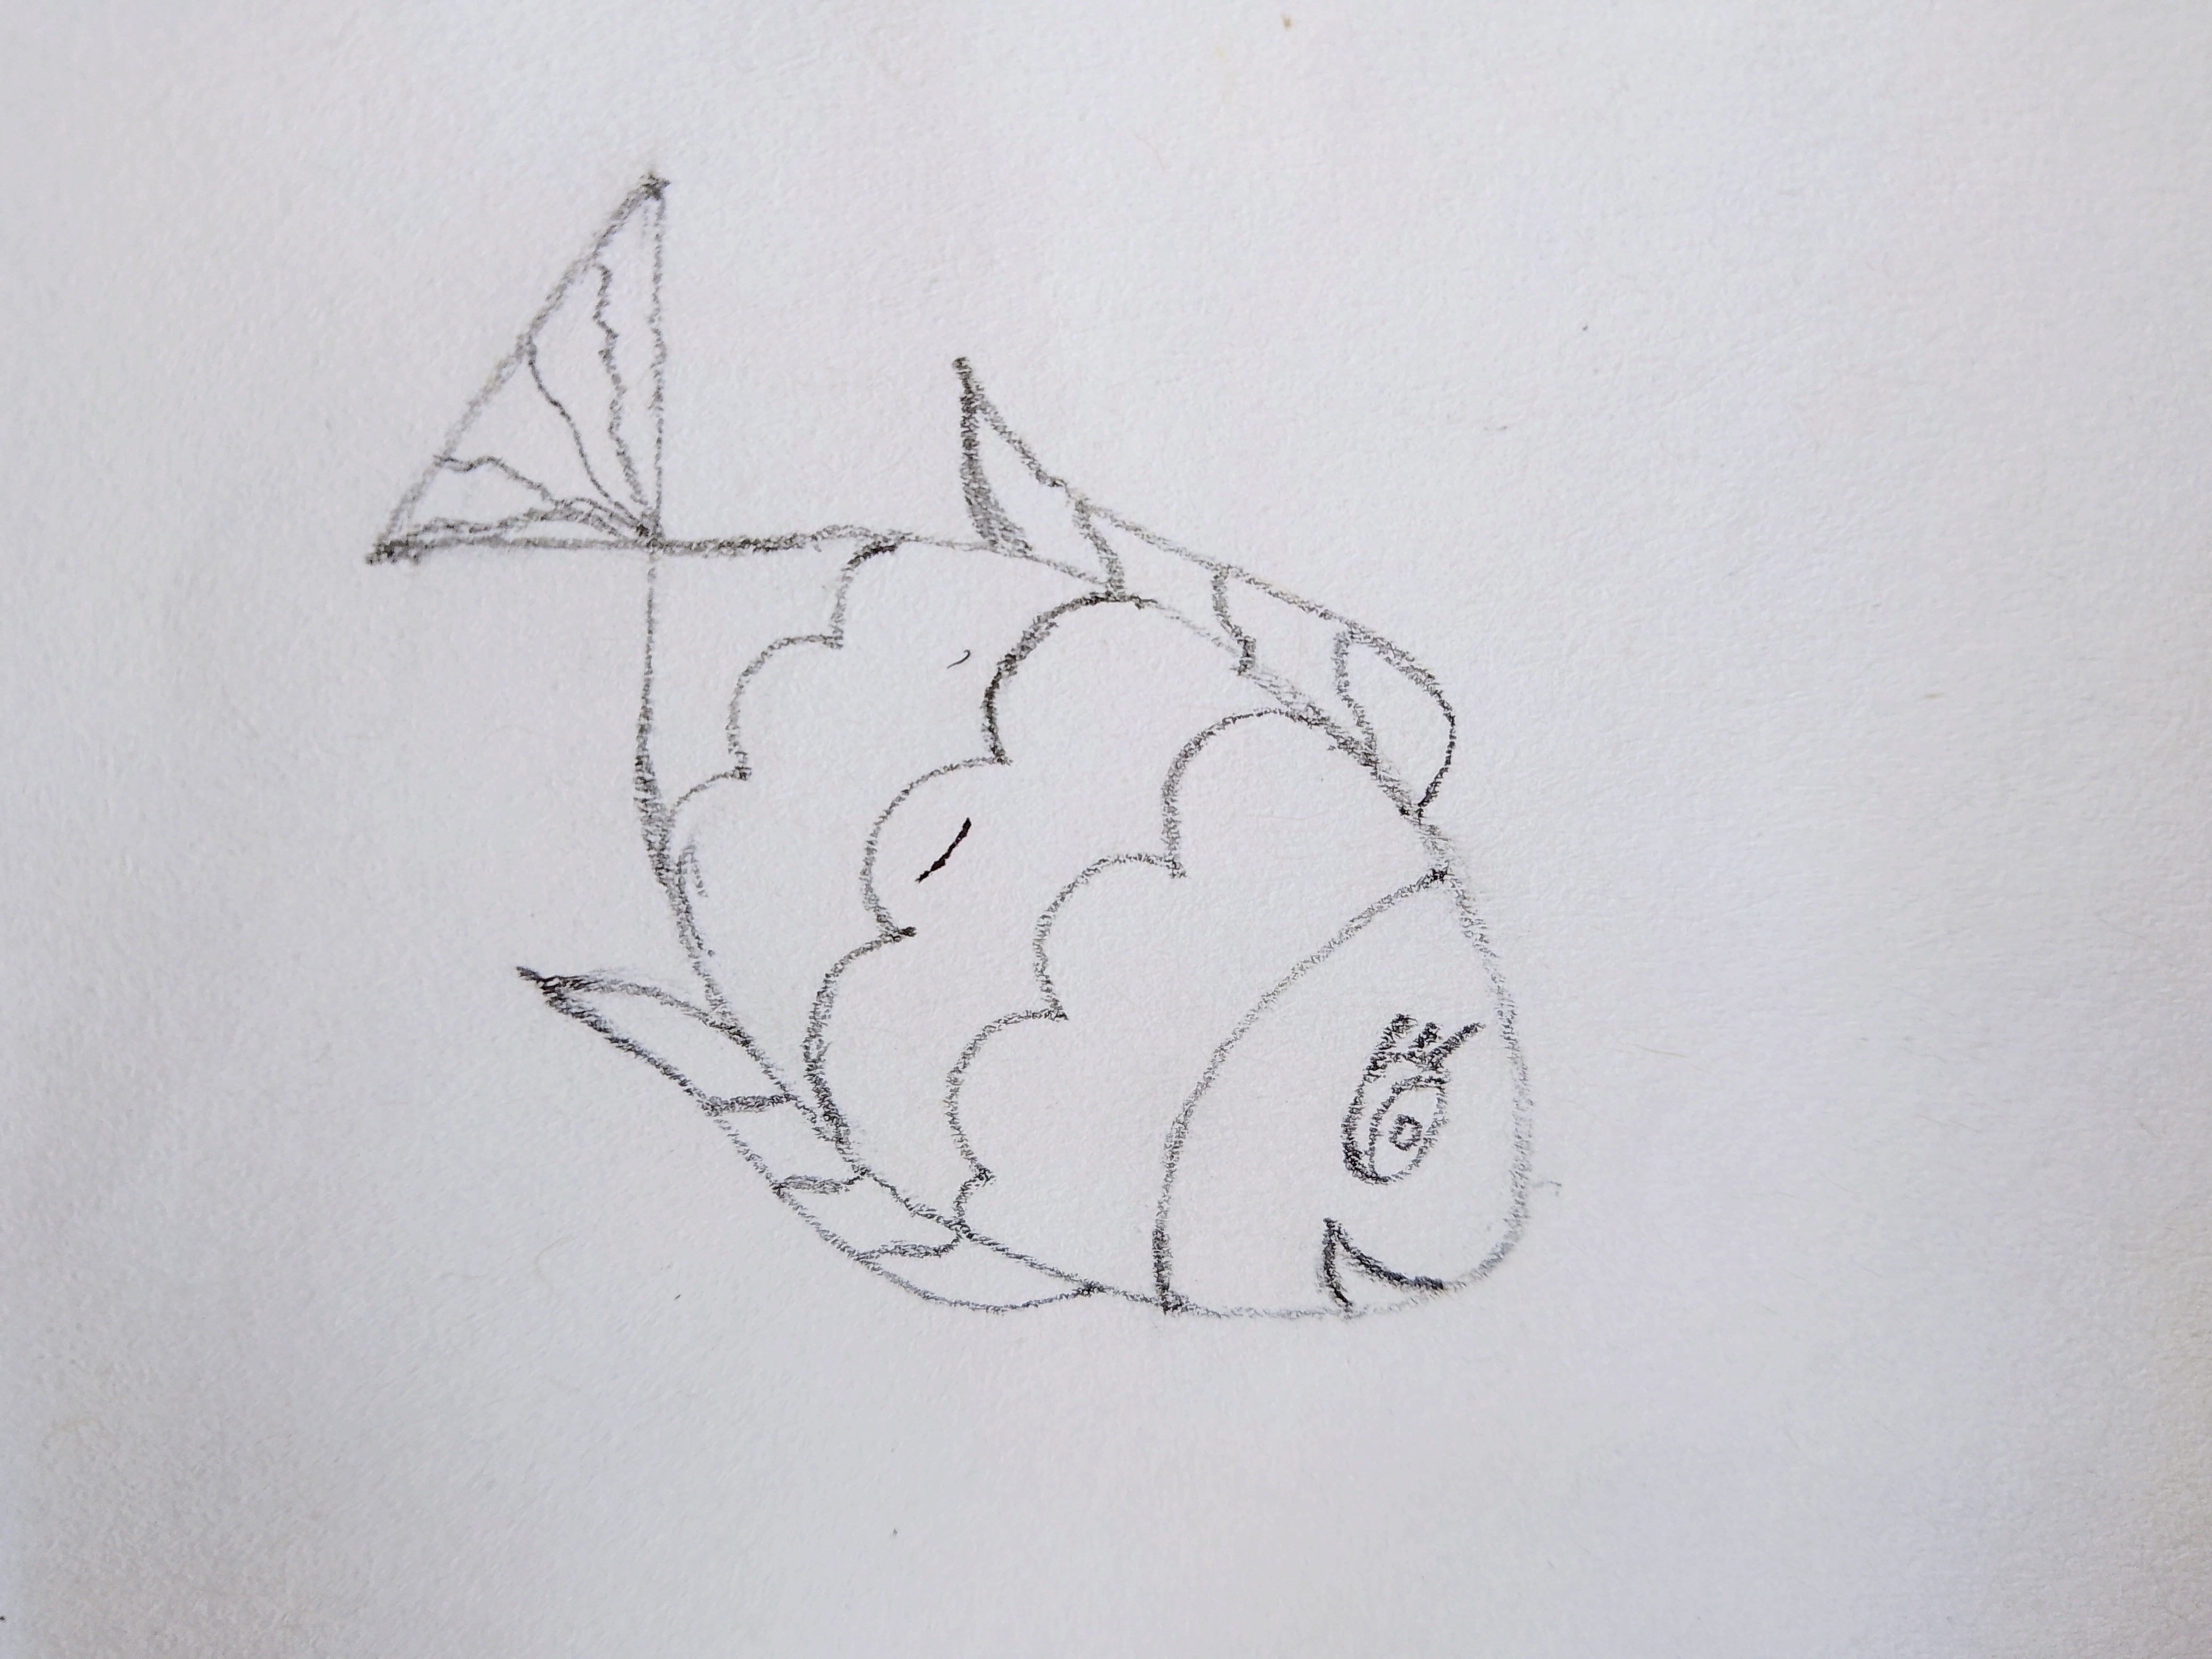
Draw a curved line on the body to make the basic structure of the fish's face. Then, draw a beautiful eye and a smiling mouth of the fish inside it as shown in the photo.

Draw two thin and long fins on the upper and lower side of the fish's body as shown in the photo.
Draw three wavy lines on the body to make fish's scales and then also draw some lines on the fish's fins and tail to make it more beautiful as shown in the photo.
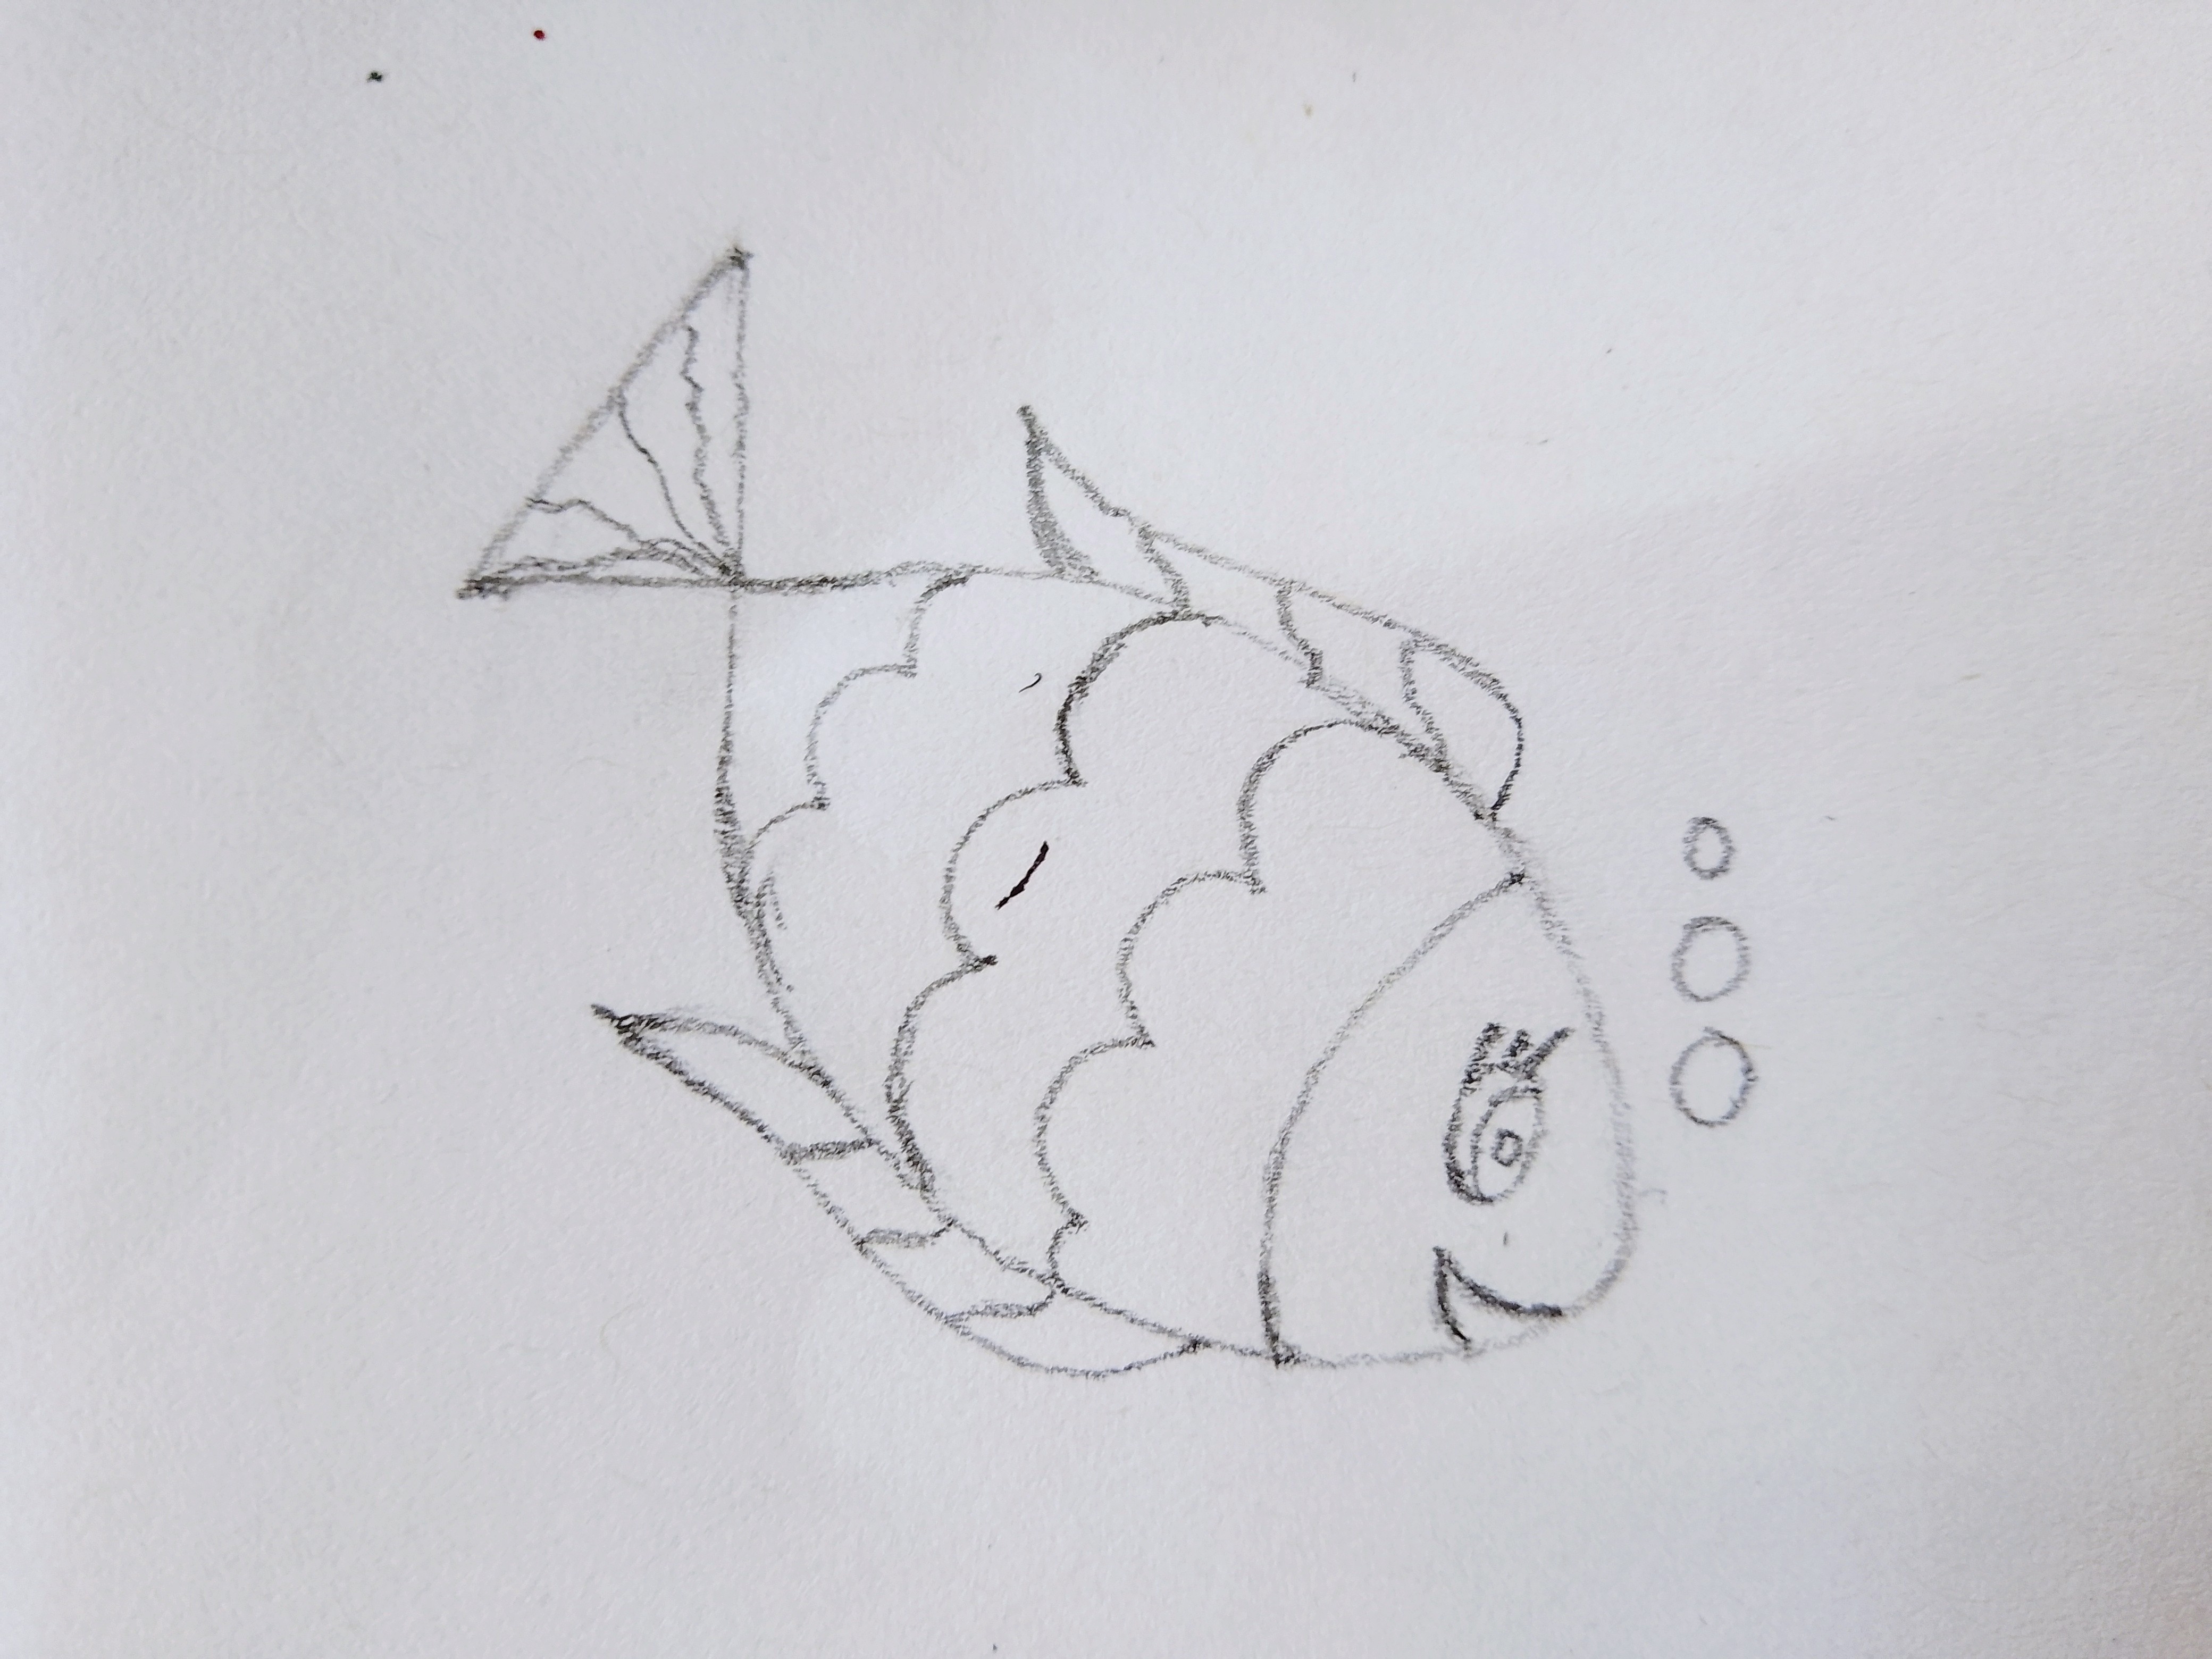
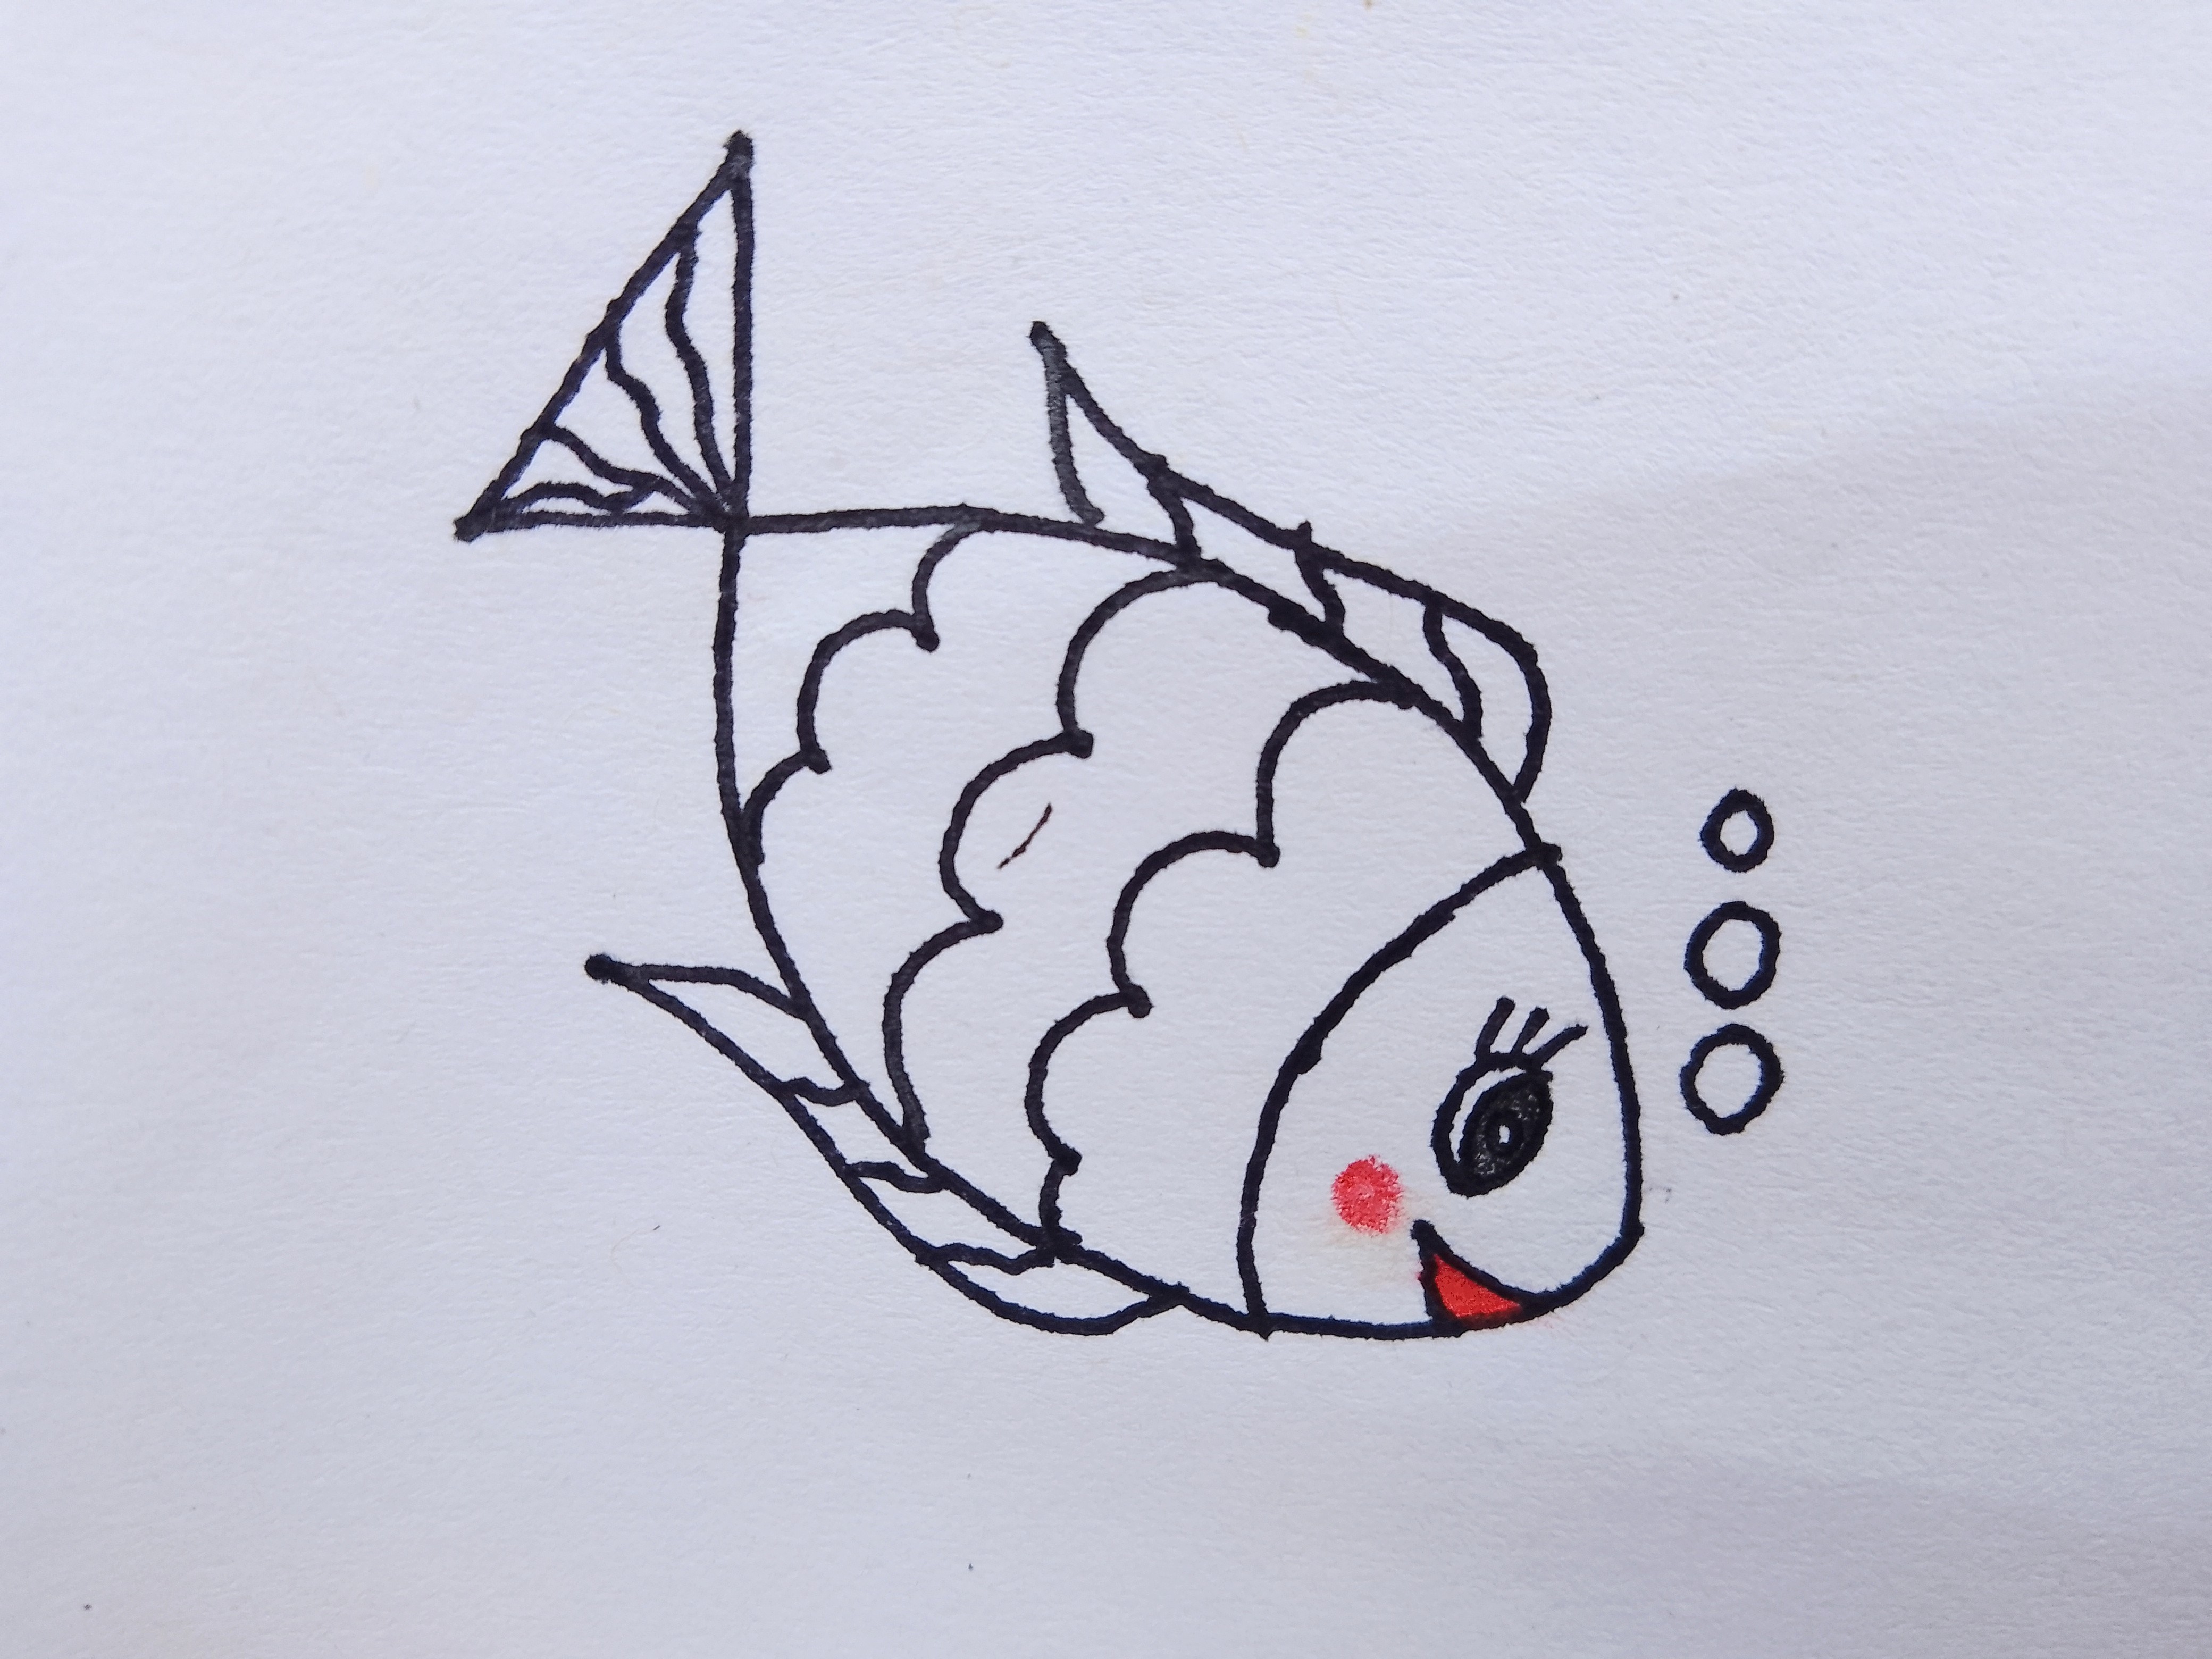
Then draw some water bubbles in front of the fish's mouth as shown in the photo. With this, the sketch of the beautiful fish transforming from number 4 is complete.
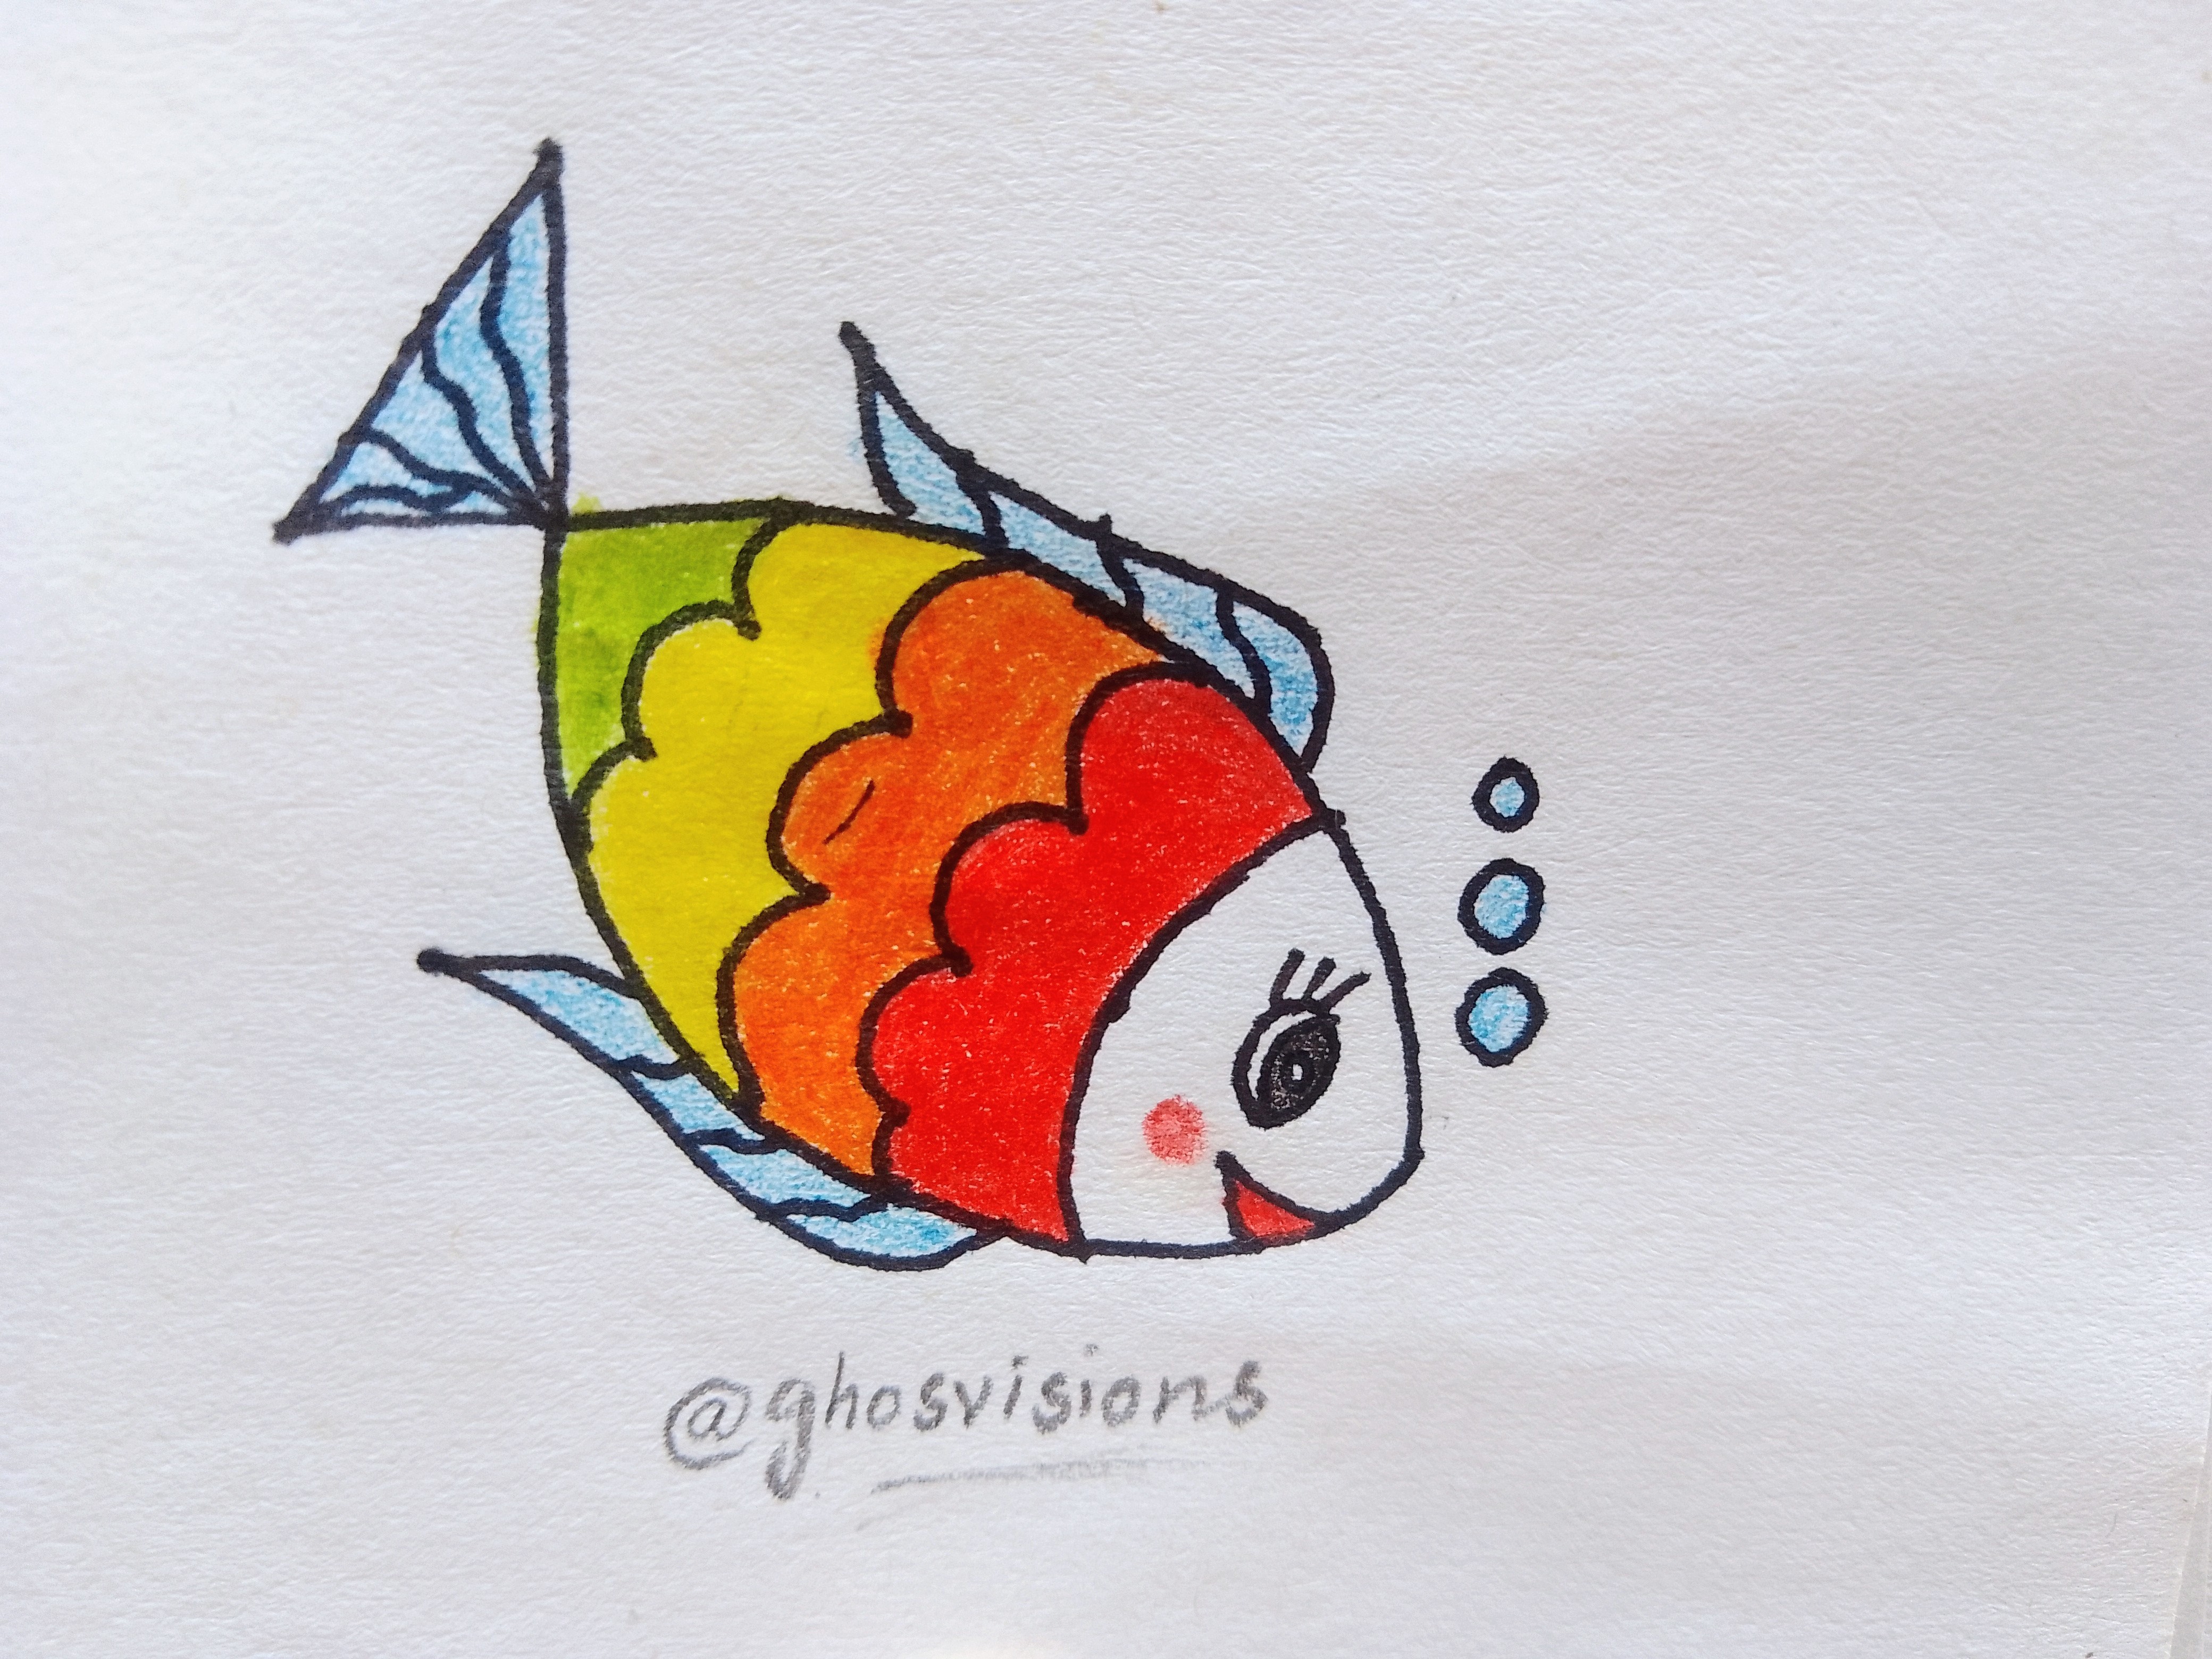
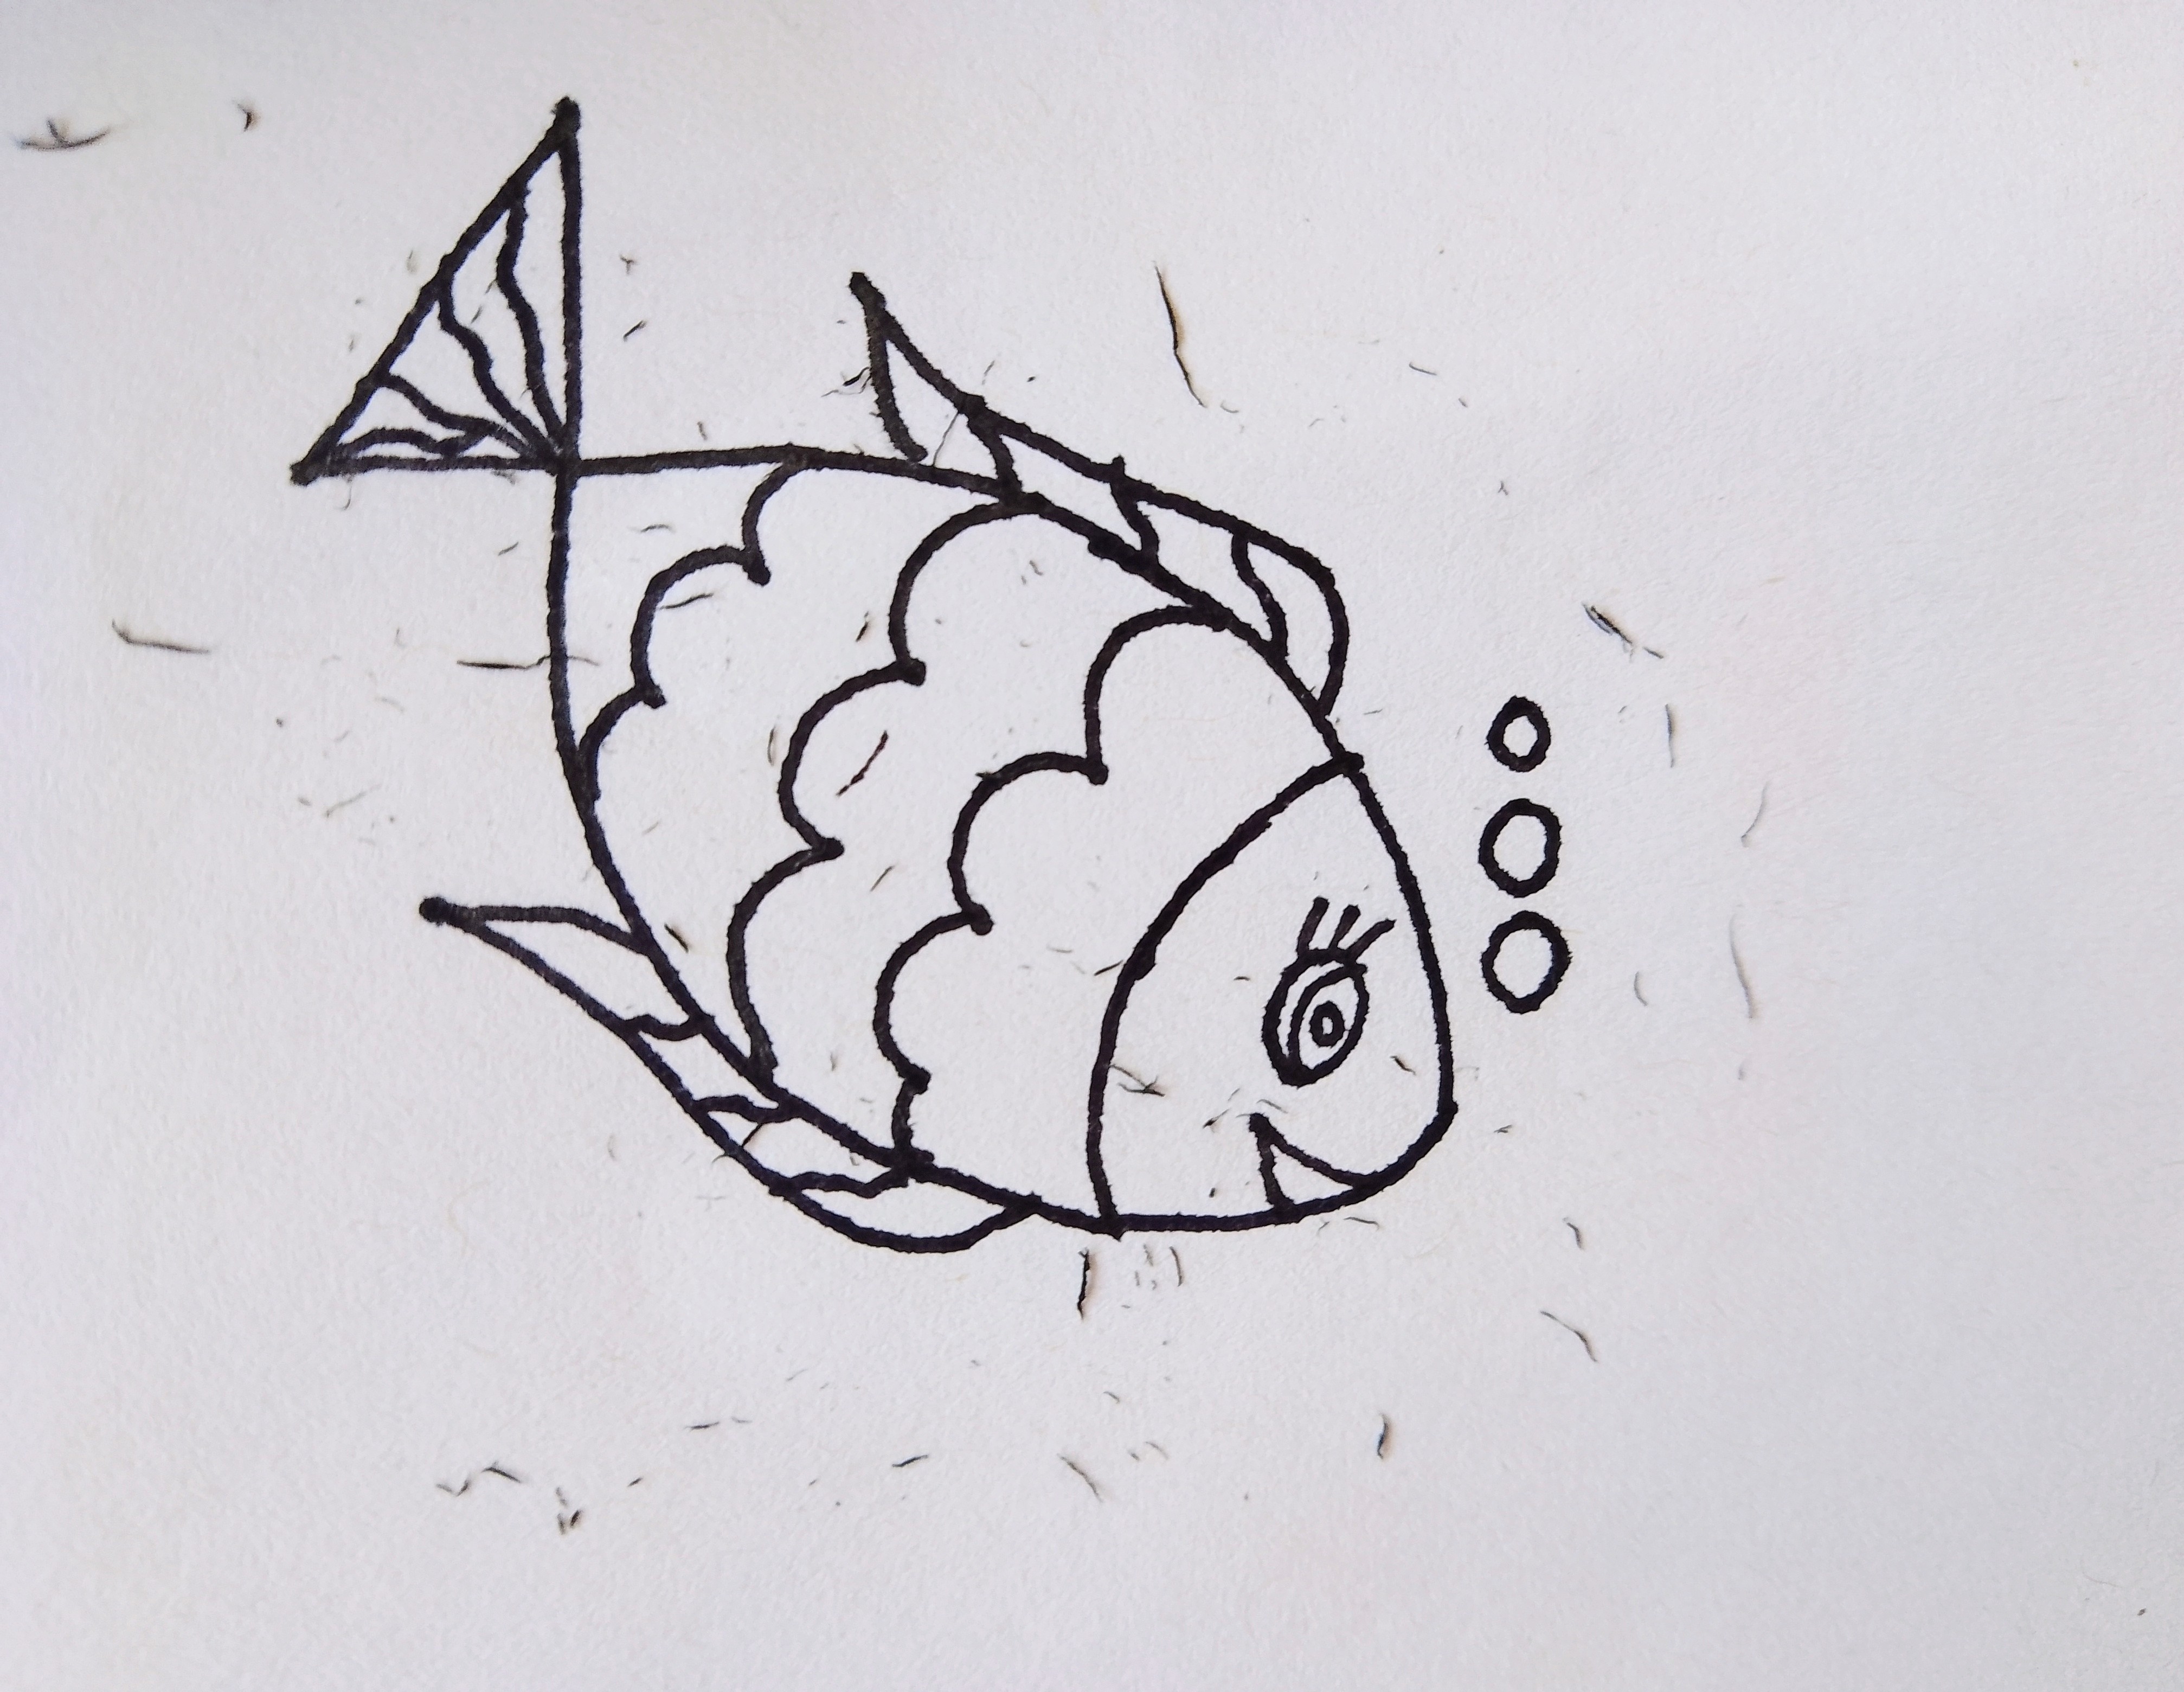
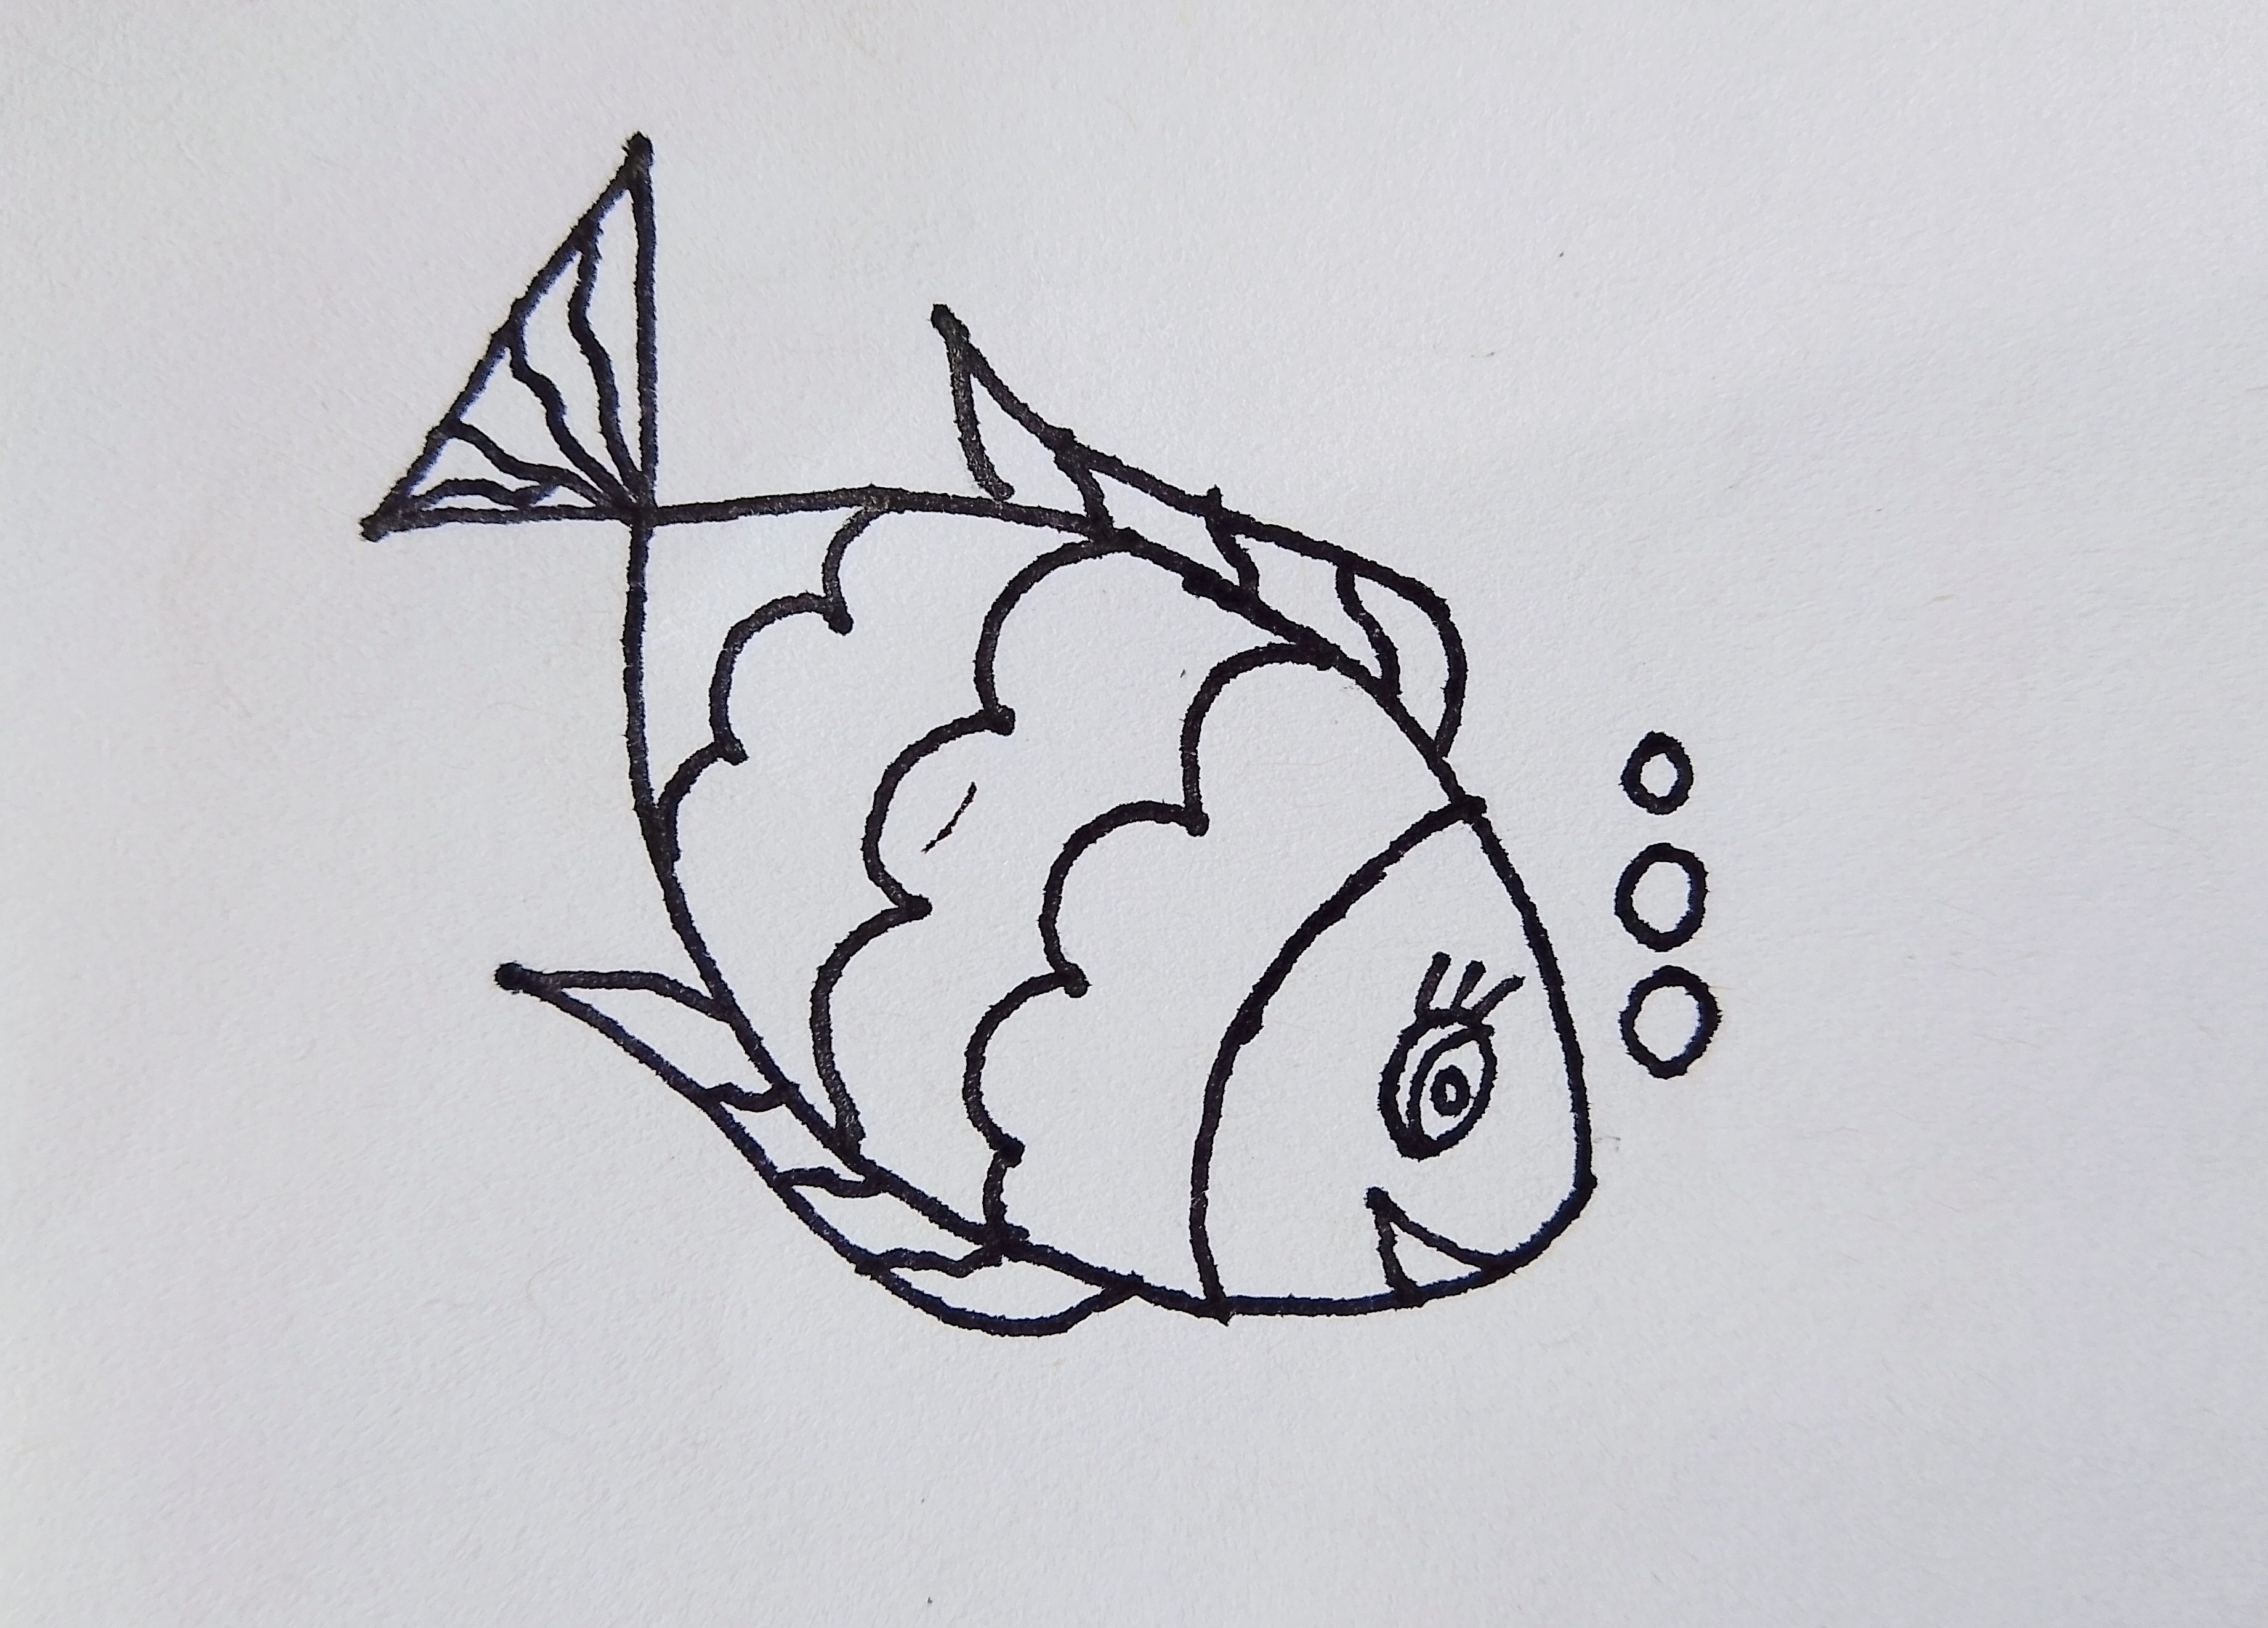
Now we will fill colors in the sketch. So, first outline the whole sketch with black pointer to make every detail prominent. Then erase the pencil marks to make your drawing neat and clean as shown in the photo.
Fill red color in the smiling mouth of the fish and then also make a round cheek with red color. After that fill black color in the eye leaving some area white as shown in the photo.
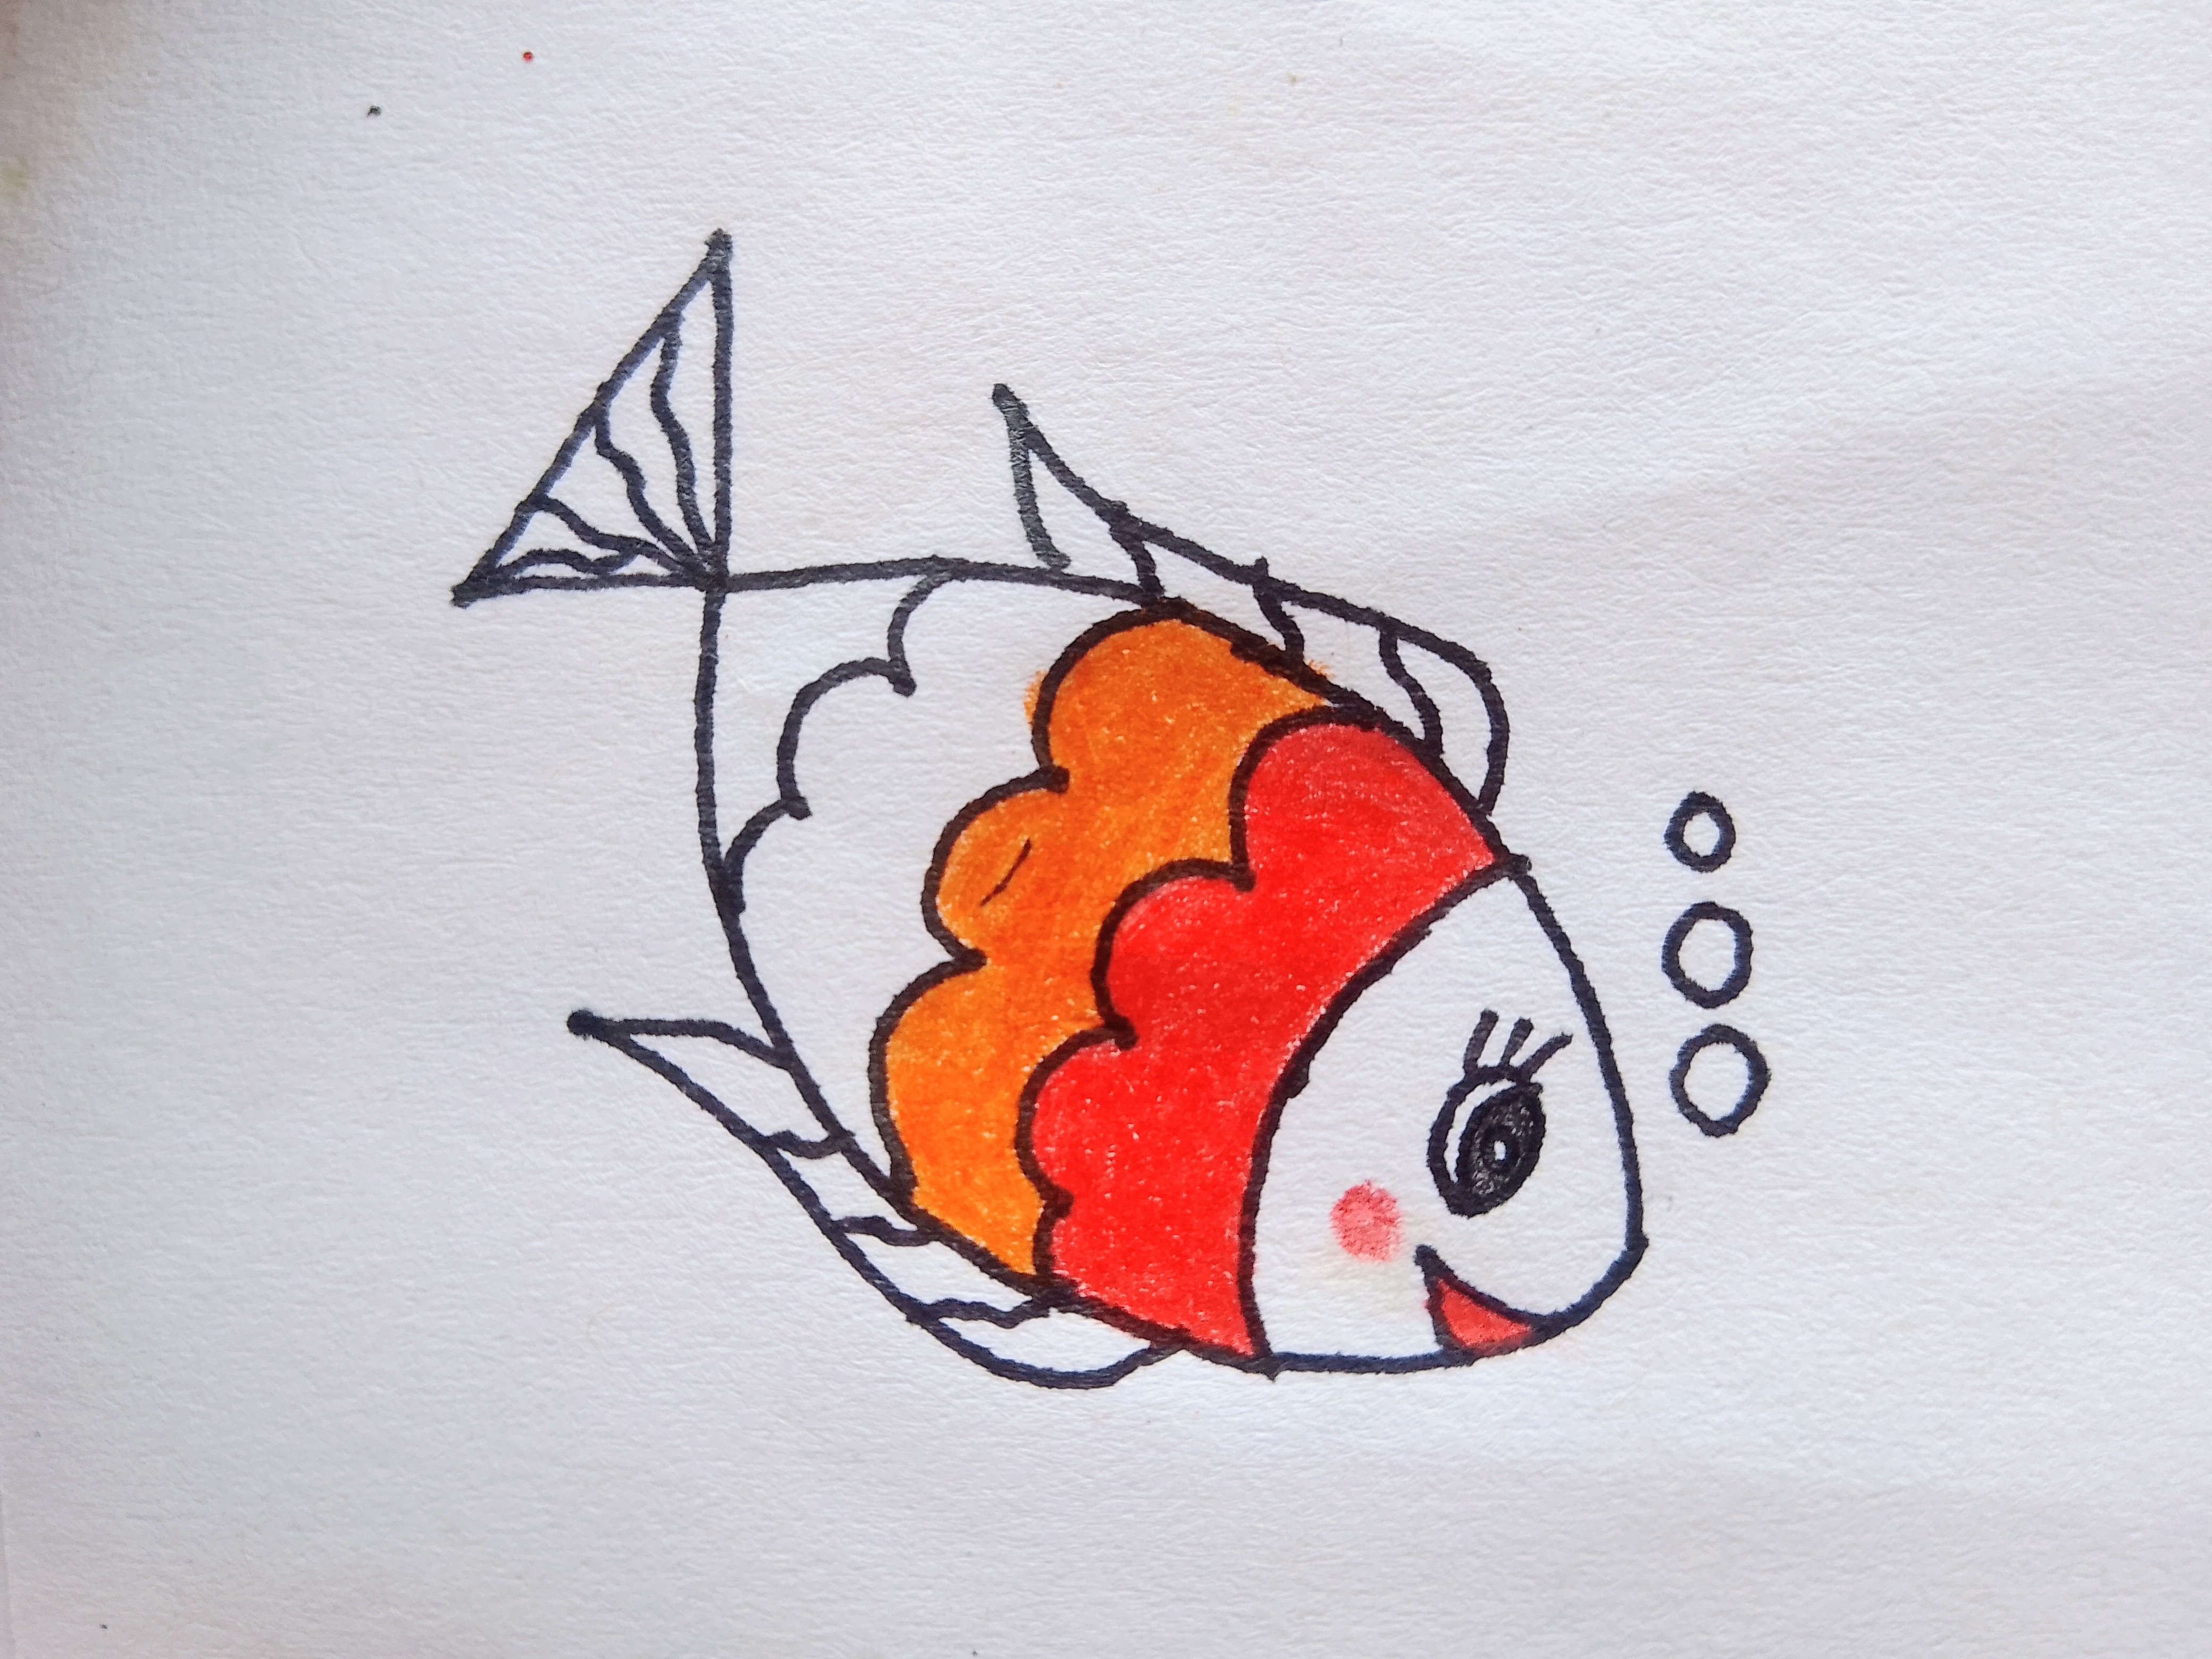
Now fill red and orange color in the first two scales of the fish as shown in the photo.
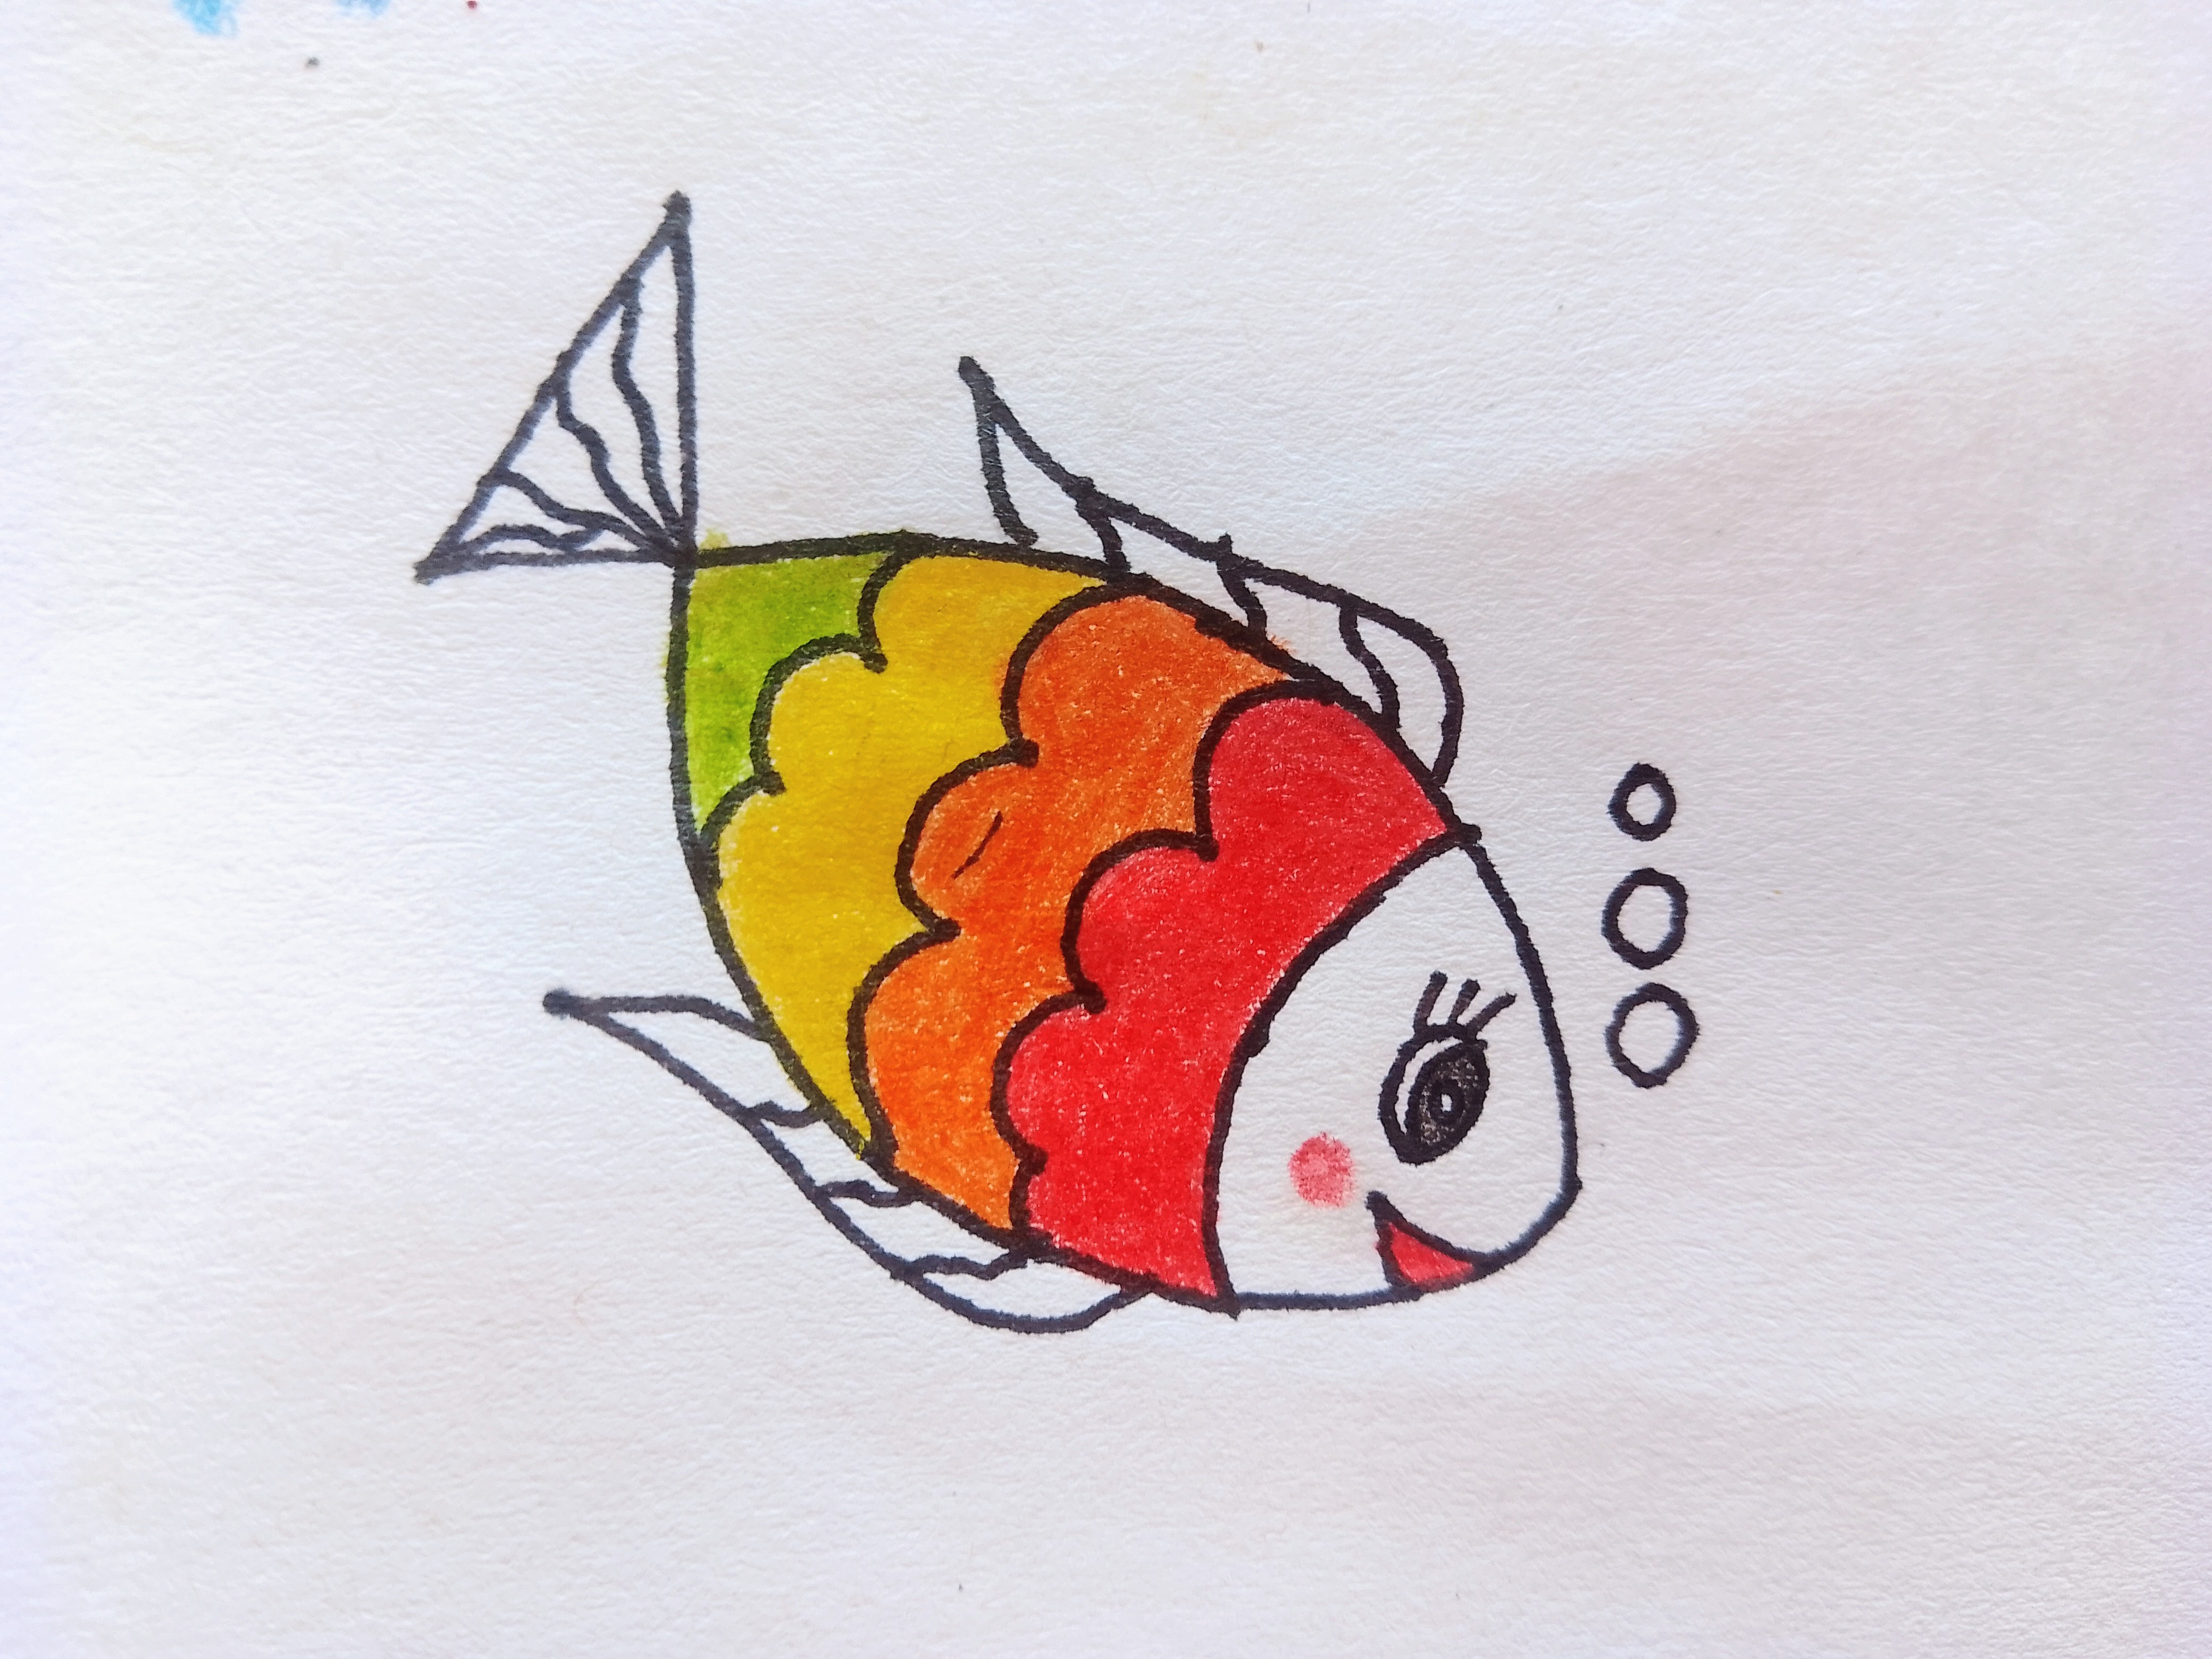
Fill yellow and green colors in the remaining scales of the fish as shown in the photo.
This is last step. Fill light blue color in the tail and in the fins of the fish and then also fill blue color in the water bubbles as shown in the photo. Now your beautiful fish drawing from number 4 is ready.
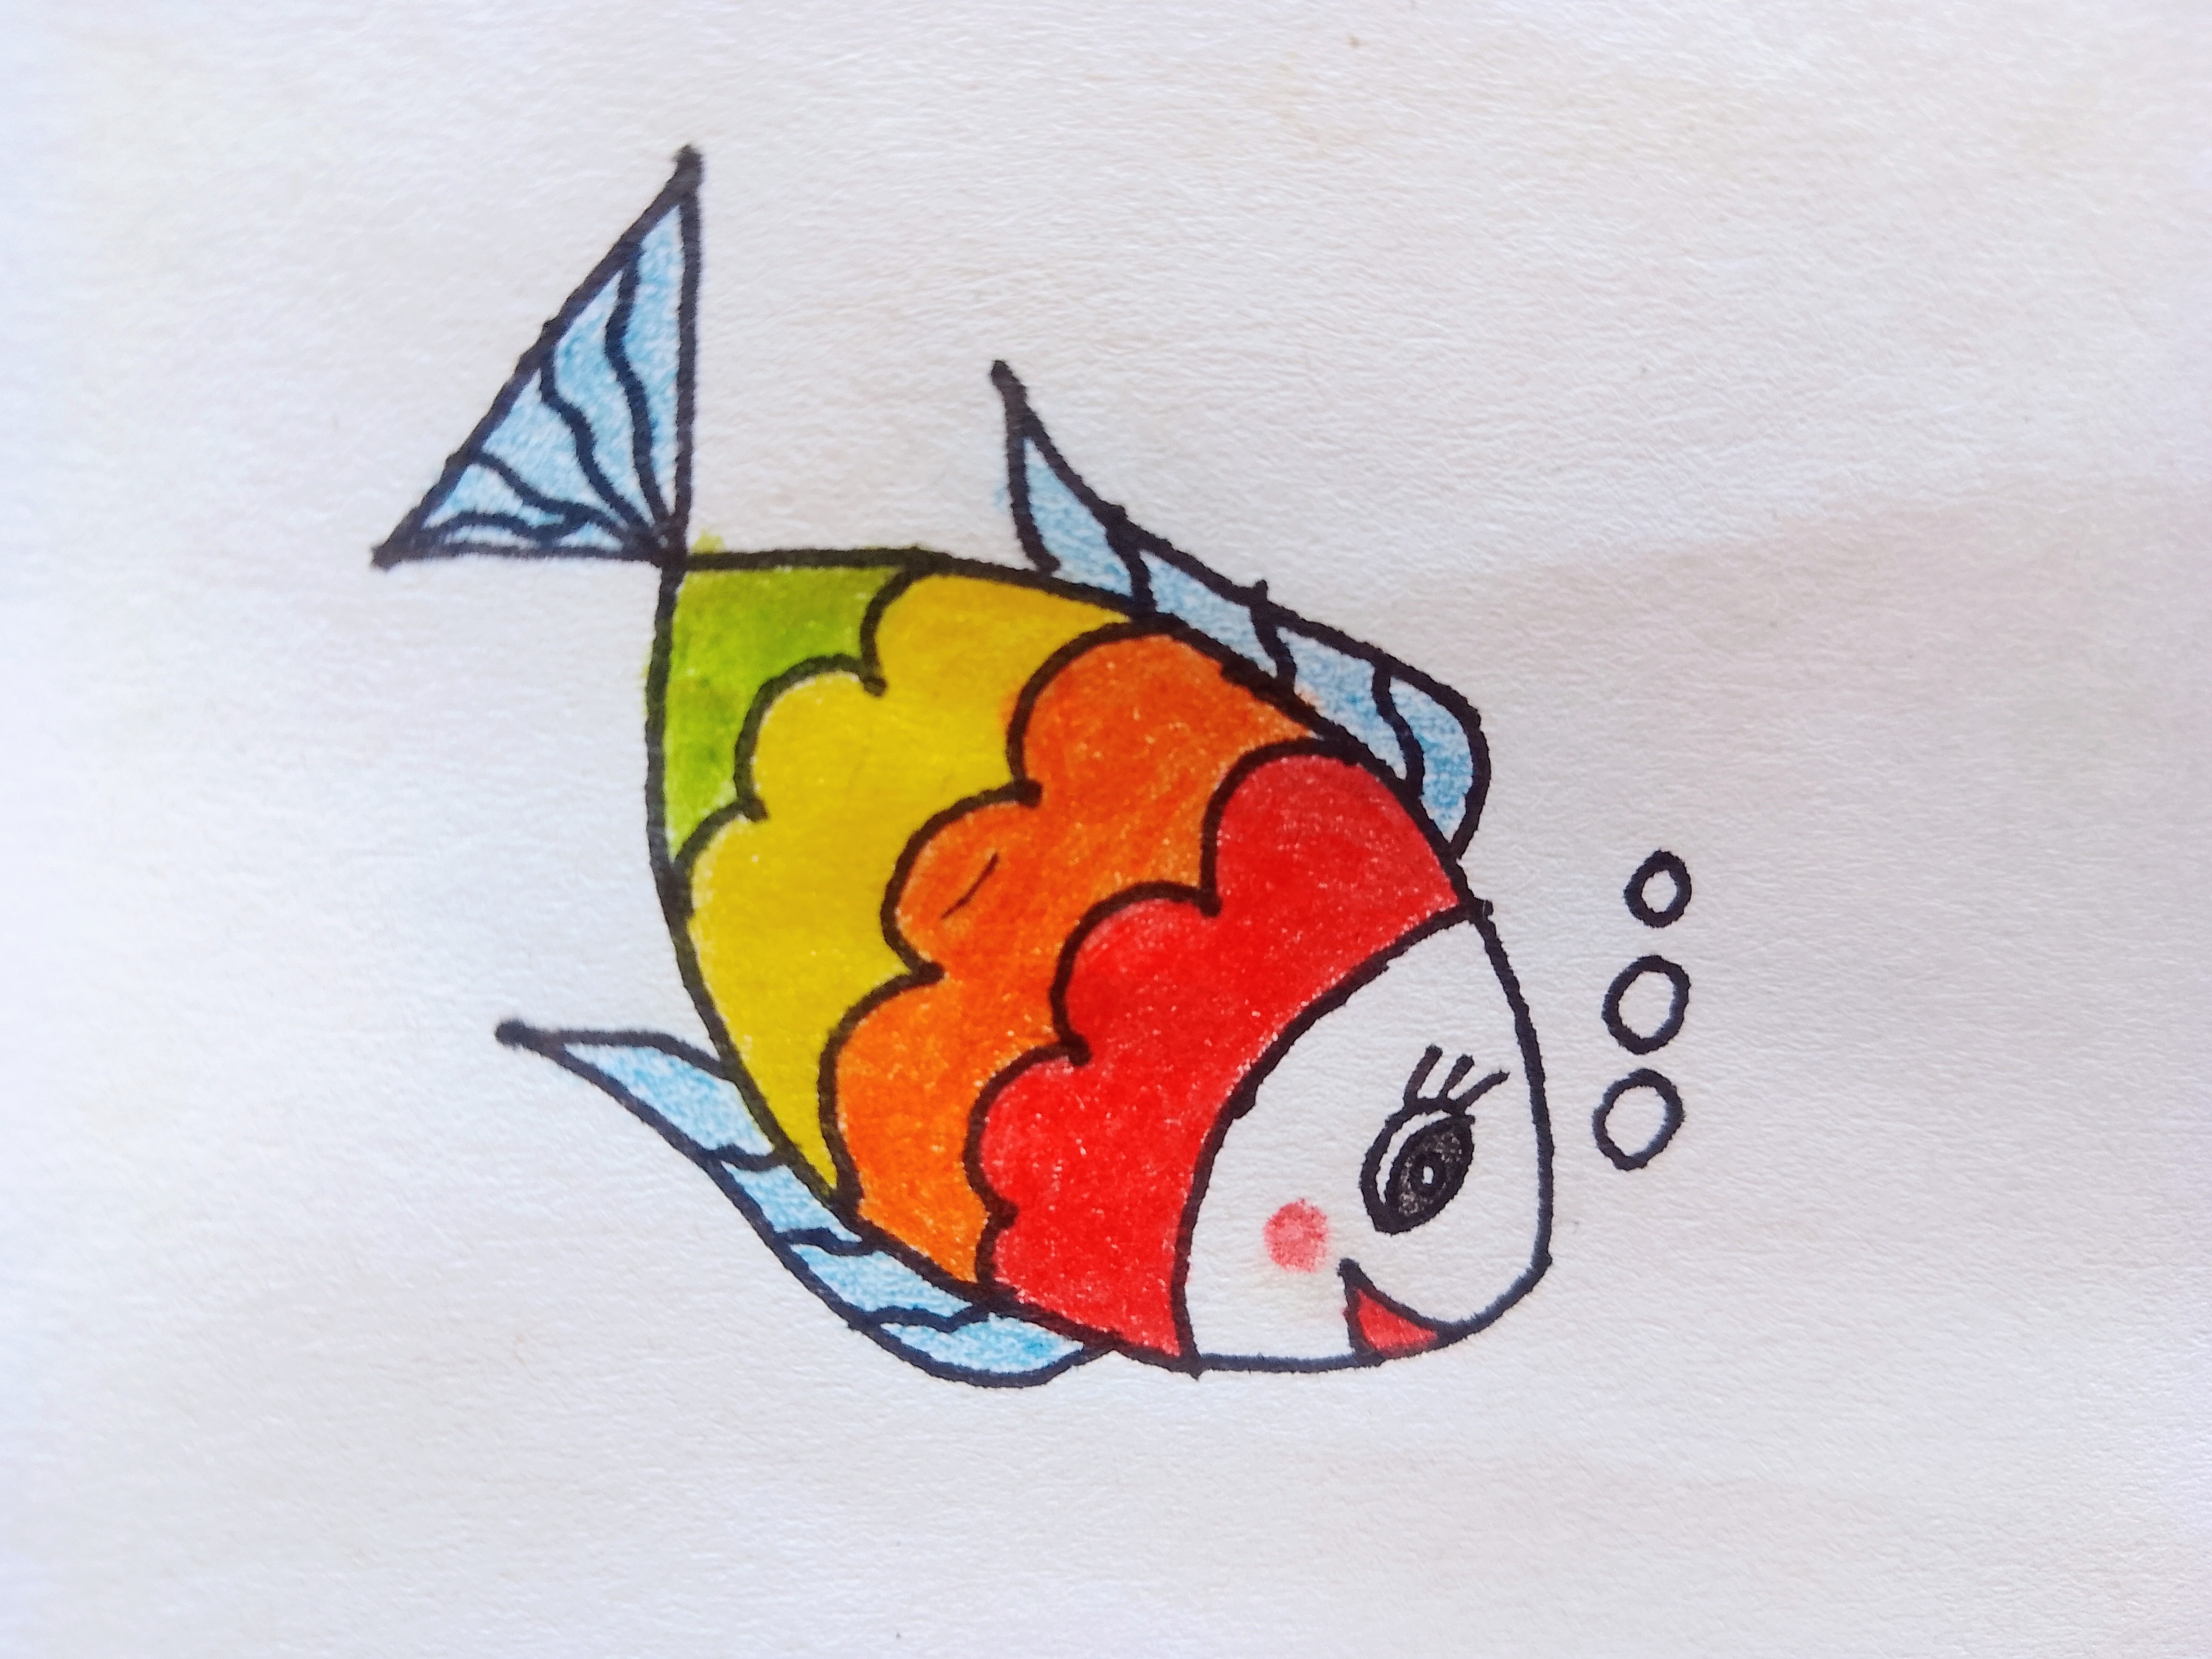
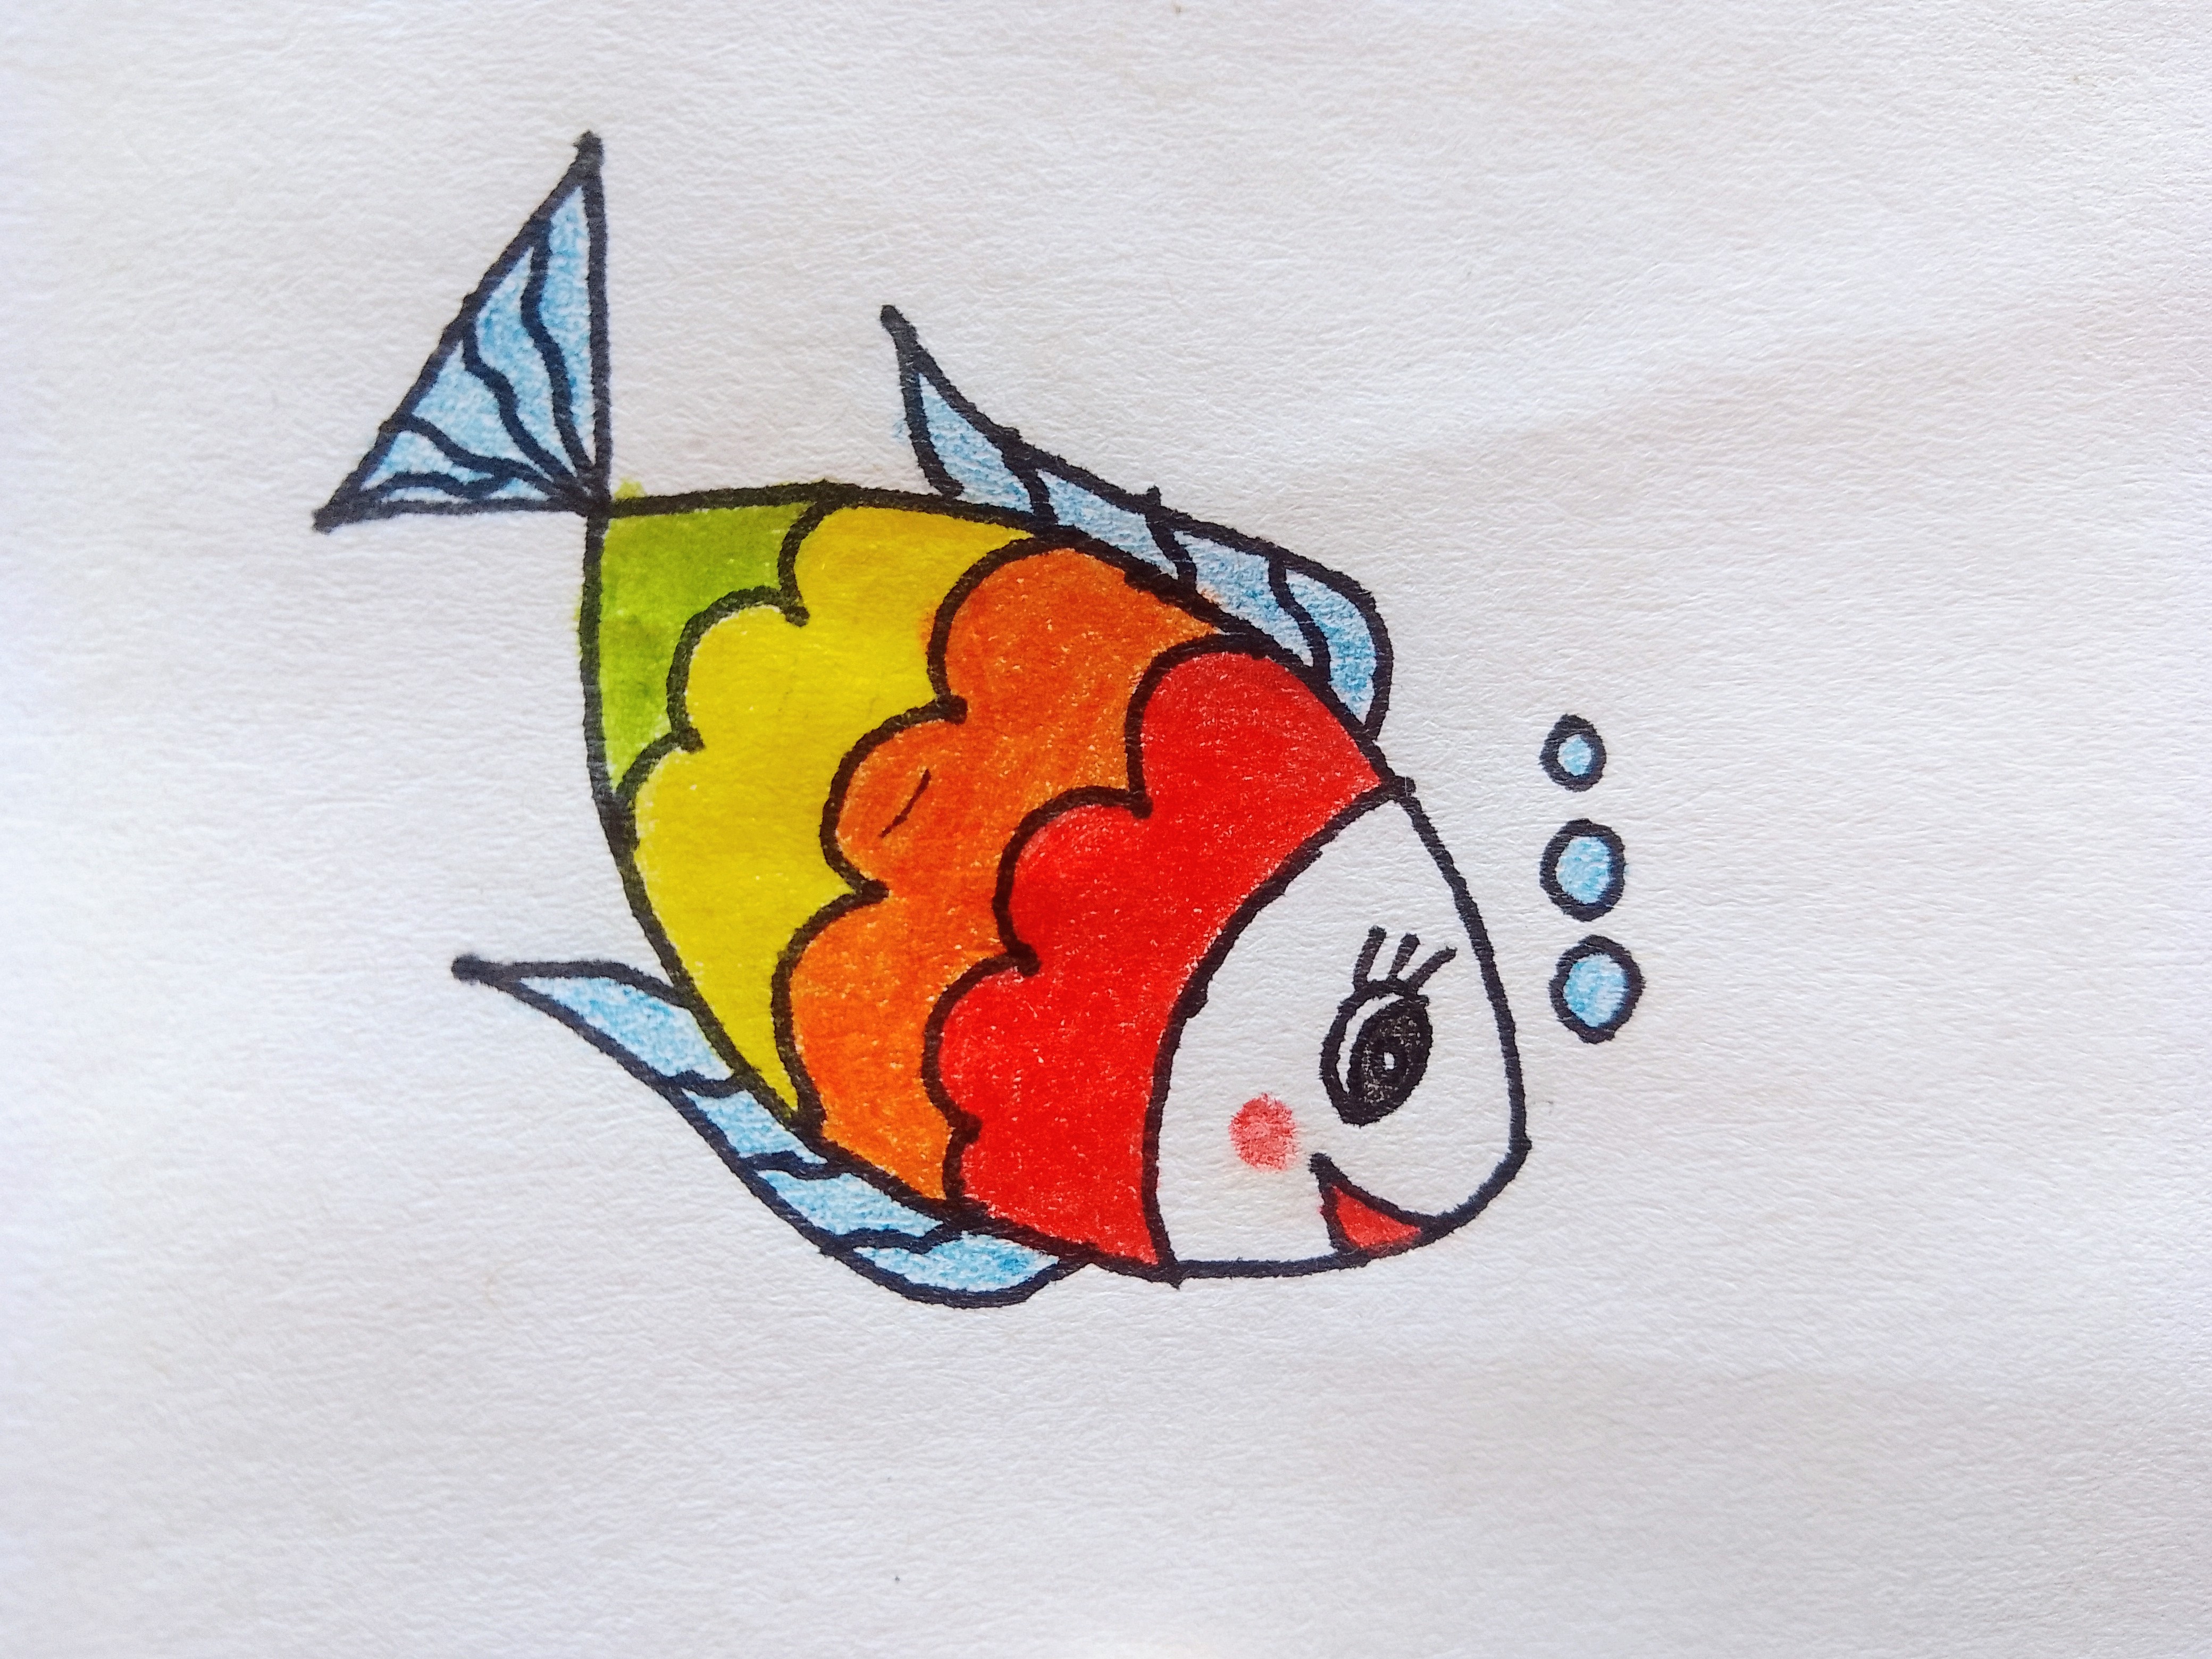
I wrote my username. Here is the final look:
I hope you liked and enjoyed my drawing tutorial. That's all for today. Till the next post, Allah Hafiz
https://x.com/i/status/2071223577202831568
Thank you 😊