Do It Yourself👉Craft, Creativity, Drawing, origami, recycle and more
![]()
Edited by Canva

peace be upon you to all steem kids & parents! |
|---|
Hi, how are you all? I hope you are all good. I am participating again in this contest that our beloved ma'am organizes every week. This is a very beautiful competition in which we not only show our skills but also the skills of our friends. I have drawn a very beautiful portrait today. Which I am sharing with you guys step by step. I hope you will like it. So let's get started.

Here is 👇 material used in this drawing |
|---|
| Sr | Materials |
|---|---|
| 1 | Art book |
| 2 | Sharpener |
| 3 | Eraser |
| 4 | ✏️Lead Pencil |
| 5 | Black pointer |
✿Bismillaherahmanuraheem✿
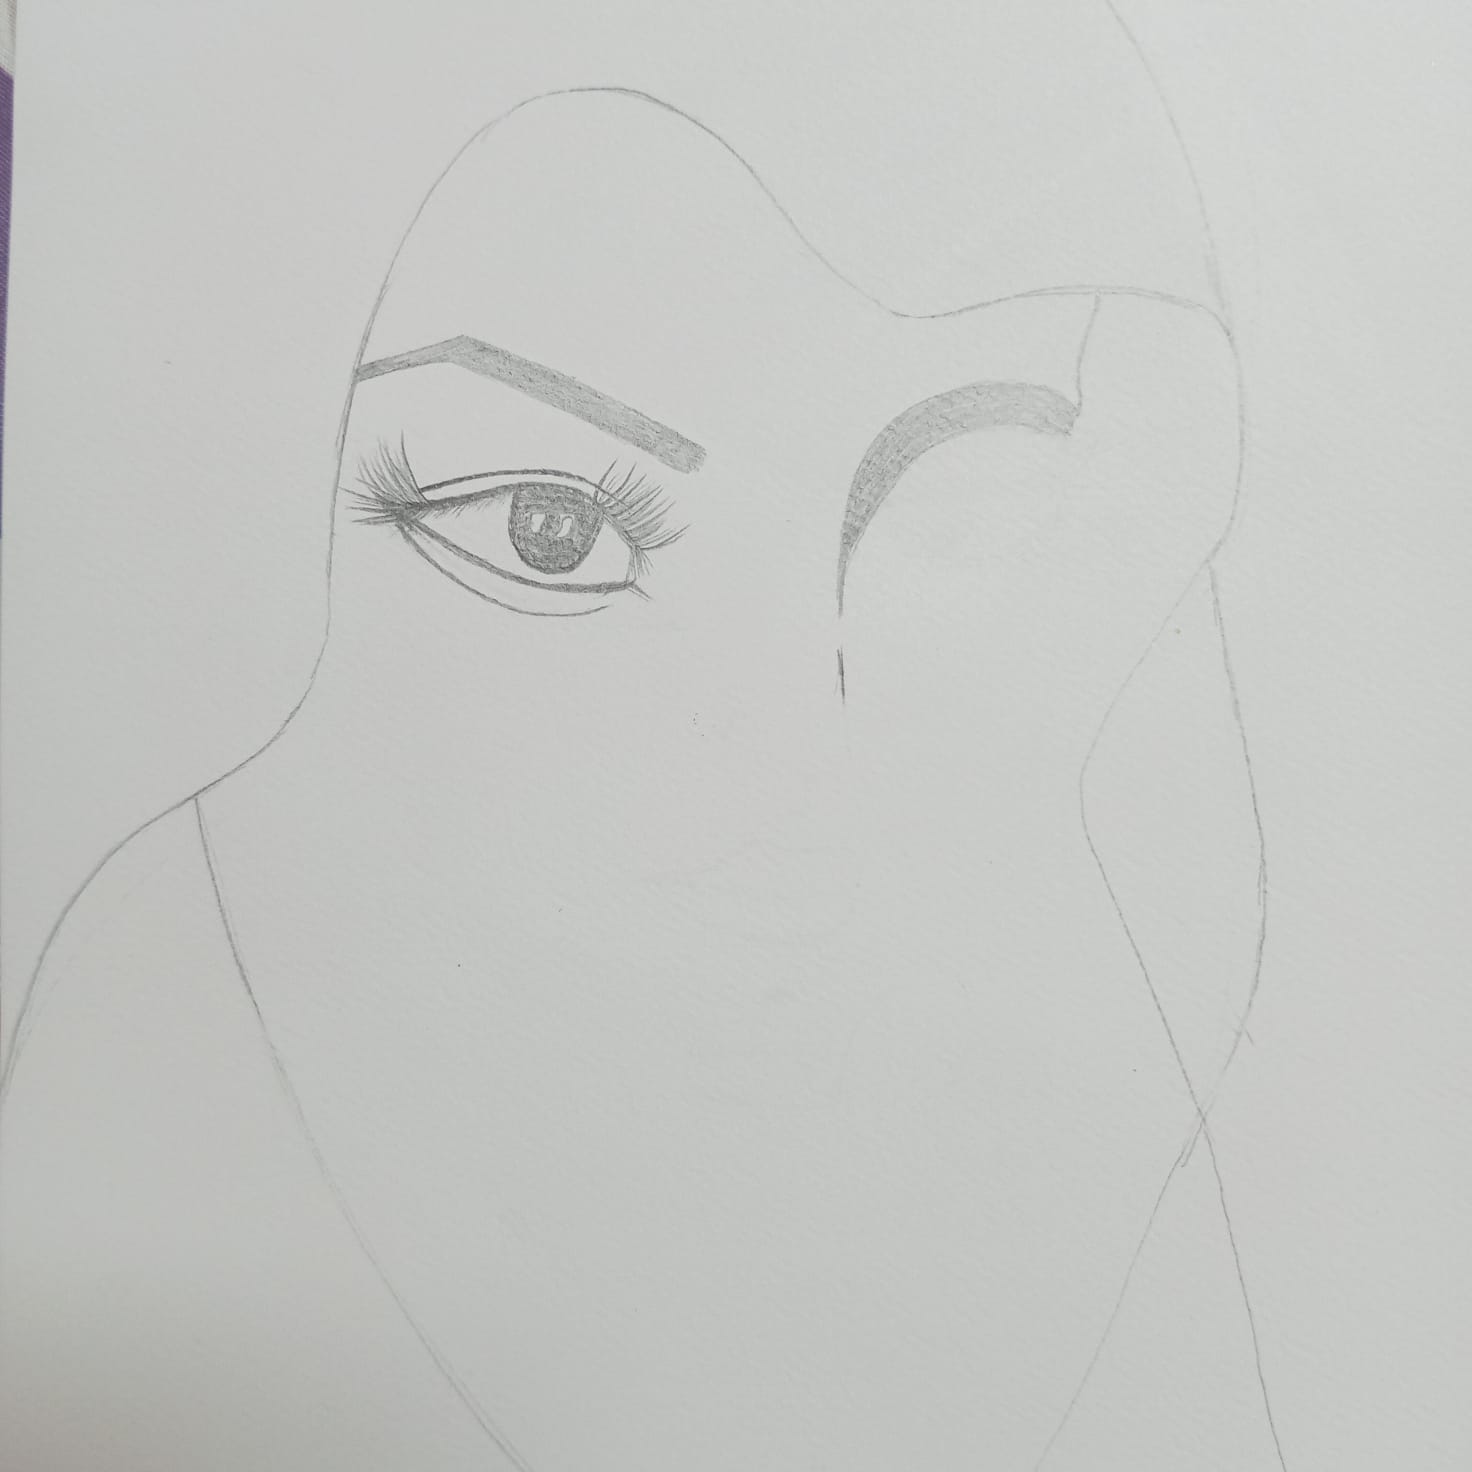
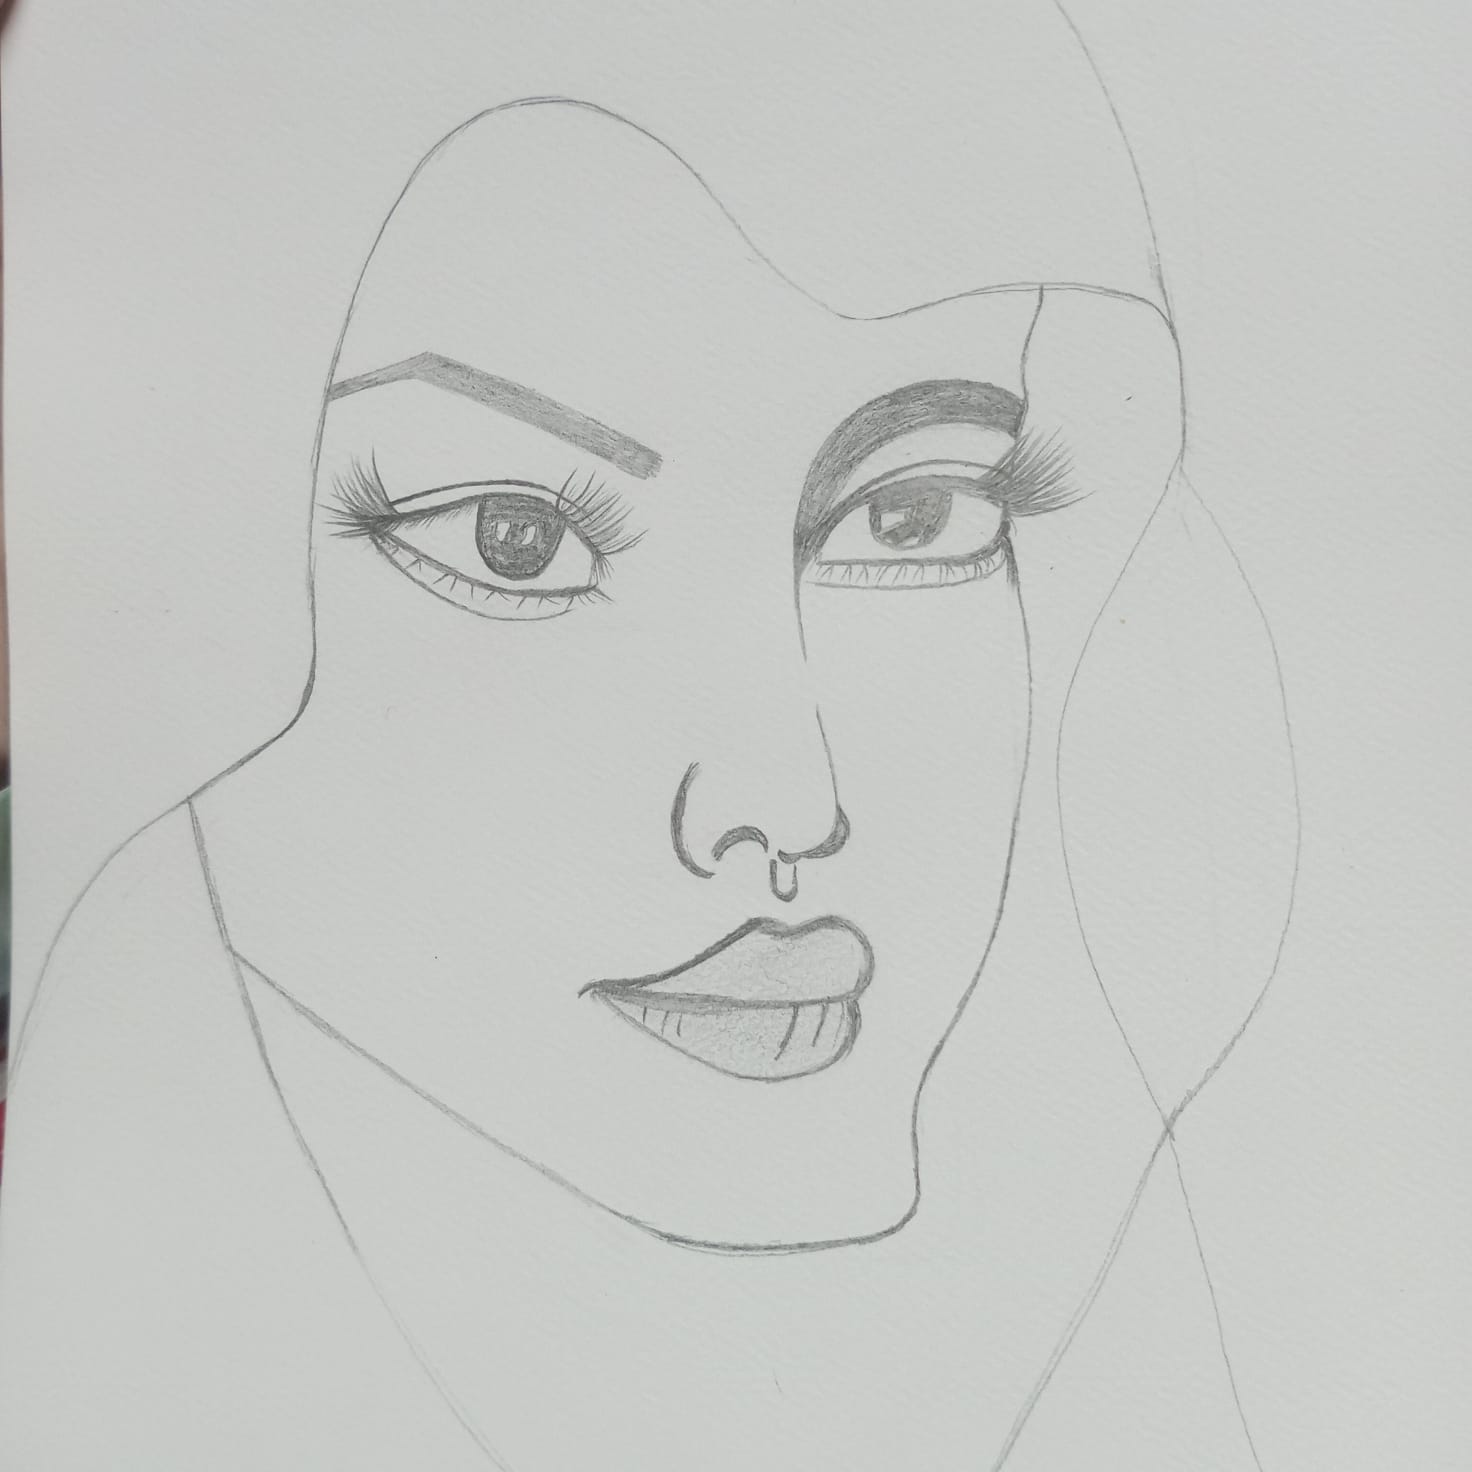
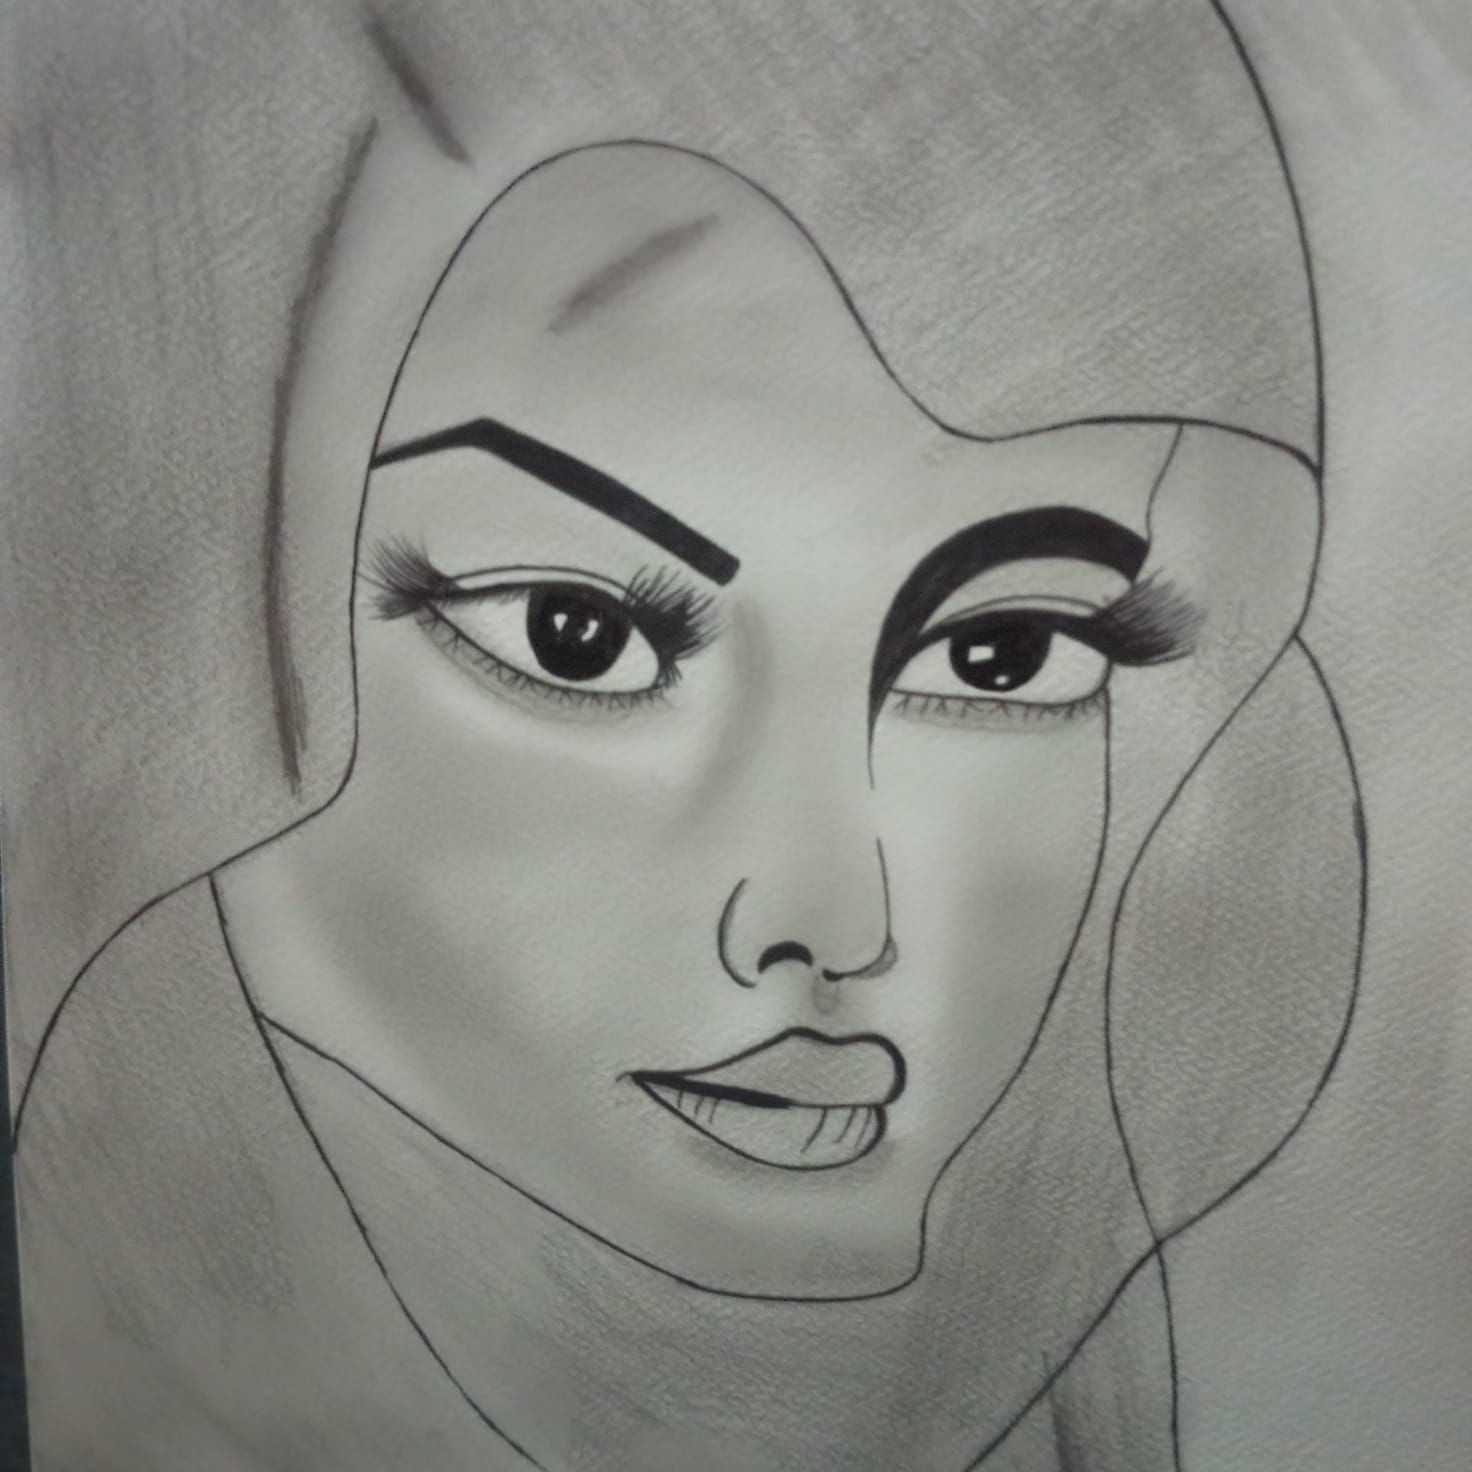
- First I created the layers of the dupatta with a very light hand. So that its shape looks soft and natural. I tried not to make the lines too deep but light. So that they could be adjusted easily later. After that I started working on the face and first drew the left eye. I carefully created the shape of the eye and the details inside it. The eye lenses and the eye lashes so that the eye looks beautiful and expressive. Then I gently created the slight shape of the nose. And also drew the left eyebrow. So that the balancing of the face was right from the start.
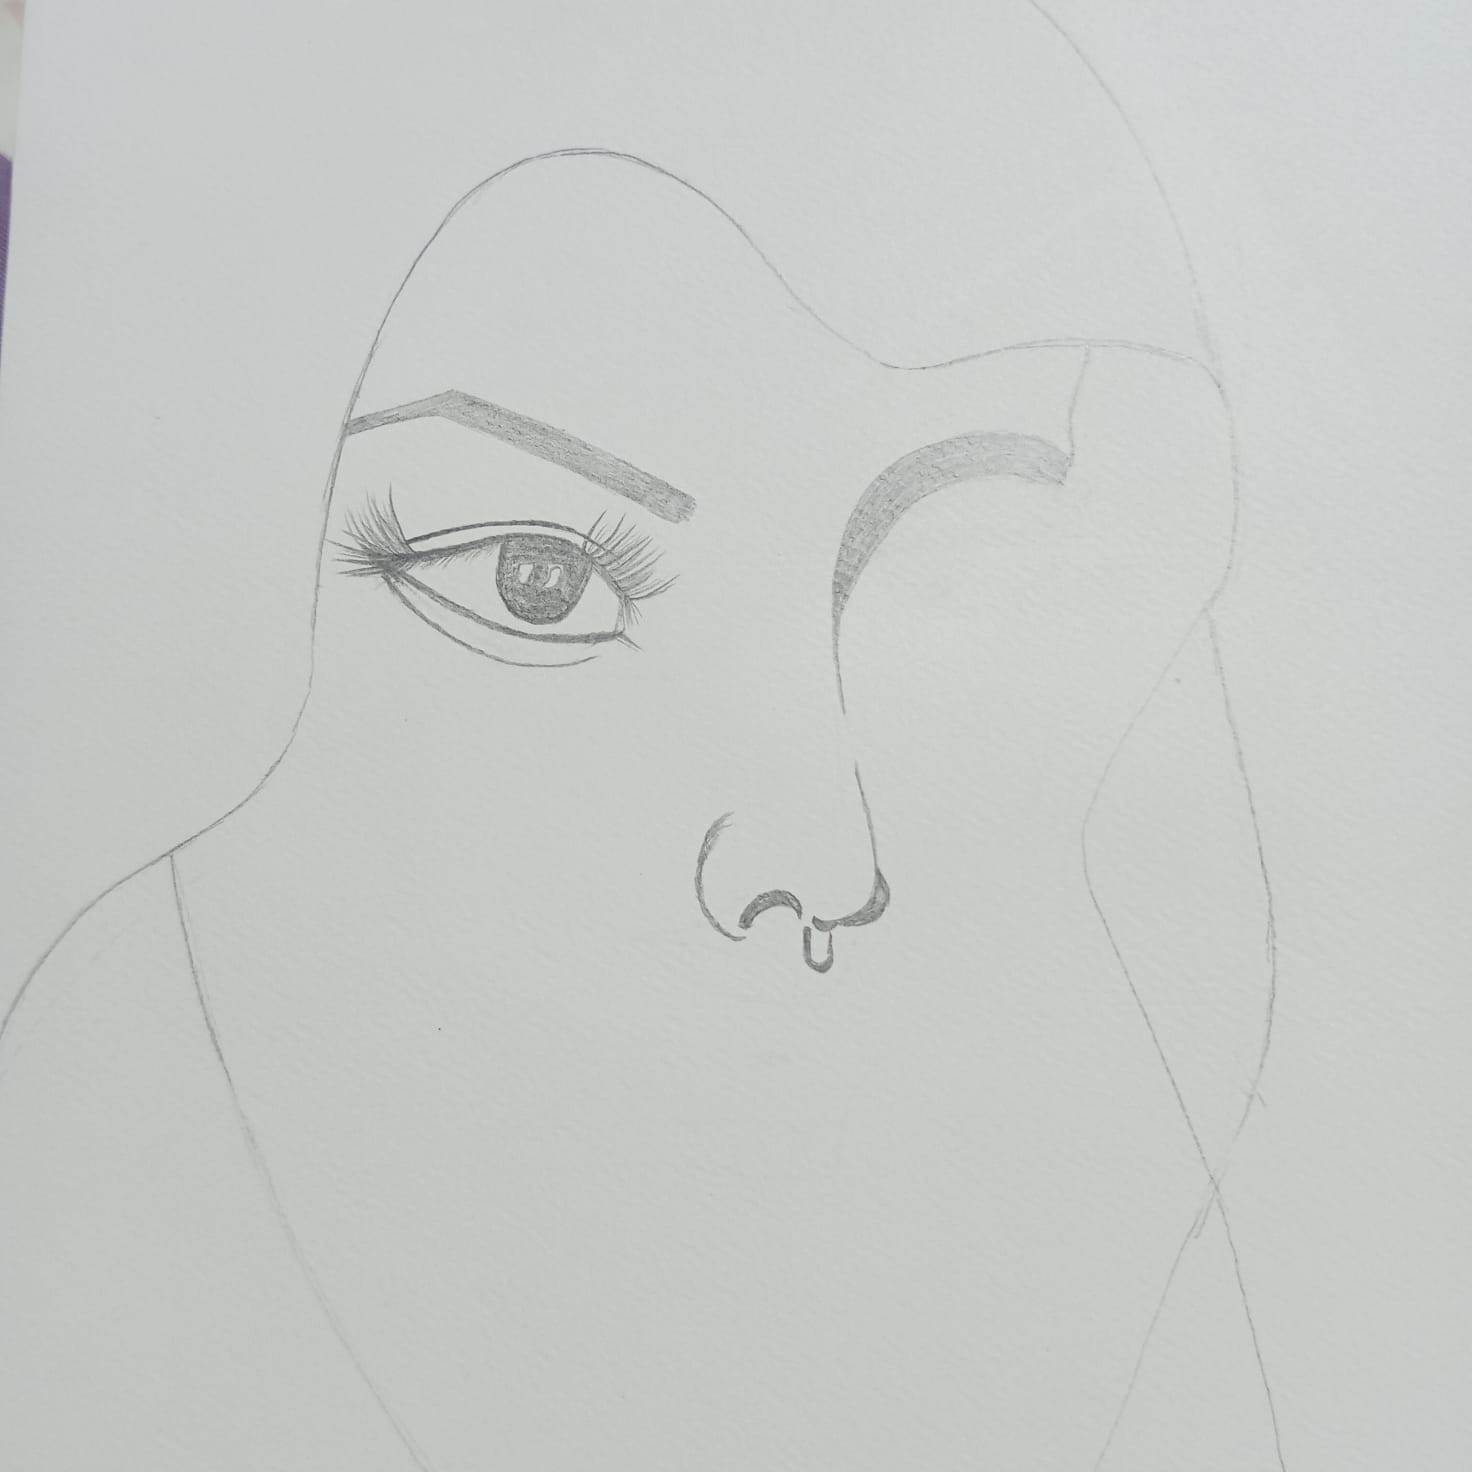
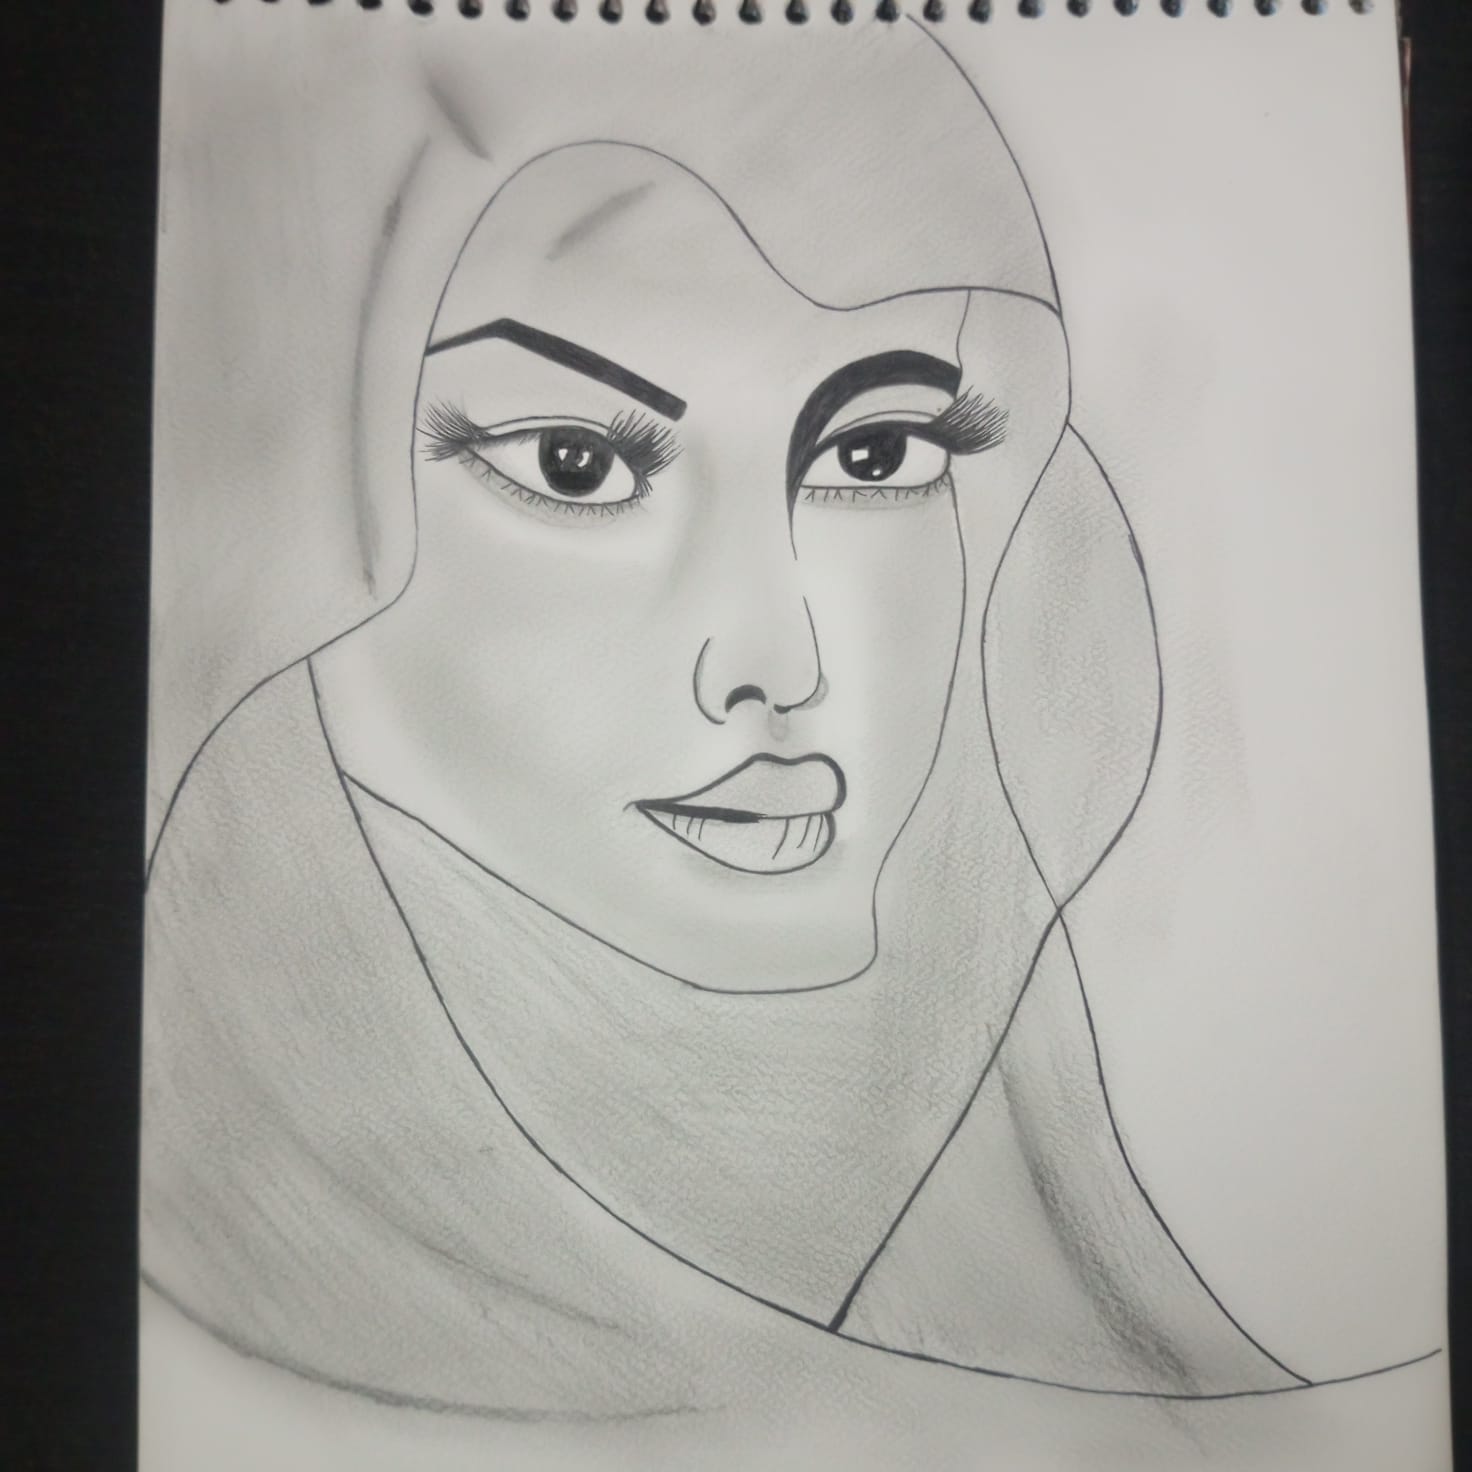
- In the second step I paid special attention to the shape of the nose. And drew it very softly and beautifully. I didn’t keep the lines too hard. But rather with a light hand to maintain the softness of the face. As I went on detailing the nose. The whole portrait began to come to life. Its shape is especially slightly forward. Gave the face a lovely and natural look. After working on this small area. I felt that my drawing was starting to look more beautiful and alive than before.
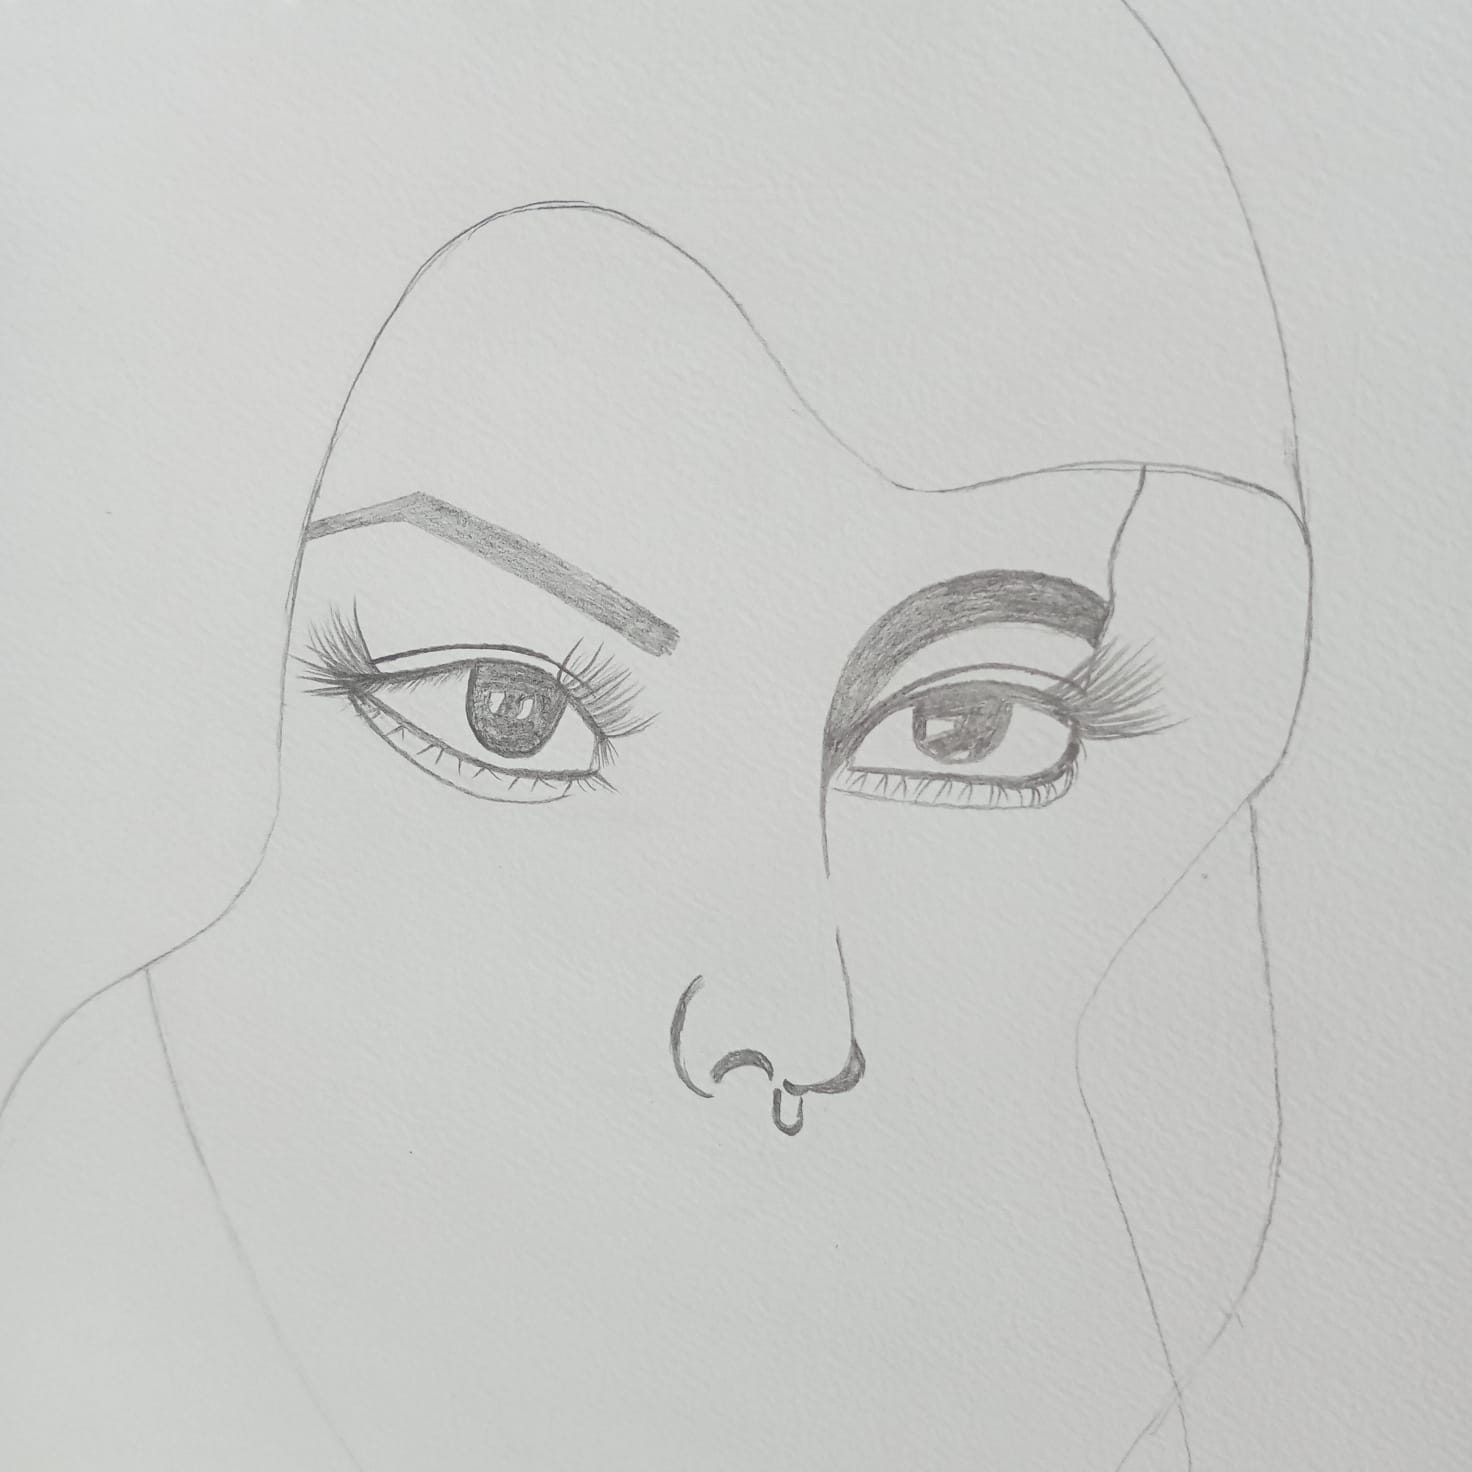
- In the third stage I completed the left eye and paid special attention to it. I carefully created every small detail of the eye. Such as its shape the inside and the subtleties that highlight its beauty. I also created eyelashes. Which made the eye look even more beautiful and closer to reality. When this part was completed. The overall look of the portrait came out quite clearly. And I felt that the drawing now looked quite complete.
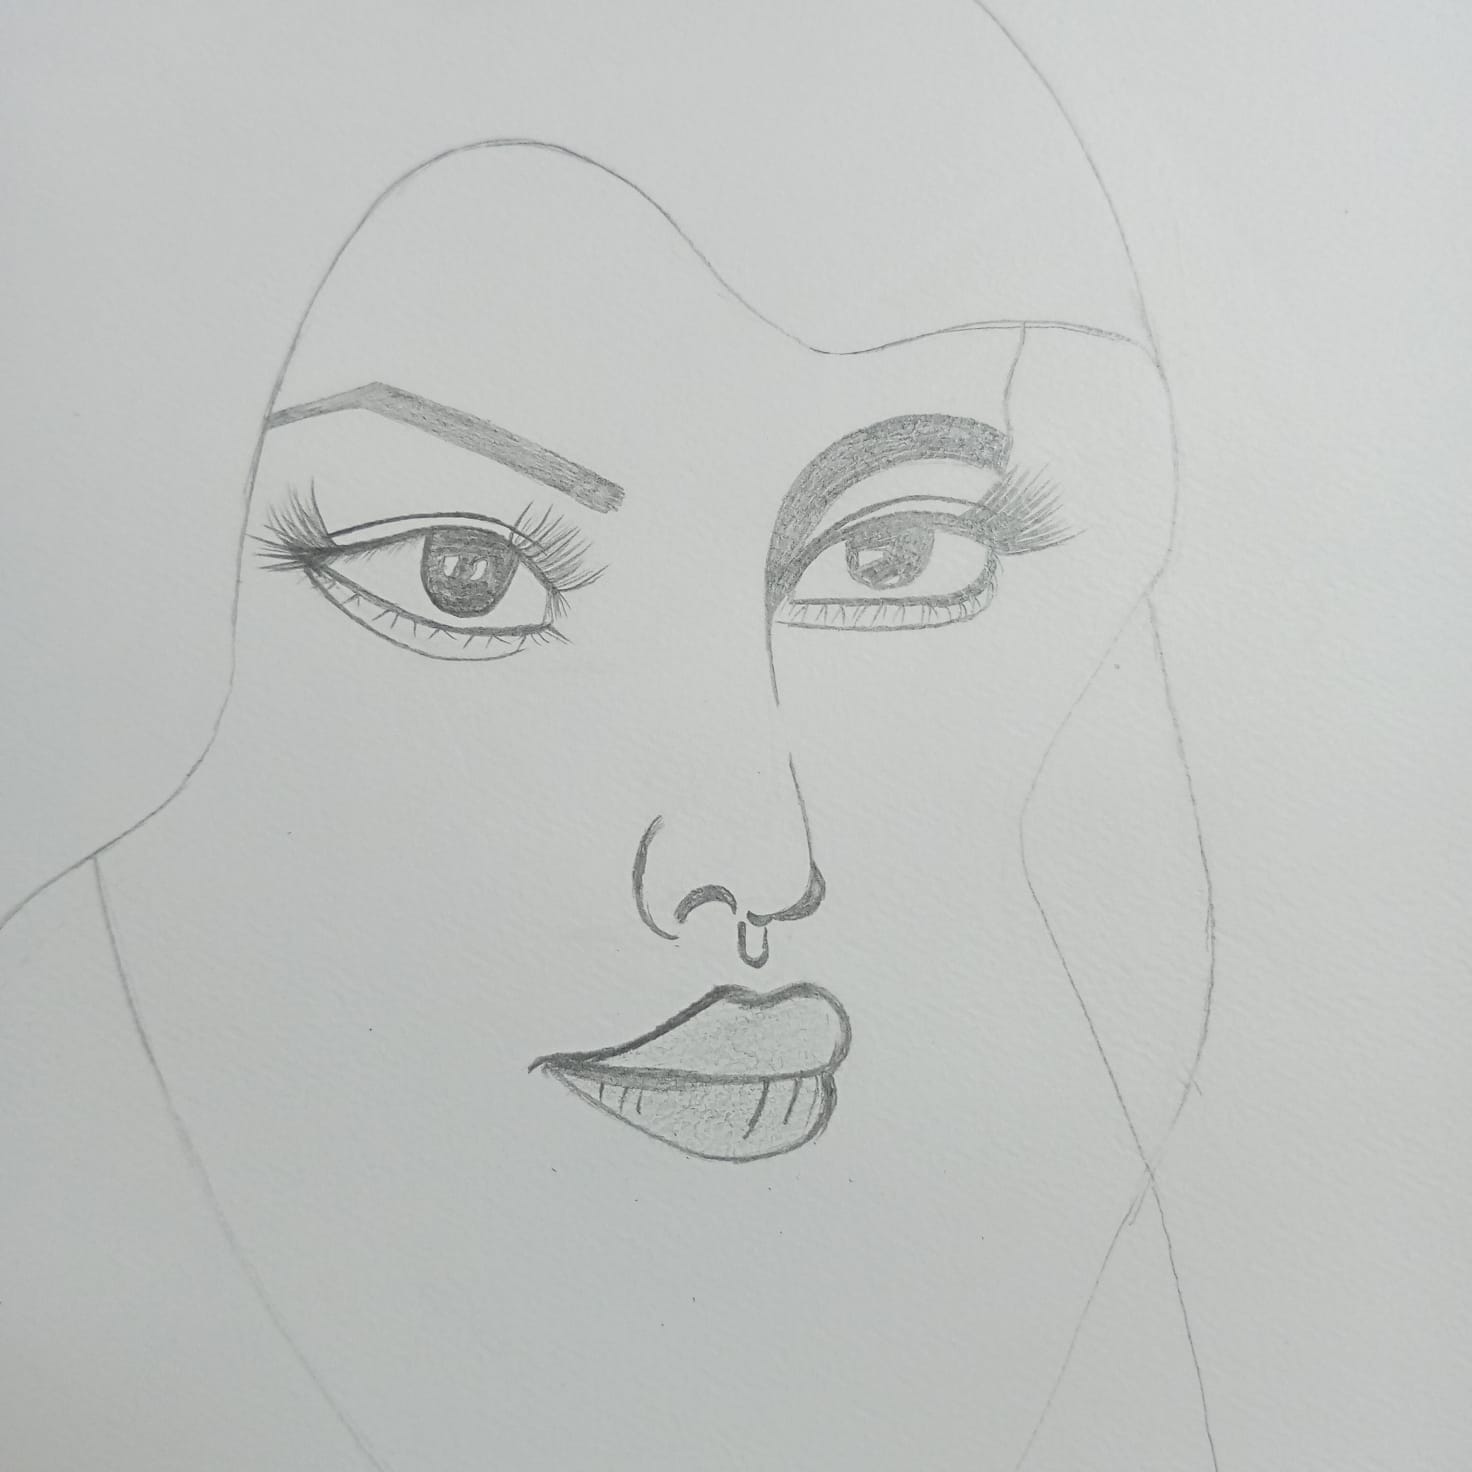
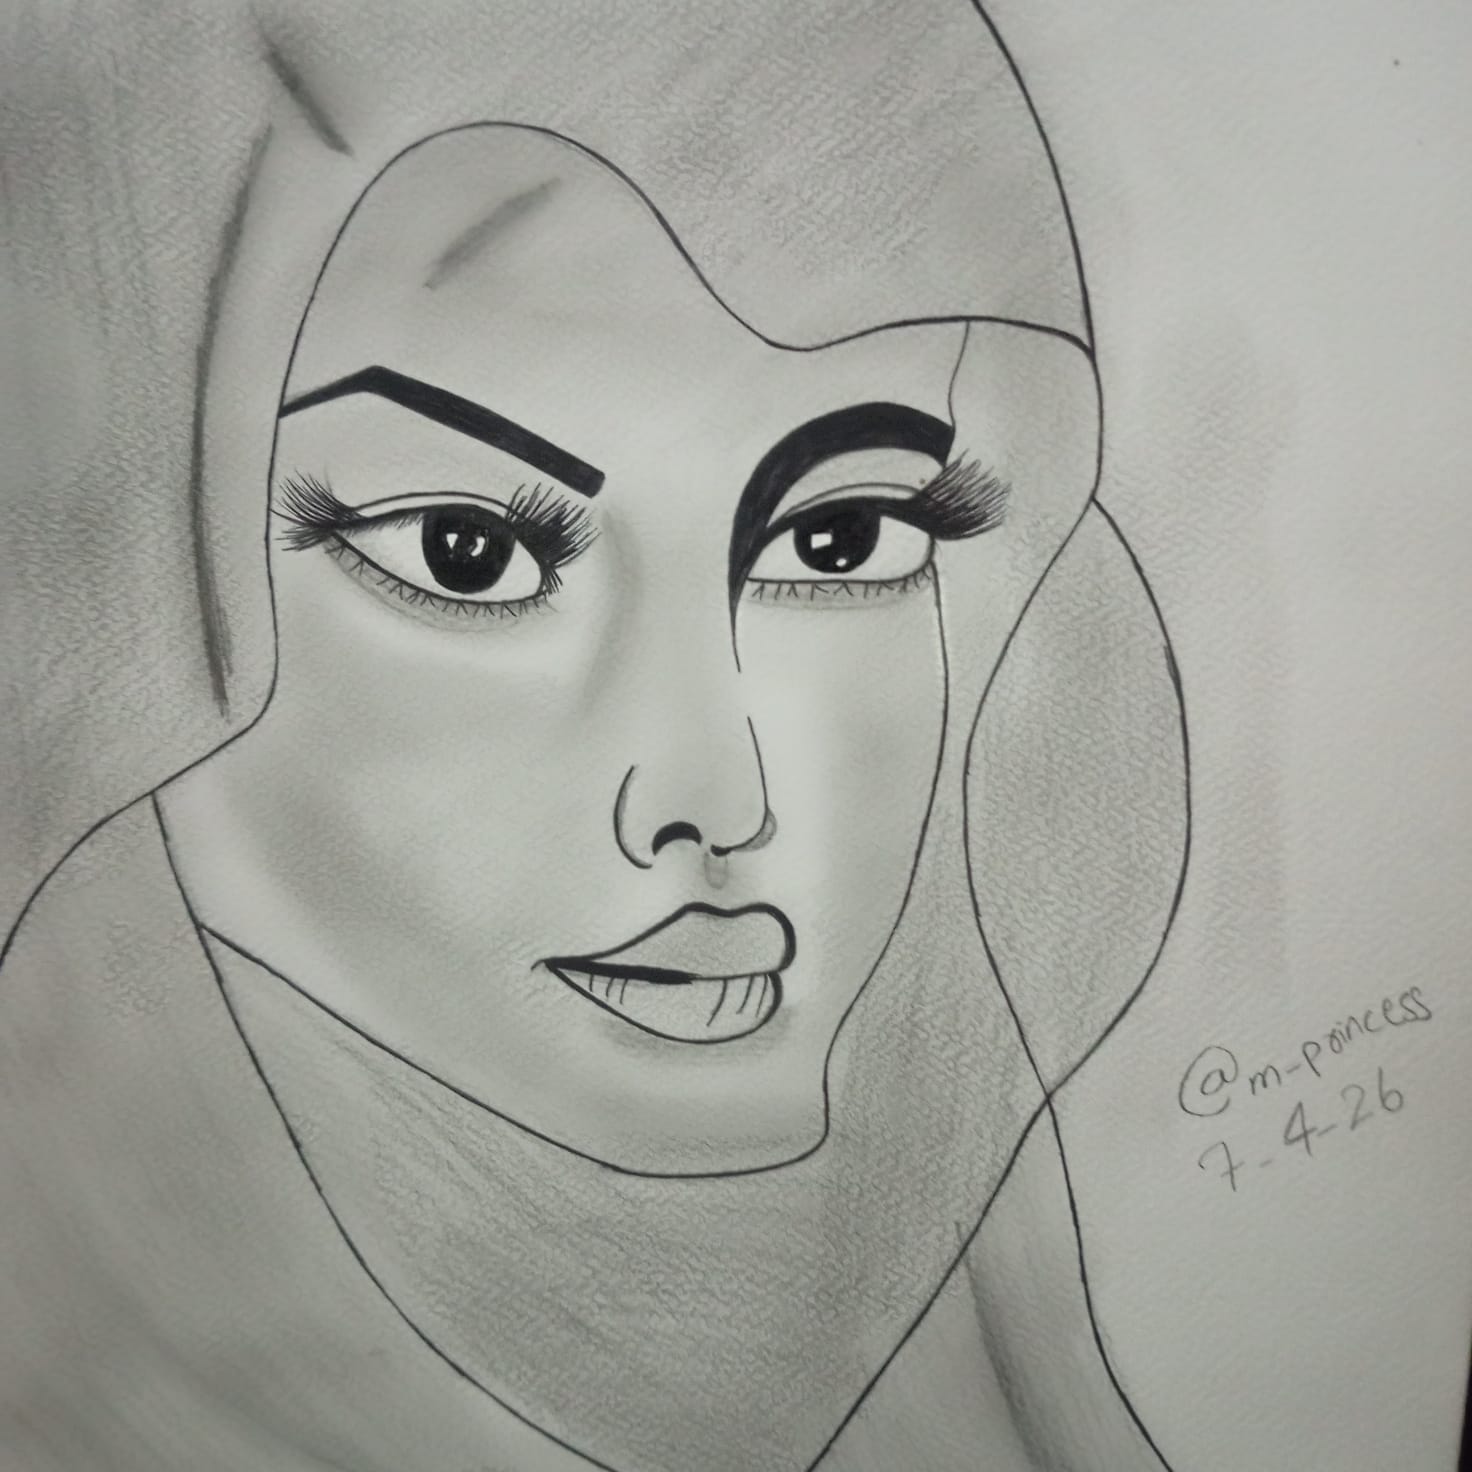
- In the fourth step I drew the lips very beautifully. I tried to make their shape look soft and natural. So I made each line very slowly and carefully. When the lips were finished. They looked very beautiful and charming. As if a special soul had come into the portrait. After this part the overall look of my portrait came out even more and it really started to feel very beautiful amazing and magnificent.
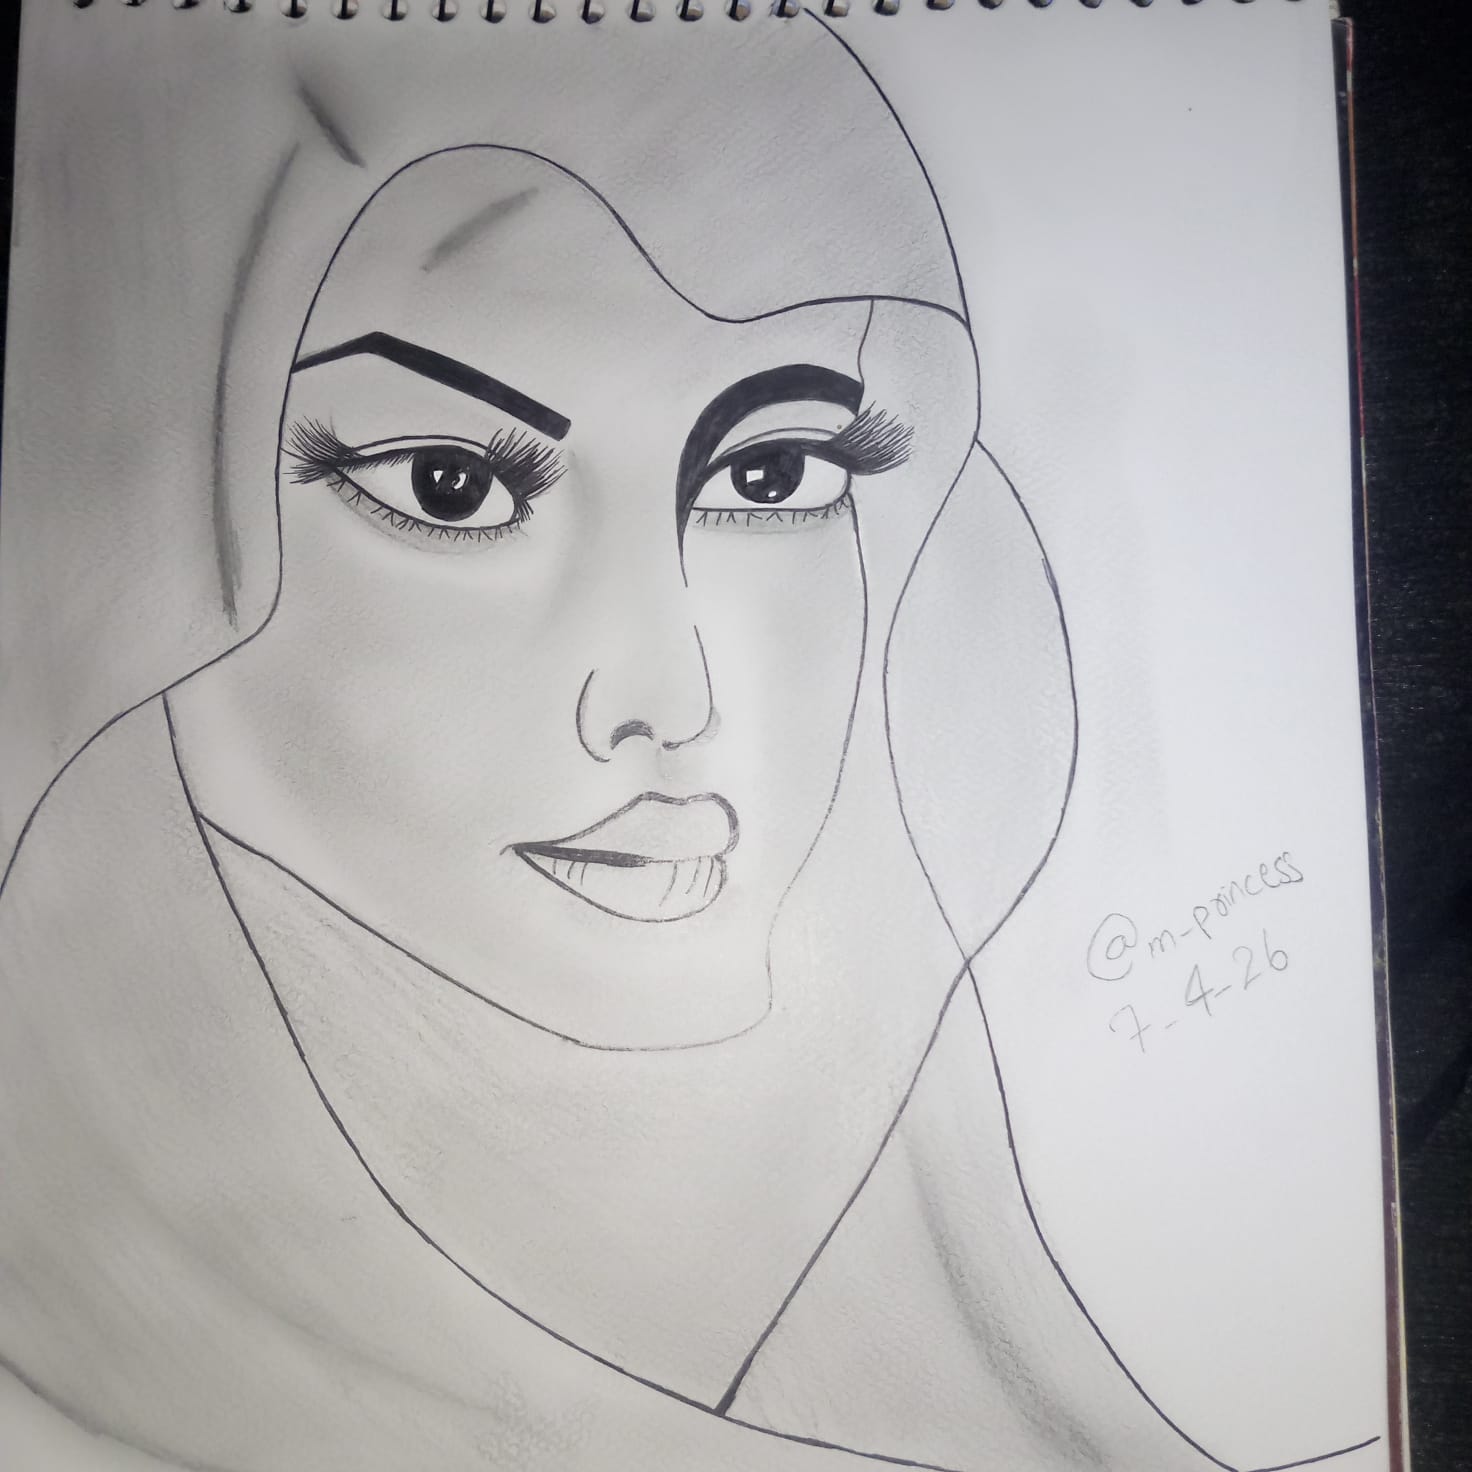
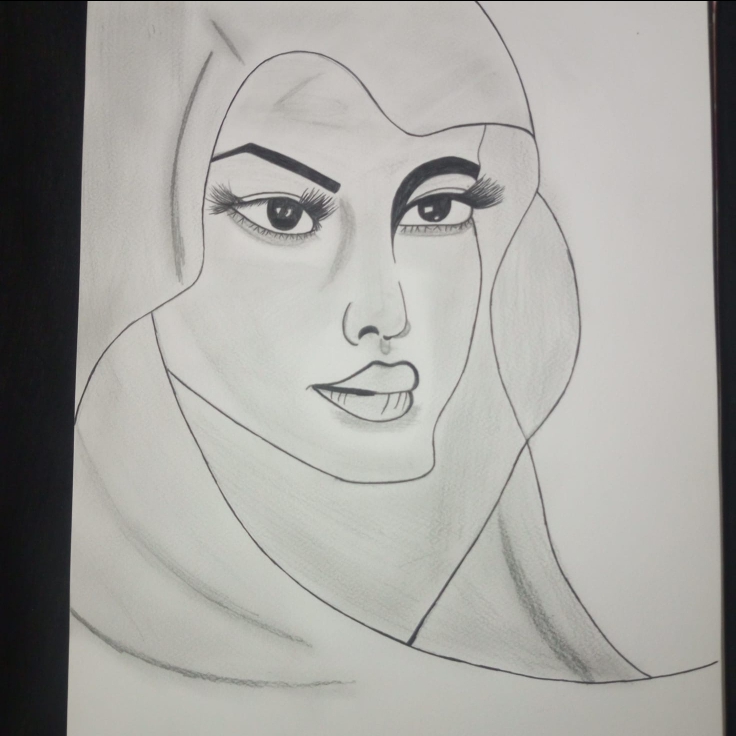
- In the fifth step I completed the shading of the entire face and carefully balanced each part. I took special care of the dark and light shades to give the portrait volume and depth. I also gently drew the chin area and made the overall shape of the face natural and beautiful. Giving light shades along with dark shading brought both realism and softness to the portrait. And finally the portrait was completed. If I were to appreciate this portrait. It looks really wonderful amazing and touching. As if every little detail feels close to life.
Final picture: |
|---|
Until next time, stay awesome, and keep on reading.
Thank you for being with me.
|
|---|
Such a beautiful work of art, it's beautiful and fantastic. Well done
This is a very beautiful and detailed portrait. You have explained each step very clearly which makes your procedure easy to understand. Your hard work and skill on the eyes, lips and shading is clearly visible. The final result looks very realistic and attractive. Really great work, keep sharing your creativity with us. 💕
You have drawn a beautiful drawing of a girl with your beautiful skills. Thank you for drawing the attractive look with precision, especially the shape of the eyes and eyebrows. Of course, I wish you success in this contest.