My Kitchen Diary: Cooking Delicious Homemade Chicken Biryani
Greetings everyone! This Mohammad Sumon! from #Bangladesh
Hello everyone! I hope you all are doing well by the grace of the Almighty.
Spreading positivity and creativity through my words.
Chicken Biryani
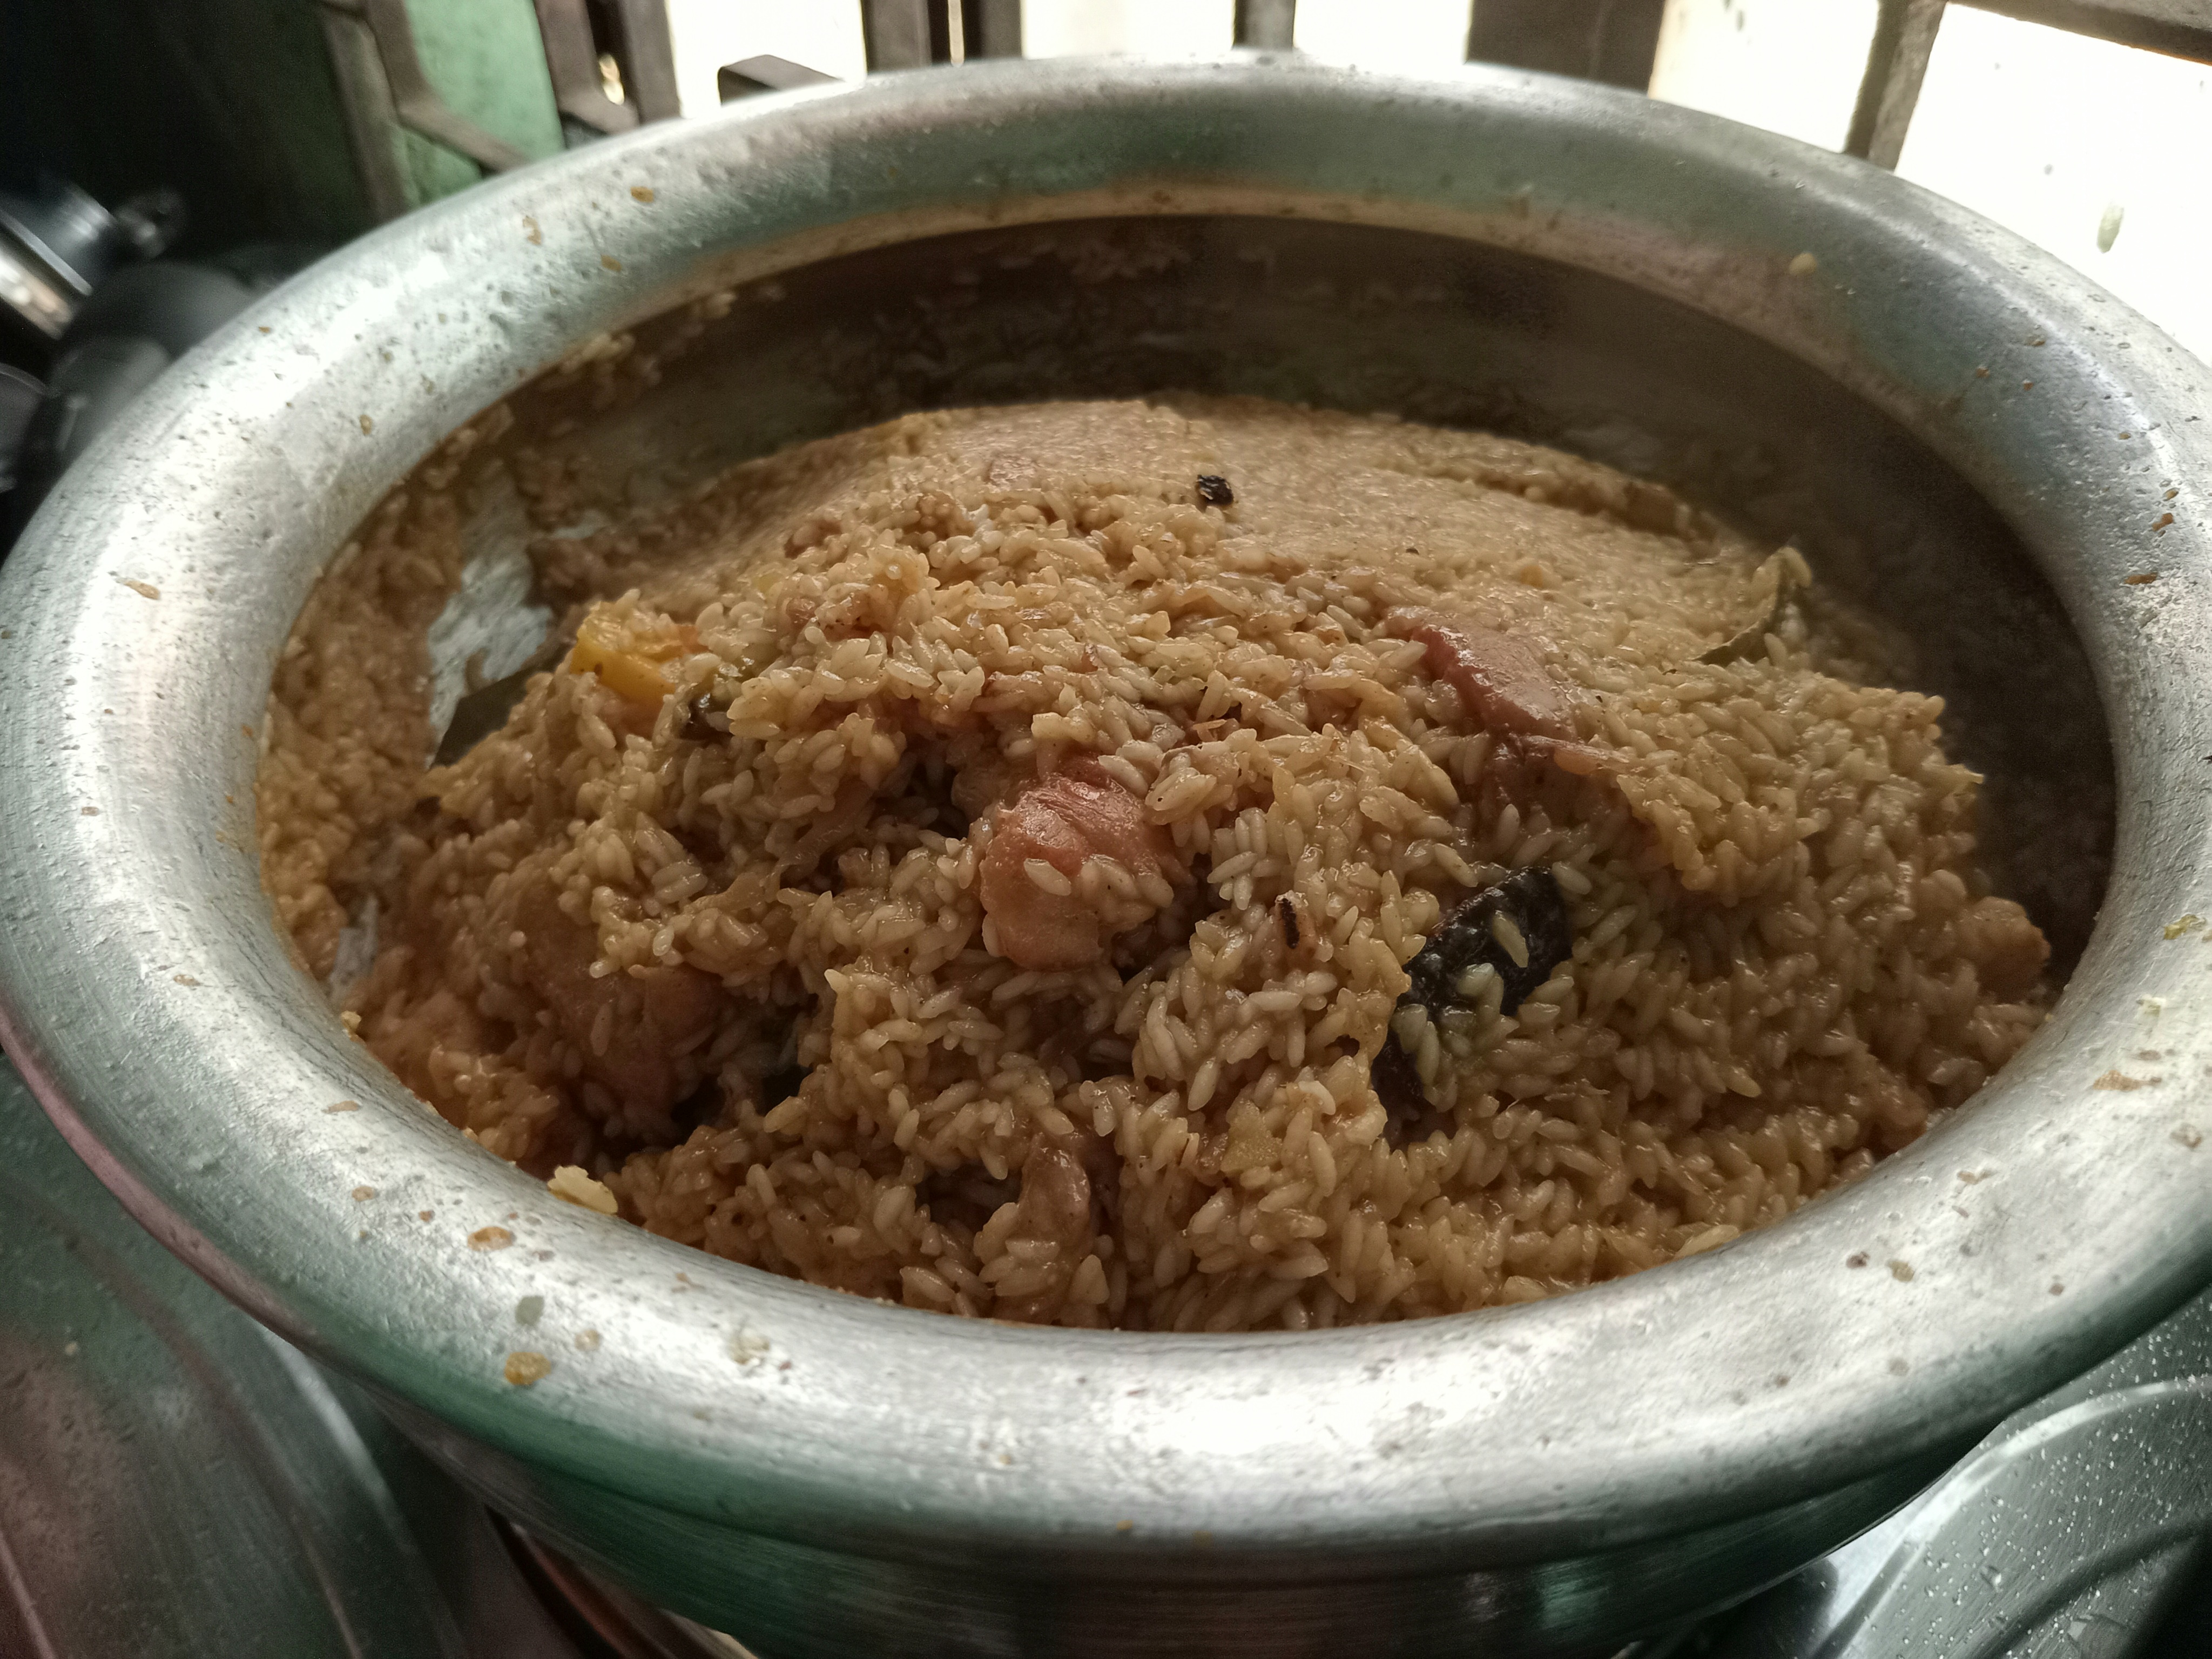
Today I will share with you a dish that is very popular among Bengalis and brings a festive atmosphere—Chicken Biryani. The story behind today's recipe: It is raining heavily around here these days. And we Bengalis know that eating hot khichuri or biryani on a rainy day is a different experience! Today, we tried this chicken biryani at home to enjoy this wonderful rainy weather. My wife, my daughter, and everyone else love Biryani
 |
|---|
Let me say a small thing in advance: Sorry, in the rush of cooking, I forgot to capture the pictures of the raw ingredients at the very beginning. Which you all will forgive me. I hope this mistake will not happen again in the next post. However, I did take pictures of the later stages of cooking, which I am sharing below.
The speciality of today's biryani I made is that it is cooked very simply, in the Traditional Bangladeshi style. Since it is made completely in a homemade way for our own consumption, I did not use any additional royal ingredients (such as plums, raisins, or keora water). I made it with common ingredients at hand and the real soul of Bengali biryani, Alu (potatoes). However, to bring royal taste and beautiful thick gravy to the cooking, I used coconut paste and almond paste here.
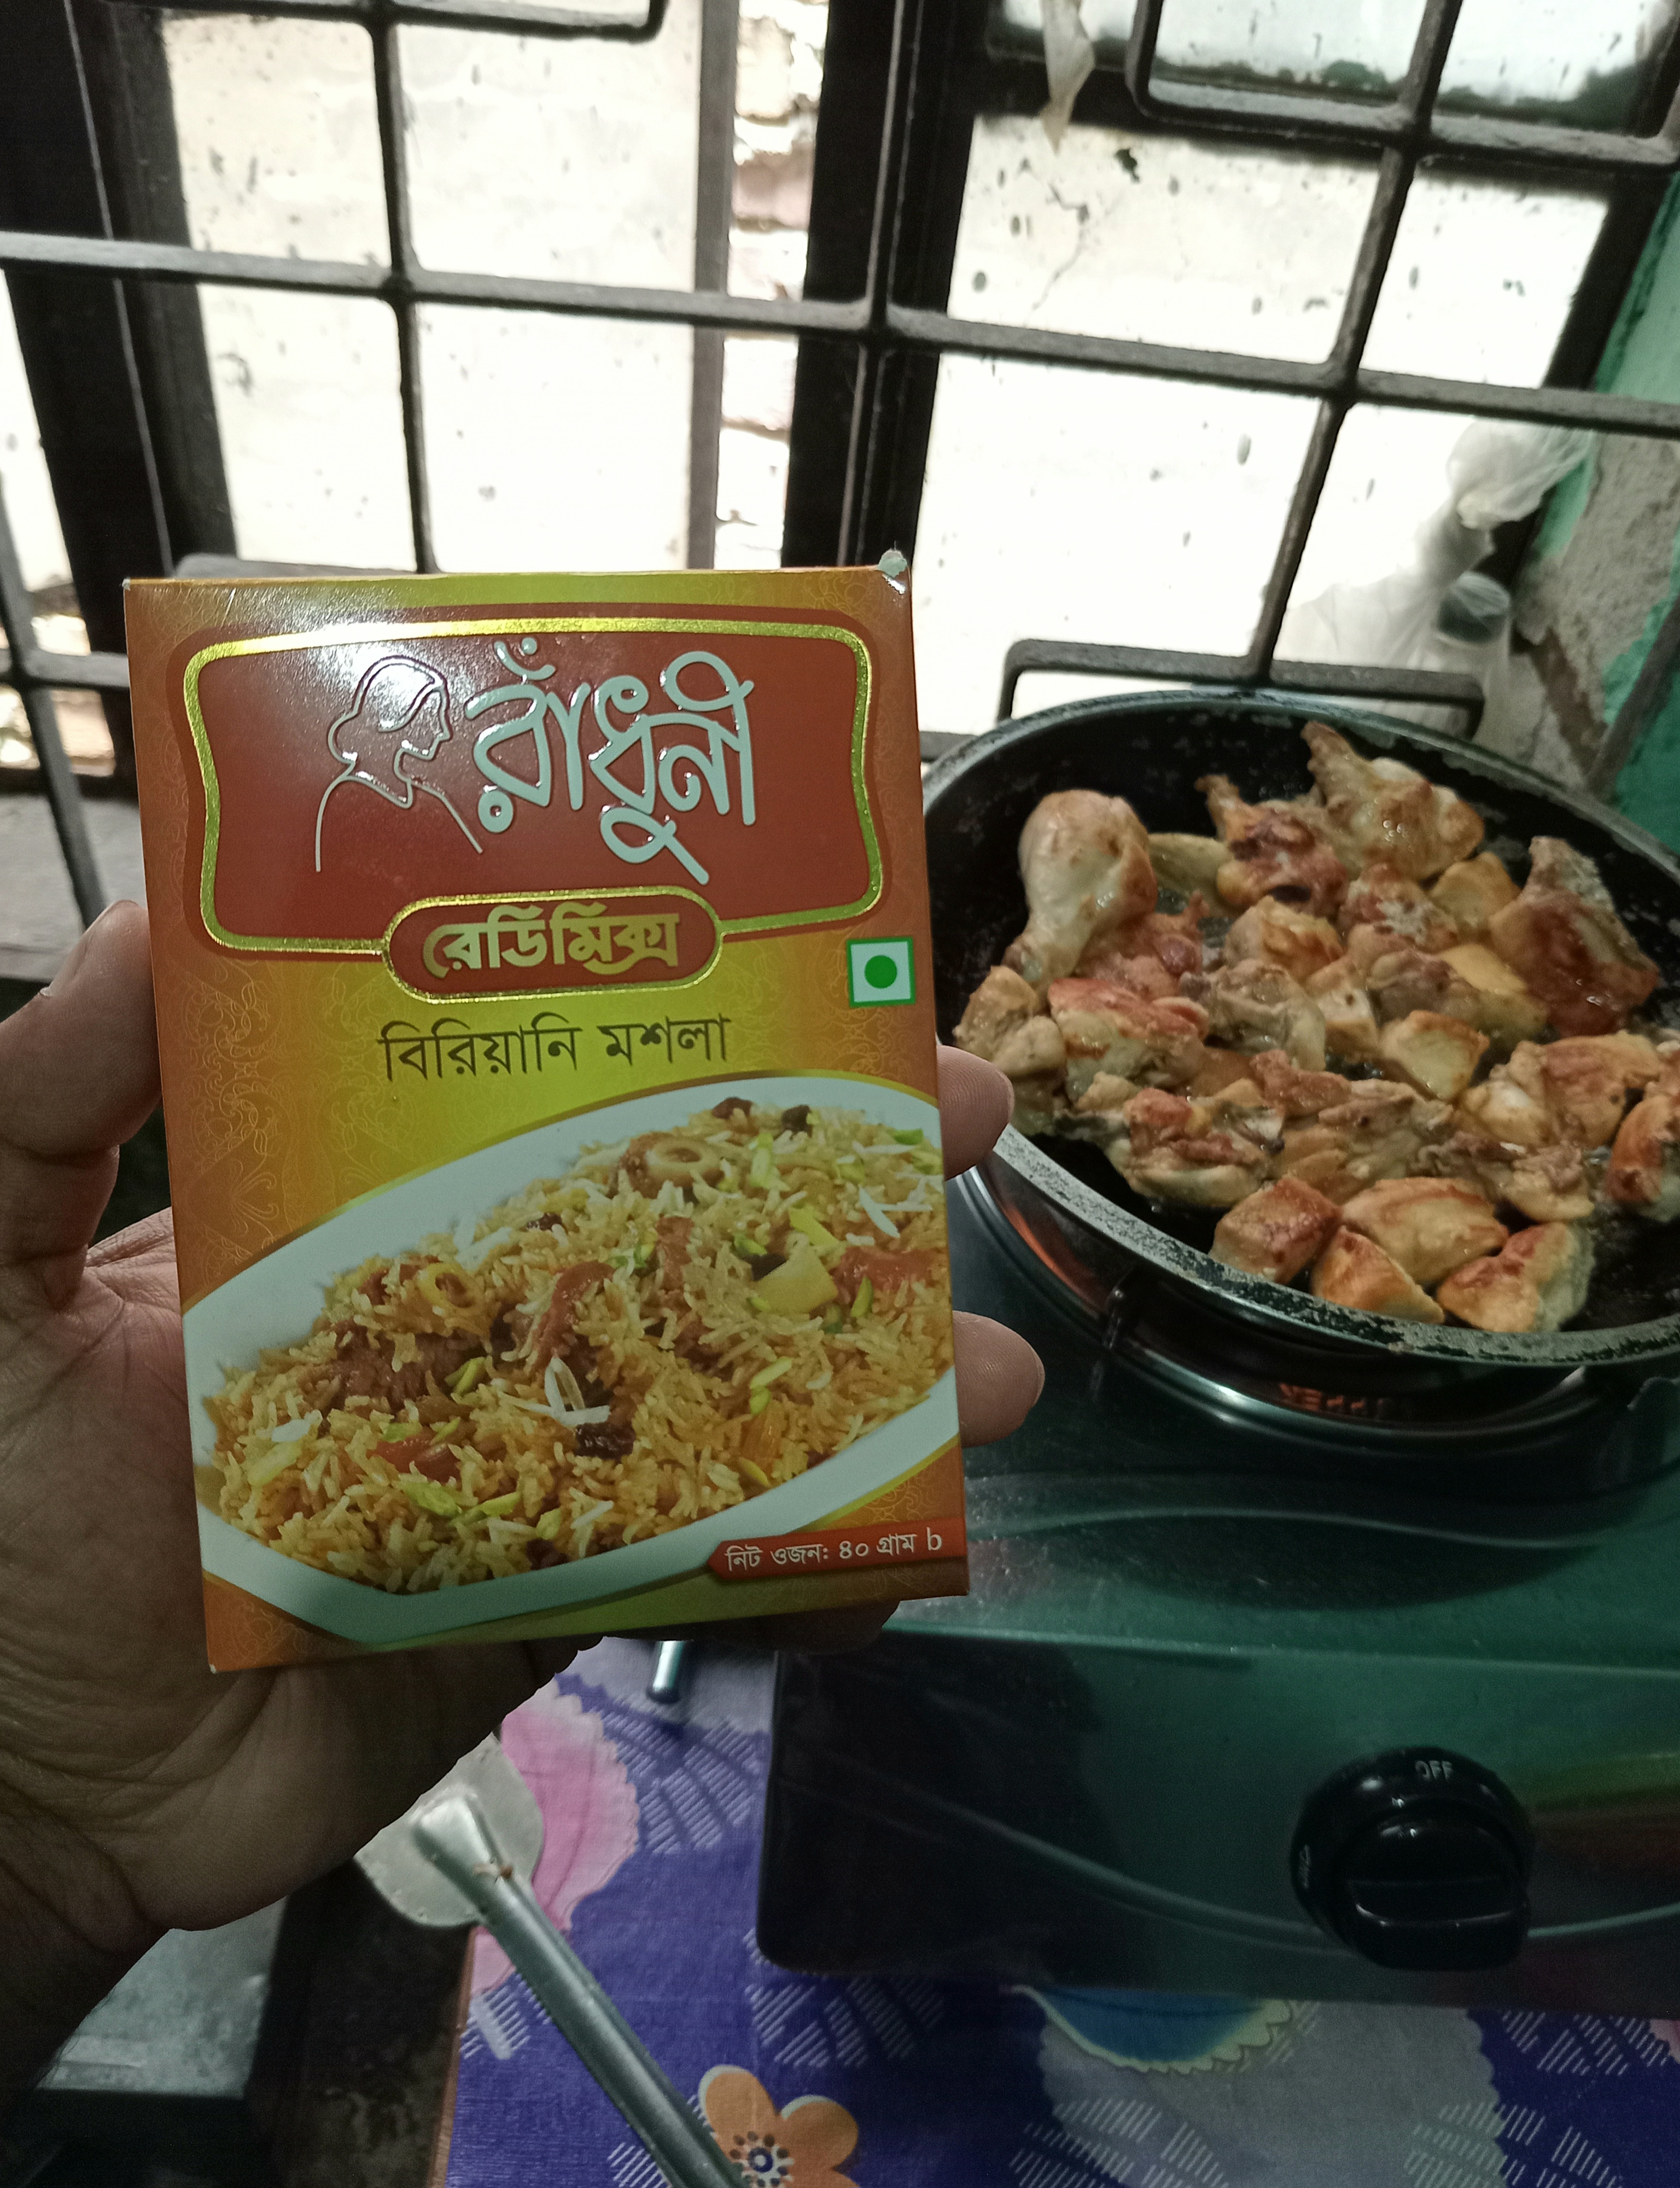
And to make the cooking process quick and perfect, I used Radhuni biryani masala. Besides, I did not buy the sour curd required for meat marination from the market and made it at home by mixing liquid milk with lemon juice. Let's see how to easily make this chicken biryani with a homemade taste.
Ingredients:
Chicken: 1 kg (medium cut)
Potato: 4-5 large pieces
Radhuni Biryani Masala: 1 packet
Homemade sour curd: ½ cup (made with liquid milk and lemon juice)
Tomato sauce: 2 tablespoons (for taste and beautiful color)
Coconut paste: 1 tablespoon
Almond paste: 1 tablespoon
Ginger, garlic and onion paste: as needed
Salt and soybean oil: as needed
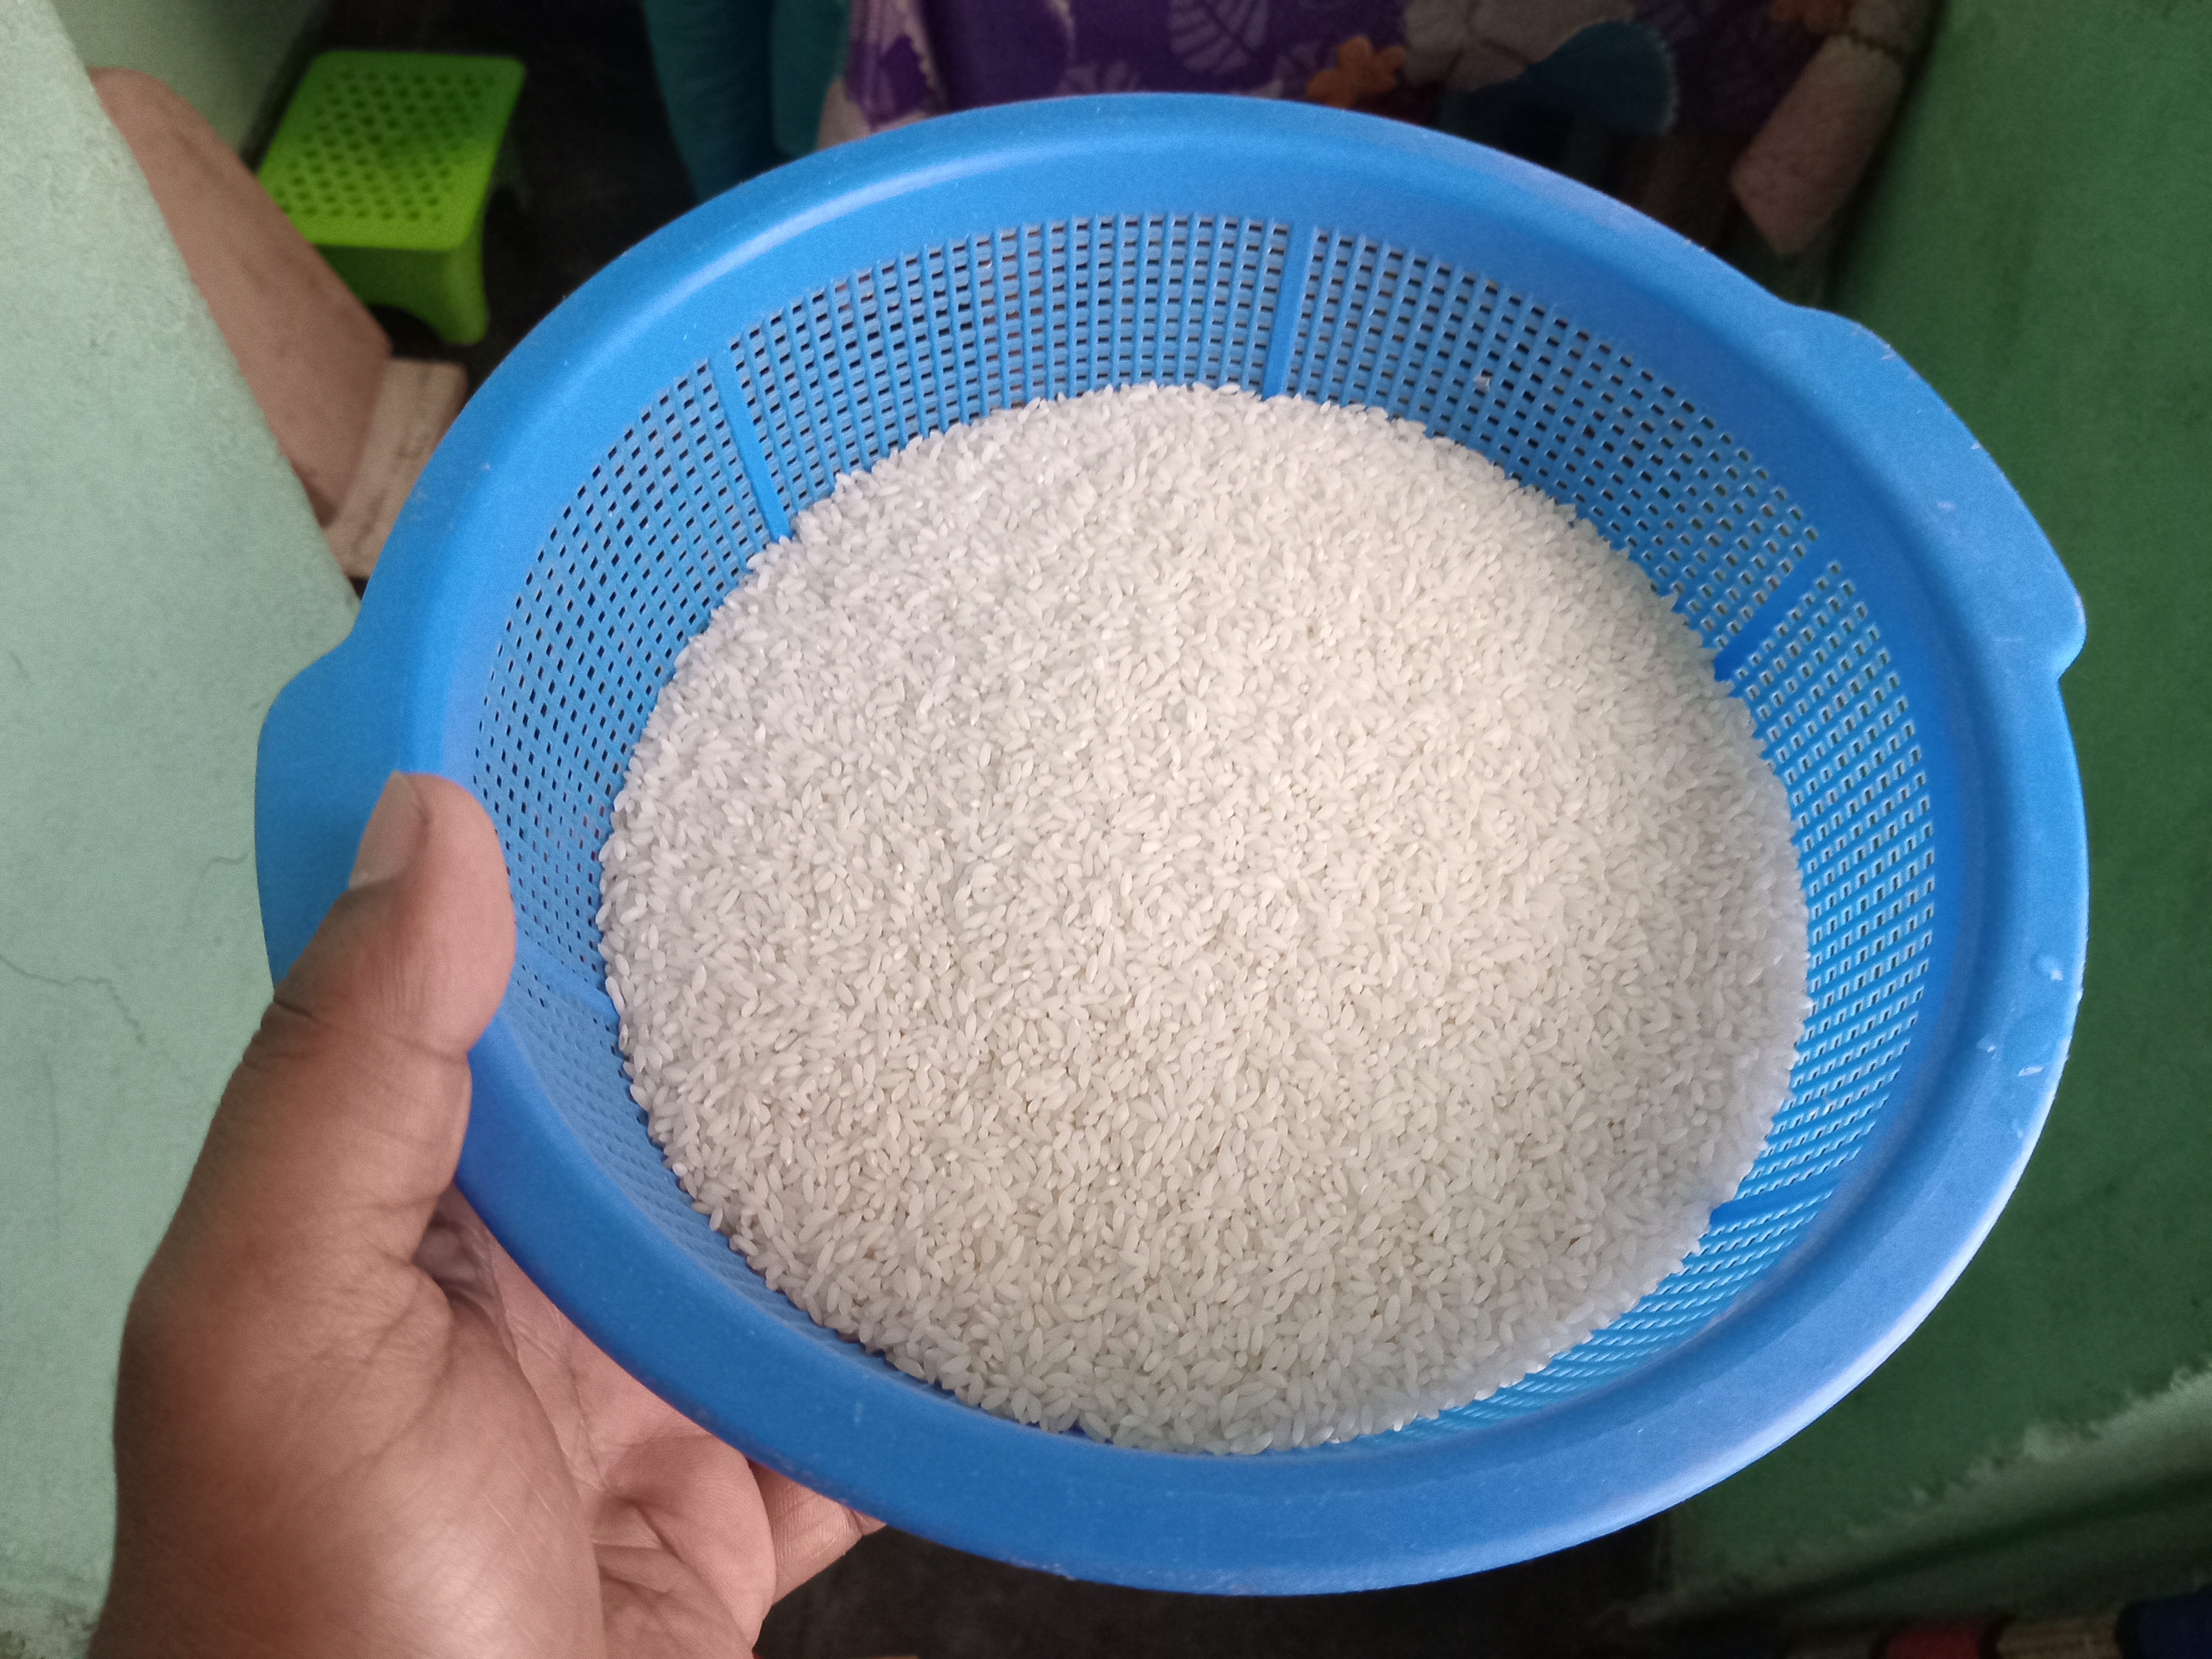
Polave rice: 750 grams (washed well and drained)
Chopped onion: 1 cup (for garnish)
Whole green chillies: 4 to 5 (for beautiful flavor)
Ghee: 1-2 tablespoons (for flavor)
Hot water: Twice the amount of rice
My Recipe & Making Process
Step 1: Homemade sour curd and meat marination |
|---|
At the beginning of cooking the biryani, I made sour curd. For this, I mixed a little lemon juice with lukewarm liquid milk and left it for 10-15 minutes. This made a very nice thick and pure sour curd.
Now, in a bowl, I mixed this homemade sour curd, ginger-garlic-onion paste, coconut paste, almond paste, salt to taste, and Radhuni biryani masala very well and marinated it for 1 hour.
 |
|---|
Step 2: Lightly fry the potatoes and meat |
|---|
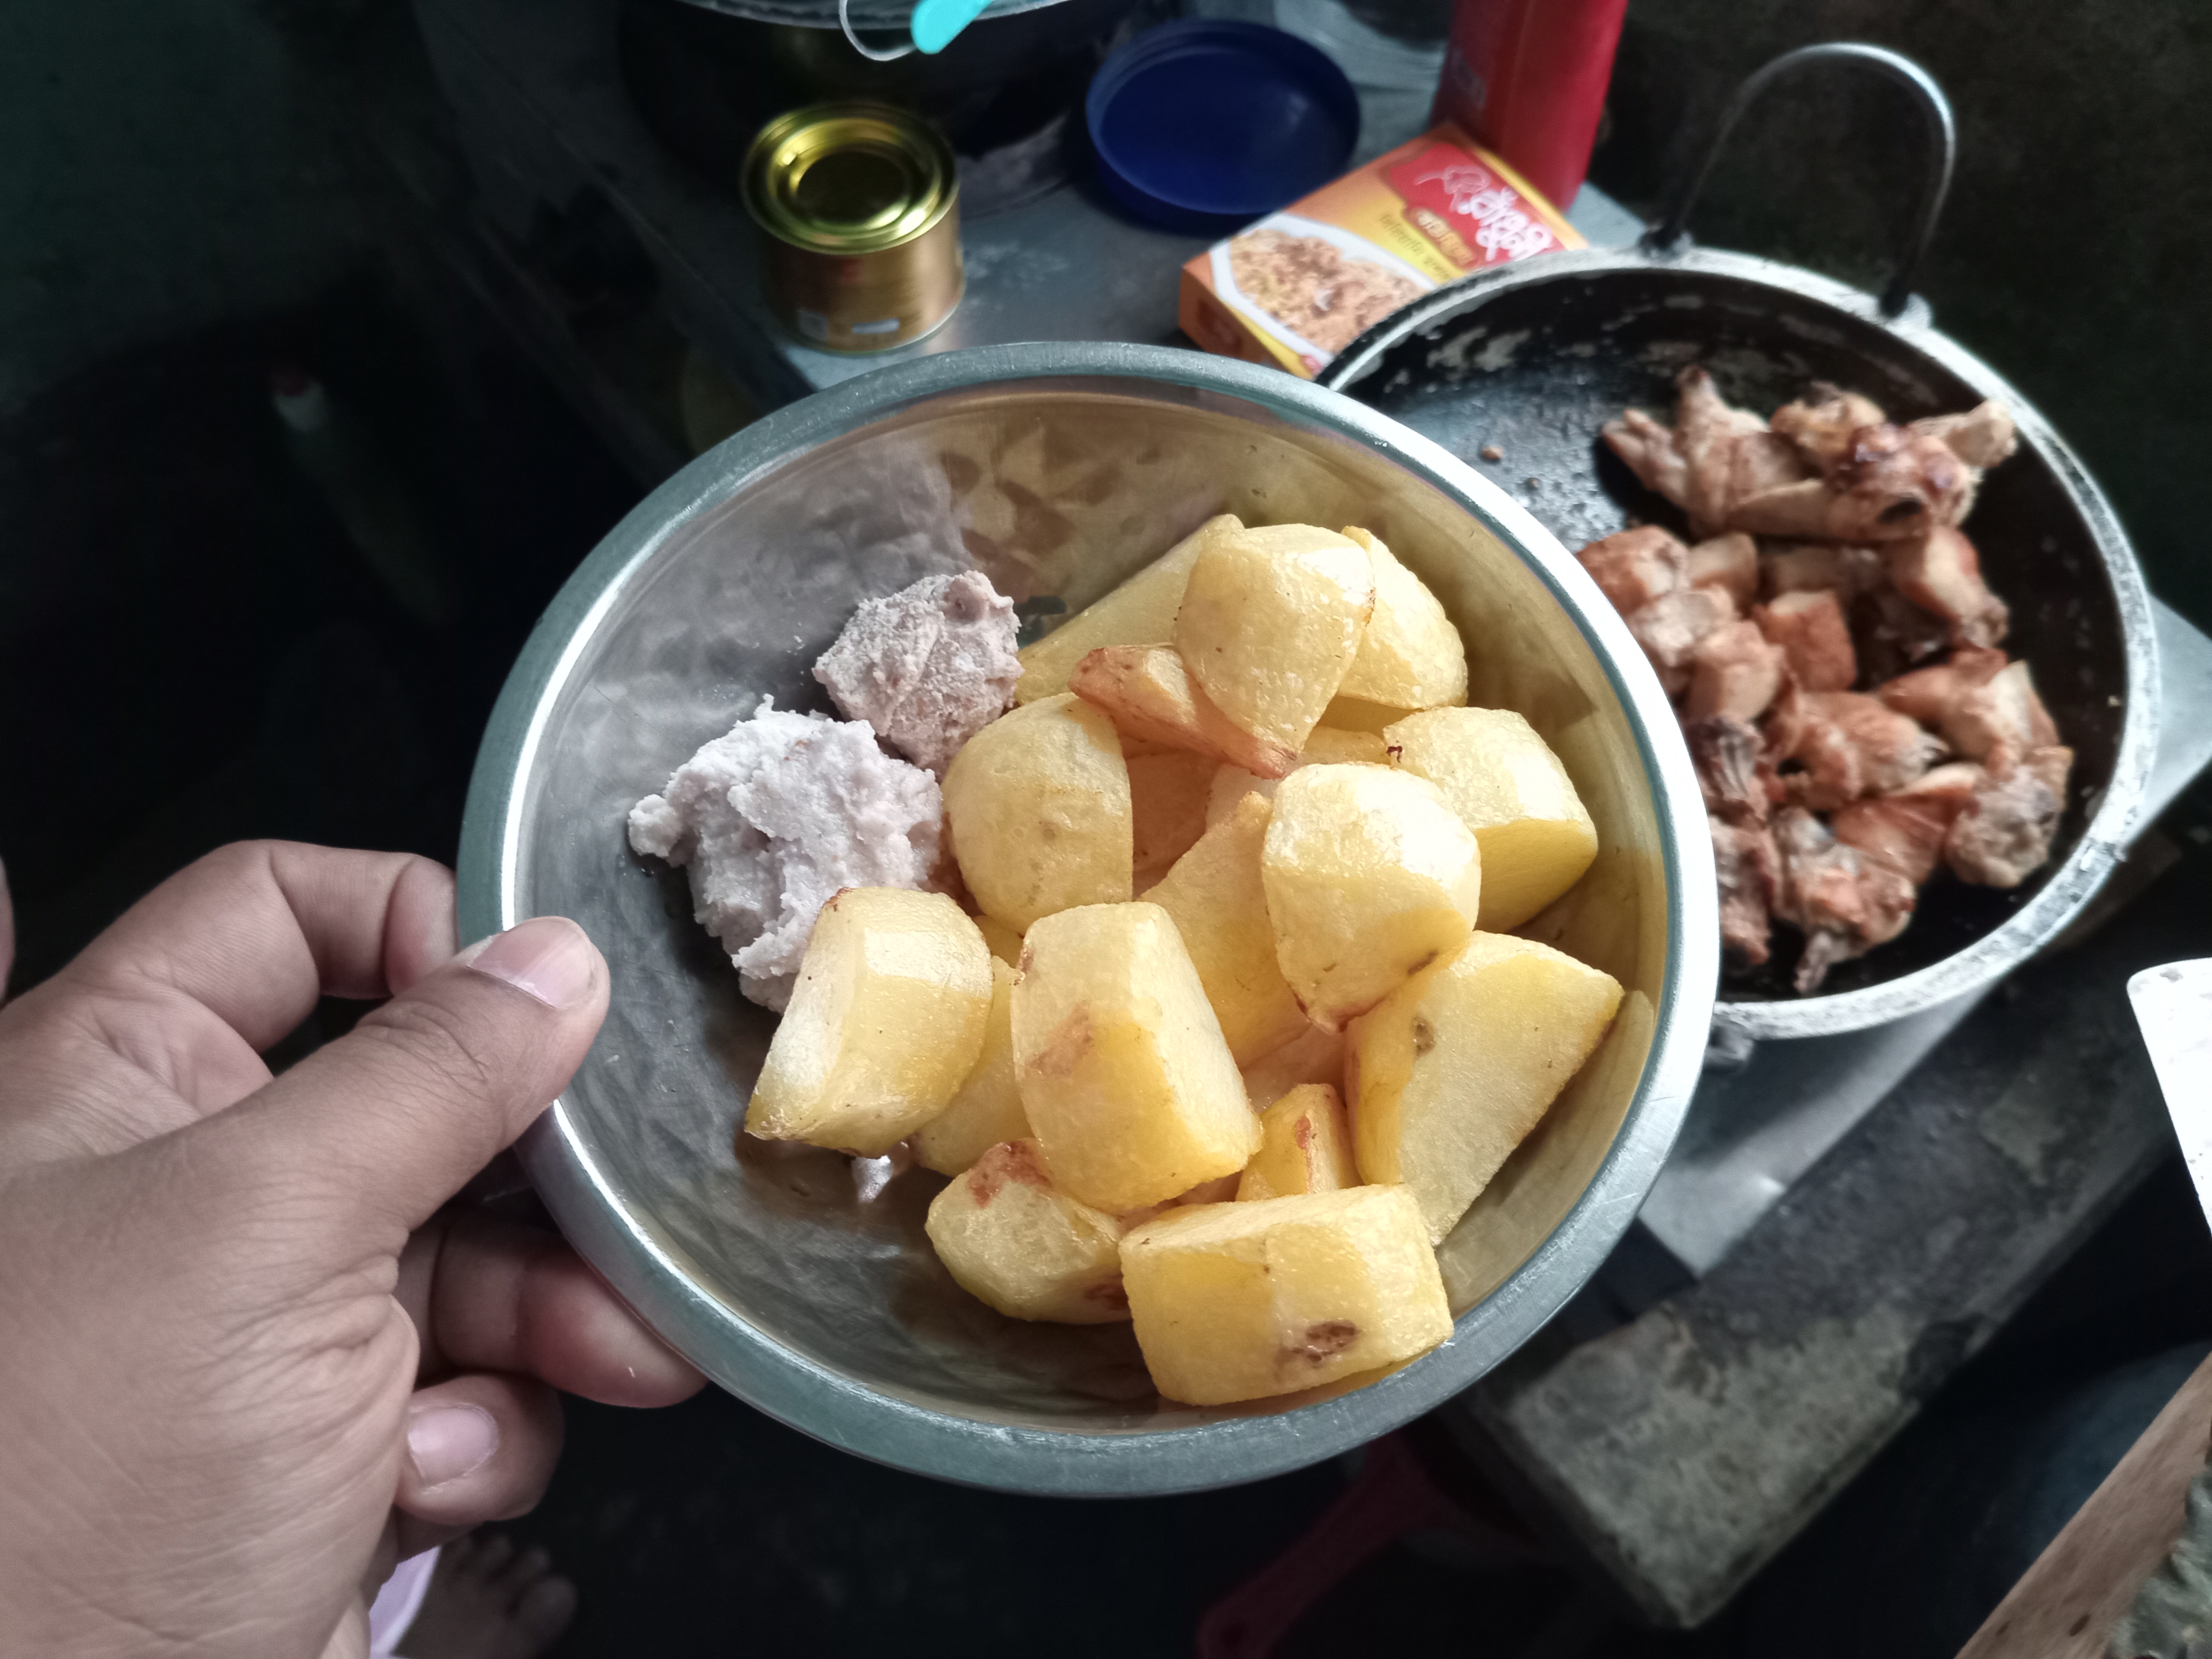
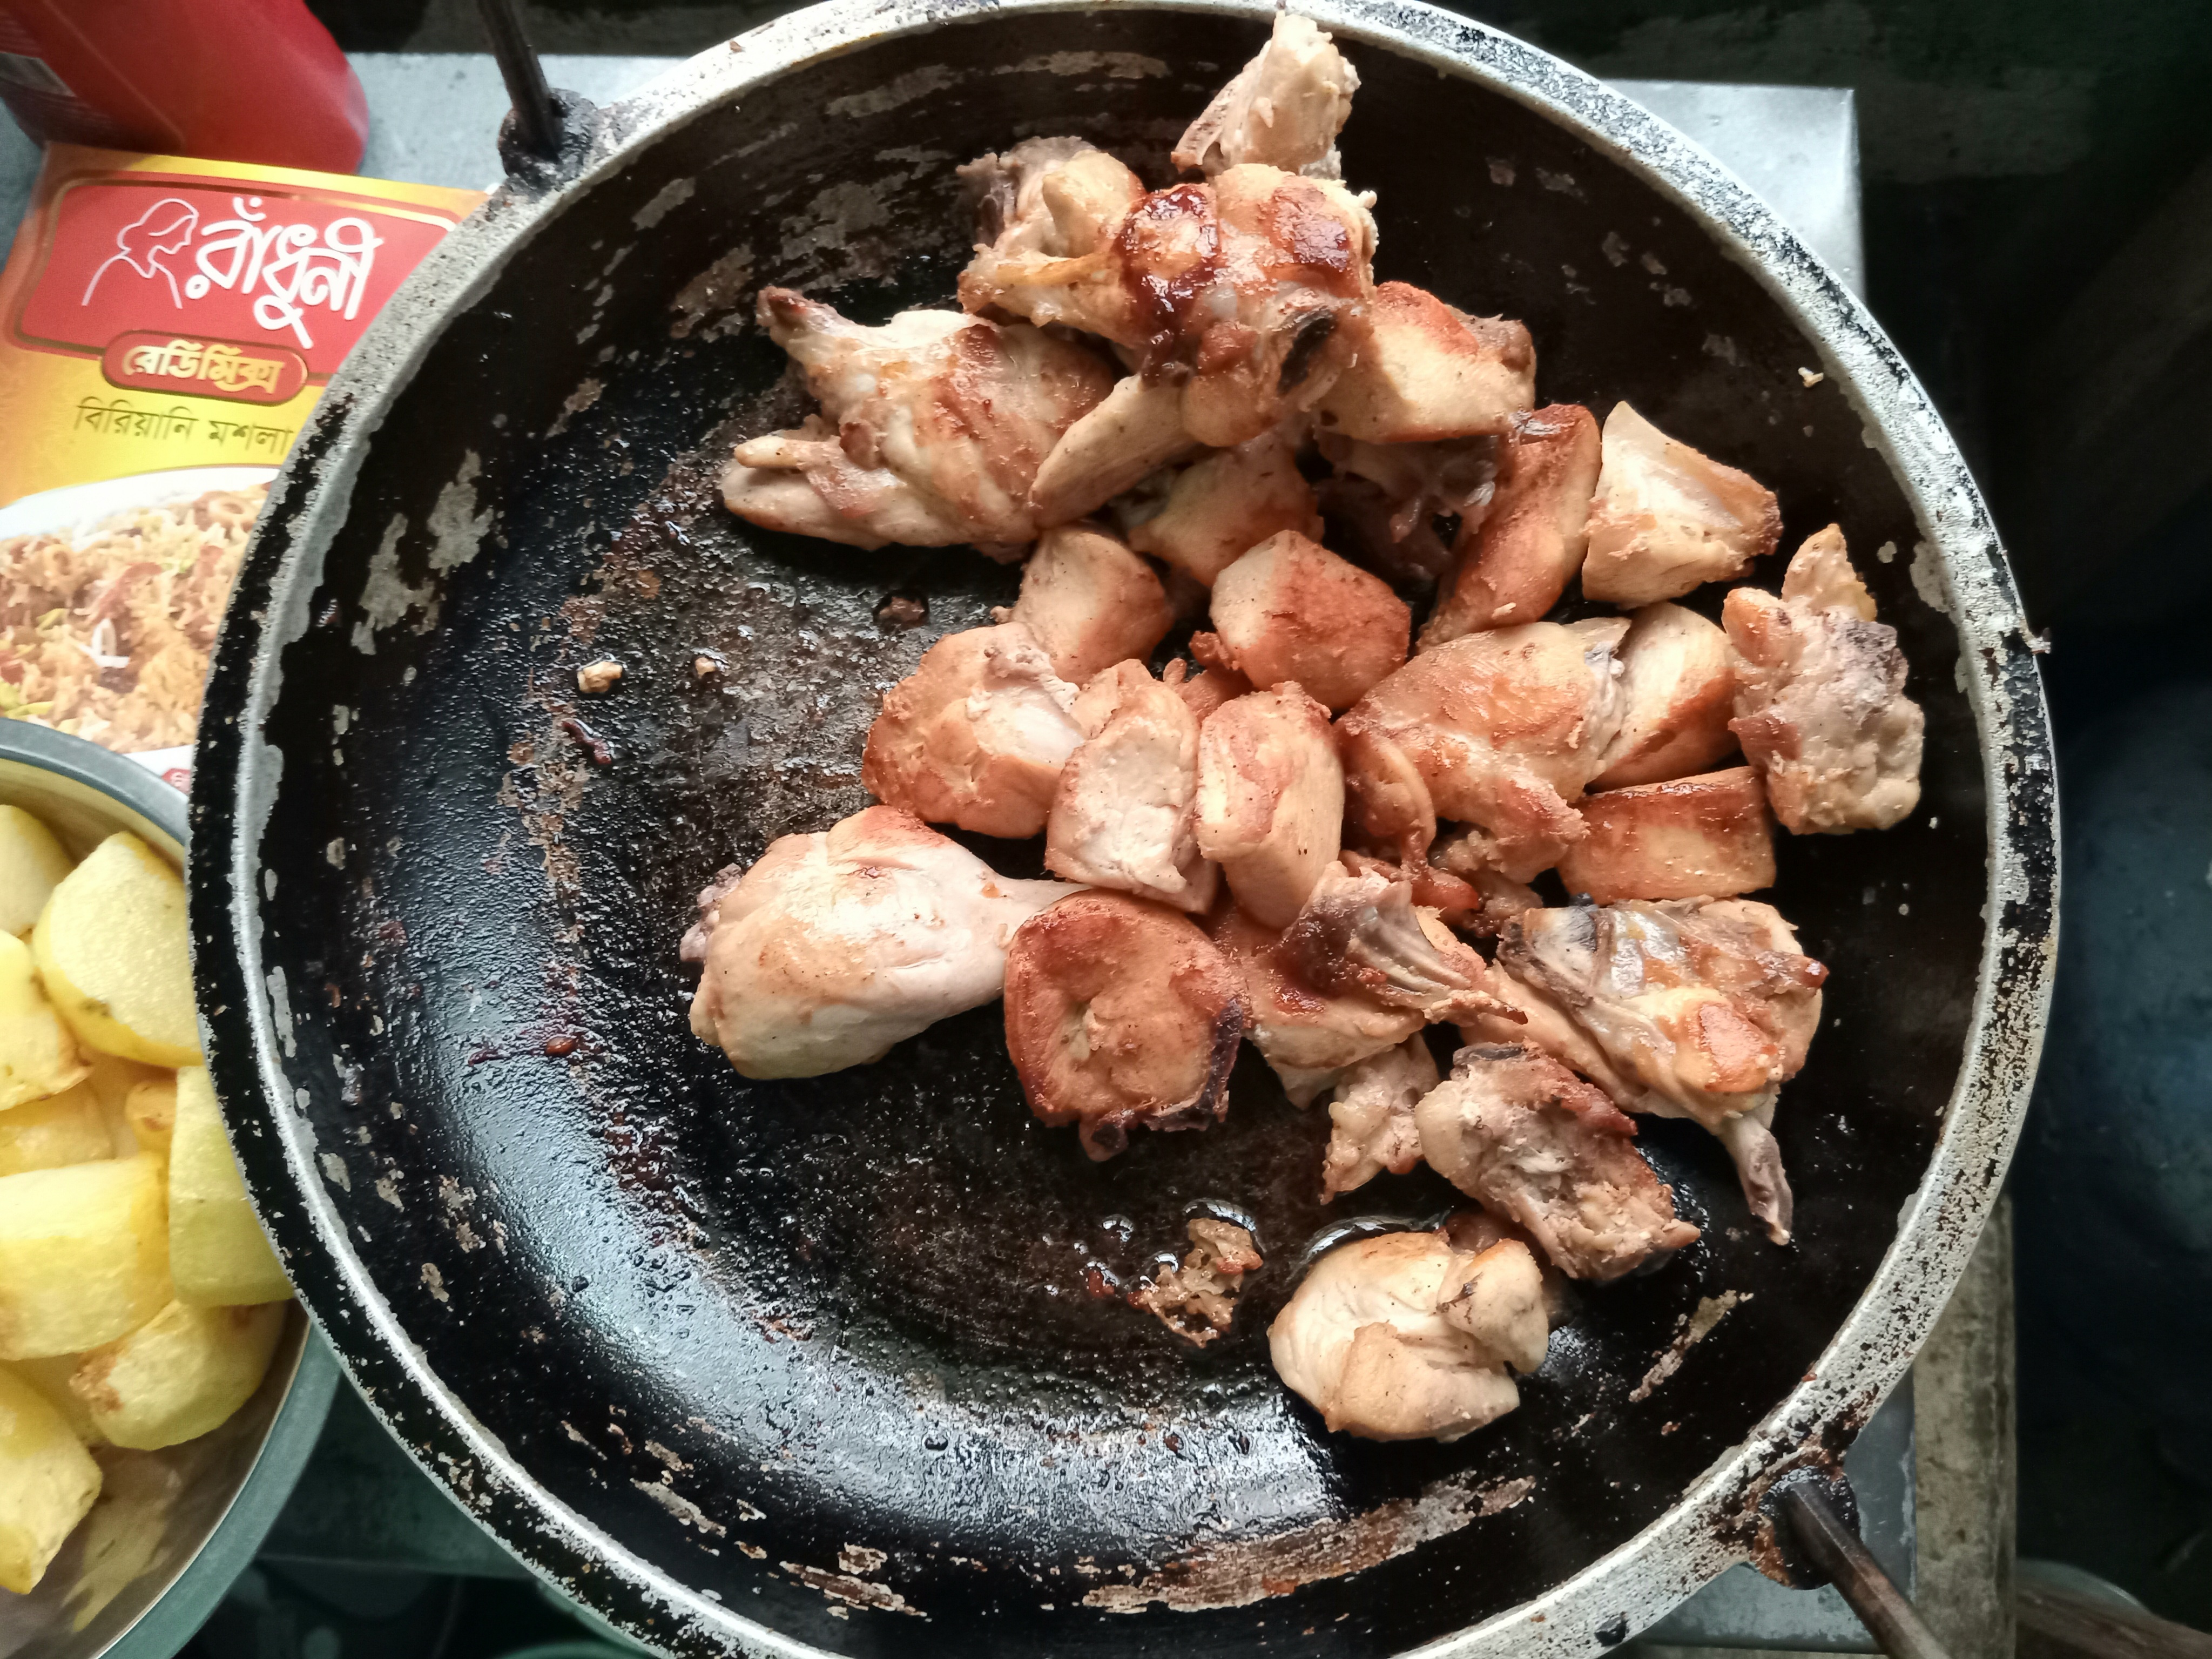
Heat oil in a pan and first fry the biryani potatoes with a little salt until they are nicely golden brown, and remove them in a bowl.
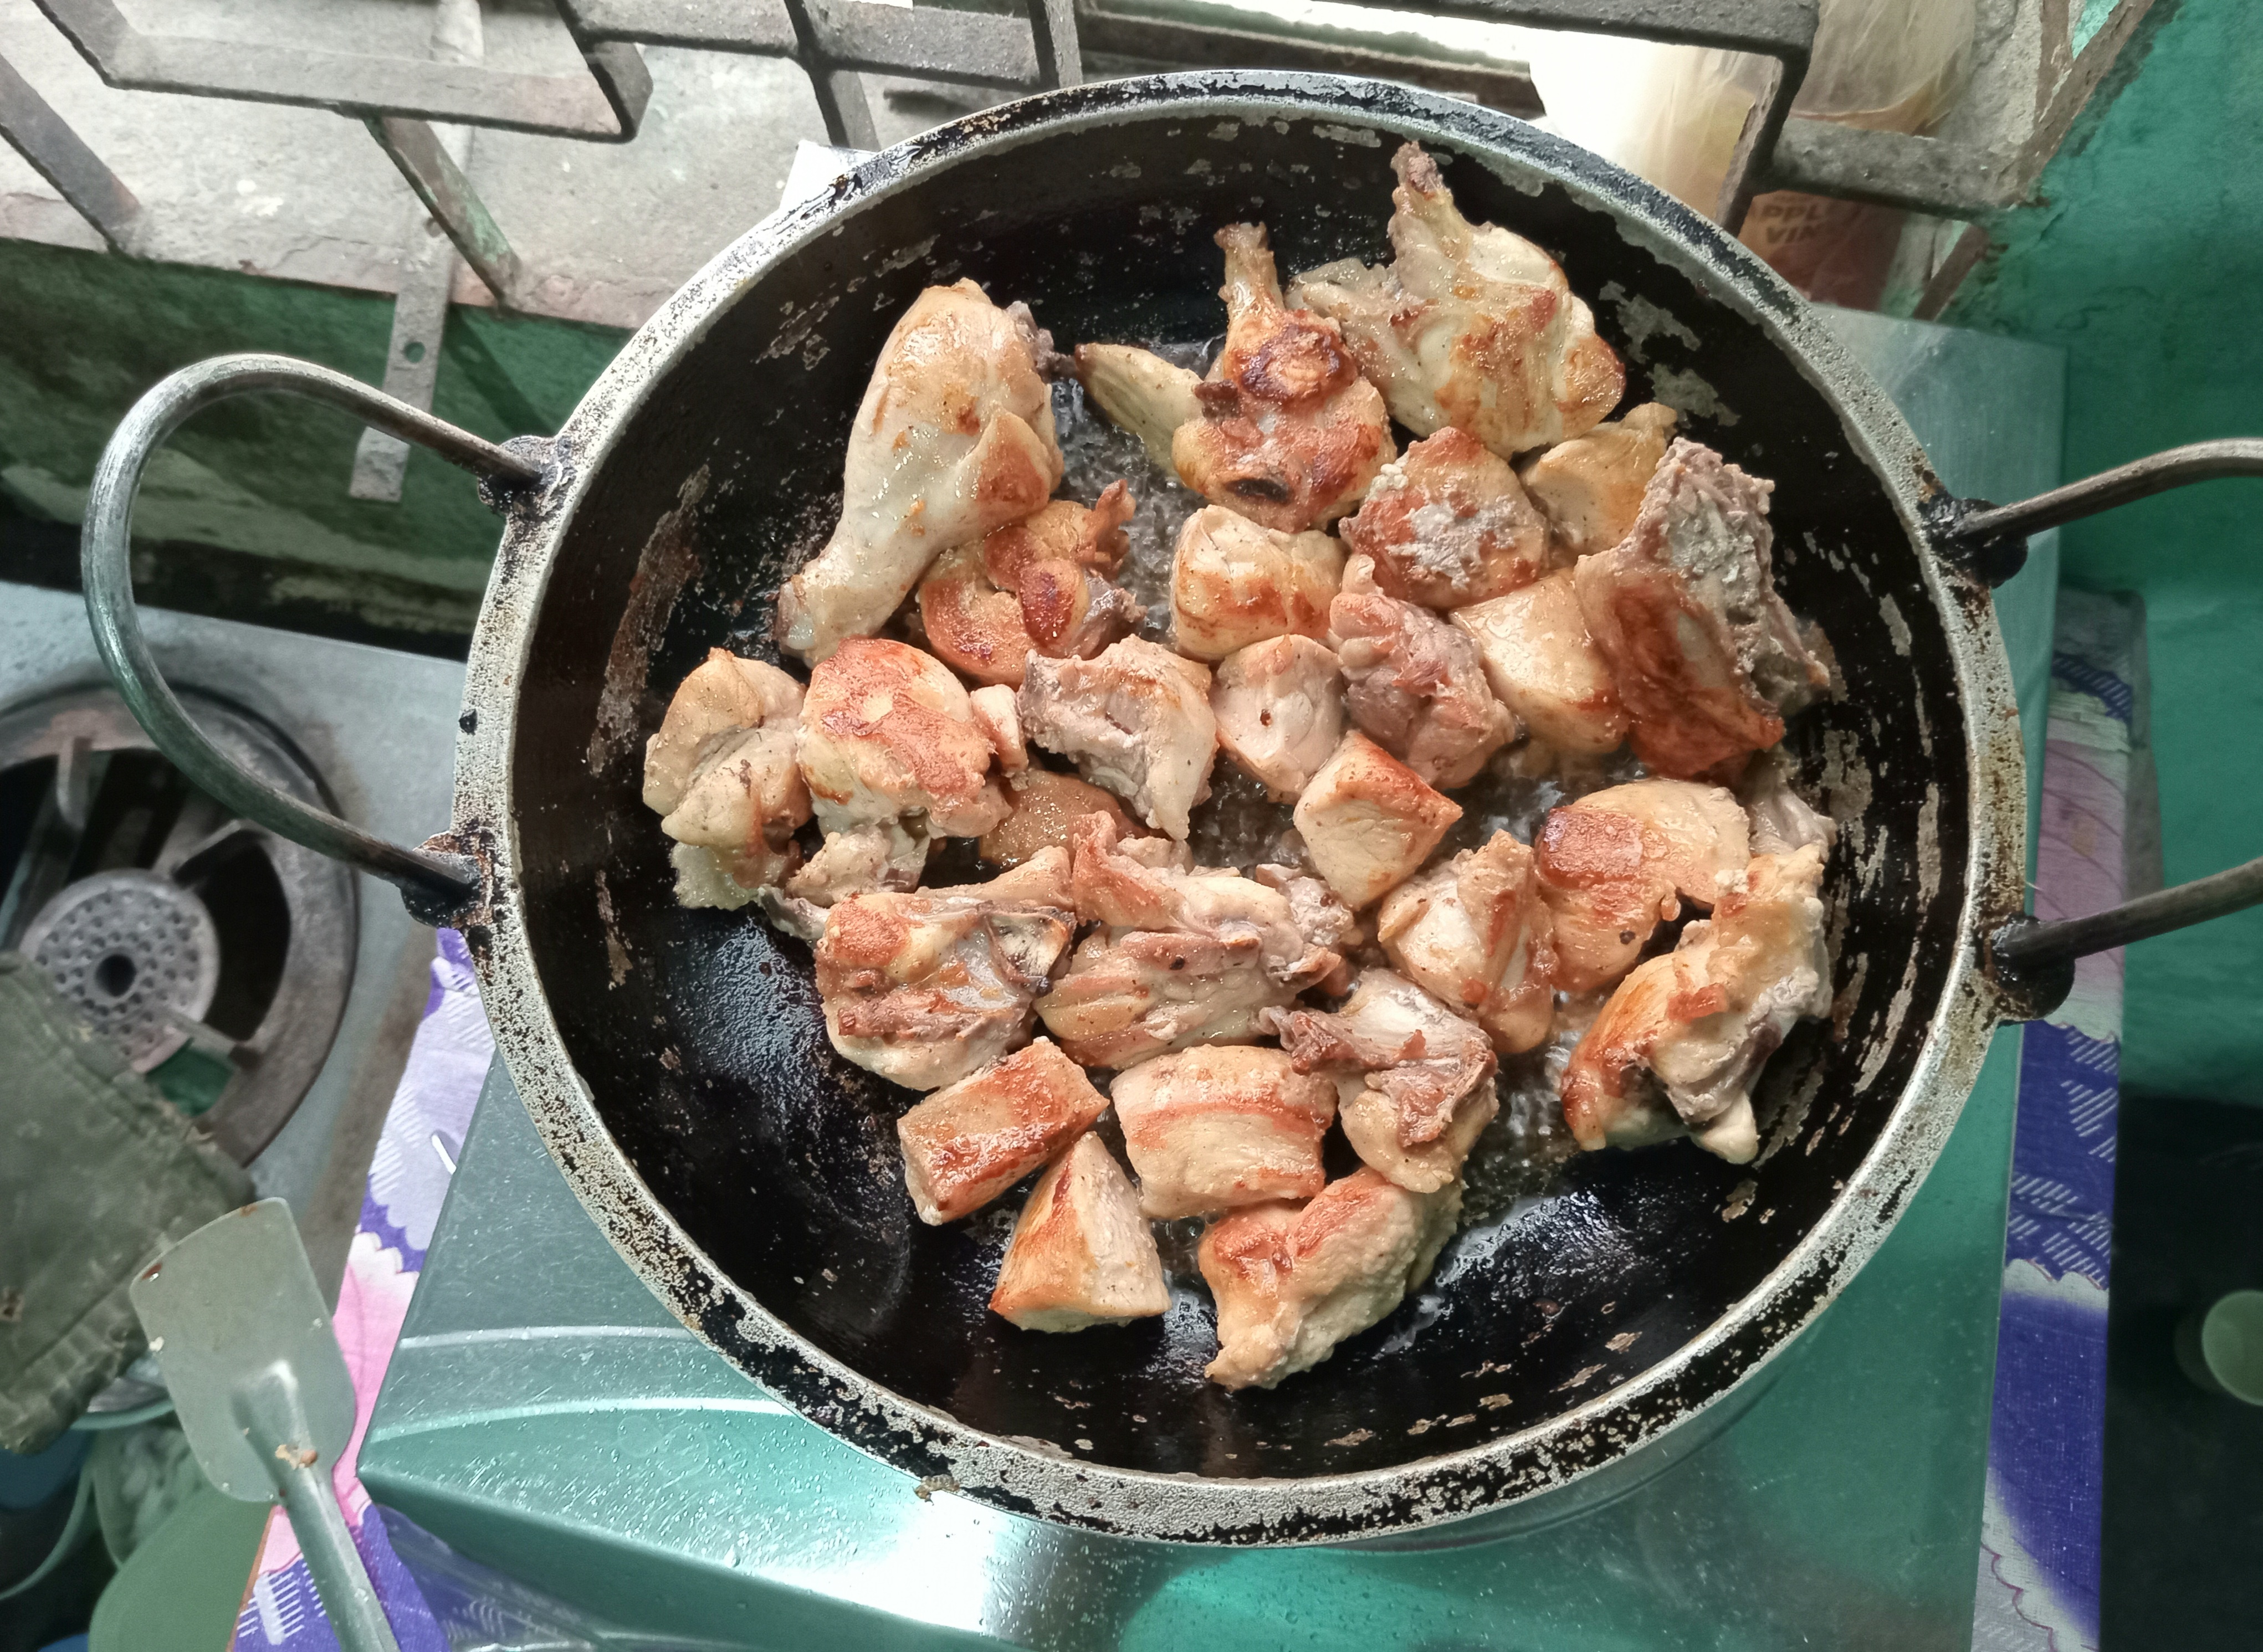
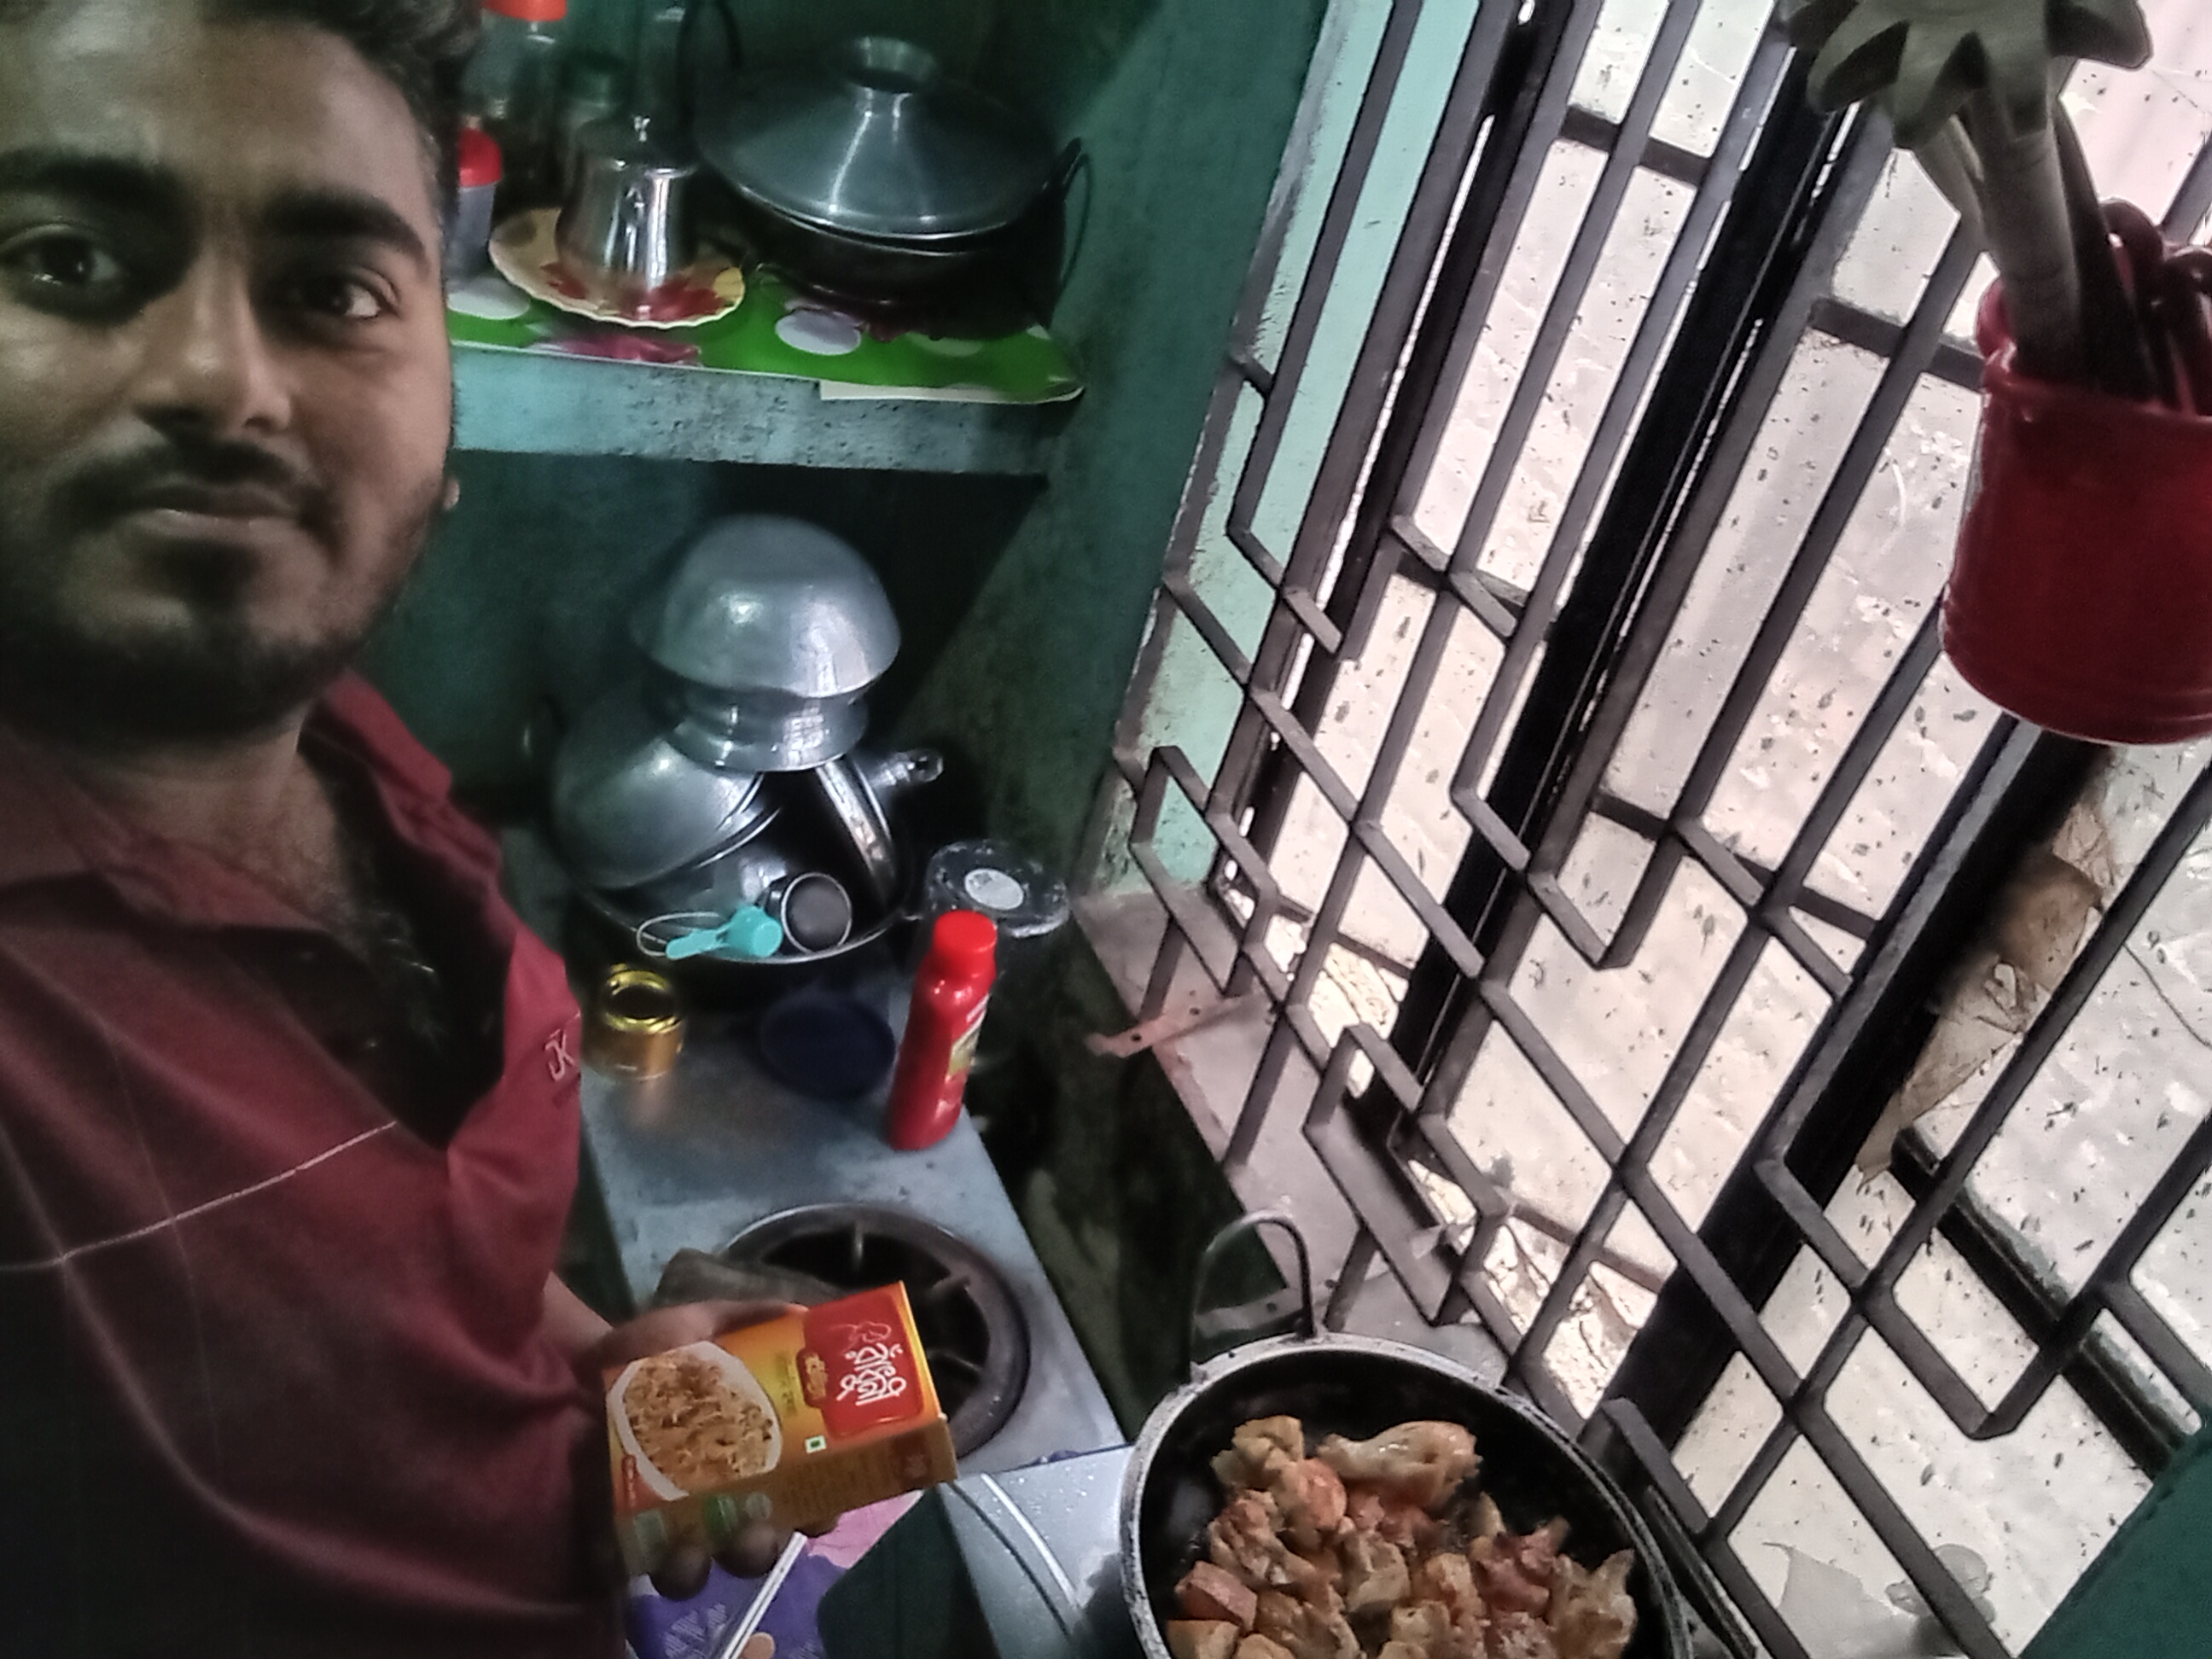
Then lightly fry the marinated chicken pieces in the oil, turning them over and over until they turn a nice reddish color. Frying the meat in this way gives both the taste and texture of the biryani a great touch.
 |  |
|---|
 |
|---|
 |
|---|
 |  |  |
|---|
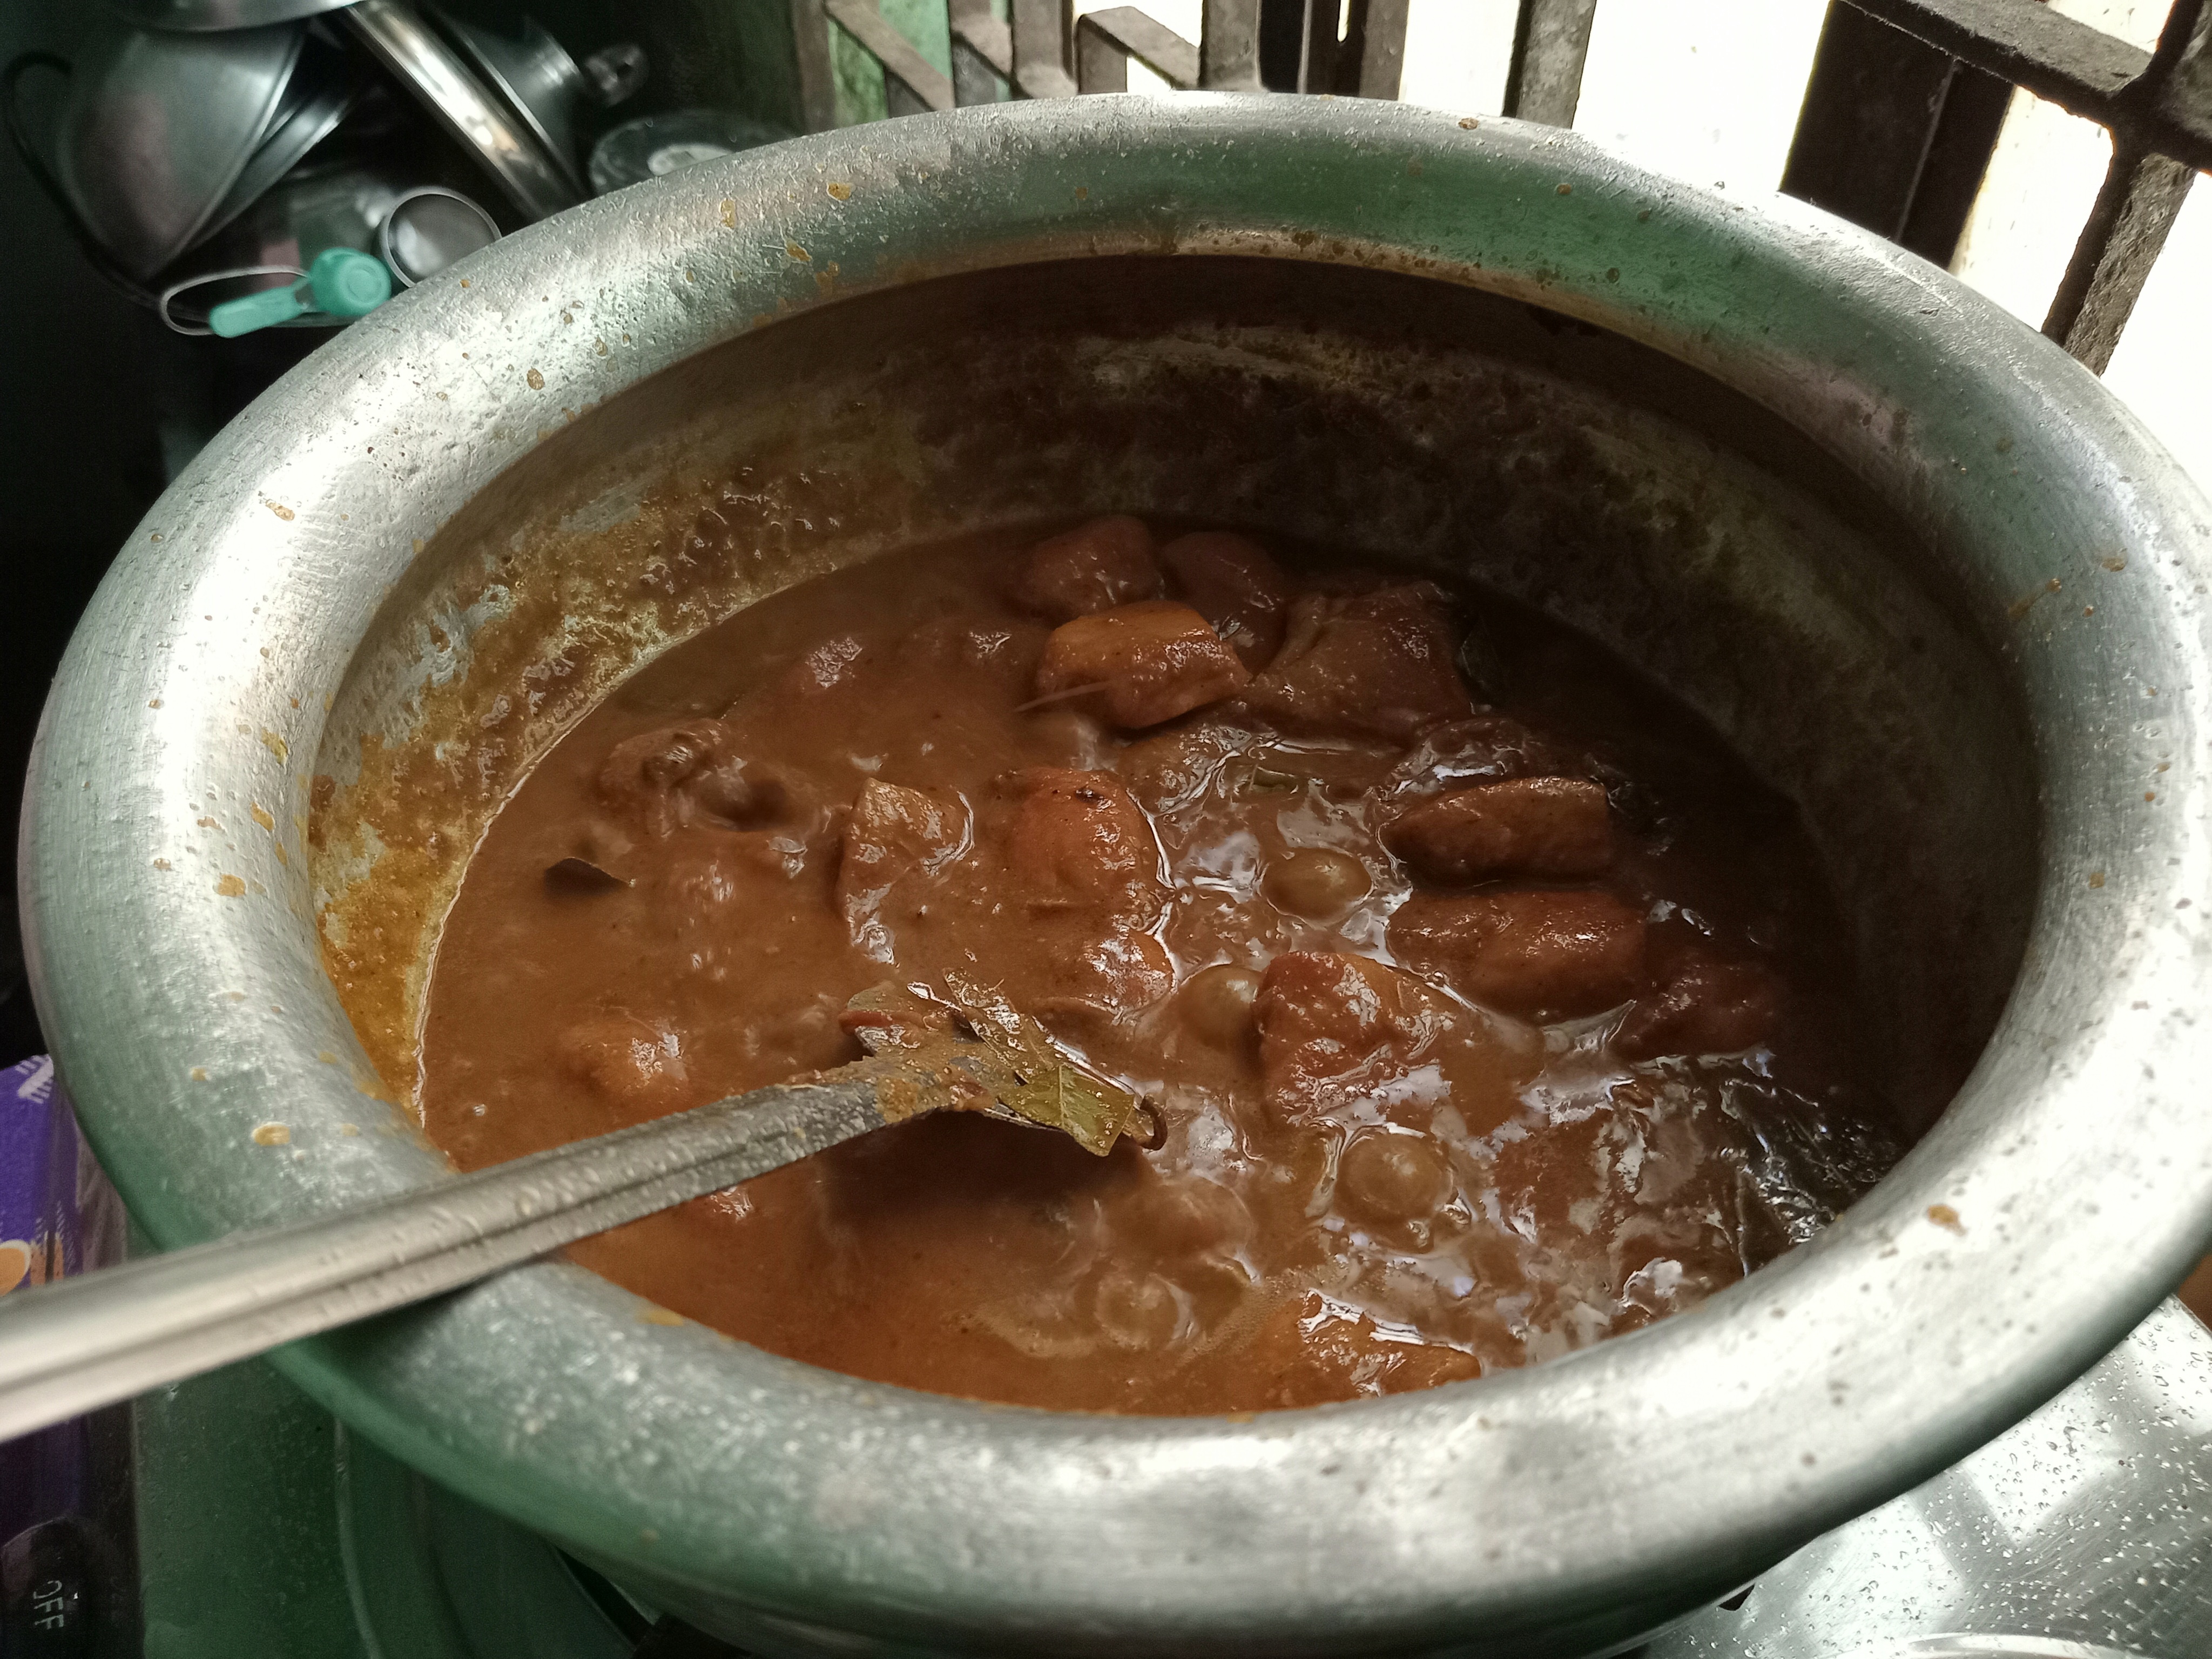
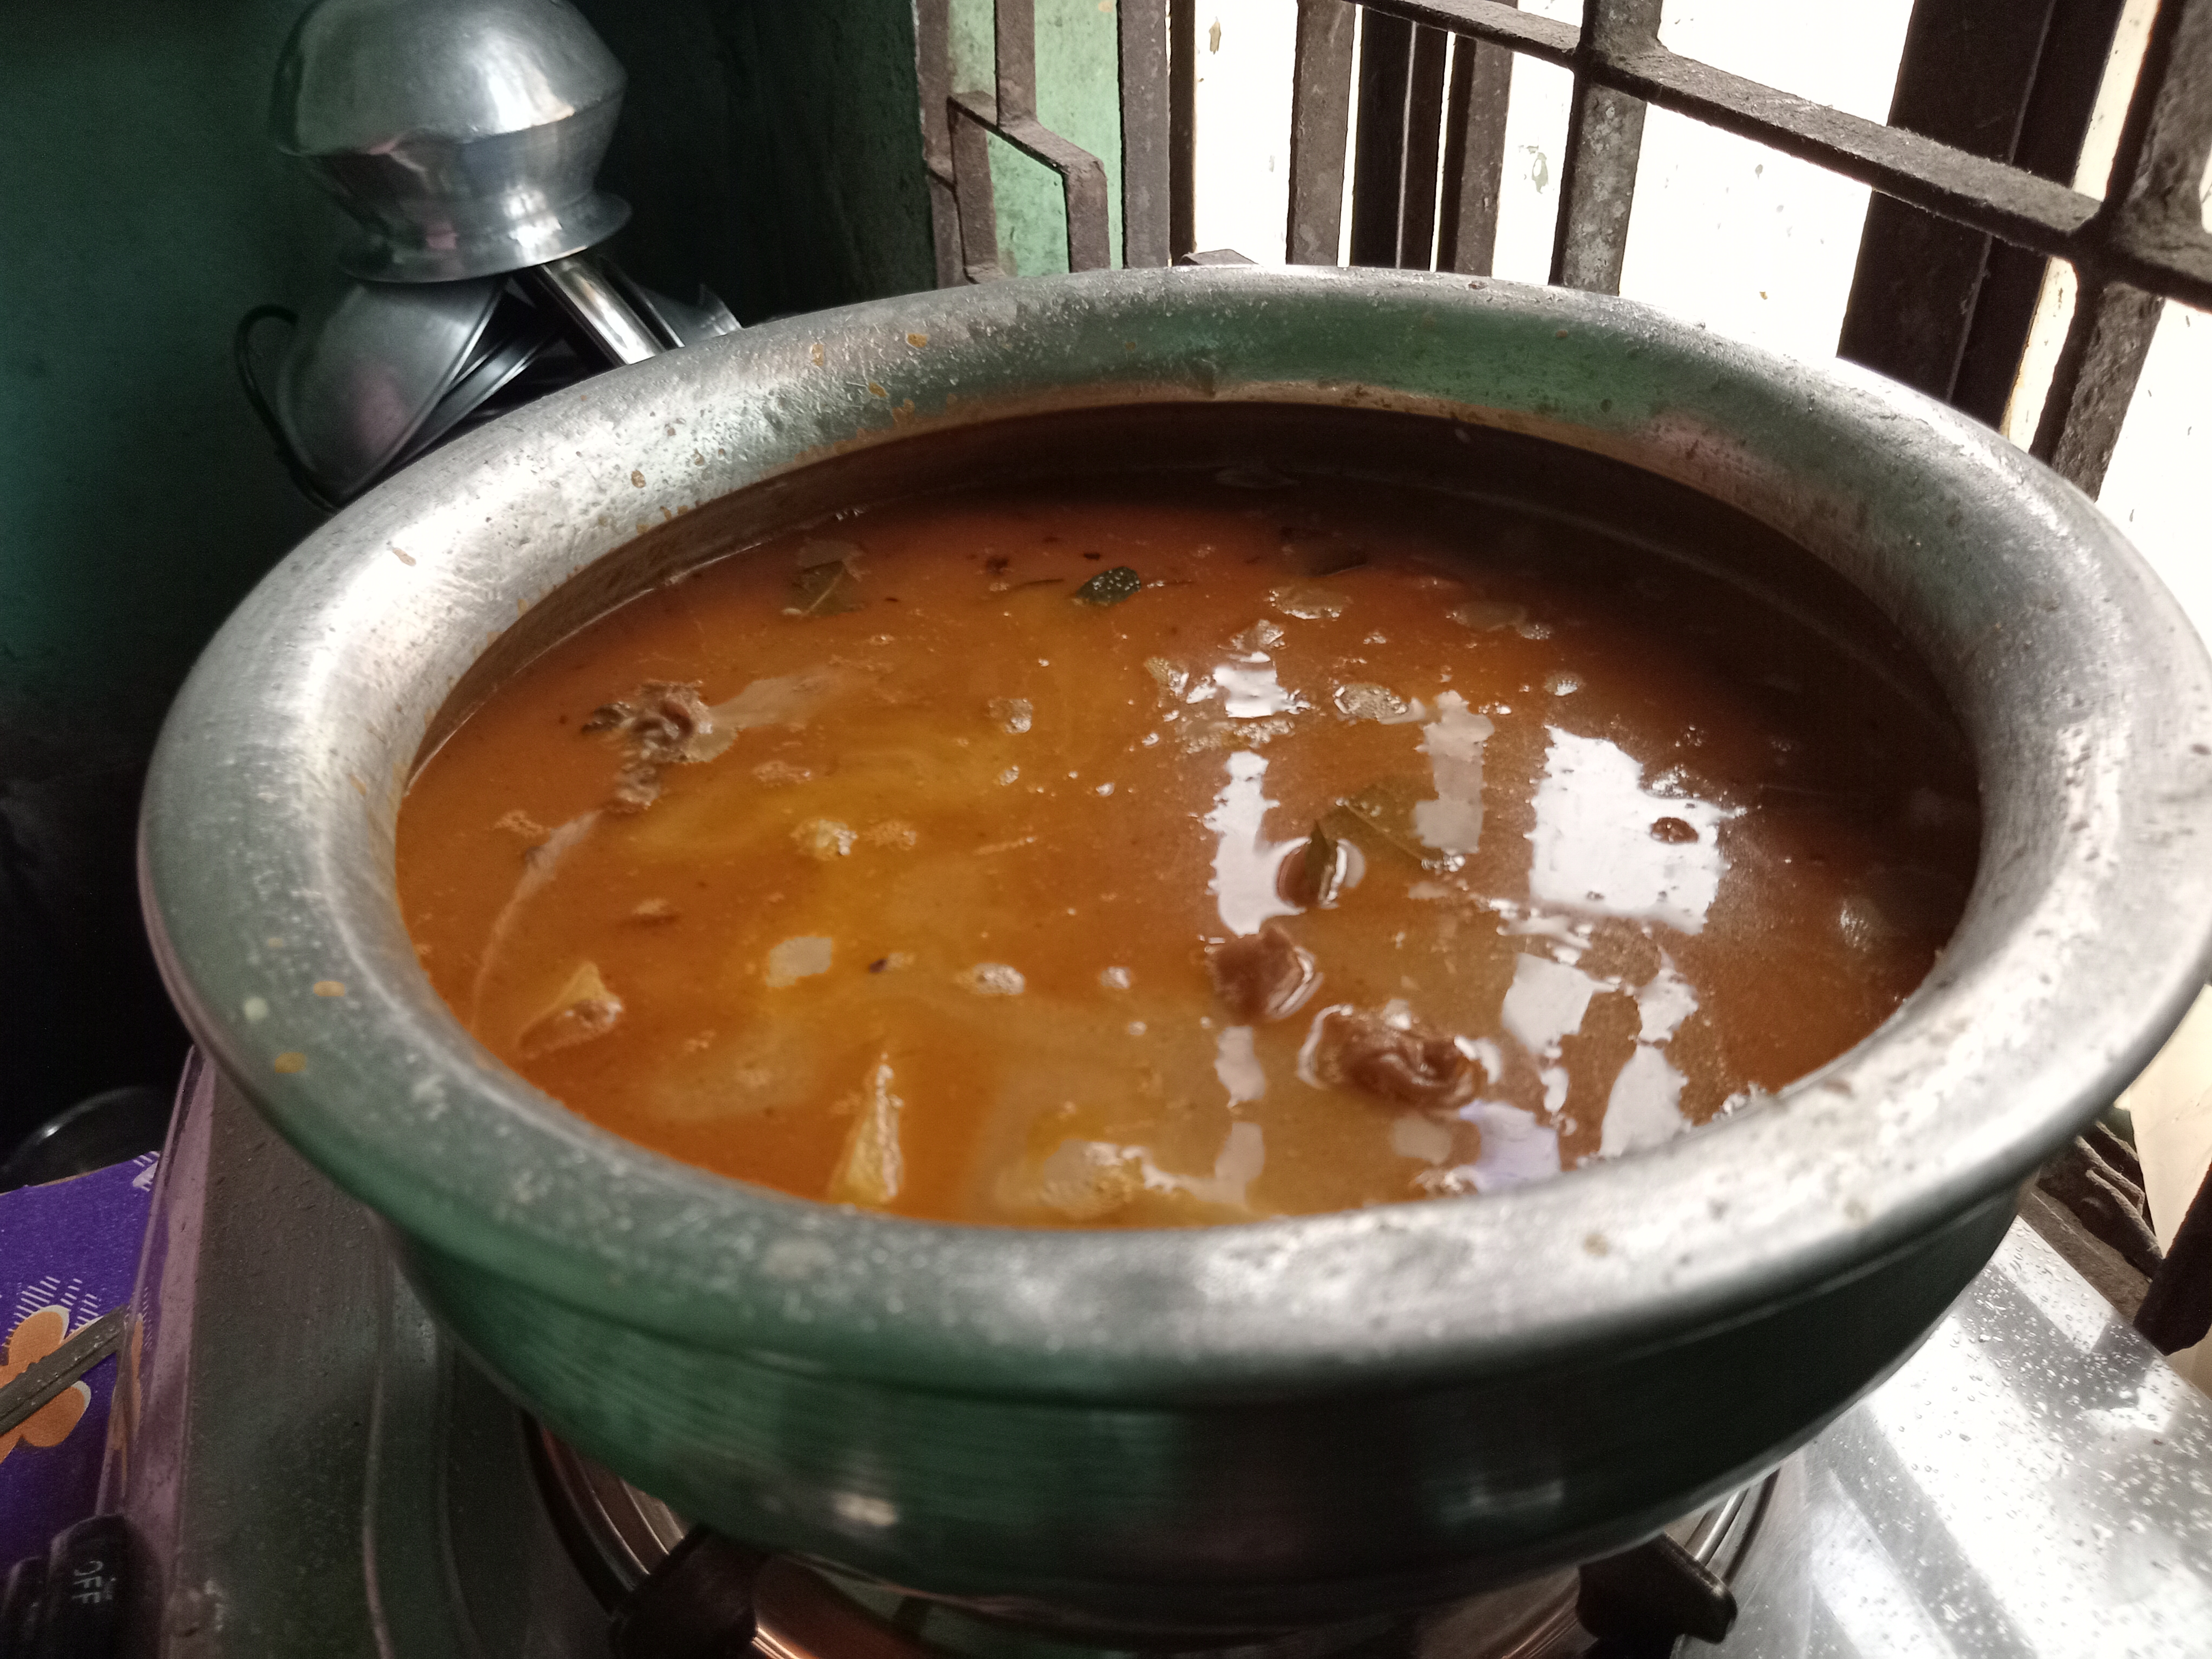
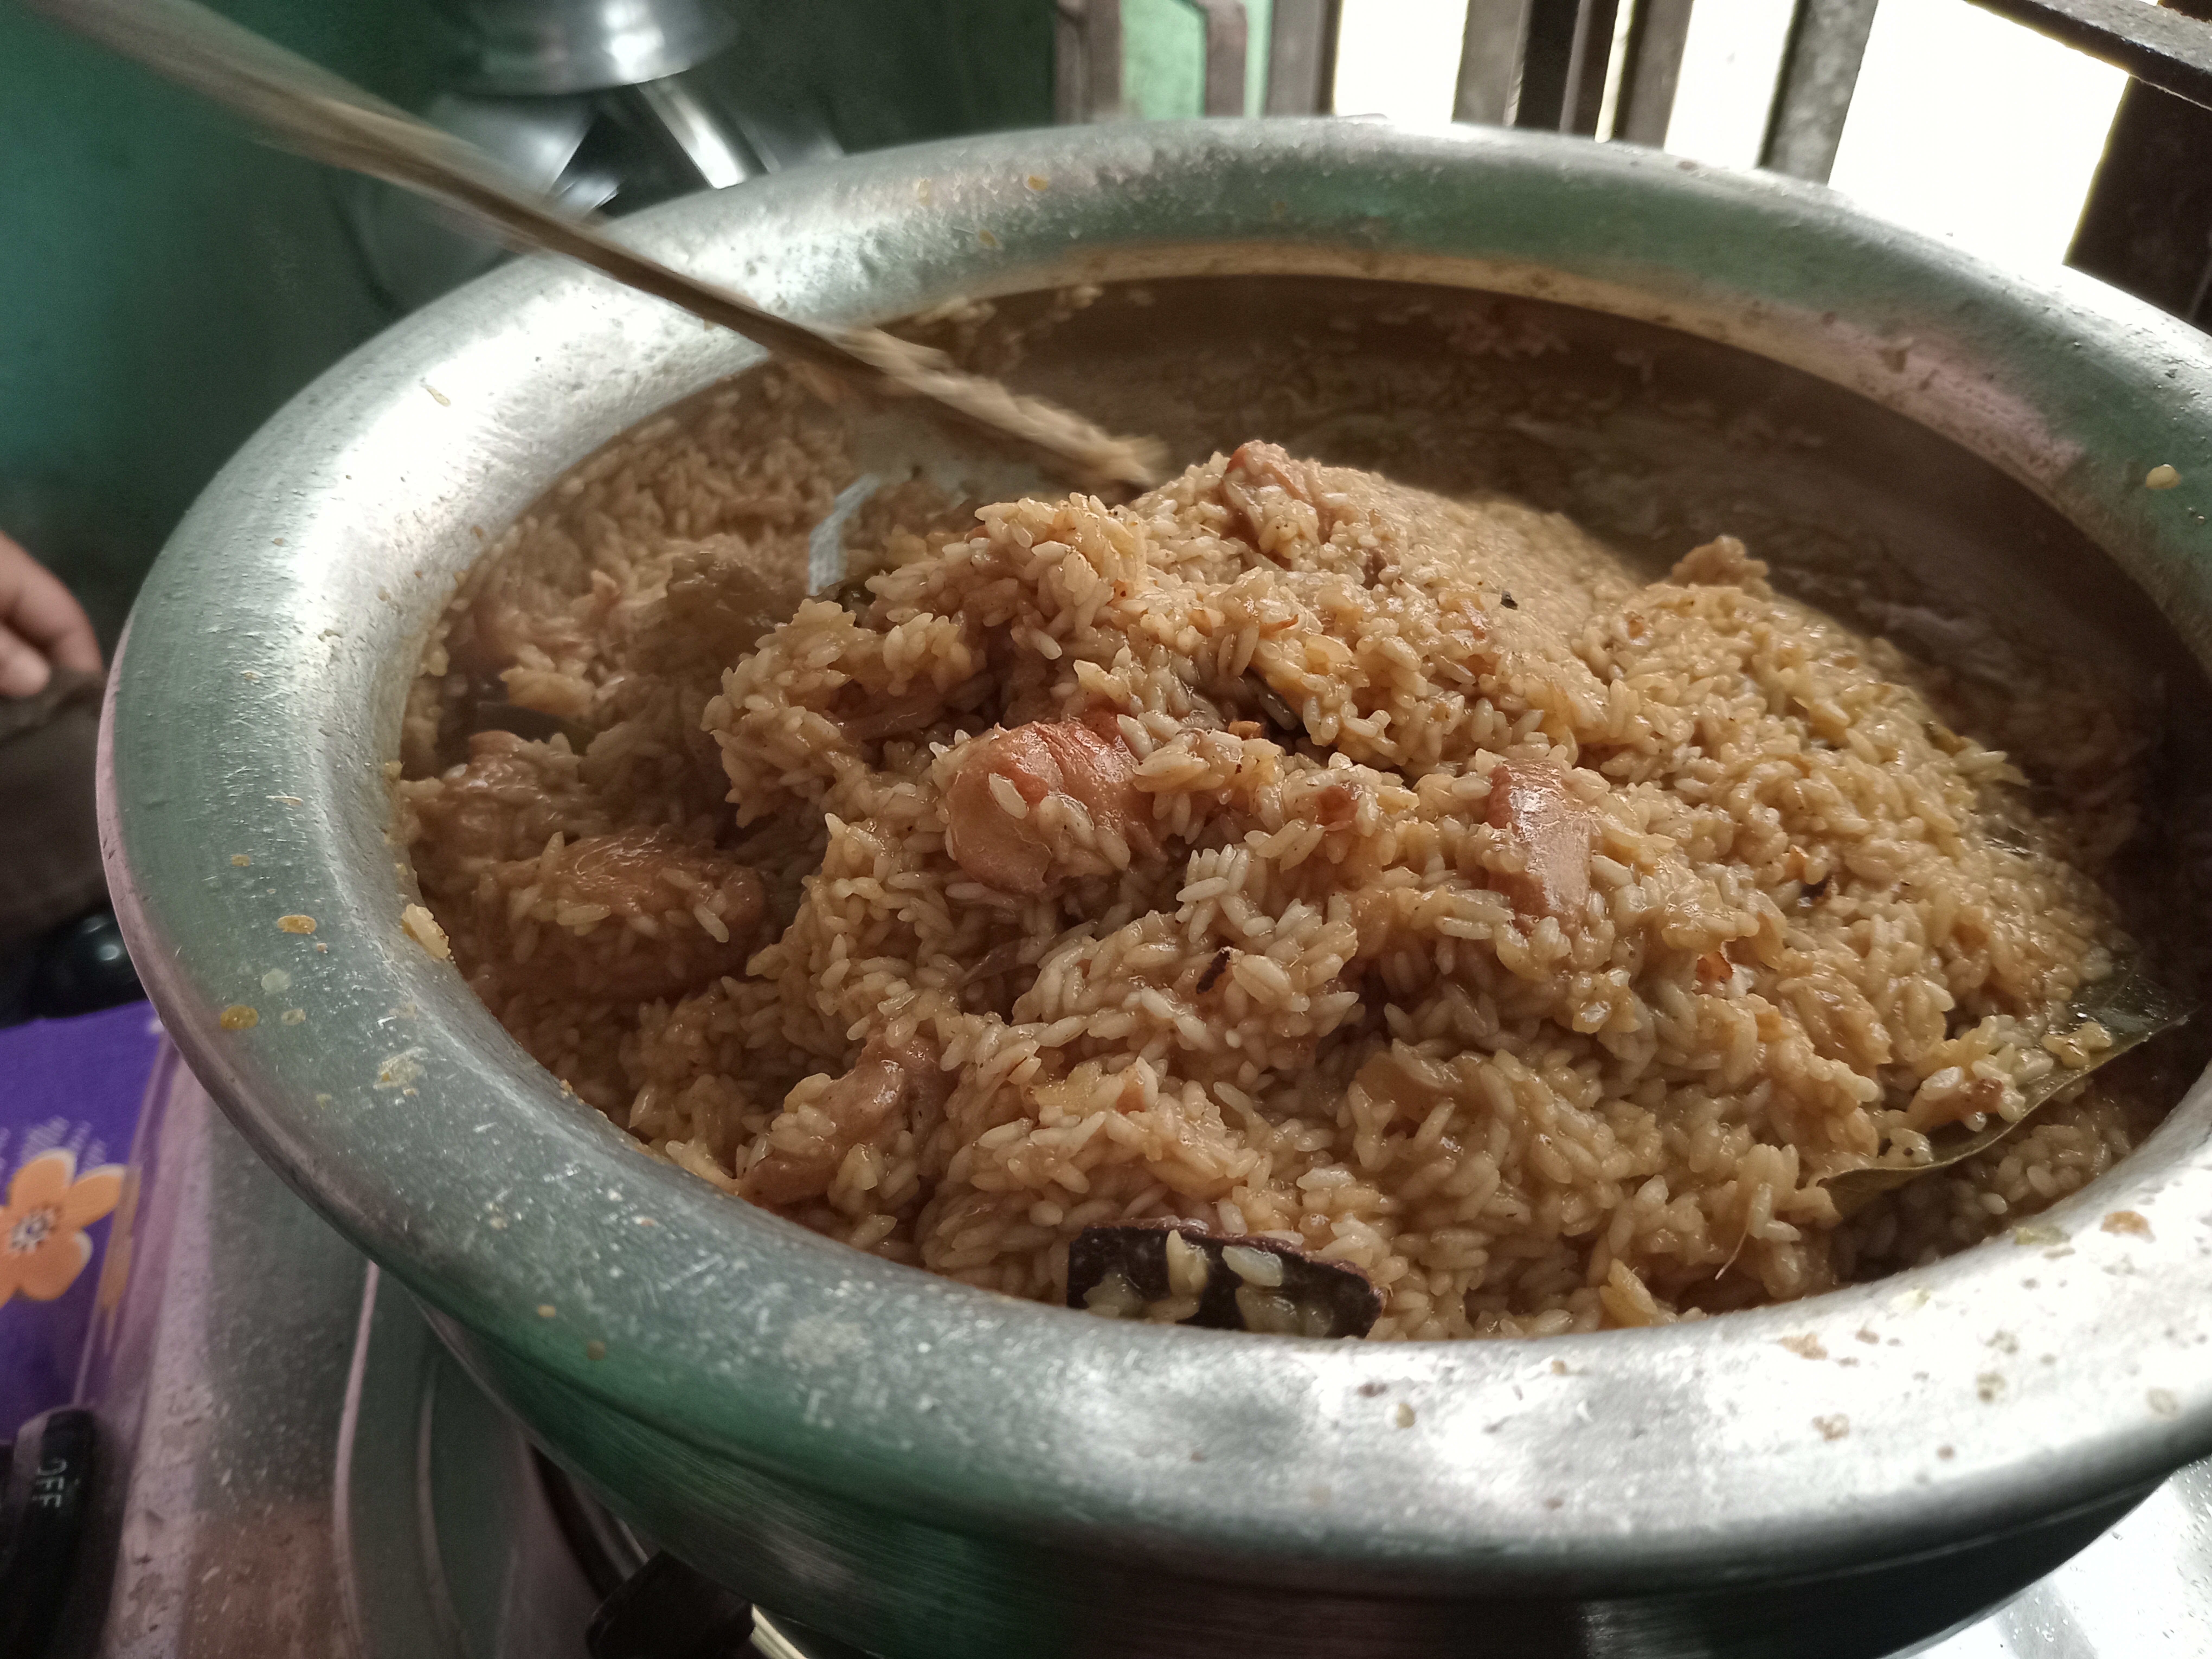
- Then I added the remaining marinated spices and 2 tablespoons of tomato sauce to the fried meat and cooked it well. The gravy was very delicious and thick due to the almond-coconut paste and tomato sauce. When the meat was cooked and the oil floated to the top, I put it down.
 |  |
|---|
 |  |
|---|
Step 3: Cooking the rice and simmering the biryani |
|---|
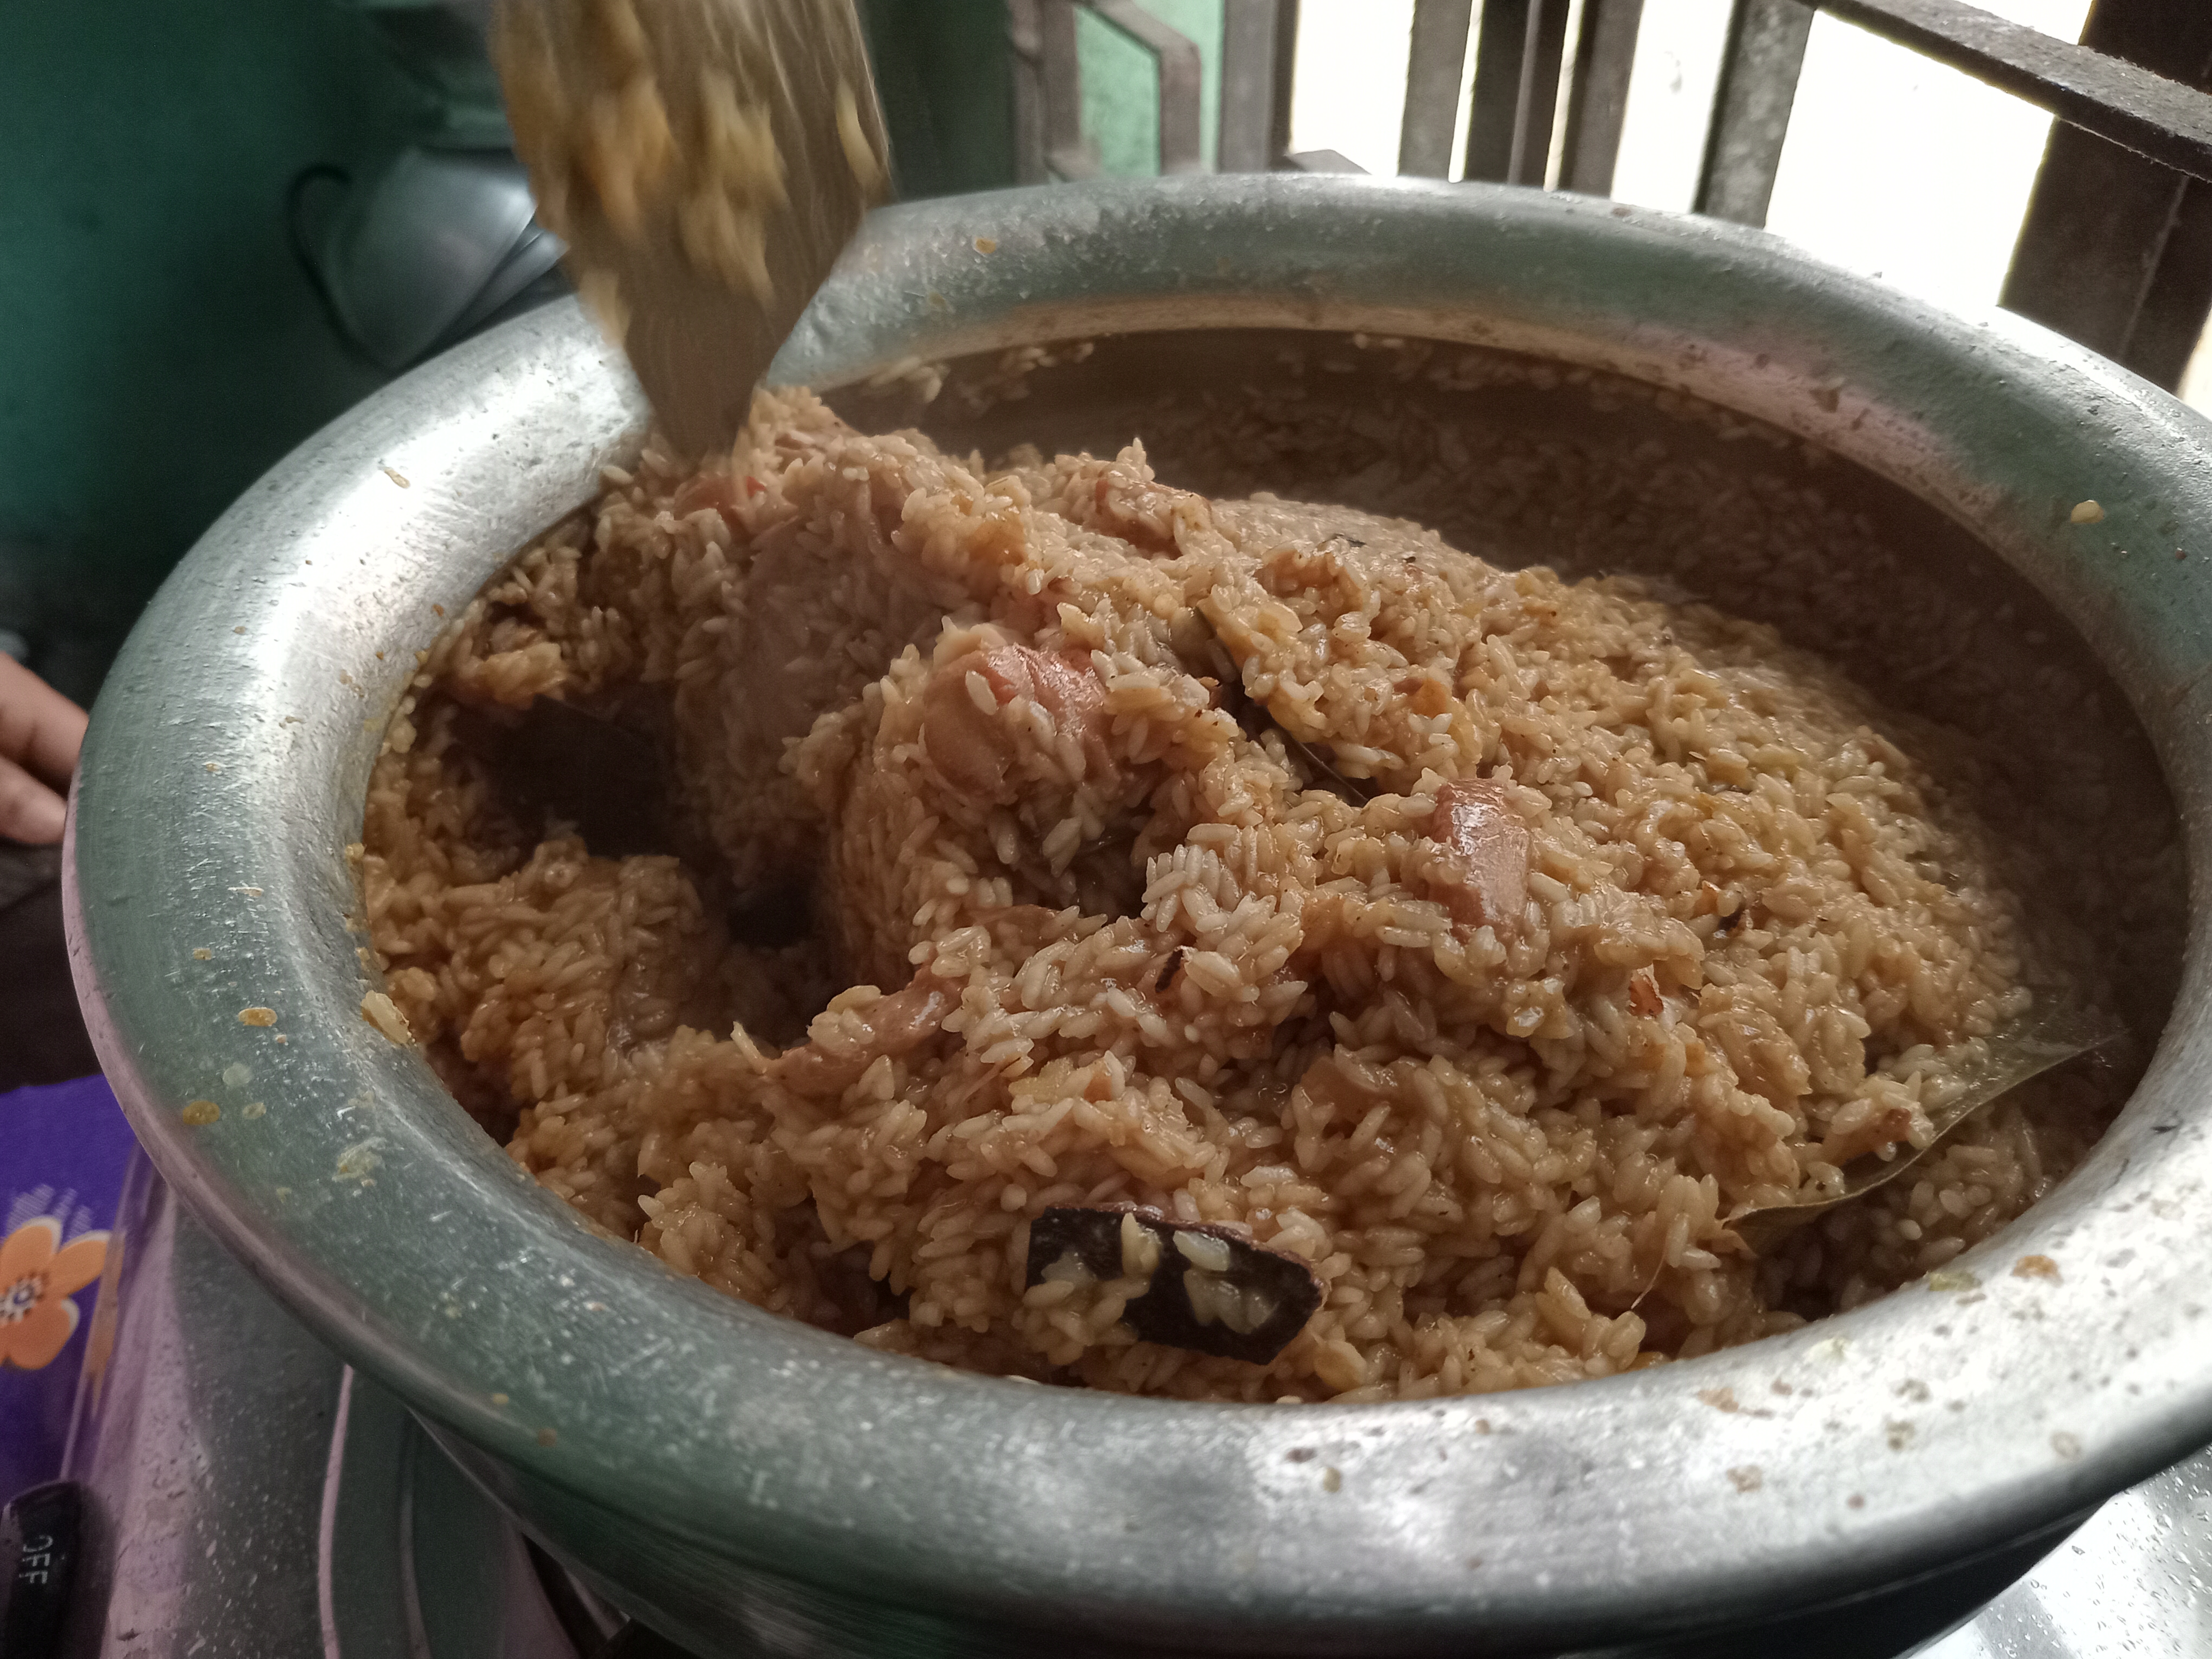
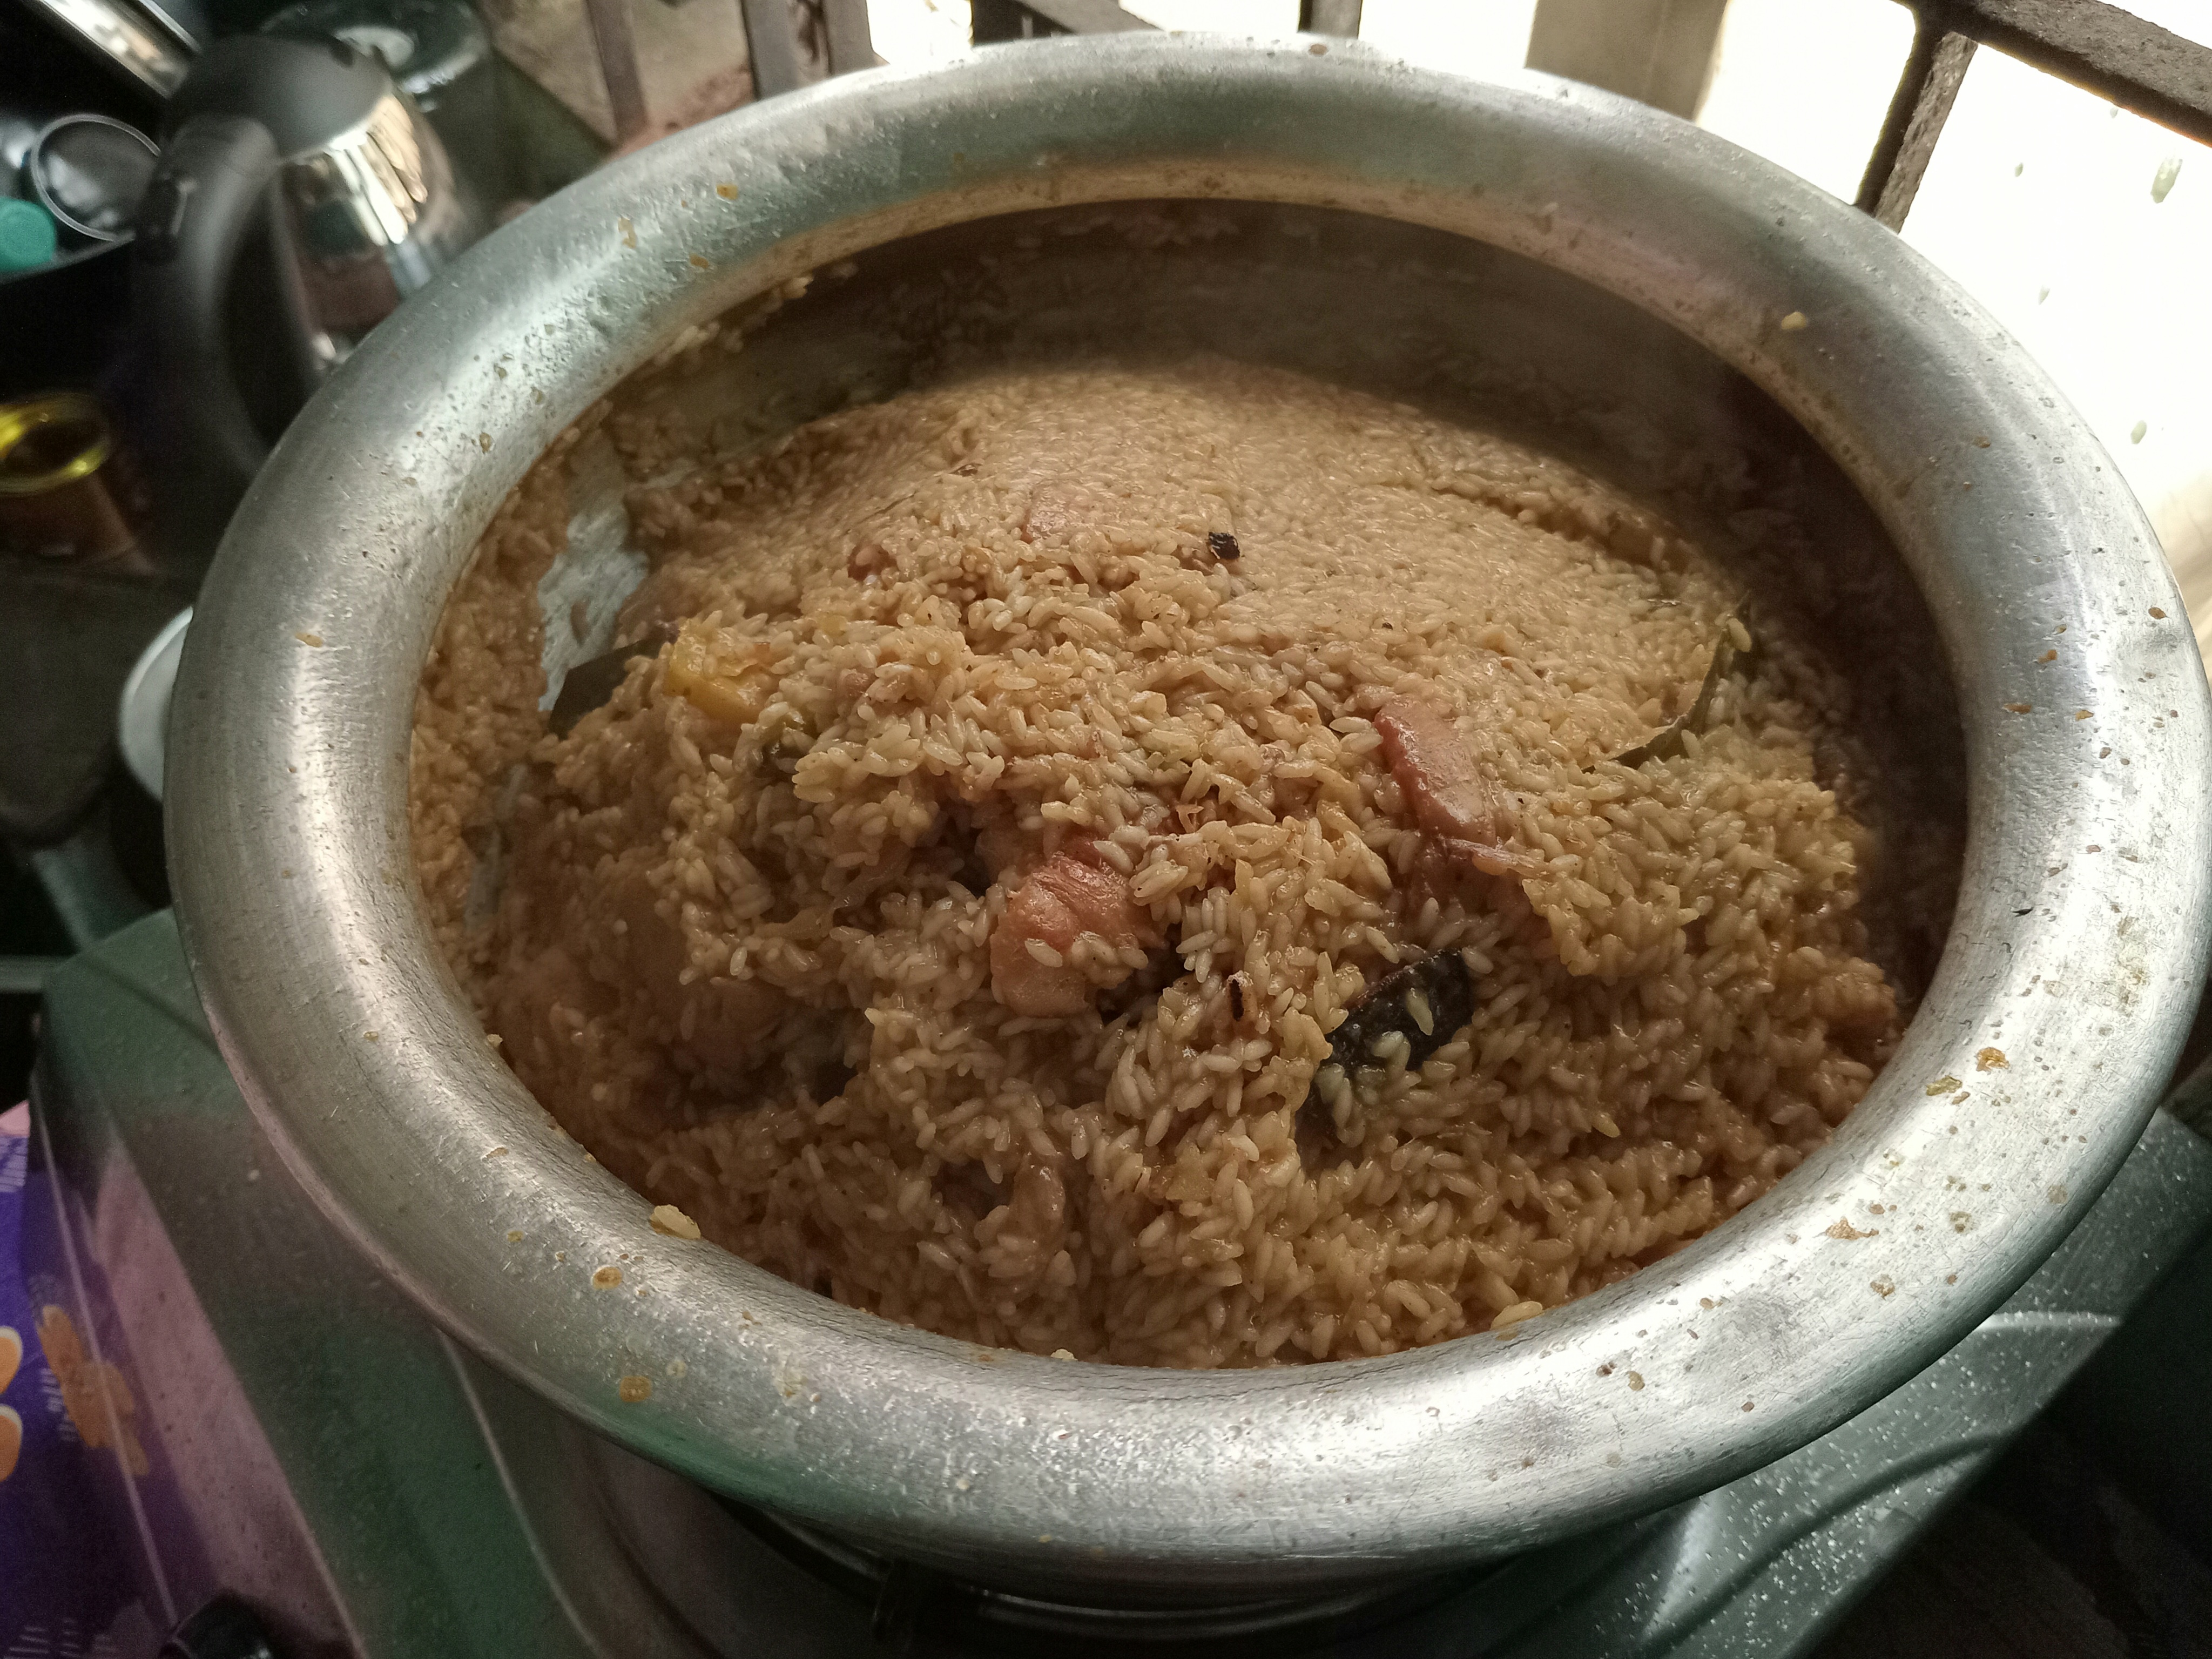
- In another large pot, heat a little ghee and oil and lightly fry the drained polava rice. Now add the hot water and salt to taste to the rice.
- When the rice water becomes thick, add the cooked chicken, fried potatoes, and 4-5 whole green chilies (for a nice aroma) and mix it lightly with the rice.
|  |
|---|
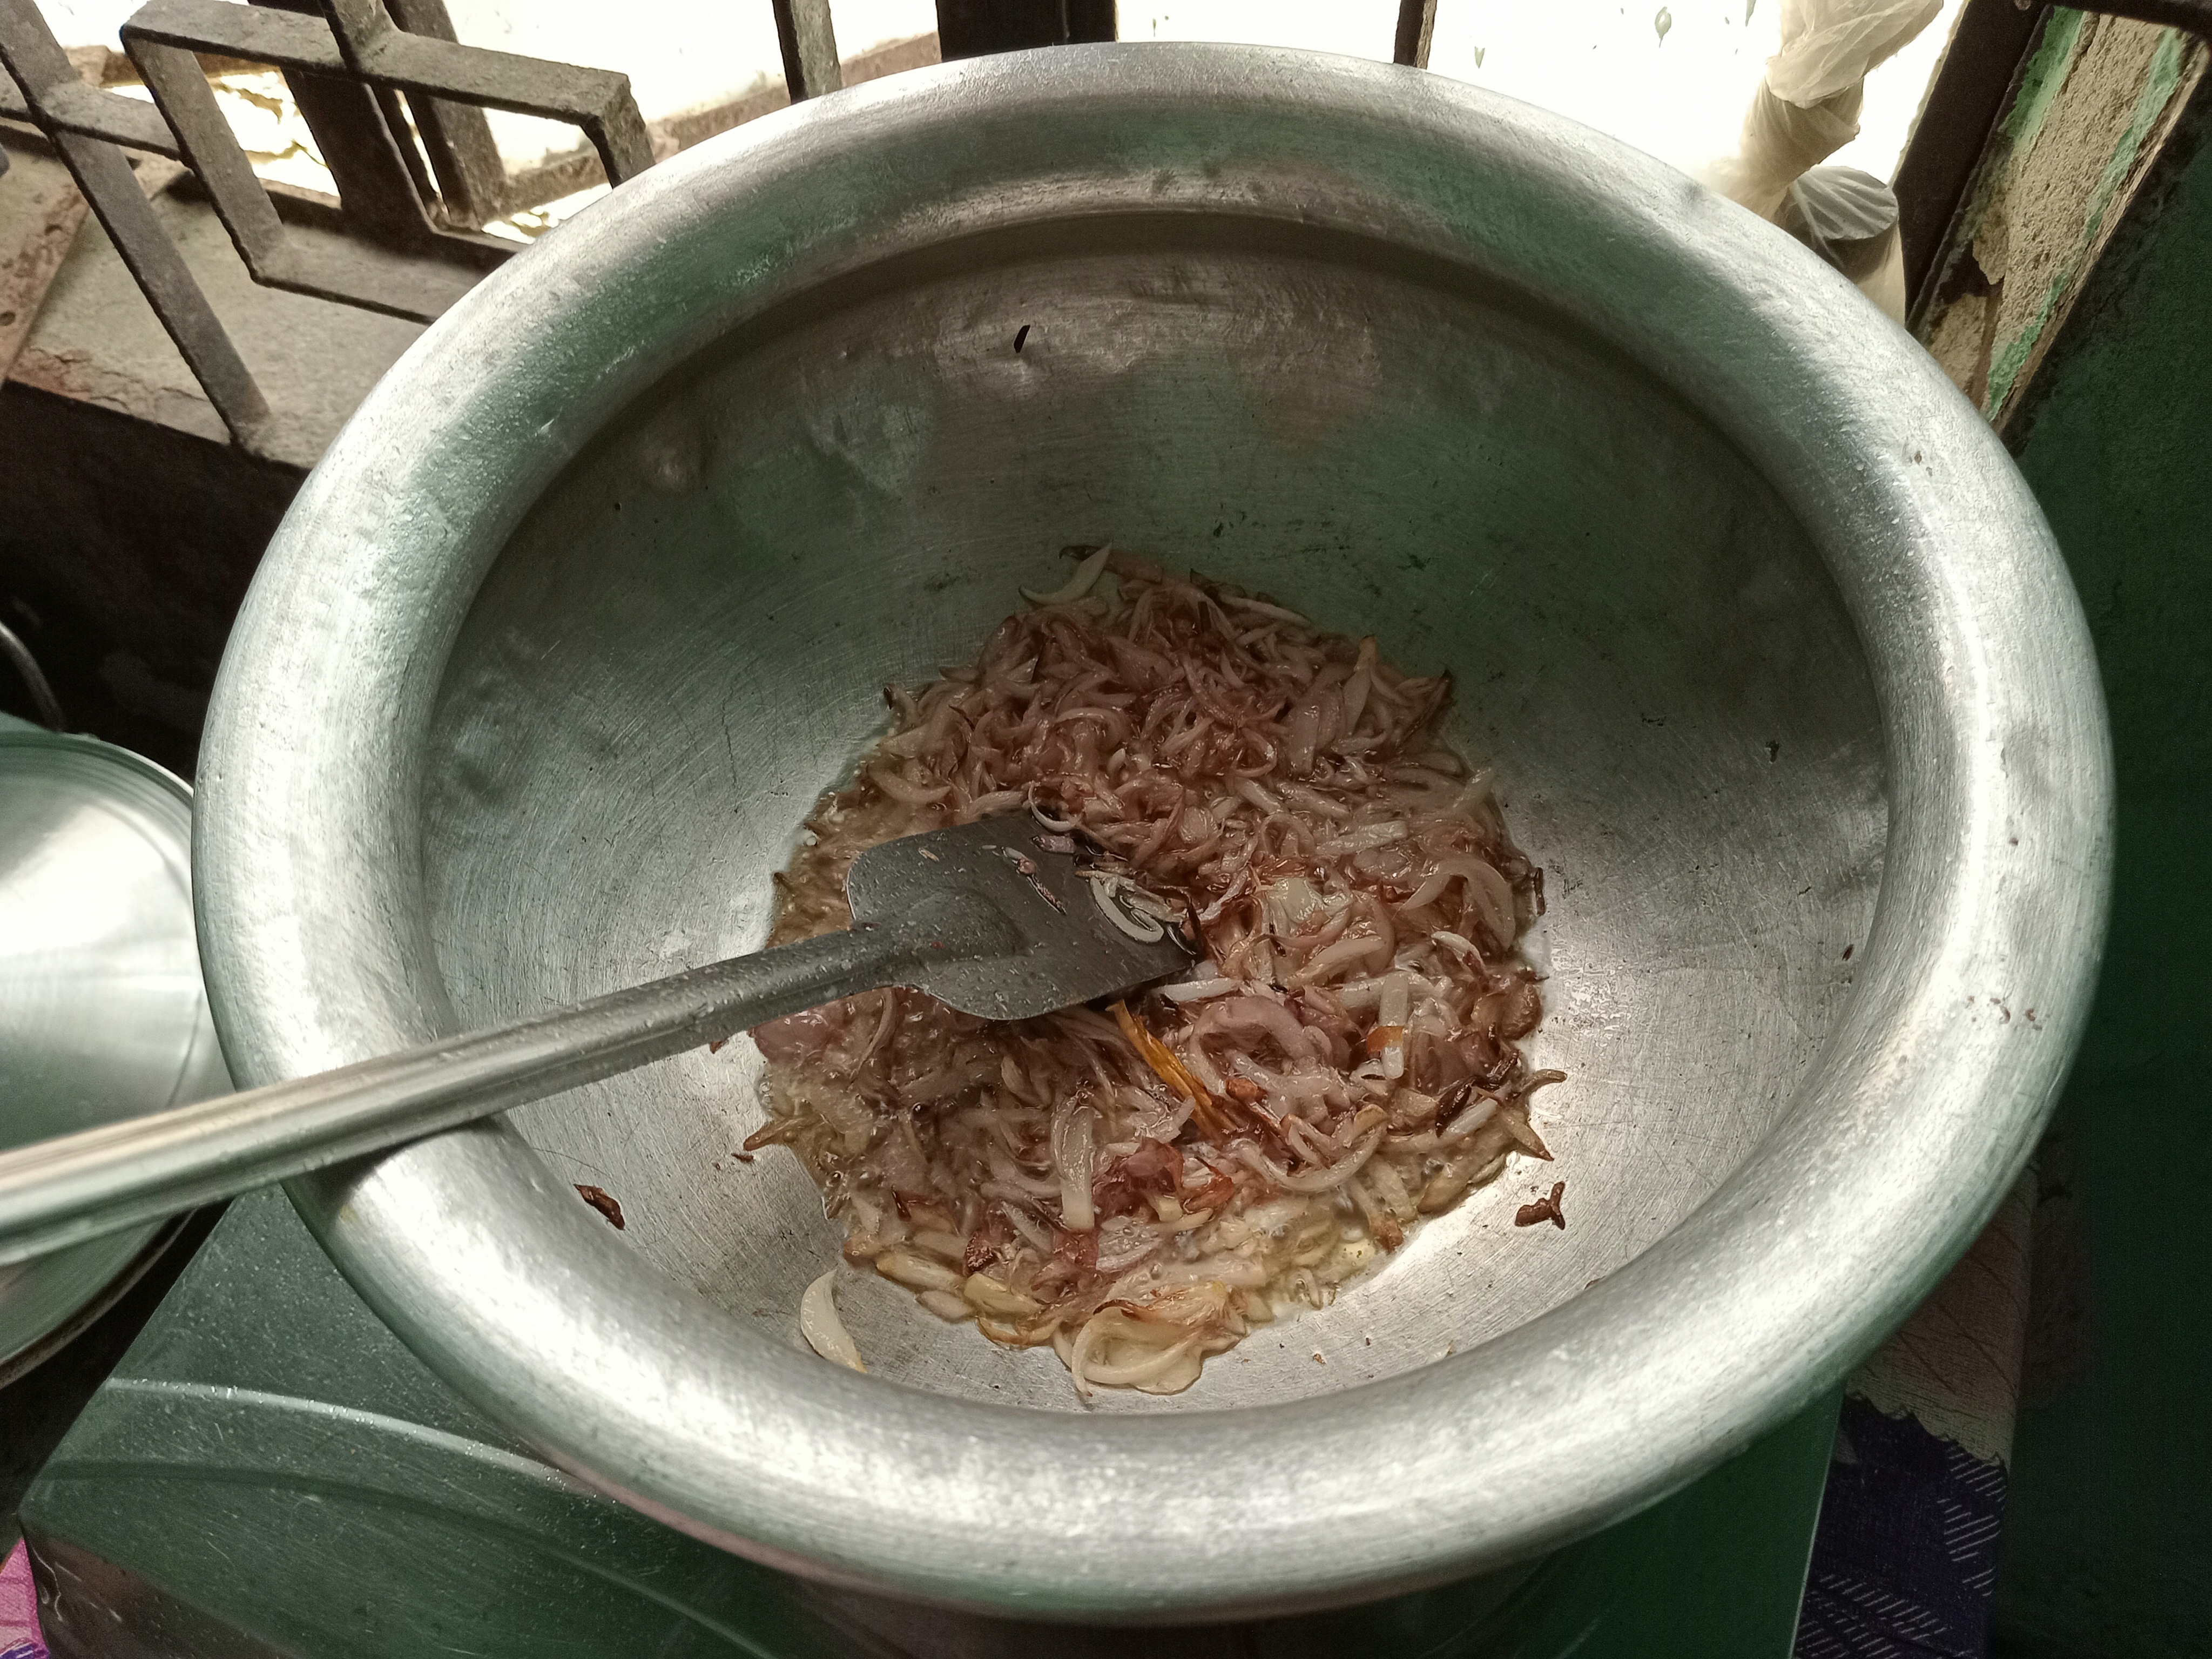
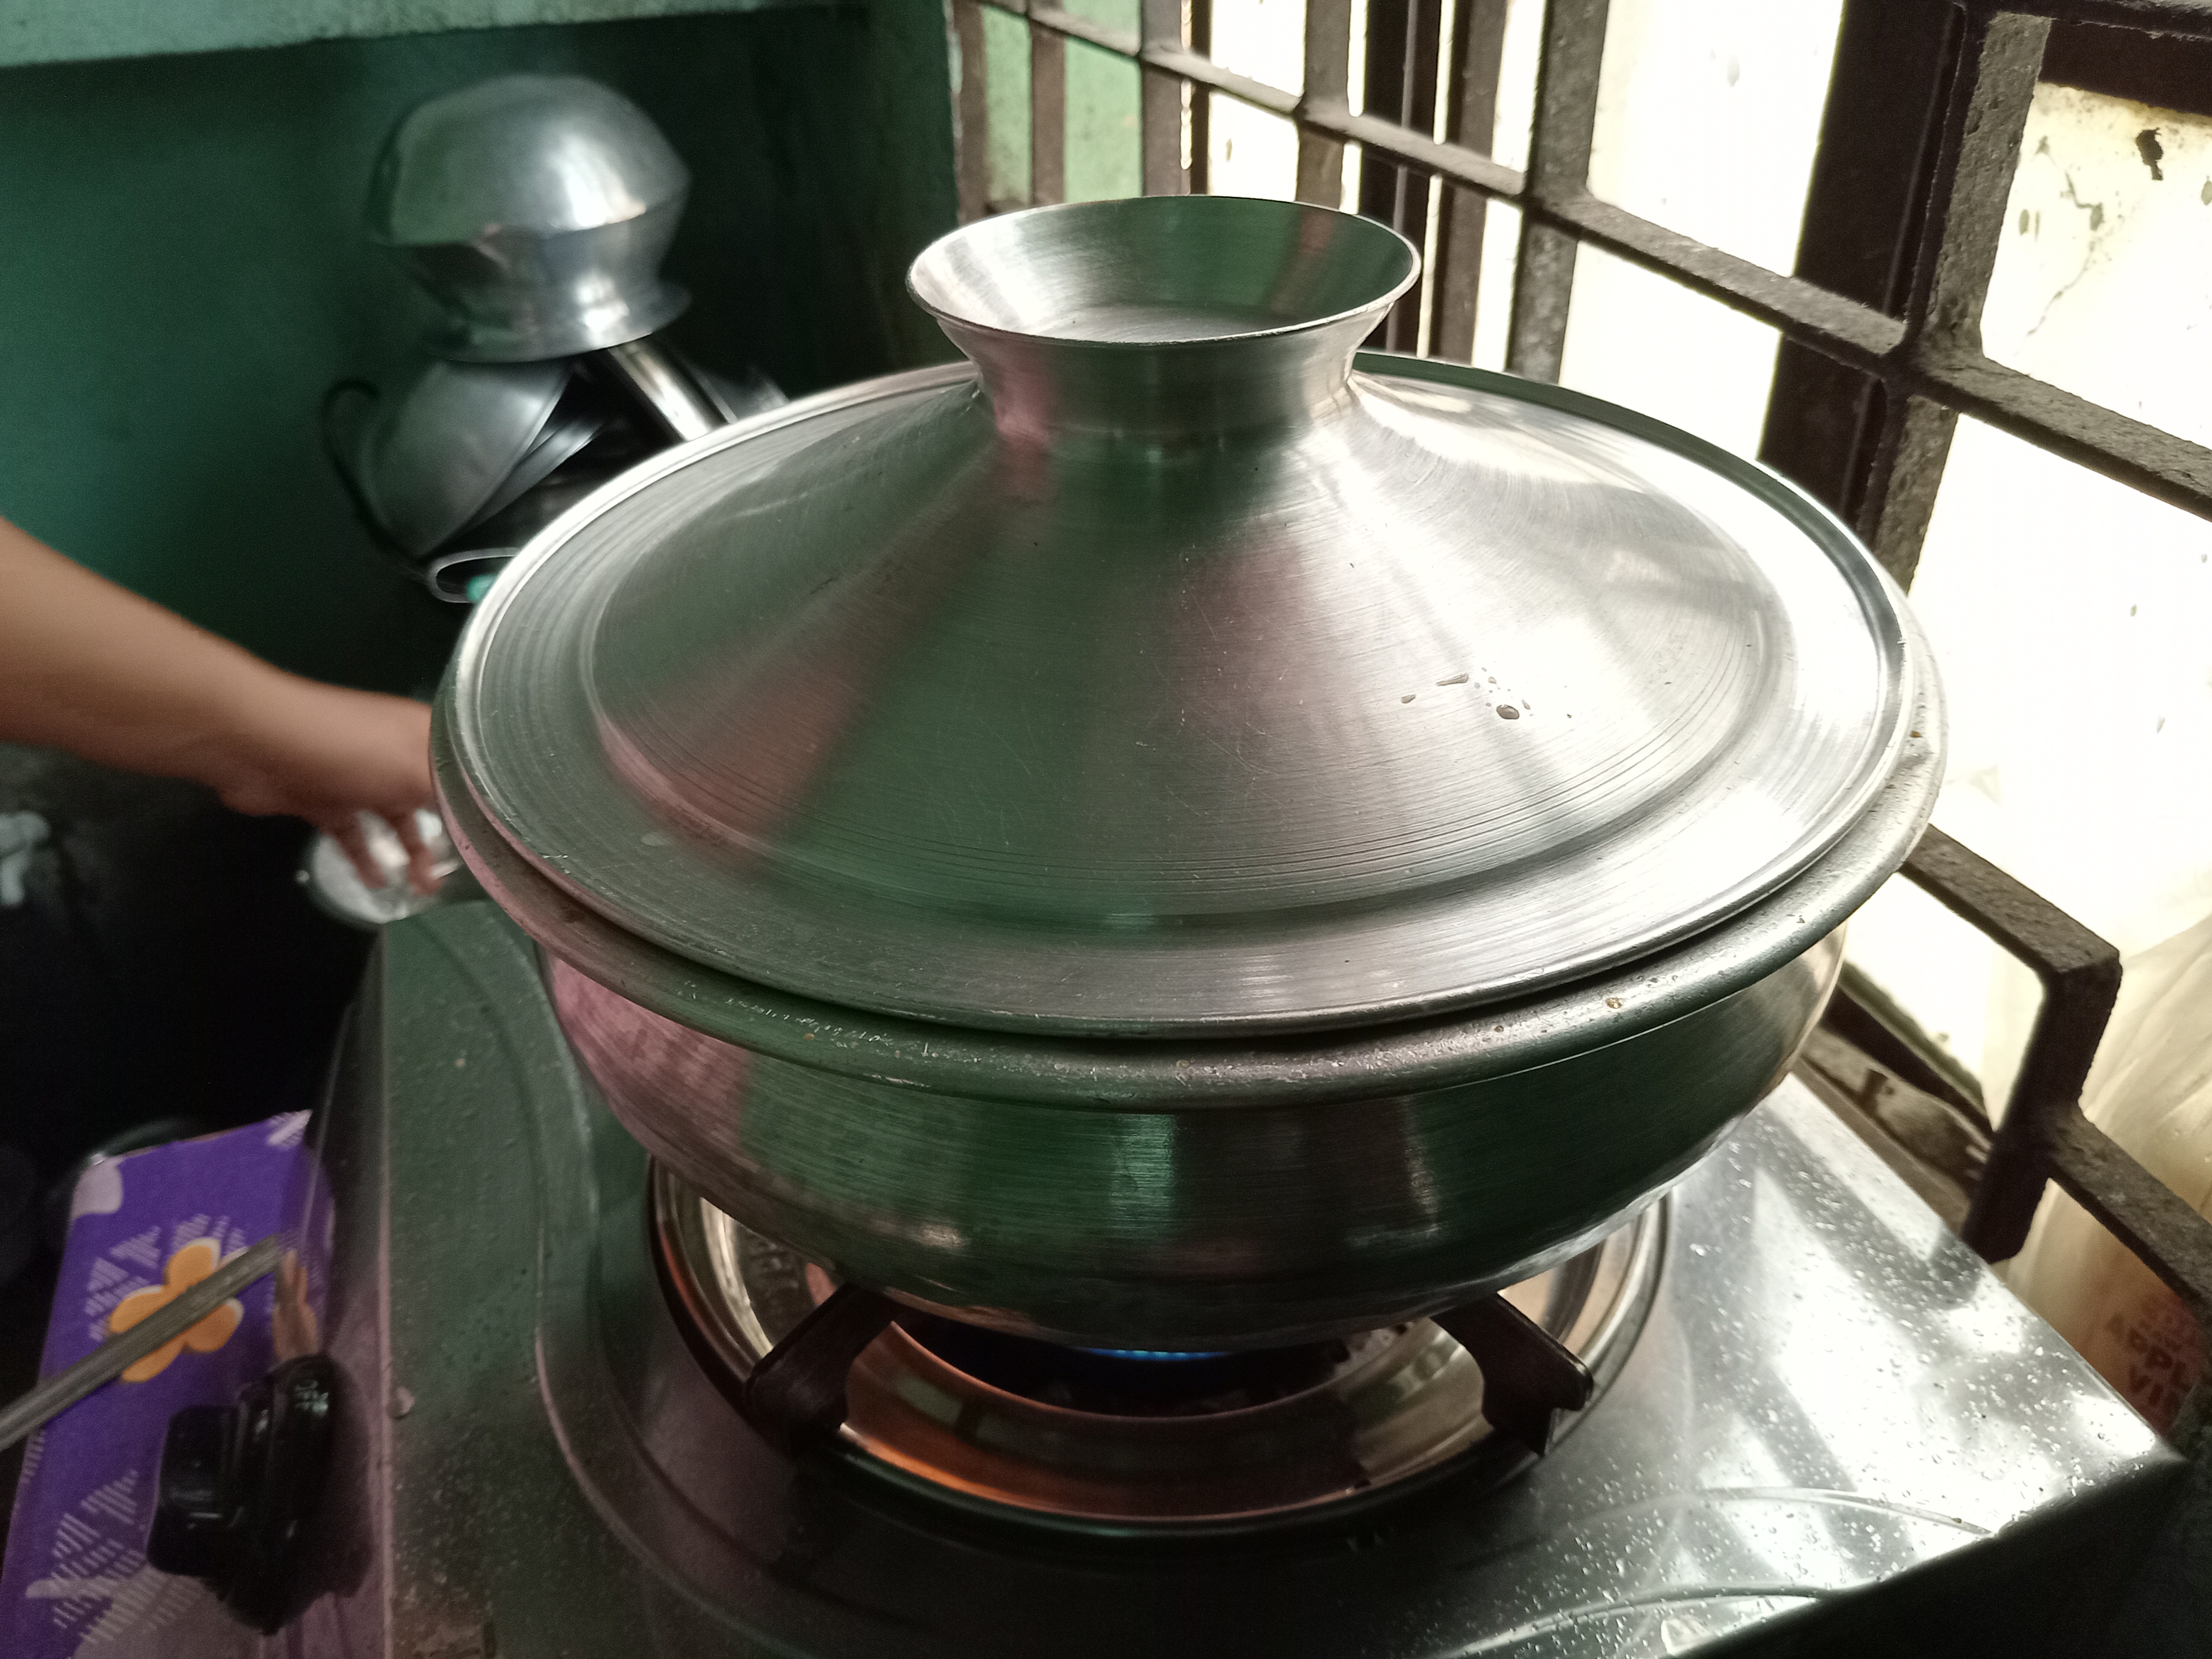
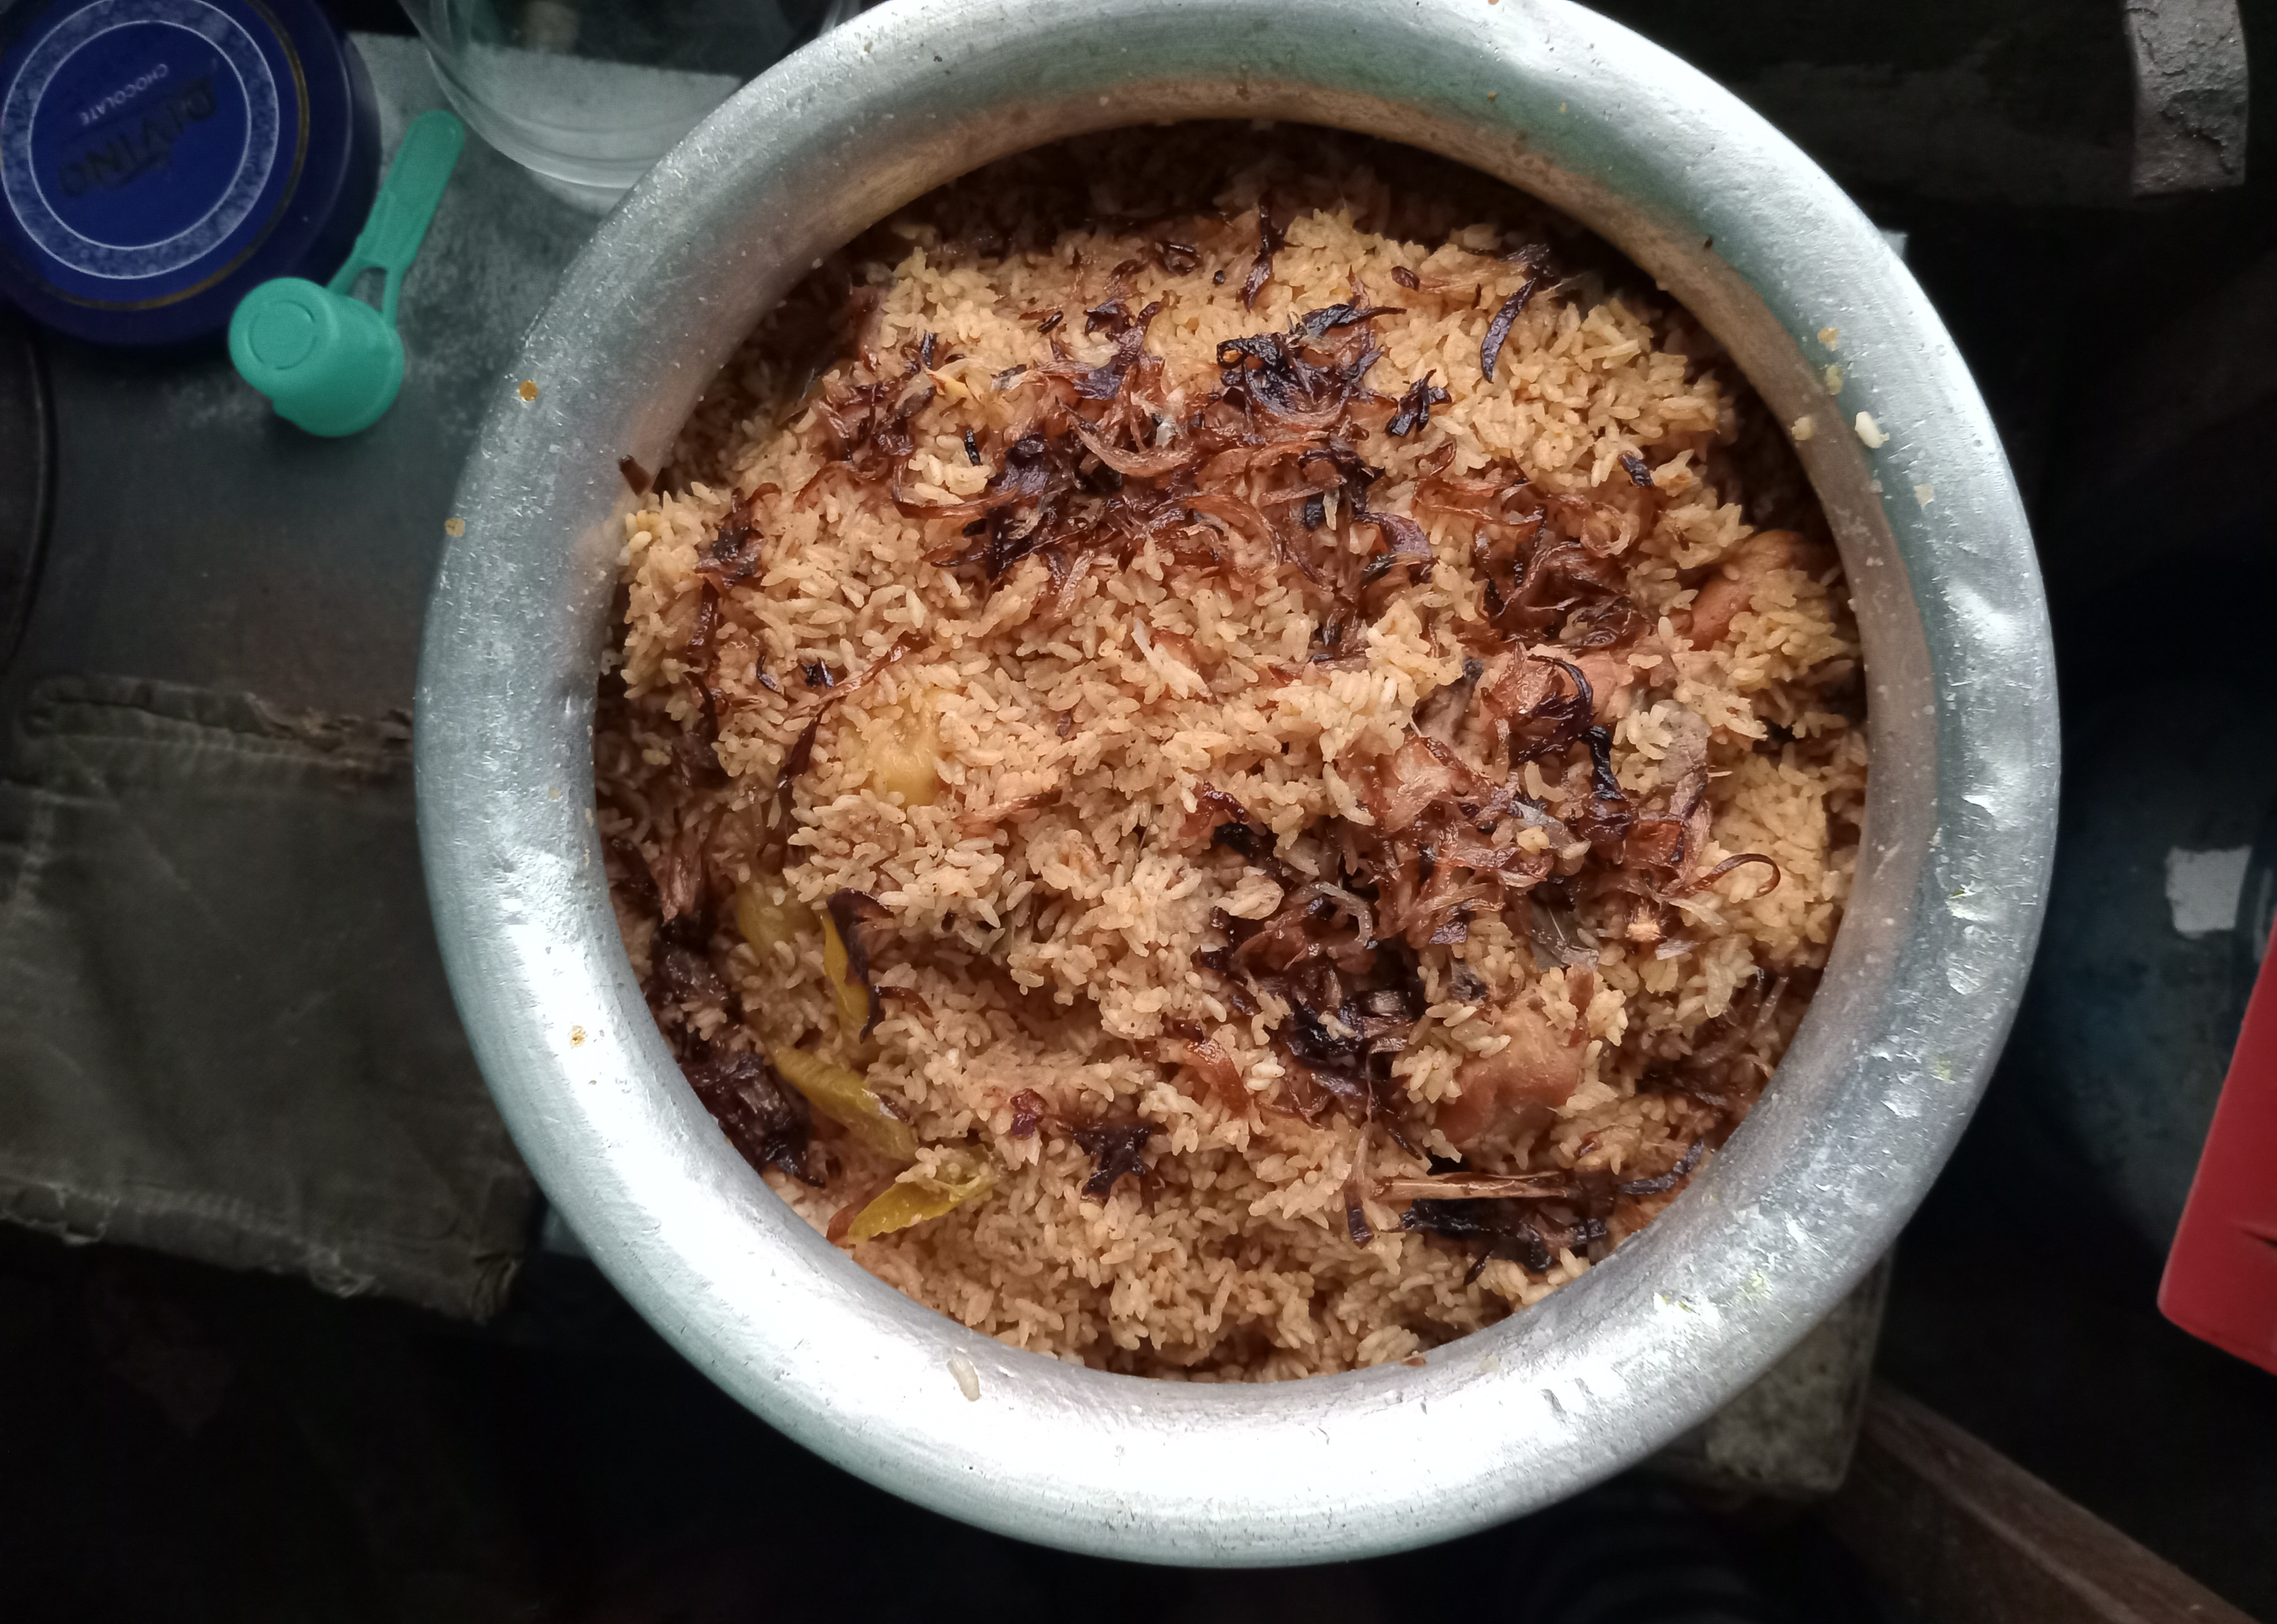
- Then, I spread the fried onion paste on top. I closed the lid of the pot tightly and kept it on low heat for 10-15 minutes.
 |
|---|
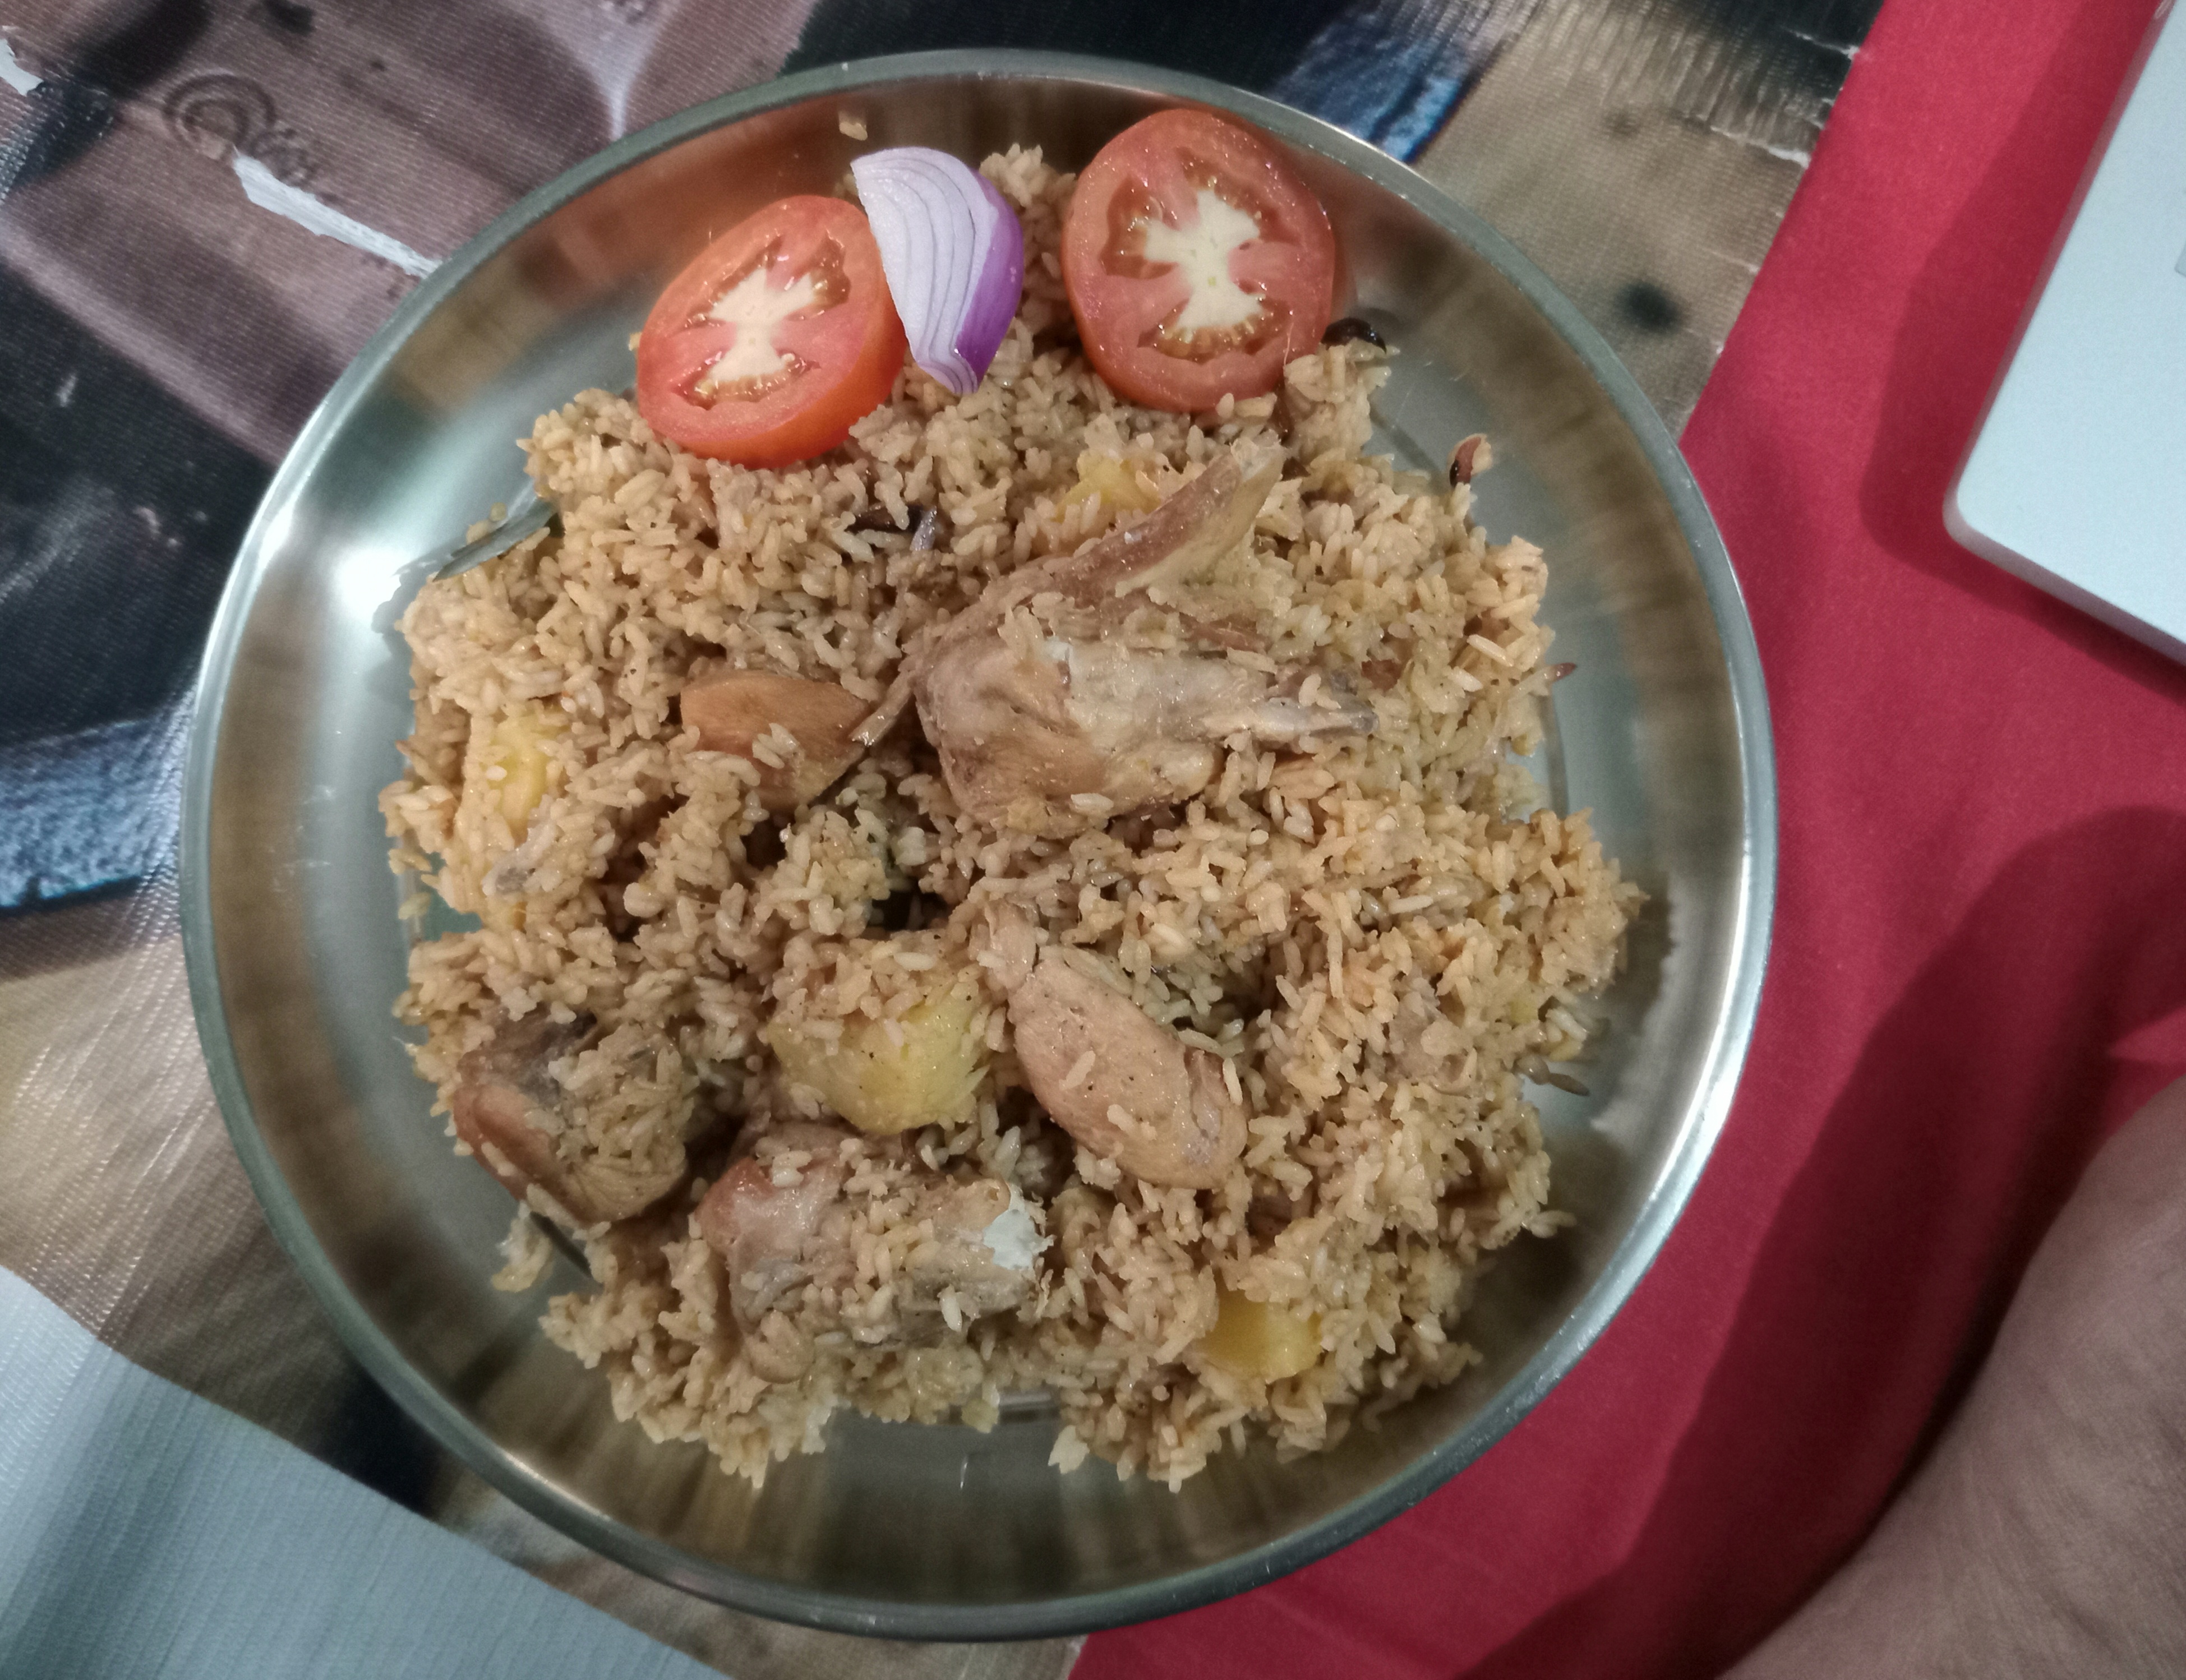
That's it! As soon as you open the lid, you will be greeted by a wonderful aroma. Our all-time favorite Bangladeshi-style homemade chicken biryani is ready.
 |
|---|
Sitting by the window, listening to the sound of the rain, I ate this hot chicken biryani on a plate. I garnished it with some chopped tomatoes and onions and served it my way. This homemade biryani was not only healthy, but also incredibly delicious.

If you enjoyed my post, feel free to upvote, comment, and share your thoughts. Your support keeps me motivated!
Thank you very much ❤️
Curated by: @ahsansharif