Daily dynamic for steemkids community||Art Teusday- Recycling Used Wool into Hair Pompom||By @udyliciouz

Introduction
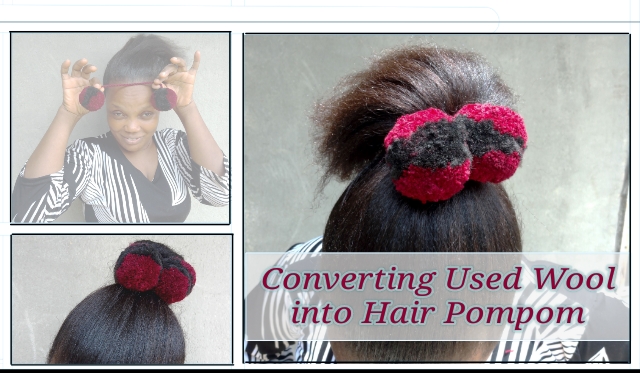
You are Welcome to another Session of Creative Art with Udyliciouz. In today's session, I will be recycling some used wool into a cute hair pompom. As shown in the picture below.
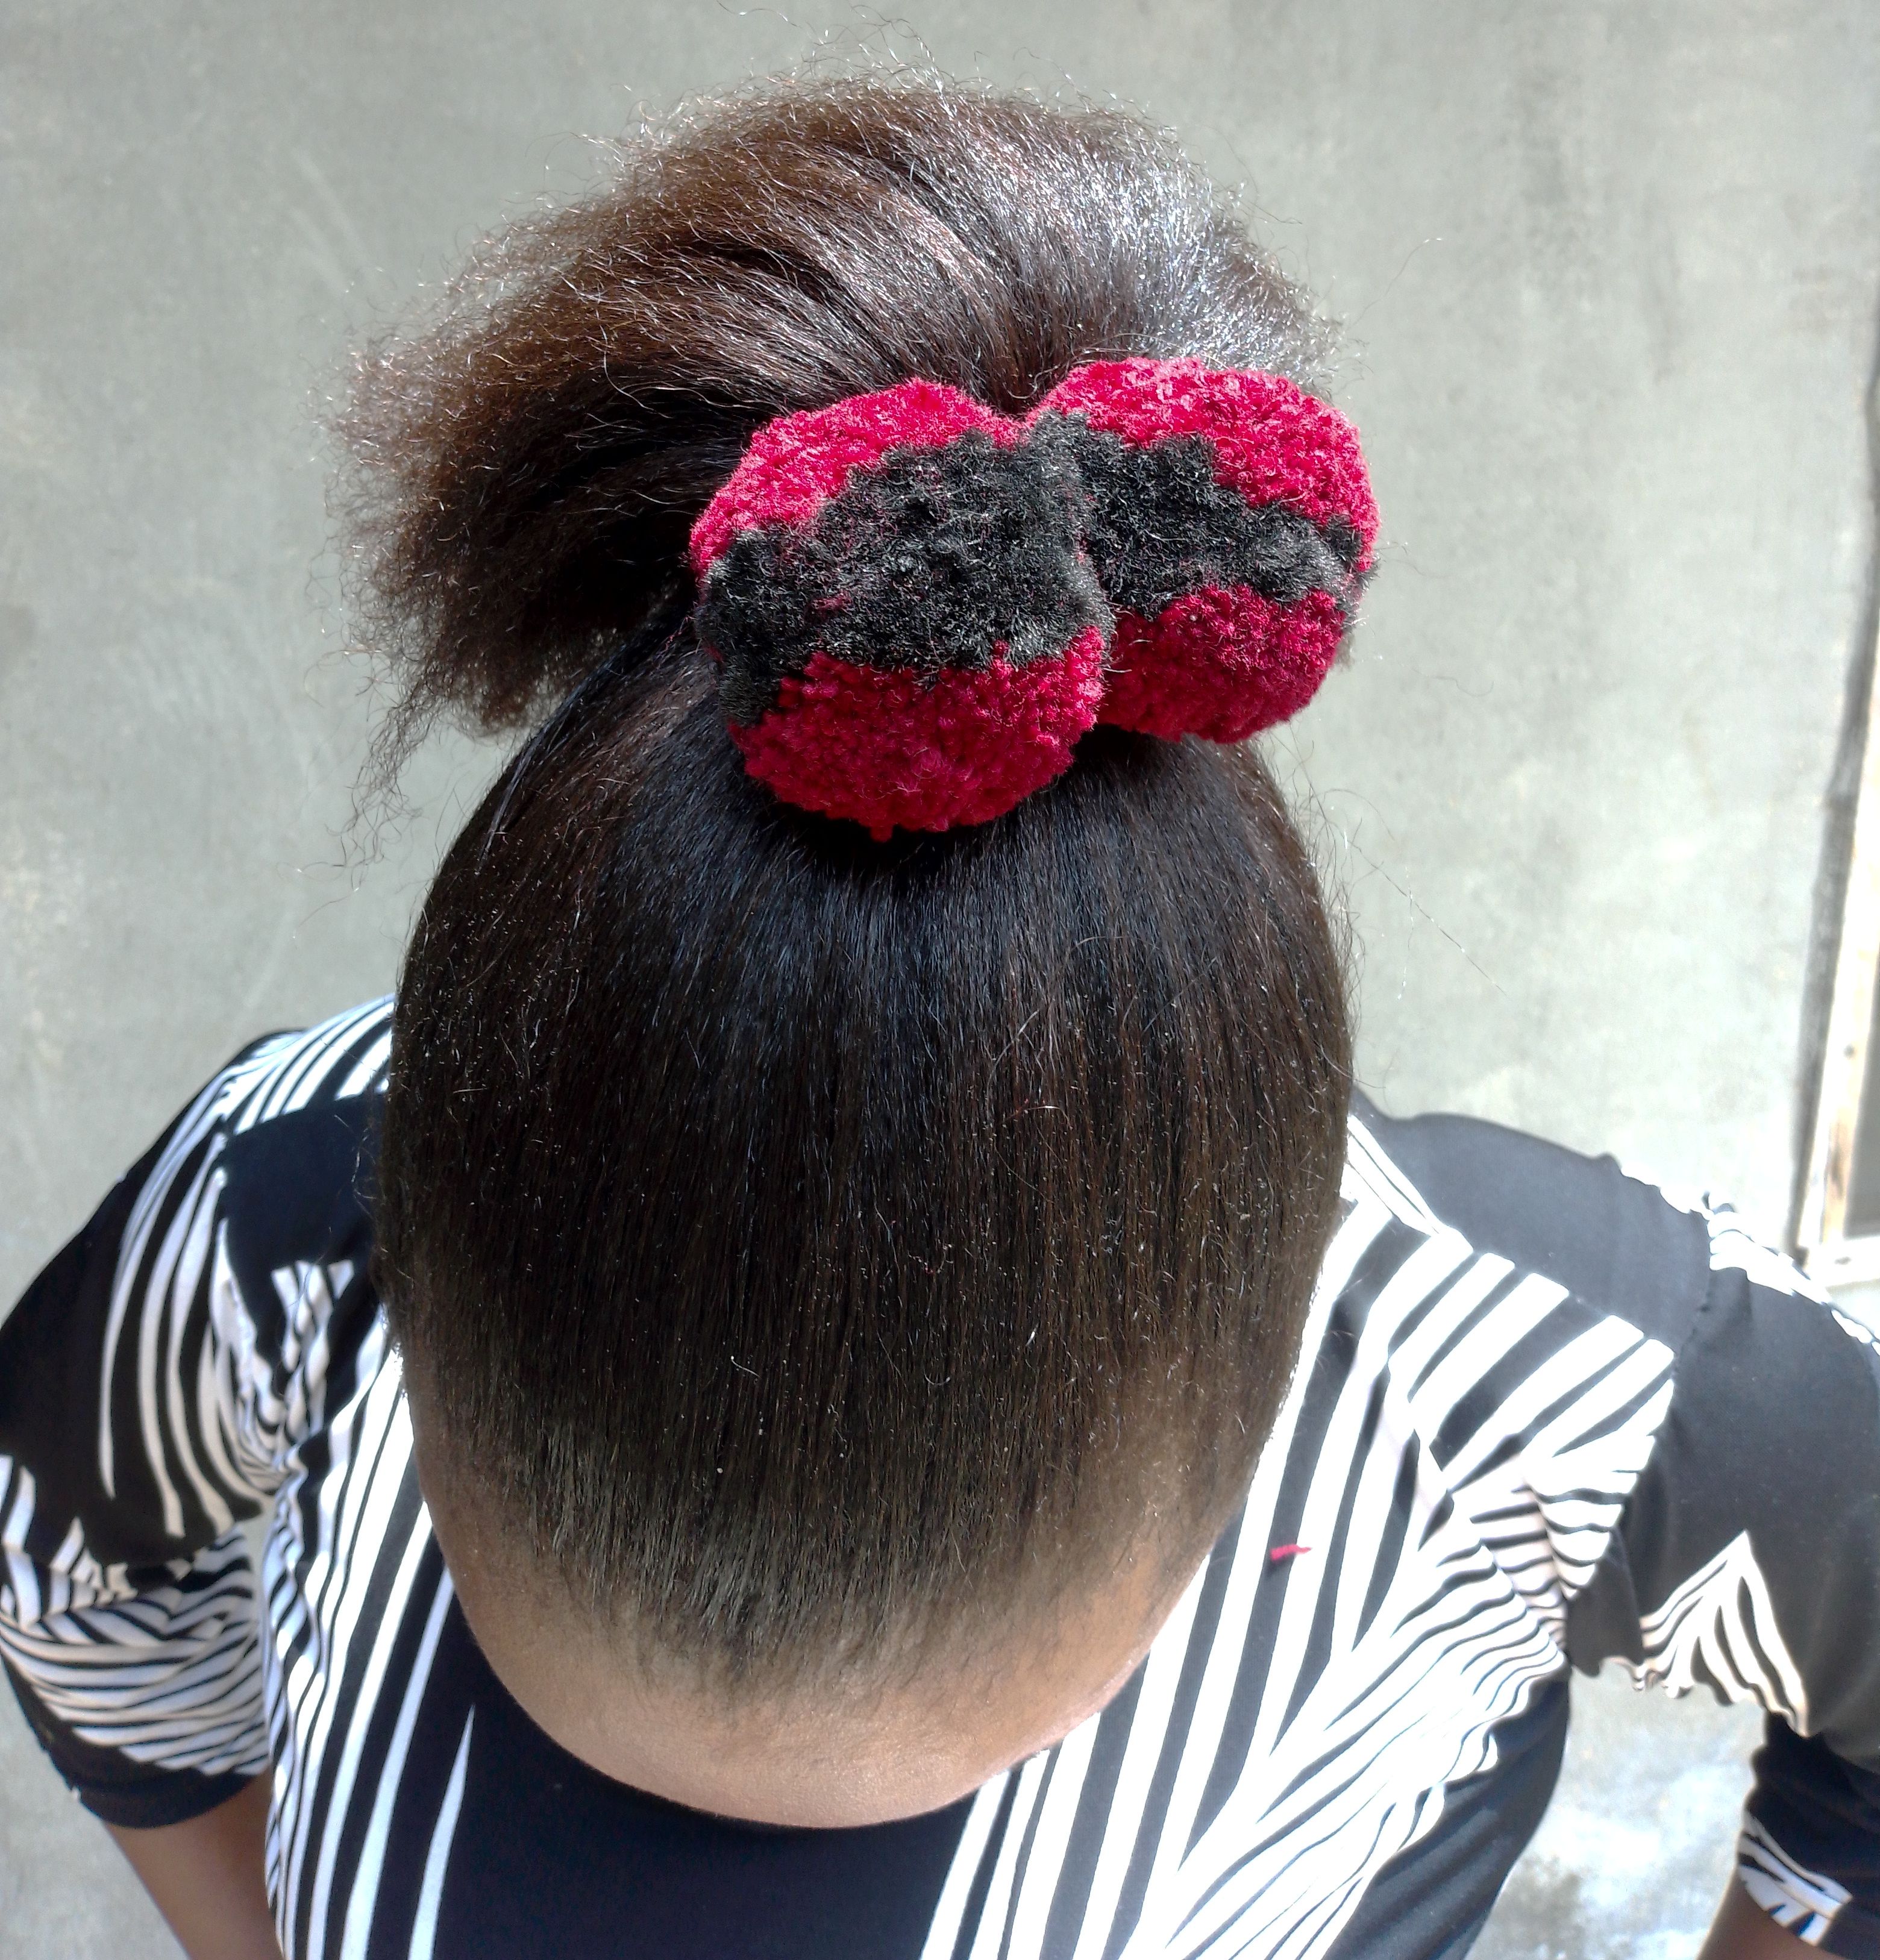
The colour or colours of the pompom depended on the available wool. In this demonstration, I have a black Brazilian wool and an ox-red wool.
About the name: Some would call it a hair wrap, hair band, hair ties or scrunchie.
I this demonstration, I will be calling it a hair pompom. And remember I am using used wool for this one. If you have fresh wool, you are free to use it, and you can select any colour of your choice.
Step 1
Collecting the materials:
- Two circular watchers.
- The black Brazilian wool.
- The Ox-Red wool.
- A knife or blade.
- A per of scissors.
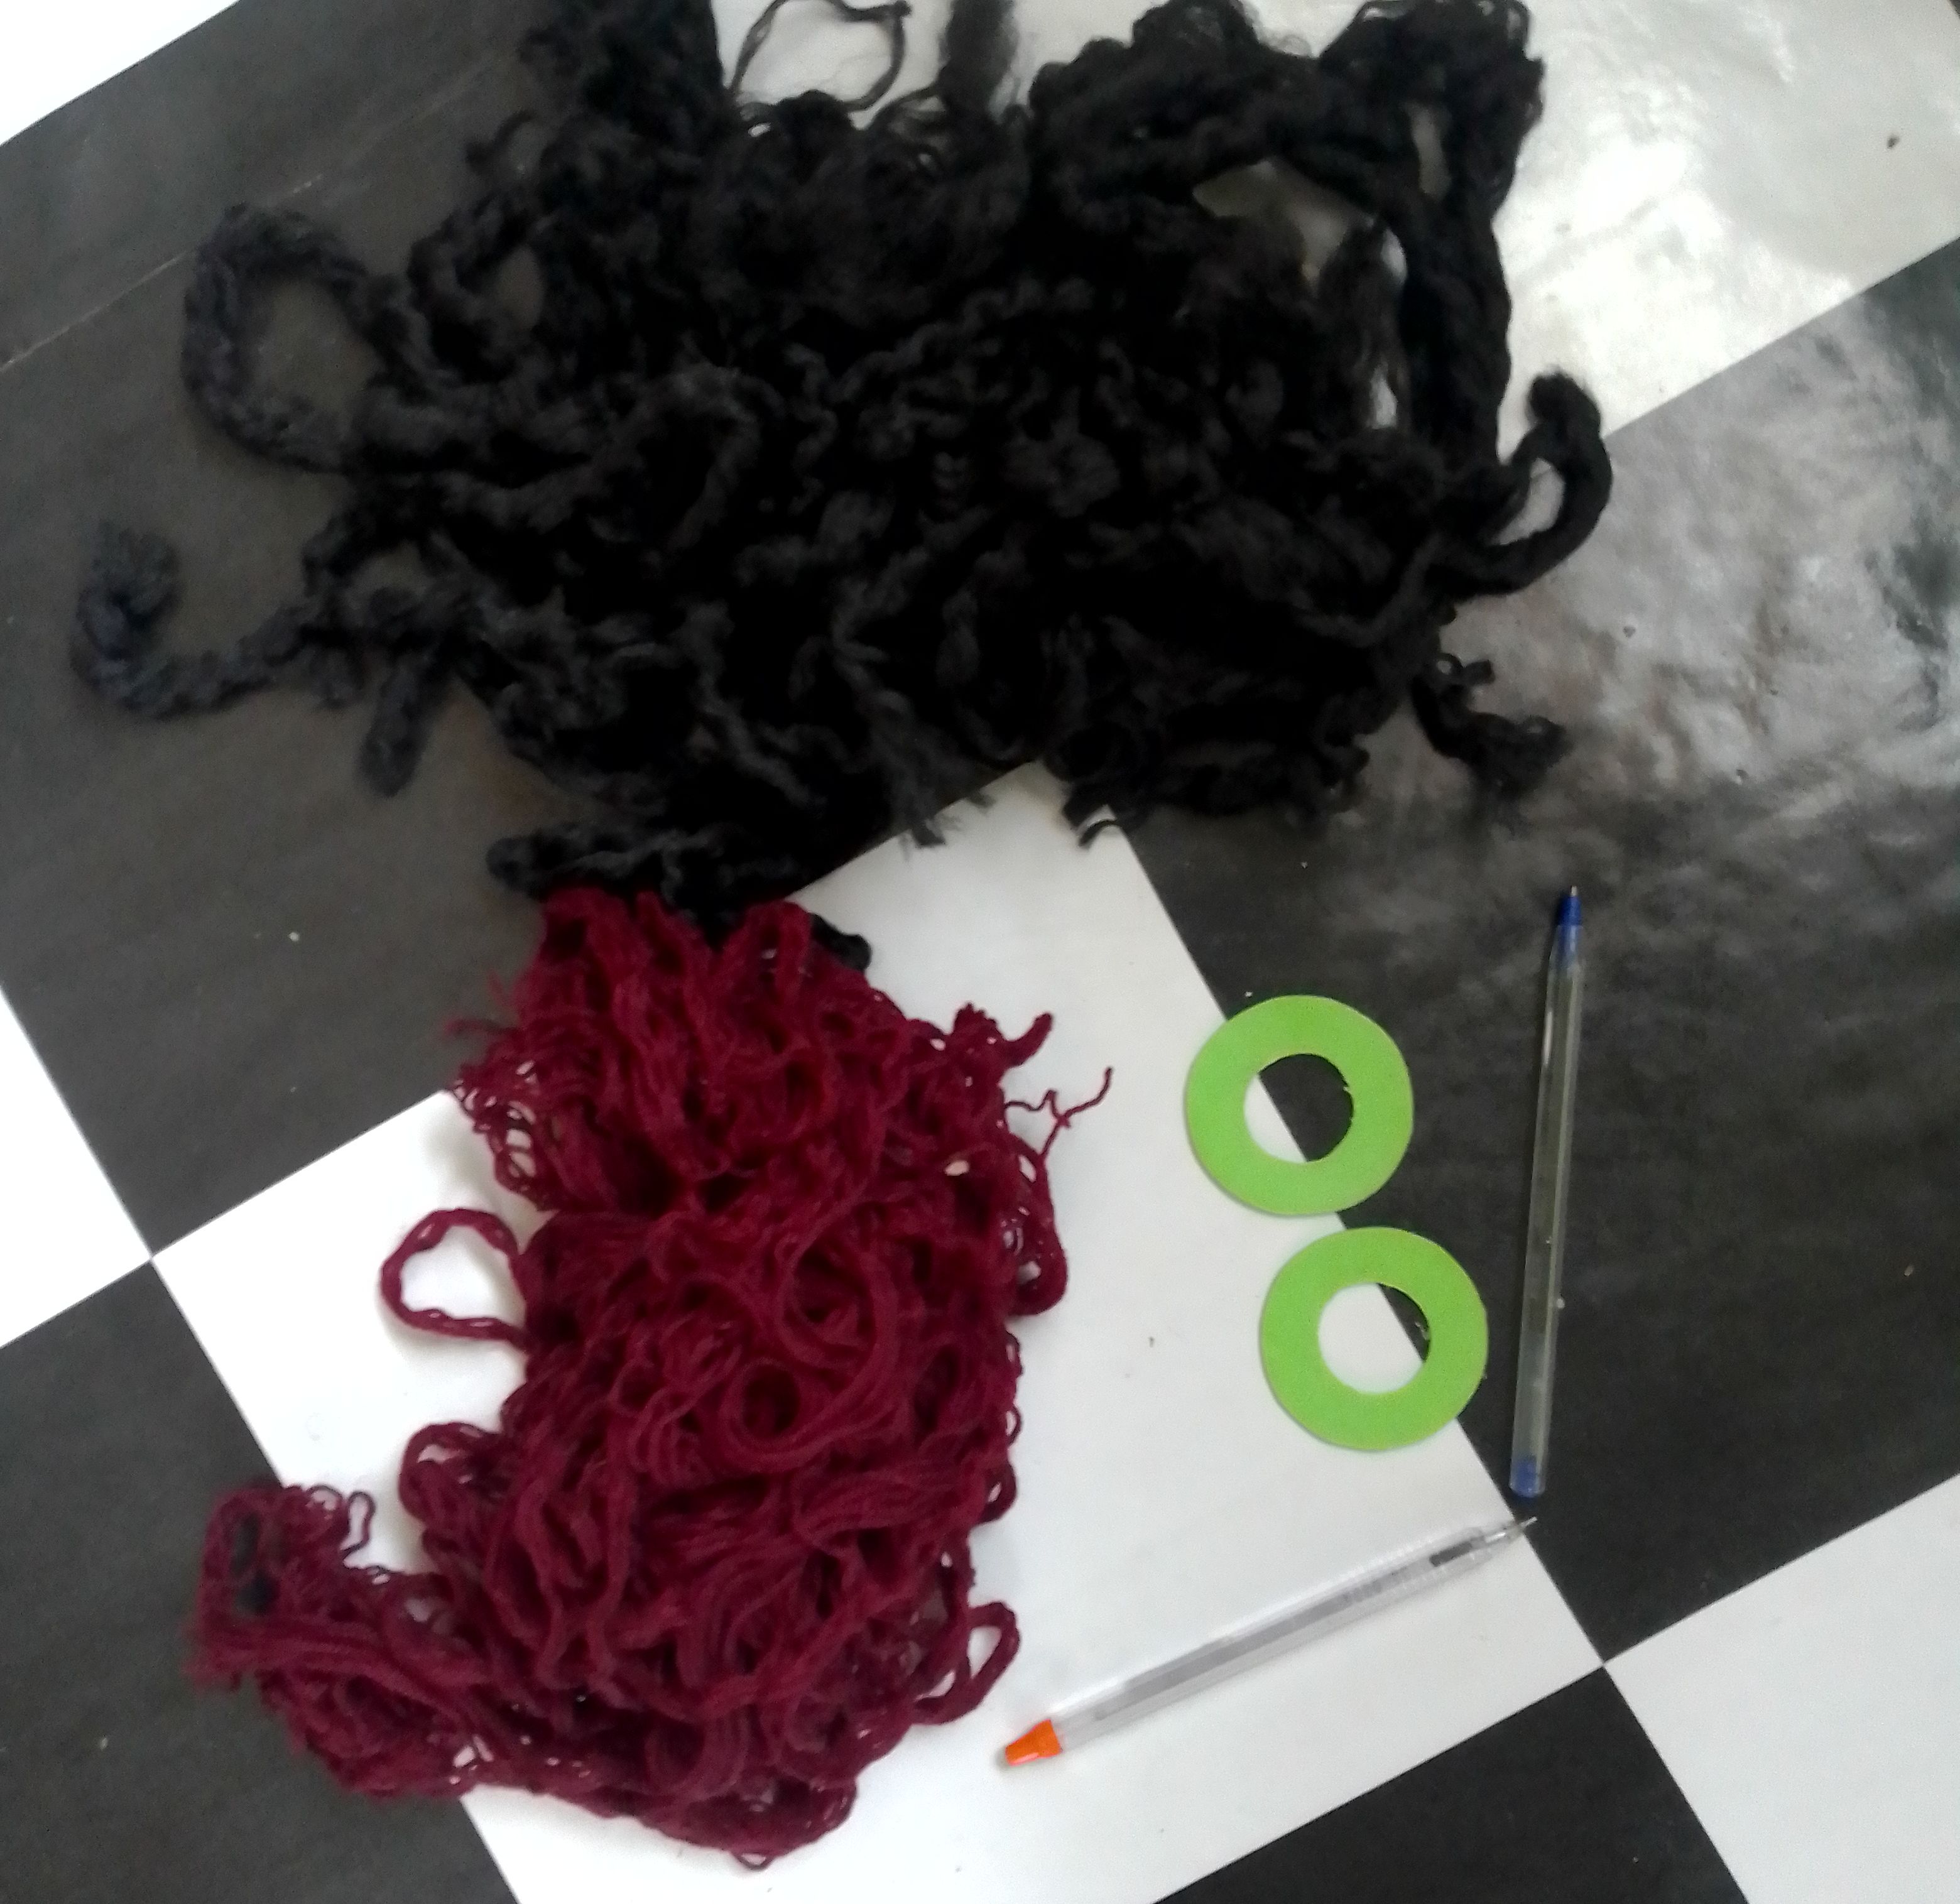
- The circular watchers
Will be used as a mole in the creation of the hair pompom. It's outer and inner circumference will affect the size of the pompom. - The Black and Ox-Red wool
The wool are the materials to be used in the making of the hair pompom. - The blade
The blade will be used to cut open the wool. So as to remove the watchers. - The per of scissors
Will be needed for cutting and triming.
Step 2
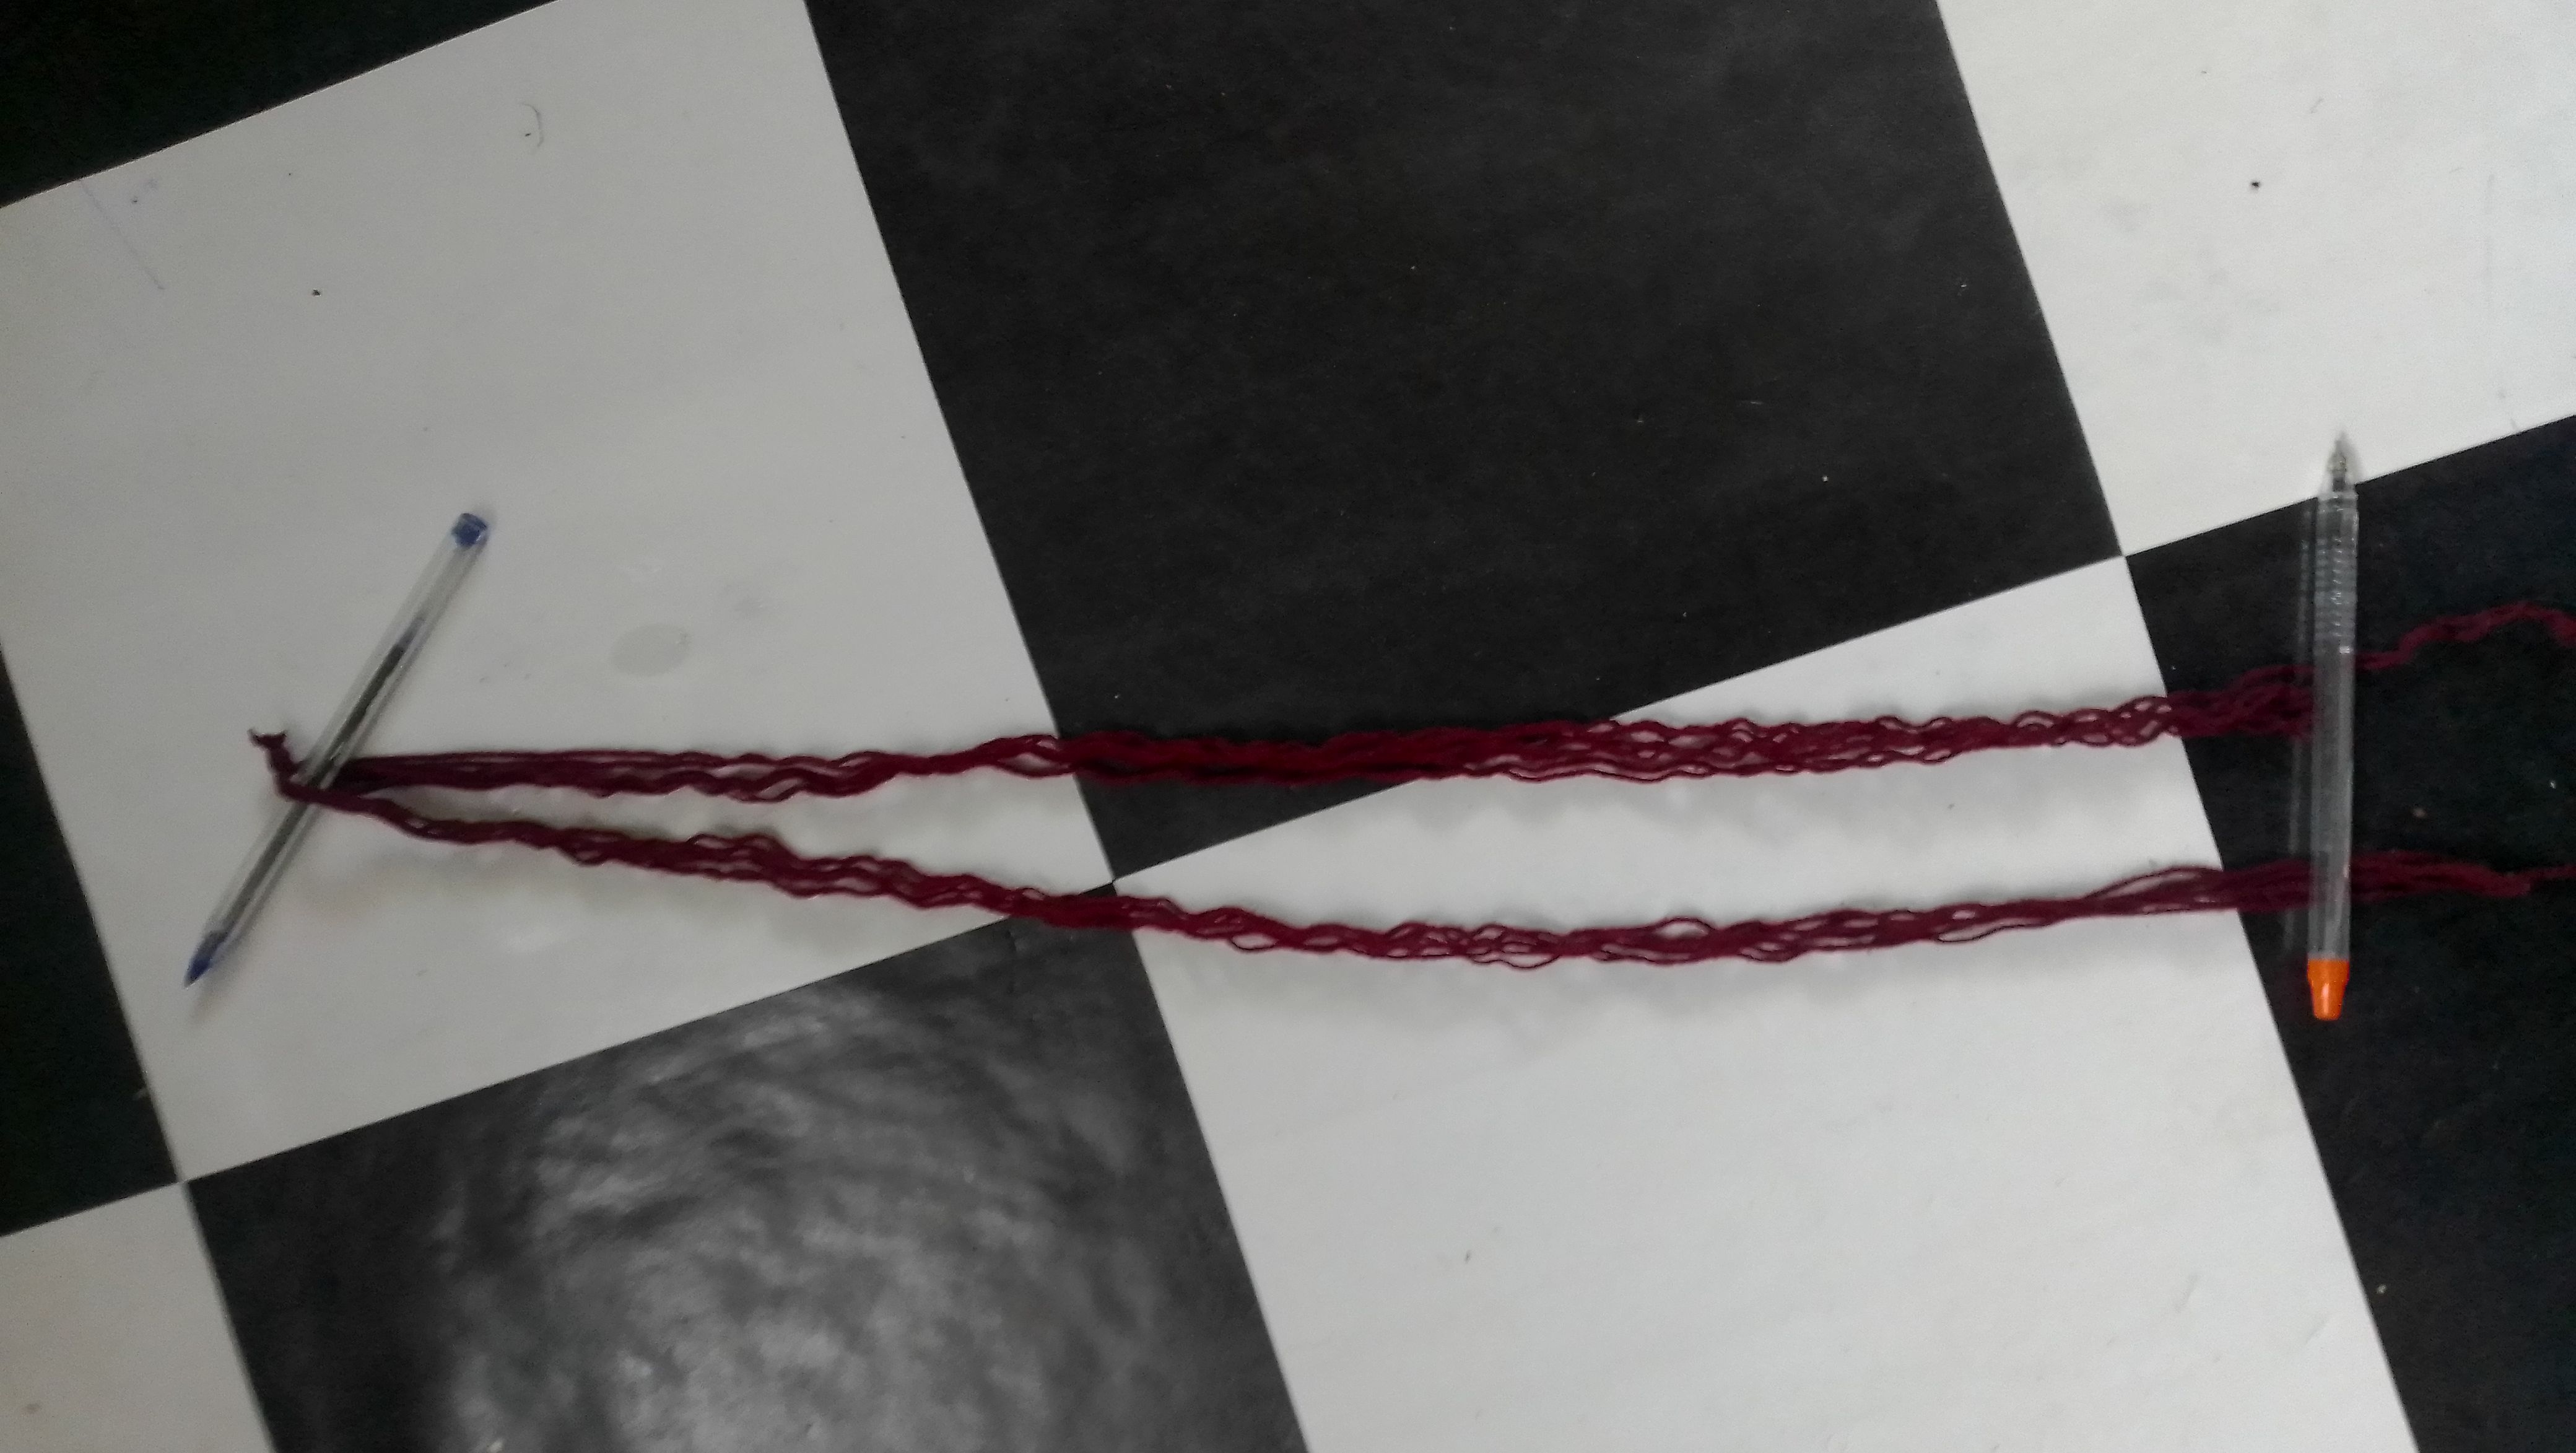
Get a few strands of the wool with a good length, about 6 strands will be ideal. We are about to make the connecting string between the two pompom
Step 3
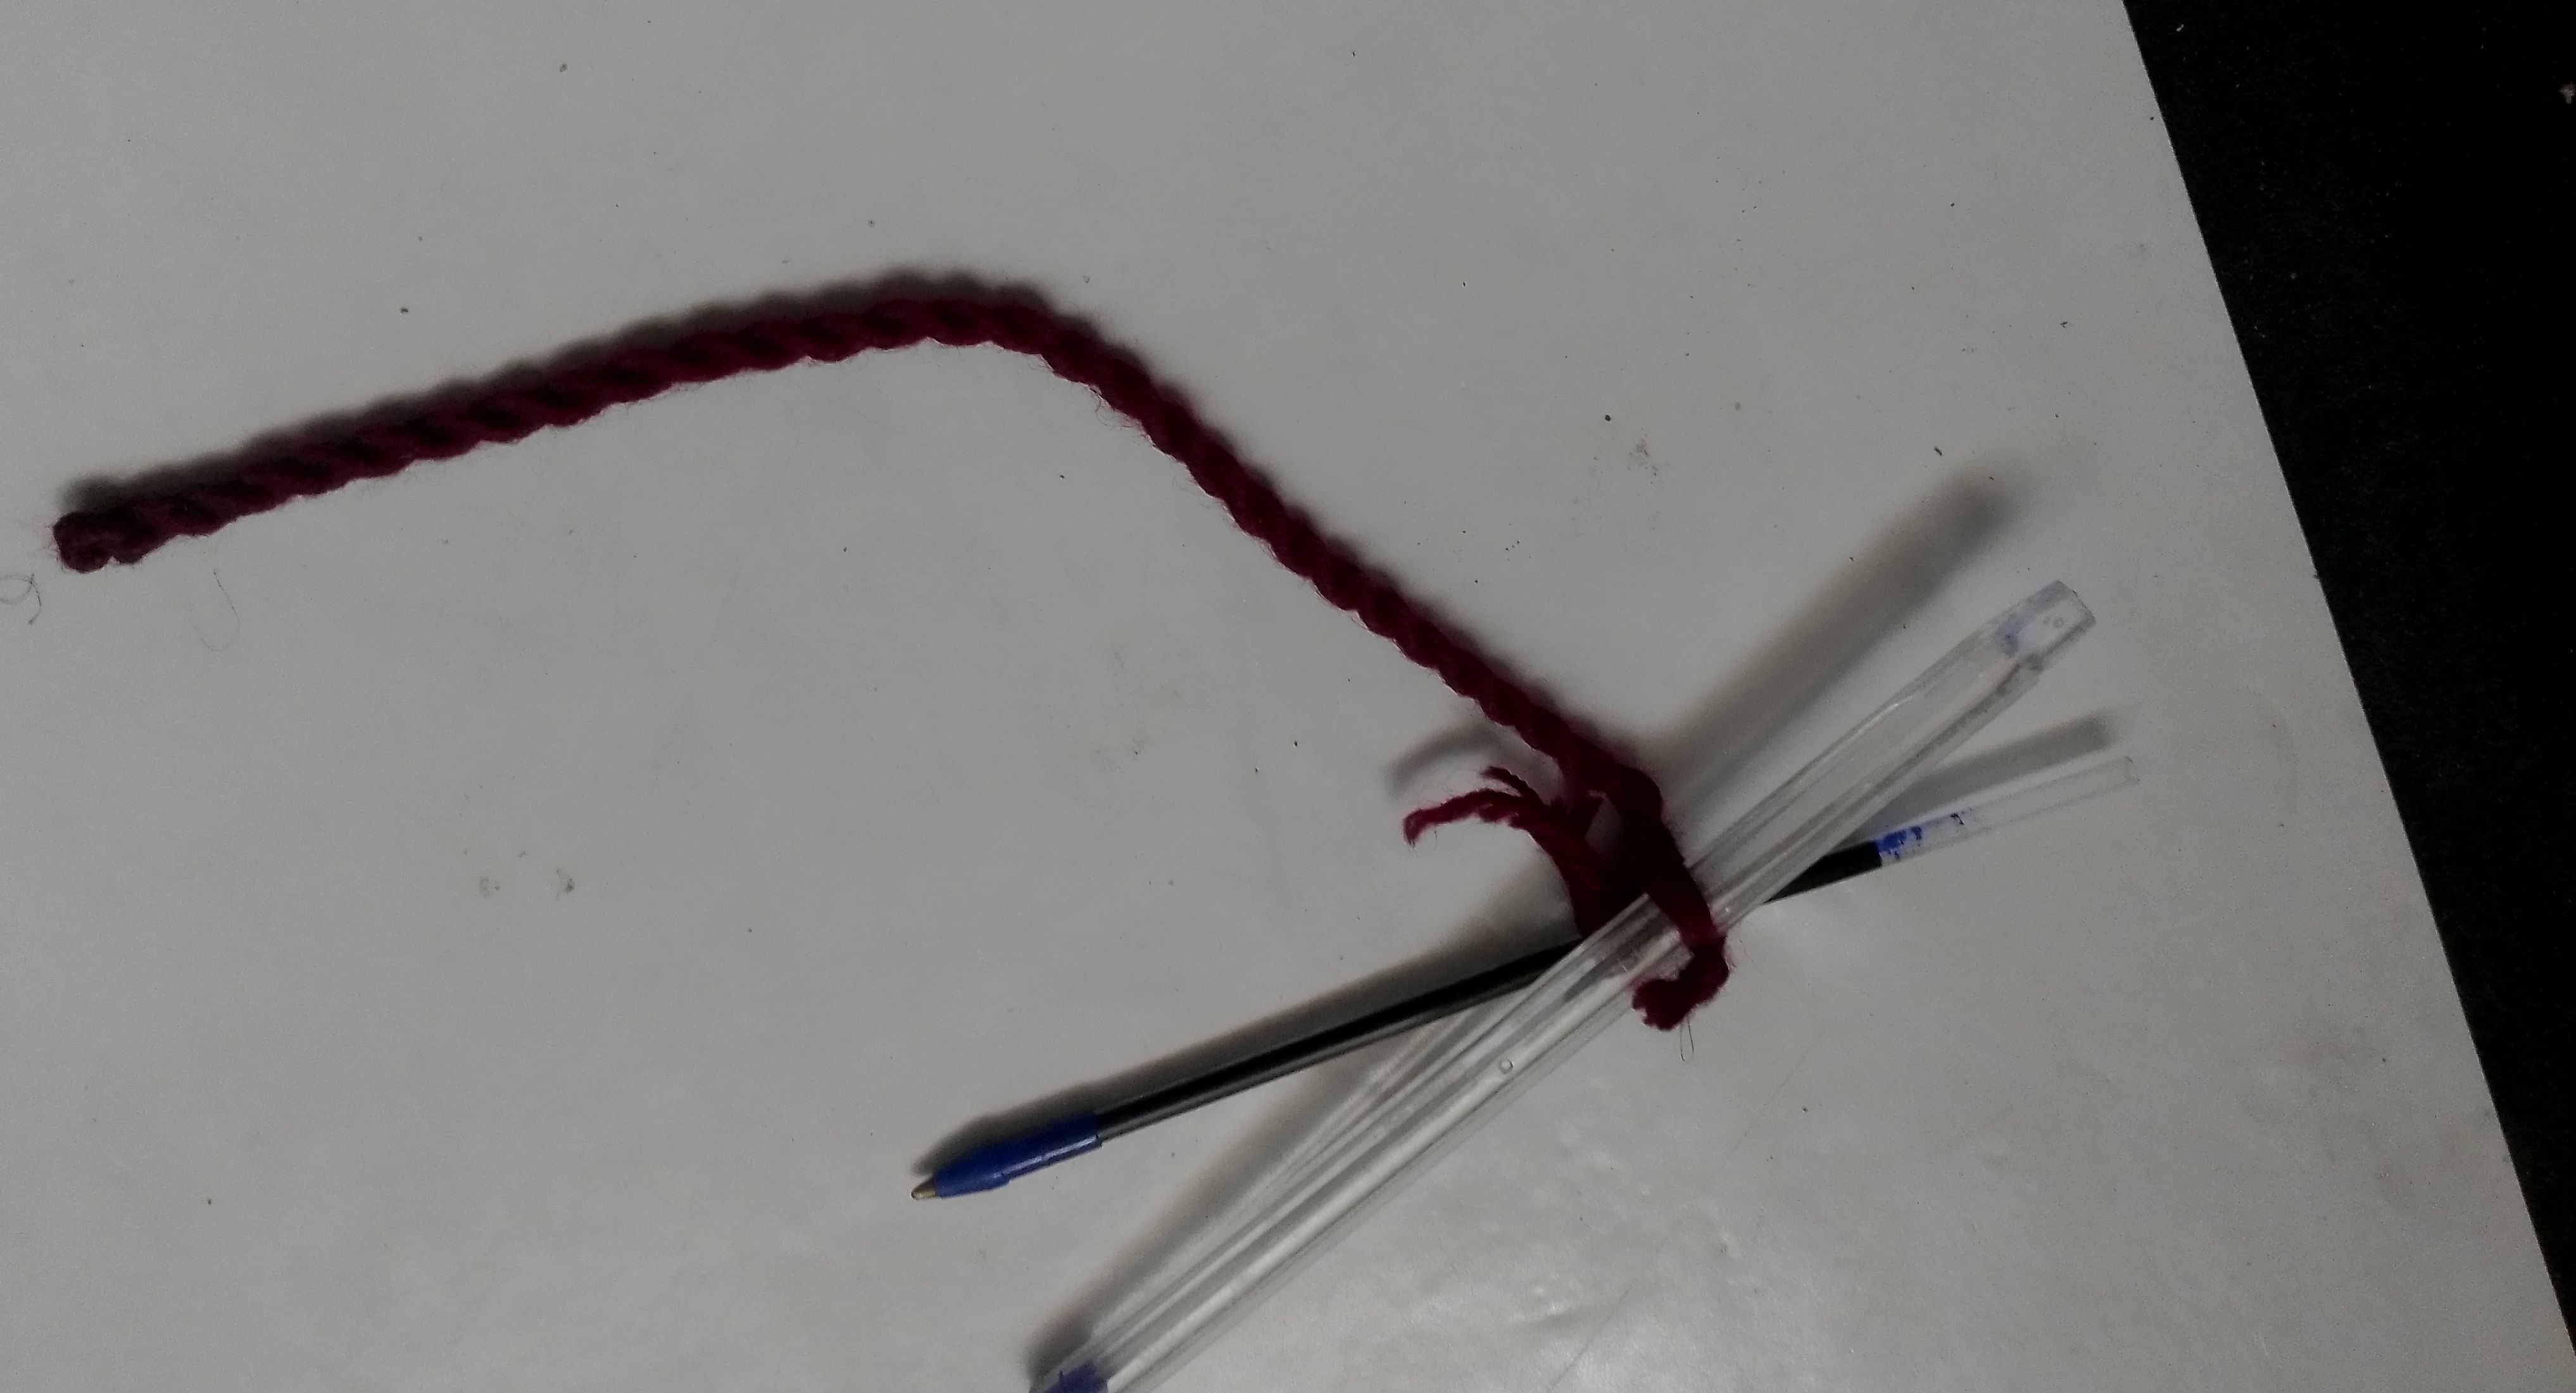
Rope Twist the wool into a twisted rope as shown in the picture below. You can use the method used in twisting hair or that which is used in twisting ropes.
Step 4
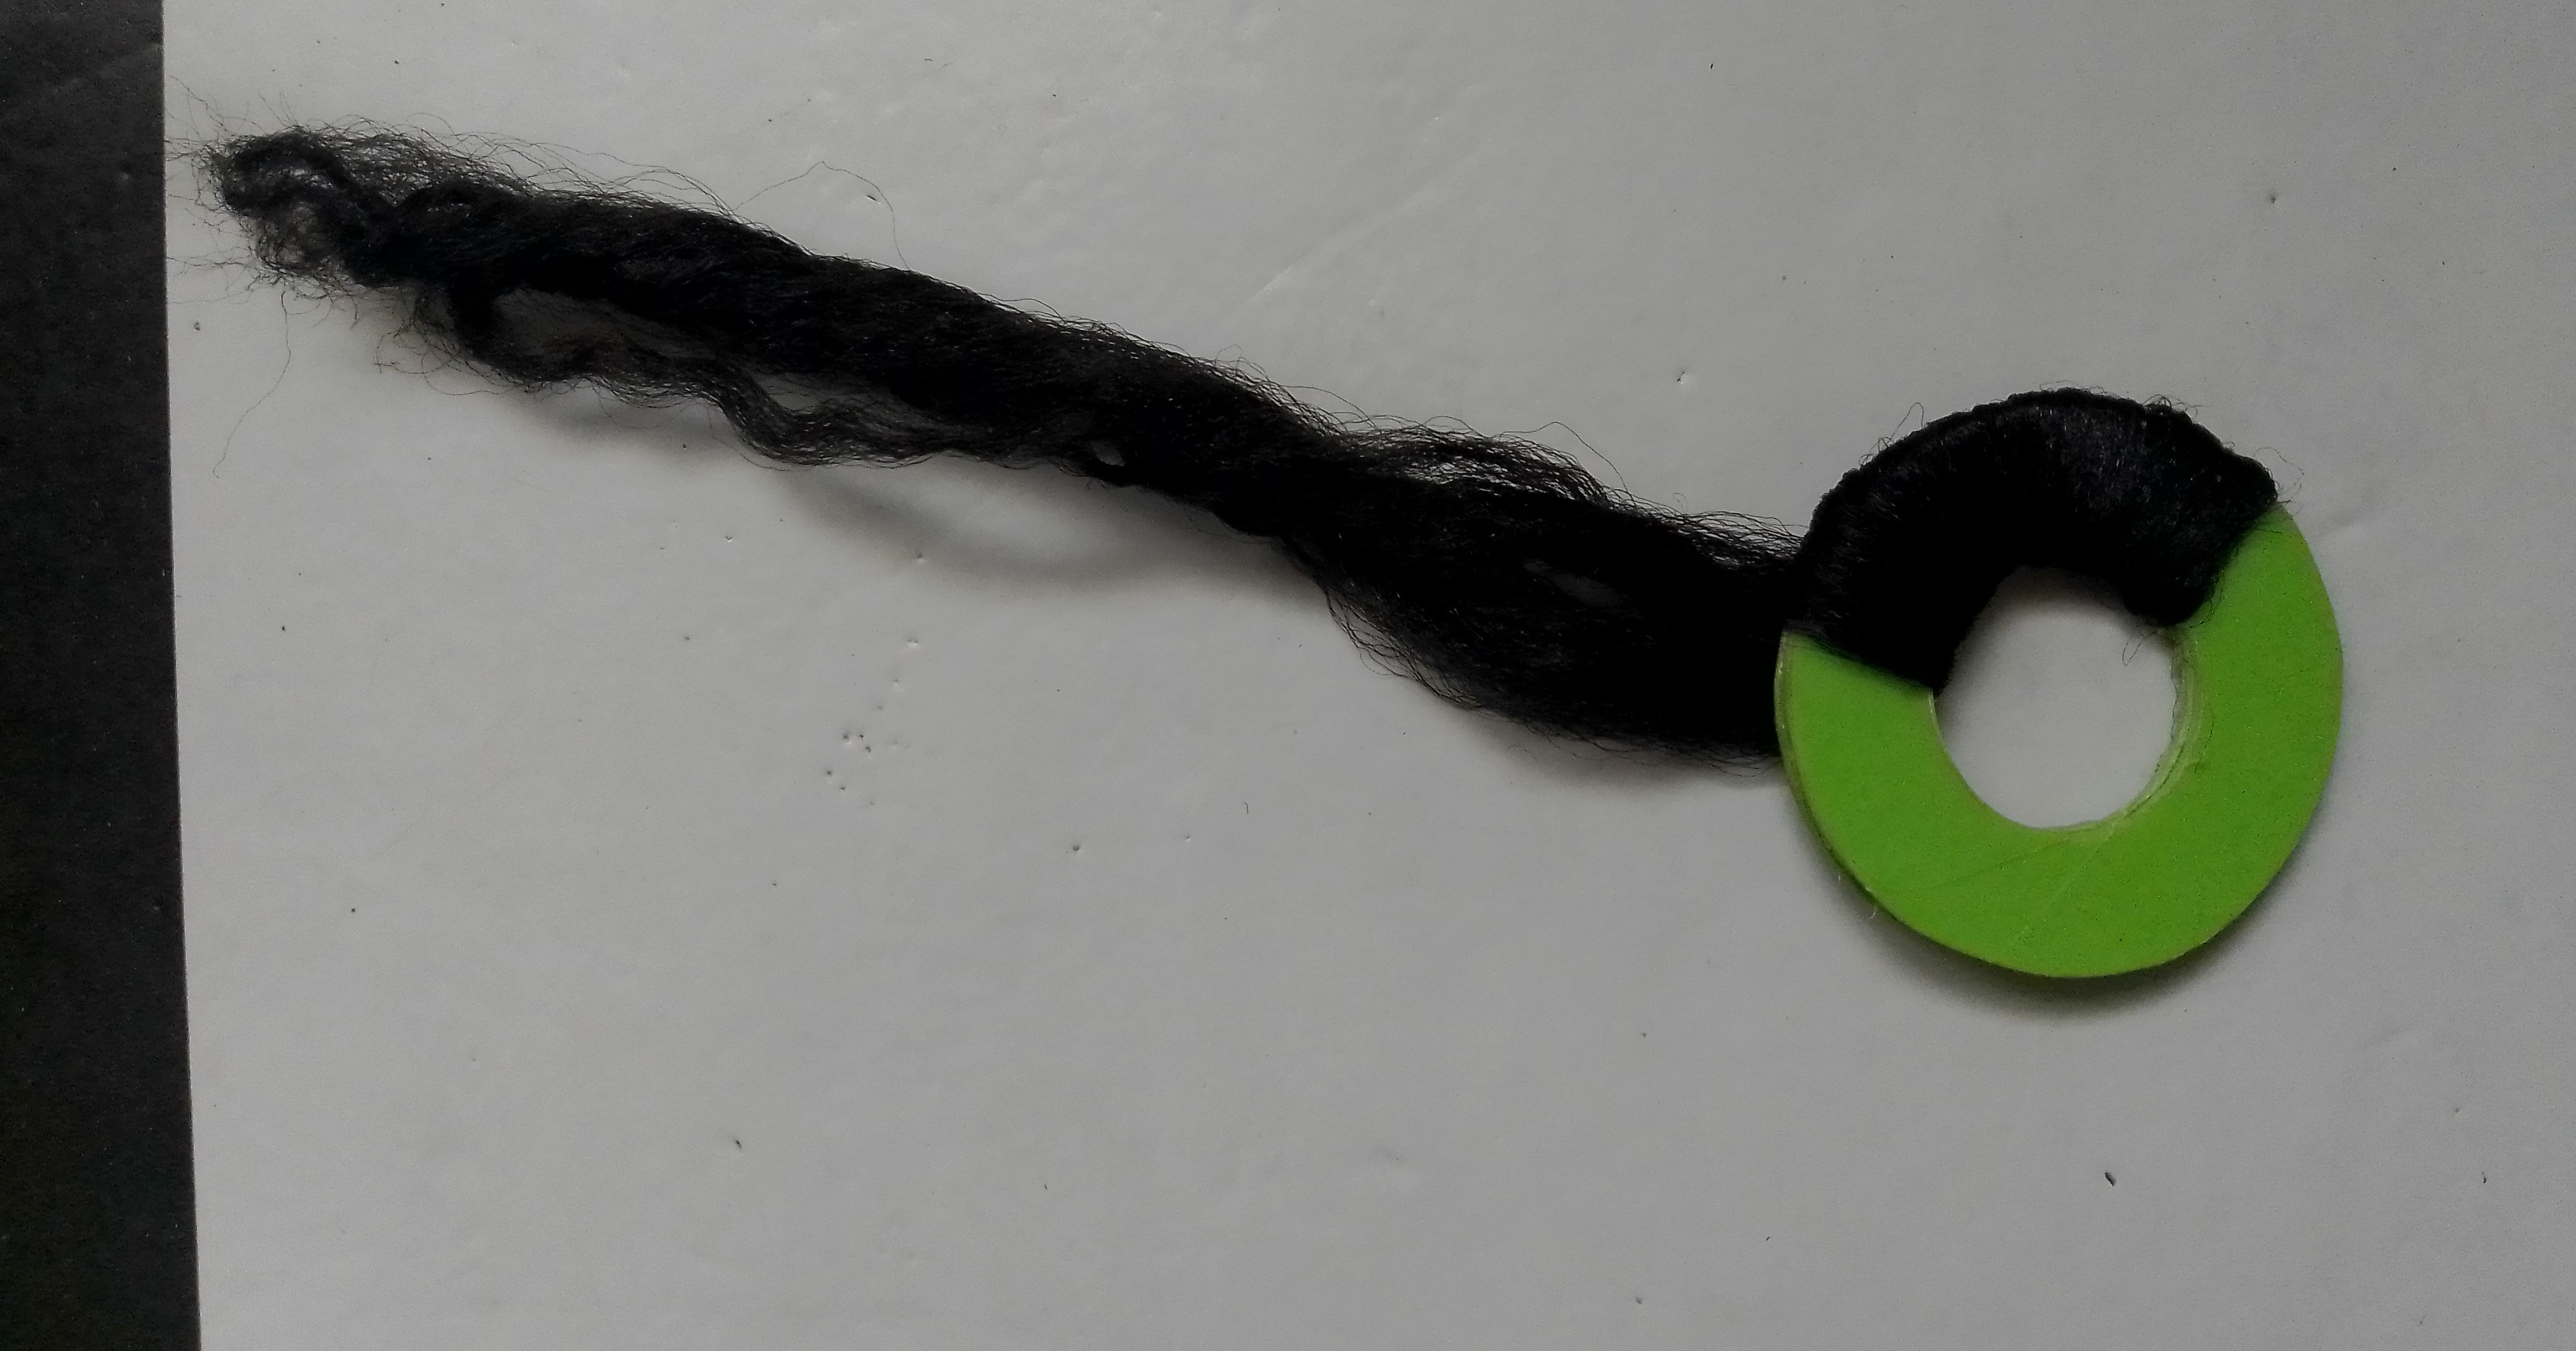
After preparing the connecting string, it's time to make the pompom balls itself.
To do this, we need the two watchers together and the black wool wrapped around it as shown in the picture.
Step 5
After wrapping enough black wool, we will now wrap the Ox-Red wool till the watcher is almost filled up.
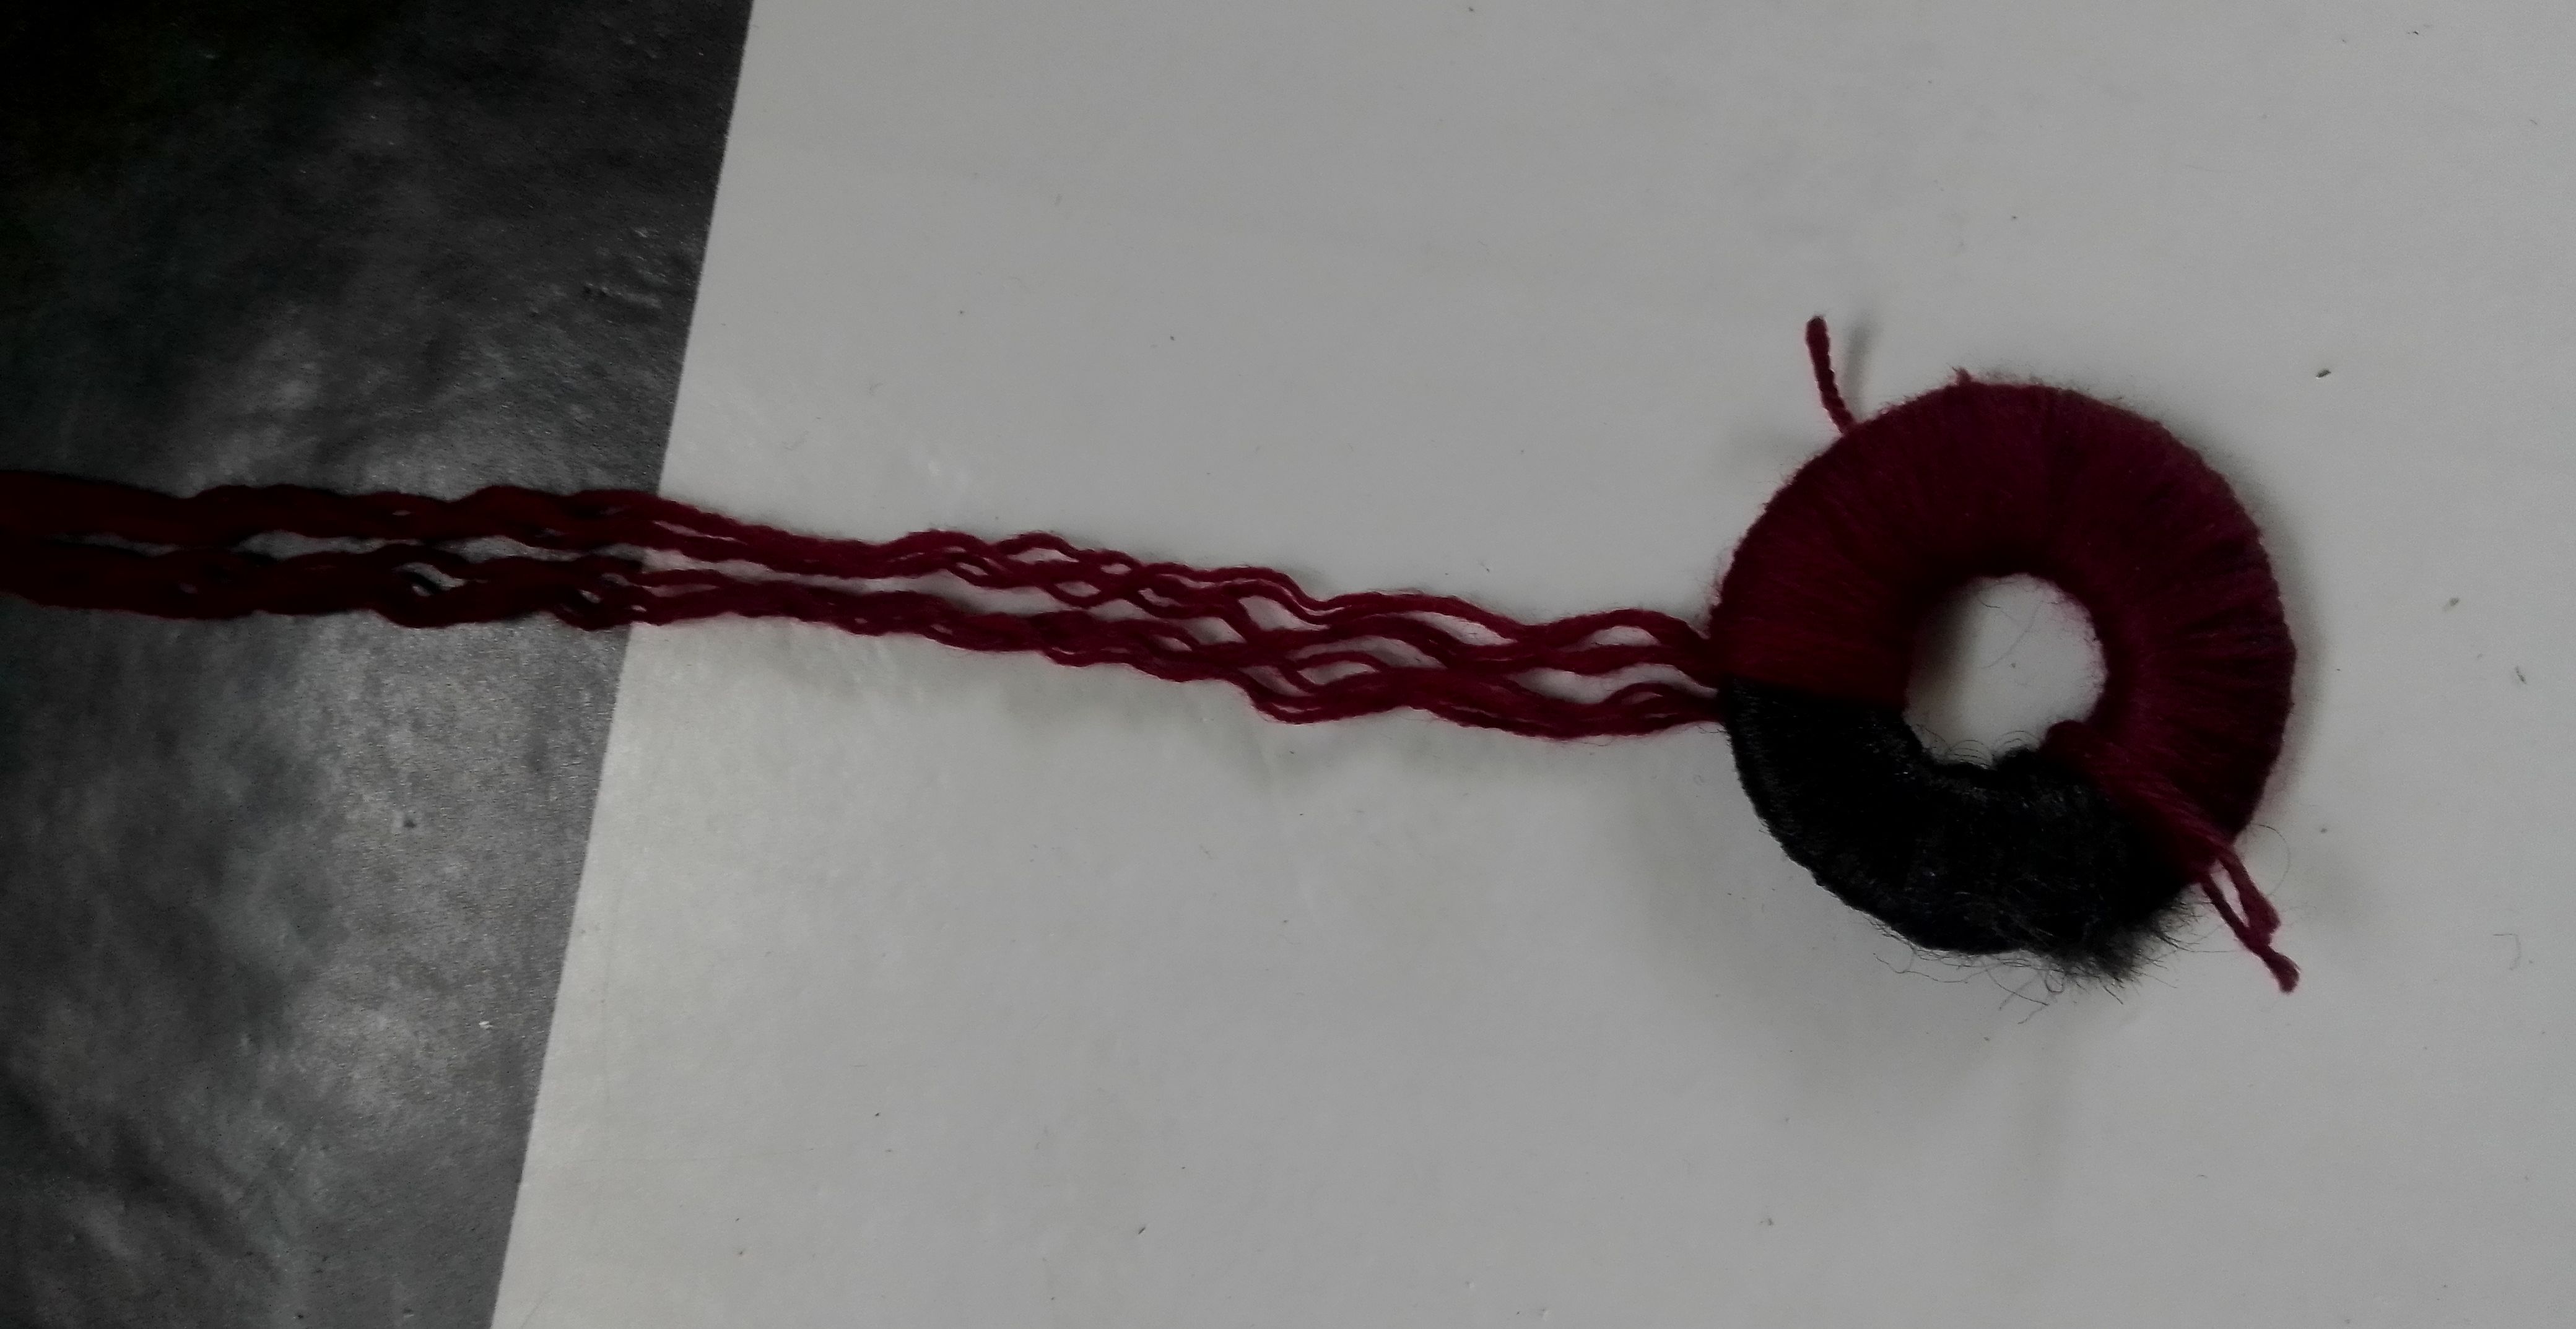
Make sure you don't over wrap the watcher. Over wrapping it will make it difficult to remove.
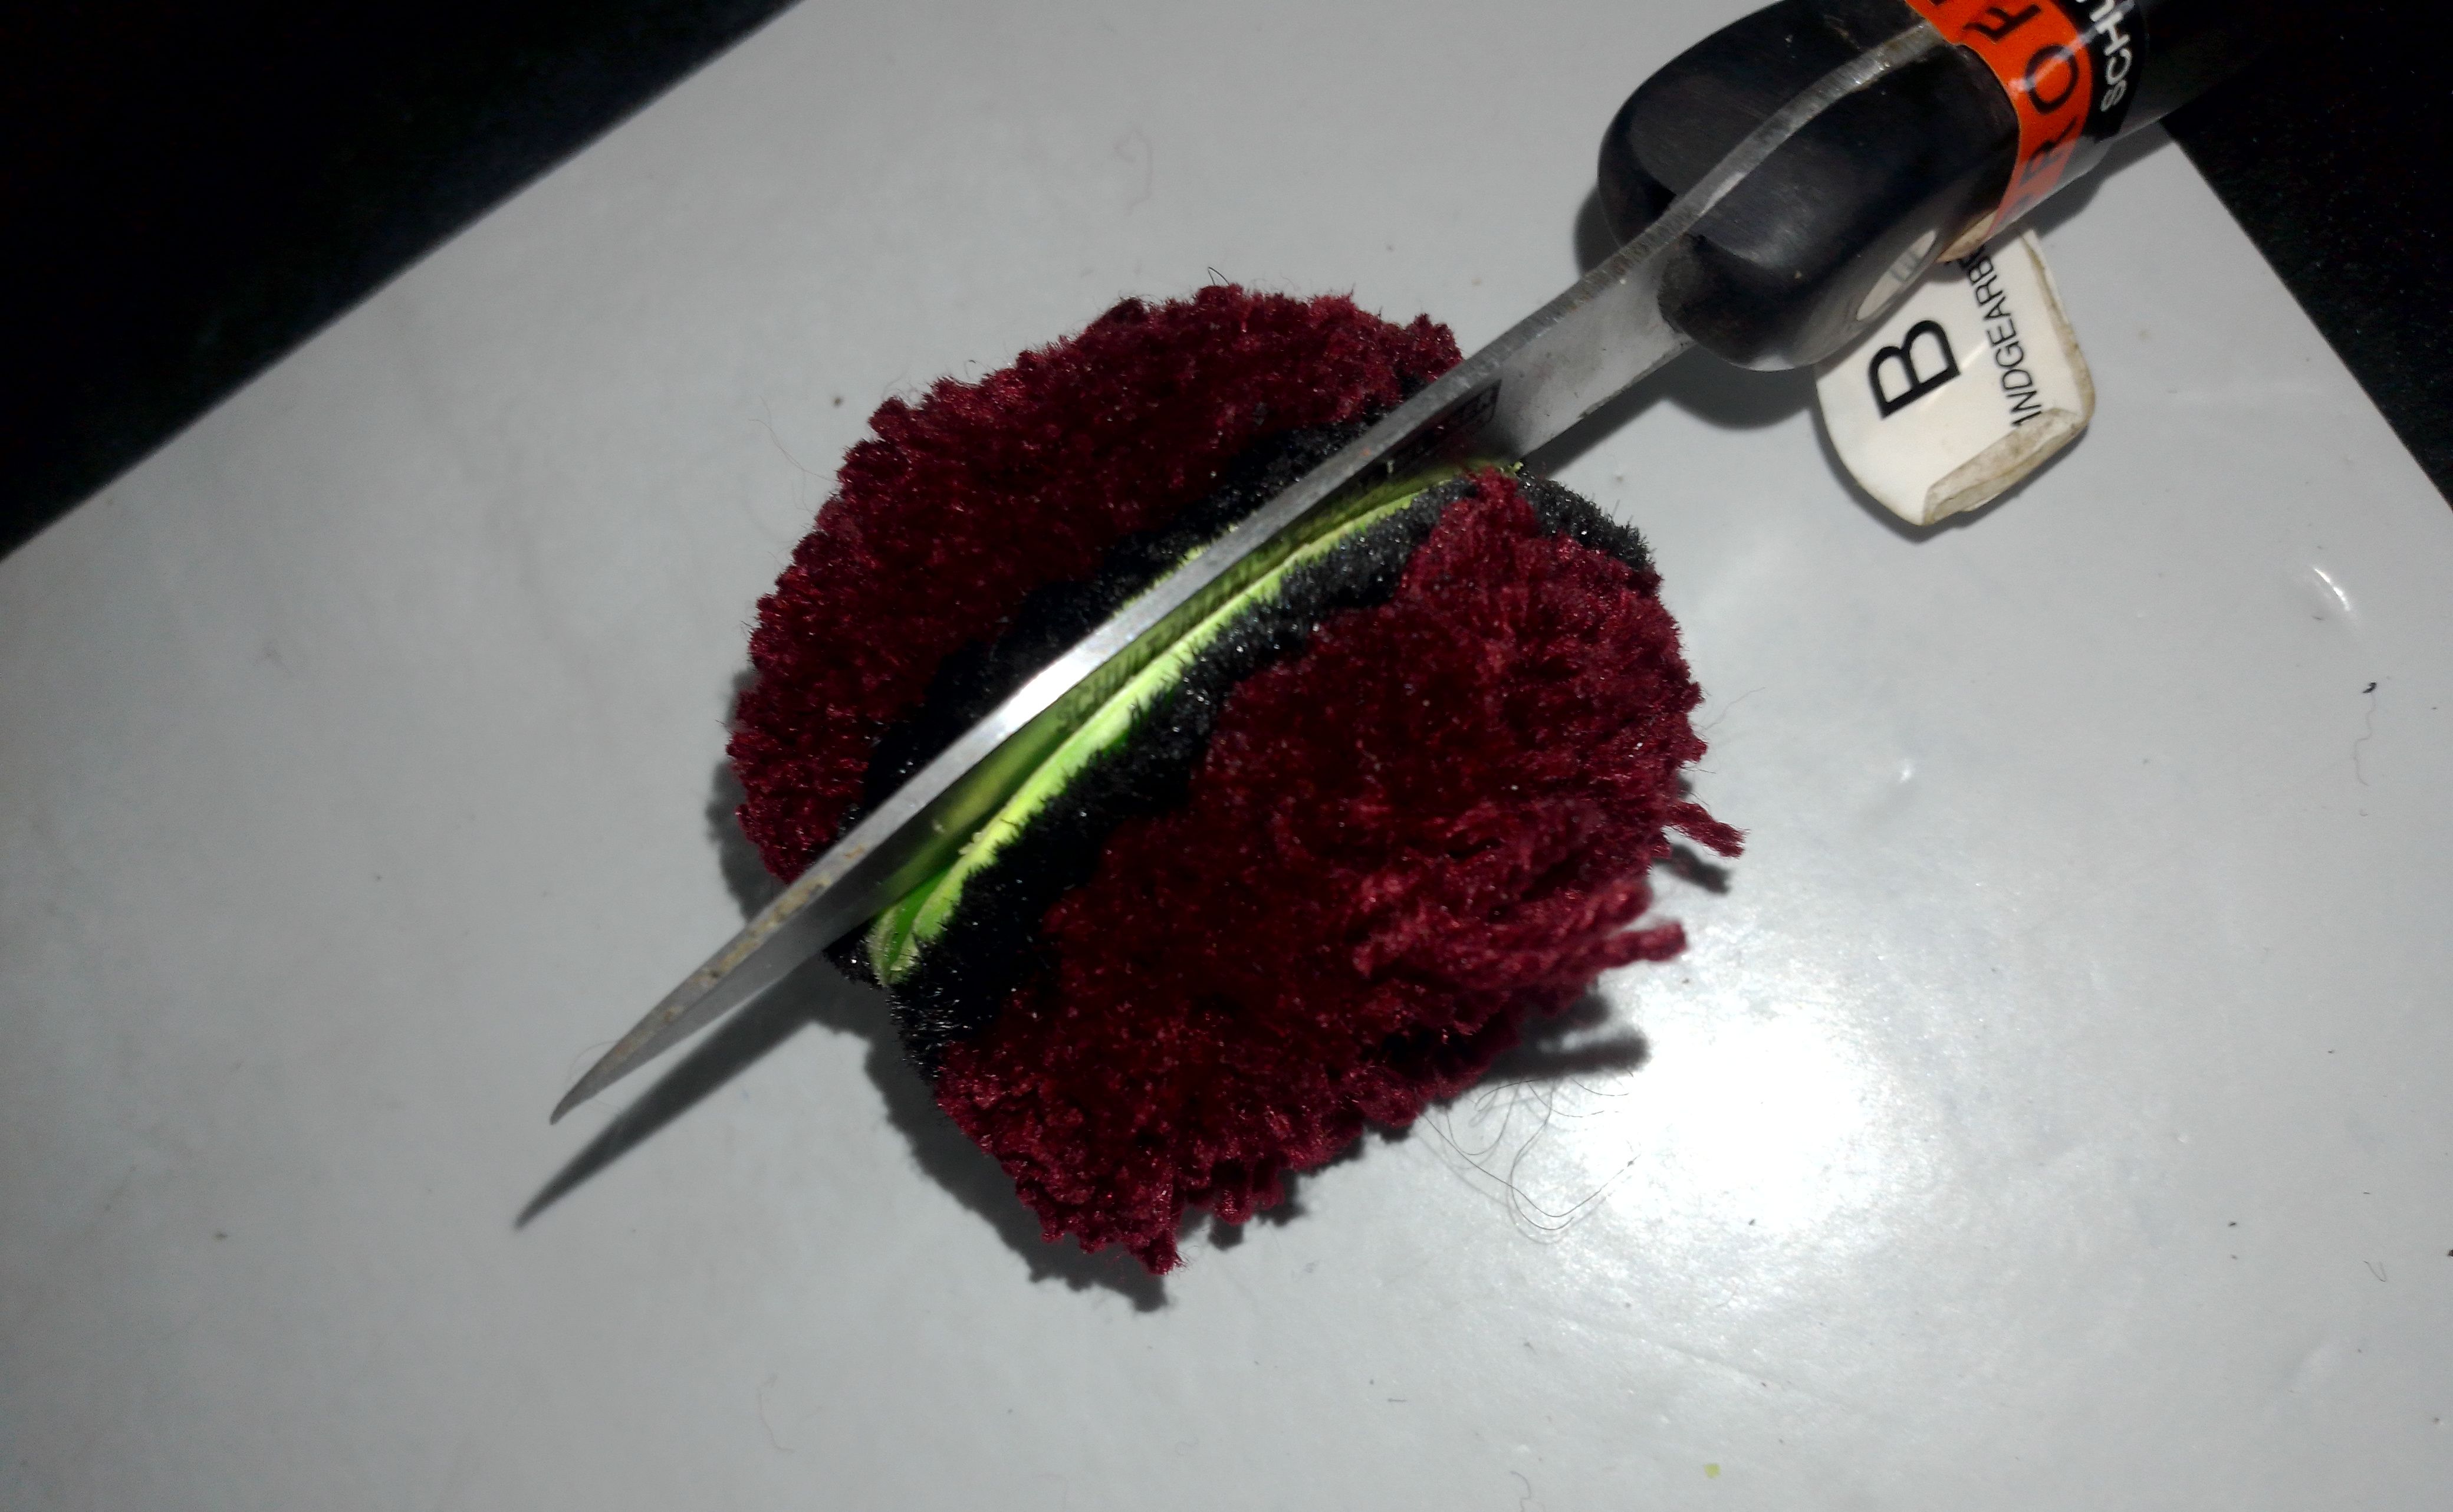
Once the watcher is fully wrapped, it's time to cut the watcher out. Use the knife or blade to cut through the wrapped wool as shown in the diagram.
Step 6
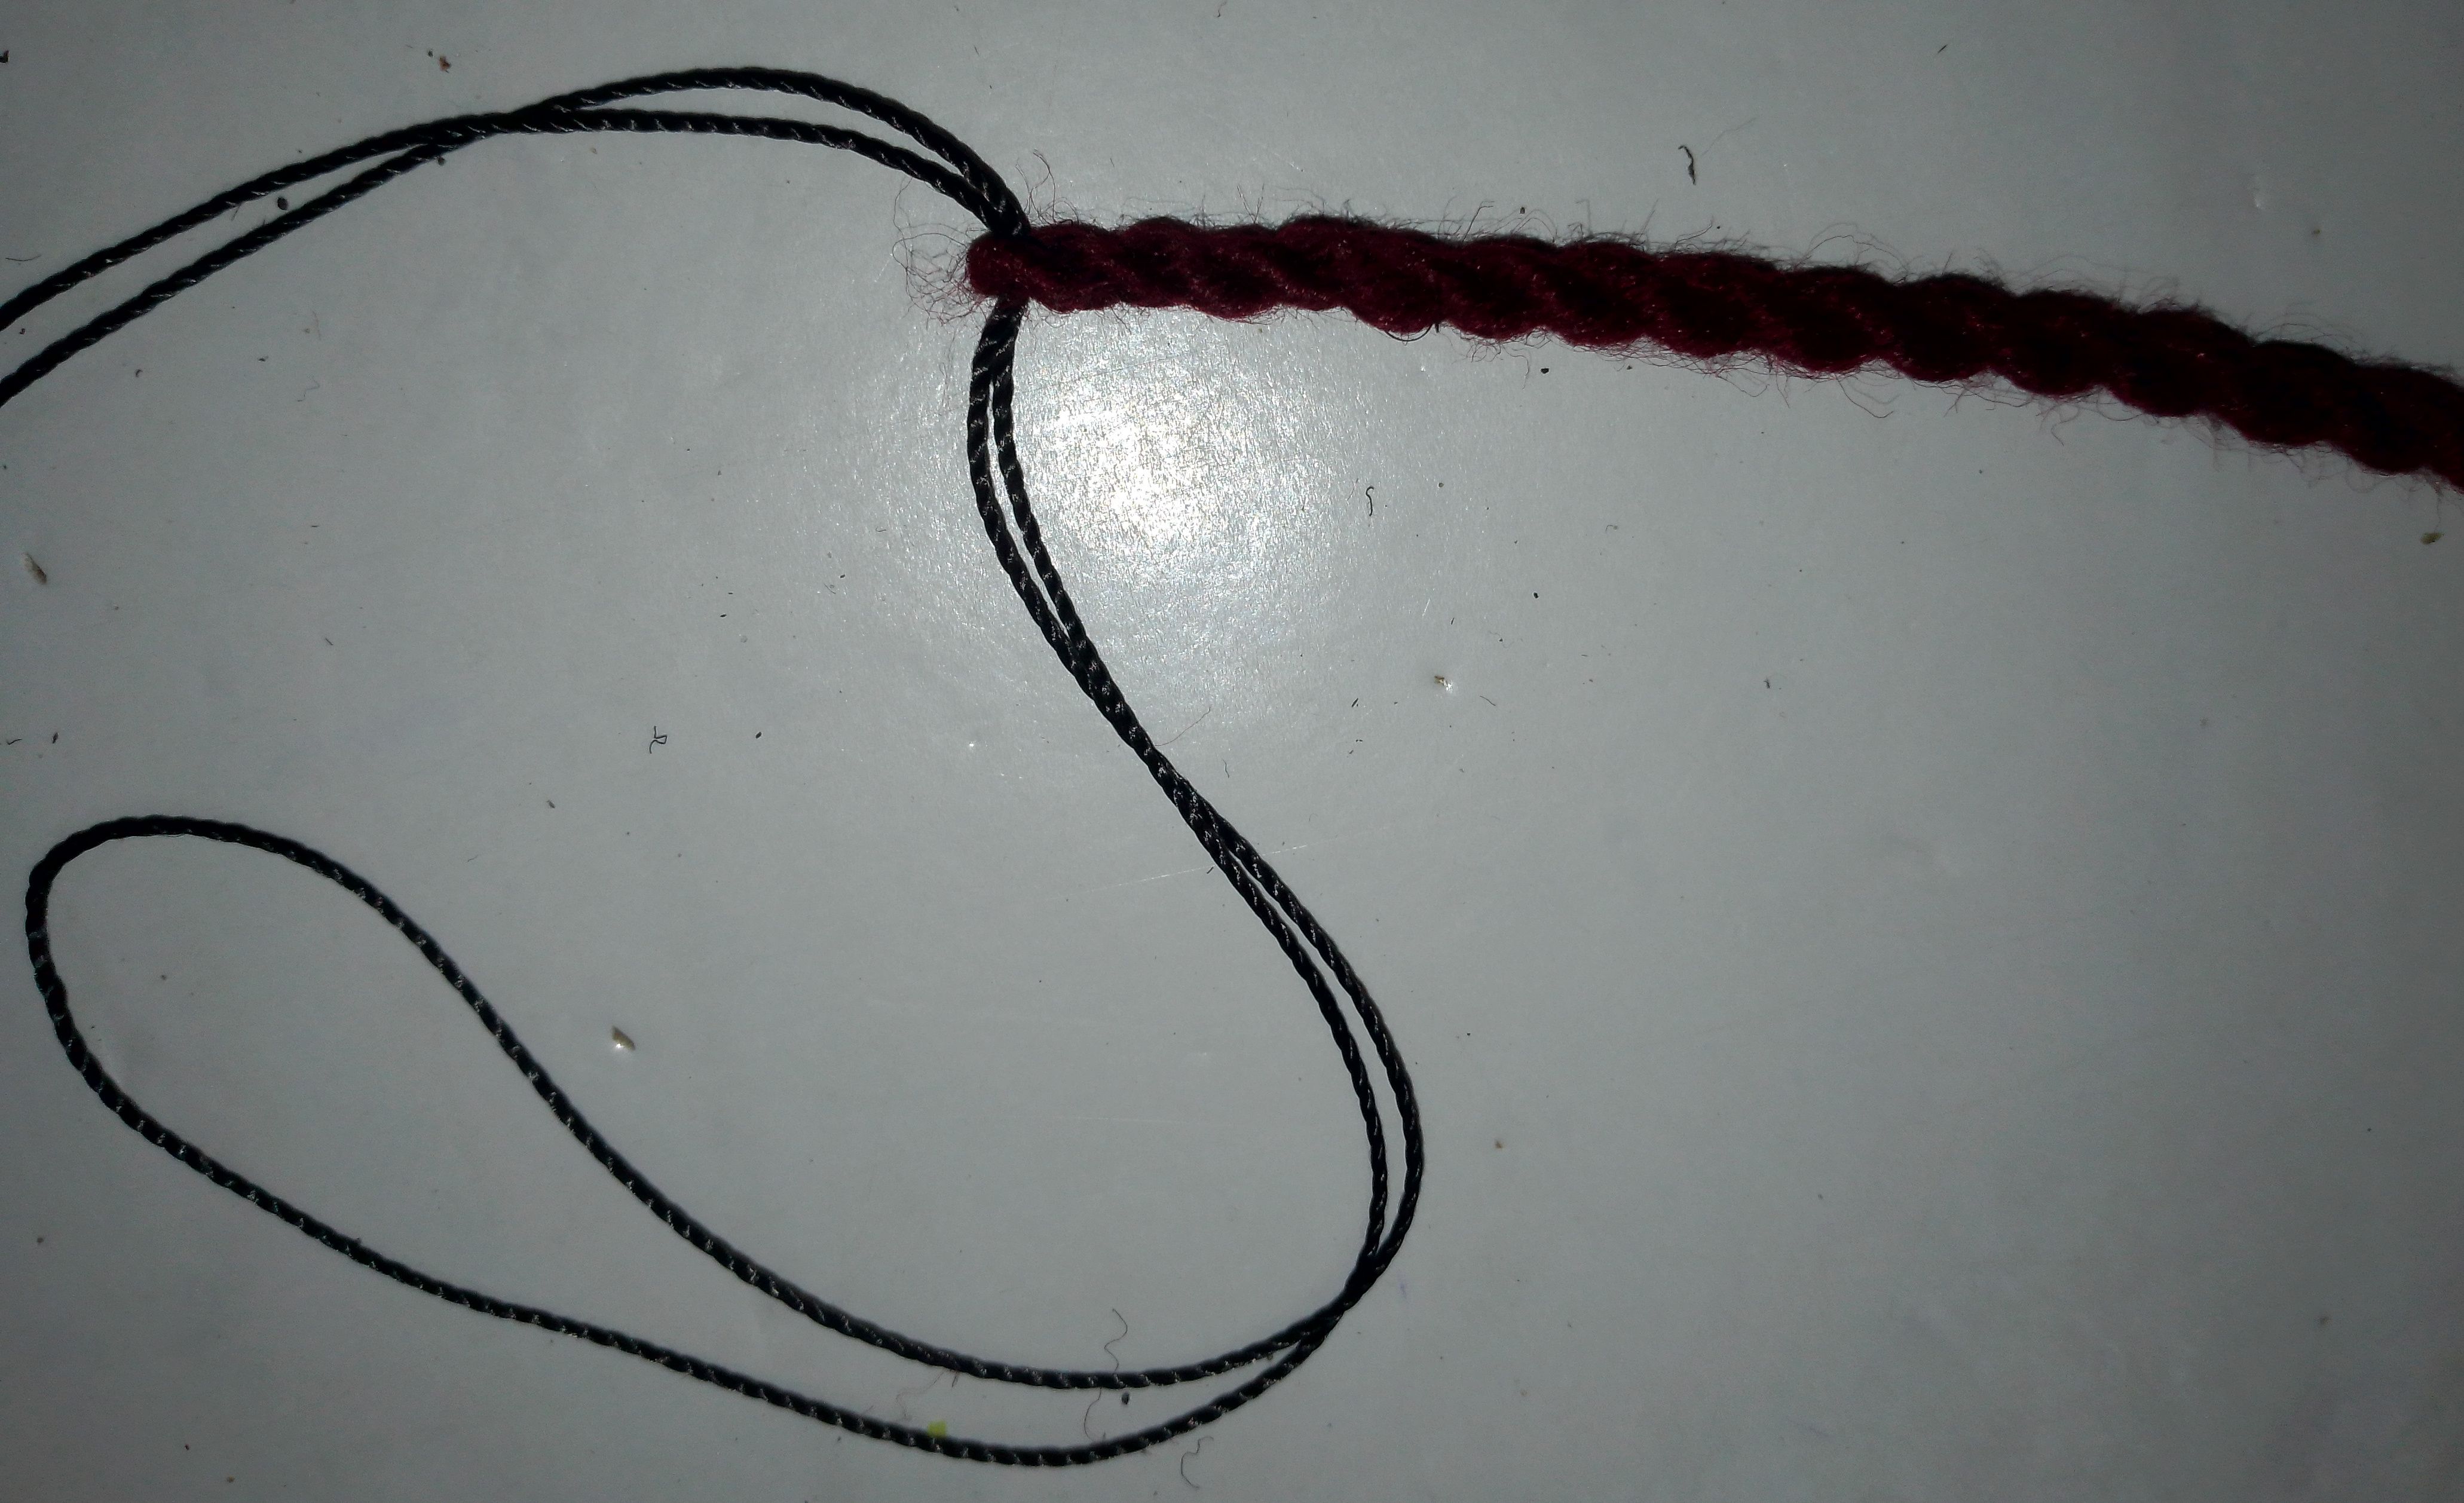
Now the pompom ball is almost ready but still has the two watchers in it's middle. Pass a rope through the lopped end of the connecting string. Force the rope between the two watchers and tie it as hard as you can. I can say that because I am using a nylon tread.
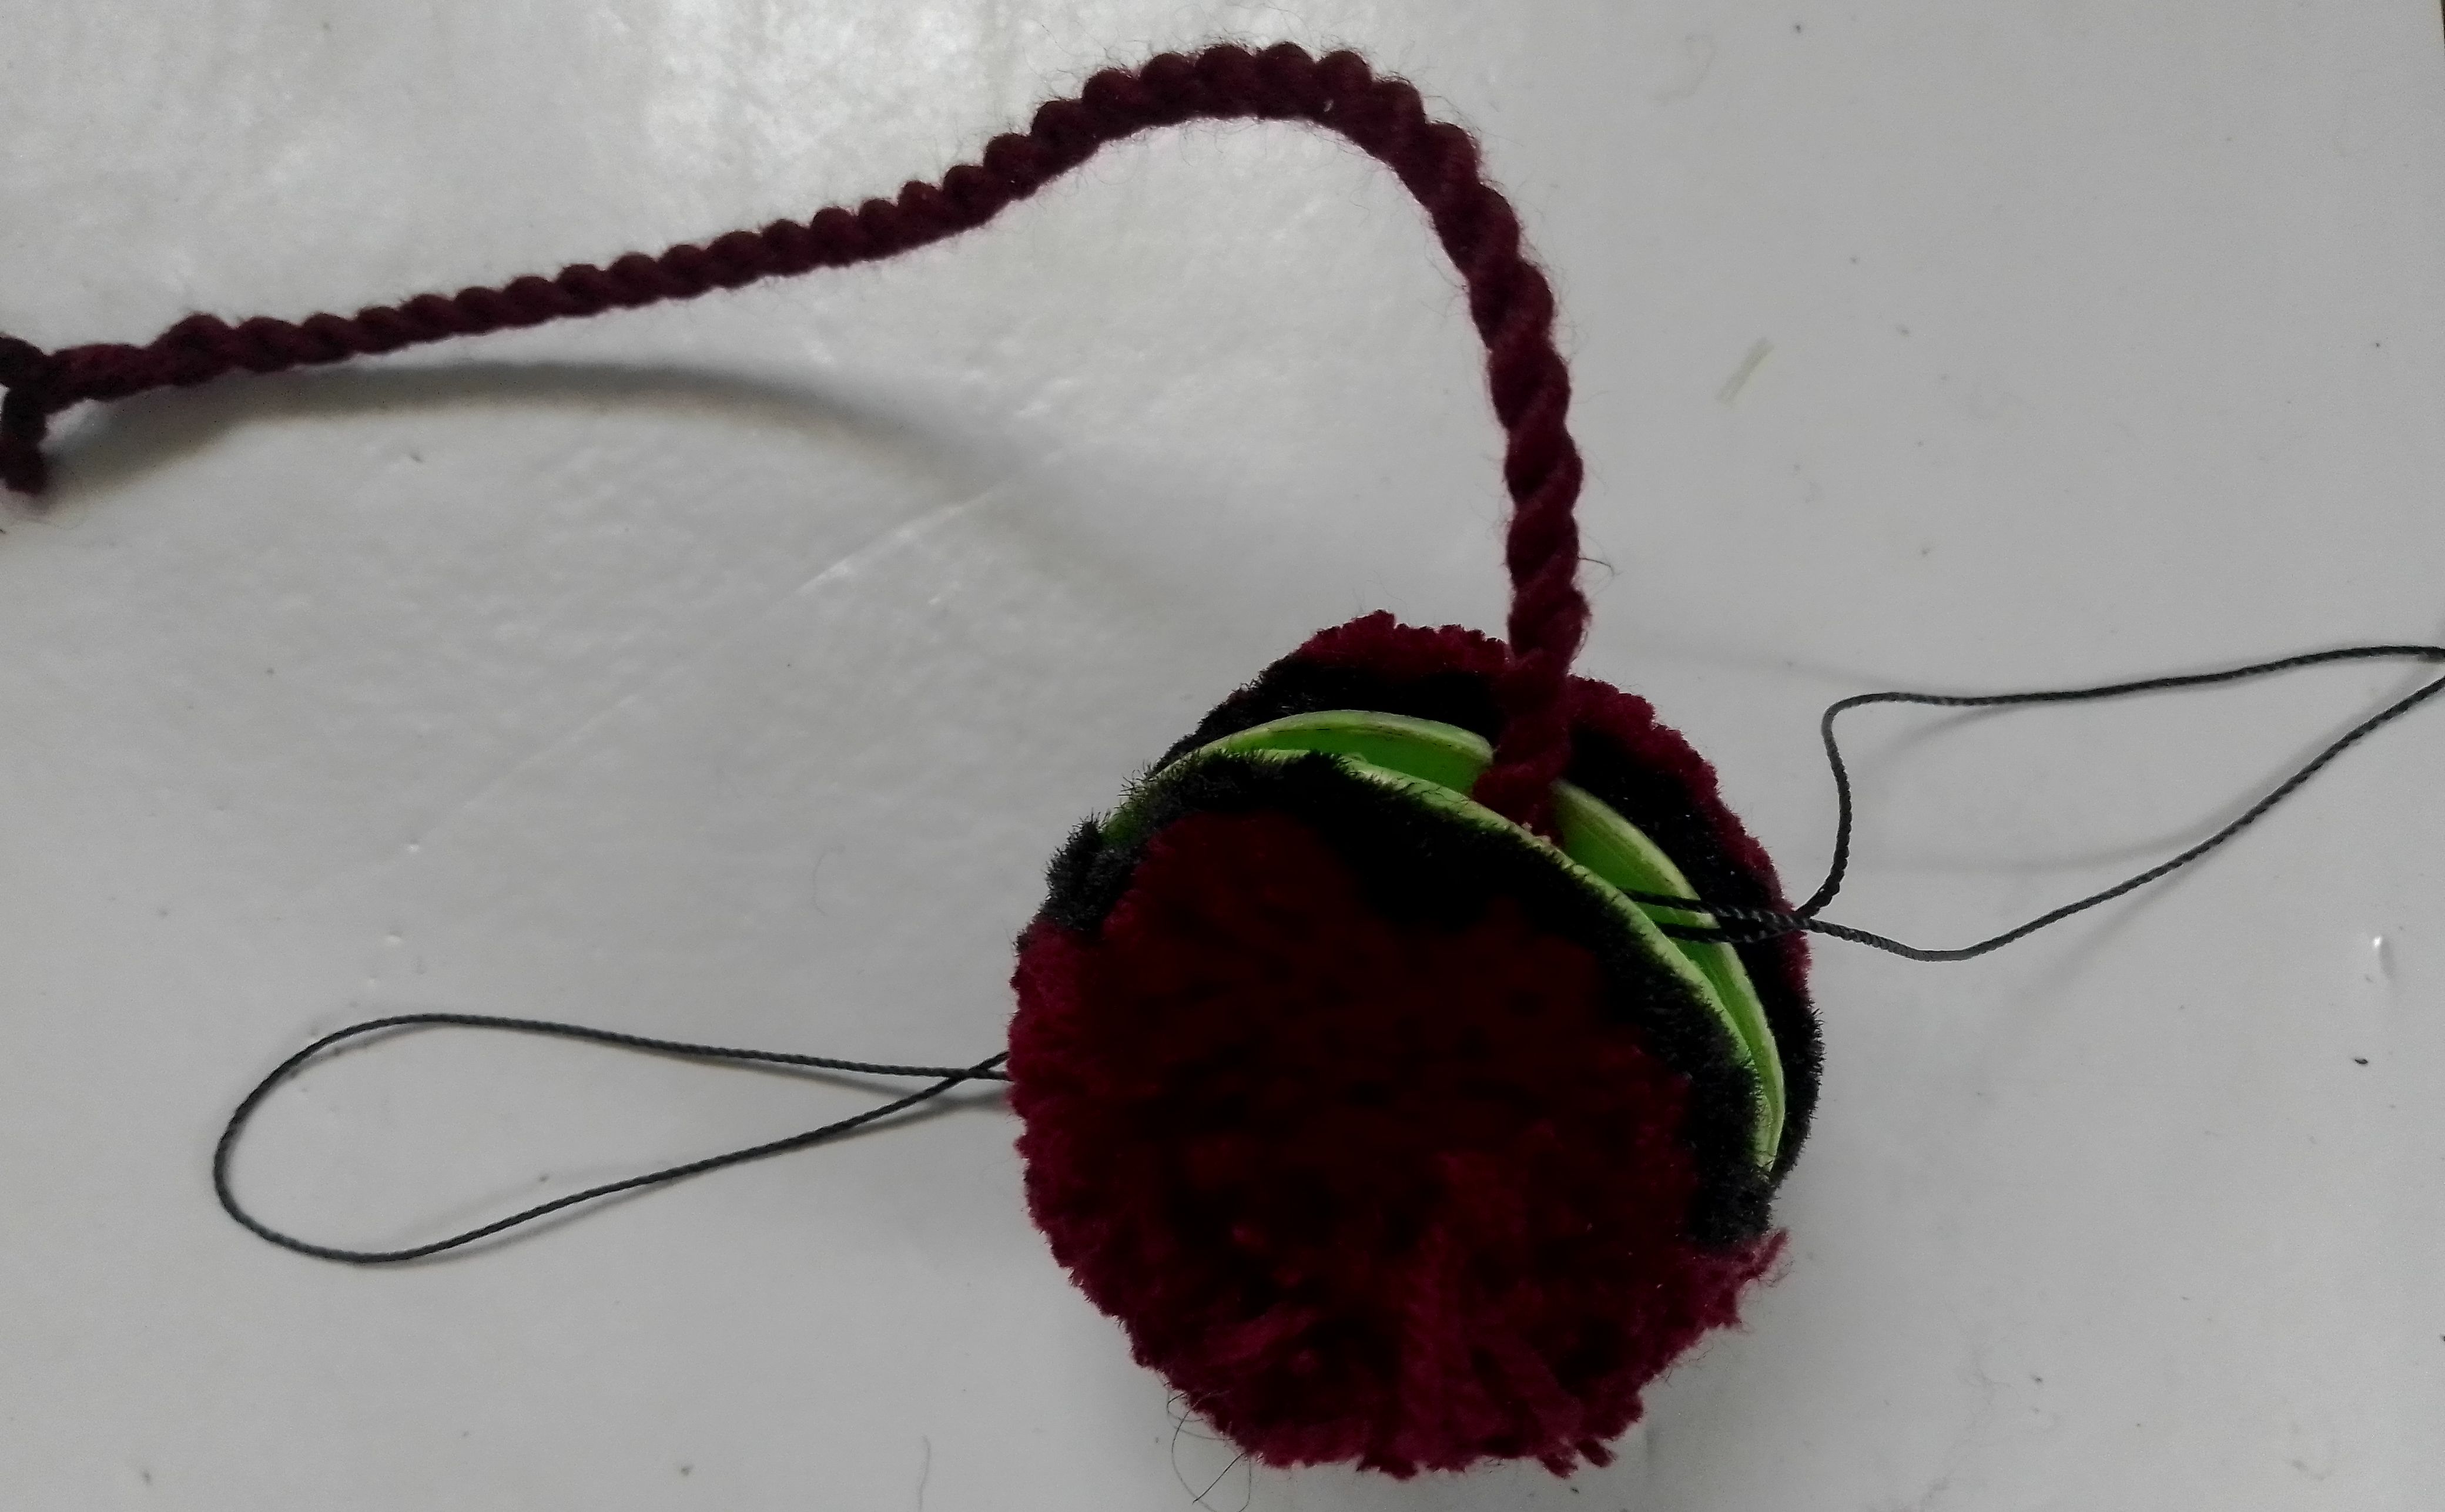
Step 7
Remove the watchers from the pompom and use it to create the second pompom for the other end then use the scissors to trim the pompom into a fine round shape.
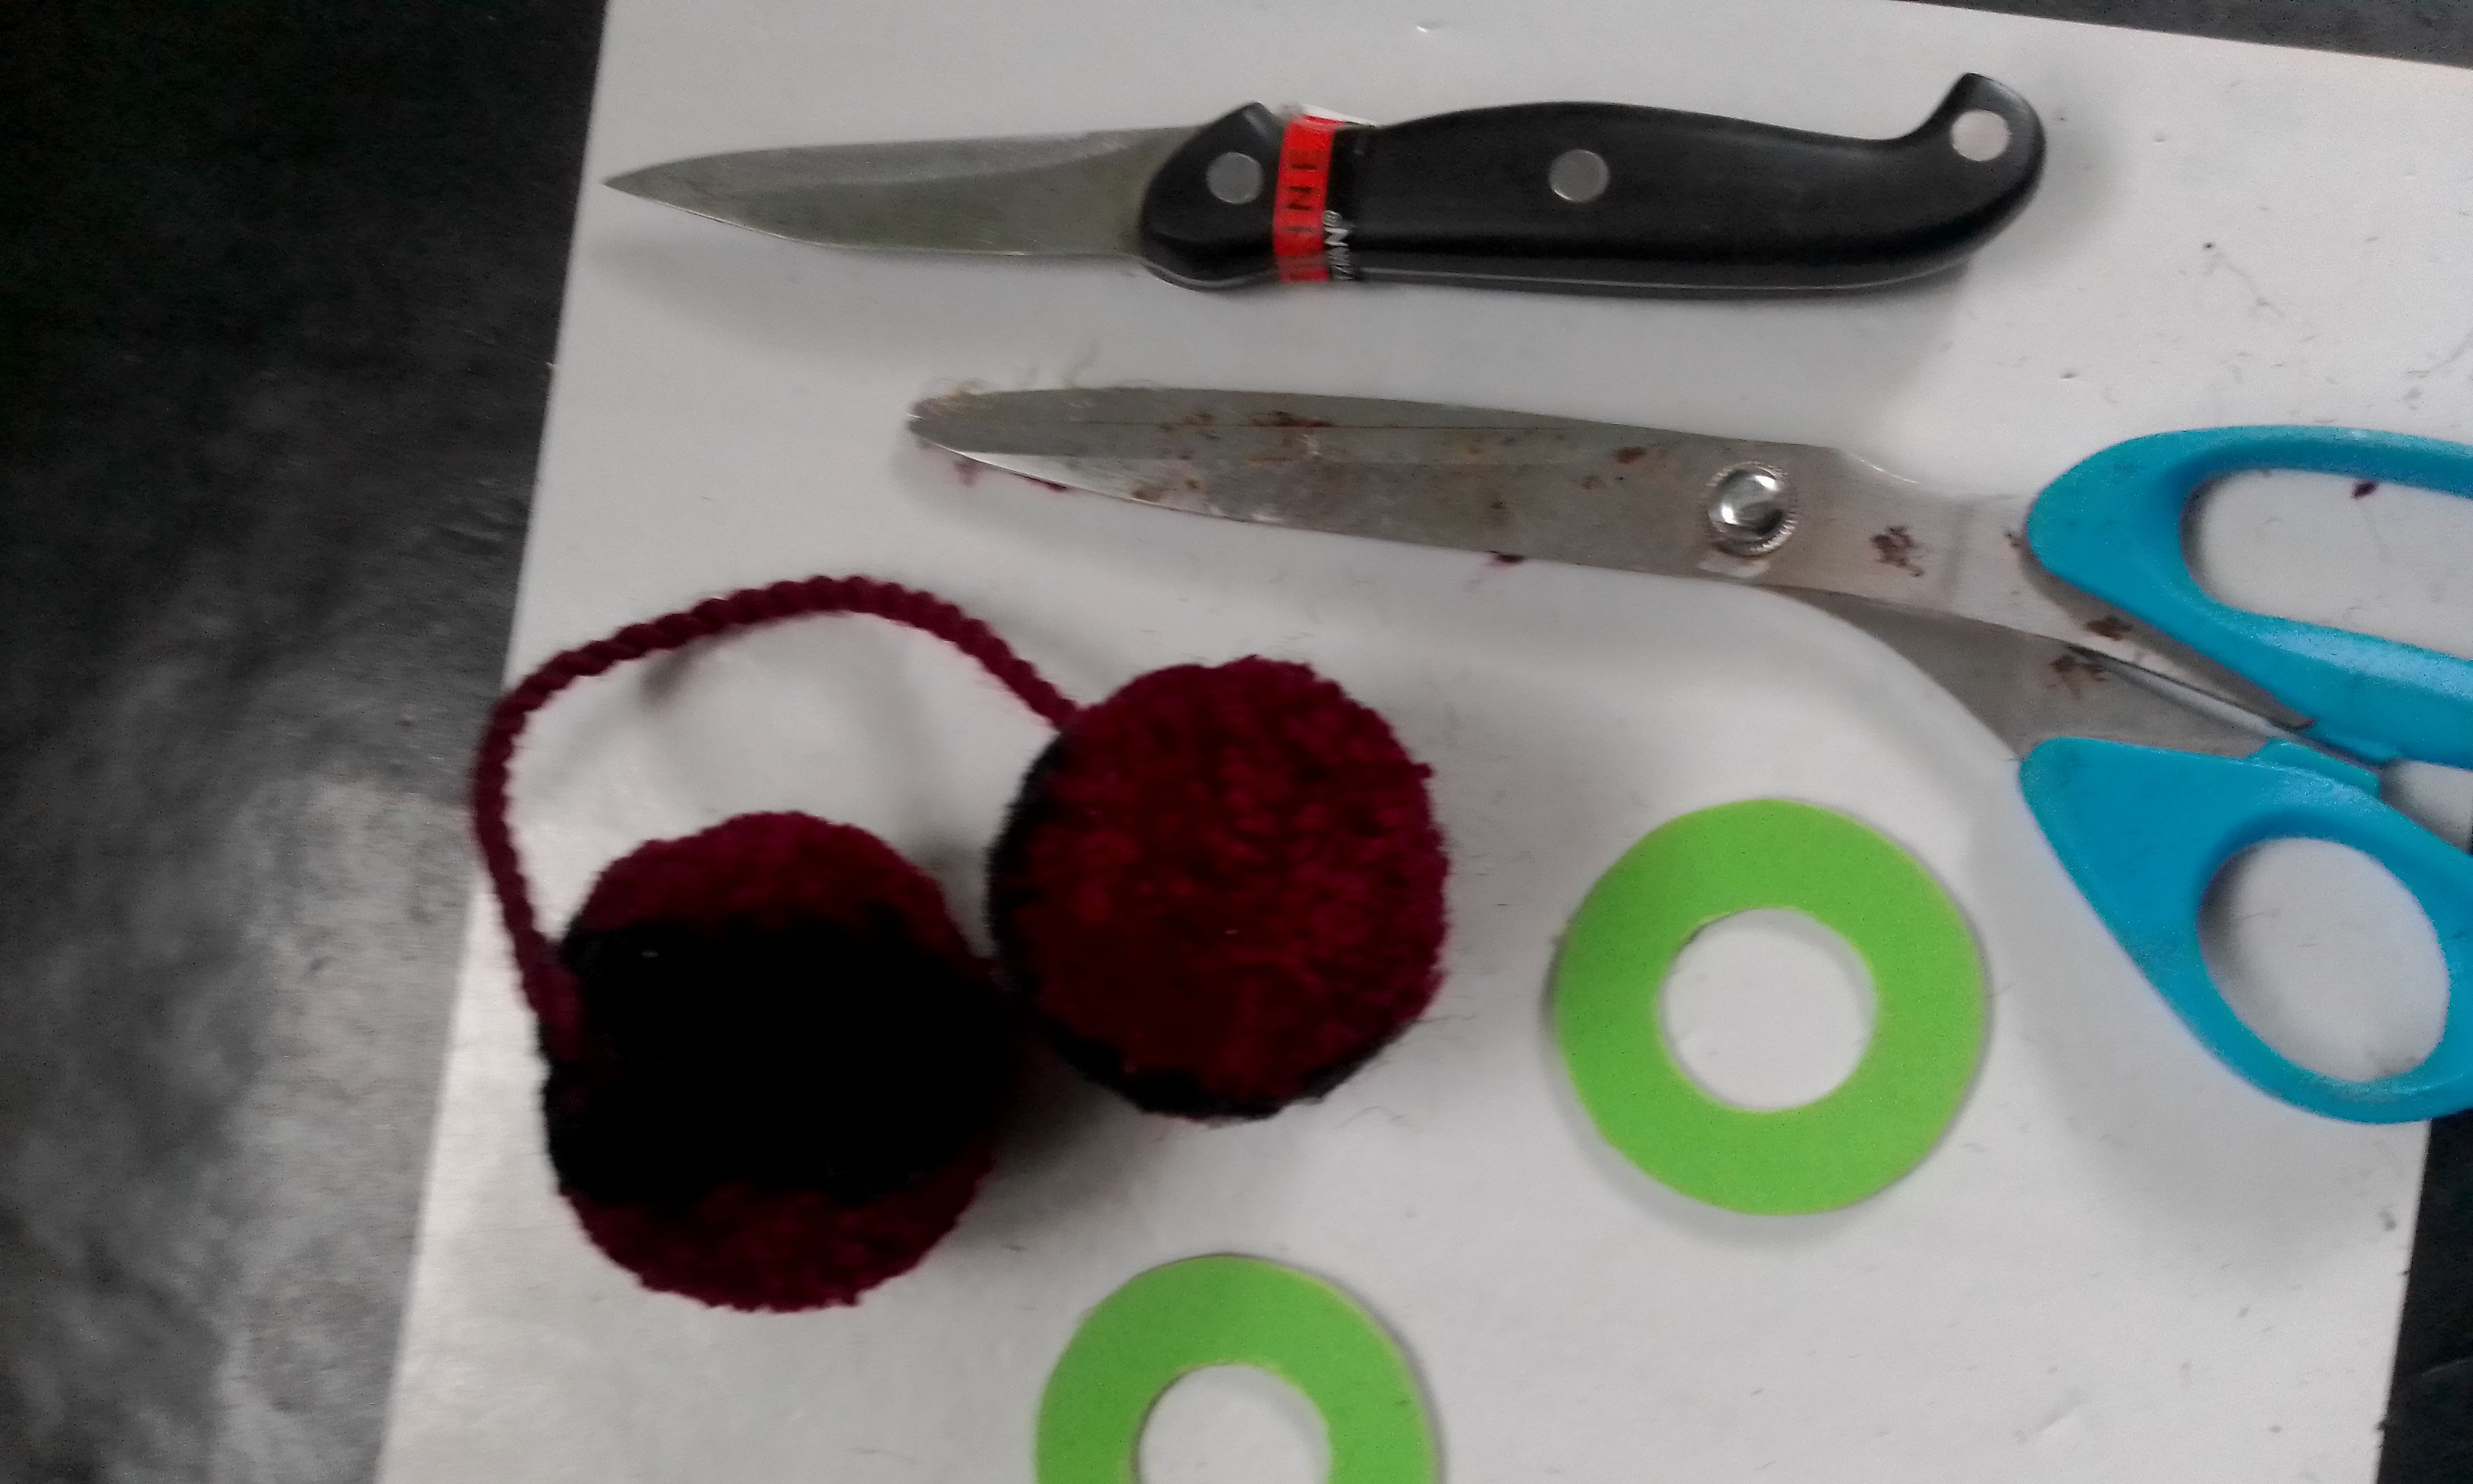
Step 8
Let's try it on, it's time for a foto shoot.

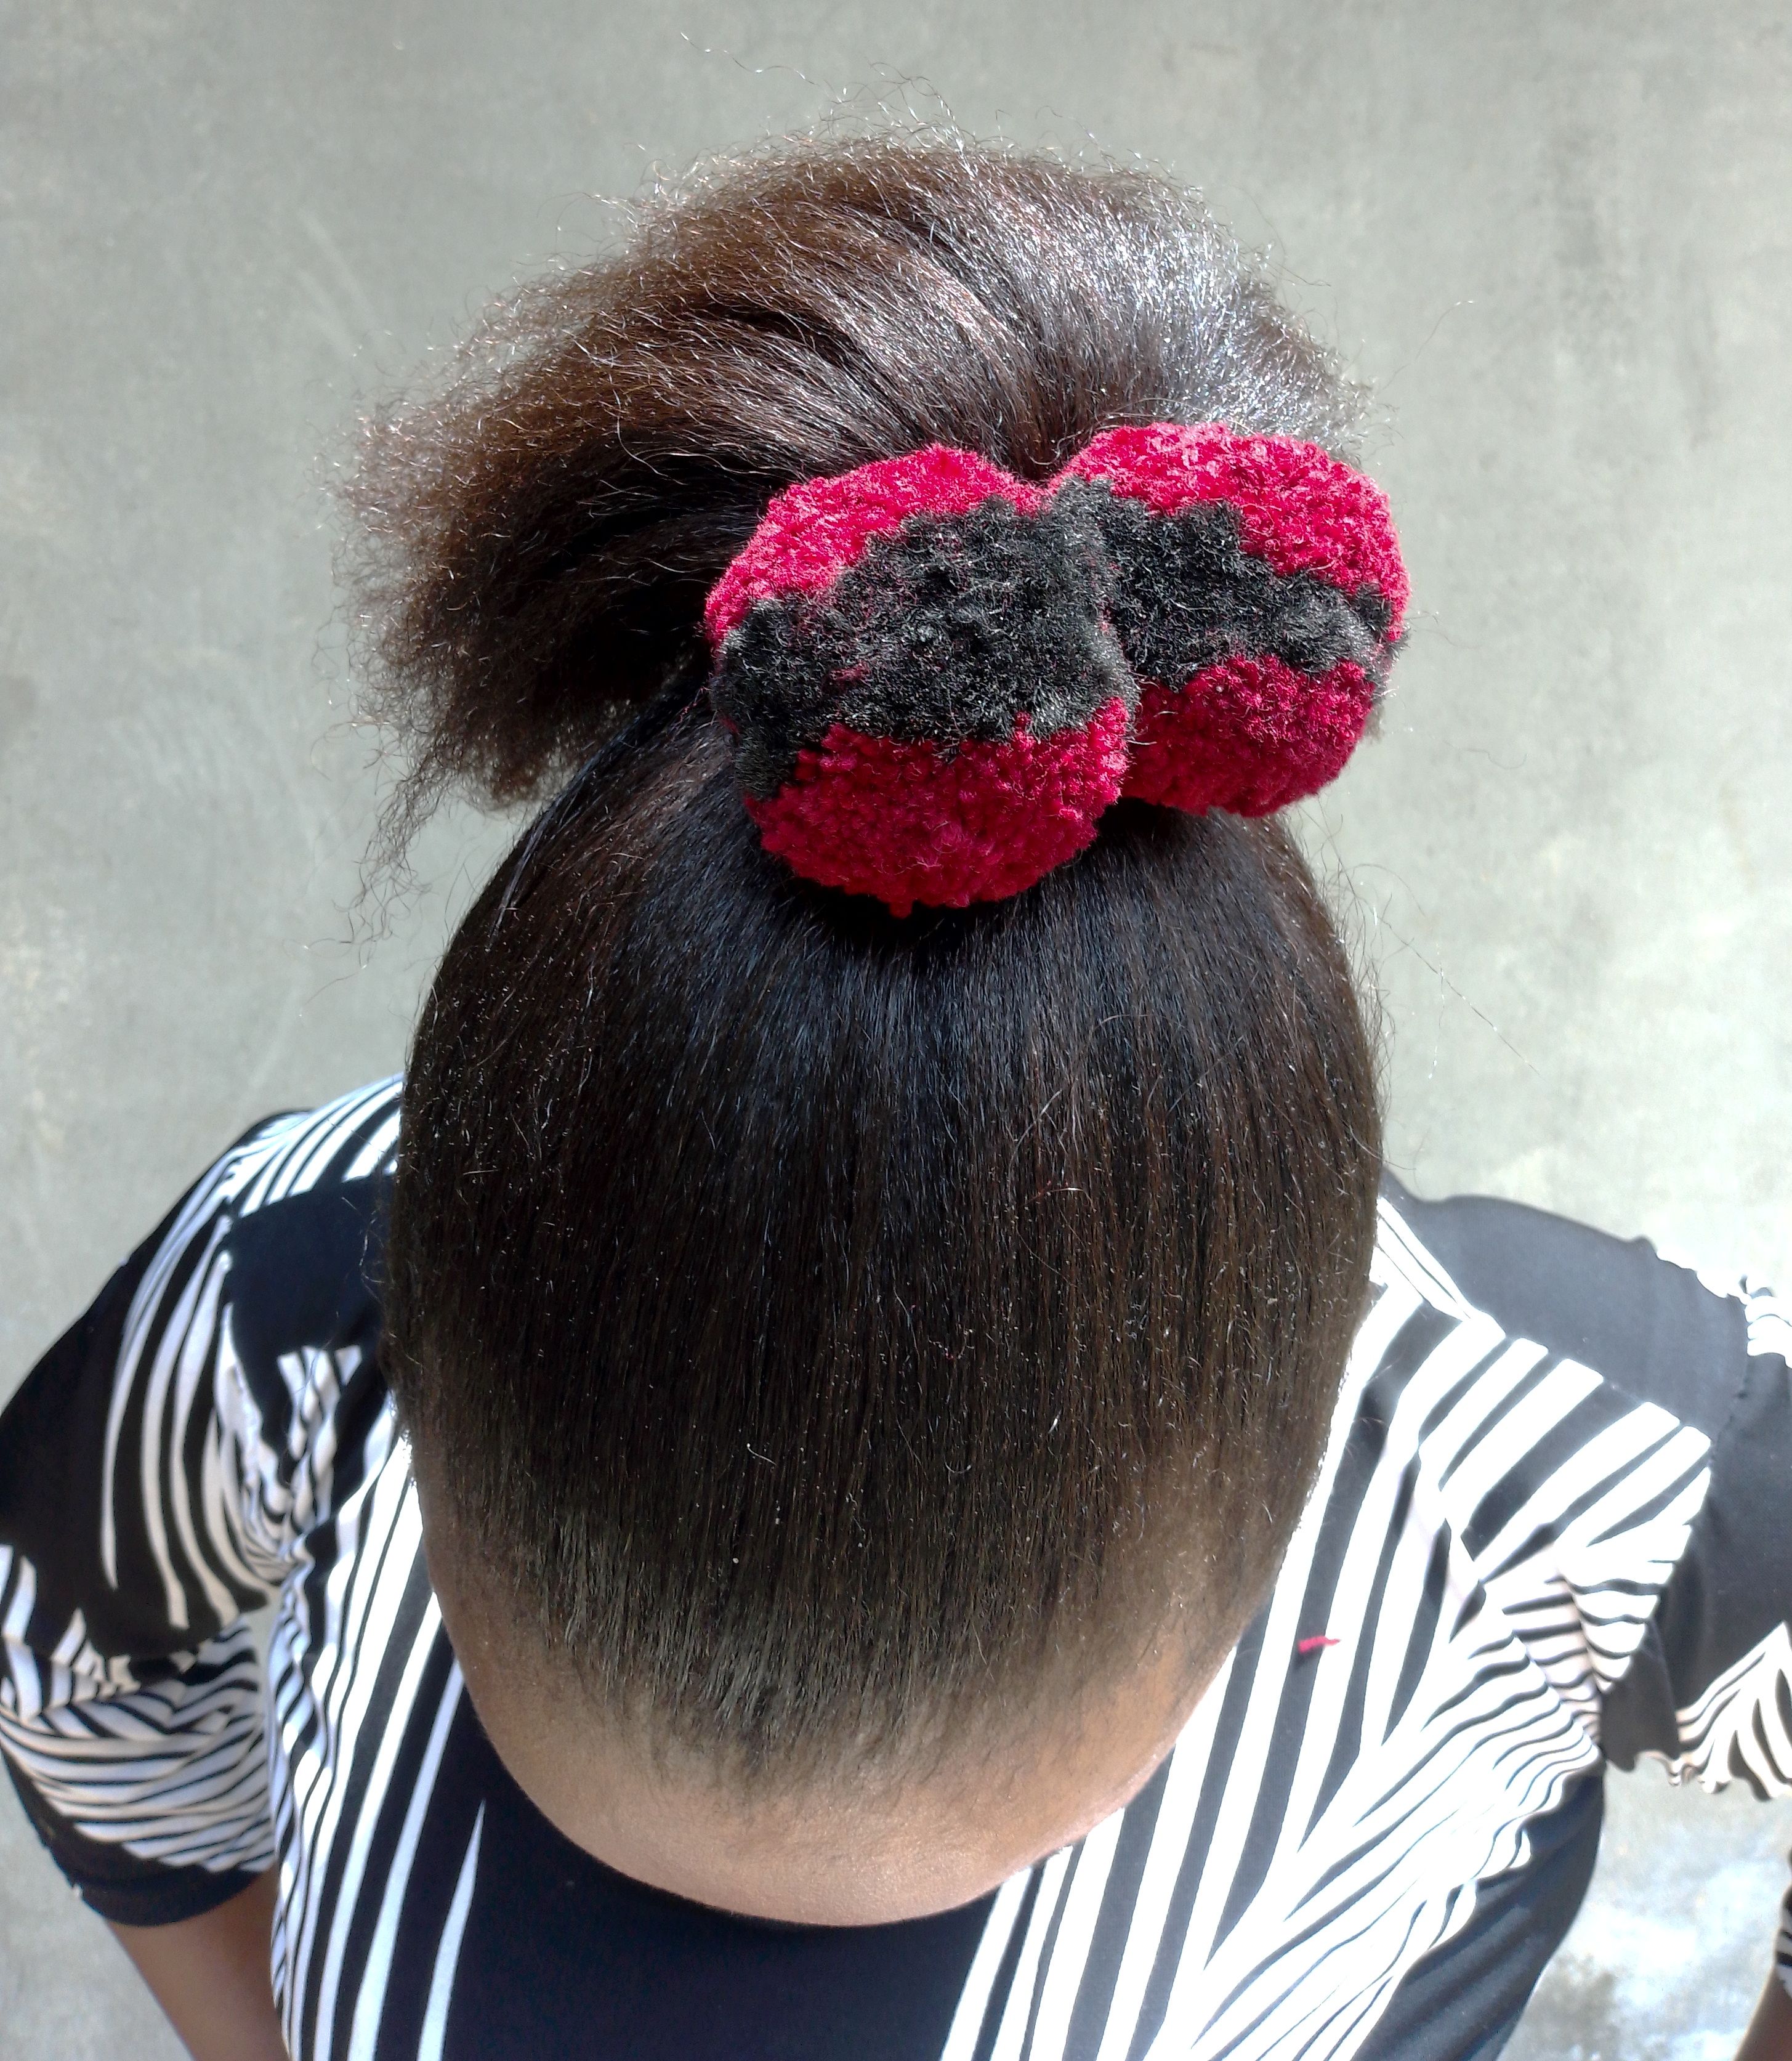
Wow! Now I am tempted to feel too proud of myself, though I think it looks good. I can make one for you, any time.
Thank you for following this process to the end. Please let me know what you thinking of this hair accessory.
If there is anything you will love to suggest, please drop it as a reply in the comments section below.
Presented by @udyliciouz
This is beautiful. Hair band with wool? Wow, there is really nothing impossible. I love the outcome. I will try it out. Thank you for sharing. I love the color too. But I will make a different color
Wow, this is really a wonderful transformation.
I agree, there are plenty of girls who would love making this. Pink, purple… I can just see them 😊
Thank you for sharing
This is really nice. I like the recycled product as it has reduce cost for buying it. Weldone
I loved this publication, it is very useful for all the girls here. I invite you to establish a minimum 10% profit for the community in each of your publications through the @steemkidss account, your support is very important for everyone's growth.
Check well, I have set aside 10% beneficiary to @steemkidss account.
😉
This publication was selected as quality content by the "Art Curators Team" through @cindycam to vote positively with the account @steemcurator04.
Keep sharing original and quality posts.
Nice job!
Use the #creative tag to easily locate your post.
Wooow this is beautiful 😍 and beneficial to the girls because any girl will love to do that. All your steps are very clear and I have learned it, I will try doing it for my sister
This is nice I will make it one of this days, thanks for sharing with us..
REMARKS;
Continue to active in our community we appreciate you 💕