SLC-Home Repair Club |S23W4| Tutorial: I repaired the charger of my mixer machine
Hello Everyone
This is @max-pro from, #Bangladesh
 Thumbnail Image
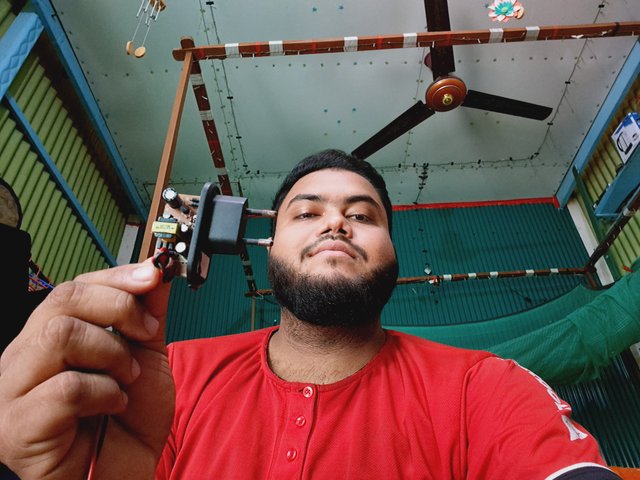
Assalamu Alaikum friends. Wishing everyone good health. Hope you all are well. By God's grace I am fine too. Today I am here to participate in a wonderful teaching competition organized by our teachers. We were guided by @imranhassan and @rmm31. They joined as a team as mentors of this repair club. Today I will repair the charger of my mixer machine which is called home repair. So this is a very important competition where we can learn some important things. I am showing all my methods step by step. So let's begin.
| Basically what was wrong with my mixer machine? |
|---|
I have a small mixer machine that I built myself a few years ago. It is made of small DC motor. This motor is operated by the charger. So today when I went to turn on this mixer machine, I saw that after turning on this mixer machine it stopped. Stops after running for a while and starts again after a while. Check out the pictures and video below.
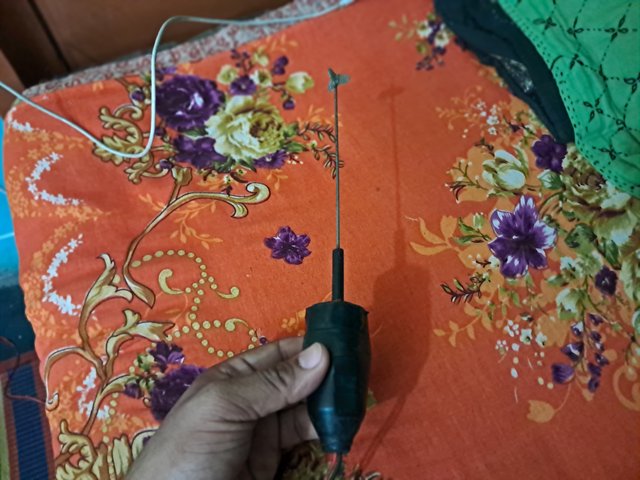
It hasn't been run for a few days so I figured putting something on it and tapping it might get the internals working properly. So I jiggled it for a while and switched on the charger line then after jiggle it for a while it stopped working. Then I realized that the problem is in the charger.
| How did I identify the problem? |
|---|
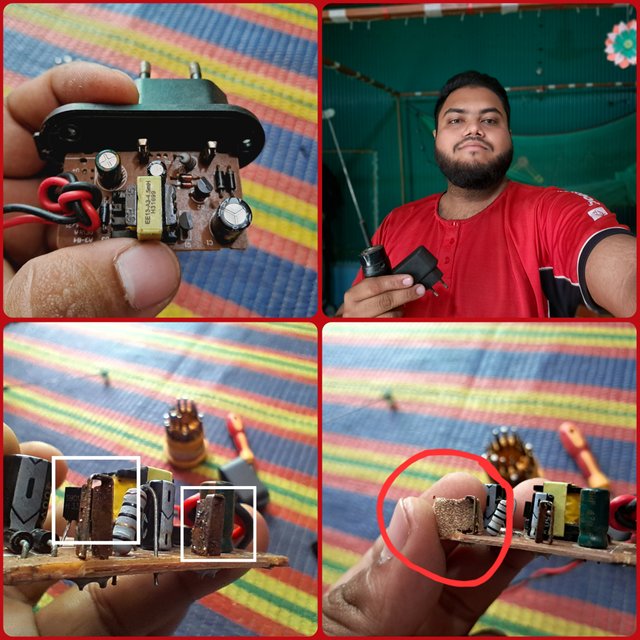
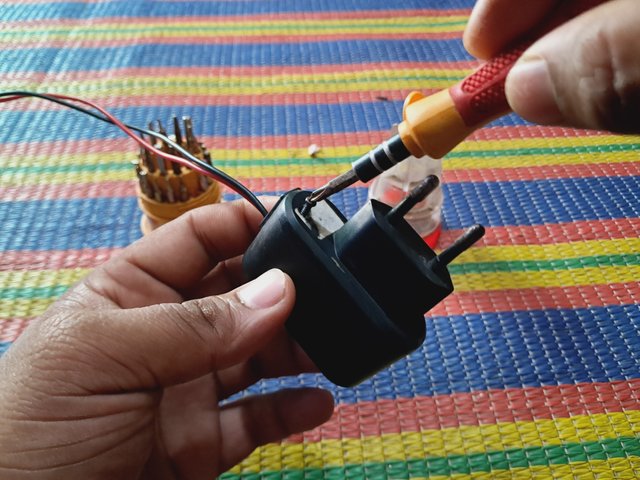
Although I thought that the charger might be the problem. But to know exactly where the problem might be, you have to open the charger. There are many parts inside the charger and any part can cause problems. So I removed the two screws of the charger with a screwdriver. I have a box of screwdrivers to open anything.
| Screwdriver box | 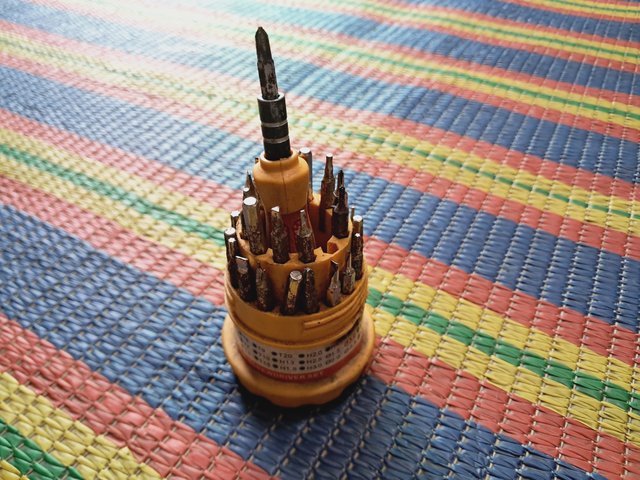 |
|---|
 Opening the charger with a screwdriver
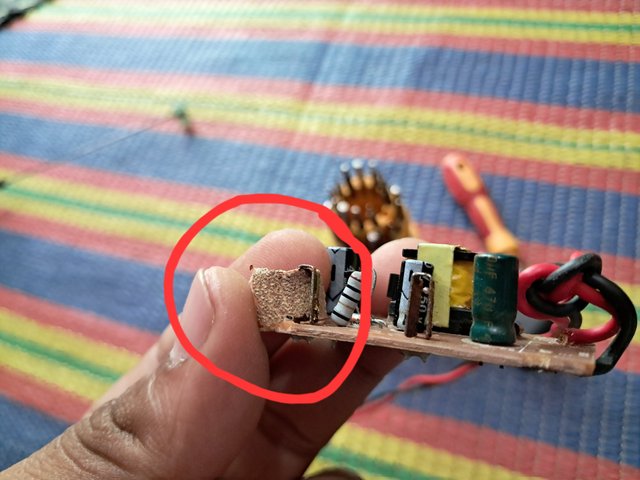
Now you can see that the IC in the charger is completely fine and intact. It wasn't burnt anywhere so I noticed that the AC pin of the charging connection inside it was corroded. This causes loose connections due to rusting. Now I have to repair this charger.
 fault ⚠️

| How did I solve the problem? |
|---|
Step-1 :-
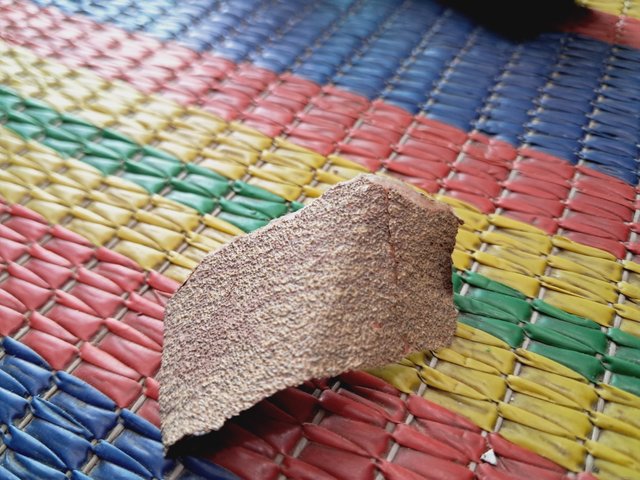
In the beginning I collected a series of papers to rub this rust. Then I scrubbed and cleaned the rust in the charger IC. Care should be taken to do this very gently, so that it does not break under pressure. I smoothed it by rubbing it.
Step-2 :-
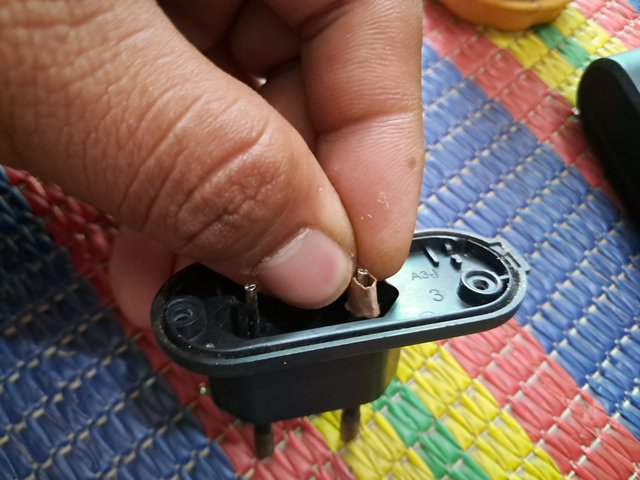
After that, I cleaned the plug on the other side of the charger by rubbing the part of the plug. While cleaning it, I rotated it by hand on both ends and finished cleaning the bottom of the plug. So that it does not rust later.
Step-3 :-
Now you see the charger has been cleaned. Now I put the two ends of the charger together. The connection is OK. Now on the back part of the IC of the charger, I cleaned the dirt by rubbing it with a brush. I cleaned the dirt that was inside
Step-4 :-
It has been repaired. Now put the charger back in the box. That's why I set the box nicely. Then I put the screws in. Care must be taken that the IC is properly set inside the box.
Step-5 :-
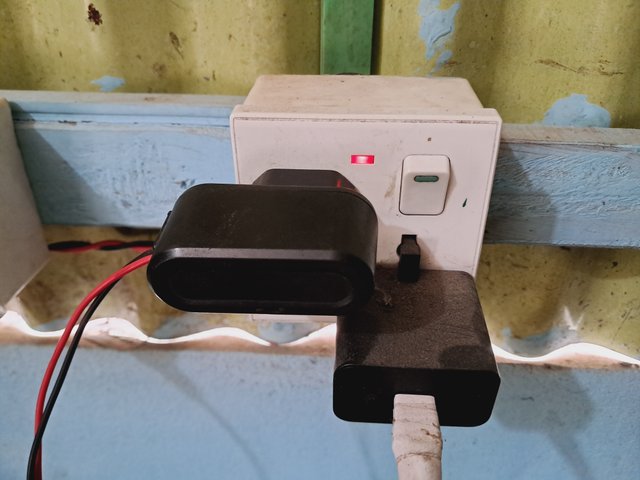
Now the final step is to test. I connected the charger to the electric line and switched on. Now it appears that after connecting the charger, this mixer machine is rotating much more than before. This means I was able to repair it properly. Due to the rusting inside it was spinning intermittently which was very annoying. So I repaired it
| The final selfie video |  |
|---|
| What precautions should be taken to do this? |
|---|
We have to take some important precautions while cleaning the charger line IC and plug to avoid any accidents and damage to the circuit. The charger must be unplugged.
The charger should be opened at least five minutes after disconnecting the power. Because the capacitance of the charger has the ability to hold electricity. Use the necessary materials for rust removal. Do not use water or any other conductive liquid directly.
Charger plugs or IC pins are very delicate so rubbing them too hard can break them. If a scratcher or sandpaper must be used, rub with a very light hand. After cleaning the rust, the charger should be dried thoroughly to avoid any moisture.
- Here is the youtube link of the original video.

So I am Inviting my lovely Steemian friends @chant, @anailuj1992, @karianaporras to Participate in this Competition.

Saludos amigo @max-pro me da gusto tenerte nuevamente en el Home Repair Club
Te cuento que ayer llegué a mi casa y no tenía internet, eso me precio raro, así que revisé los dispositivos y me di cuenta que uno de ellos estaba apagado a pesar de estar conectado a su transformador, al revisar el transformador noté que tenía un voltaje deficiente, busqué otro de reemplazo y dejé ese para repararlo y presentarlo en el Home Repair Club. Así que tú contenido también me servirá de guia.
Pudiste determinar la falla en el cargador sin necesidad de utilizar un multímetro, esto es muy bueno compartirlo porque a veces las personas no se atreven a reparar algo por no contar con multimetro, sin saber que facieme se puede hacer una prueba con otro dispositivo igual o en su defecto conectar y manipular el artefacto par ver si pasa o no corriente.
Hiciste una evaluación completa del circuito del cargador, porque pusiste sacarlo de su conexión AC y así darte cuenta que el problema estaba en los conectores oxidados.
Una lija fue lo único necesario para reparar este cargador y por supuesto, las ganas de solve tar está incómodo situación.
Nos muestras un paso a paso completo, claro y sencillo de seguir para una persona inexperta.
La humanidad en los dispositivos electrónicos son un enemigo constante, es bueno que también informes sobre las precauciones al momento de manipular un cargador.
Consejos del Mentor/Mentor Tips
Estas mejorando mucho en tu creación de contenido, más ordenado, más claro, además de estar abordando diversidad de reparaciones. Muy bien. Sigue así.
Espero verte nuevamente en el Club Home Repair Club.
Scores| 9.8/10
C.C @imranhassan
Sir thank you so much for reading my post so carefully and giving such a nice review. You said I could improve, so I'm lucky to participate here. I always follow your guidelines because you are our mentor. I am always with home repair club. Thanks for supporting me. 🧡🧡🥰🥰
X share link : https://x.com/maxpro1412/status/1899844399338827927?t=YGkkbFBvvU0aXviNpHzrng&s=19
💦💥2️⃣0️⃣2️⃣5️⃣ This is a manual curation from the @tipu Curation Project
@tipu curate
Upvoted 👌 (Mana: 6/7) Get profit votes with @tipU :)