SLC22W1 | Measurements necessary to trace the first item of children's clothing
I am pleased to participate in 1st week of SLC Season 22. I am starting with this course because last week I missed the first class which made me sad. This week, we will be learning Measurements necessary to trace the first item of children's clothing. So Let's start,
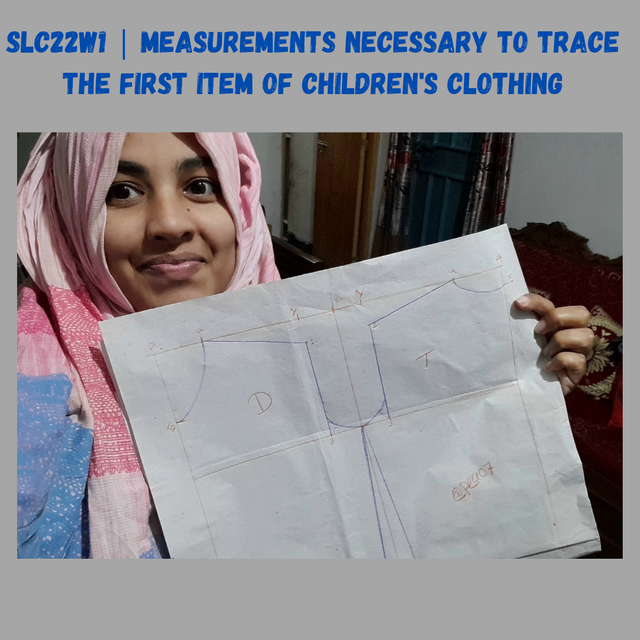
Indicate if you are going to work with industrial sizes or personal sizes.
Here I will be working with industrial sizes for this tutorial, as we all know industrial sizes provide a standard measurement that can be universally applied. It is my personal preferance.
Publish a tutorial where you explain the step by step of your line, make sure your words are coherent, your images. With more than 250 words.
As I said I will be working with industrial sizes and I will show you my measurements in cm. Since I will be using industrial measurements, I don't need to take any measurements separately. I will be taking measurements for a 4 year old child here because I have a 4 year old niece. I want to learn this for her. The industrial measurements for a 4 year old child are given below and their pattern layout is given below.
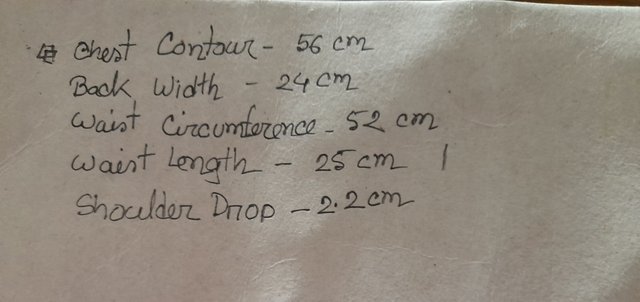
Step 1
 |  |
|---|
 |
|---|
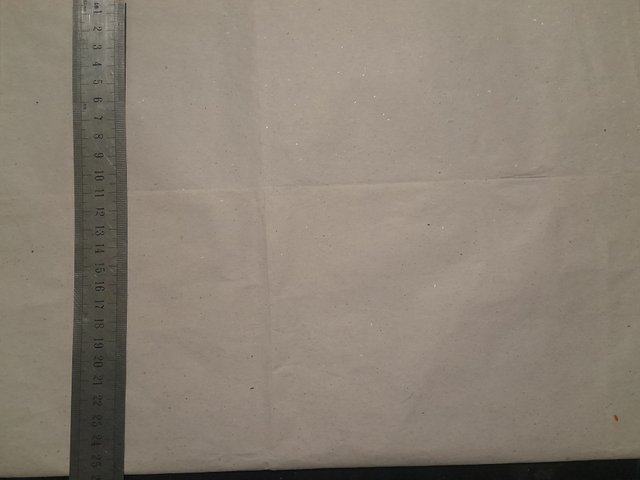
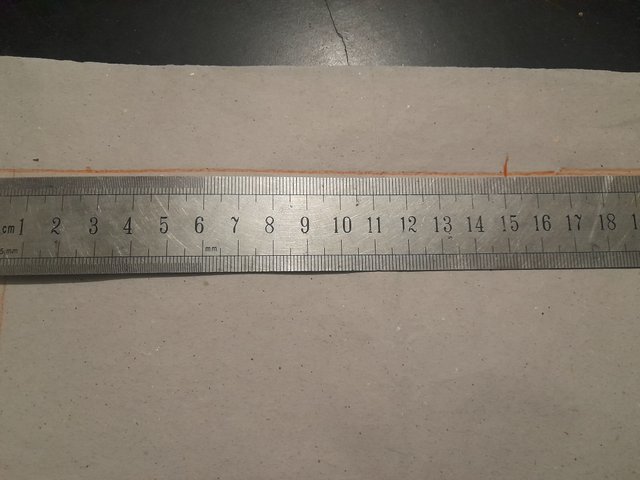
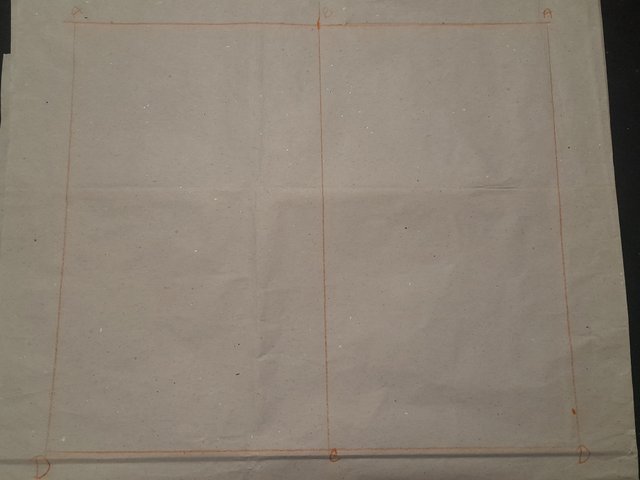
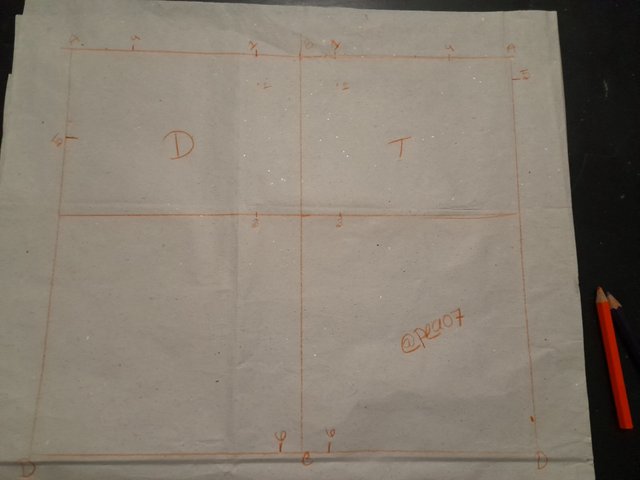
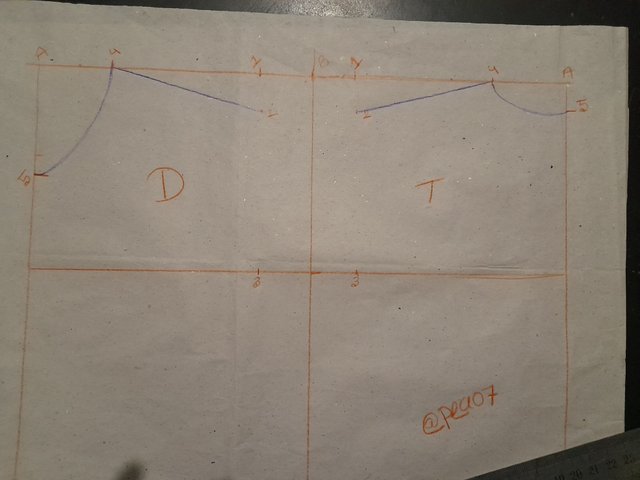
This is the basic task. I draw a rectangle 25 cm long and 15 cm wide. 25 cm is the waist lenght and then the widthis 1/4 of chesyt contour +1 which is (56 ÷ 4) + 1 = 15 cm. I mark the rectangle as ABCD and make both front and back side.
Step- 2
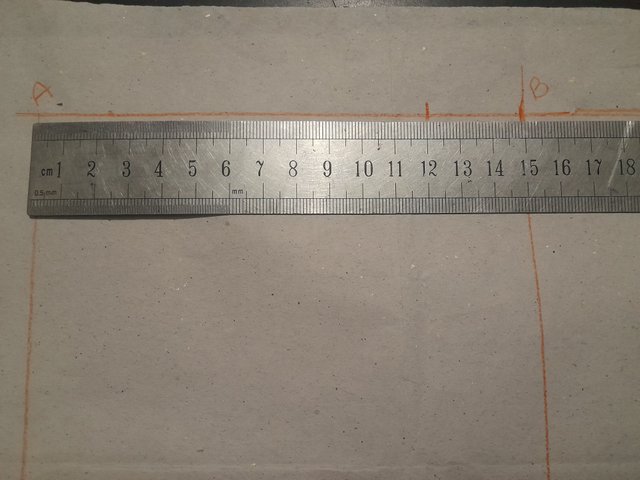
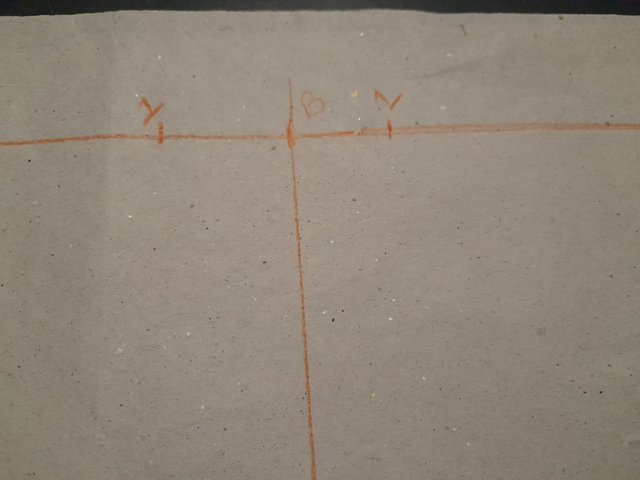
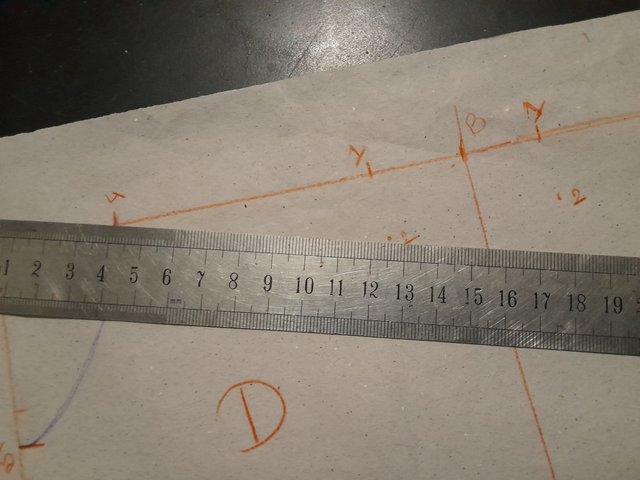
Then I point 1 from A to B in both side. Here is took 1/2 of back width measurement which is 24÷2= 12.
Step- 3
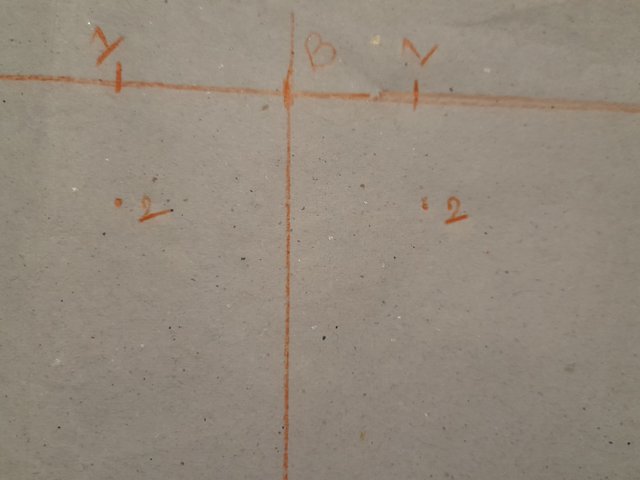
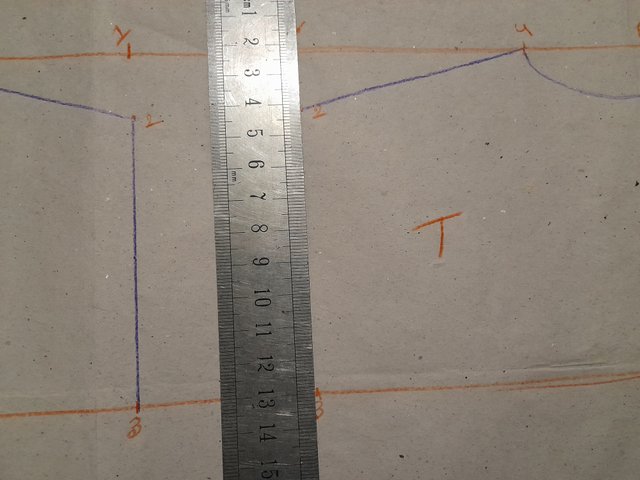
Then I took shoulder drop measurement. It was 2.2 cm. Point 2 from 1 to indide the rectangle . As you can see in the picture i provided.
Step- 4
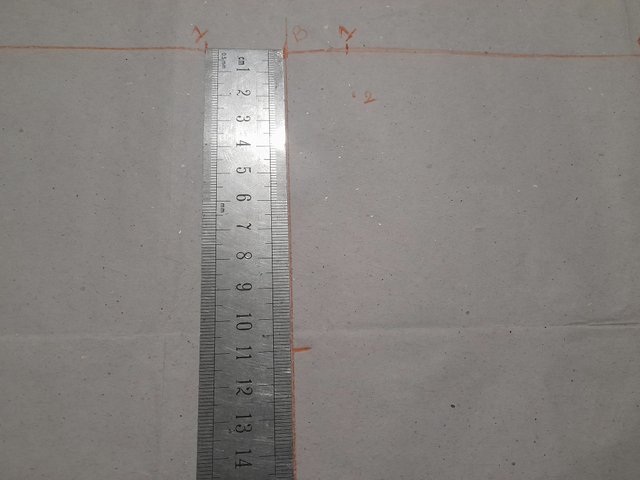
Now I work on point three. There is a formula for this. I took half back width measurement and minus 1. Then make a straight line. The measurement is (24÷2)-1=11 cm.
Step- 5
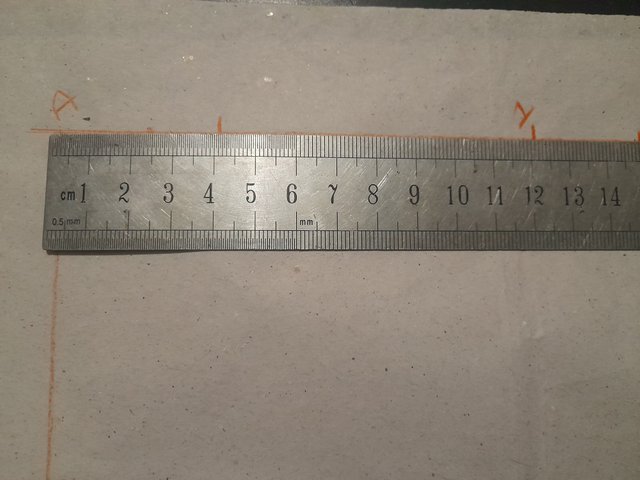
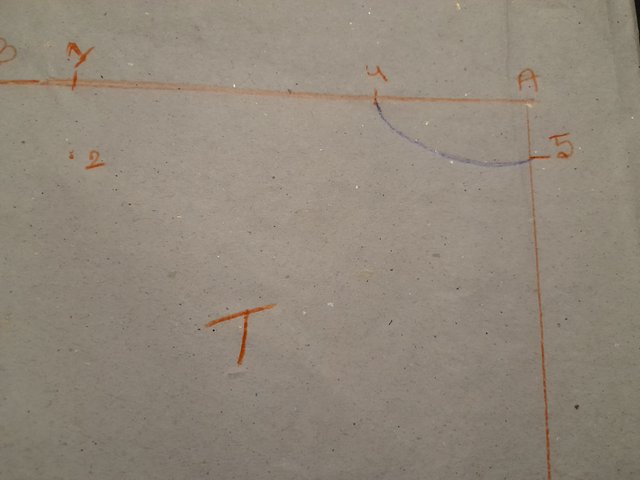
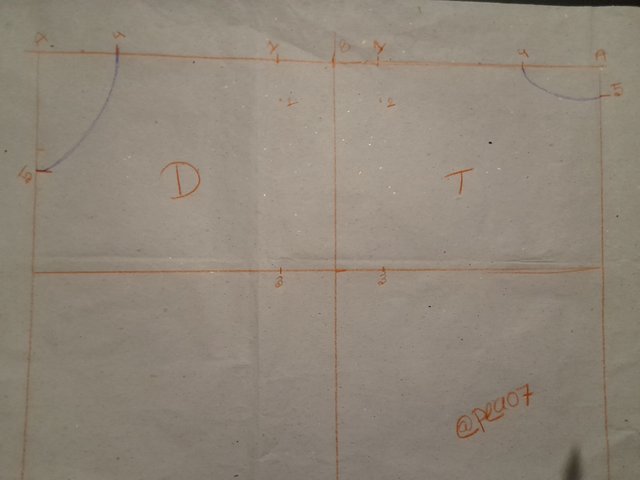
Point 4 is very important. I took 1/6 of back width from A to B. So the calculation is 24÷6=4 cm.
Step- 6
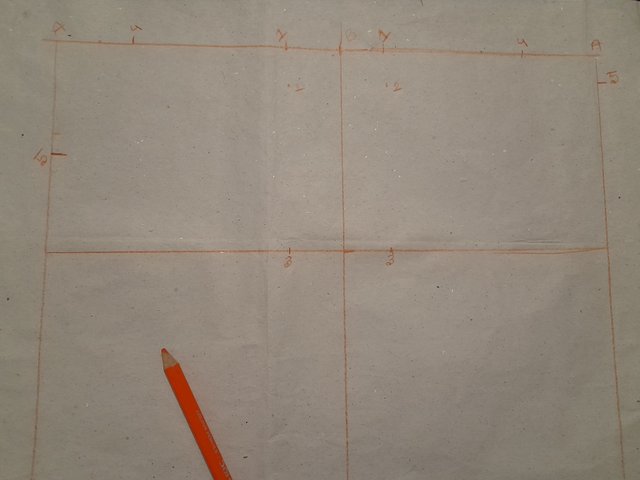
Point 5 from A to D move down. Here on the front 1/6 part of the back width plus 2 cm and back side 1.5 cm. The calculation is (24÷6)+2= 6 cm.
Step- 7
 |  |
|---|
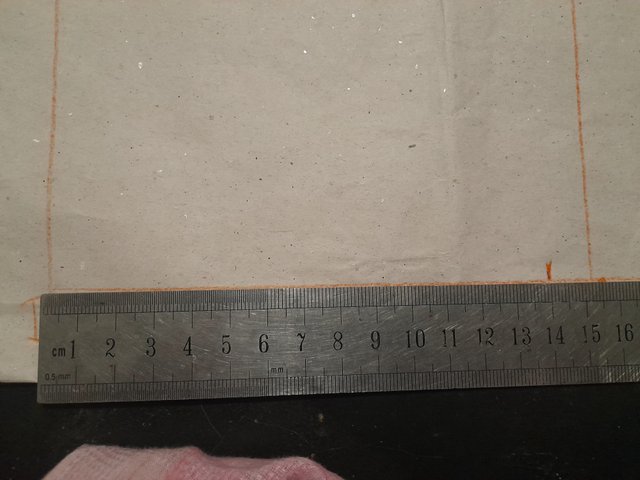
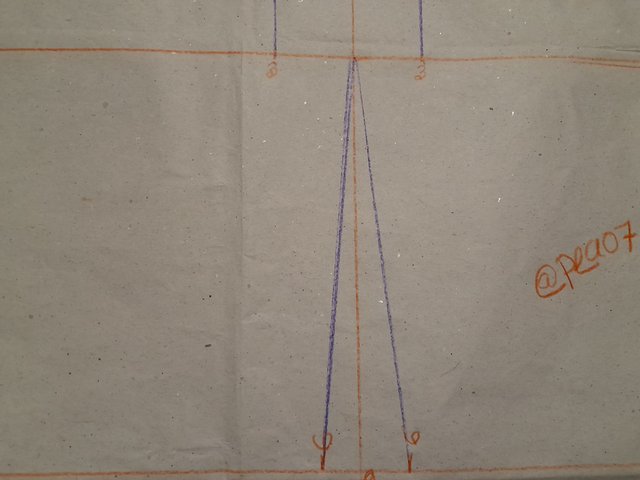
Point 6 from D to C, measure 1/4 of the waist circumference plus 1. Here I plus 1 because my model is 4 years old and for 1-6 years old kids we should plus 1 and for 7-14 years old kids we should plus 2. Here the waist cir umference is 56. So the calculation is( 52÷4)+1= 13+1=14 cm.
Step- 8
 |  |
|---|---|
 |  |
 |  |
 |  |
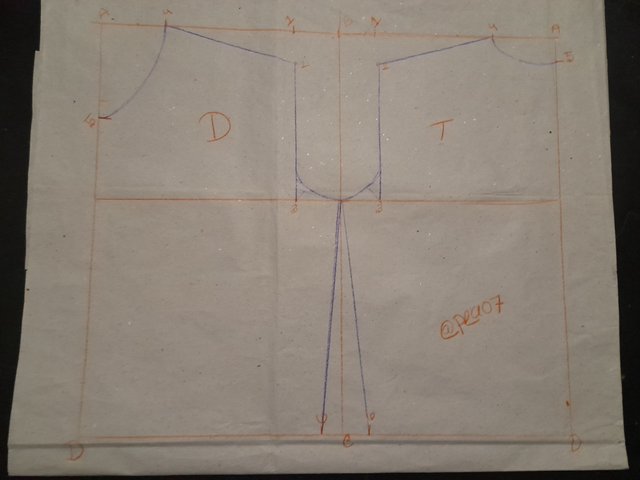 | 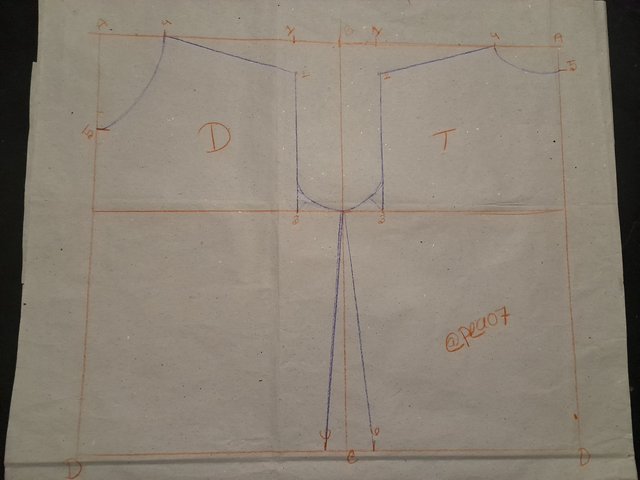 |
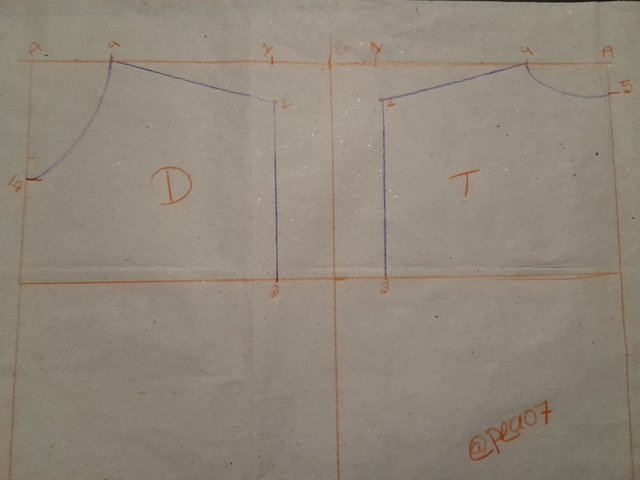
From point 4 to 5- Drew a curved line for the neckline.
Again from point 4 to 2 Drew a straight line for the shoulder.
From point 2 to 3 - Drew a straight line and
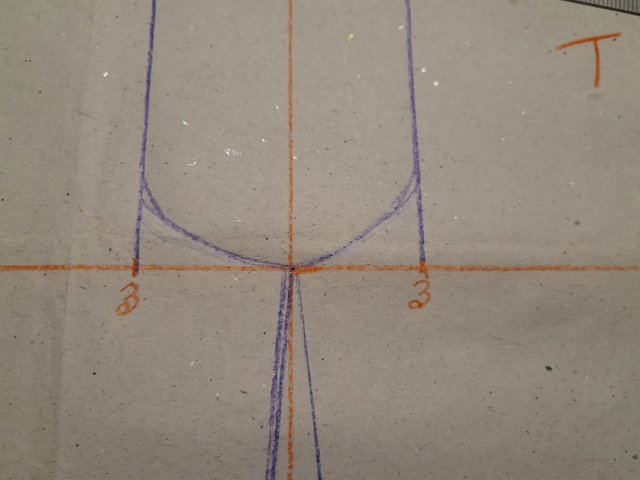
From point 6 to Chest Line - Drew a straight line for the side seam.
At last measure 1.5 cm between point 2 and point 3. Then, drew a curve to form the armhole.
This is how my pattern is ready for my niece.
I am inviting my friends @sohanurrahman
@pathanapsana @drhira to participate in this SLC.
En hora buena felicidades por ser la primera en publicar, me encanto que utilizaras muchas imágenes pero debes aplicarla a cada paso para así explicar mejor el trabajo para los nuevos integrantes. Suerte
Hola compañera, me alegra se una al desafío, me encantaría aprender junto a usted, un abrazo, pronto compartiré mi publicación, este desafío es estupendo, bendiciones.
Felicitaciones en esta temporada el puntaje de la tarea lleva incluido está maravillosa e importante práctica:
Votar y comentar al compañero 👍.
😃👍
Saludos amiga veo que a captado muy bien explicación yo espero poder participar en esta temporada ya que las anteriores no no he podido participar le deseo mucha suerte
Felicitaciones en esta temporada el puntaje de la tarea lleva incluido está maravillosa e importante práctica:
Votar y comentar al compañero 👍.
Upvoted! Thank you for supporting witness @jswit.
Saludos amiga, muy bonito los trazos, exelente trabajo, espero que lo puedas llevar hasta la tela para que realices una linda blusa a tu sobrina.
Bendiciones y suerte en el concurso 😇
Querida @pea07 me encanto sinceramente tu forma de presentarnos la clase del patronaje, lo entendí a la perfección. Creo que es muy bien acertado el haber usado las tallas industriales pues precisamente no da las tallas estándares que sabemos que le servirán a los niños según su edad. Te felicito de corazón ❤️ y espero seguir aprendiendo 😊 Éxitos
Congratulations, your post has been upvoted by @scilwa, which is a curating account for @R2cornell's Discord Community. We can also be found on our hive community & peakd as well as on my Discord Server
Felicitaciones, su publication ha sido votado por @scilwa. También puedo ser encontrado en nuestra comunidad de colmena y Peakd así como en mi servidor de discordia
I am happy to see that you are taking personal measurements of 4 years old child but it would be more good if you have explained that how you have taken the following measurements that you have shown in the picture. It could enhance your explanation about this learning challenge!
I also want to do invite you to visit my post which I am sharing soon!
@lunasilver
Seeing your post inspired me to participate in this challenge. I can also work as a tailor so it will be very easy for me. Thank you very much for expressing your words in a beautiful way.
Best of luck to you in the competition.