Police Lights/Horn with microcontroller
Hi there!
in this post i'll show you how to build your own police lights/horn.
That's what it looks like:
What you need:
- Microcontroller (Arduino, Elegoo,...)
- three 330 Ohms resistors
- a blue and a red LED
- a buzzer for sound playback
- a button
...and of course some jumper wires
Ok let's start!
First you have to connect the two LEDs to the circute. It's importante to connect them the right way around. Note that the longer Leg of the LED is the + and the shorter the - pole. Connect the - to ground and + to the 2nd and 3rd digital pin. Or just look at the image below 😎.
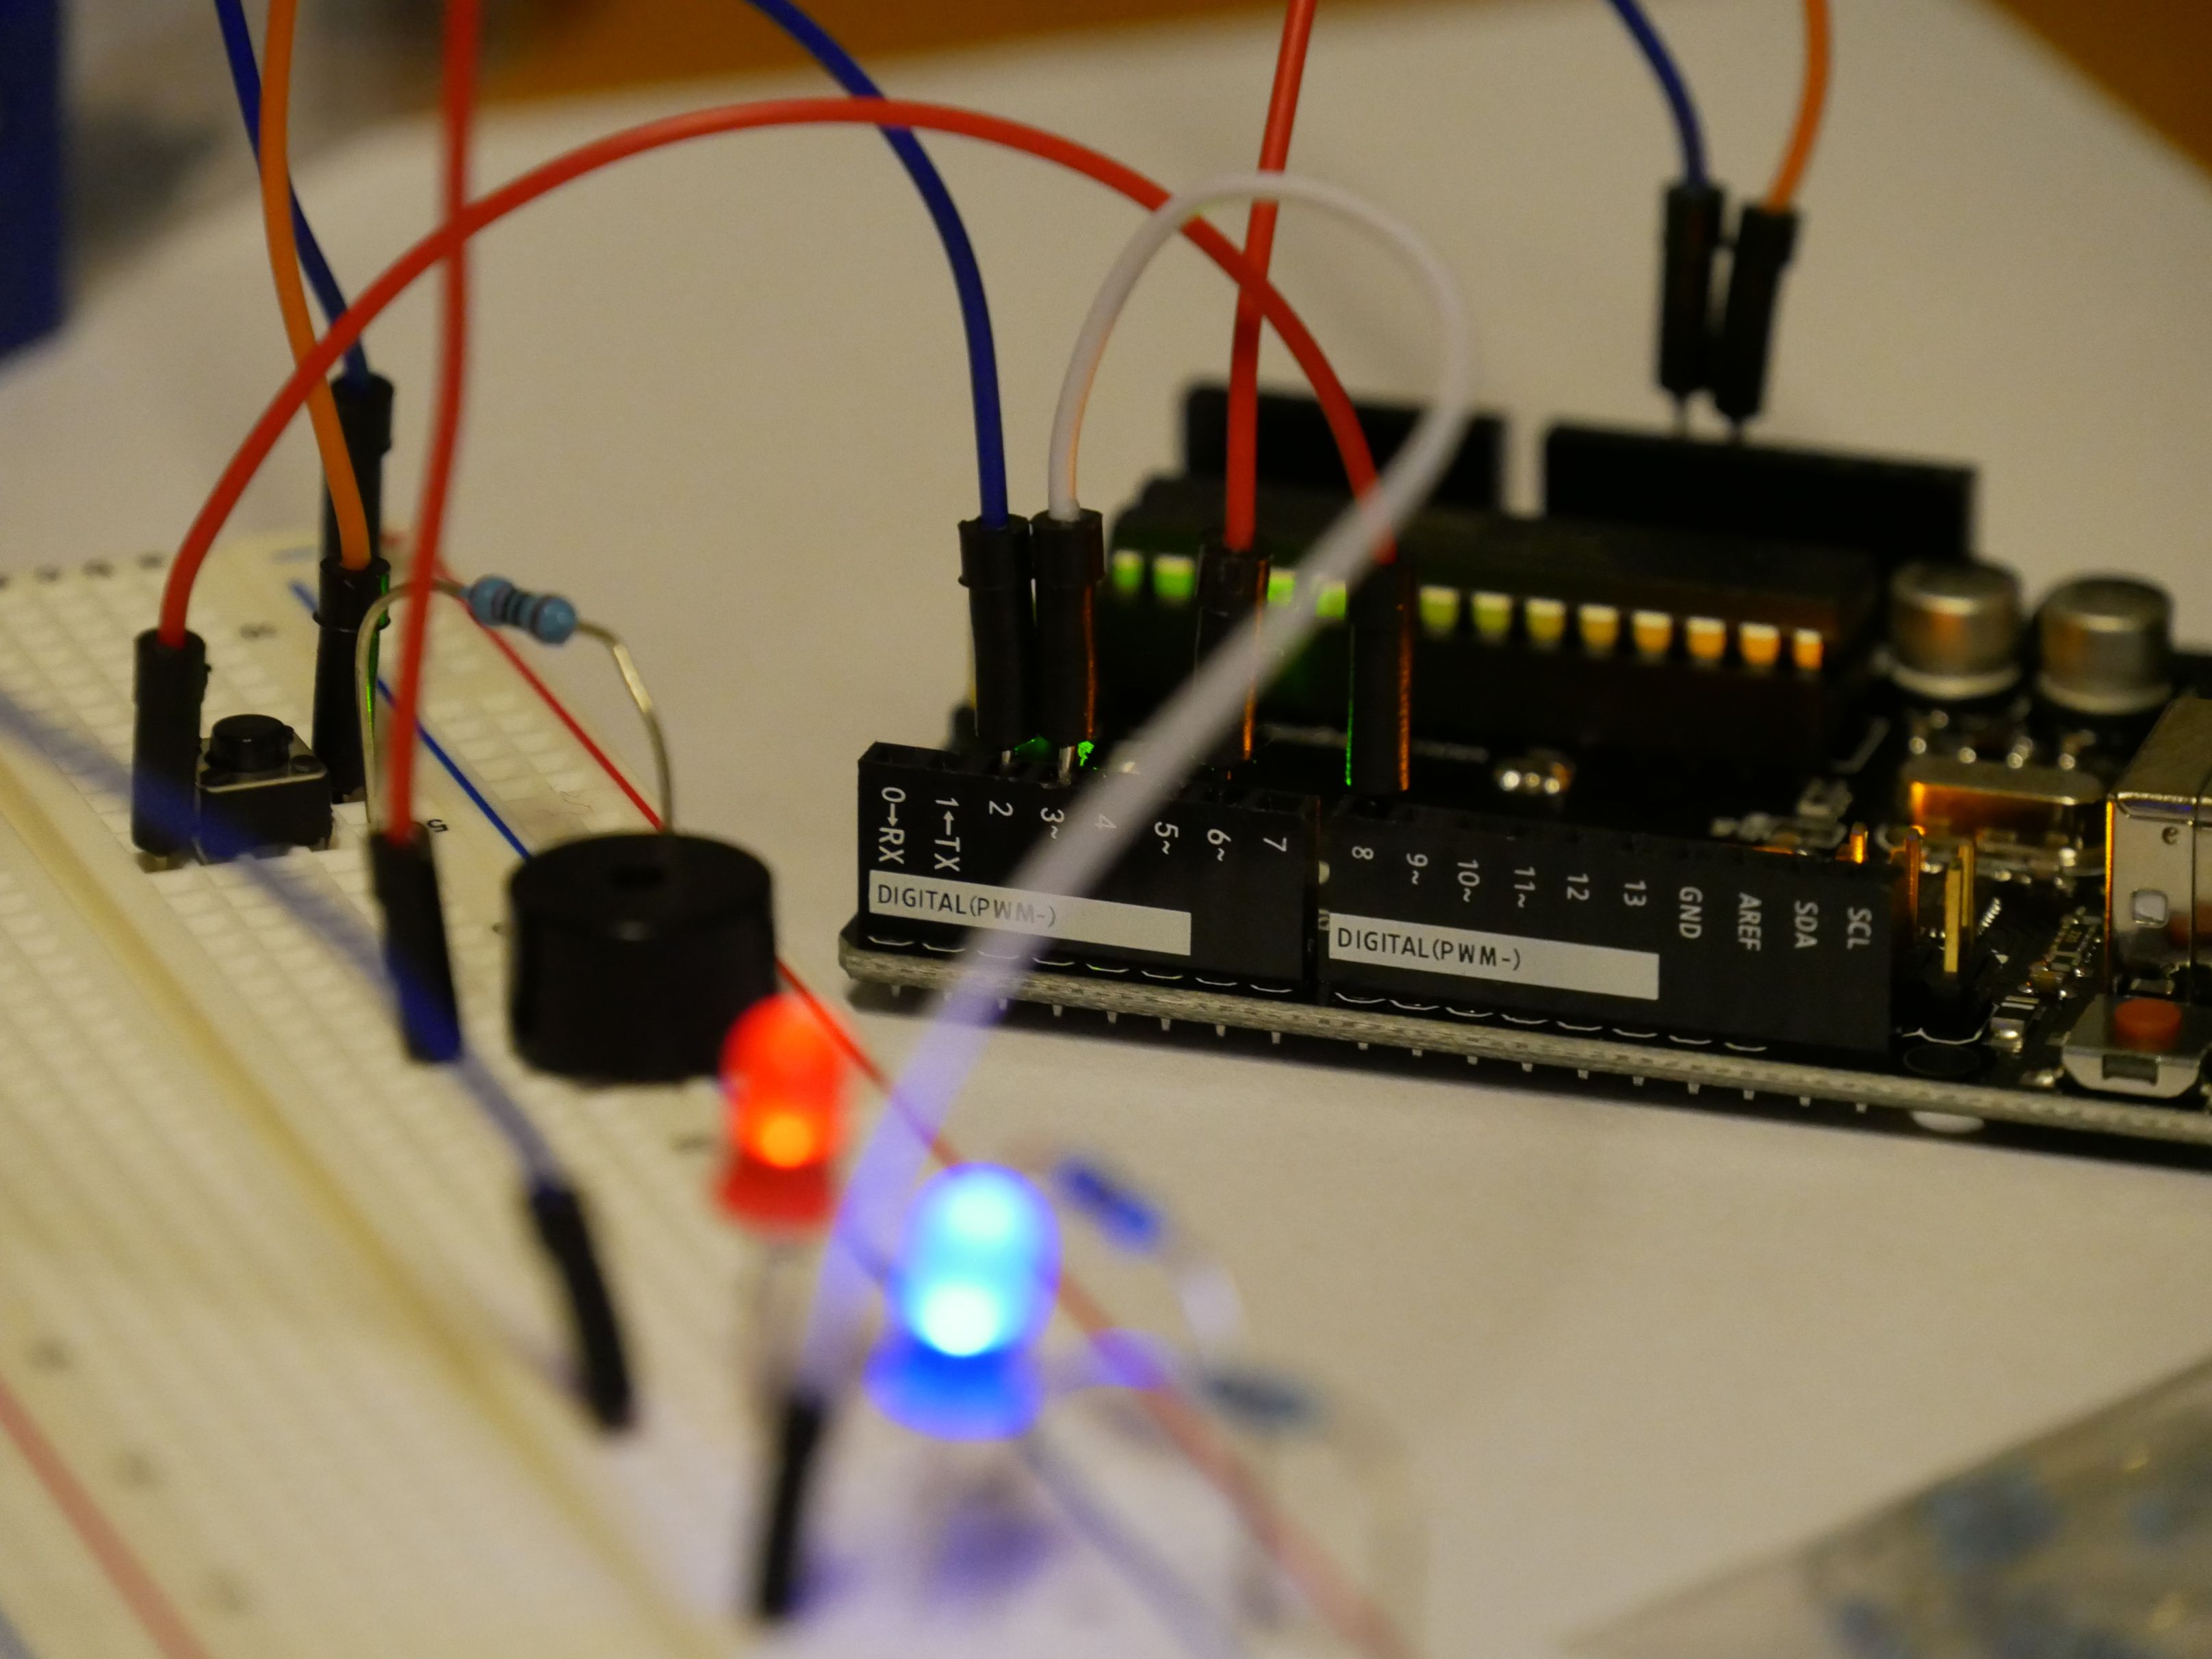
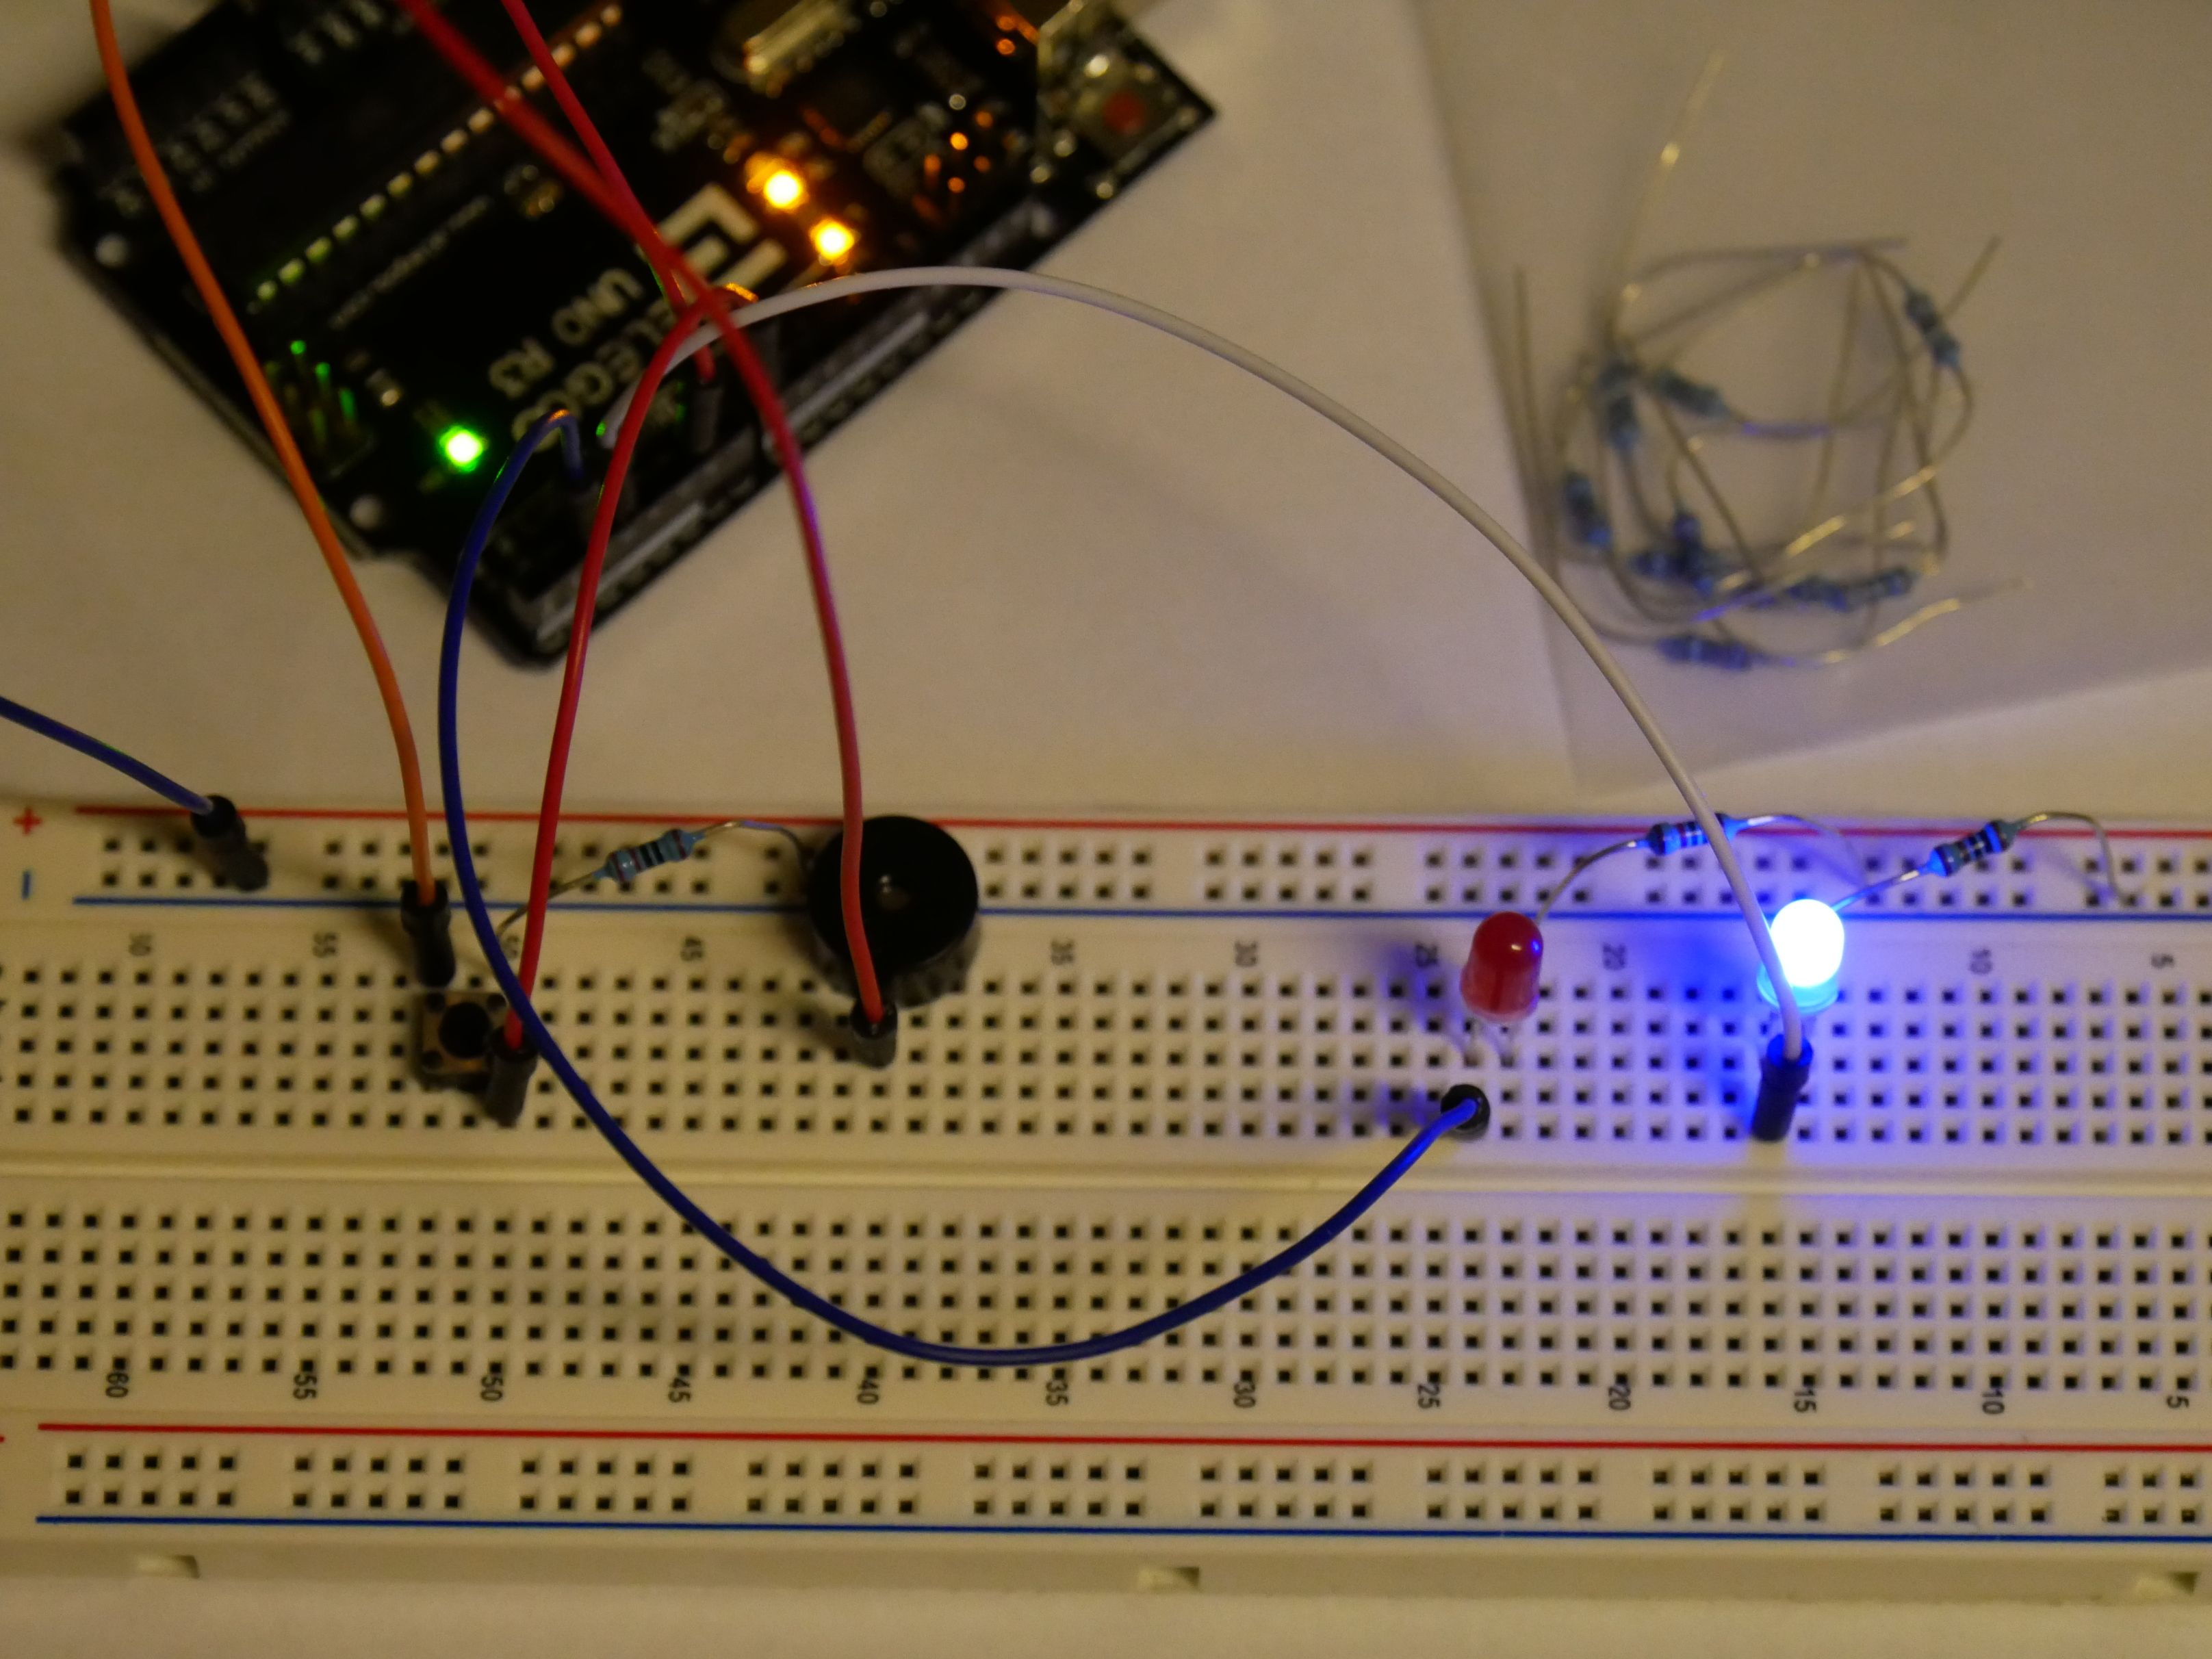
Next stop, the buzzer. Connect it to your digital pin 6. Don't forget to ground your buzzer to close the circute cause it wouldn't work otherwise.
Now connect your Button, noticed how the jumper wires are connected diagonal so that the button closes the circute when pressed.
Check if everything is grounded properly and you're done.
Next: program your microcontroller
You may have already noticed that an arduino is not cabable of running more than one loop at the same time.
However we need 3 threads running at the same time (LEDs blinking, Tone, and the Button).
So how could you do that?
Well the answer is: Try to run through all functions as fast as posible so that it looks like the controller is multithreading but isn't.
Anyway here is how I solved the problem, kind of...
Comments are in German cause it's my native language, if you have any questions about the code feel free to comment below.
And don't forget to upvote and resteem the post 😛
#define blau 2 //Definiert den Pin des blauen LEDs
#define rot 3 //Definiert den Pin des roten LEDs
#define Buzzer 6 //Definiert den Pin des Buzzers
#define Button 8 //Definiert den Pin des Buttons
bool Pushbutton=false; //Button Variable (gedrückt oder nicht gedrückt)
unsigned long letztezeit = 0; //Letzte Zeit bei verlassen des "Zyklus"
int x = 0; //Variable fürs debugging Zählt die Nummer des Zyklus
int Zyklusdauer = 300; //Gibt die Dauer eines Zyklus an, Ein LED leuchtet die halbe Zyklusdauer
int y = 0;
int i = 0;
void setup() {
// put your setup code here, to run once:
pinMode(blau, OUTPUT); //Definiere blau als OUTPUT
pinMode(rot, OUTPUT); //Definiere rot als OUTPUT
pinMode(Button, INPUT); //Definiere den Button als INPUT
pinMode(Buzzer, OUTPUT);
Serial.begin(9600); //Started den Serialmonitor
}
void loop() {
if(millis()-letztezeit < (Zyklusdauer/2)) //Lässt das blaue LED bis 0,5 Sec. nach Zyklusbeginn brennen; Rot ist aus
{
digitalWrite(blau, HIGH);
digitalWrite(rot, LOW);
}
else{ //Lässt das rote LED von 0,5 Sec. bis 1 Sec. nach Zyklusbeginn brennen; Blau ist aus
digitalWrite(blau, LOW);
digitalWrite(rot, HIGH);
if(millis()-letztezeit > Zyklusdauer) //Fragt das Ende eines Zyklus ab
{
letztezeit = millis(); //Setzt letzte Zeit mit der aktuellen gleich, ein neuer Zyklus beginnt
Serial.println(x); //Zeigt die Nummer des Zyklus im Serial Monitor
x++; //Erhöht x um 1
}
}
if(digitalRead(Button) == HIGH) //Fragt ab ob der Button gedrückt ist
  {Pushbutton = true;
  if(i == 0)
  {y++;}
  Serial.println("PButton");
  letztezeit = millis();
    }

if(y % 2 == 0)
{
  if(millis()- letztezeit <100){
  tone(Buzzer, 440);
      Serial.println("YES");
  }
  else{
     tone(Buzzer, 440);
      Serial.println("YES");
      i = 0;
    }


  }
if(y % 2 != 0)
{
  if(millis()- letztezeit <100)
  {
  noTone(Buzzer);
      Serial.println("NO");

  }
  else{
    noTone(Buzzer);
    Serial.println("NO");
    i = 0;
    }

  }
}