Duncannon Scroll (part 2) - Sand/Cement Sculpture

Where was I? Oh yes, we just finished the the mold making part of this piece. As a quick catch me up we first carved this sculpture from the sand of Duncannon beach and then used an experimental process of taking a mold from it in plaster. You can read all about it in Part 1 of this post here .So far so good. Now came the part where we had to try and turn it into a parmanent sculpture for village.
We had decided on cement (or actually I should say concrete) as our material due to its cost effectiveness and also so we could actually use the sand from the beach to make the piece. I had been warned by many people that using beach sand to make concrete was a big no no. The salt in the sand would make the mix less durable and possibly cause it to crack and flake. but the romantic notion of actually using the beach sand to make the sculpture was too much, Sure what was the worst that could happen? complete disaster and we would be back to plan B all the way back in my last post.
But, this wasn't structural concrete and didn't have to hold up any buildings so we said Lets give it a lash and here's how.

Step 1
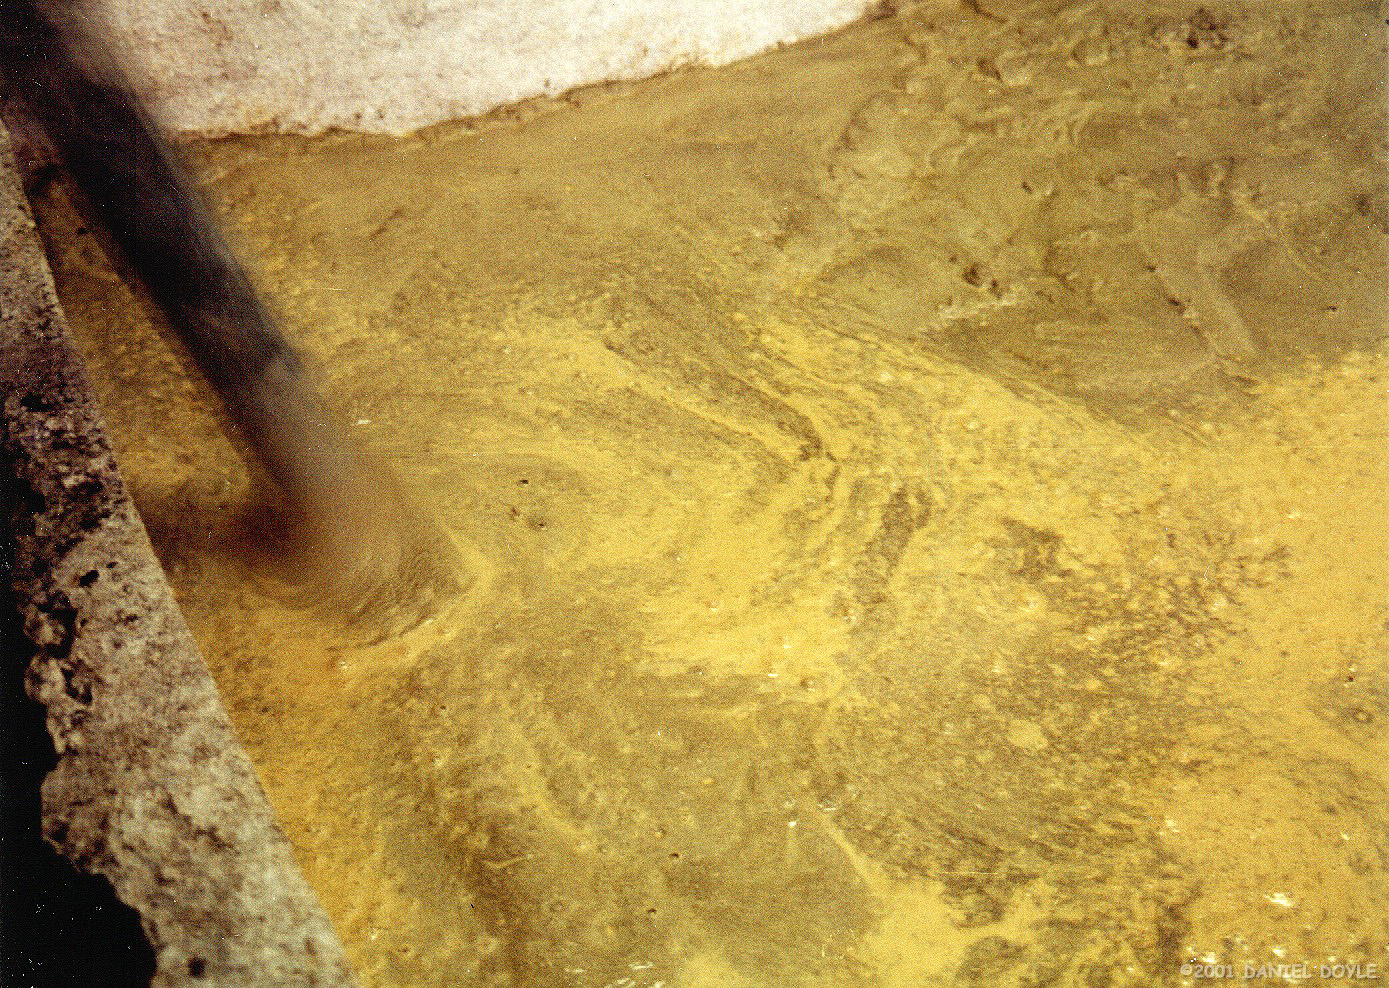
We figured that the Sand / cement mixture would stick to the plaster so some sort of release agent would be needed. Our weapon of choice was liquid latex. We could put it through a sprayer and get a nice seal and boundary between the plaster and concrete.

Step 2
Concrete can be very strong but also quite brittle so we made up a lattice of reinforcing bars which would be embedded in the concrete. The ends of these would poke through the surface creating eyelets for lifting the panels into place. (You'll see this in a later picture.)

Step 3
A few tests had been made of different mixtures of sand, cement and toning pigment to get the desired colour of the concrete and theses were given time to set and dry. With just the sand and white cement mix the colour was too pale. The pigment brought the sandy colur back in.

Step 4
Then, the materials were prepared. Dry sand was brought from the beach and sieved to get ride of all the flotsam and jetsome and other things that were not sand..

Step 5
From our previous experiments we settled on the best mix. I can't remember what exactly it was but it was important to have it consistent over the whole sculpture. They were measured out on the floor and mixed by hand.

Step 6
A sand/ cement/ toned mix of around a inch thick was pasted into the mold, making sure all the details were covered.
Step 7
And then, a poker vibrator (Like an industrial strength sex toy) was used to vibrate out any air bubbles.

Step 8
Finally with the metal reinforcing bars fitted in place the mold were filled with concrete made from sand/ gravel and cement. We opted to not have the colour all the way through as it would have taken alot of sand and toner and we felt the tradition concrete would be much stronger especially after using our vibrator to compact it.

Step 9
We then gave the sculpture 3 weeks to set and cure. Probably not that much time was needed but we wanted to make sure of a strong surface so we could get the molds of safely
These things were heavy, so we set up a block and tackle on a scaffold and were able to raise them to a standing position.

Step 10
Removing the plaster took a good while because we wanted to be gentle and not damage the surface of the cast. The Latex release gave a nice rubbery area to get a wood chisel into to pry the surfaces apart and the plaster came off quite easily.

Step 11
Once the main part of the plaster was chipped away we were already happy with the success of the result or should that be the result of the success. All the detail we had carved from sand had come out pin sharp.

Step 12
Outside again went the panels for a final Power wash and wire brush to get ride of the last of the plaster and latex. It just needed a lick and a promise (Old Irish mammy saying) and all was done.
To our joy and relief we had been able to achieve what we set out to do. The panels looked as good as we could have hoped for a first attempt at making a sand sculpture live on.
All that was left to do was put the whole thing back together in it's final resting place but that would take another year, because permissions needed to be gotten form the council and a plinth needed to be built.
I will make one more post in this series showing that part of the process but, for now I'll leave it there. Thanks for reading and for all the love my last post got.


Ps
Thanks for reading. I use Steemit to document my work as an ephemeral Sculptor of sand, snow and ice among other things. This will hopefully give it a new life on the Steem blockchain. I am doing them in chronological order so there are many more to come. Below you will find some of my recent posts.

Duncannon Scroll (part 1) - Sand/Cement Sculpture

The holey Demo- sand sculpture

Atlantis with tentacles - sand sculpture
I hope you'll join me again soon.
@ammonite
Nice posts Daniel. I'm sorry i don't take time to comment your posts (and you are not the only one) I've not enough time and motivation, i speak less and less on the web these times. This project is really interesting and well documented especially because I am currently questioning myself about the use of concrete in my works ...Thanks a lot
Nice to hear from you Alain, Hope all is well and that you are busy with your art work. Concrete is a very versatile material and very suitable for sculpture. There are many things you can add to it for different effects.
Un proceso interesante, laborioso pero interesante. La máxima dificultad para mí sería el crear el motivo en negativo .
Puedes consultar mi primera publicación donde explico cómo creé el negativo
Google translated
Congratulations, Your Post Has Been Added To The Steemit Worldmap!
Author link: http://steemitworldmap.com?author=ammonite
Post link: http://steemitworldmap.com?post=duncannon-scroll-part-2-sand-cement-sculpture
Want to have your post on the map too?
Hello @ammonite, thank you for sharing this creative work! We just stopped by to say that you've been upvoted by the @creativecrypto magazine. The Creative Crypto is all about art on the blockchain and learning from creatives like you. Looking forward to crossing paths again soon. Steem on!