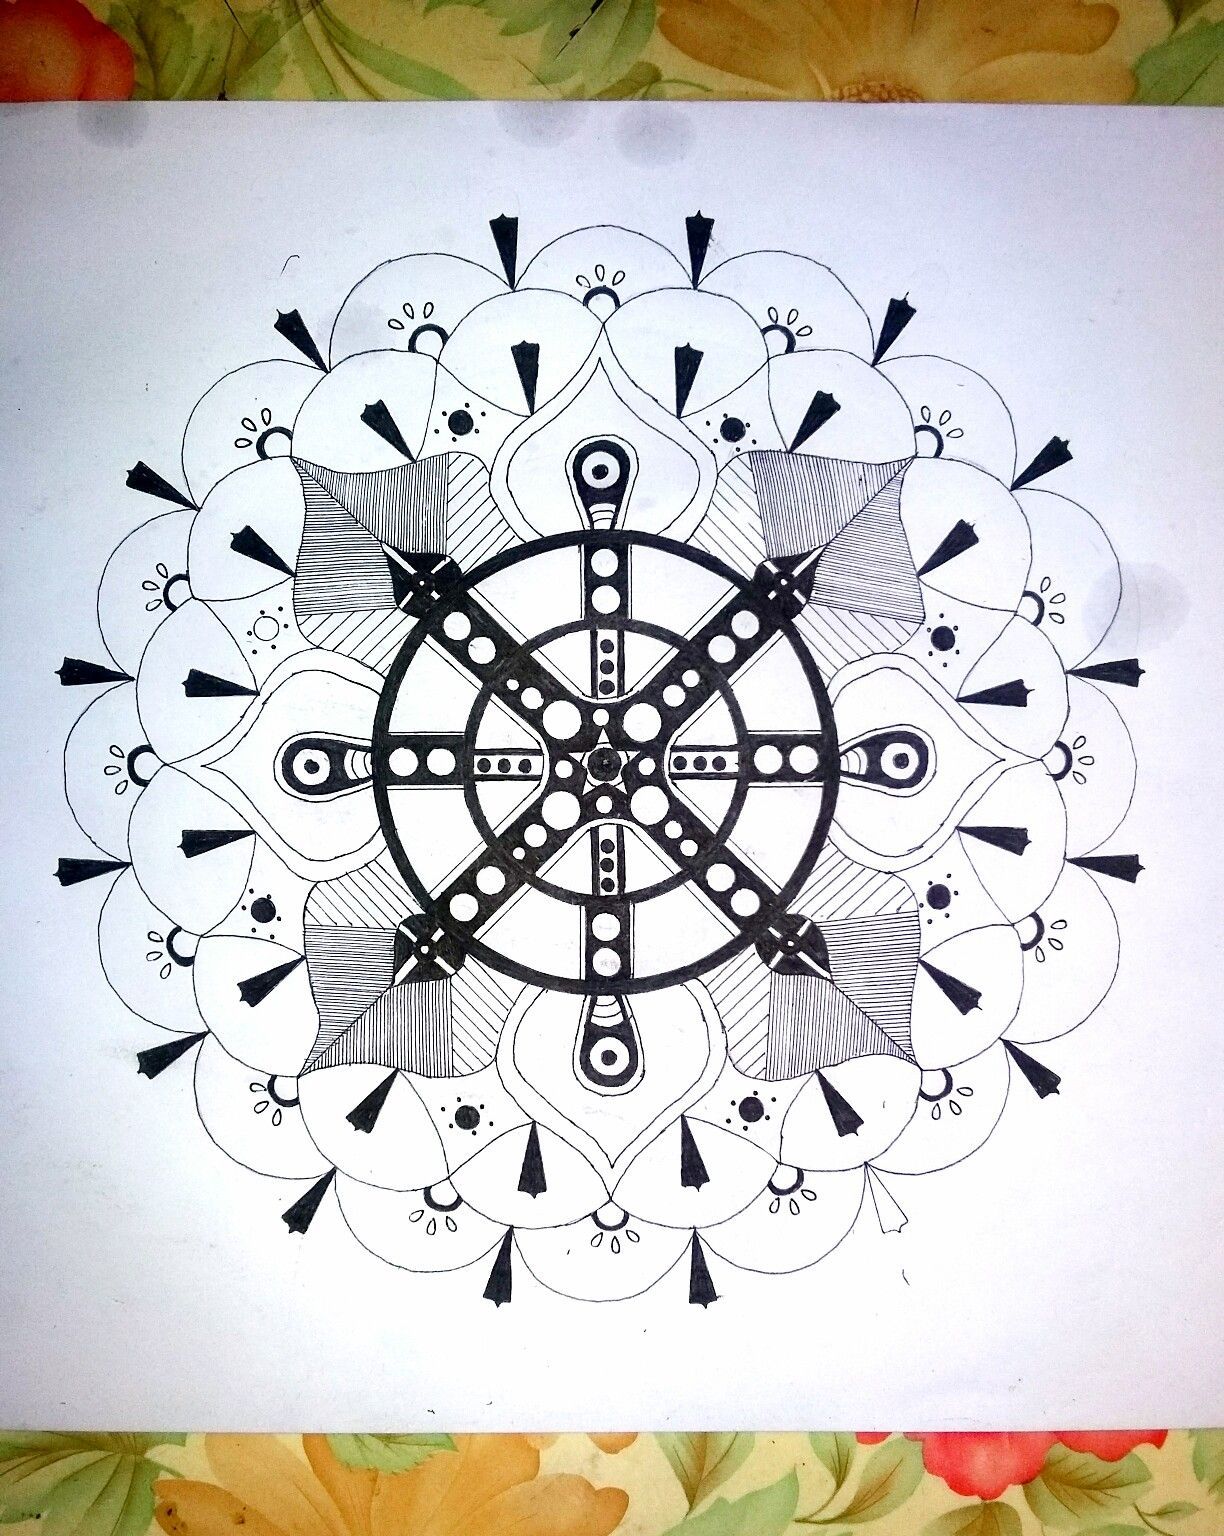
Artwork #20 : Mandala Floral Art 🌸| Amazing and Unique Styles 👍✒ | Step - by - Step and Detailed Processess
Greetings! Another breathtaking Mandala Artwork was made @originalworks was made by yours truly and forever will be. 😉
I have been so busy lately with my school works. Sorry for not blogging randomly. But this time I'll be showing you another made artwork of mine which is a MANDALA
| Before we go on to the steps, Please grab and prepare your materials to be used . ✒📐📏
MATERIALS :
📌 Sketch Pad
📌 Pencil
📌 Gel Pen (0.3)
📌 Ruler
📌 Precised Circle Sizes
📌Triangle ( Any types will do)
📌Eraser
STEP 1
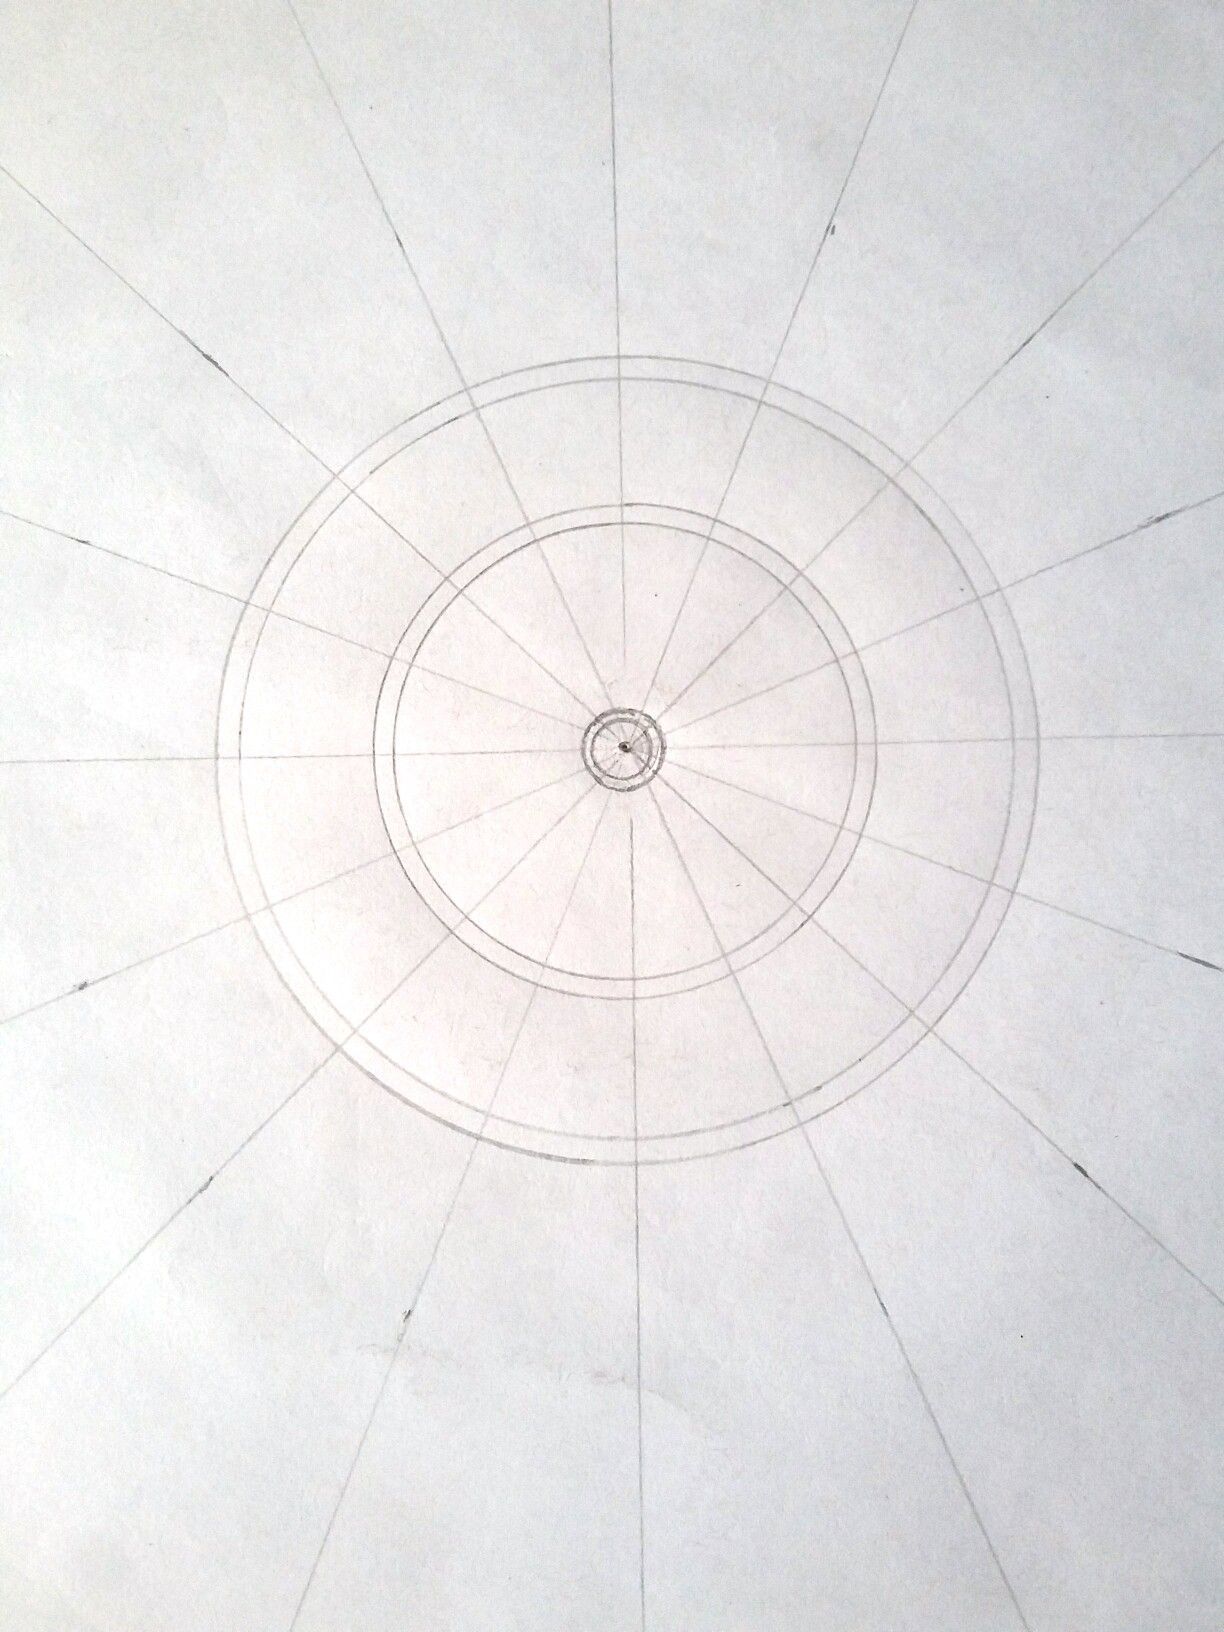
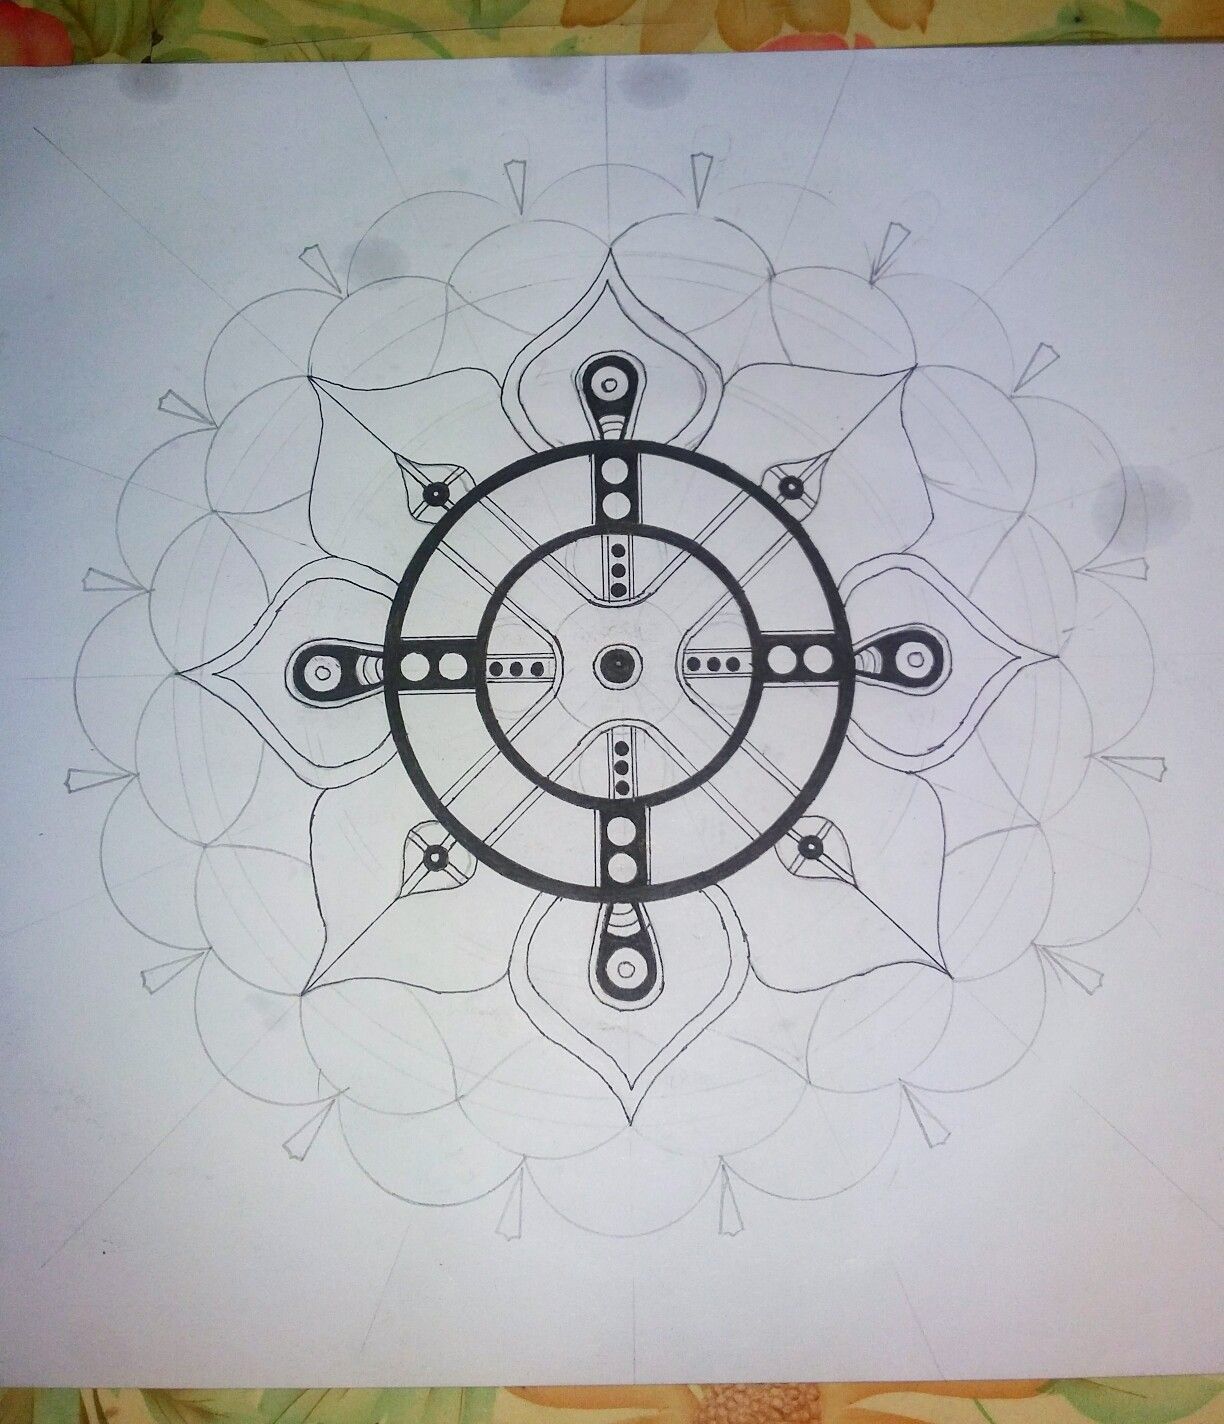
First and foremost is to draw the guidelines which is Line Rays and Circles . The first circle must be the smallest size you prefer.
( See Photo)
STEP 2
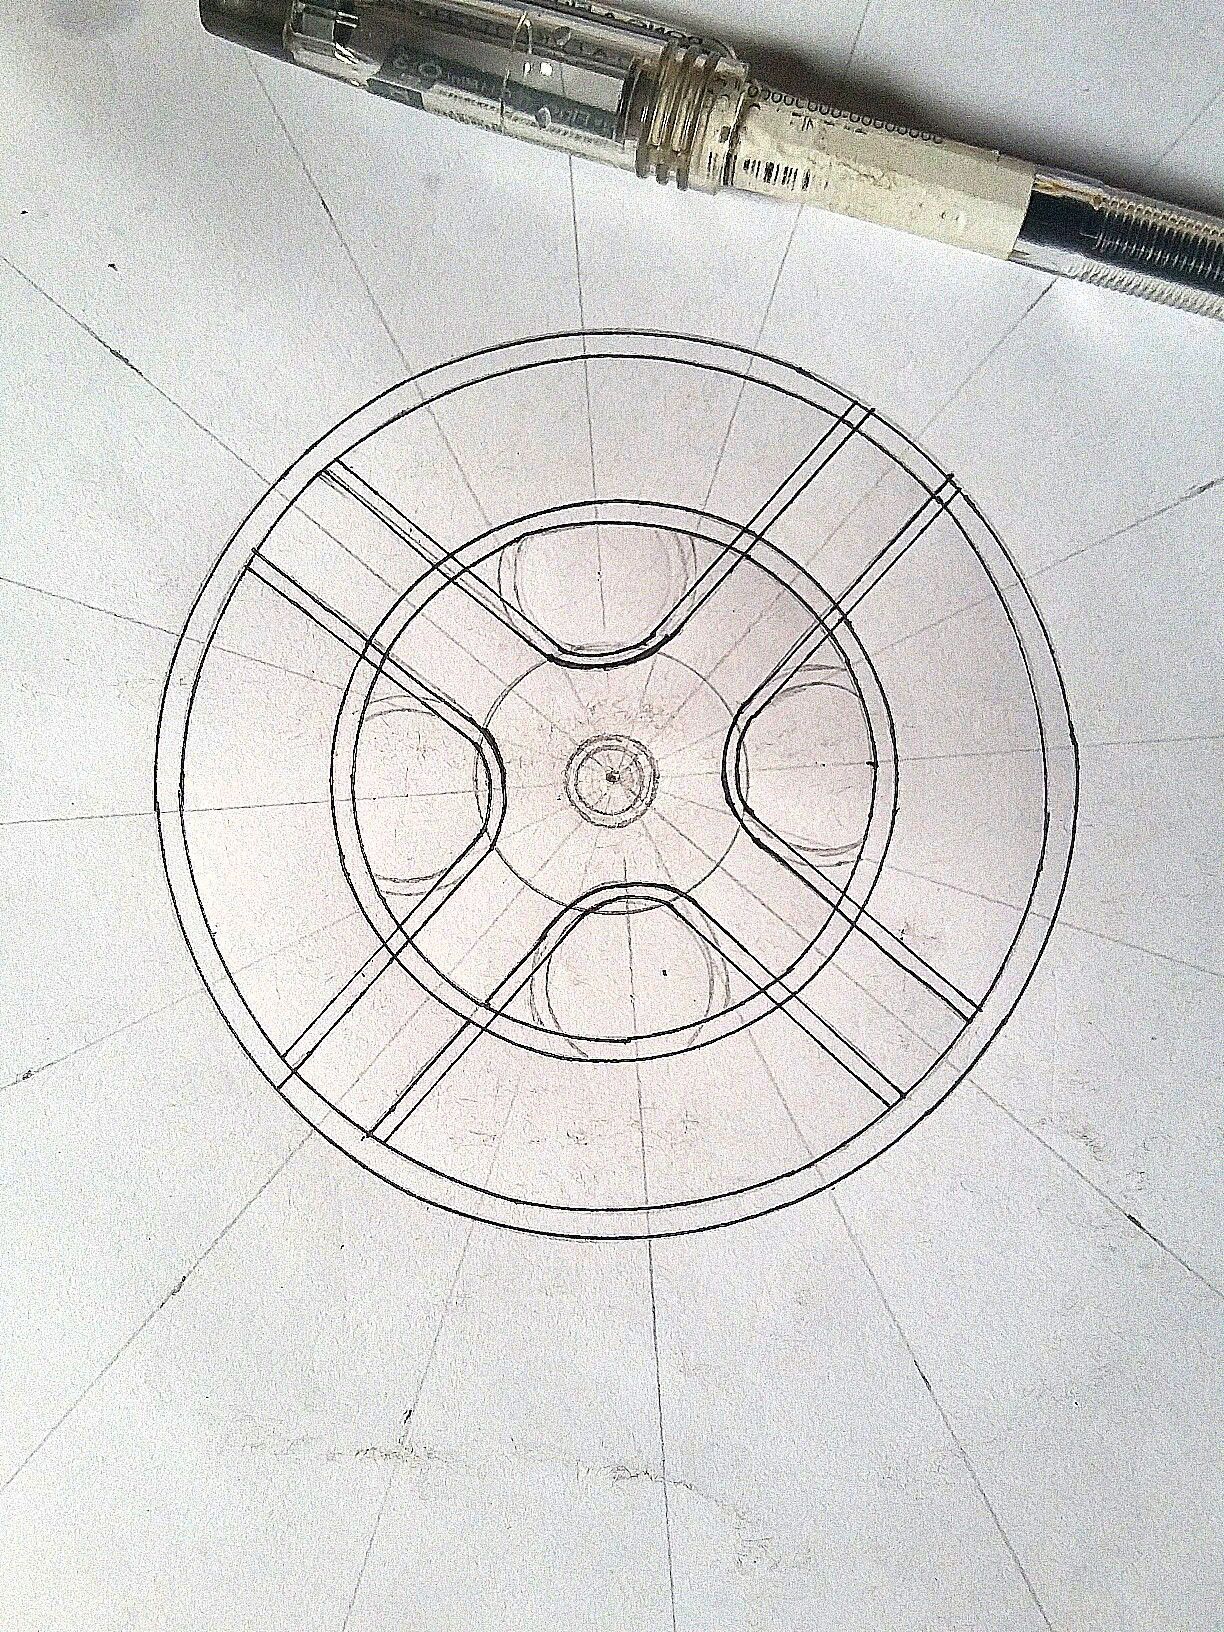
Draw your first design and 4 mini circles on each corner of your design. ( See Photo).
STEP 3
Then, carefully Trace afterwards using your Gel Pen.
STEP 4
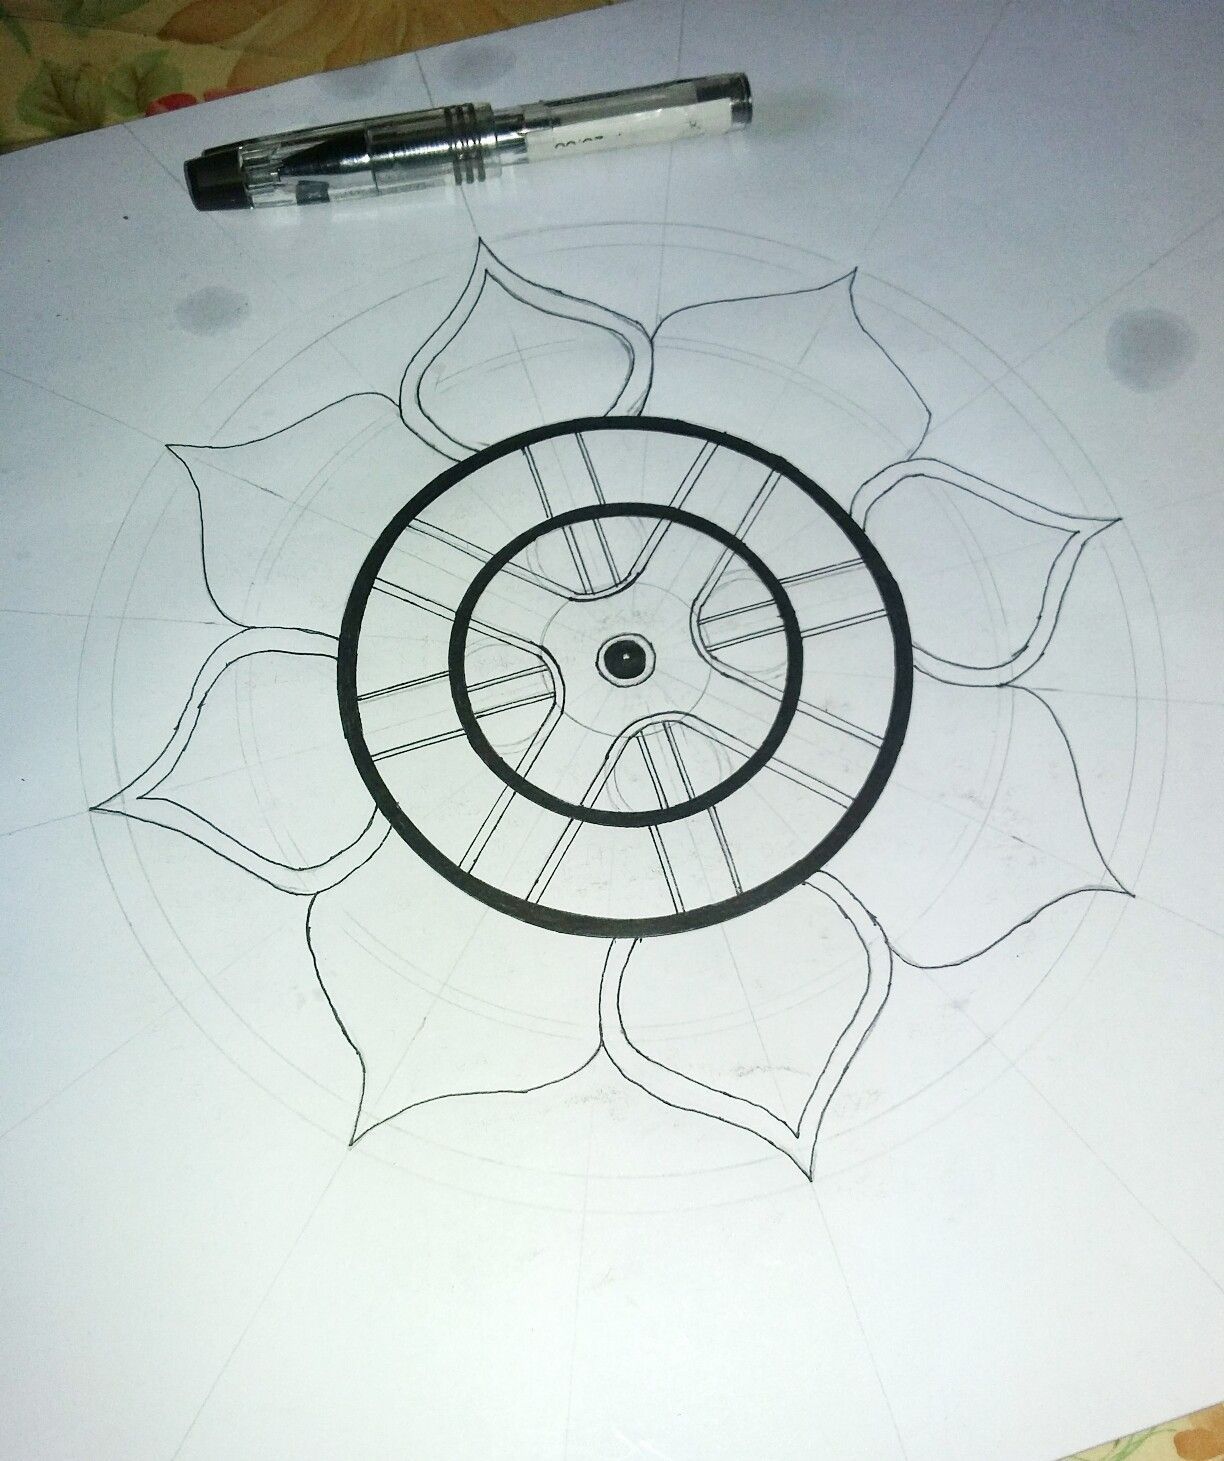
Blackening the circles (See Photo)
STEP 5
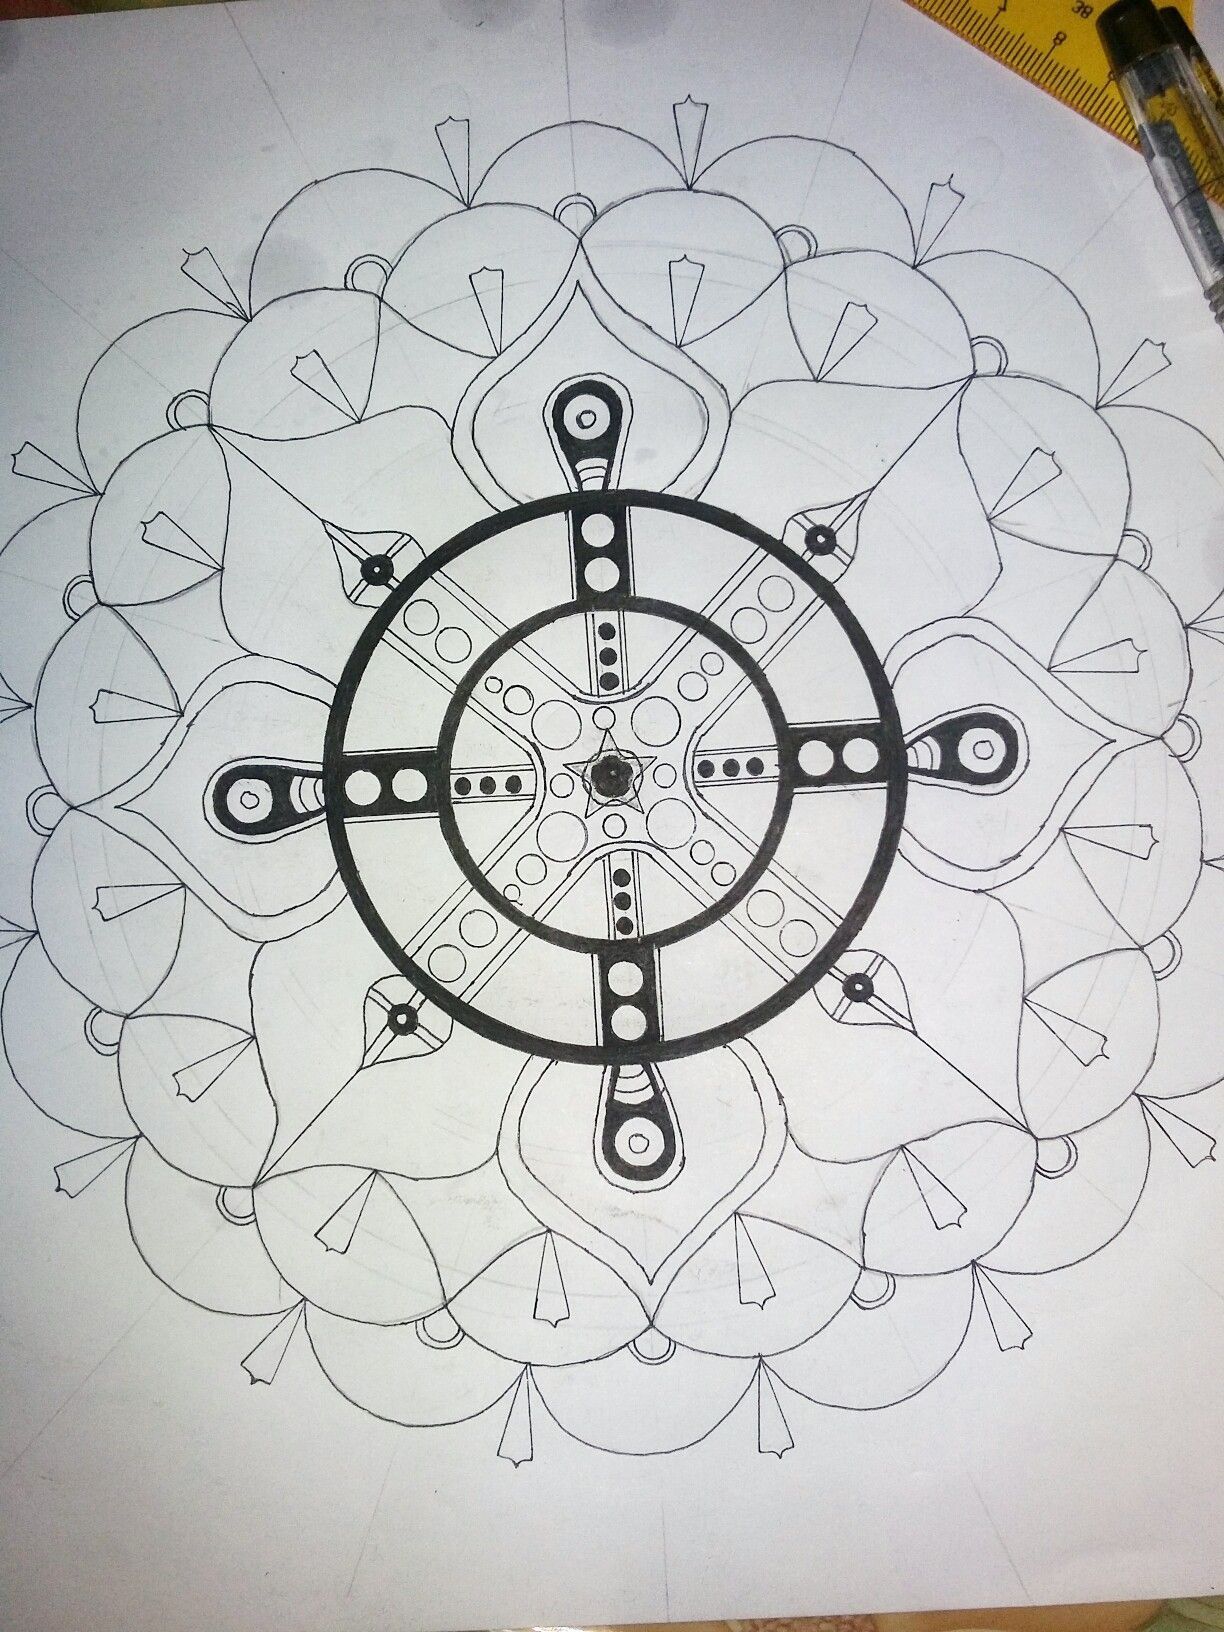
Draw your Petal Design approximately will have 8 of it. Just be sure to design it differently and alternately as shown. (See Photo)
STEP 6
Add more designs, and blackening some parts if it.
STEP 7
Add more layered petal designs.
STEP 8
Add designs for the innermost circles . (See photo)
STEP 9
Continue your designs and gently erase your pencil drawn to make it clear for you to see and it is neat and clean .
STEP 10
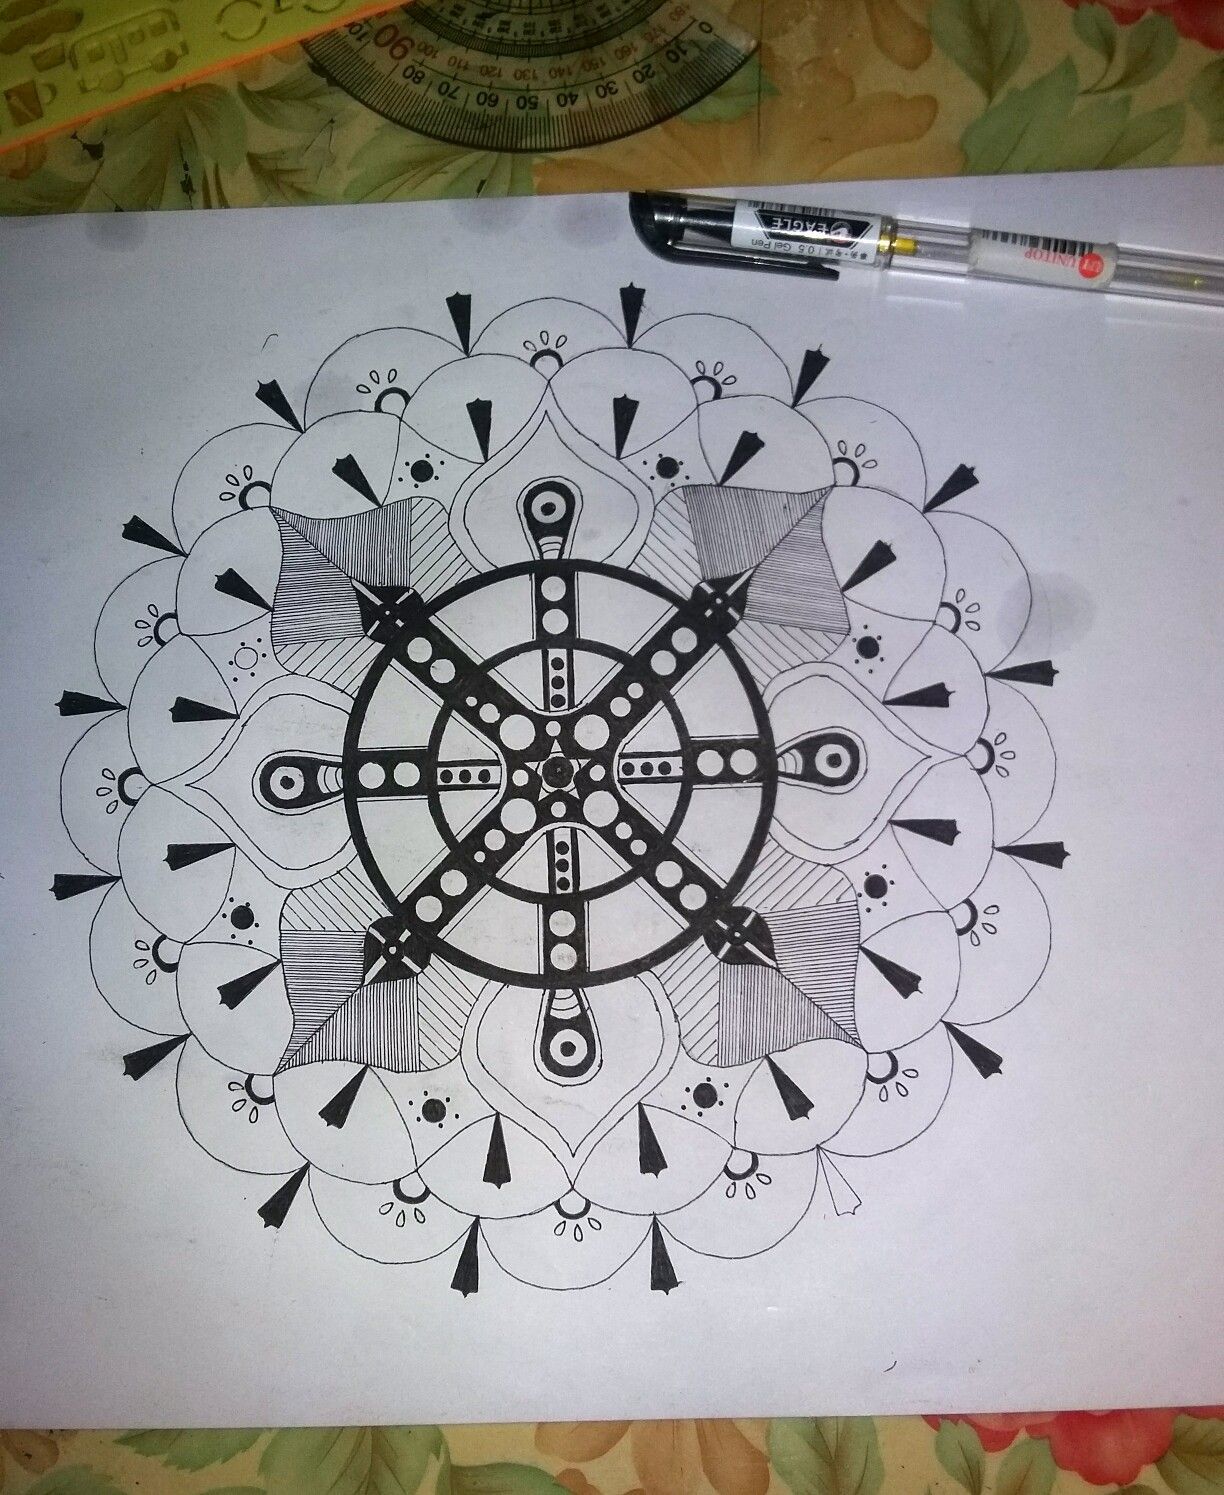
Continue draw your final designs to make it more beautiful. (See photo)
STEP 11
Final touching and your done! 😉
Thank you for visiting my blog 😘
Have a Nice Day!
Cute Artist
UPVOTE | RESTEEM | COMMENT 👌😊
