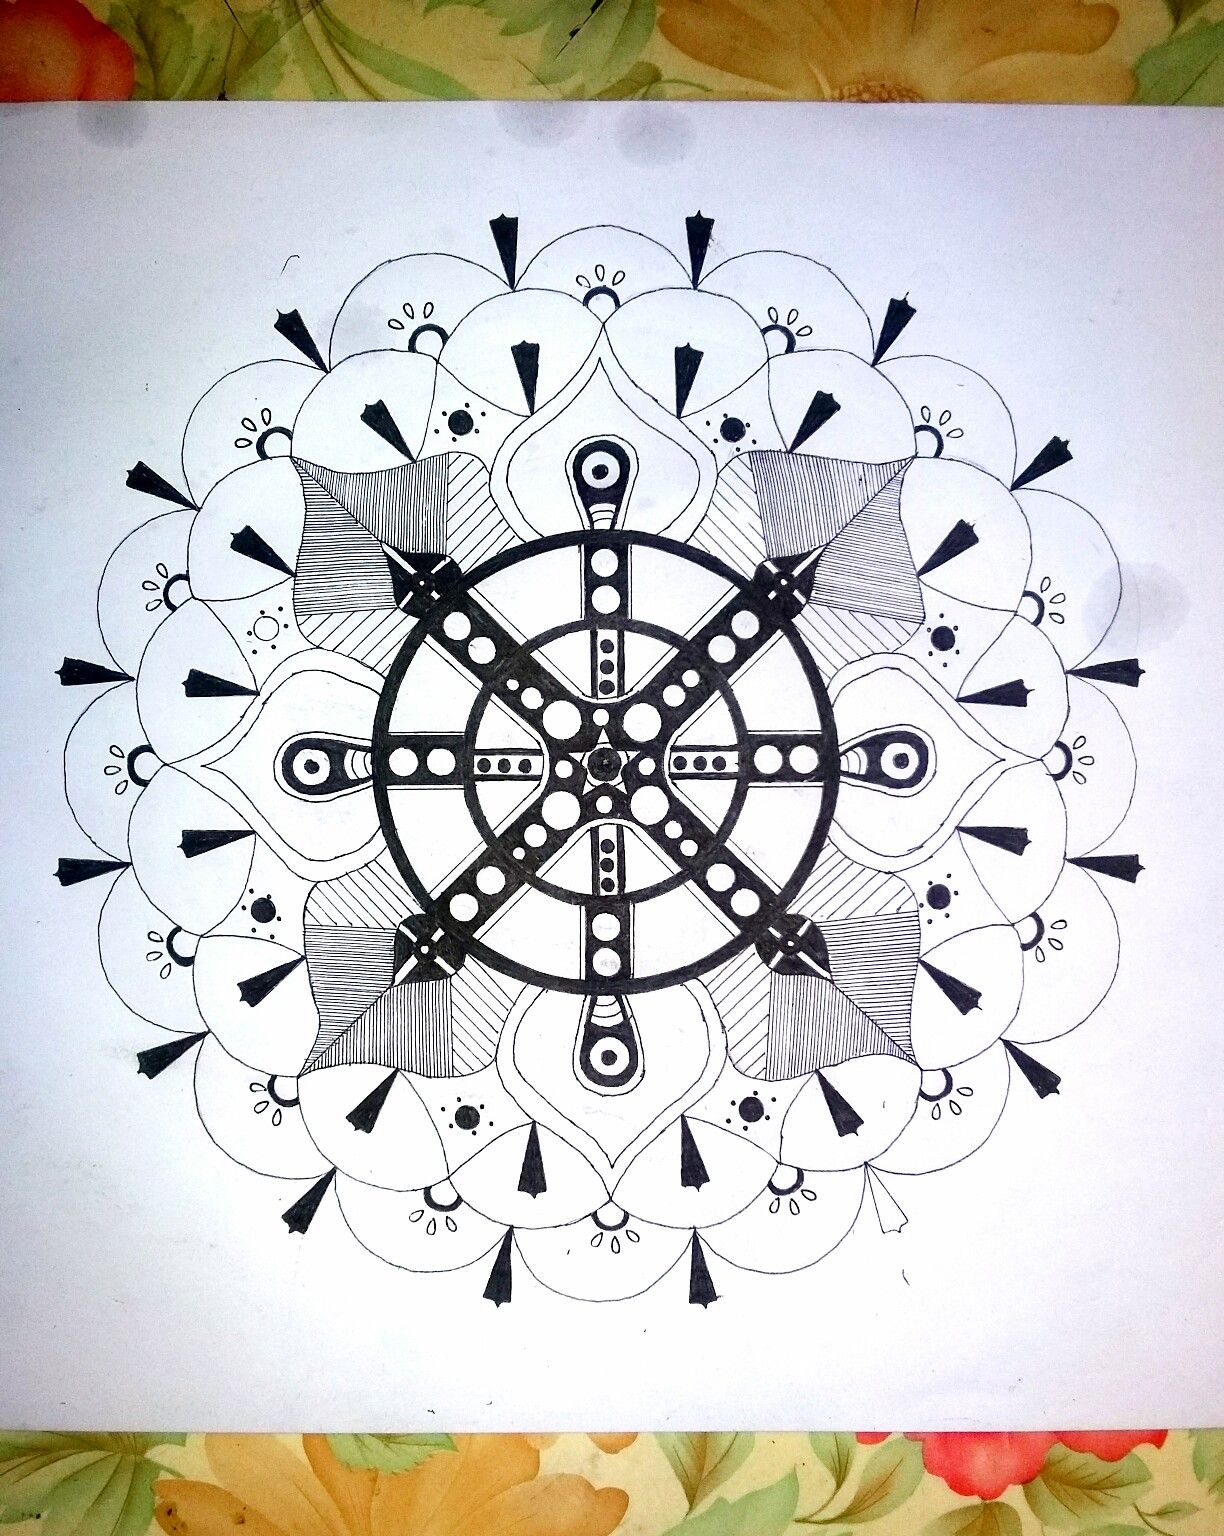
Artwork #20 : Mandala Floral Art 🌸| Amazing and Unique Styles subjected for this 👍✒ | Step - by - Step and Detailed Processess
Greetings! Another breathtaking Mandala Artwork was made @originalworks was made by yours truly and forever with be. 😉
I have been so busy lately with my school works. Sorry for not blogging randomly. But this time I'll be showing you another made artwork of mine which is a MANDALA
| Before we go on to the steps, Please grab and prepare your materials to be used . ✒📐📏
MATERIALS :
📌 Sketch Pad
📌 Pencil
📌 Gel Pen (0.3)
📌 Ruler
📌 Precised Circle Sizes
📌Triangle ( Any types will do)
📌Eraser
STEP 1
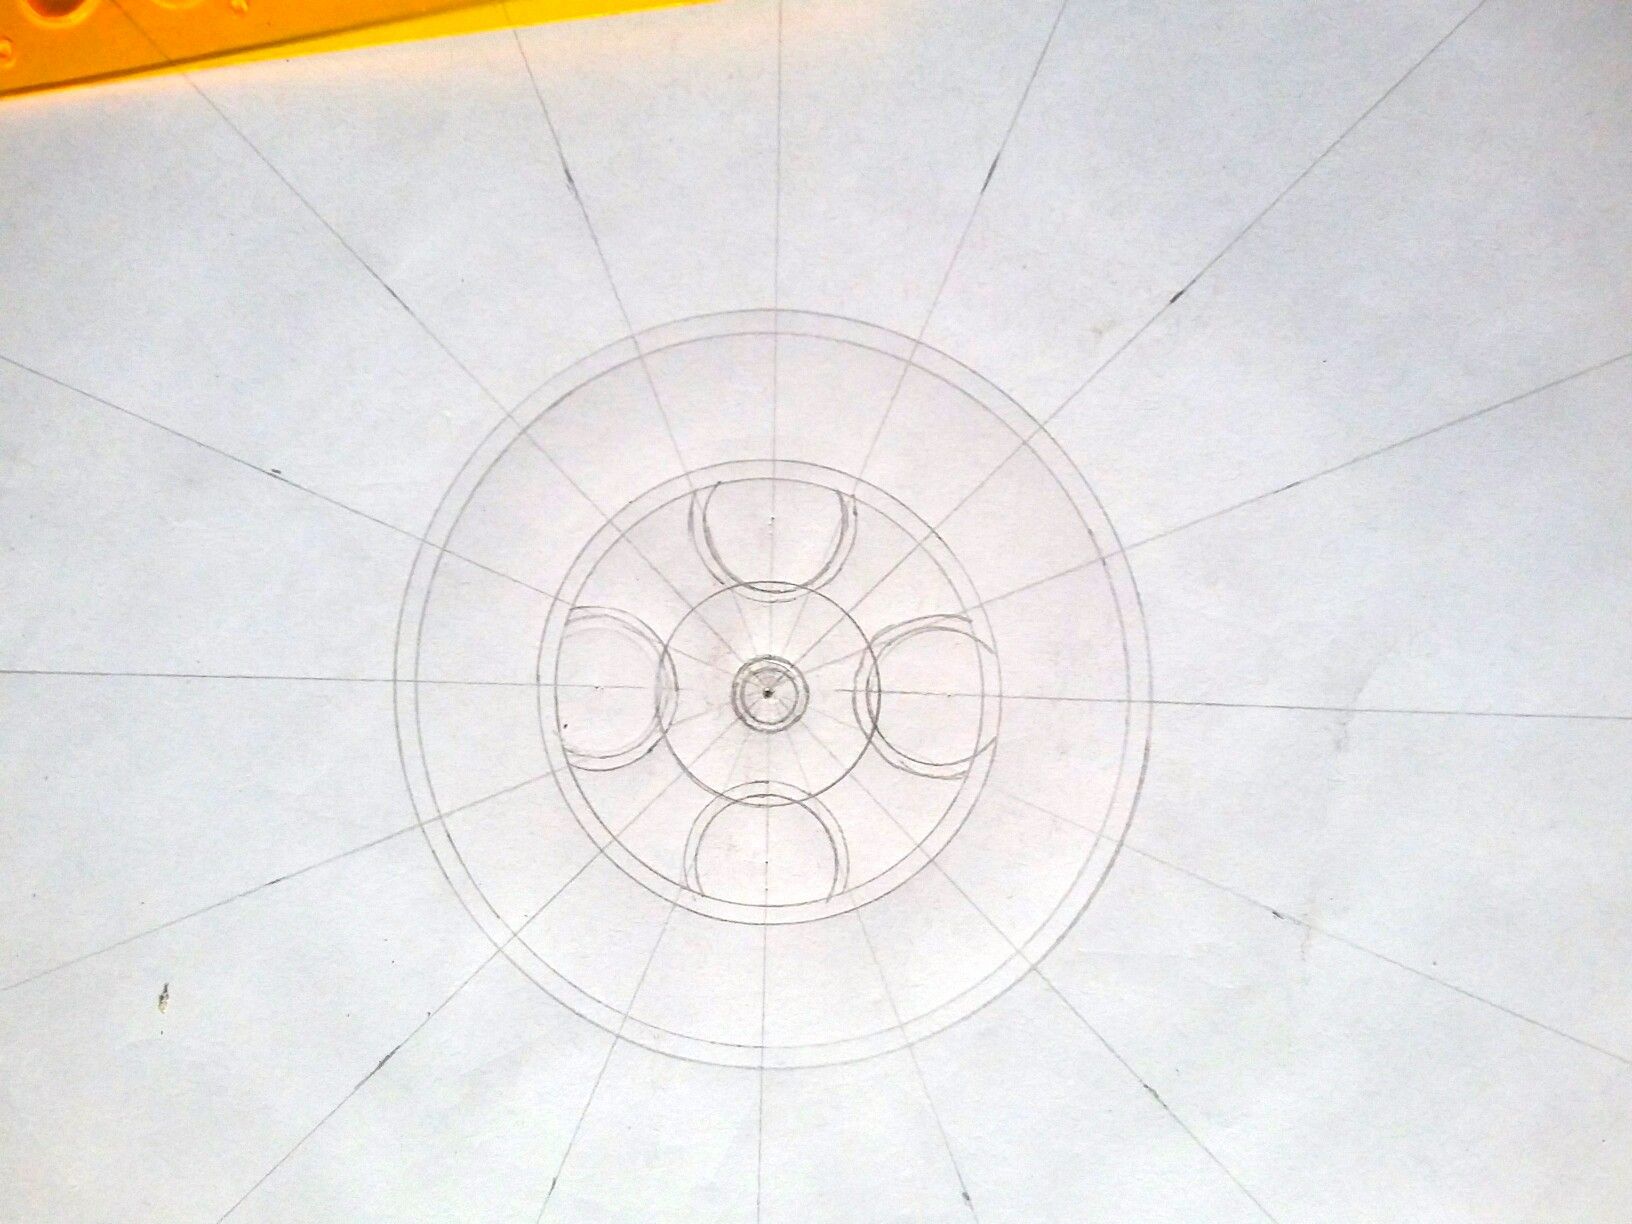
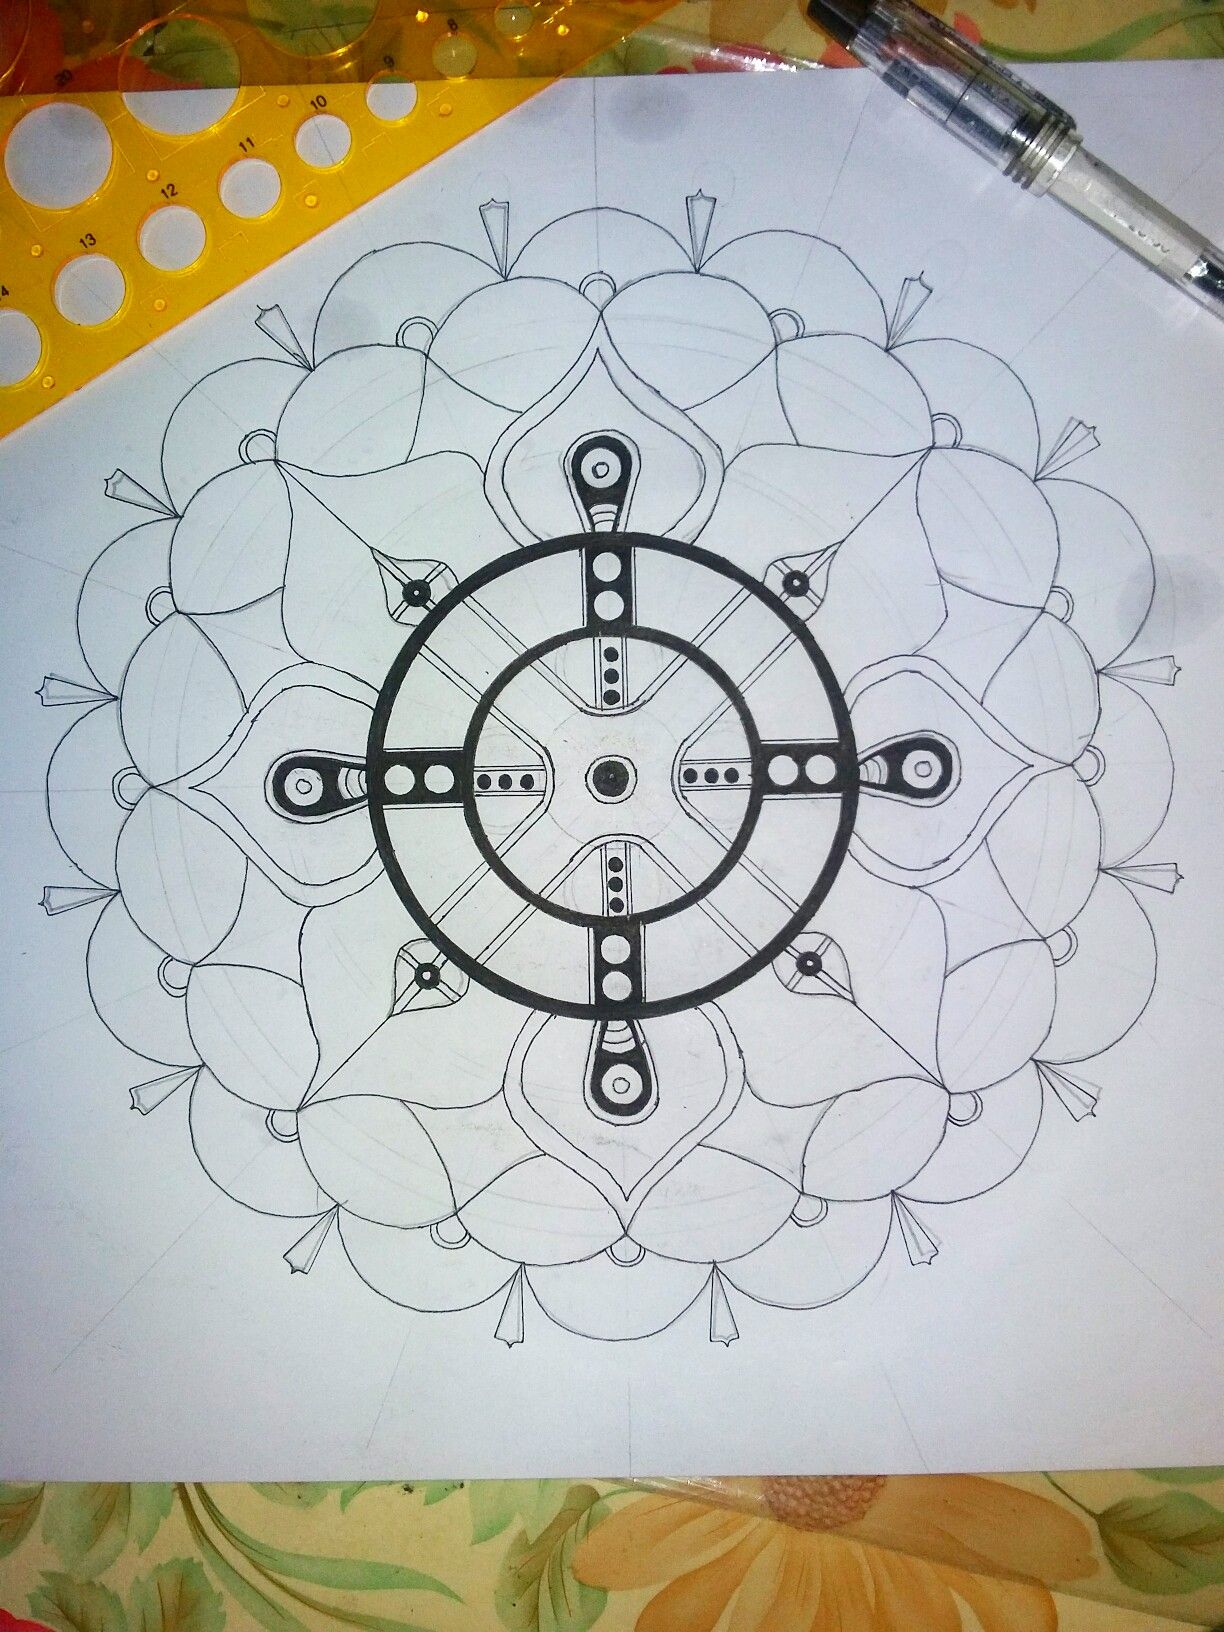
First and foremost is to draw the guidelines which is Line Rays and Circles . The first circle must be the smallest size you prefer.
( See Photo)
STEP 2
Draw your first design and 4 mini circles on each corner of your design. ( See Photo).
STEP 3
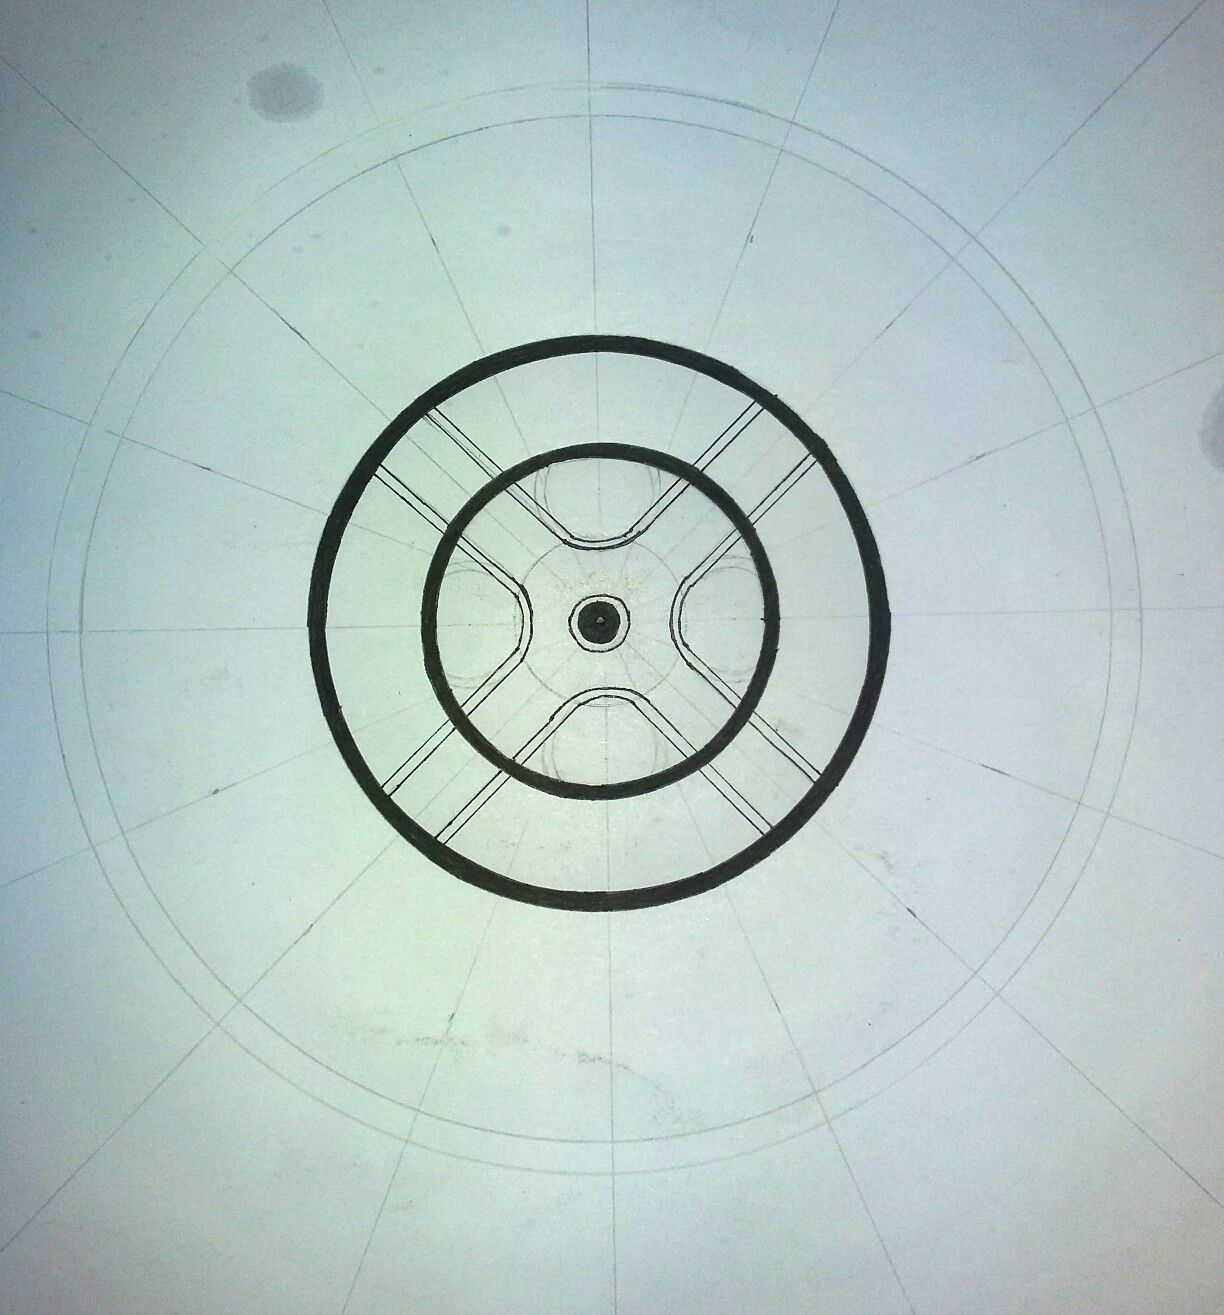
Then, carefully Trace afterwards using your Gel Pen.
STEP 4
Blackening the circles. (See Photo)
STEP 5
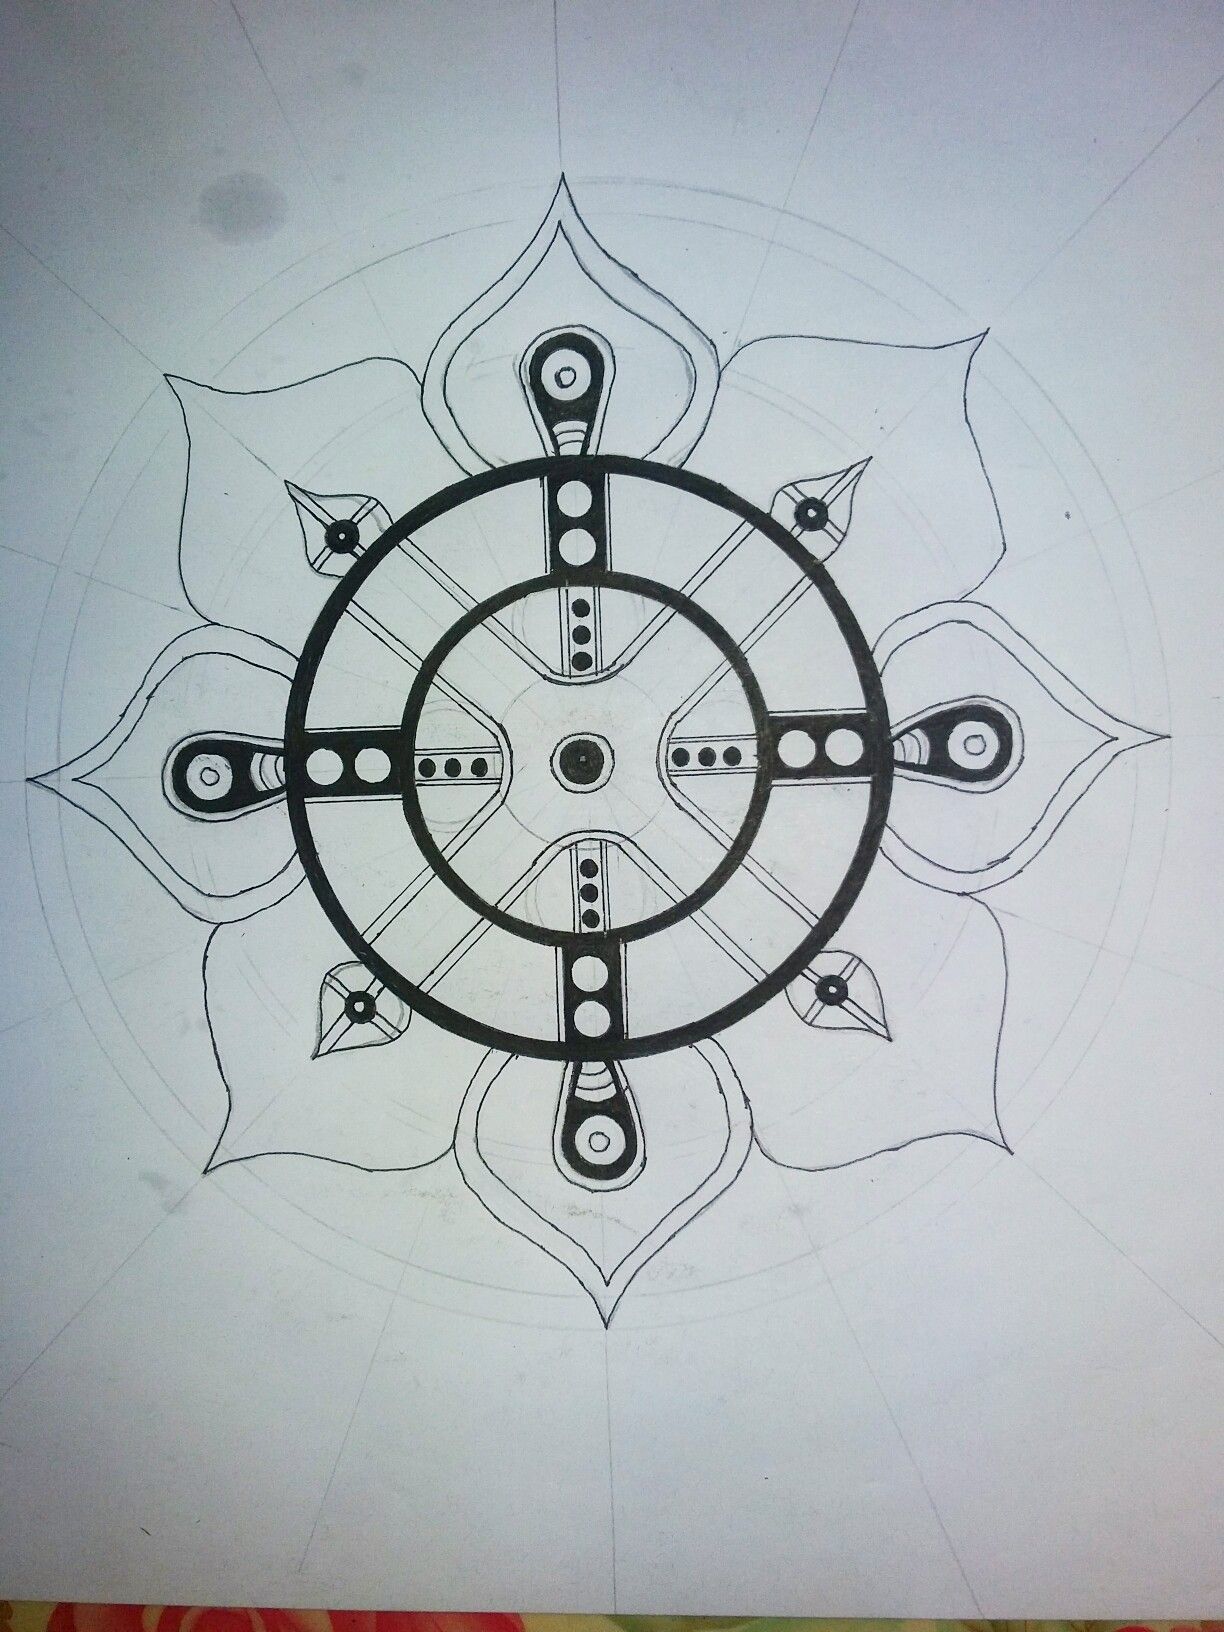
Draw your Petal Design approximately will have 8 of it. Just be sure to design it differently and alternately as shown. (See Photo)
STEP 6
Add more designs, and blackening some parts if it
STEP 7
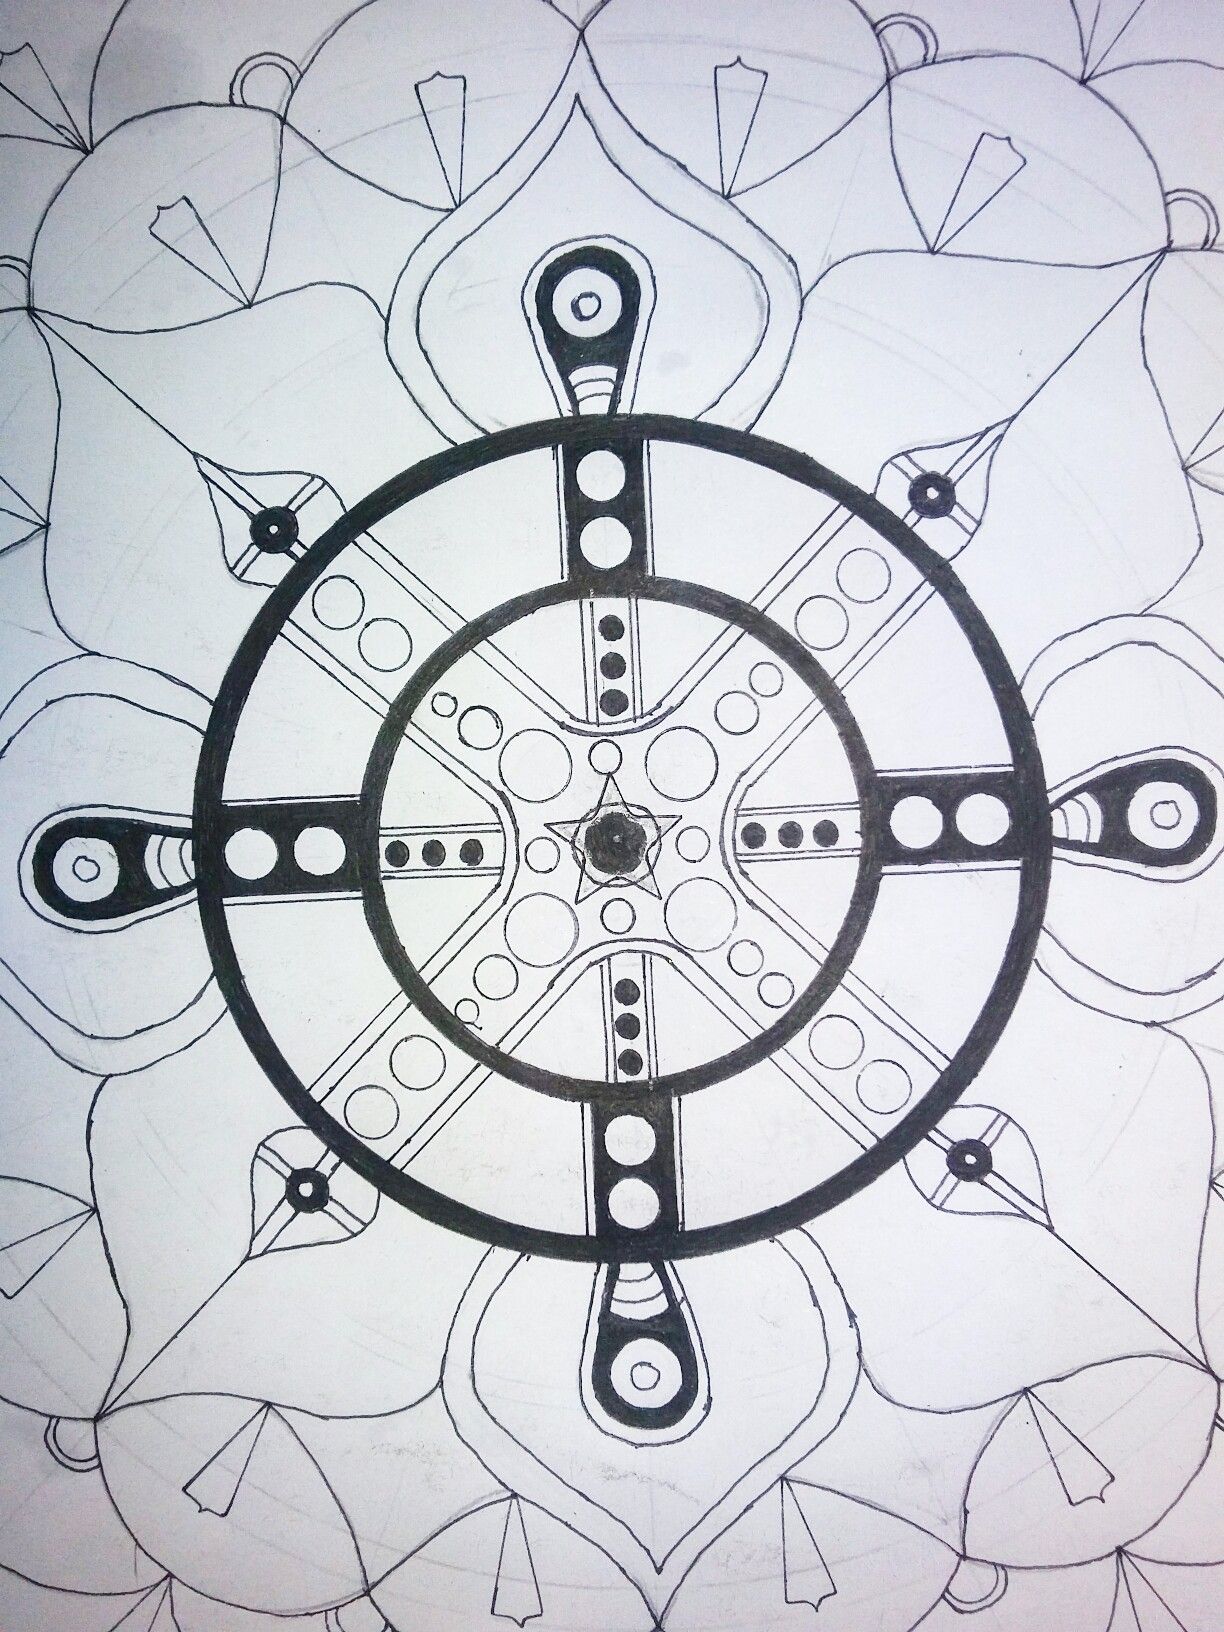
Add more layered petal designs.
STEP 8
Add designs for the innermost circles. (See photo)
STEP 9
Continue your designs and gently erase your pencil drawn to make it clear for you to see and it is neat and clean.
STEP 10
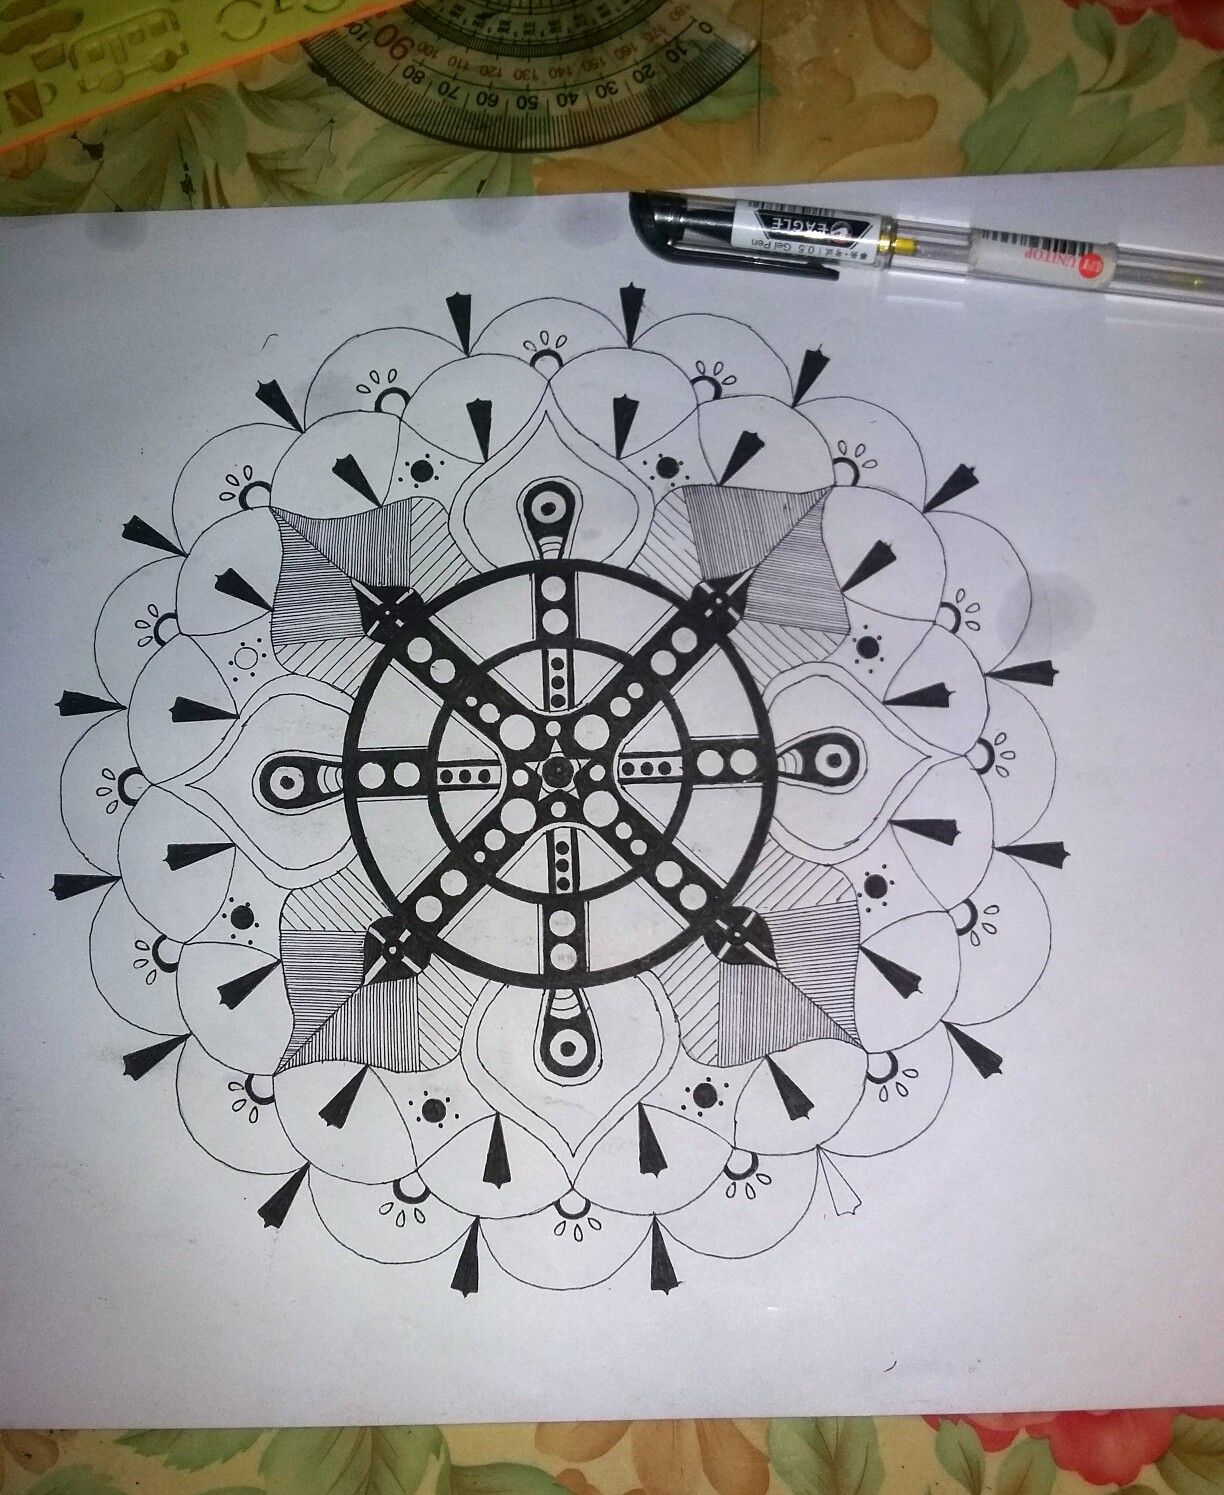
Continue draw your final designs to make it more beautiful. (See photo)
STEP 11
Final touching and your done! 😉
Thank you for visiting my blog 😘
Have a Nice Day!
Cute Artist
@baebiychel
