Brewing beer - step by step, part 5: Brew day!

The end result of a successful brew day and approximately 2 weeks of fermentation will hopefully look similar to the beer above, clear, with a beautiful color and a nice head of foam!
To get there there is some work to be done, I usually start with heating my mashing-in water to the temperature found in the Brew Sheet:
11,08L/2,92 gallons of water heated to 79,6 degrees Celsius/175 F will give me a step temperature of 66,7 C/152 F. While the water heats up, I prepare the ingredients, 4kg/8lbs of Maris Otter Pale Ale malt, 0,25kg/½lbs of caramel 60L malt and 20g/0.7oz of the Citra hops. I crush the grains in a mill, I have one of these, makes this process very quick and I know, it is just slightly overkill!!

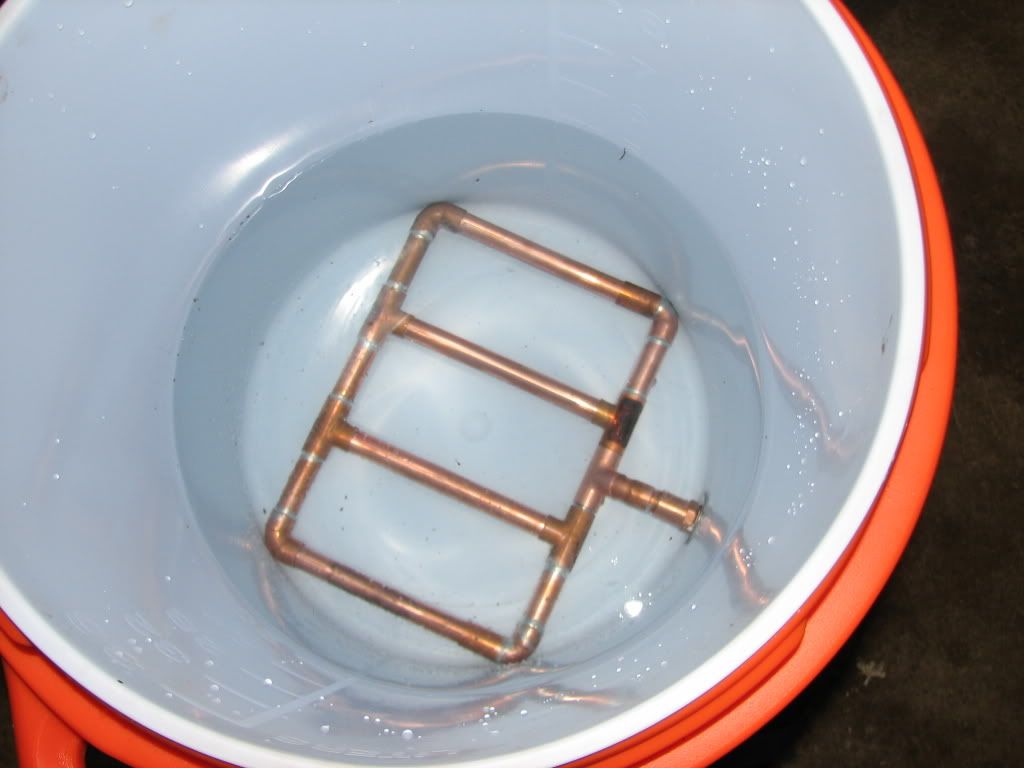
I place all the malts in the mashing tun and wait for the mashing-in water to reach the target temperature. I use an 10 gallon Igloo Cooler with a copper manifold at the bottom as a mash tun:

After pouring the mashing-in water into the crushed grains in the mash tun I give the mash a good swirl with a long wooden spoon to make sure that there are no dry spots or lumps left, then I put the lid on and let it sit for 60 minutes. During this time I heat up the mashing-out and sparging water to be prepared for sparging. When the 60 minutes has passed I do an iodine test to check that all the starches has converted to sugars and then I add the mashing-out water and let everything sit for another 10 minutes so that the grain husk filter bed can settle. Then I draw approximately 1-2L/1-2Qt of wort untill it runs clear, this is poured back into the top of the mash tun. Time for sparging, the process of filtering out the wort from the mash. I sparge the wort into the 30L/8 gallon electric kettle I use for brewing:

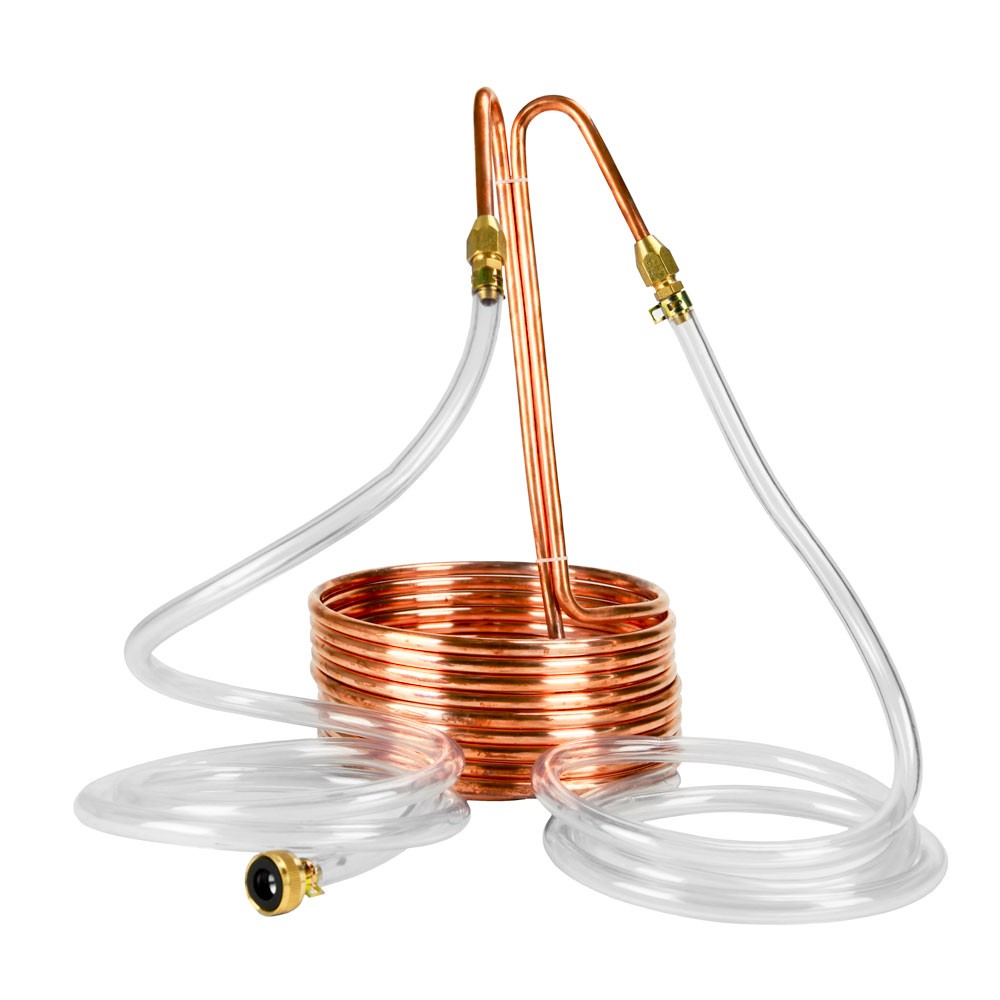
When the mash tun is running dry I shut the bottom valve and add the first sparge water, 6,75L/1.8 gallon, mixing it in thoroughly and letting it sit for 10 minutes. I drain the mash tun again and repeat the sparging once more. After the last draining of the tun into the kettle it is time to boil the wort. When the wort is at a rolling boil I add the hops. I have to watch the kettle because it will very easily boil over and wort will make a sticky mess!! When 60 minutes has passed it is time to chill the wort from boiling to room temperature as fast as possible to prevent oxidation and bad taste, I use a chiller like this:

I place the chiller into the kettle and run cold water through it until the wort is at room temperature. I measure the post-boil gravity and note it on the Brew Sheet for reference. I transfer the chilled wort to the fermenting tank, aerating it as much as possible at the same time.

I have hydrated the Nottingham dry yeast by putting it into 1dl/0,4 cups of lukewarm water for 30 minutes and now I add it to the fermenter. Putting the lid on is the final step before letting the yeast do it's thing for a week! What a feeling, 20 liters/5 gallons of beer-to-be will soon be ready for tasting!! ( I'm skipping the cleaning-up part, it's not fun anyway!)
This post received a 3.1% upvote from @randowhale thanks to @almvide! For more information, click here!
I love your post and grow my own hops, but for the most part I make wine from my own grapes and fruit.
When the time comes that I get into beer brewing I intend to go all out to.
Thank you @gggreenhouse! I also grow my own hops and use them in my beers. I have a greenhouse (!) with grapes as well and will try to make some wine this year.
I have a greenhouse to! You will love making wine, it's so easy and rewarding.
Yea brew day :)
Yesterday I wrote post about making cider, you can check it on my profile
Brew day is always fun until the cleaning part... ;-) I will check your cider post, I made one myself a month ago!
This post has received a 50.00 % upvote from @nettybot thanks to: @almvide.
Send 0.100 SBD to @nettybot with a post link in the memo field to bid on the next vote.
Oh, and be sure to vote for my owner, @netuoso, as Steem Witness
Have a great day!
This post has received a 7.51 % upvote from @booster thanks to: @almvide.
This post was resteemed by @resteembot!
Good Luck!
Learn more about the @resteembot project in the introduction post.