Step by Step Towards Hyperledger Fabric — Part 1
Blockchain is the new buzz word in the industry now a days. But finding good resources to learn this fascinating technology is not a cake walk. To make it easier for others i am starting a series in the field of Blockchain/ DLT platforms. I will try to cover each and every step require to get a hands on these technologies. Firstly, I am starting with Hyperledger Fabric.
Hyperledger Fabric is one of the projects under Hyperledger umbrella.
Hyperldger is platform for distributed ledger solutions, underpinned by a modular architecture delivering high degrees of confidentiality, resiliency, flexibility and scalability.
Lets start over first Step by Step hands on:
Firstly we have to learn how to install the prerequisite for the Hyperledger Fabric:
o Install cURL.
o Instll Node.js and npm package manager.
o Install Go Language.
o Install Docker and Docker Compose.
o Install Git.
o Install Pip
o Install Hyperledger Fabric on Ubuntu LTS 16.0.4
Once we are done with installing prerequisite, we will be going to hands on with:
- Build & Deploy your first-network on Hyperledger Fabric
- Build & Deploy a demo example Fabcar on Hyperledger Fabric
We are using Ubuntu LTS 16.04 for this hands on tutorial:
Step 1:
Press Ctrl + Alt + T to open a terminal
$ sudo su
Enter your password
$ cd
Step 2: Install Google golang
$ cd $HOME/ && wget https://storage.googleapis.com/golang/go1.8.1.linux-amd64.tar.gz

$ tar -xvf go1.8.1.linux-amd64.tar.gz

Set the go path
$ mkdir $HOME/gopath
$ export GOPATH=$HOME/gopath
$ export GOROOT=$HOME/go
$ export PATH=$PATH:$GOROOT/bin
$ go version
Step 3: Install libltdl-dev
$ apt-get install libltdl-dev

Step 4: Install docker-ce
$ wget https://download.docker.com/linux/ubuntu/dists/xenial/pool/stable/amd64/docker-ce_17.06.0~ce-0~ubuntu_amd64.deb
$ dpkg i docker-ce_17.06.0~ce-0~ubuntu_amd64.deb

Note: The above approach simply leverages the Docker images that the Hyperledger Fabric project publishes to Docker Hub
Step 5: Installl python-pip
$ apt-get install python-pip

Step 6: Install docker-compose
$ pip install docker-compose
$ docker-compose - -version

Step 7: Install git
$ apt-get install git
$ git - -version

Step 8: Install curl
$ apt-get install curl
$ curl - -version

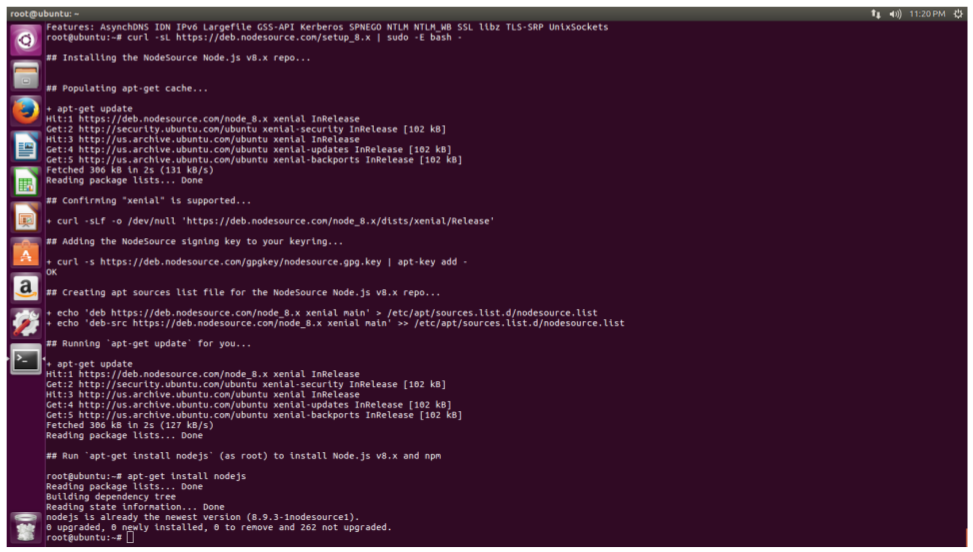
Step 9: Install node.js and npm
$ curl sL https://deb.nodesource.com/setup_8.x | sudo -E bash -

$ node - -version
$ npm - -version
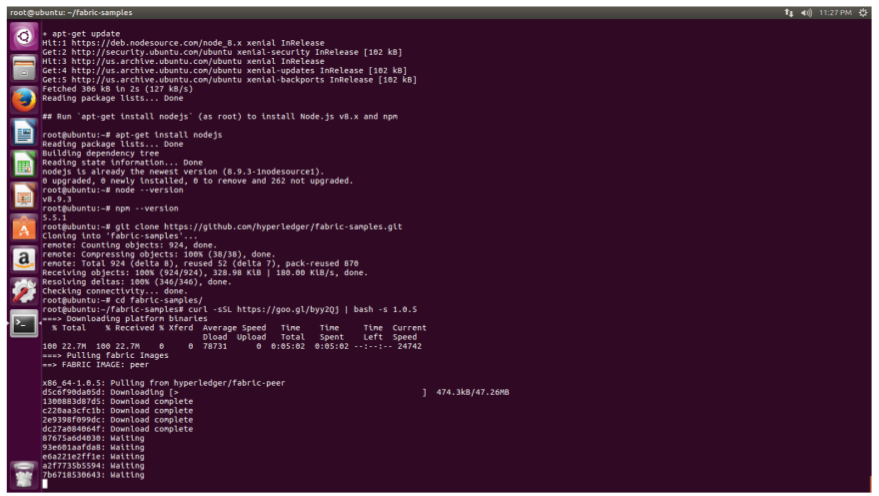
Step 10: Clone the fabric-samples from the github
$ git clone https://github.com/hyperledger/fabric-samples.git

Step 11: Enter the fabric-samples directory and install the platform specific binaries
$ cd fabric-samples
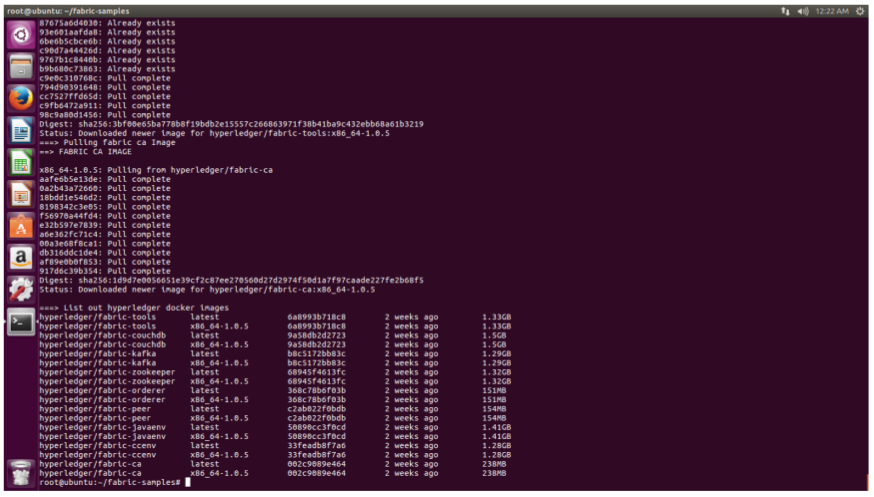
$ curl -sSL https://goo.gl/byy2Qj | bash -s 1.0.5

If everything goes well you will see the above output on your screen.
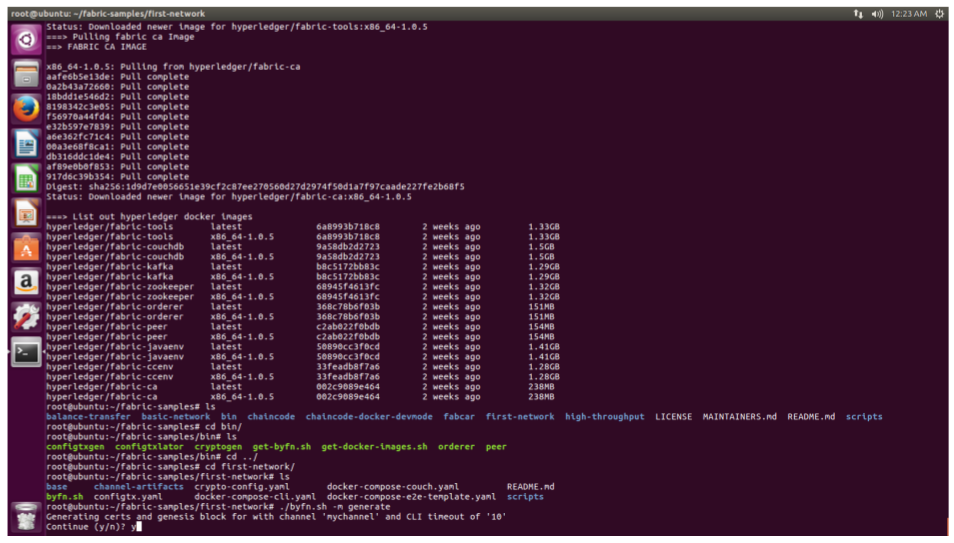
Step 12: To have a look on the download binaries execute the following from your terminal:
$ cd bin
$ ls
Step 13: Enter into the first-network directory
$ cd ../
$ cd first-network
$ ls
Step 14: Generate the required certificates and articates for your first network
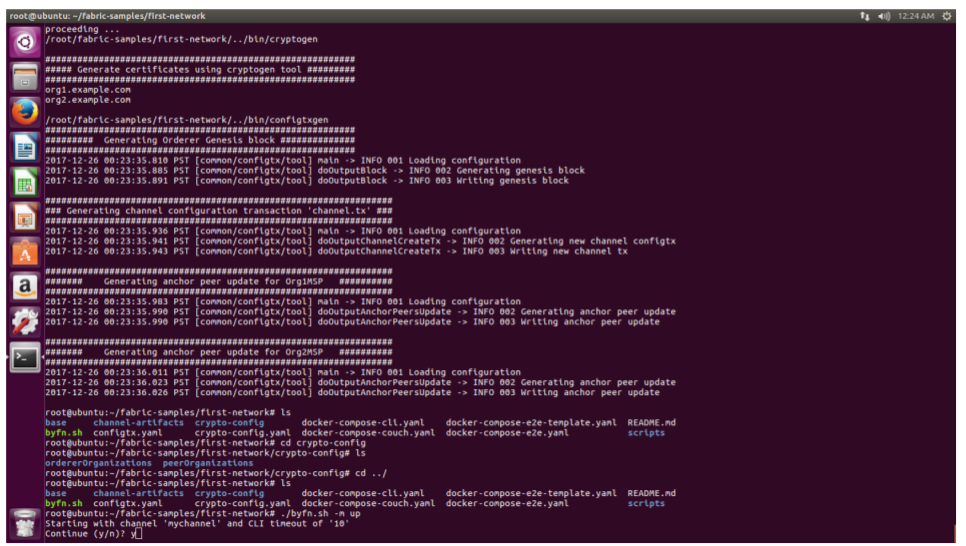
$ ./byfn.sh -m generate
Step 15: To see the generate certificates use the following command:
$ ls
$ cd crypto-config
$ ls
Step 16: Create your first network using the following command
$ cd ../
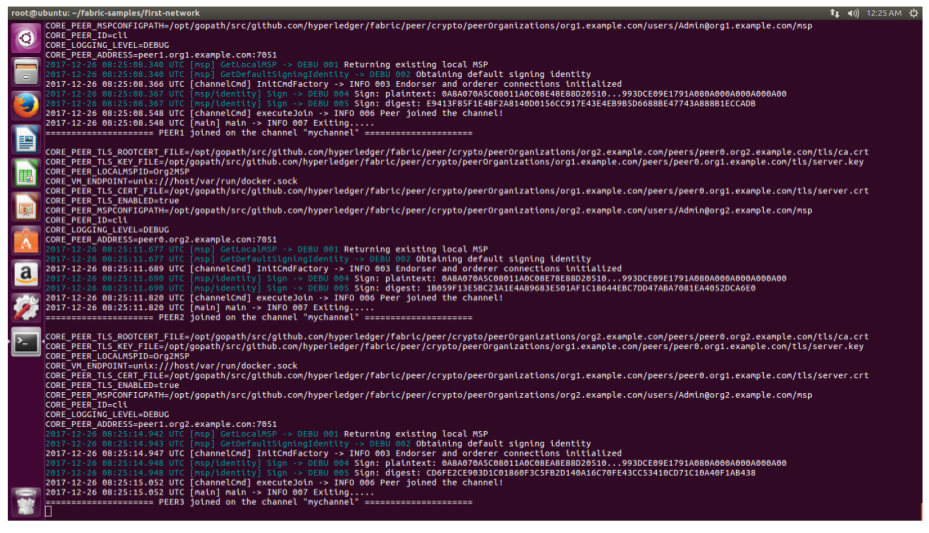
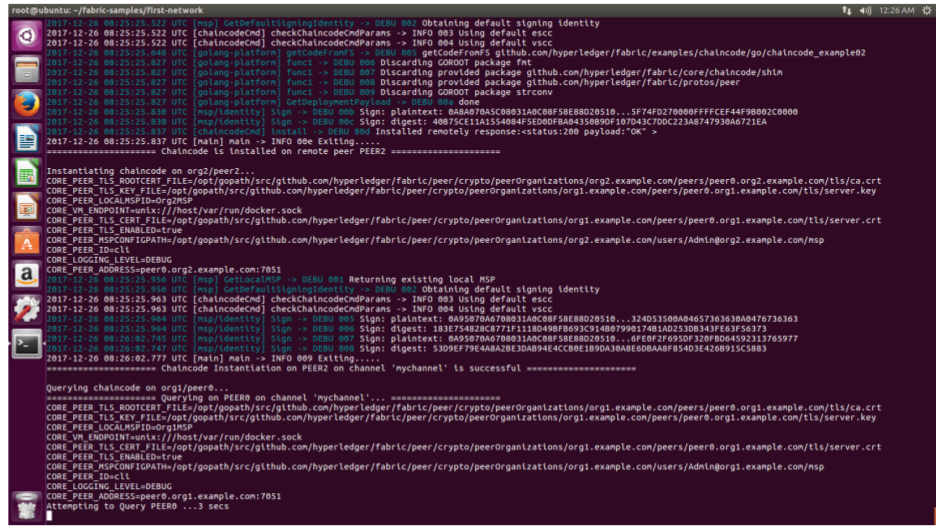
$ ./byfn.sh -m up
You will see the above message once your first-network is created using Hyperledger Fabric.
Step 17: Check the generates images and running containers using the following command:
$ docker images
$ docker ps
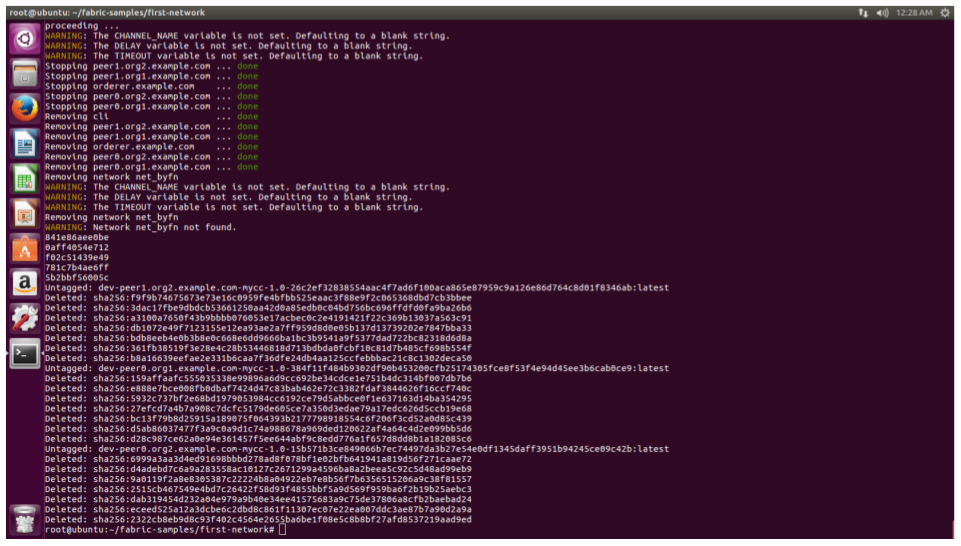
Step 18: To bring down the created network executed the following command
$ ./byfn.sh -m down
Step 19: You can check the created images have been removed using the following:
$ docker images

We have successfully created our first-network using Hyperledger Fabric.
Now lets try another example
Step 20: Move to the fabcar directory
$ cd ../
$ ls
$ cd fabcar
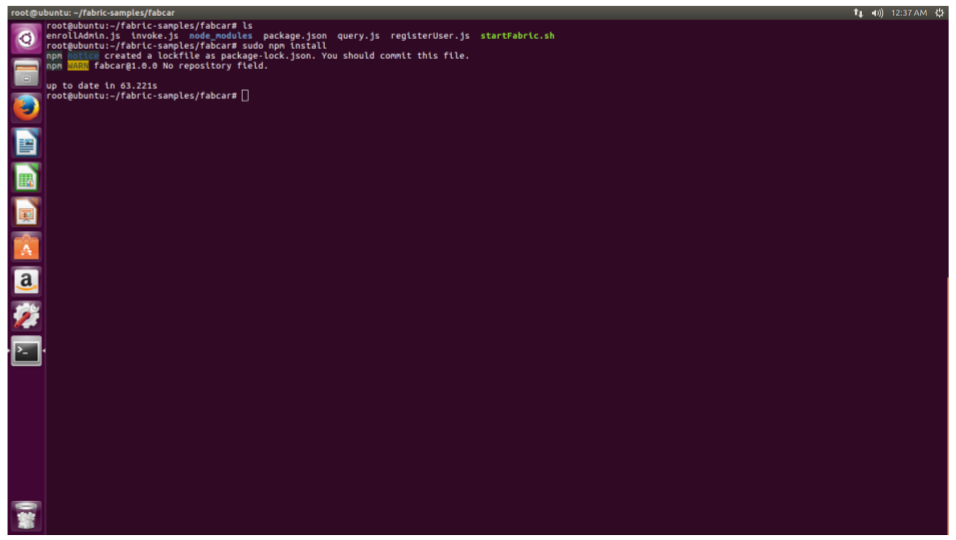
Step 21: Install the node modules using the following command
$ sudo npm install

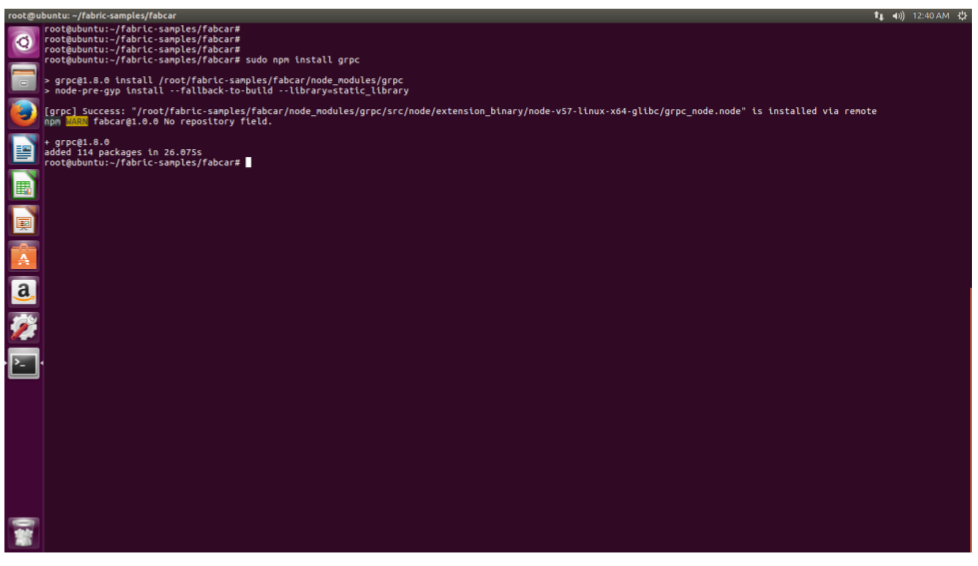
Step 22: Install grpc module for communication with Hyperledger Fabric using the following command:
$ sudo npm install grpc

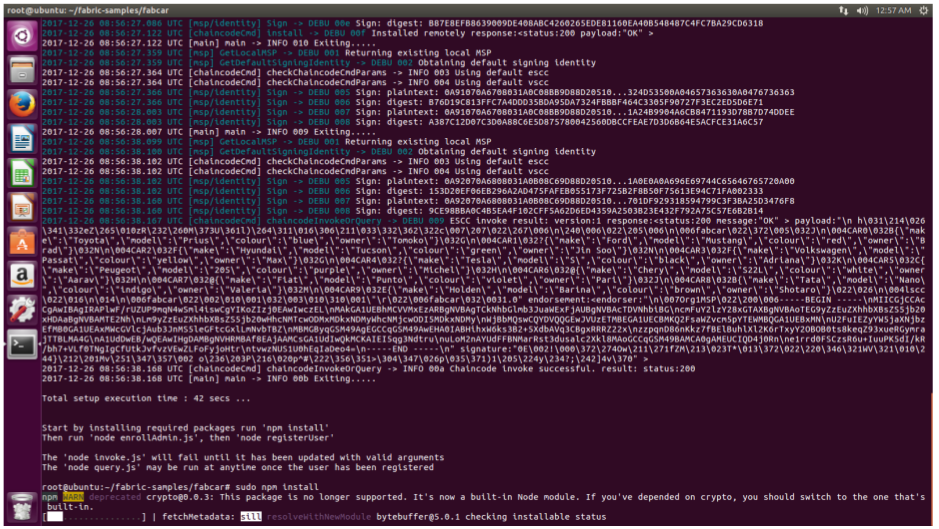
Step 23: Start the Hyperledger Fabric network for fabcar by executing the following command:
$ ./startFabric.sh
Step 24: To enroll the users firstly you have to enroll an Admin that will help to enroll other users with
Hyperledger Fabric network of Fabcar.
$ node enrollAdmin.js
You can find the private and public key for admin using the following
$ ls
$ cd hfc-key-store/
$ ls

Step 25: Enroll the user to query and invoke fabcar network (As Hyperledger Fabric is a permissioned
blockchain that is why firstly we have to register the user using its certificate)
$ cd ../
$ node registerUser.js
Step 26: Query the Fabcar network using the following command (To access the ledger state)
$ node query.js

Step 27: Now lets try to submit a new record for our Fabcar application on top of Hyperledger Fabric
$ gedit invoke.js

Make the below changes in the file above to create a new record:

Step 28: Now invoke the transaction using the below command. (To make any changes in the ledger state we have to invoke function)
$ Ctrl + c
$ node invoke.js

Step 29: Query the ledger to find the changes made by you using the following
$ node query.js

Congrats to all for successfully running Fabcar demo. In the next part i will going to cover technical details on these two examples that we have covered. If you have any specific topic want to cover for these two examples make a comment to include it.
Stay tuned for more updates!


