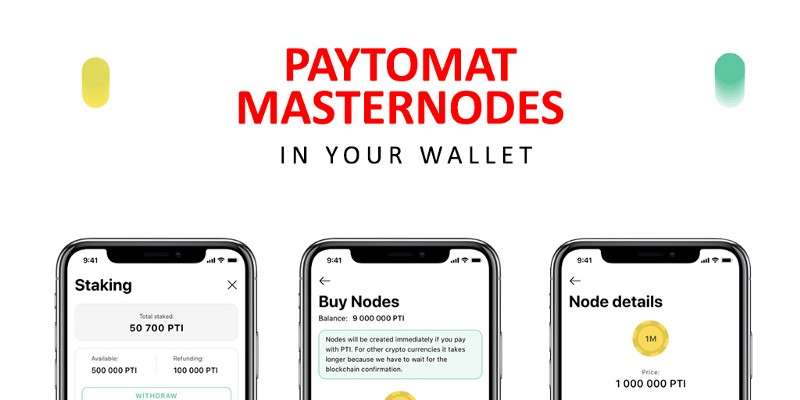
Paytomat Masternodes in Your Wallet
To support a healthy network each blockchain needs to have a secure and stable infrastructure. Although there are lots of ways to achieve this, we prefer the approach that involves masternodes. It allows to create a solid trust from the community, attract high-quality partners and investors, implement unique features that are possible only with a set of dedicated servers.
Although the masternodes concept is not a new one, Paytomat introduces something that none of the projects have at the moment, a gradual multi-stage implementation.
While monitoring how masternodes work, we stumbled upon an issue of having an extreme level of resistance of setting up a node from an ordinary user perspective. It takes a certain degree of technical skills and patience to go through the whole procedure but the end result is the same, you become a masternode operator and receive rewards for maintaining the security and governance of the whole blockchain.
Paytomat Masternode Stages
In Paytomat we found that this process shouldn’t be that hard and challenging. That’s why we split up a single complex event into 3 stages:
Stage 1 : basic launch of personal PTI’s staking (20th to 31th May 2019). This one has almost passed. It’s for early and dedicated investors only.
Stage 2 : delegation and staking of other users’ PTI, who are unable to accumulate their own node (August 2019). In other words, you’ll have a chance to launch a masternode even if you don’t have enough funds for a full node.
Stage 3 : migration from PTI to PTM and transition to EOS’s side chain, where node’s owners will be fully-fledged validators within the Paytomat network. (Q3-Q4 2020).
There’s another important distinction from other masternode networks, and that’s an actual definition of a node. Since PTI is a token that sits on top of another blockchain (EOS), the Paytomat masternode becomes a privileged EOS account with a certain number of staked tokens (500,000 PTI until 25th of May 2019 and 1,000,000 PTI thereafter). It involves obligatory voting and decision-making process for proposals from Paytomat community so the responsibilities are quite high as well.
On the 31th of May we will register the number of nodes in our system — for every additional 100 nodes, the amount of PTI held will increase by 1 mln. (for instance: after x+100 nodes are registered, 2 mln. PTI will be required, etc.)
Stage 1. Results
The first stage was an experimental one but turned out to be very big. We gathered a solid group of smart individuals who expressed a desire to become masternode owners at a very early stage. We appreciate your interest, patience, and support. It means a lot to our team.
To sum up the results of the first stage, you can check those numbers:
the total number of masternodes — over 360
the total number of masternode owners — over 70
For those who are interested and loved the previous post about smart contracts, you might as well check the tables and actions of ptimasternod smart contract using EOSPark or Bloks.io.
As you can see from the numbers above, the demand for masternodes is quite high which means that we’re moving in the right direction. By the way, you still have a few days before the number of required tokens for a masternode increases from 500,000 PTI to 1,000,000 PTI so don’t miss it. If you’re interested, drop a question in our group, somebody will pick it up.
Stage 2. Paytomat Masternodes in Your Wallet
Stage 2 which is one of the biggest updates related to masternodes, presents several amazing features that you can access directly in Paytomat Wallet. Yes, inside of the wallet. We’re probably the first project to have masternodes in the cryptocurrency app. That hasn’t been done before and we’re proud of that.
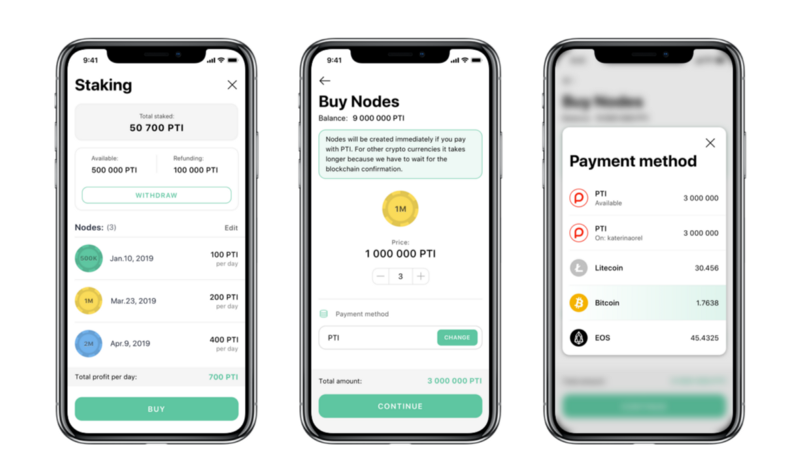
Here’s exactly what you can now do now:
- Buy Paytomat Masternodes. The only thing required is to hold a certain number of PTI tokens (that can vary from 500,000 PTI to several million PTI in the future) or its equivalent in one of the supported cryptocurrencies to make a payment (Bitcoin, Litecoin or EOS). As soon as you have this, make sure to click the ‘Staking’ button, choose the ‘Payment method’, ‘Confirm’ your intention to become a masternode owner, and you’re done.
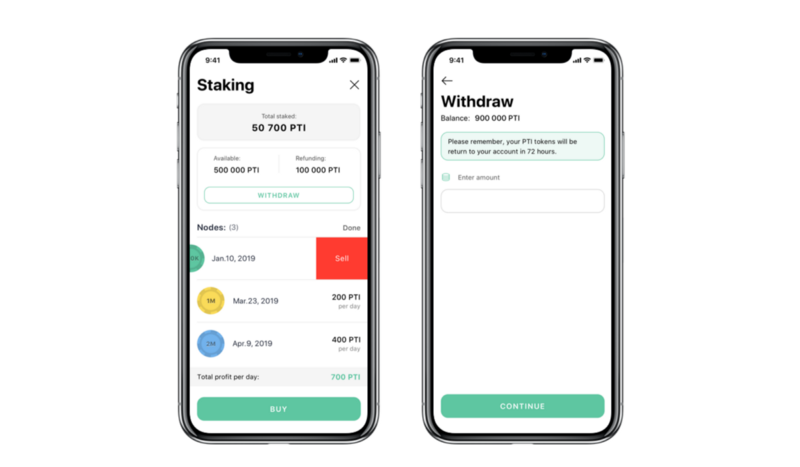
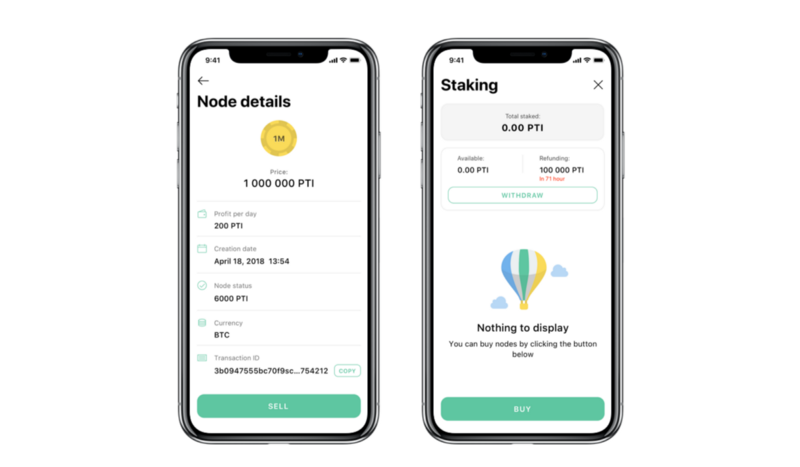
- Sell Paytomat Masternodes. In simple words, stop your masternode(s) and start to unstake your PTI tokens. This can be done using a big ‘Withdraw’ button. Notice, this process takes 72 hours, during which you’ll see your PTI in the ‘Refunding’ section. As soon as unstake is finished, your tokens will appear in the ‘Available’ section and you’ll be able to send them to another account or to an exchange.
- Receive stats and notifications about approximate income (profit) from your masternode(s) operation, the total number of masternodes you own, the amount of available, staked and refunding PTI.
Our primary goal is to make cryptocurrency tools accessible to a wider audience, not just to people who admire digital payments. We want to make Paytomat Wallet your go-to app for your daily needs. It takes time to build such a thing, so we highly recommend to test this latest update and leave your feedback on Google Play and App Store accordingly.