How to Create a Gallery Wall: A Step-by-Step Guide
Your walls tell a story. While a single large statement piece can be powerful, a gallery wall is like writing a whole chapter. It’s the ultimate form of personal expression in home decor. But how to create a gallery wall that looks curated and stylish, not cluttered? It can seem intimidating, but it’s easier than you think. This guide will provide a simple, step-by-step process for creating a stunning collection. Let’s start writing your story with the perfect gallery wall art.
Step 1: Curate Your Story – Choosing Your Art Prints Online
Before you hammer a single nail, the most important step is choosing your art. A great gallery wall has a cohesive theme or story. This is the fun part where you act as your own curator.
Pick a Unifying Theme
Your theme is the glue that holds your collection together. It can be anything you’re passionate about.
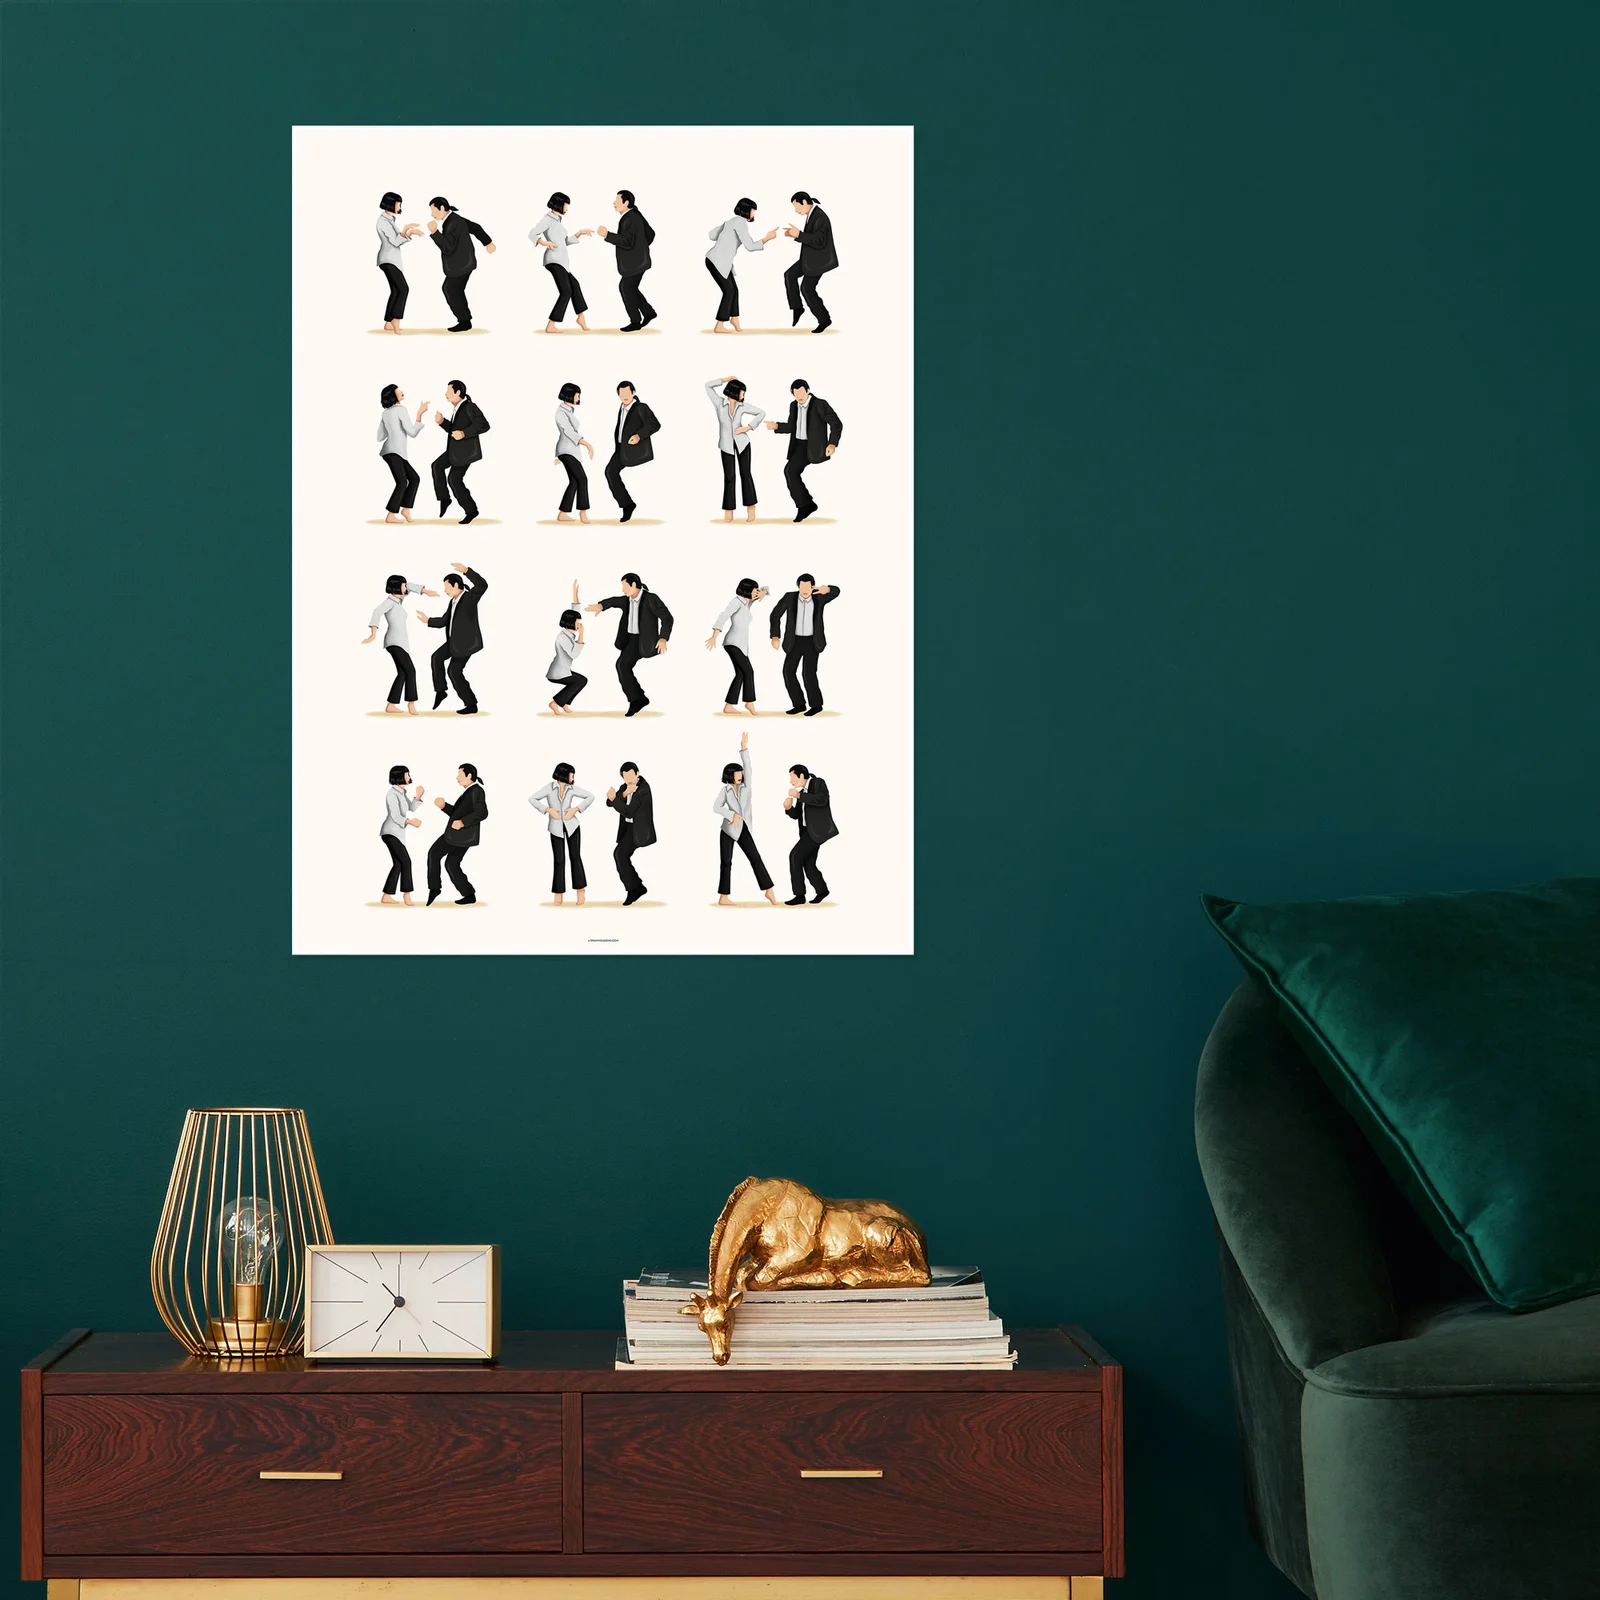
Cinematic Legends: Mix your favorite movie posters, character portraits, and iconic scenes.
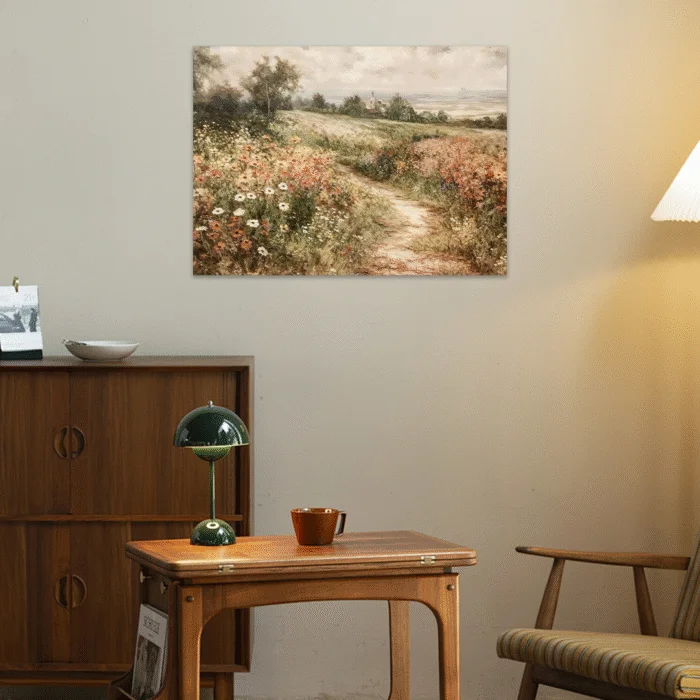
The Natural World: Combine landscapes, animal portraits, and botanical prints.
A Personal Journey: Mix family photos with art from places you’ve traveled.
Choose a Consistent Color Palette
A consistent color palette will make your gallery wall feel harmonious. You can choose a simple black and white scheme for a timeless look. Alternatively, pick two or three accent colors (like blues and golds) and find different art pieces that share those tones.
Mix and Match: Combining Photos, Paintings, and Text
The most interesting gallery walls have a mix of media. Don’t be afraid to combine your favorite art prints online with personal photographs. Add in a piece with an inspiring quote or a cool graphic design for extra visual interest.
Step 2: To Frame or Not to Frame? Selecting Your Frames and Sizes
Once you have your art, you need to decide how to present it. Your choice of frames and sizes will define the overall style of your gallery wall.
The Unified Look: Using Identical Frames
For a clean, modern, and symmetrical look, use identical frames for every piece. Simple black, white, or natural wood frames work perfectly. This creates a cohesive look, even if the art inside is diverse.
The Eclectic Vibe: Mixing Different Frame Styles
For a more bohemian or relaxed feel, mix and match different styles of framed prints. Combine a vintage frame with a modern one. Just try to keep one element consistent, like the color, to prevent it from looking chaotic.
The Importance of Varying Your Canvas Sizes
A dynamic gallery wall includes a mix of sizes. Choose one or two large anchor pieces. Then, fill in the space around them with smaller and medium-sized artworks. This creates a more organic and visually interesting layout. Our collection of canvas wall art comes in multiple sizes to make this easy.
Step 3: The Blueprint – Planning Your Gallery Wall Layout
This is the secret to a professional-looking result: plan your layout on the floor first. Here are a few classic gallery wall layout templates.
The Grid: For a Clean and Symmetrical Look
This layout uses same-sized frames arranged in a perfect grid (e.g., three rows of three). It’s modern, organized, and works well in formal spaces.
The Stair Step: Perfect for Staircases
For a gallery wall going up a staircase, arrange the frames so they follow the upward angle of the stairs. The bottom of each frame should align with the one before it, creating a “stair step” effect.
The Organic Cluster: For a Relaxed, Evolving Collection
This is the most popular style. Start with your largest piece in the center (or slightly off-center). Then, build outwards with your smaller pieces, keeping the spacing between them relatively consistent.
Step 4: The Paper Trick – How to Hang Wall Art Perfectly Every Time
How to hang wall art without making a dozen extra holes? The paper trick is a game-changer.
Trace Your Frames onto Kraft Paper
Place each of your art pieces face down on a large sheet of kraft paper or newspaper. Trace around them and cut them out. Don’t forget to mark where the nail hook is on the back of the frame.
Arrange the Paper Cutouts on Your Wall with Tape
Use painter’s tape to arrange your paper templates on the wall. You can easily move them around until you find the perfect layout. This allows you to see the final design without committing to any nails.
Mark, Nail, and Hang with Confidence
Once you’re happy with the layout, hammer a nail directly through the hook mark on each paper template. Then, tear the paper away and hang your art. It will be perfectly placed every time.
Your Story is Ready to Be Told. Start Your Gallery Wall Today.
Creating a stunning gallery wall is not about complicated rules; it’s a simple, four-step process. By curating your theme, planning your frames, designing a layout, and using the paper trick, you can create a masterpiece. It’s a fun and rewarding project that results in a truly personal piece of home decor.
Now you have the blueprint. It’s time to find the perfect pieces. Start Building Your Story. Shop Our Diverse Collection of Art Prints Online.
Frequently Asked Questions About Creating a Gallery Wall
How far apart should pictures be in a gallery wall?
A good rule of thumb is to keep the space between frames consistent, typically 2 to 3 inches. For a very large wall, you can go up to 5 inches. Consistency is more important than the exact distance.
How high should I hang my gallery wall?
The center of the entire gallery wall grouping should be at eye level, which is around 57-60 inches from the floor. Treat the whole collection as one single piece of art.
Should the frames in a gallery wall all be the same color?
They don’t have to be, but it’s the easiest way to create a cohesive look. If you mix frame colors, try to stick to a limited palette (e.g., only black, white, and gold) to keep it from looking too busy.
Can I mix canvas art with framed prints in my gallery wall?
Yes, absolutely! Mixing different textures and depths makes a gallery wall more interesting. A gallery-wrapped canvas has a different profile than a framed print. This adds a beautiful, dimensional quality to your collection. Explore our framed art options to start mixing.