CentOS 7 安装MySQL 7 并开启远程连接
1. 服务器环境
服务器使用的是CentOS 7,如果你没有合适的服务器,我推荐使用Vultr,地址:https://www.vultr.com/?ref=7471754 。
2. 安装MySQL 7
下载并安装MySQL Yum Reposity
wget -i -c http://dev.mysql.com/get/mysql57-community-release-el7-10.noarch.rpm

yum -y install mysql57-community-release-el7-10.noarch.rpm
安装 MySQL
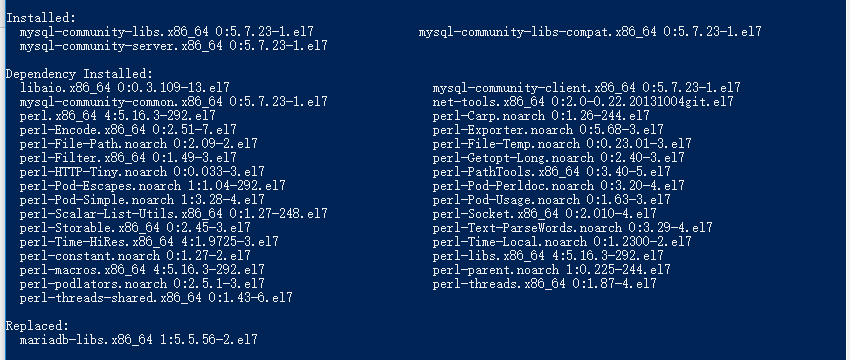
yum -y install mysql-community-server
安装过程需要一些时间,安装完成后,如下图所示:
3. 配置 MySQL
启动 MySQL
systemctl start mysqld.service
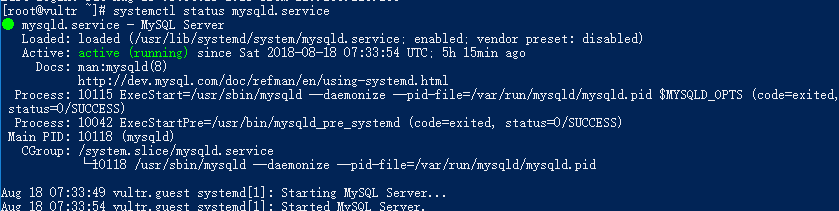
查看 MySQL 运行状态
systemctl status mysqld.service
获取 root 默认密码
grep "password" /var/log/mysqld.log

登录 MySQL
mysql -uroot -p
输入密码后,即可登录 MySQL,但是默认密码是不能做任何操作的,需要先修改密码。
修改默认密码
ALTER USER 'root'@'localhost' IDENTIFIED BY 'new password';
4. 开启远程连接
创建用户
CREATE USER 'root'@'%' IDENTIFIED BY 'password';
host是%的用户才可以远程登录,这里可以创建新的用户也可以将已有用户的host设置为%。
用户授权
GRANT ALL PRIVILEGES ON *.* TO 'root'%'@' WITH GRANT OPTION;

FLUSH PRIVILEGES;
配置防火墙
如果经过上面的配置可以远程连接,这一步可以跳过。
CentOS 7 使用的是 firewalld 防火墙,可以使用 firewall-cmd 命令行工具操作firewalld。
查看防火墙状态
firewall-cmd --state
查看开启的端口
firewall-cmd --zone=public --list-ports
开启3306端口
firewall-cmd --permanent --zone=public --add-port=3306/tcp

firewall-cmd --reload
检查是否生效
iptables -L -n | grep 3306

至此,就可以顺利通过远程连接到 MySQL 了。
Congratulations @bitming! You have completed the following achievement on Steemit and have been rewarded with new badge(s) :
Click on the badge to view your Board of Honor.
If you no longer want to receive notifications, reply to this comment with the word
STOPTo support your work, I also upvoted your post!
Do not miss the last post from @steemitboard:
SteemitBoard and the Veterans on Steemit - The First Community Badge.