i7 Coffee Table Computer.
Hi all, first time poster here! So here goes...
I love making DIY custom PC cases and have made a few in my time. Recently i could not find a case i really liked to customise so i decided to build my own and share it with you, the good people of steemit.
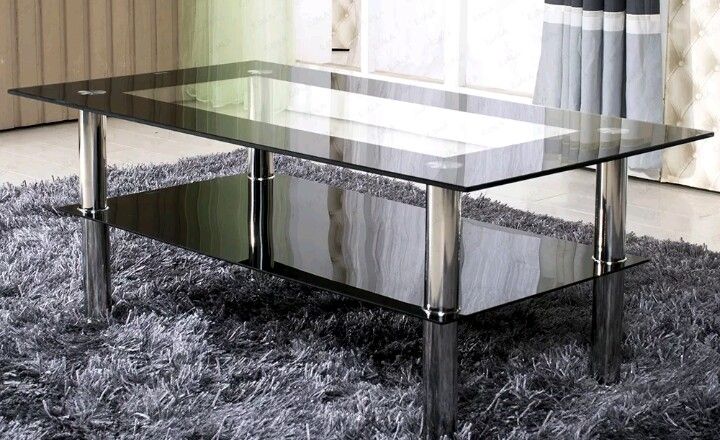
I intended on building a cockpit for a flight simulator in my frontroom as i love to fly planes but one would let me fly a real plane. Problem was it quickly spiraled in cost. I got the 2x 32" HD monitors but had no choice but to look around for something else to put the computer part in. So i started looking for something....something cool, yet functional and above all else fitting to the room. Then BANG, it hits me. I've seen a few people build custom PC desks with the PC built into it but desks are for offices or studies and i wanted something for the living room. While sat in there the other night i was looking at the black glass coffee table in the middle of the room, hmm i thought. Cool? Check. Functional? Check. Fitting to the room? Double check! The idea was born!
(Picture taken from table sellers website)
The next thing was to plan where everything would go using cardboard cutouts of the parts and to get the 500mm x 1000mm x 5mm black perspex sheet to replace the glass shelf itself.
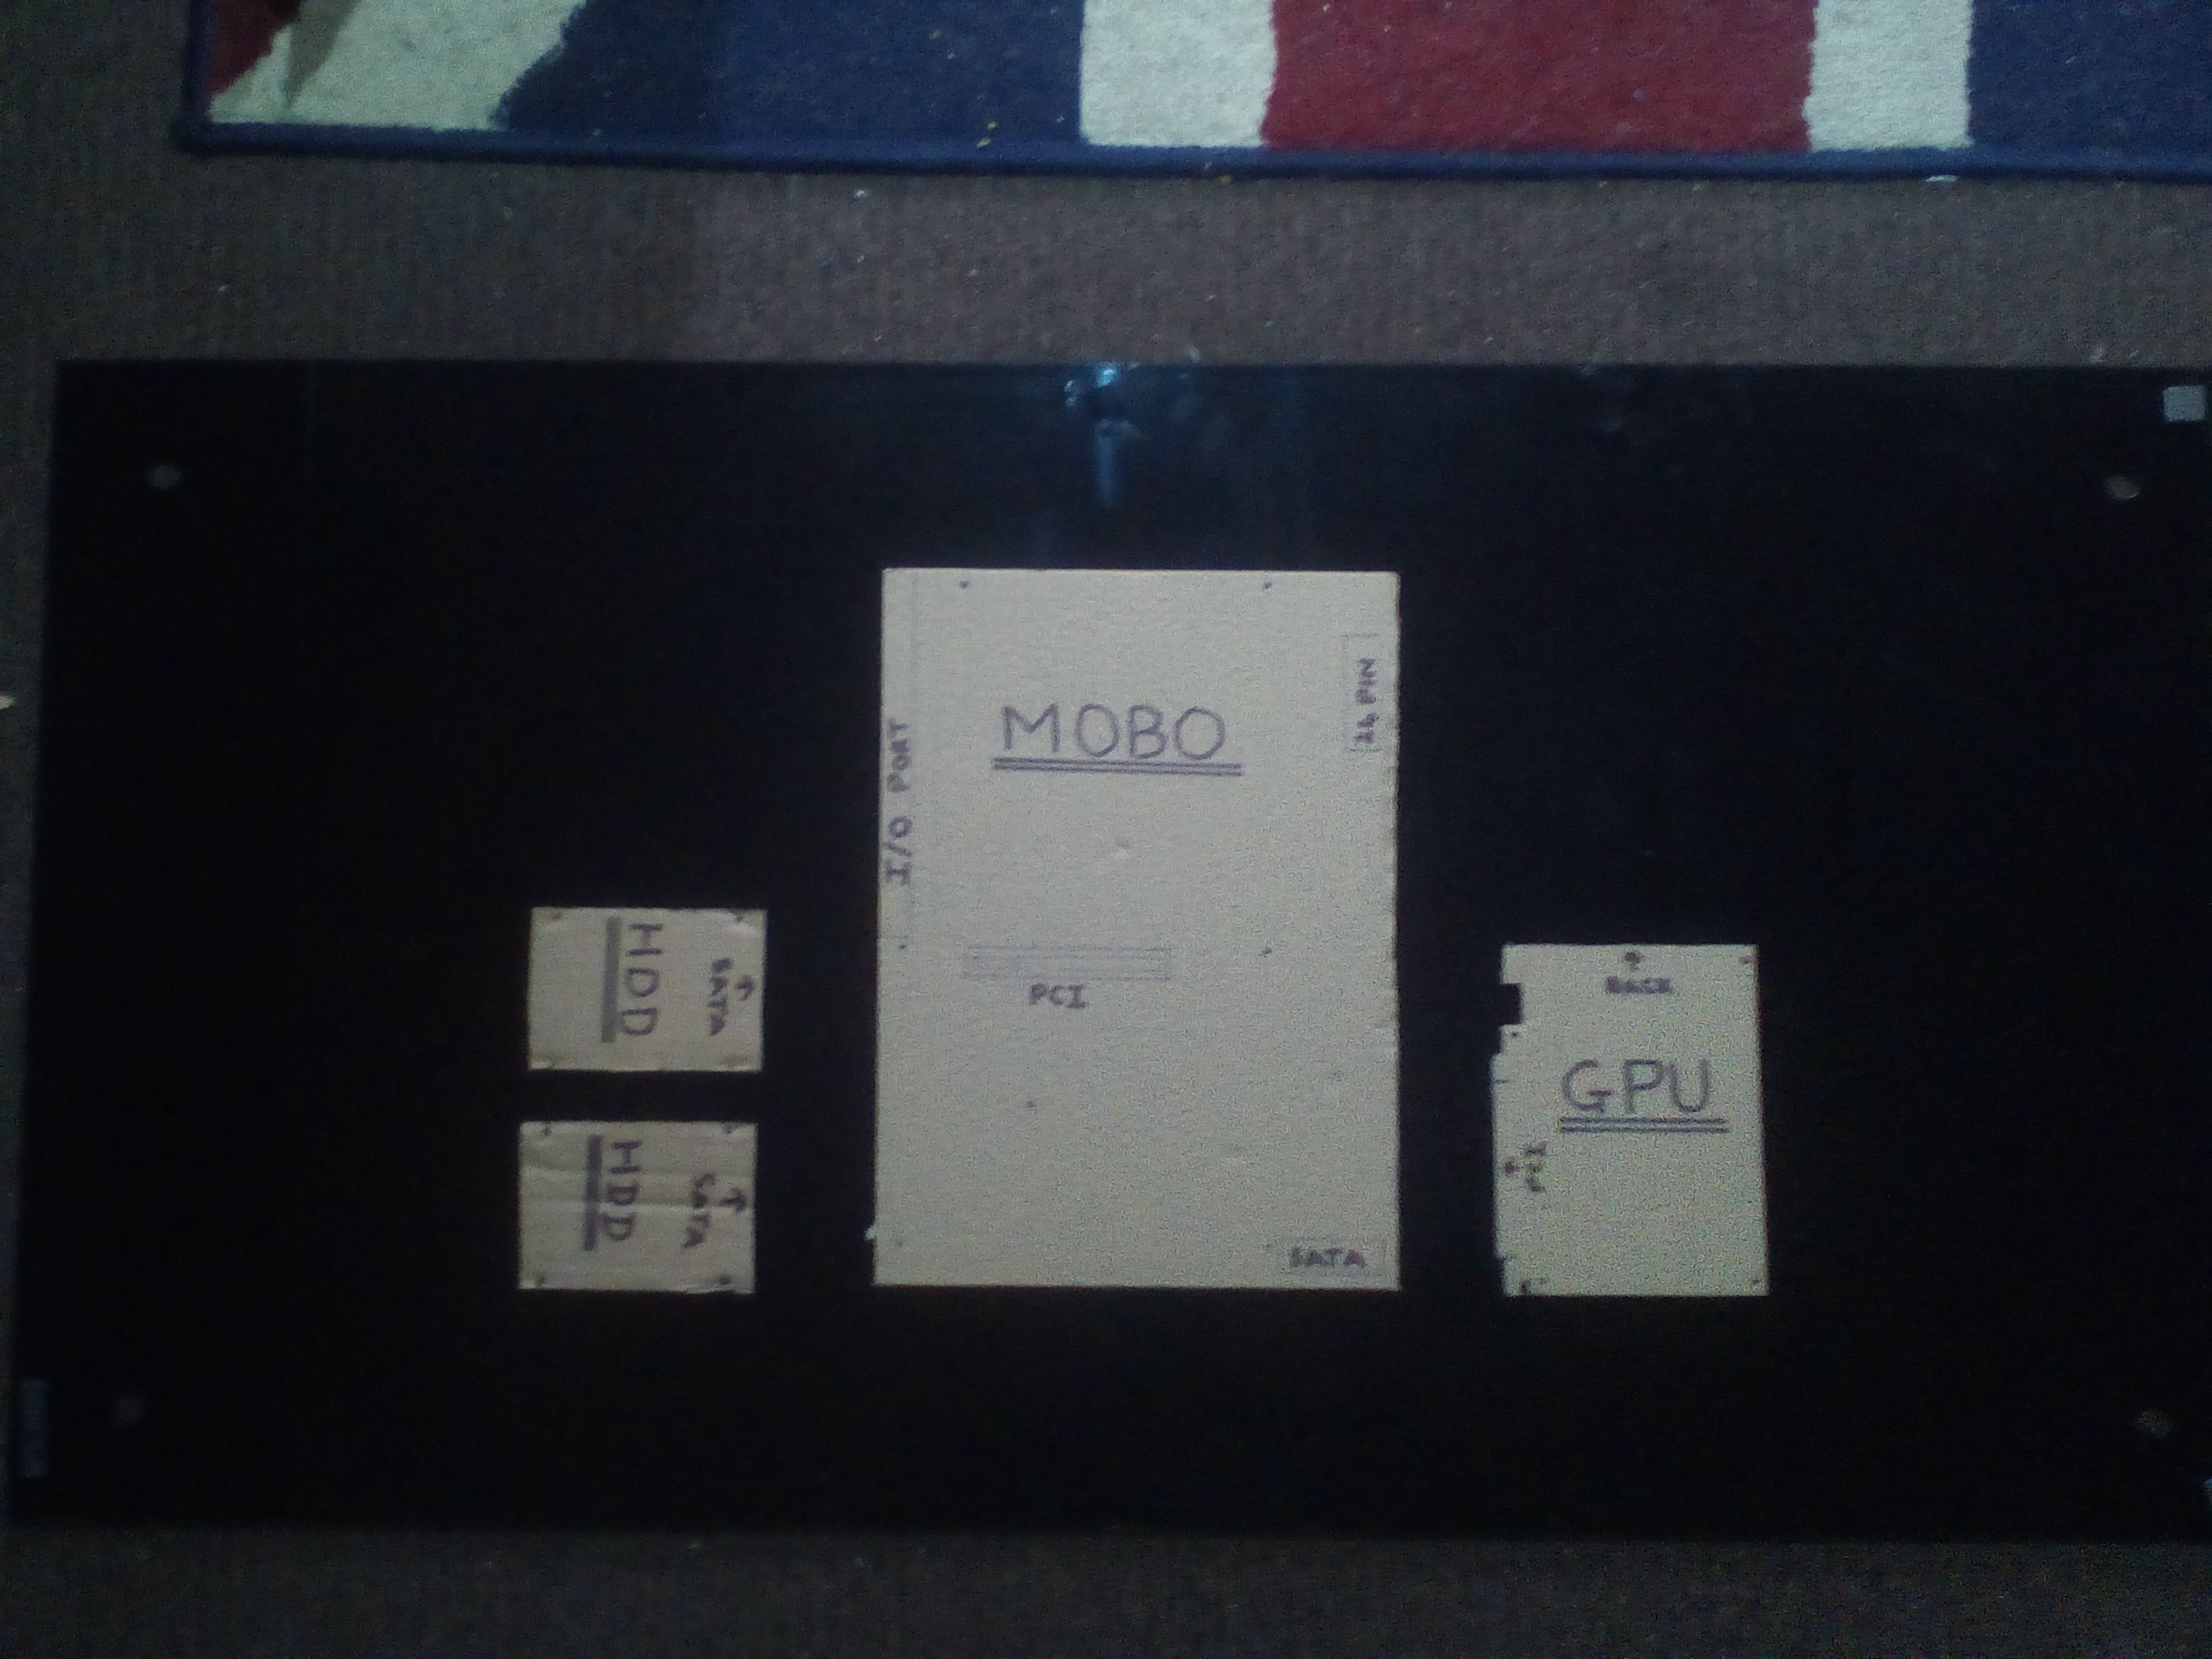
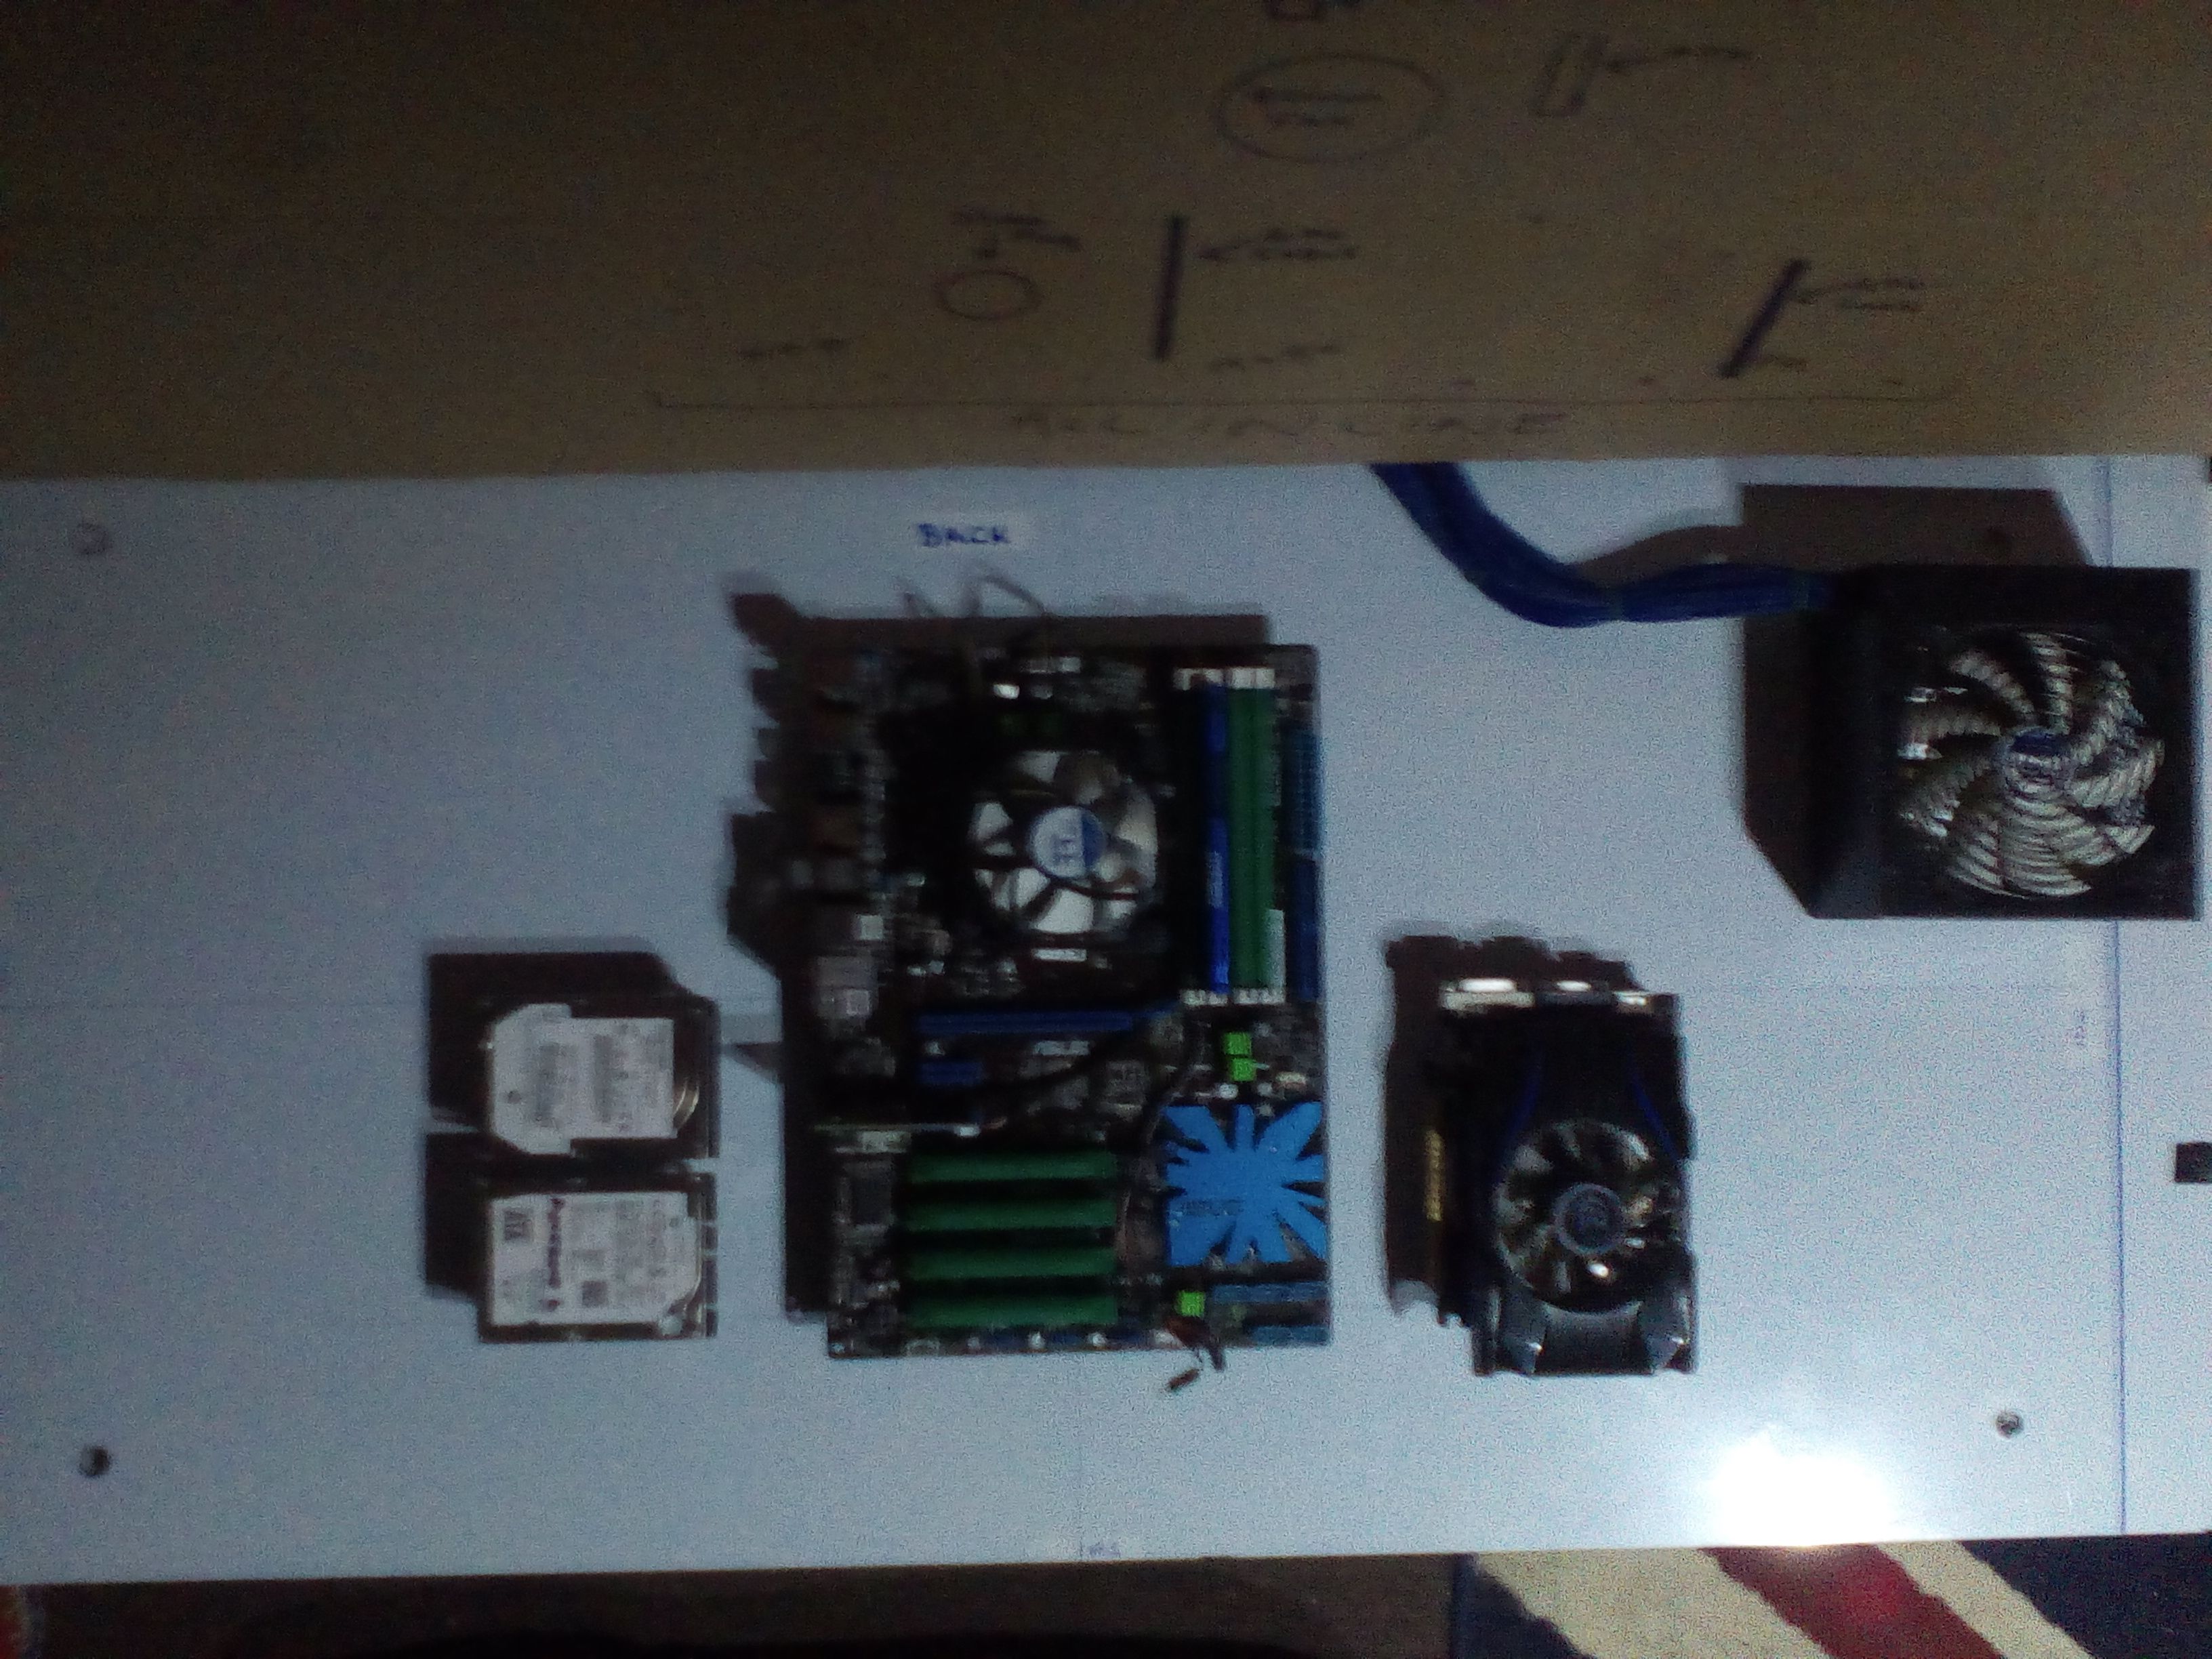
Once planned out it was time to make the first drill hole. I'd never worked with perspex before but i found it extremely easy (like working with wood but slower). The next part was mounting some 30mm motherboard stand-offs to the perspex sheet. For this i used a 2mm drill piece followed by a 3mm threading tap to thread the holes so that the stand-offs screwed into the plastic sheet to hold the motherboard, hard drives and graphics card in place. As for mesurements i used the cardboard cutout of the Asus ATX motherboard, 2 x 2.5" laptop hard drives and GT 430 graphics card (will be changed later) i made to plan where everything went with all appropriate holes marked.
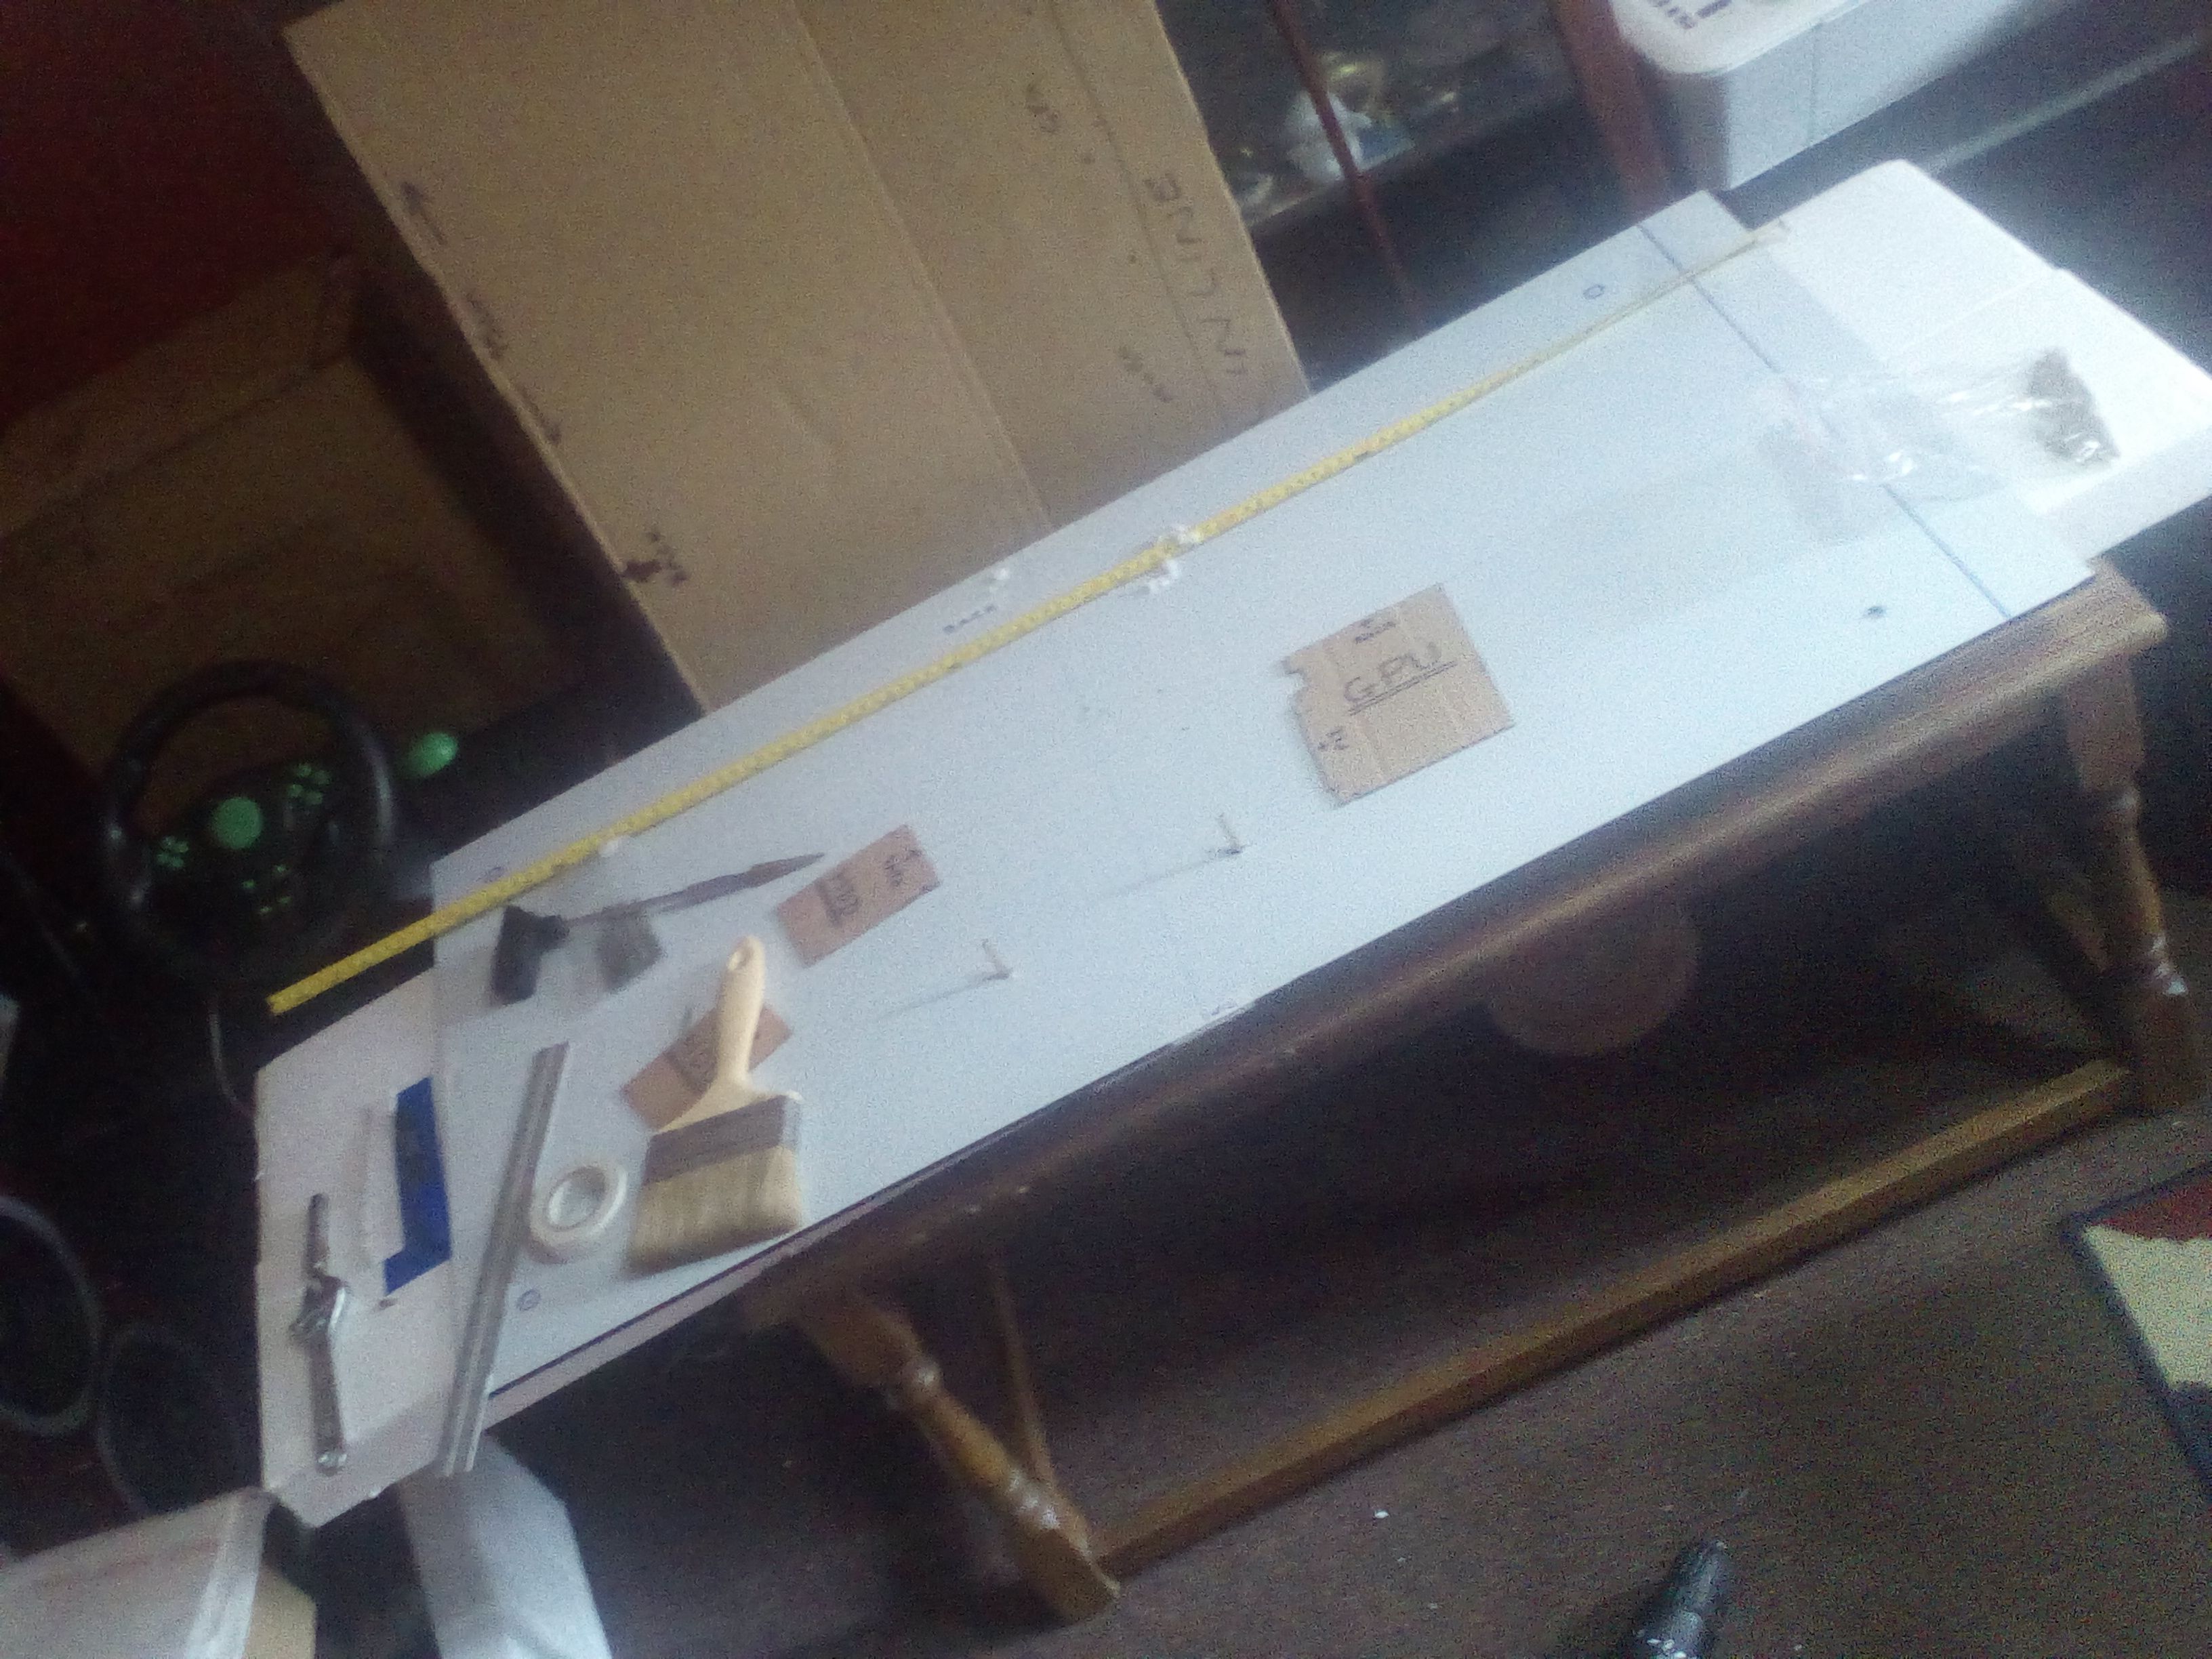
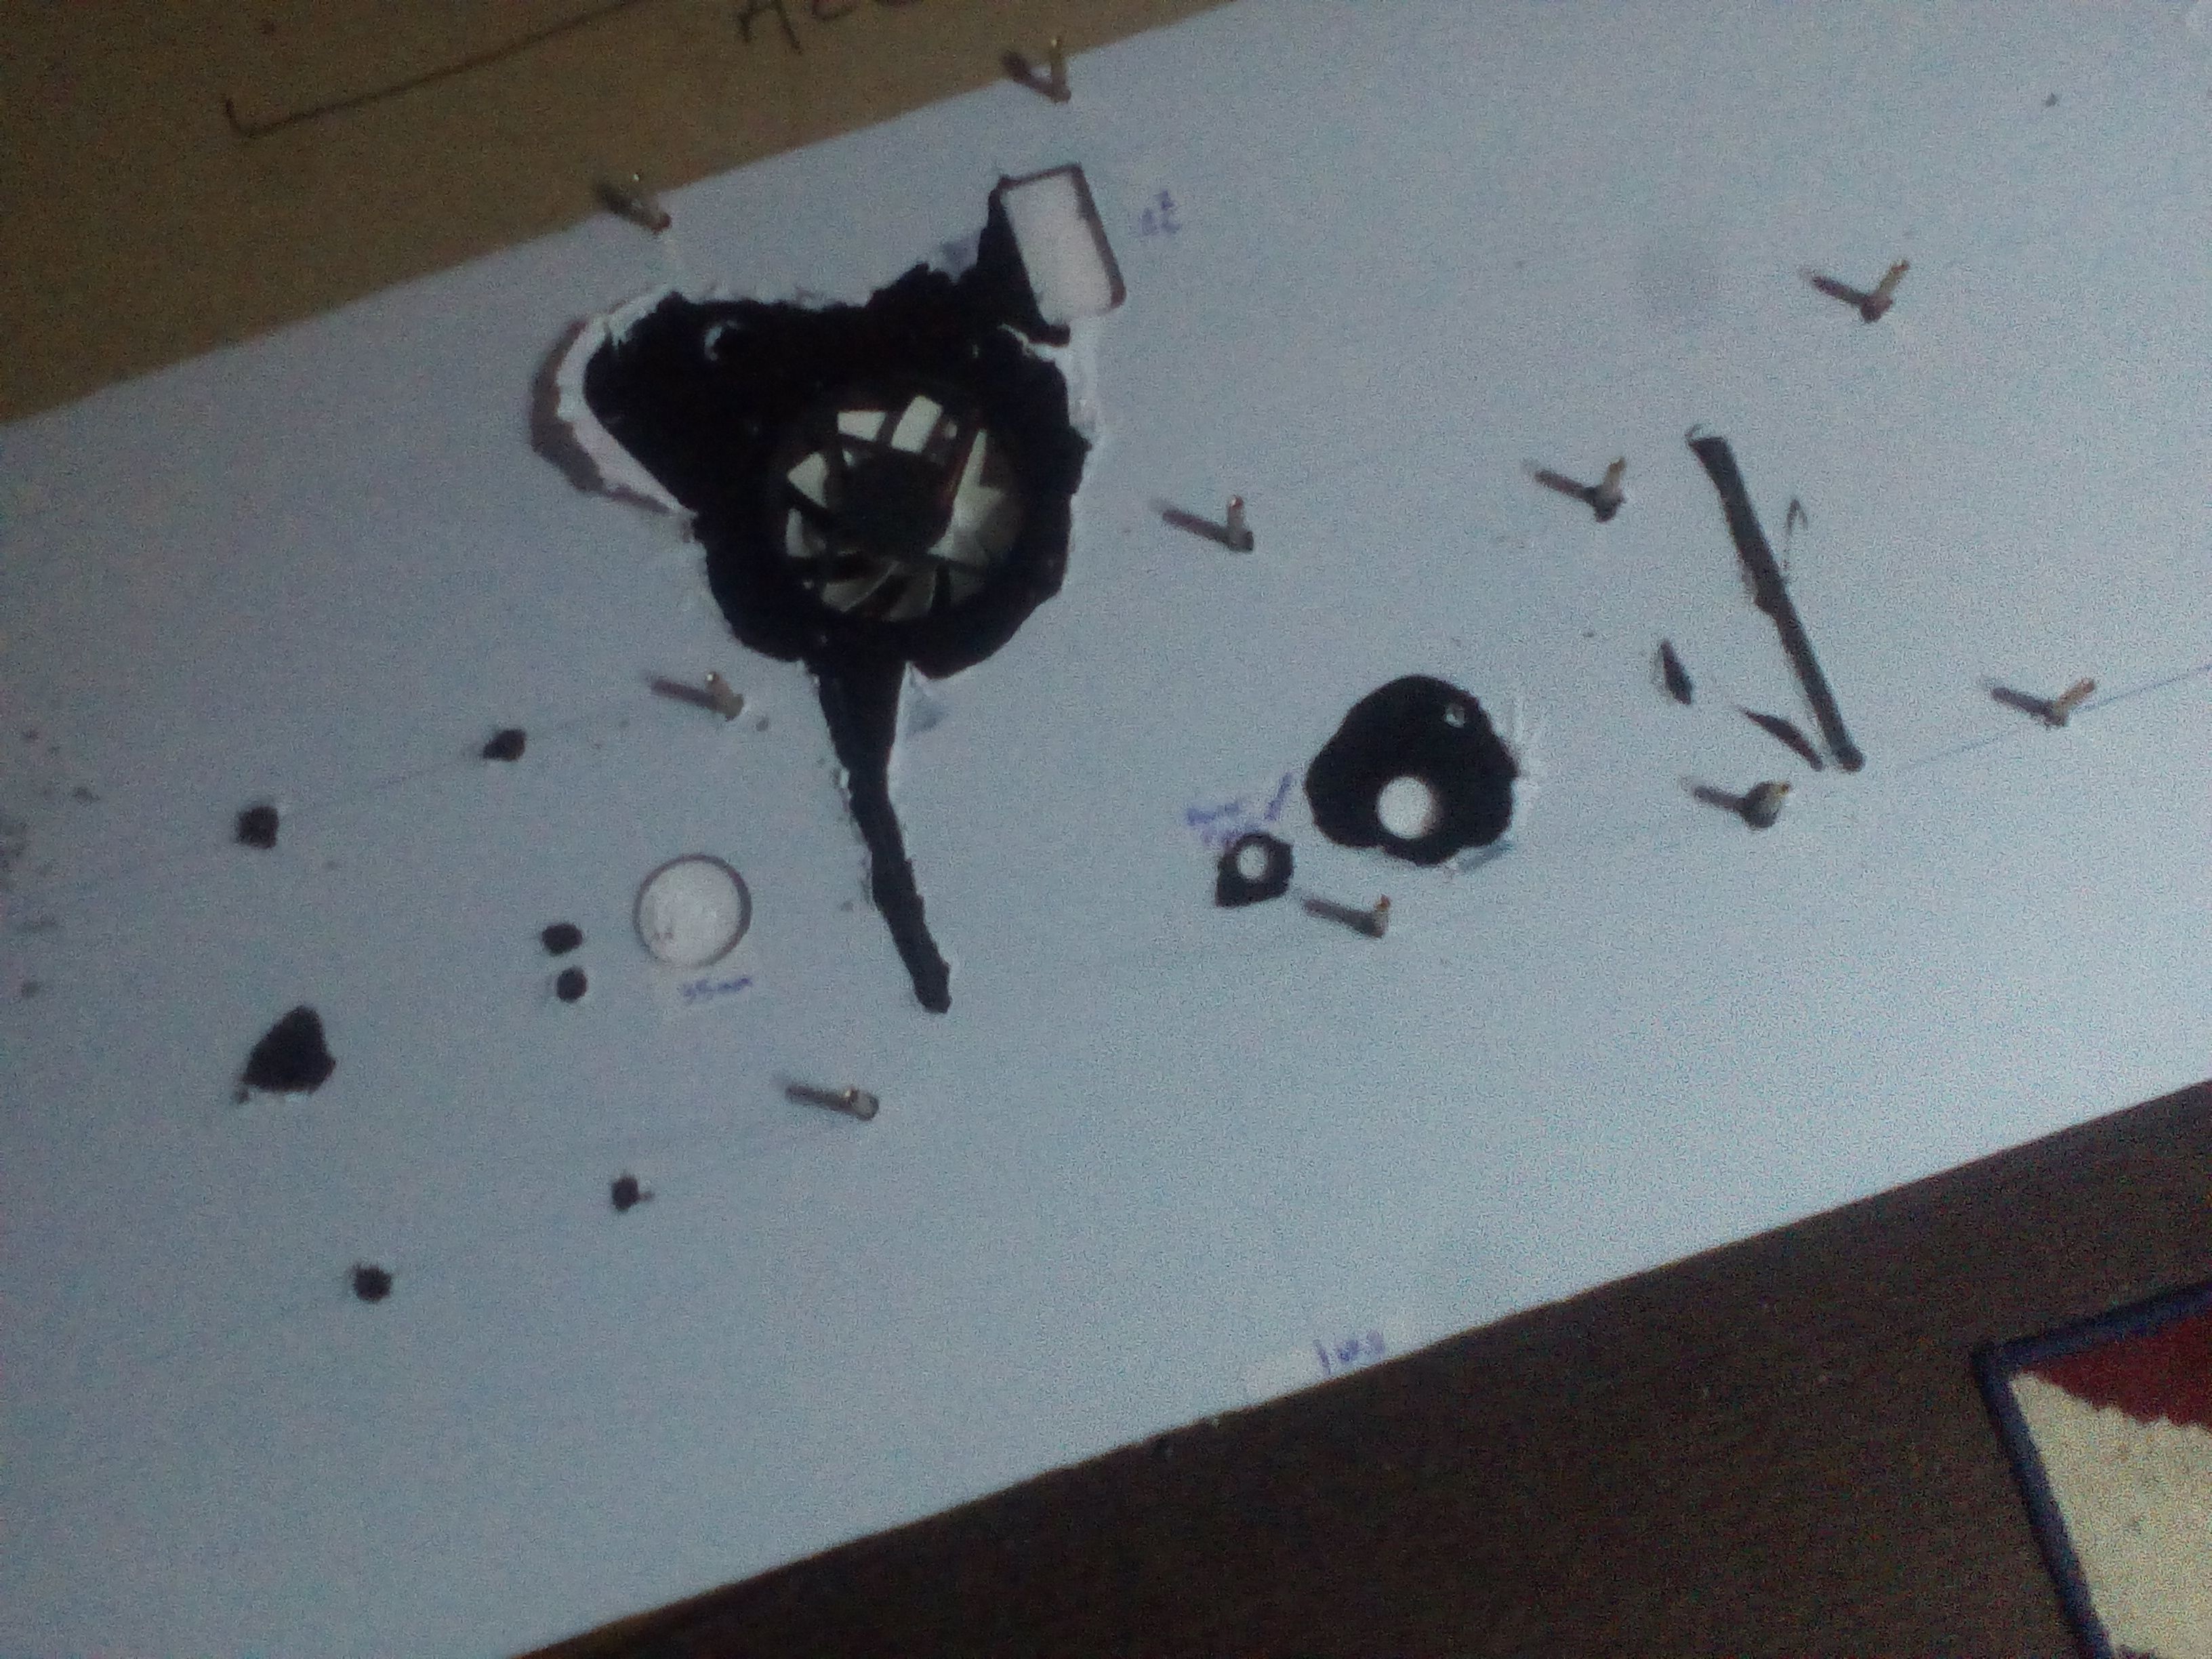
After all 18 stand-offs where in place.
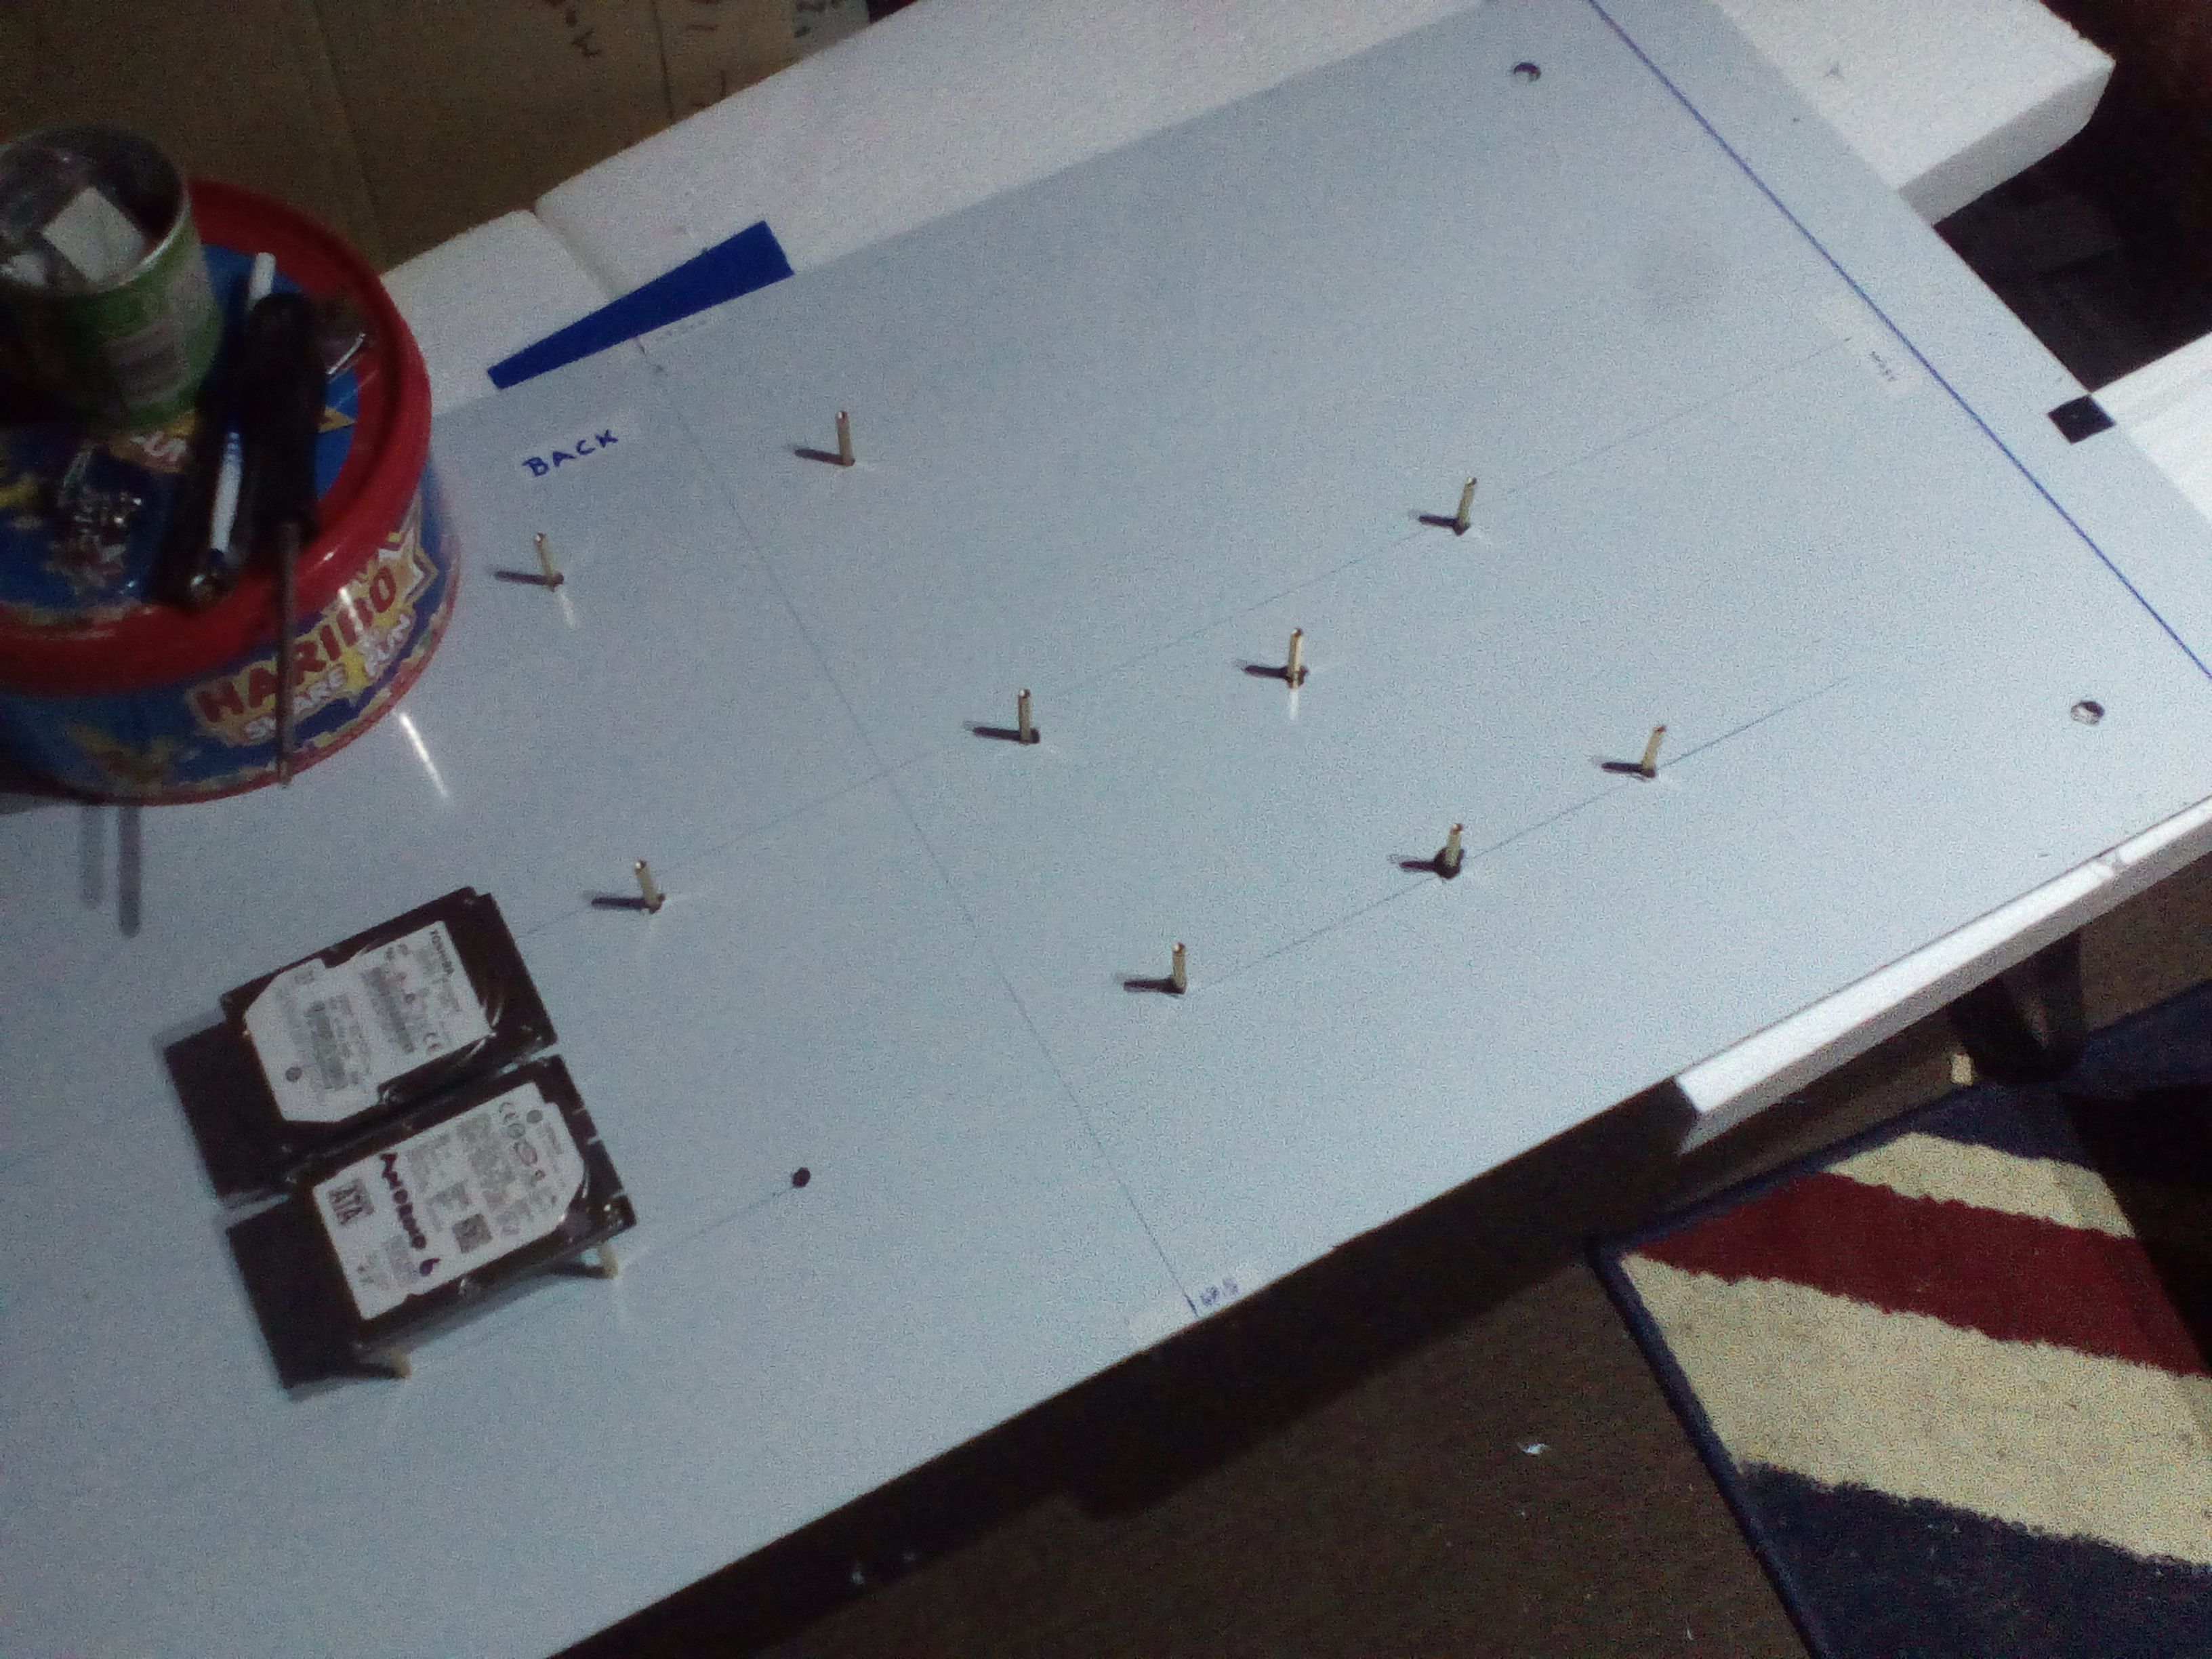
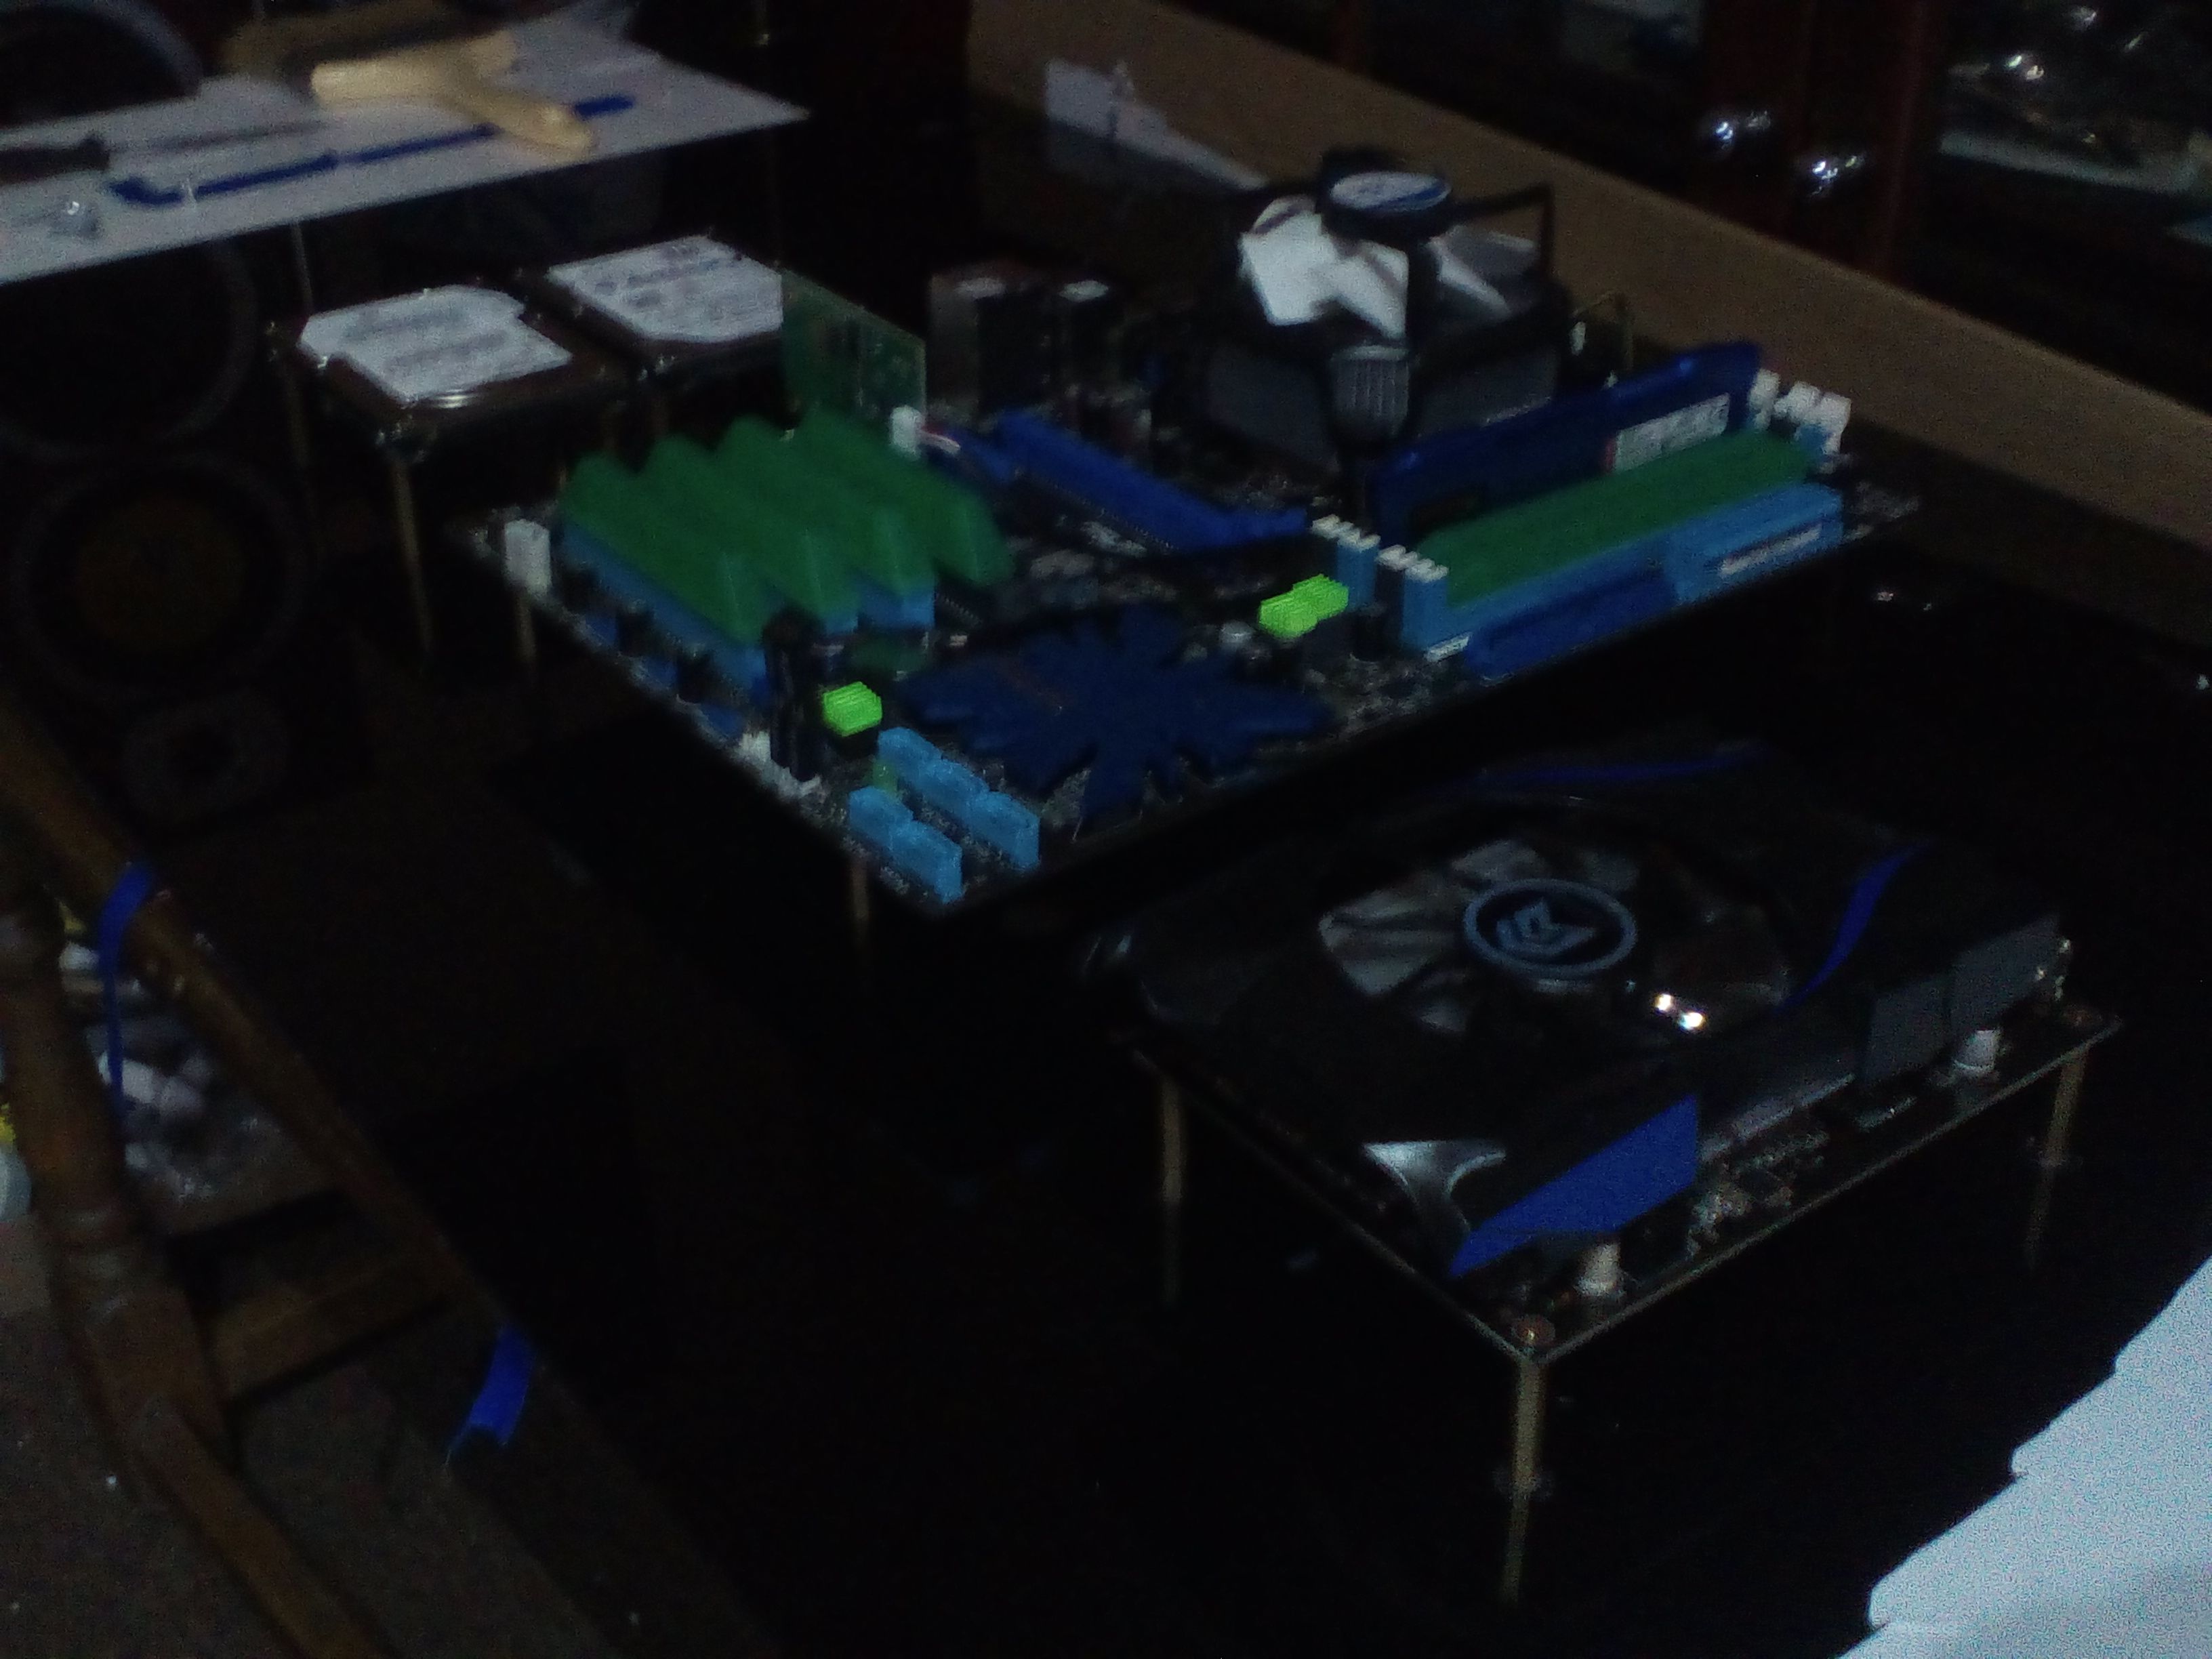
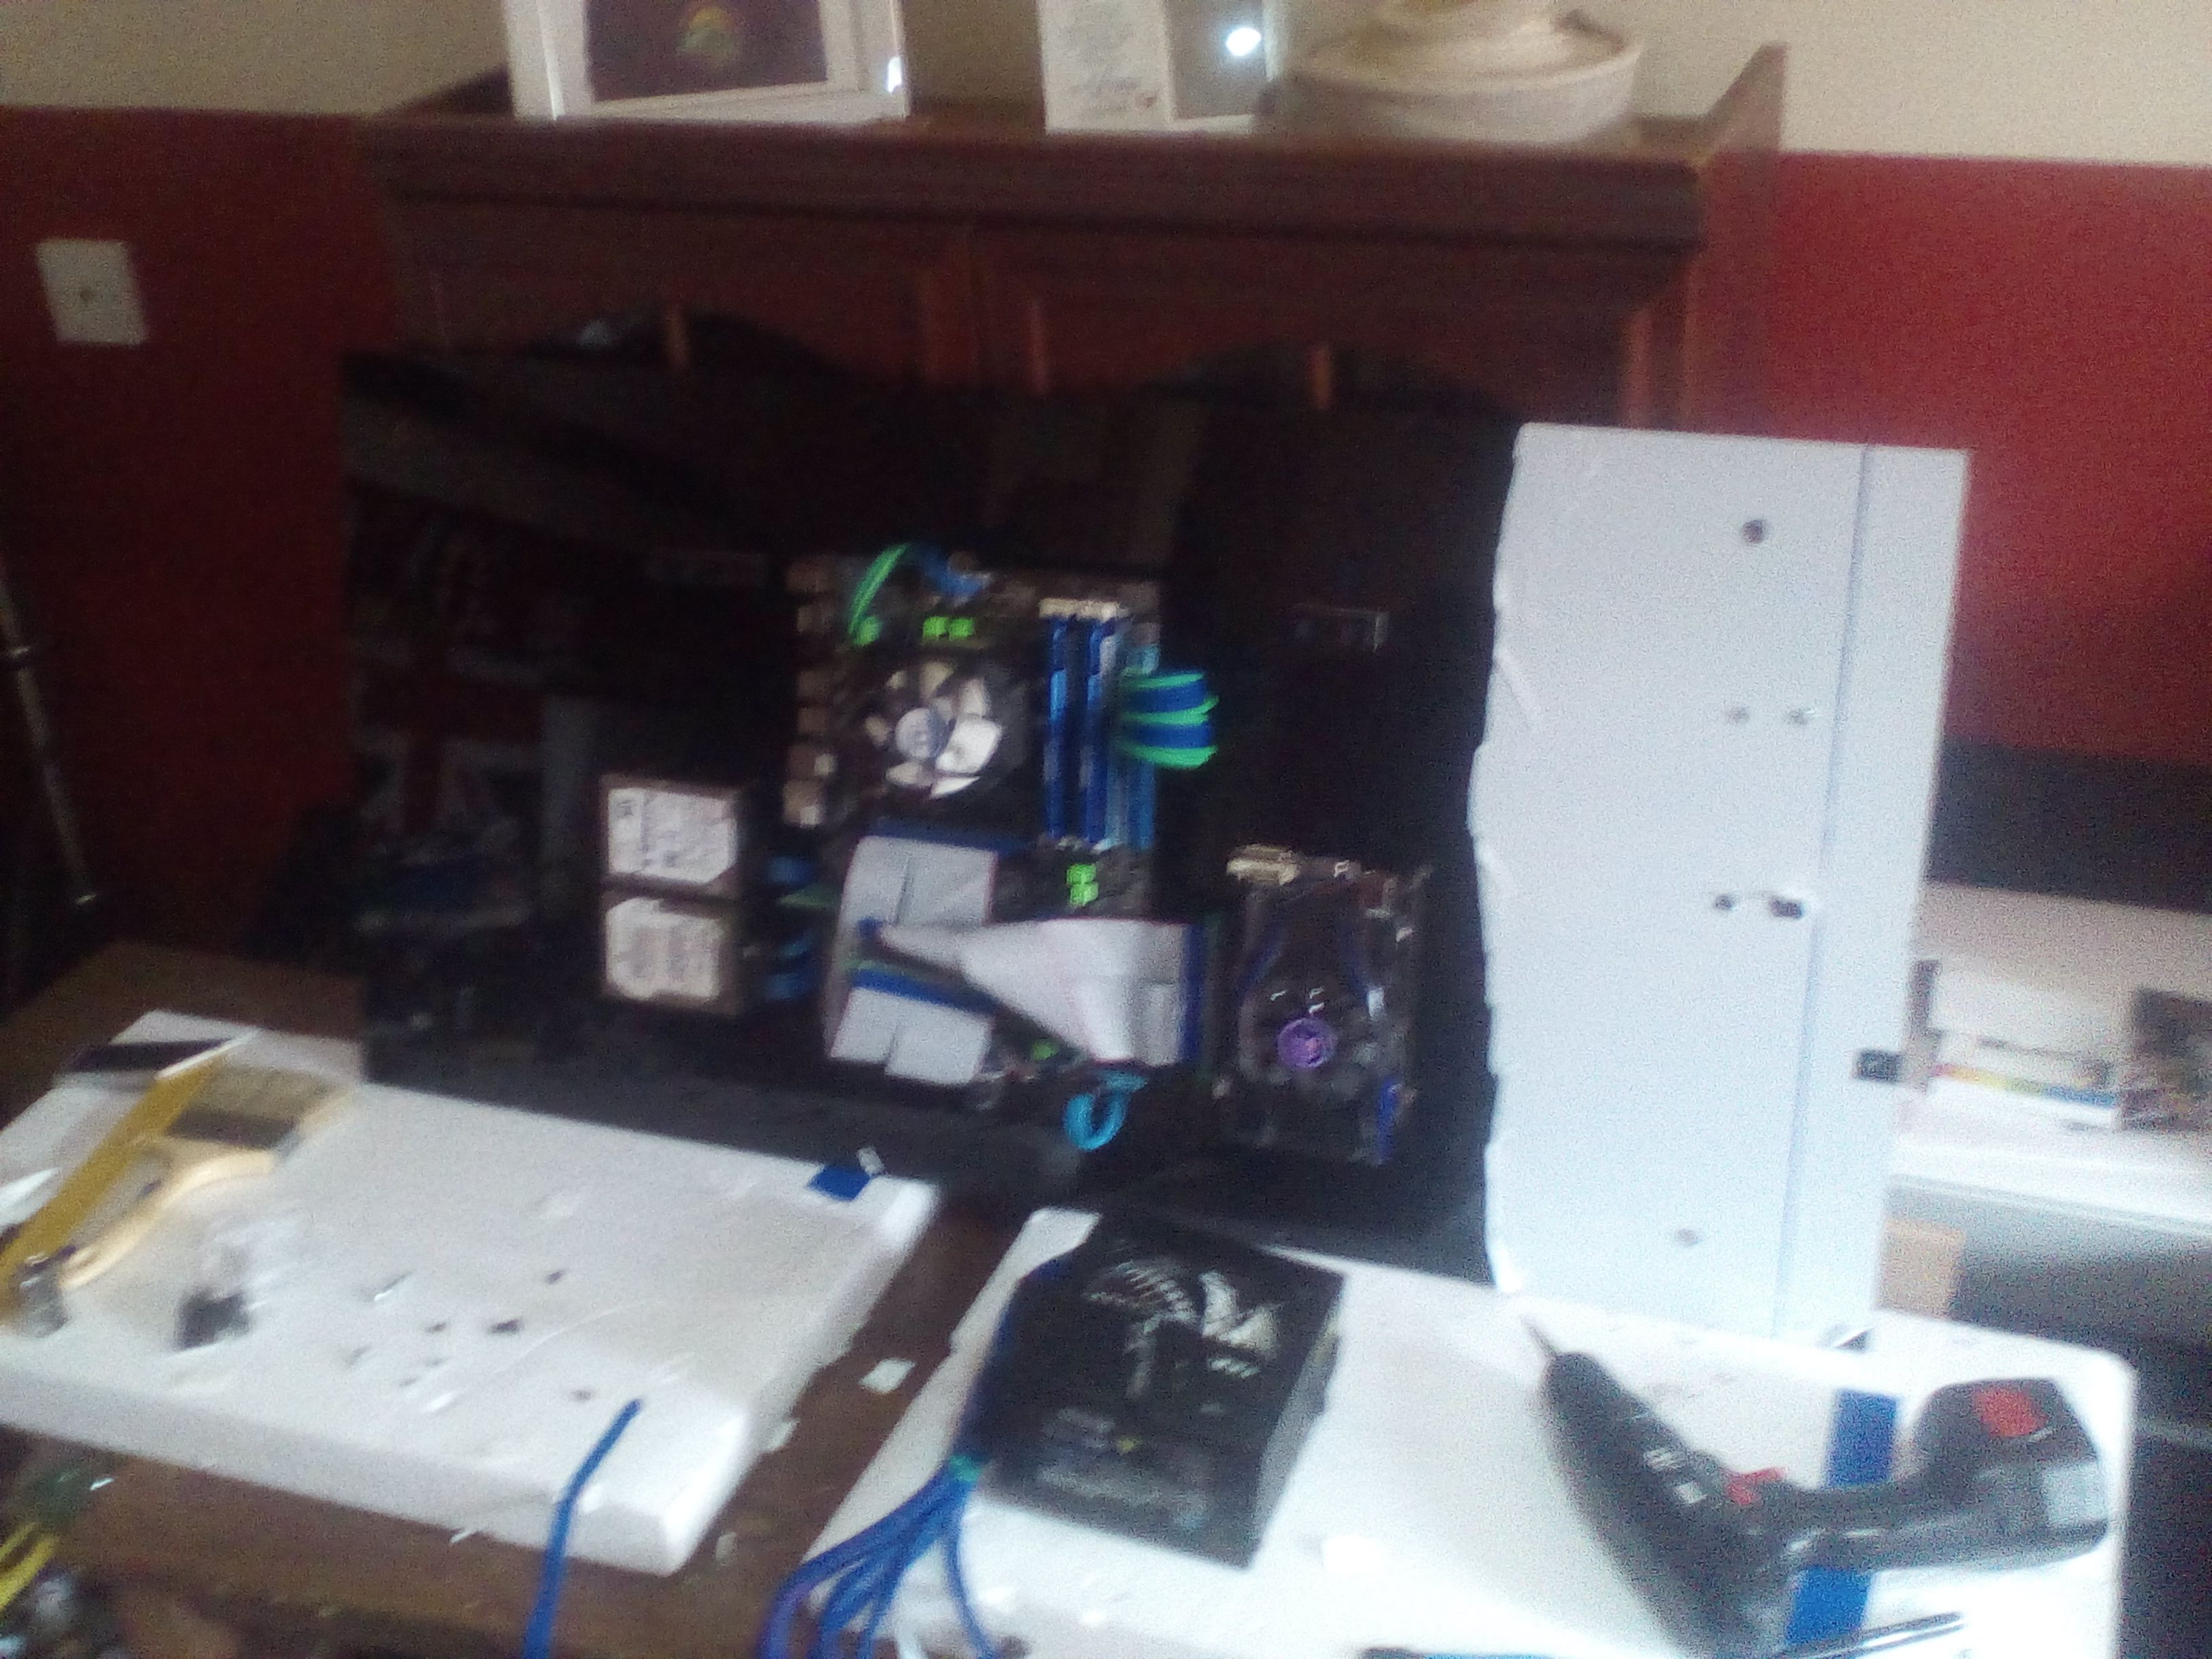
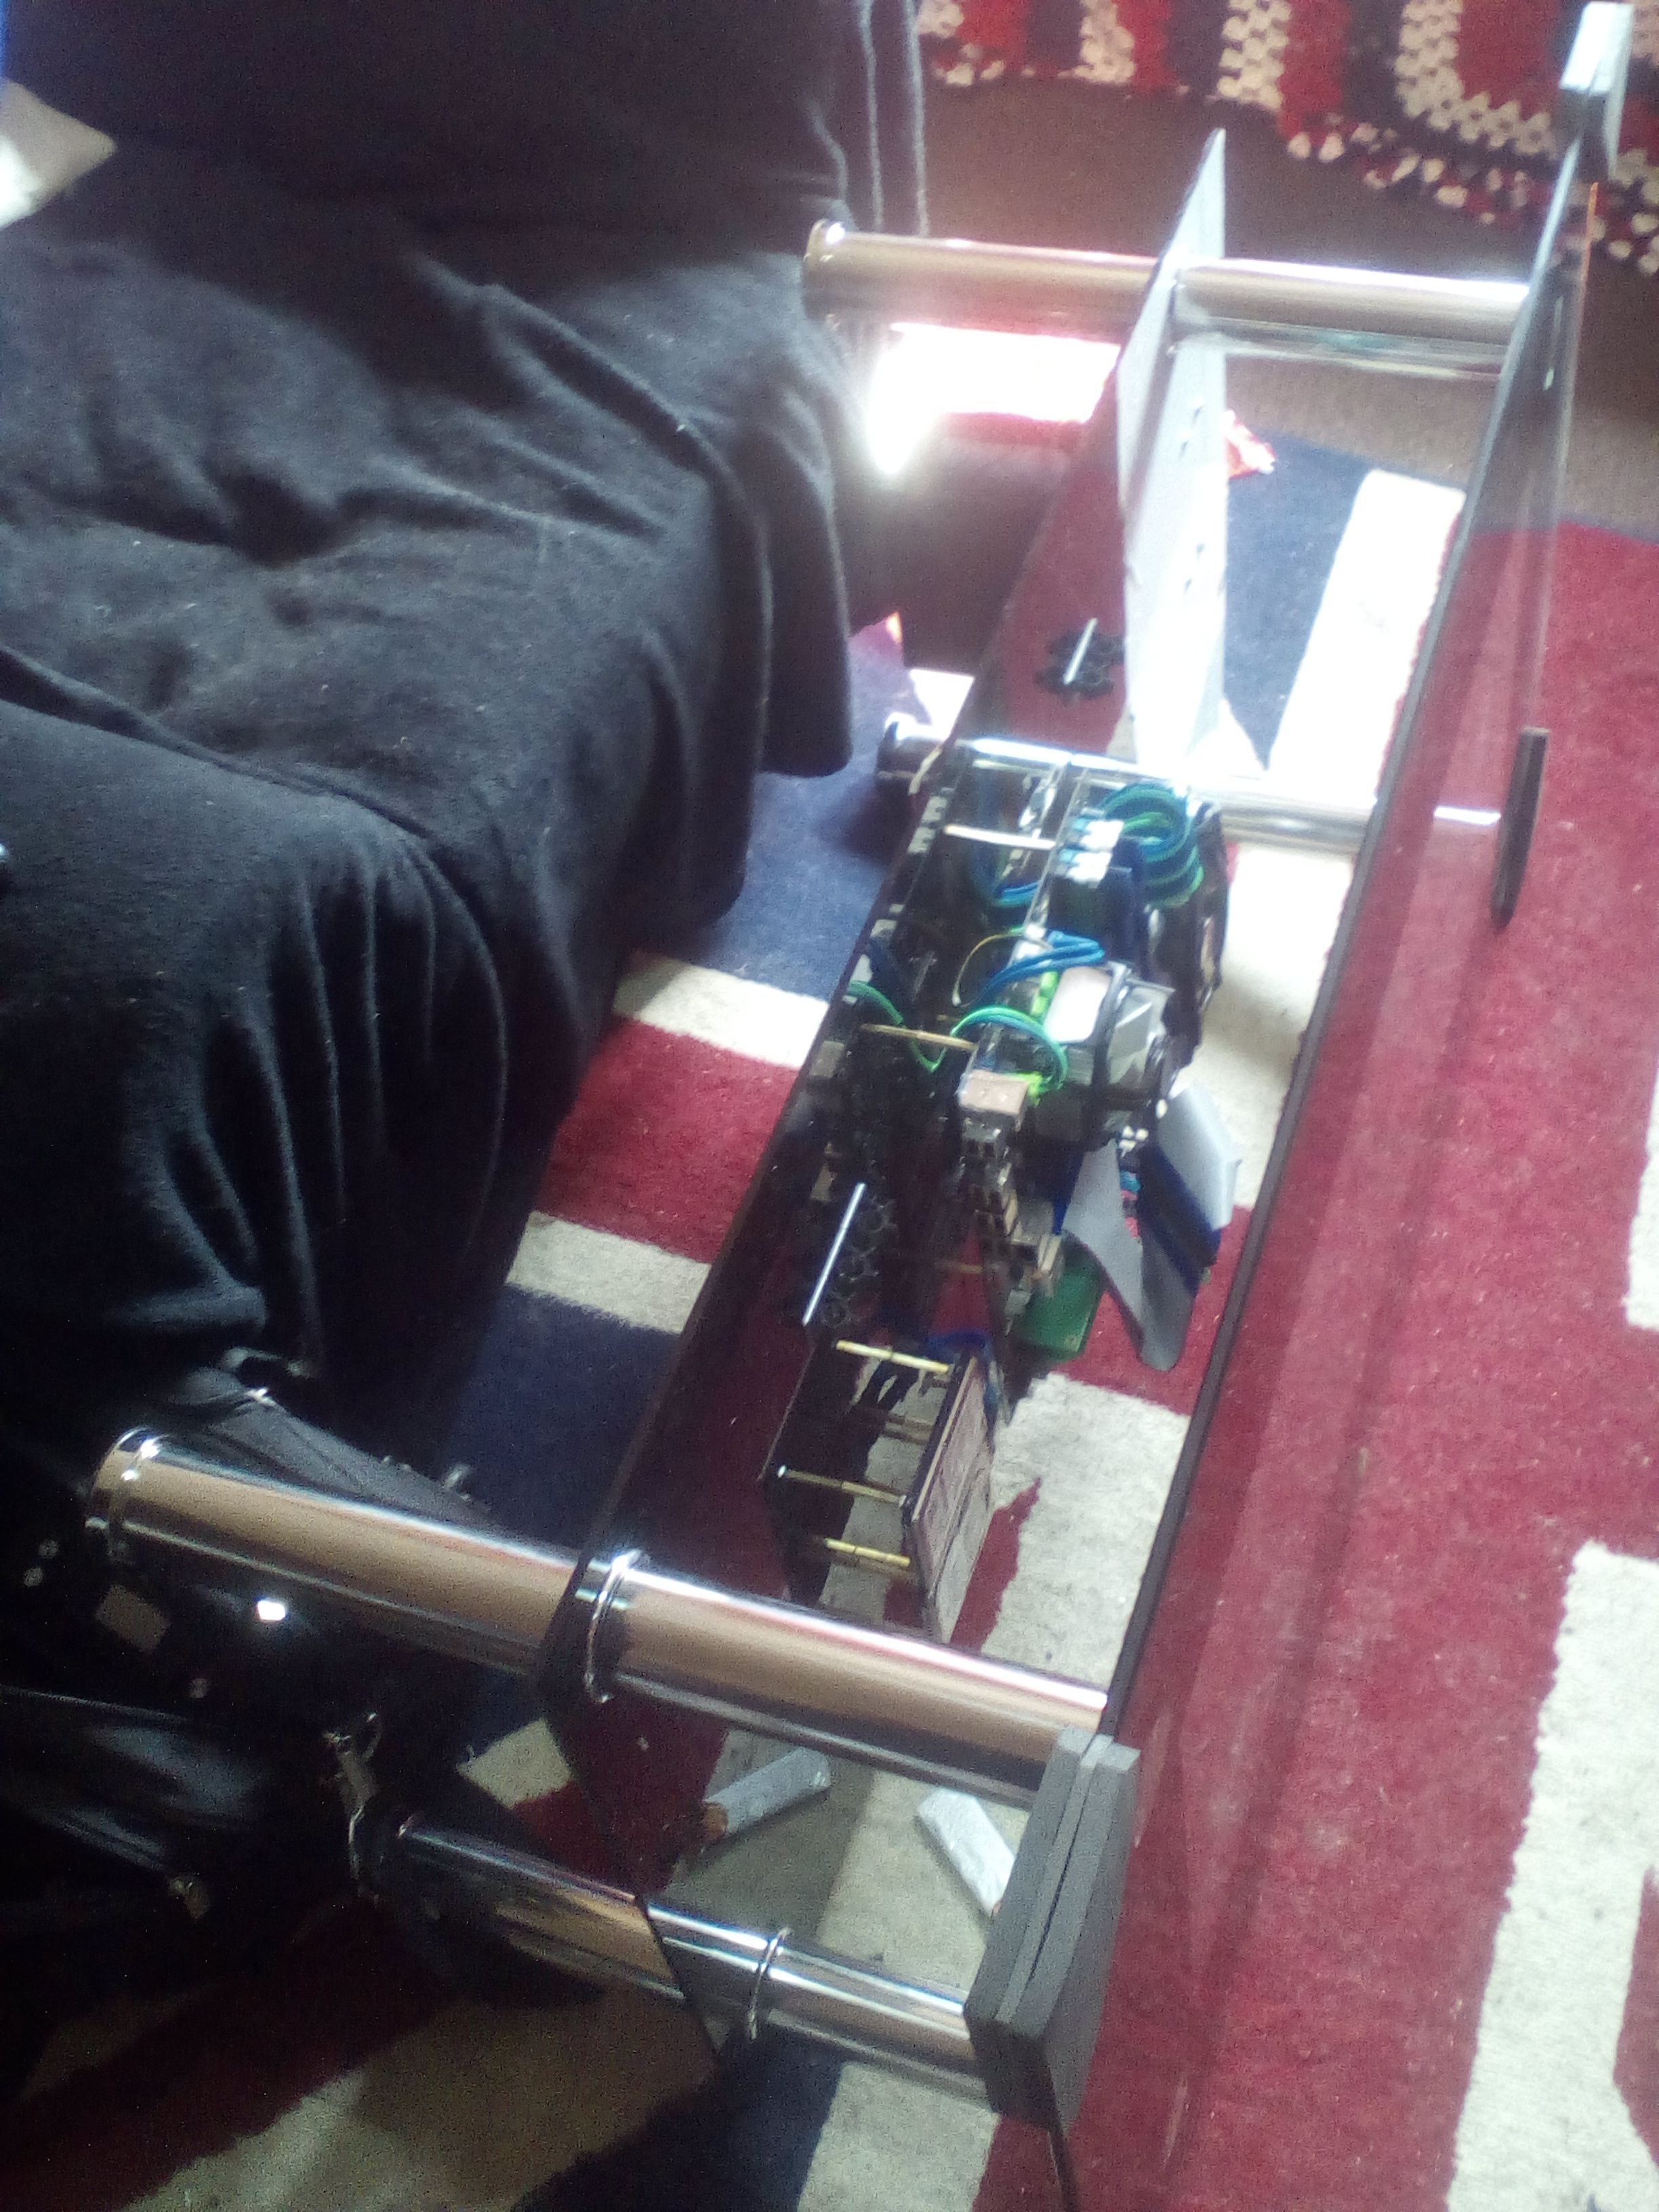
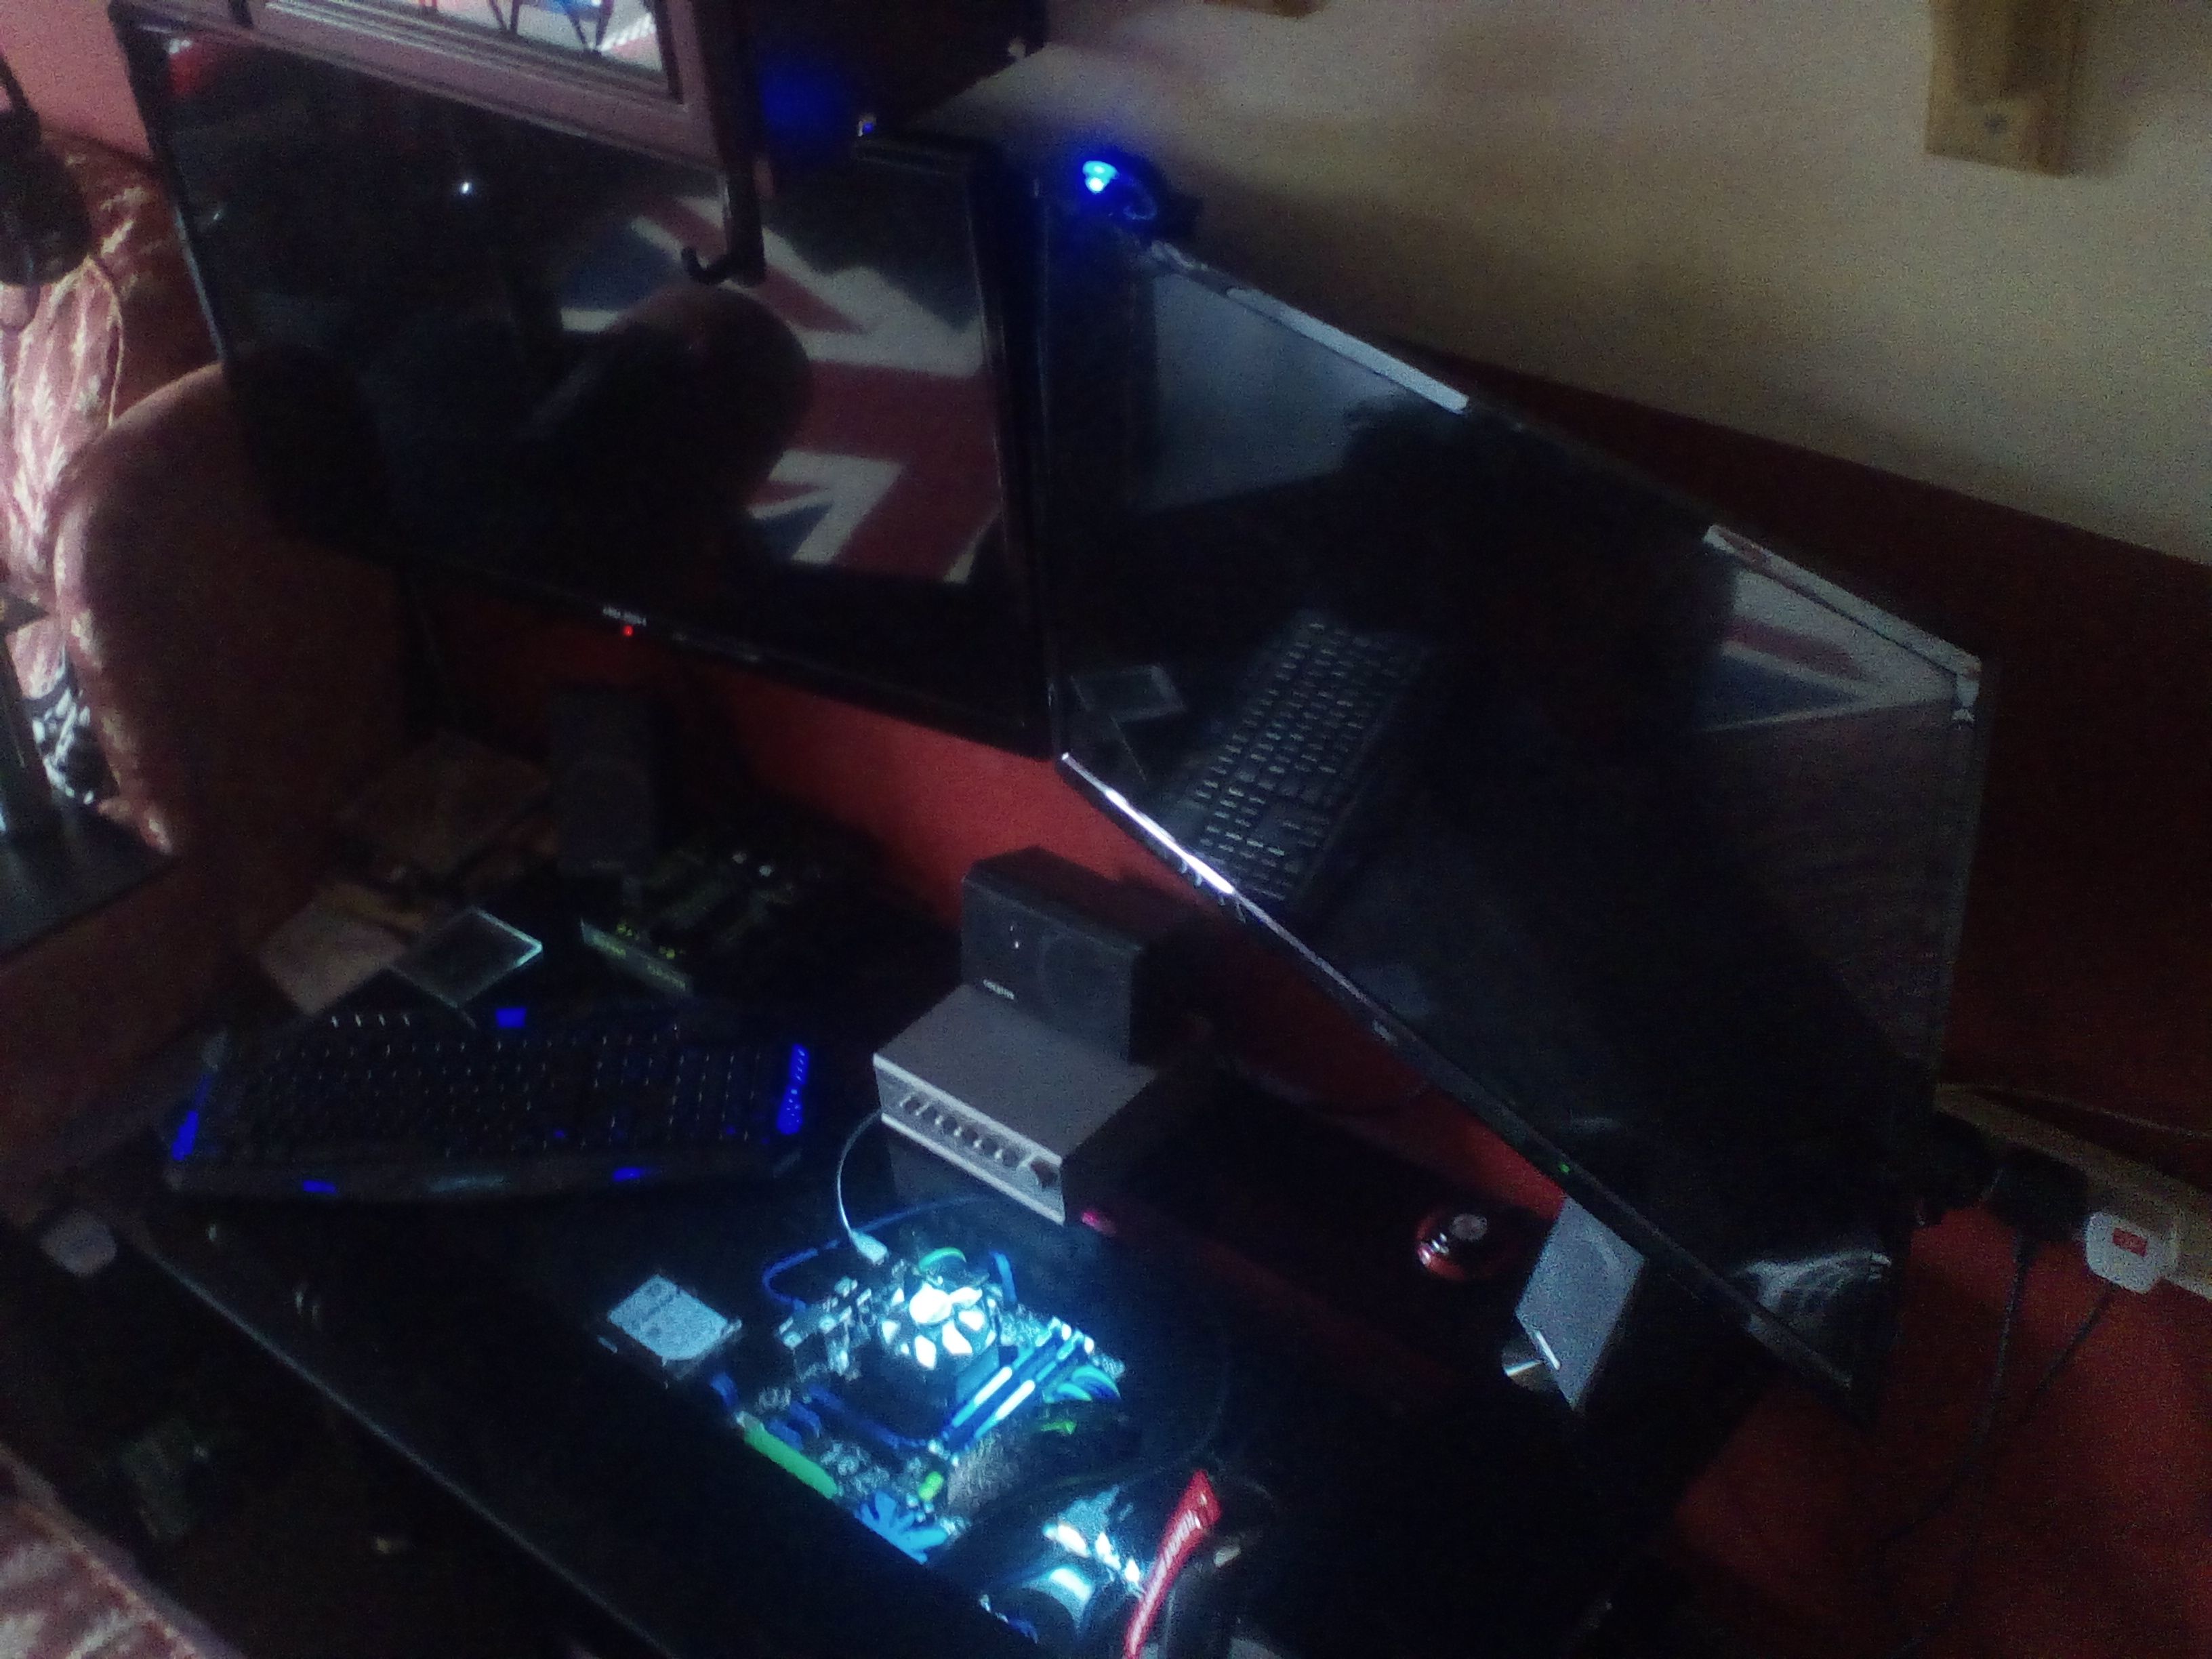
It was then time to test mount the parts and decide where the wiring was going.
An 80mm Arctic fan mounted underneath the motherboard to keep air flowing behind it and to help keep airflow around the hard drives and graphics card. Holes were places 40mm inside the motherboards perimeter so all wires dissapear under the board before going through the holes.
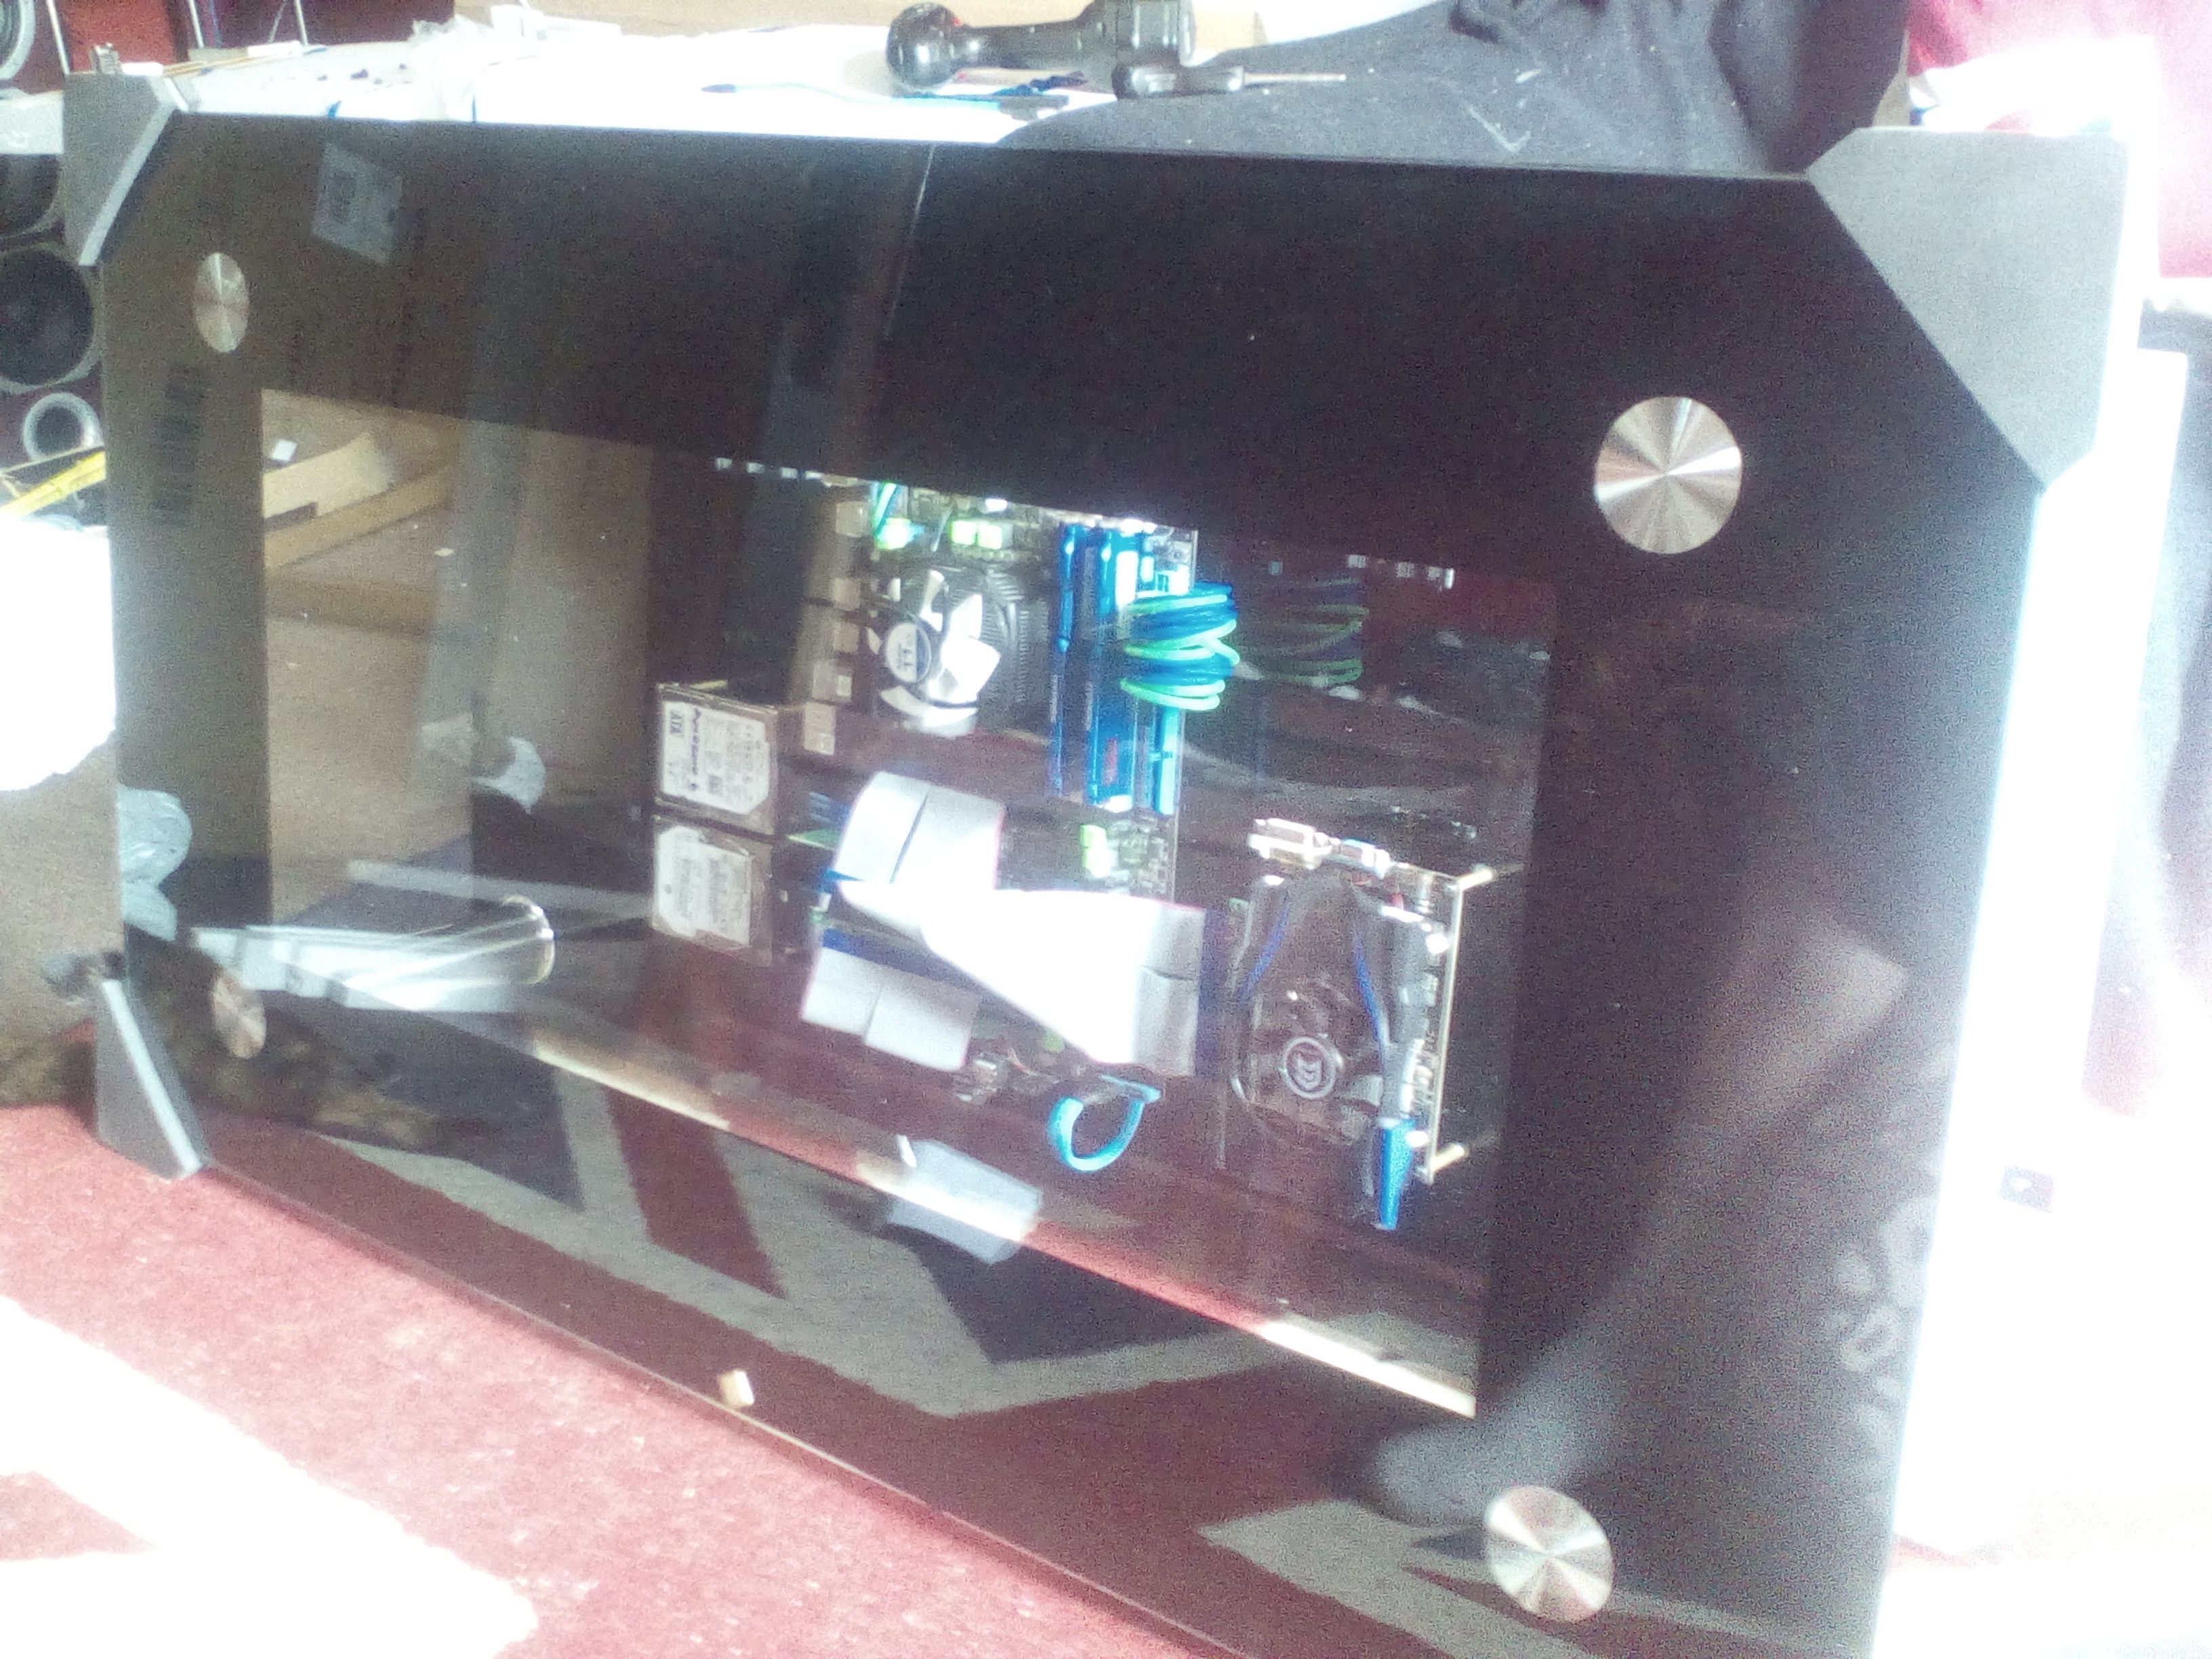
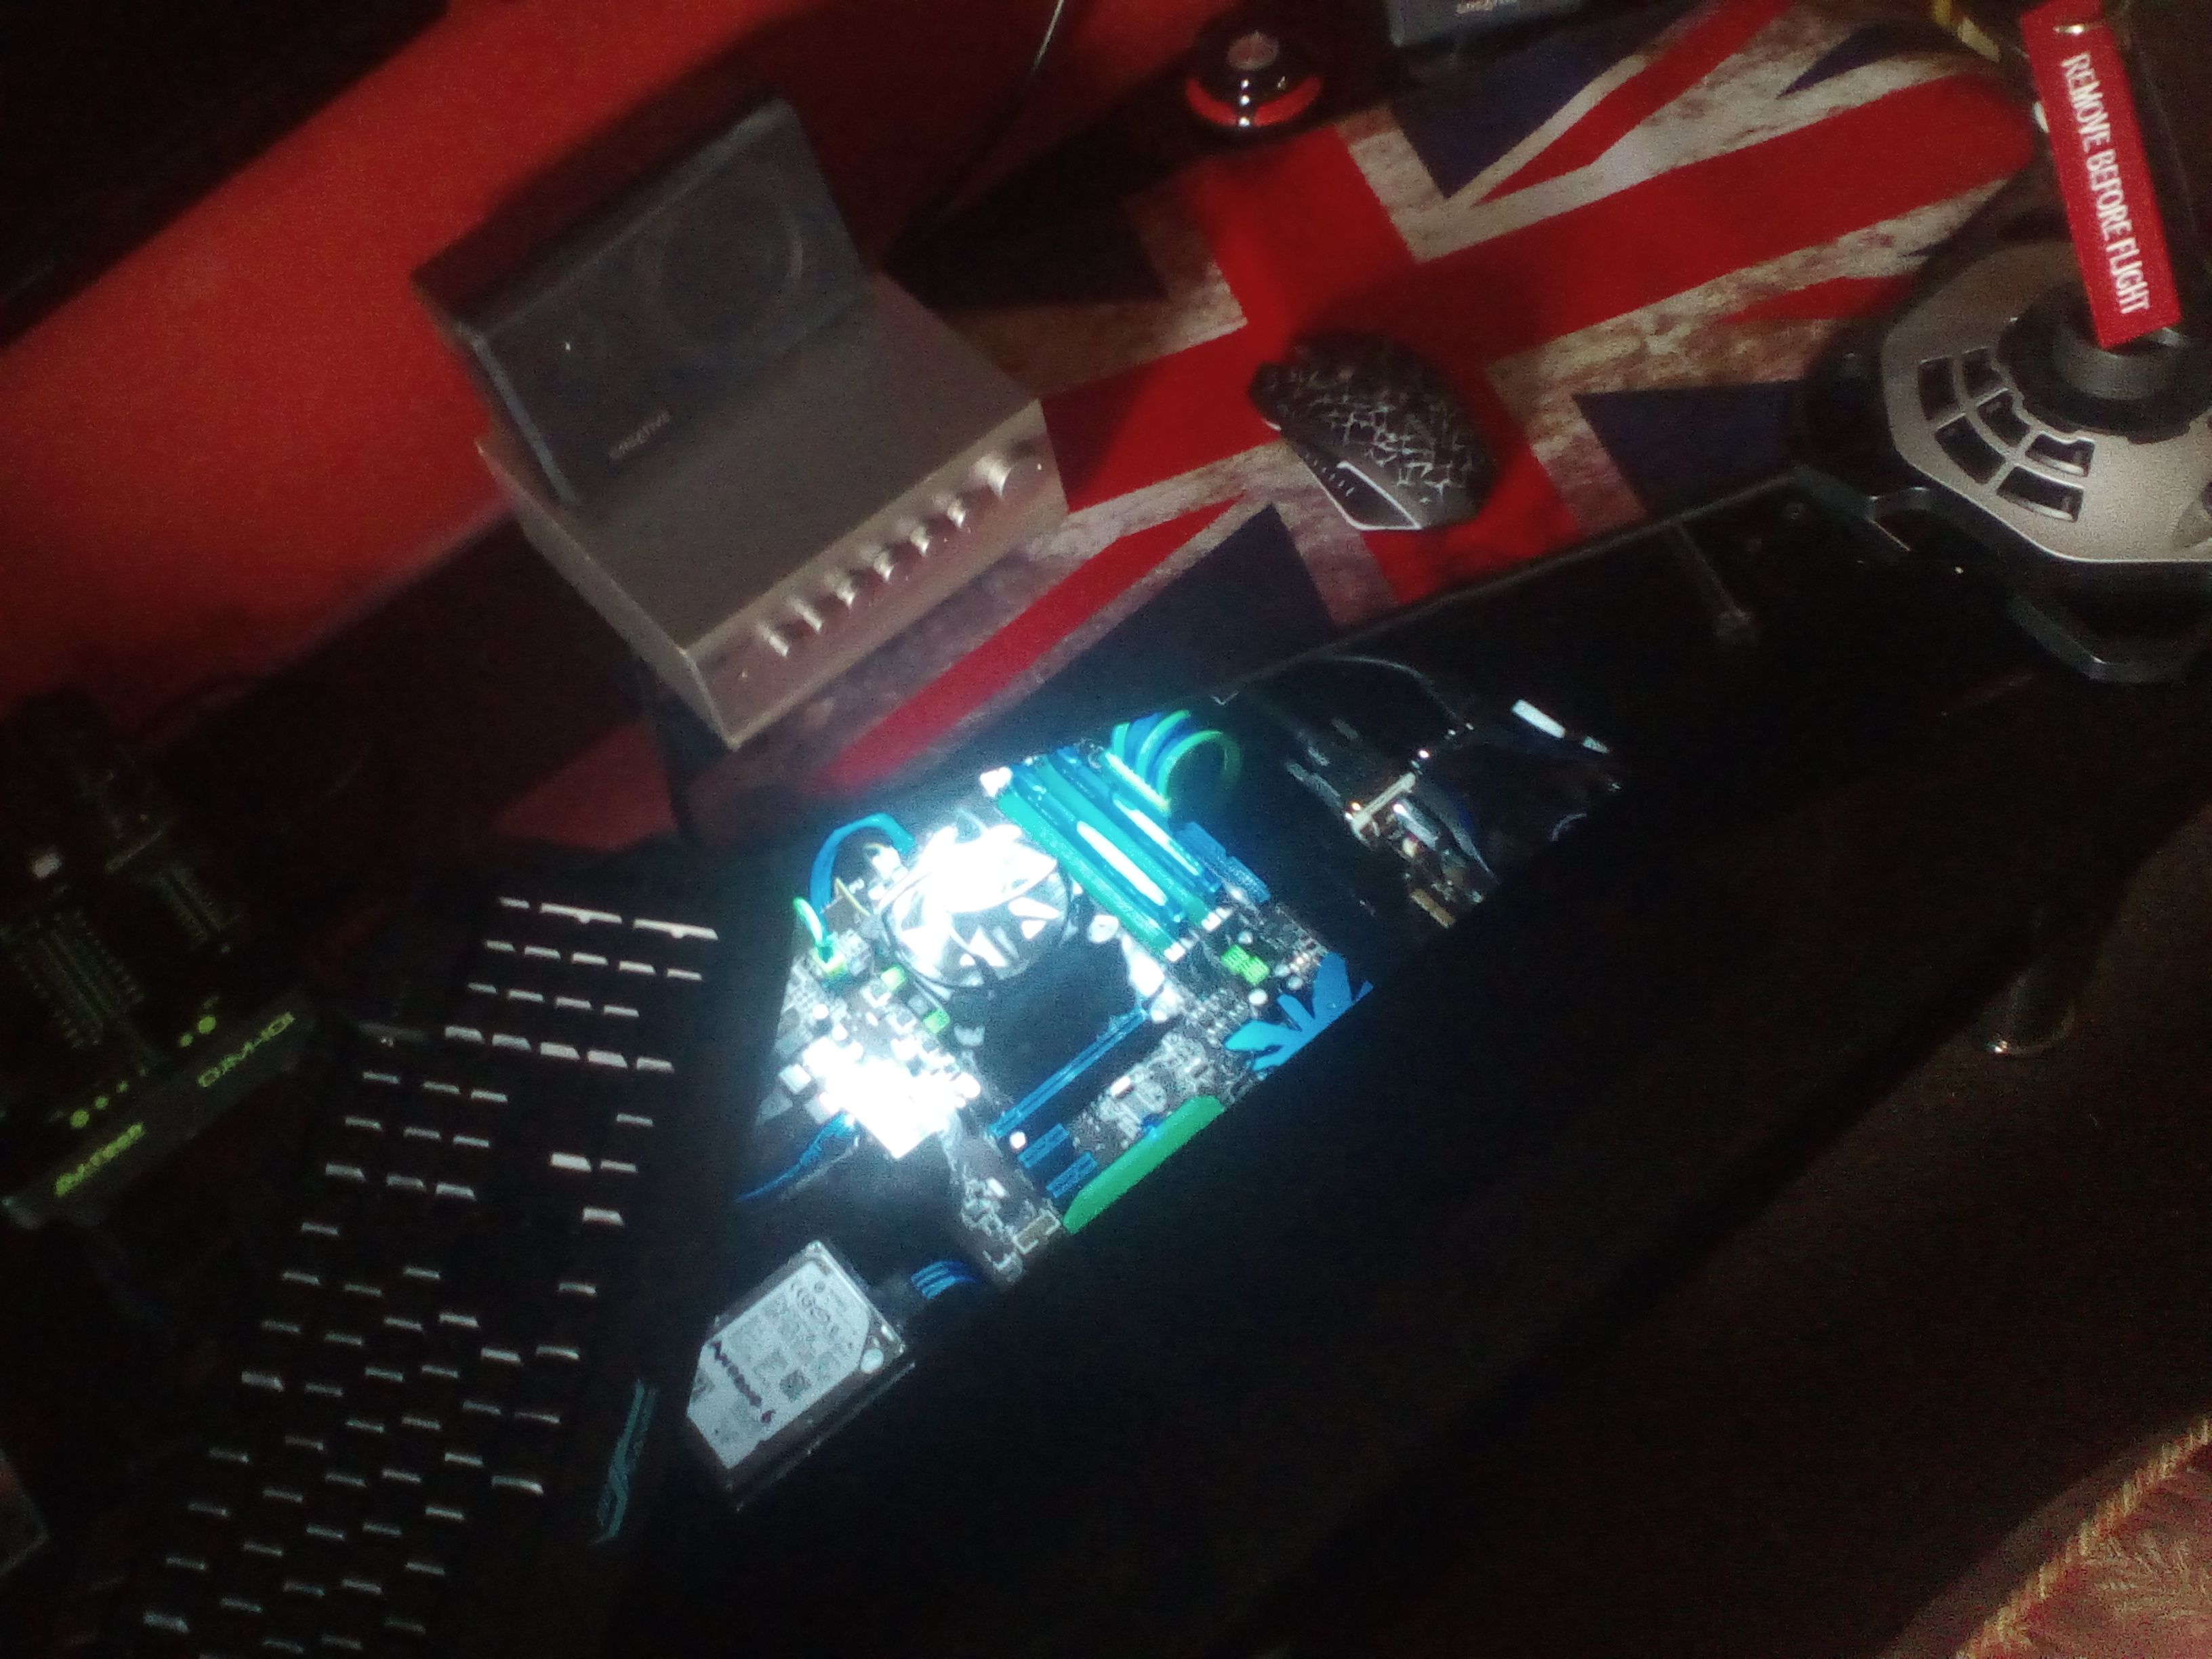
After remounting the components.
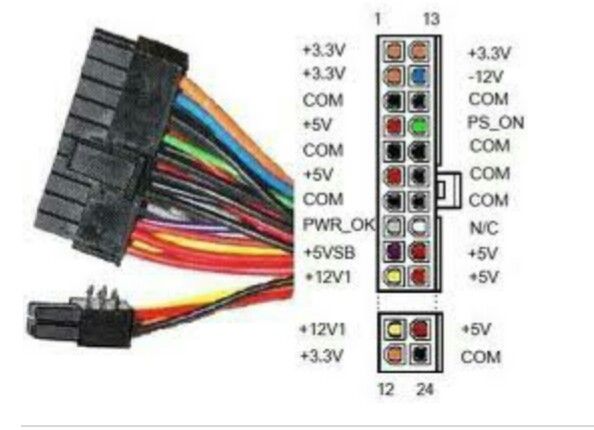
Then came the bit that i hate (with a capital H!). The breading of the cables. This is the picture of the diagram i used to rewire the 20+4 power cable.
(I do not own nor did i create this next diagram and all rights if any go to the appropriate person/persons who are at this time unknown to me.)
I scouted around and found very few options in the ready made market that were cheap enough for me to buy on my limited budget but could only find £45+ sets or they were the wrong colours so i decided to braid my own in Ultra-Violet blue and green and top them off with UV green plastics.
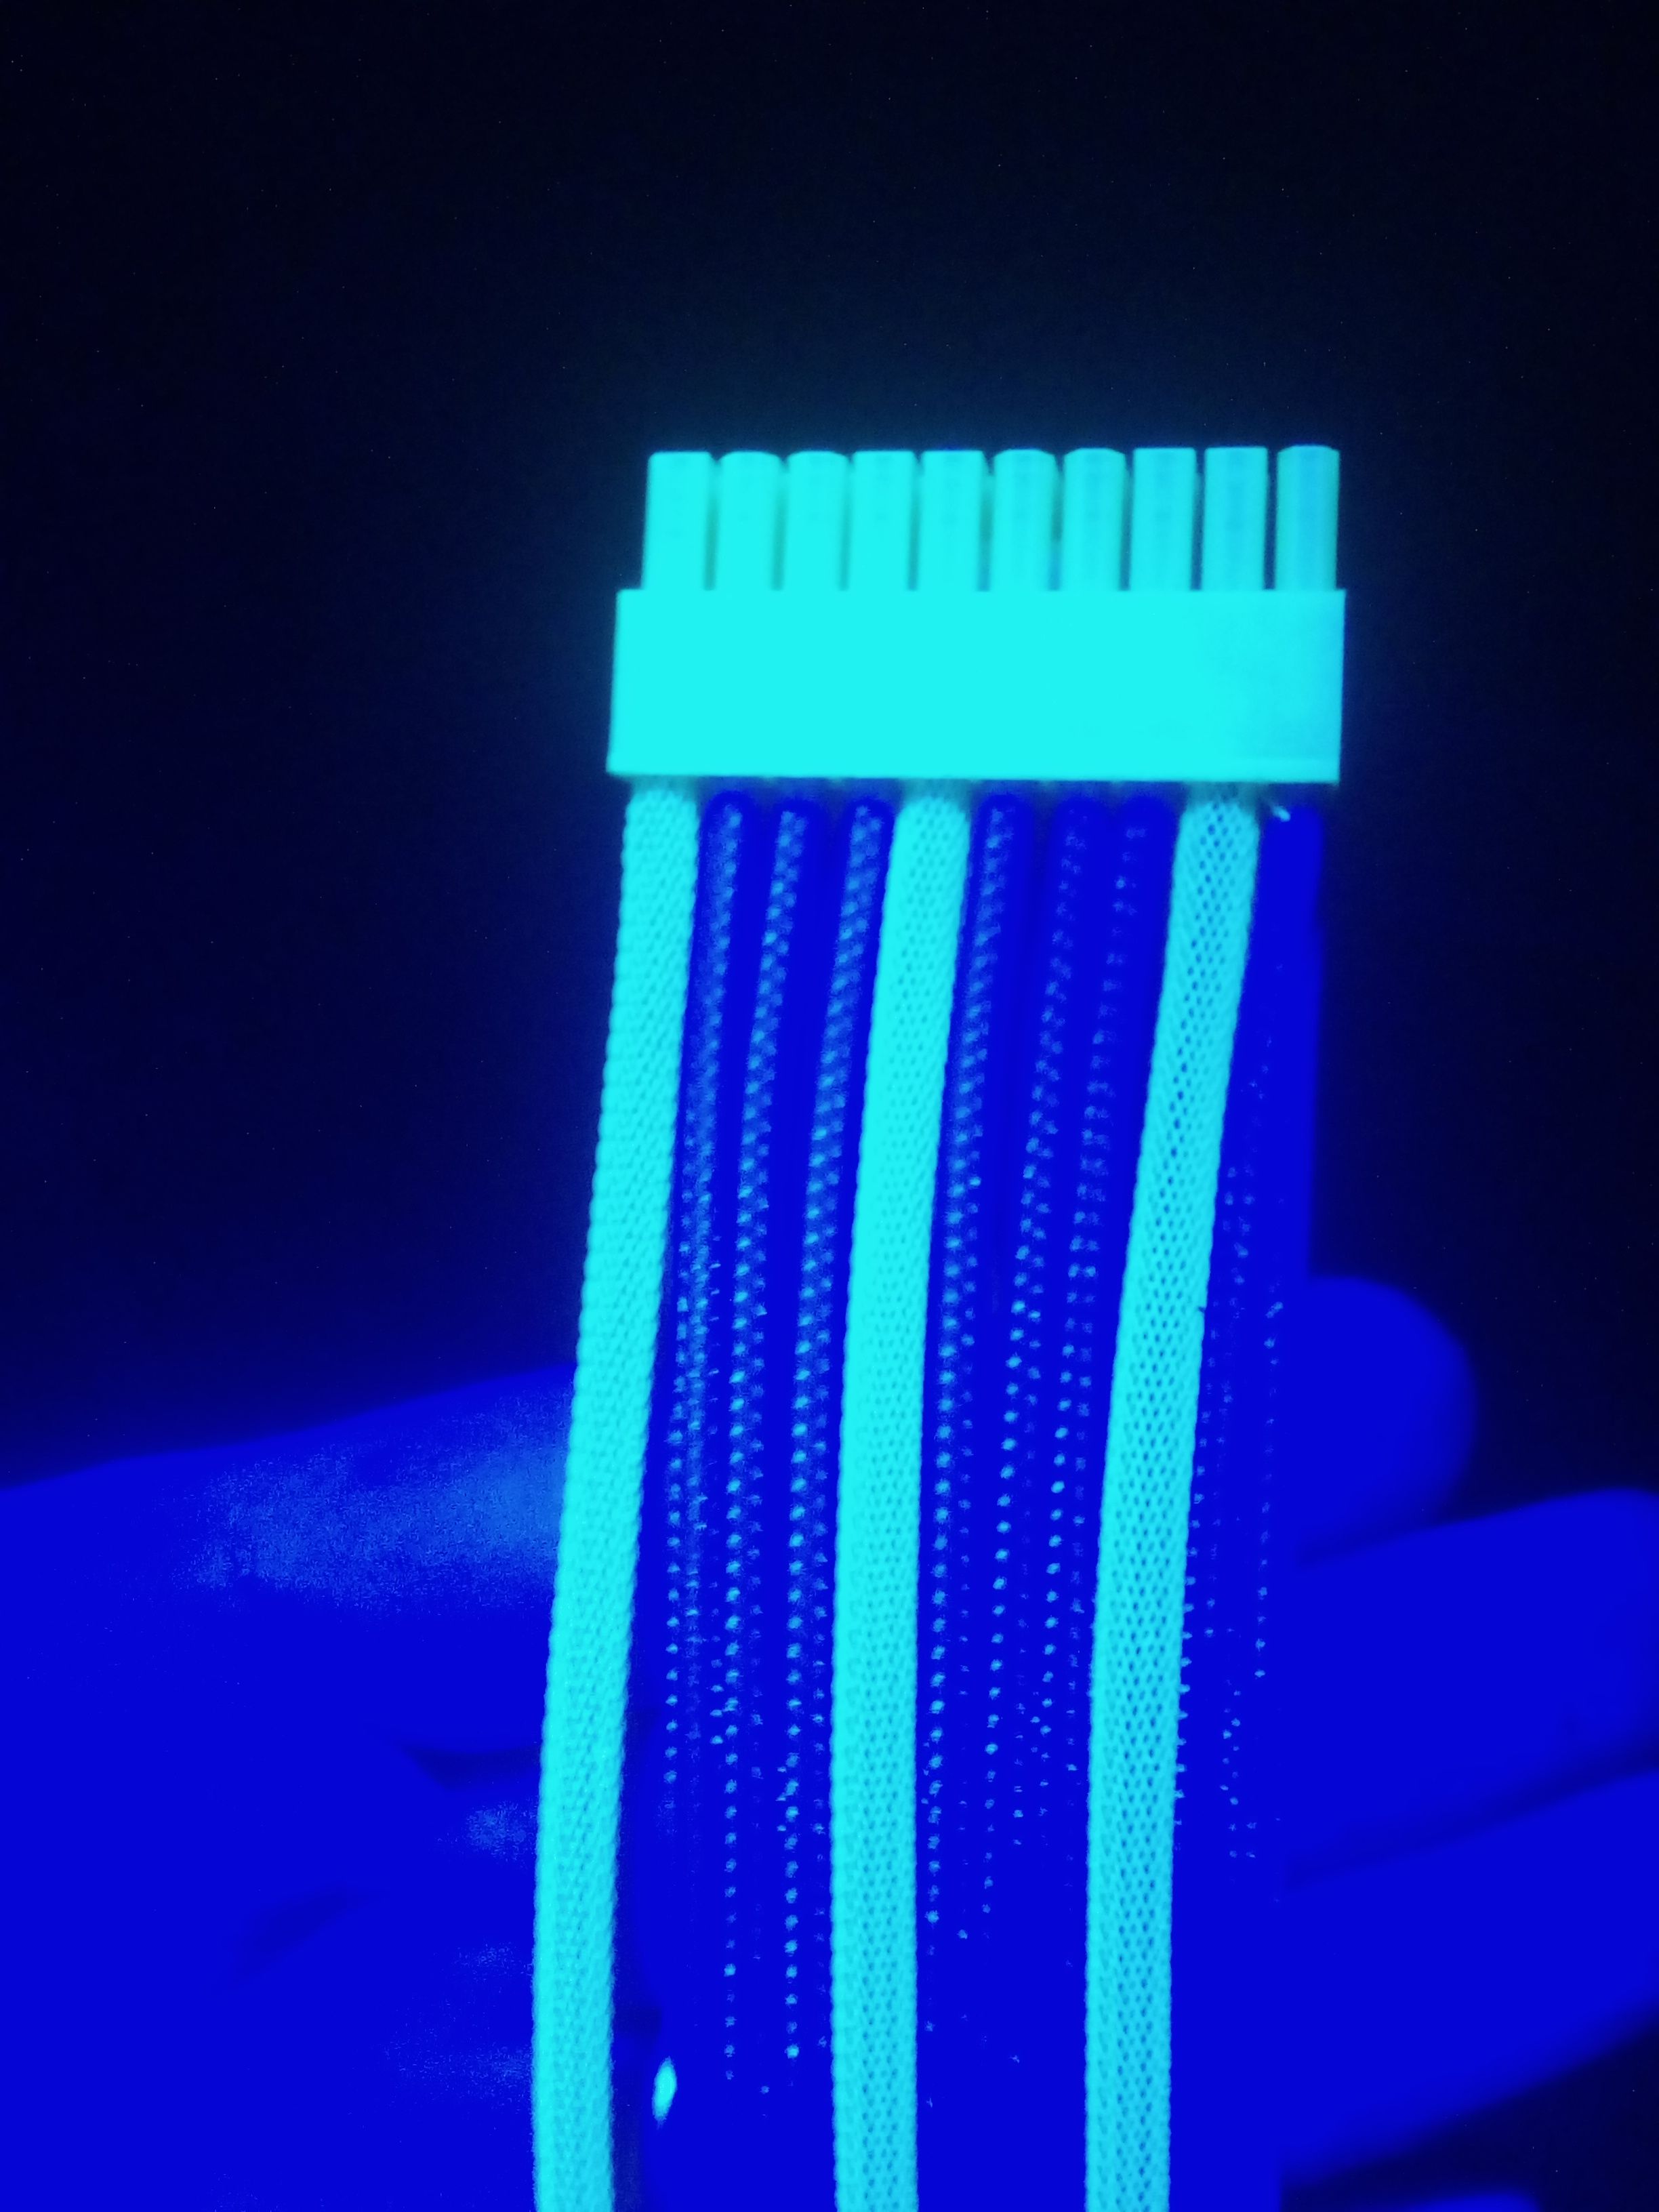
A lot of hours (and swearing) later i had a complete set.
Right, back to the table....
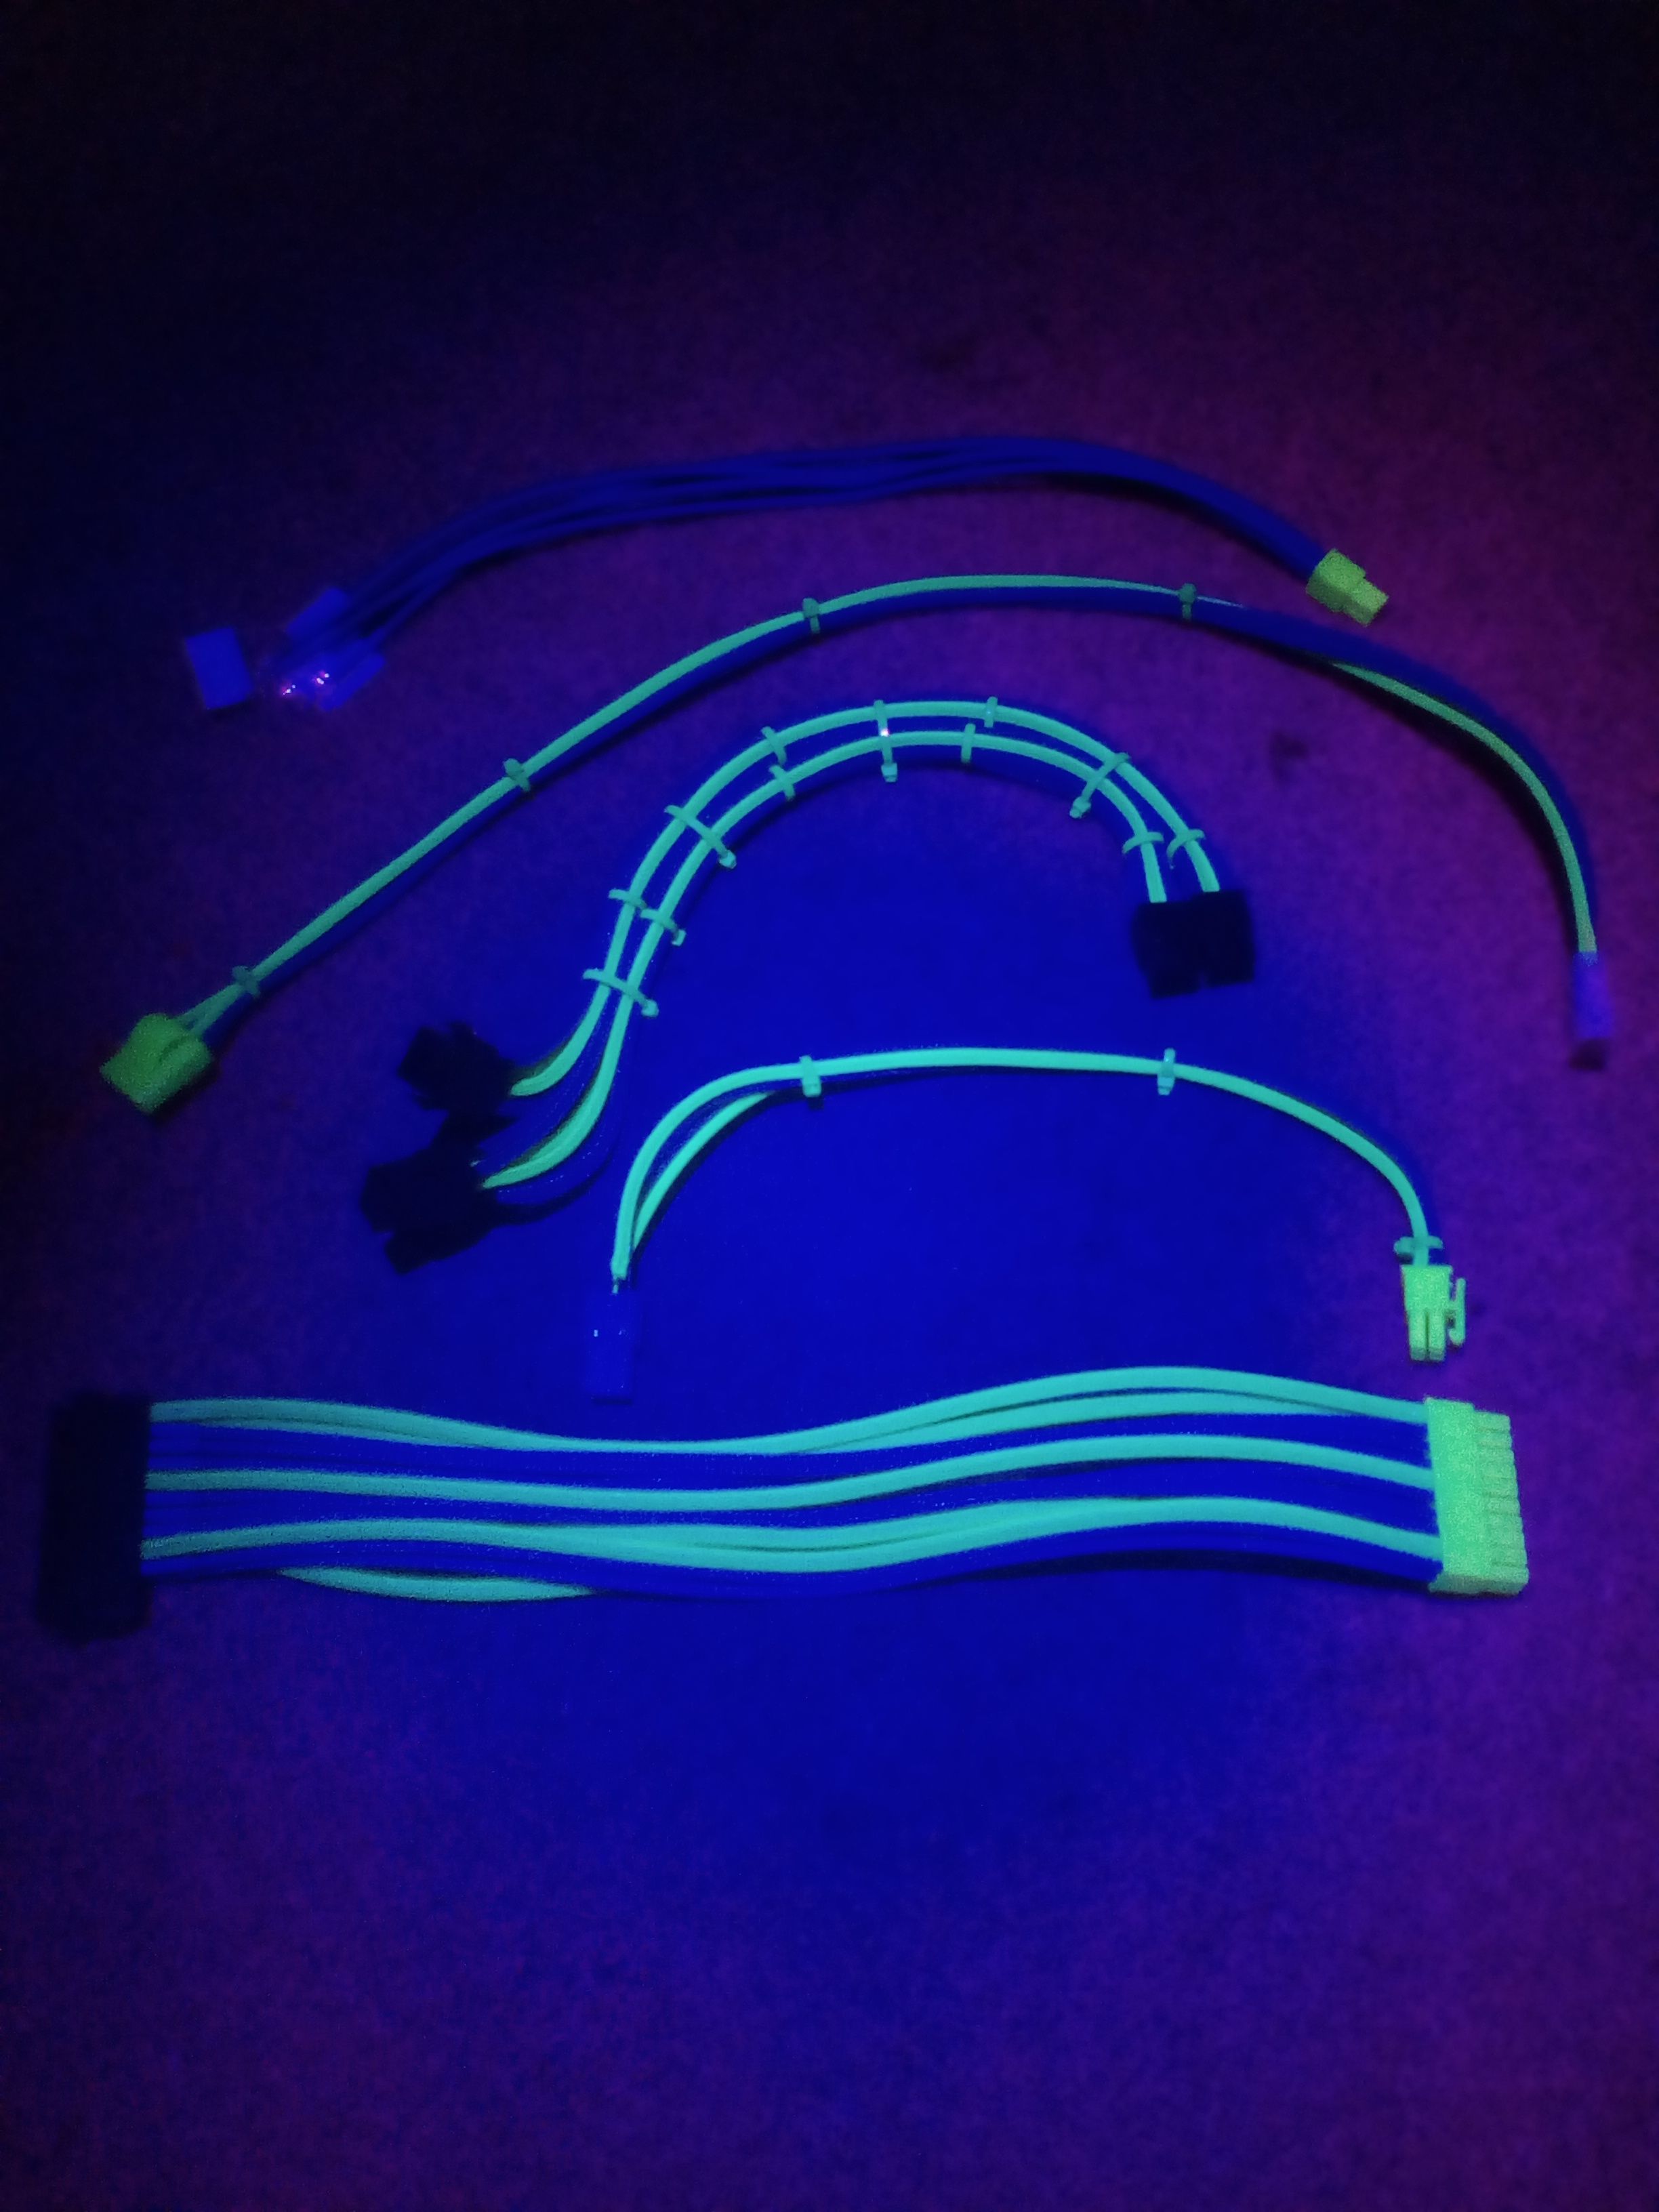
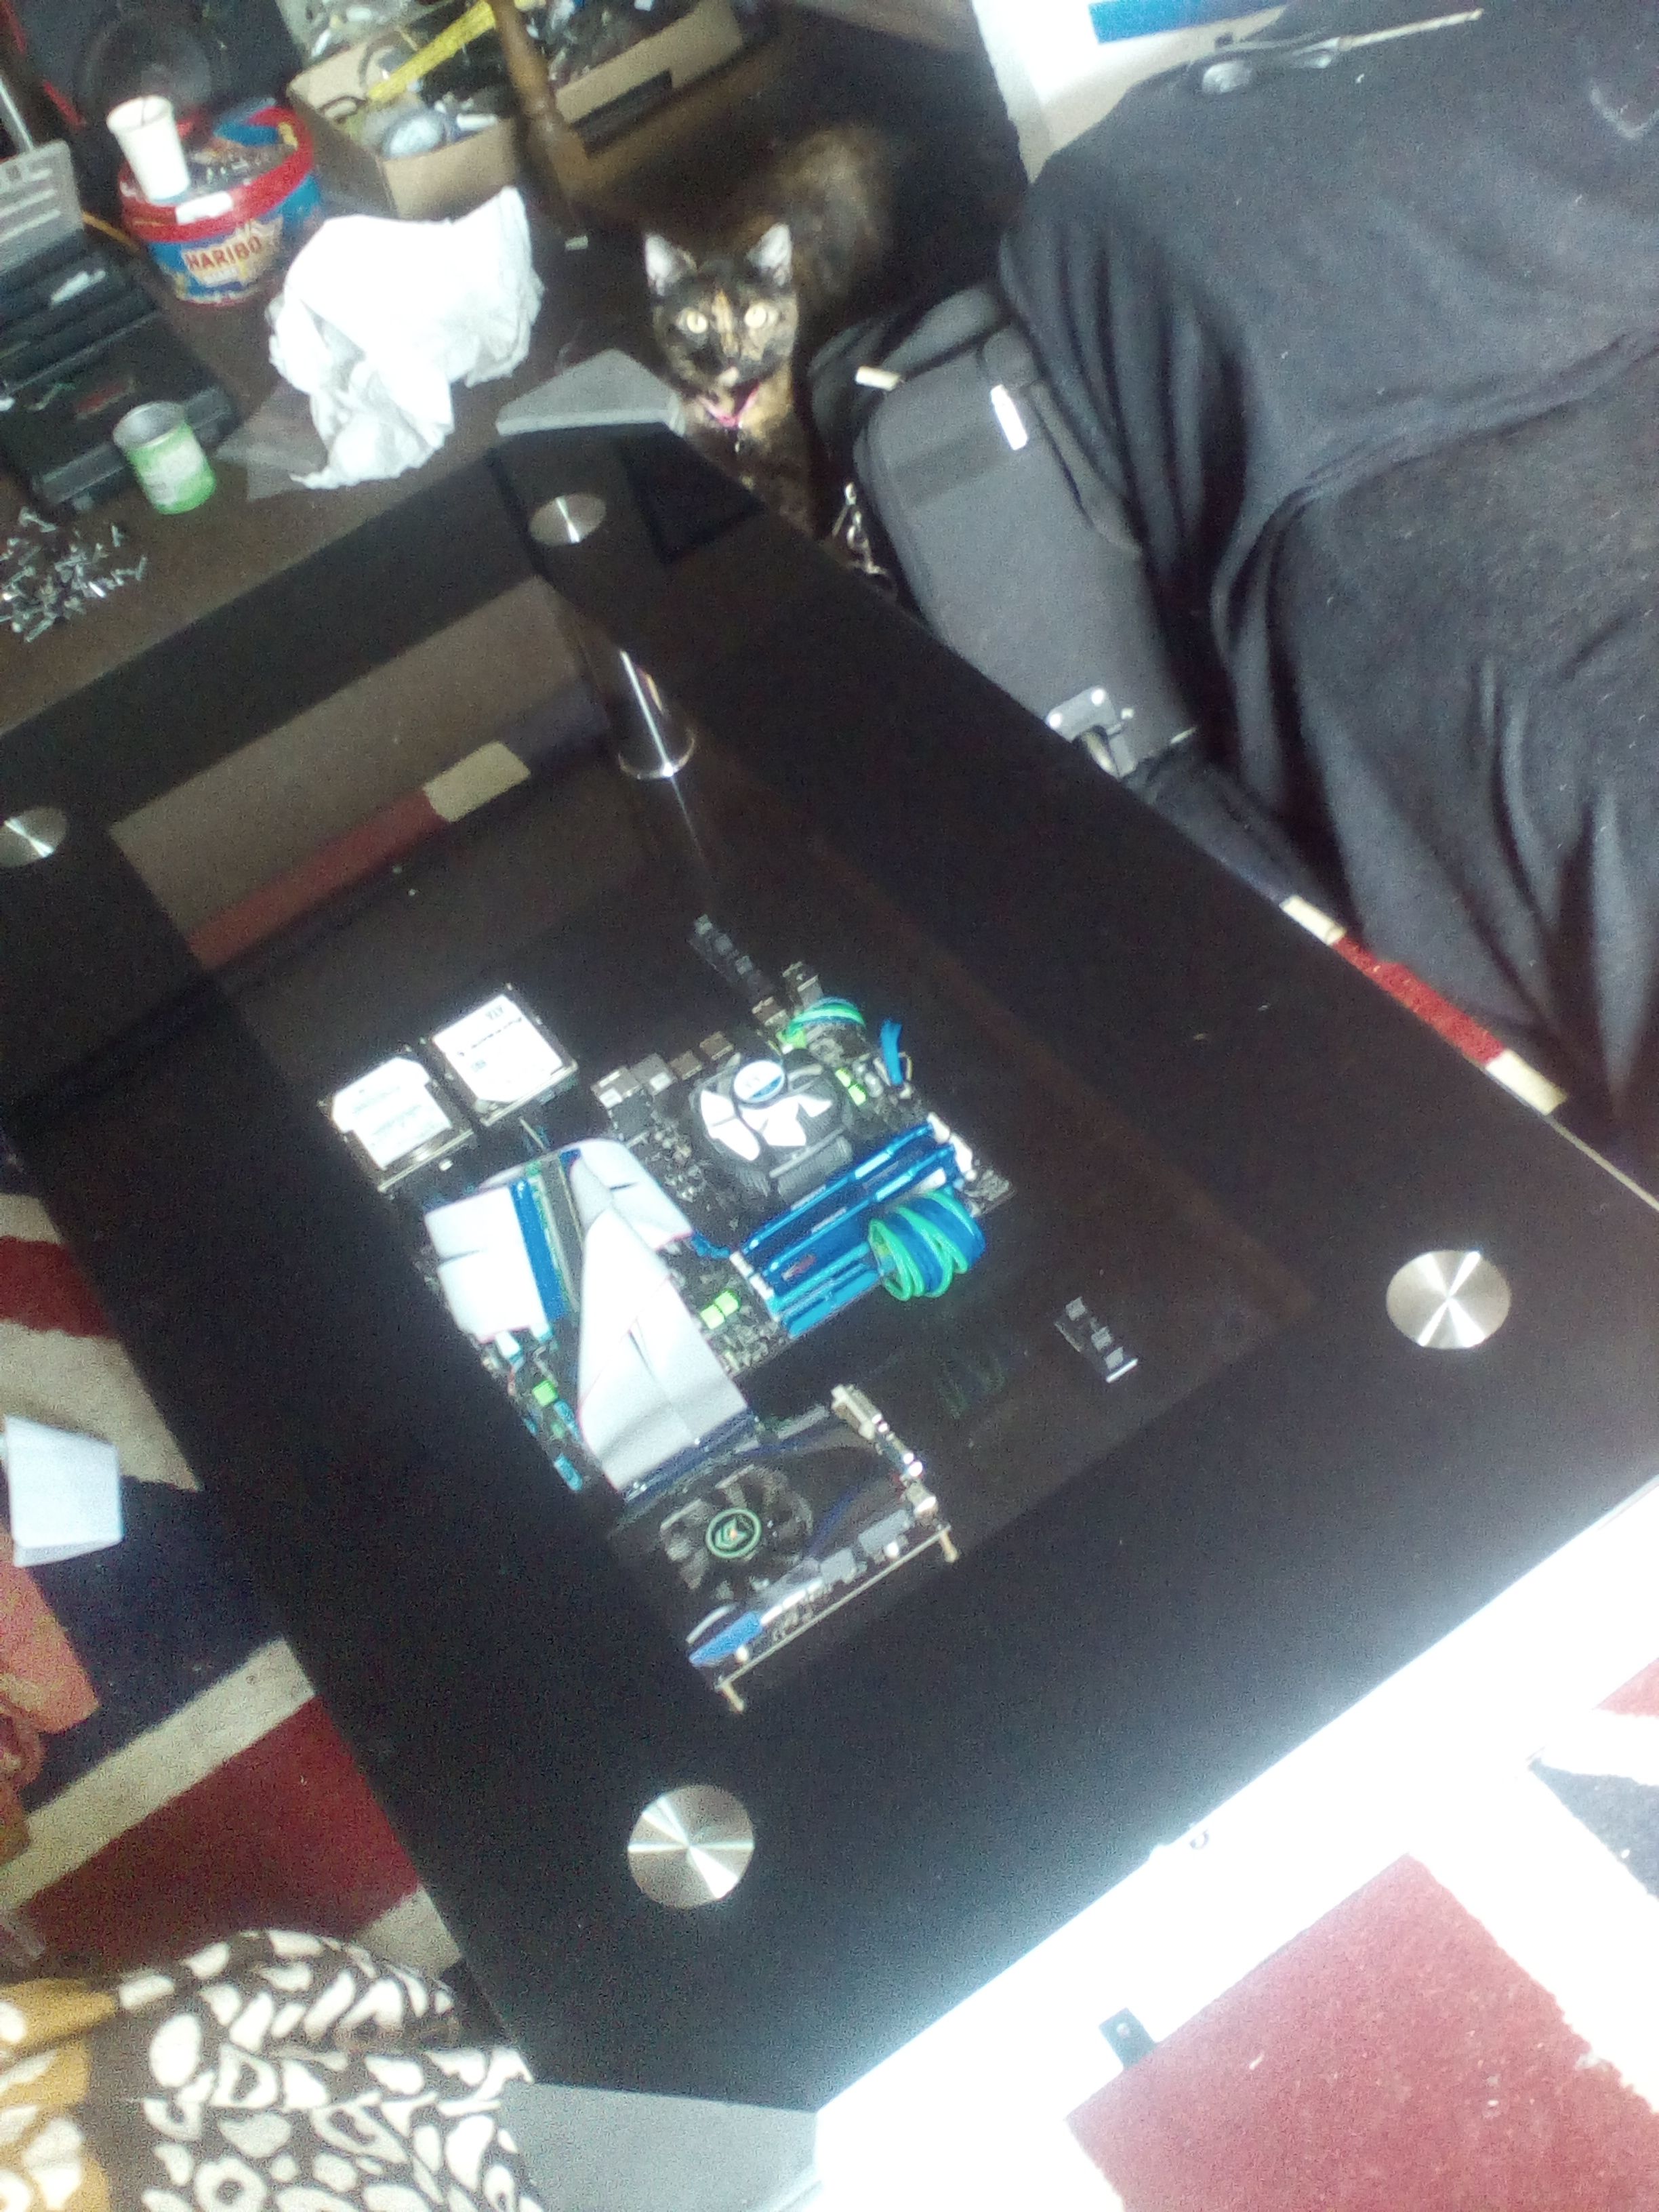
After braiding the cables it was time to fit them into the shelf and for the first time have a look at what I was slowly creating.
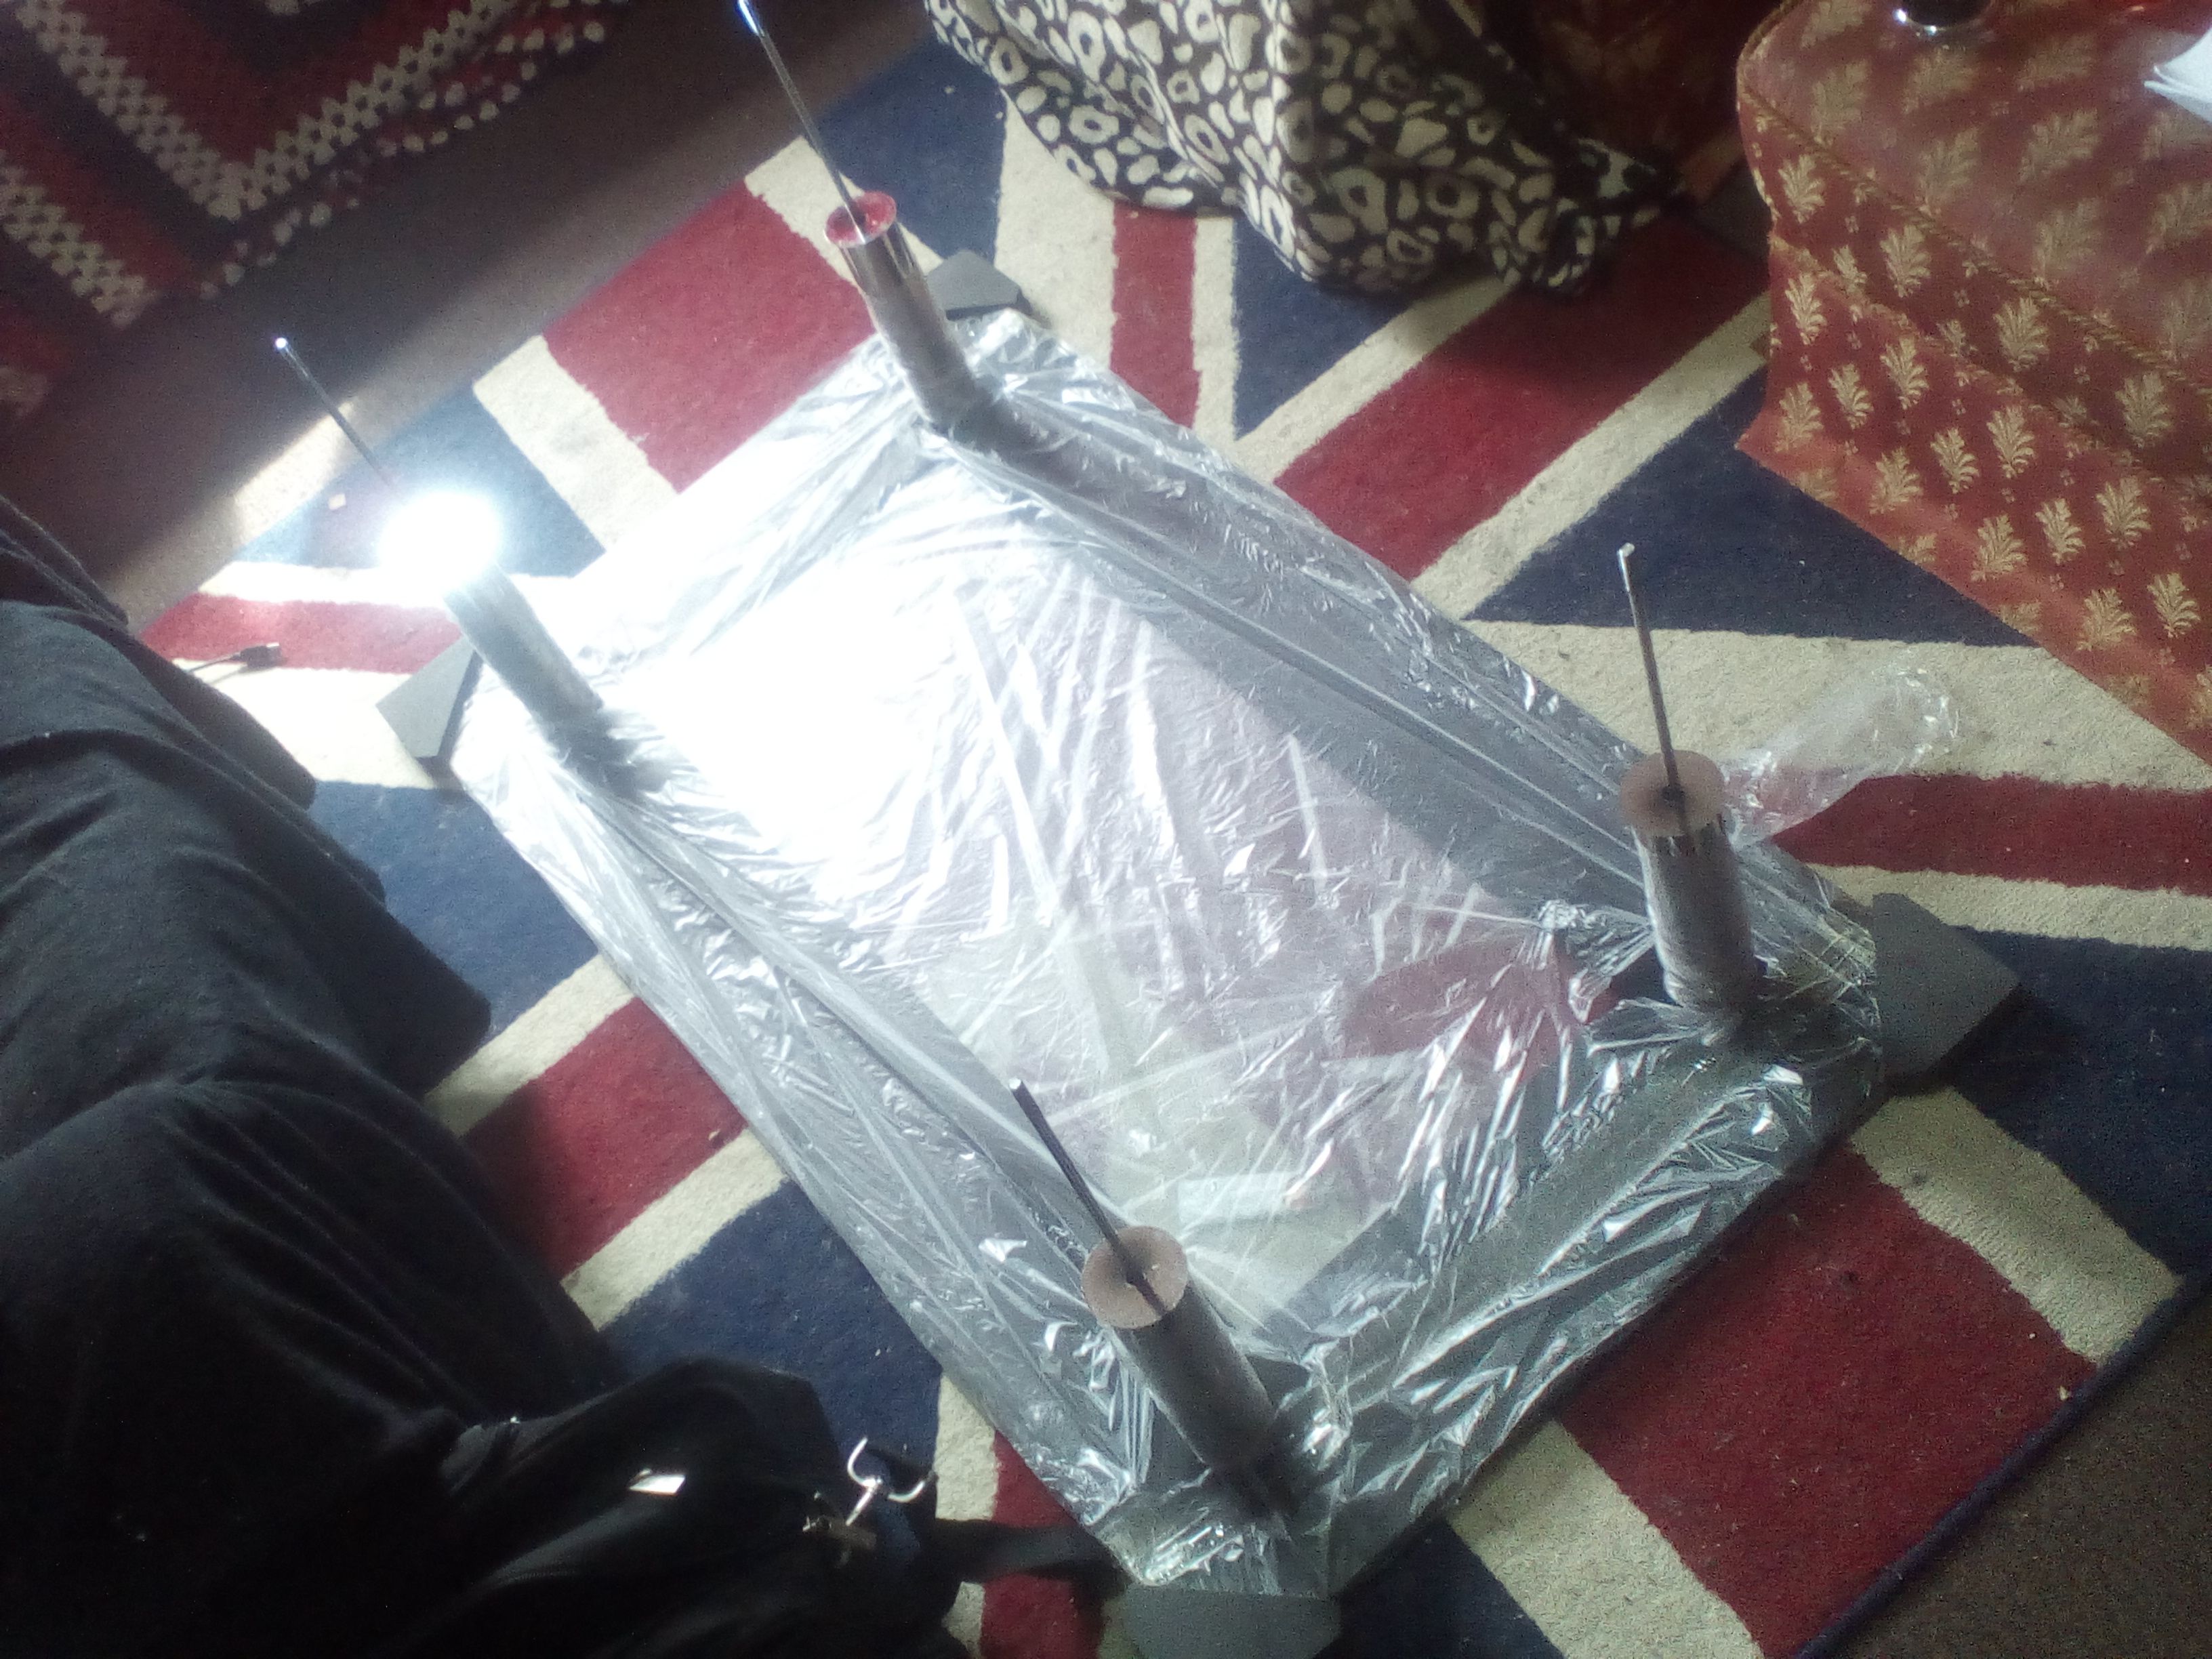
After alot of work the shelf was ready to meet the rest of the table. Excitedly I put the glass top of the table on the floor and attached the lower chrome legs.
Then quickly followed by the shelf and main components. The power supply unit was bolted on using Mecanno 90 degree angle pieces on the back left underside.

After bolting the rest of the chrome legs onto the table it was time to flip it over and see it as an actual coffee table. The result blow me away!
Even my cat Meatball came for the grand unvailing. Steemup Meaty cat! Lol.
Its was now time to replace the table i had been using with the table I'd just created. After adding a couple of temporary 60cm LED strips in white just untilled i fit the UV strips. With the help of my partner it was carefully moved into place. Out with the old!
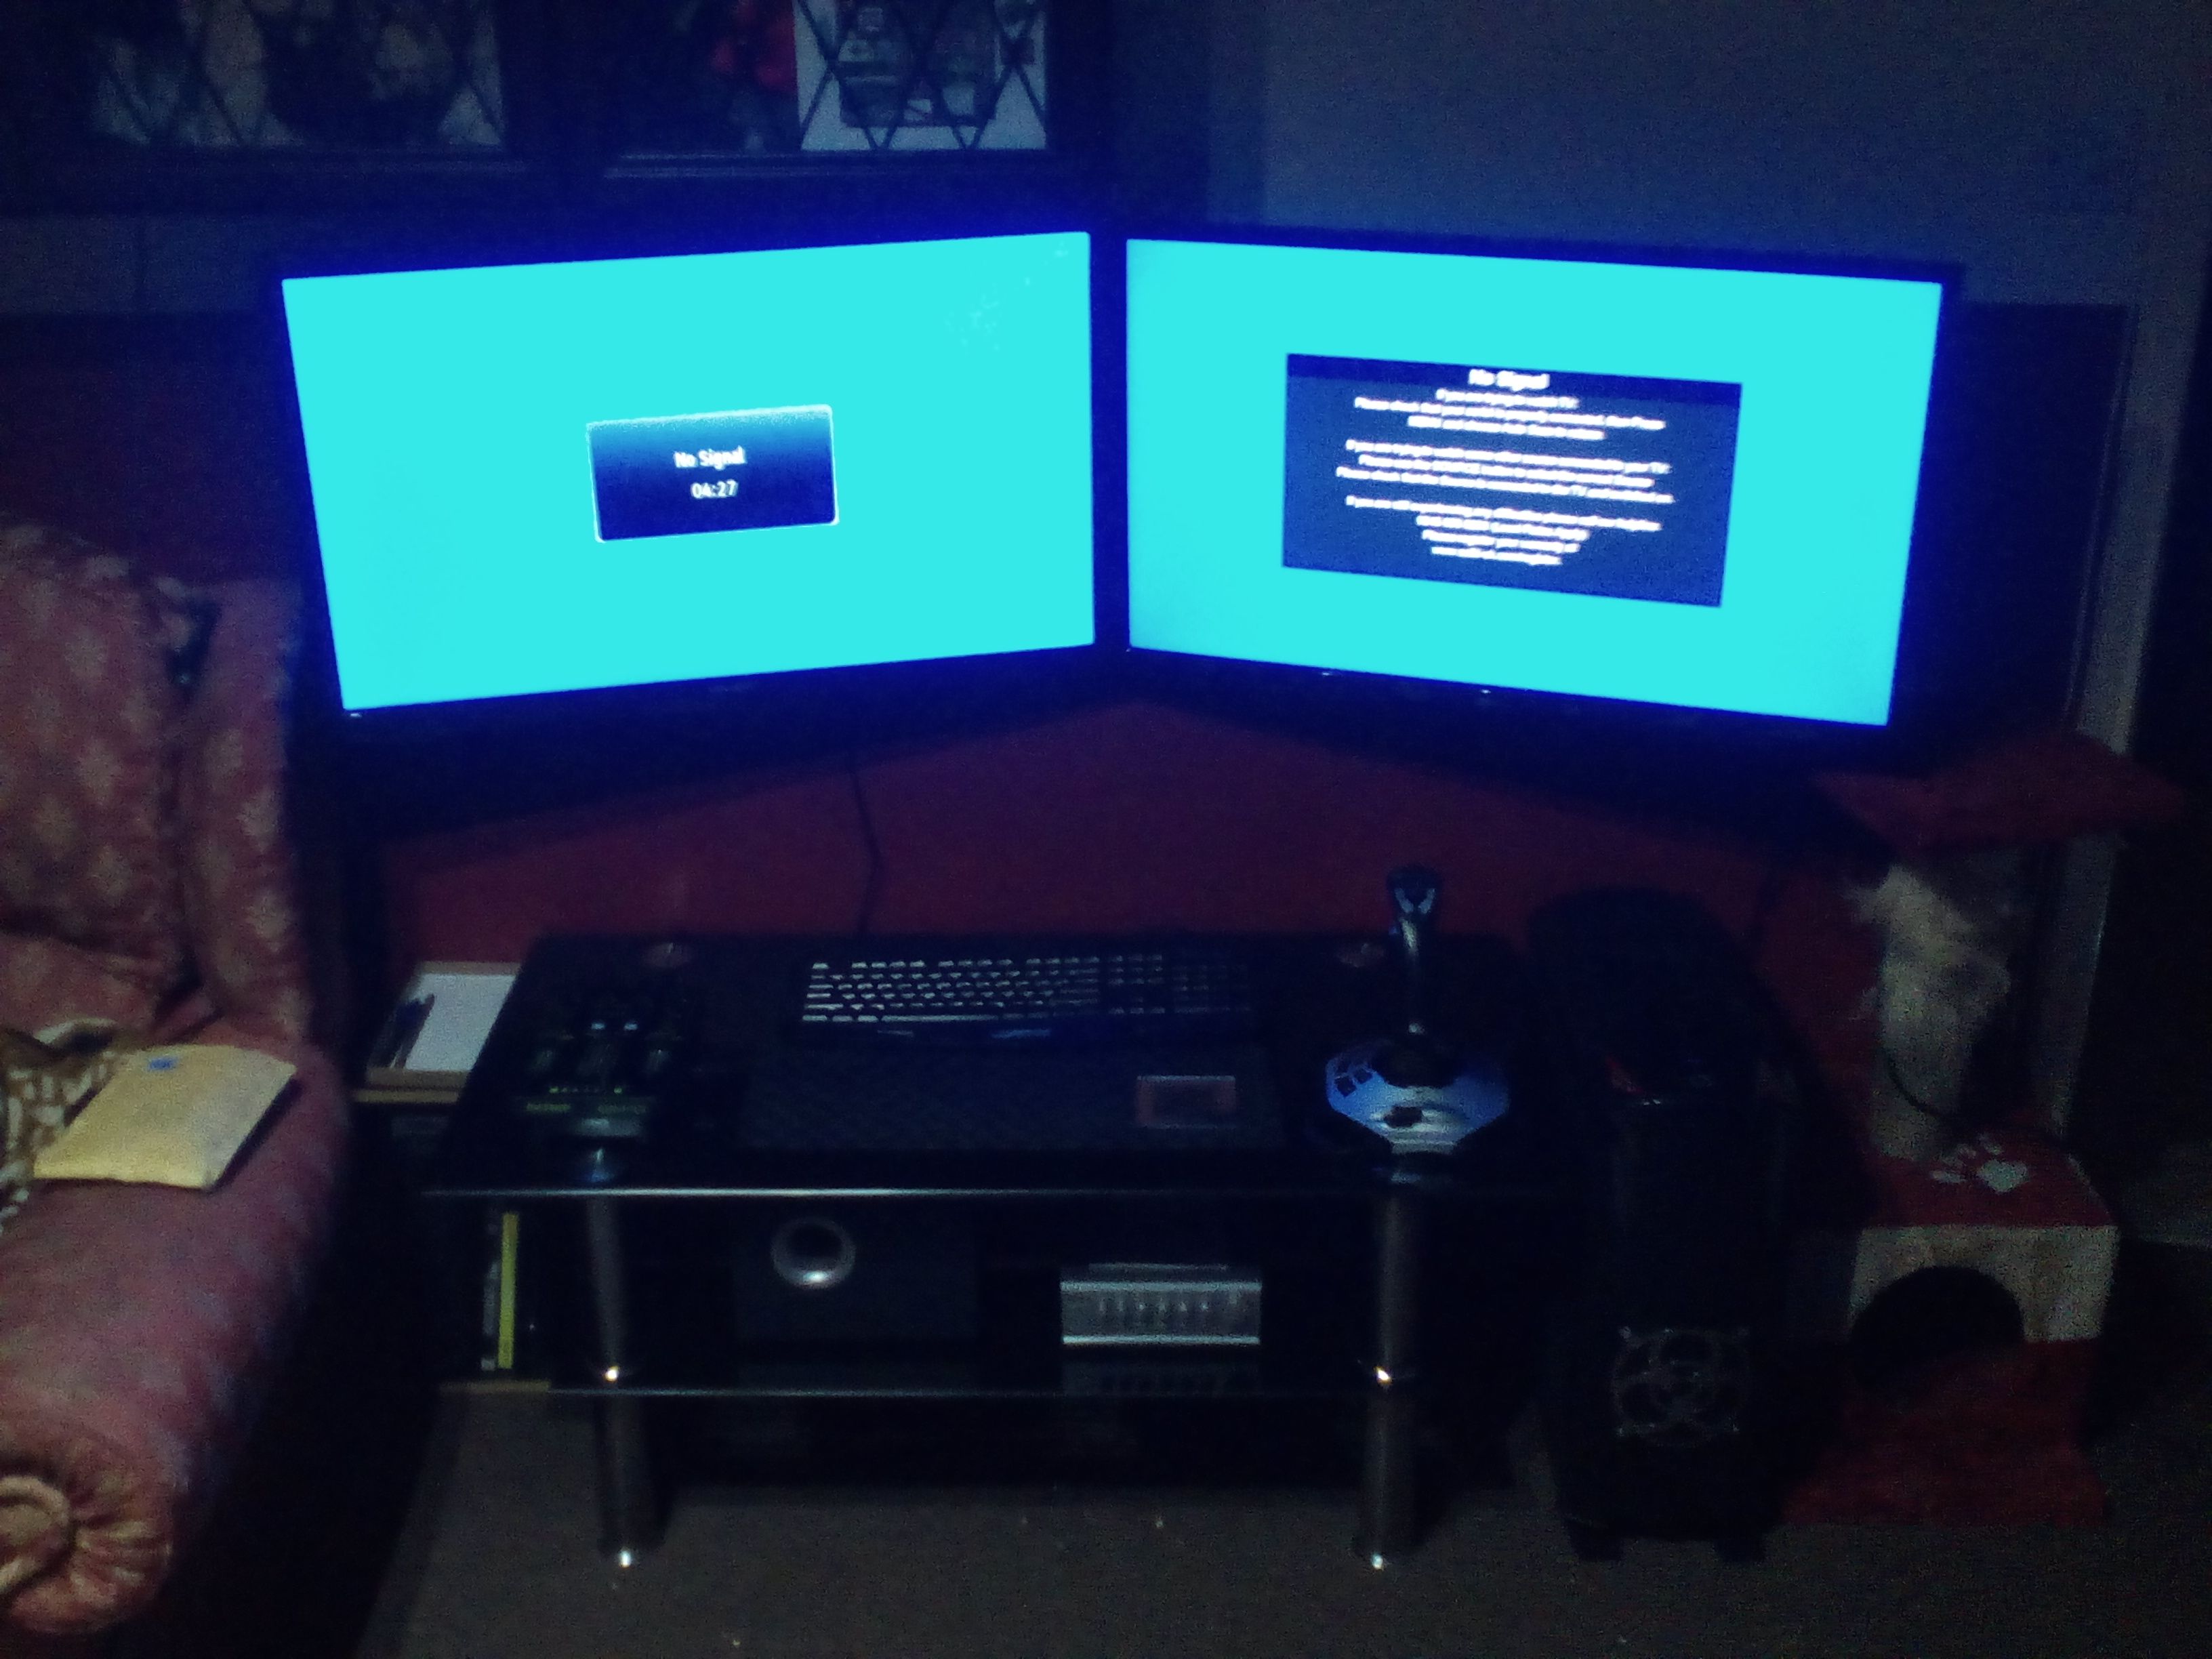
And in with the new!
Then the final touches and it was ready.
If you have enjoyed this project so far and want to see more and continue to see it grow, hit the follow me button! In the next part i will be fitting a custom made water cooling system (when i can afford it. Lol.
Well.....i guess thats it for now folks,
Thanks for taking the time to read this and any comments, questions or steem are greatfully received. And will help me continue to make ever crazier builds.
Untill next time......Peace :-)
@OriginalWorks
The @OriginalWorks bot has determined this post by @happi-hardcore to be original material and upvoted it!
To call @OriginalWorks, simply reply to any post with @originalworks or !originalworks in your message!