How to setup DarkPayCoin Masternode on a DigitalOcean VPS
DarkPayCoin is one of the best performing Masternode projects of the month with nearly 200 MN online, approaching to reach the five hundred's milestone. To speed it up, I thought to write a guide for newbies to setting up masternode on VPS. While most other tutorial has methods to set up on Vultr VPS, I'll cover a different major VPS server DigitalOcean. So, In this post, you'll learn how to set up a DarkPayCoin masternode on DigitalOcean VPS.
You'll need to follow all the steps one by one, here is the summary:
- Purchase 10001 DKPC (MN collateral 10000 DKPC)
- Purchase VPS (DigitalOcean) You can use my link to get a $10 bonus credit there.
- Configure VPS
- Configure Wallet
- Check activation. You are done.
Before we head to the guide, I should give a brief about DarkPayCoin. It's a community supported project with real decentralized activities on the network. It is built with a DAO driven ecosystem and ZeroCoin protocol supported technology. It's faster transaction, low fees, and high ROI can change the economy a little bit. If you need to learn more about DarkPayCoin, kindly join Discord here.
Step 1. Purchasing DKPC
DarkPayCoin masternode collateral is 10000 DKPC, so you'll need to purchase at least 10001 DKPC to cover transaction fees. Currently, you can buy from Crypto-bridge. Once you're done, send 10001 or more DKPC to your local wallet.
Step 2. Purchase Digitalocean VPS
DigitalOcean is one of the most reliable VPS servers for hosting masternode and I'm using it around a year. Never seen any downside. Use this link to get $100 bonus (Promotion offers only).
Step 3. Configure VPS
Digitalocean offering different services at a flexible price, you should choose according to your need. But, for one masternode $5 price droplet is good enough with 25 GB storage and 1 GB ram. You can use any other operating system but we will use Ubuntu 16.04.02 x64 droplet here. It is more reliable and easy to use for DarkPayCoin masternode and other too.
Here are the steps to create Ubuntu 16.04.02 x64 droplet and install DarkPayCoin masternode in it. Follow the instruction below:
Step 3.1:
Create and log in to your DigitalOcean account
Step 3.2:
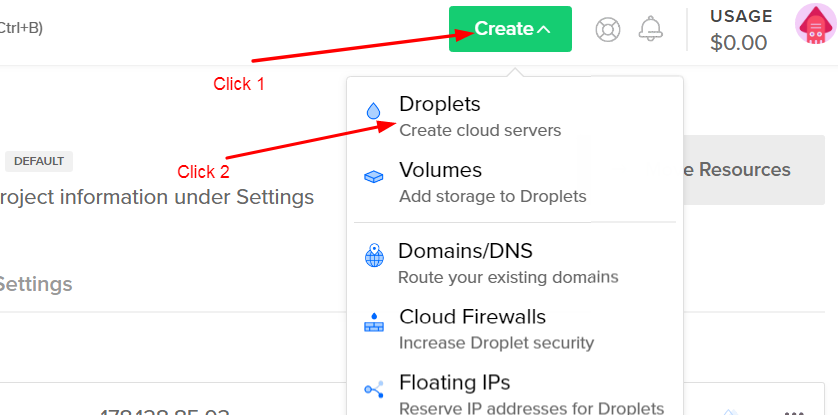
Click on Create and then "Droplets" to create cloud servers. See the reference image below.
Step 3.3:
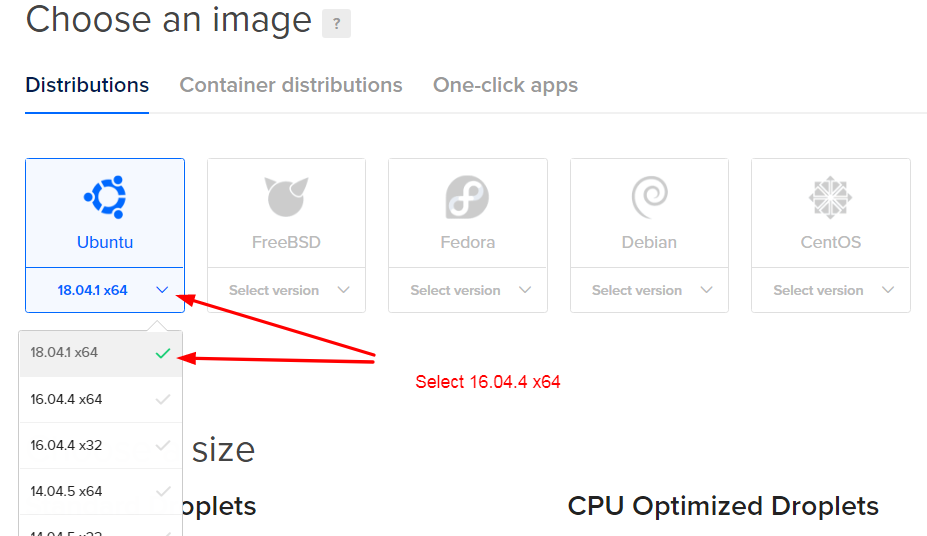
In the next window, select operating system Ubuntu 16.04.02 x64 from the drop-down menu. You can see the reference image below.
Step 3.4
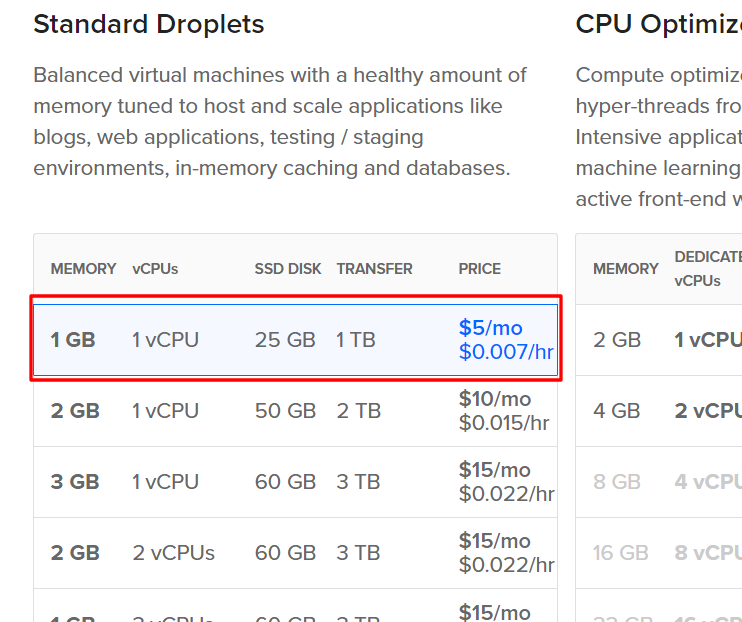
You have to select the VPS package at this point. This independently your choice but I'll recommend choosing at least 1 GB ram, 25 GB storage for $5. (Currently, this is the lowest price)
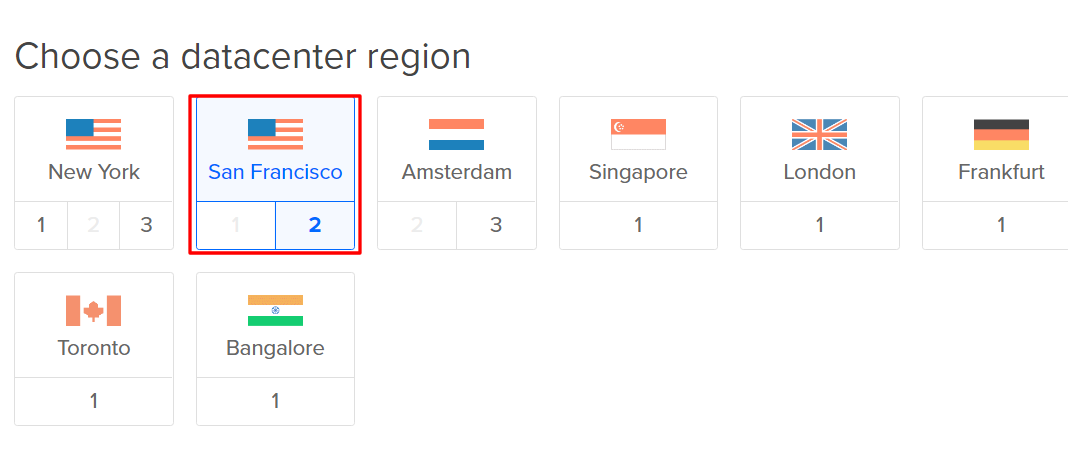
Step 3.5
Choose a data center region from various country. You can choose any server you'd like. I'll go for San Fransisco.
Step 3.6
Select additional options IPv6.

Step 3.7
Choose a hostname, in my case I'll write DarkPayCoin-MN. You can give it any name you wish, it's just like a profile name. It has no technical part.
Step 3.8
Now click on "Create" button. The system will take a few seconds to install and prepare your VPS. When it finishes, you'll see a green signal on the profile name.
Step 3.9
Unlike Vultr, you won't get your IP address and password in your dashboard, instead check your email, the IP address and password should be there. So you can close DigitalOcean tab. Now, download and Install Putty or similar ssh client to control your Linux VPS.
Step 3.10
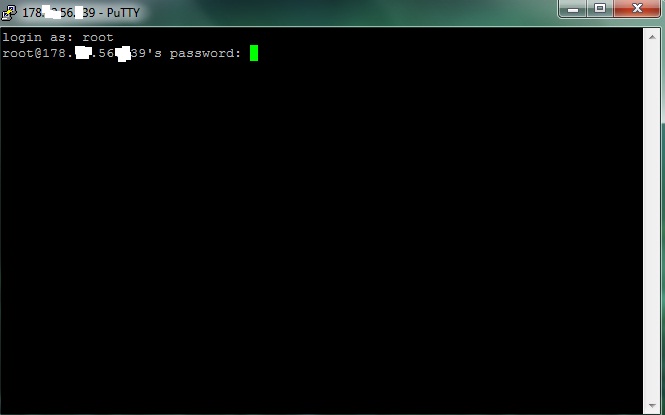
Open Putty and enter the IP address that you just created on VPS. Click open and it will ask for a username.
- Enter: "root" without quotation and hit enter.
- It will ask for a password. Copy the password from your email right click. You won't see anything, just hit enter.
- Now it will ask for changing the password.
- Again, right-click to paste the old password.
- Now, set a new password.
Step 3.11
In the Putty client copy and paste the following commands,
wget https://github.com/DarkPayCoin/releases/raw/master/dpc_mn_install.sh && chmod +x dpc_mn_install.sh && ./dpc_mn_install.sh
[Copy, and right click to paste]
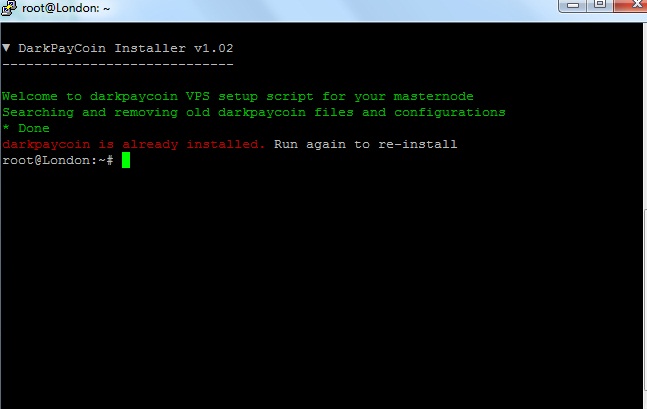
Wait for a few minutes to install everything automatically.
- In the end, this window will give you a Masternode private key. Copy and save it for later use. *
Now we are done for the basic parts and will do the main task to run our DarkPayCoin masternode. Don't worry, it's easier than you think.
Step 4. Configure Wallet
Make sure you have the latest version of the DarkPayCoin. If you do not have one, you can download it from here. We will skip steps for creating a new receiving address as I'm addressing this task as very basic for all of us, especially when we are going to set up an MN. So, create a receiving address and give it a name, I'll use MN1 for ease of use.
Step 4.1
Open DarkPayCoin wallet, create a DKPC receiving address and give it a name, I'll use MN1 for ease of use. Now, copy the address and send exactly 10000 DKPC coins to that address. Remember, the amount here is important, so make sure the amount remains the same after covering transaction fees. Now, wait until it gets 16 confirmation.
Step 4.2
Now get the masternode transaction id. Click on tools, then Dibag console.
Type
masternode outputs
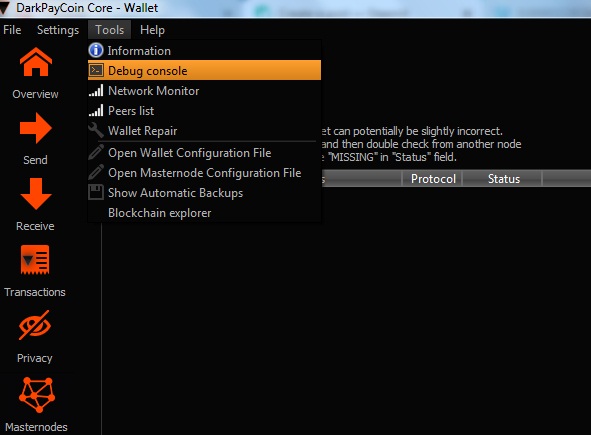
and hit enter.
You'll get a transaction ID and a number 0 or 1. Note this for later use.
Step 4.3
Now configure masternode in your local wallet. To do so, click on tools, then "Open Masternode Configuration File"
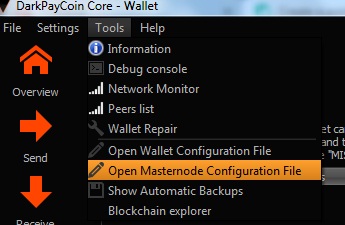
In the editor put your MN details as follows
MN Alias + VPS IP:Port + MN Private Key + Transaction ID + Input Code
After putting these data, save it. And close and re-open the wallet.
Example: MN1 167.99.76.192:6667 87MAAZKhSRdTXAZjsN7DepKMfiZtJdhBS7mcPySnGZQxyi4Cp7V 755efb14f8032755b9757d05565da6fc51263cfbb2eecaed3e25d75e455e986f 1
All IDs here are used only for example and actually invalid. You should replace it with your original information.
MN Alias = Your MN receiving address name (Level)
VPS IP: Port = You should get this information from digitalocean. Check your email inbox.
MN Private Key: You should have one from step 3.11
Transaction ID: This is what you got from step 4.2.
Input code: This one also found from step 4.2, the last single number either zero or one (0 or 1). This is very important, so don't skip it.
Step 4.4
Click on Masternode tab in your wallet. You'll see your masternode list here indicating "Missing". Click on it, and press "start Alias". It should show enabled, give it some time to sync fully, then it should be run perfectly.
Step 4.5
Now go back to Putty window to check if it's working on VPS. Use command "darkpaycoin-cli masternode status" to check the status. You should get a result with "status": "Masternode successfully started" If you have other issues, please make sure that you have done everything correctly.
darkpaycoin-cli masternode status
Step 4.6
One last thing you should do is set your wallet for an auto reboot if vps goes down for any reason. However I trust these VPS, that won't go down except a few seconds for maintenance.
Use command as follows:
@reboot /root/darkpaycoin/darkpaycoind -daemon
Now you are good to go. Type "exit" and hit enter to close Putty.
Wait for your first reward, depending on the network first reward can take more than six hours. Enjoy your DarkPayCoin masternode rewards.
If you think I helped you a little, a resteem, upvote, and a comment are appreciated. Also, A tip is more than welcome.
Tip me DKPC: DMu5sVvtED37aHbTJ2sAvUX26U4KNkfW7z
Tip me BTC: 1N8mCaKWQA9rXYxJCGF5UkW6RLPj3ZpWay
Hi! I am a robot. I just upvoted you! Readers might be interested in similar content by the same author:
https://steemit.com/cryptocurrency/@ahsanpreneur/how-to-setup-infinex-masternode-on-a-digitalocean-vps