My first 4u case mining rig/밀폐형 케이스 채굴기 조립기
Hello, This is @kjooss.
Today, I will write about my first 4u case mining rig.
안녕하세요, @kjooss 입니다.
밀폐형 채굴기 조립기 시작합니다.
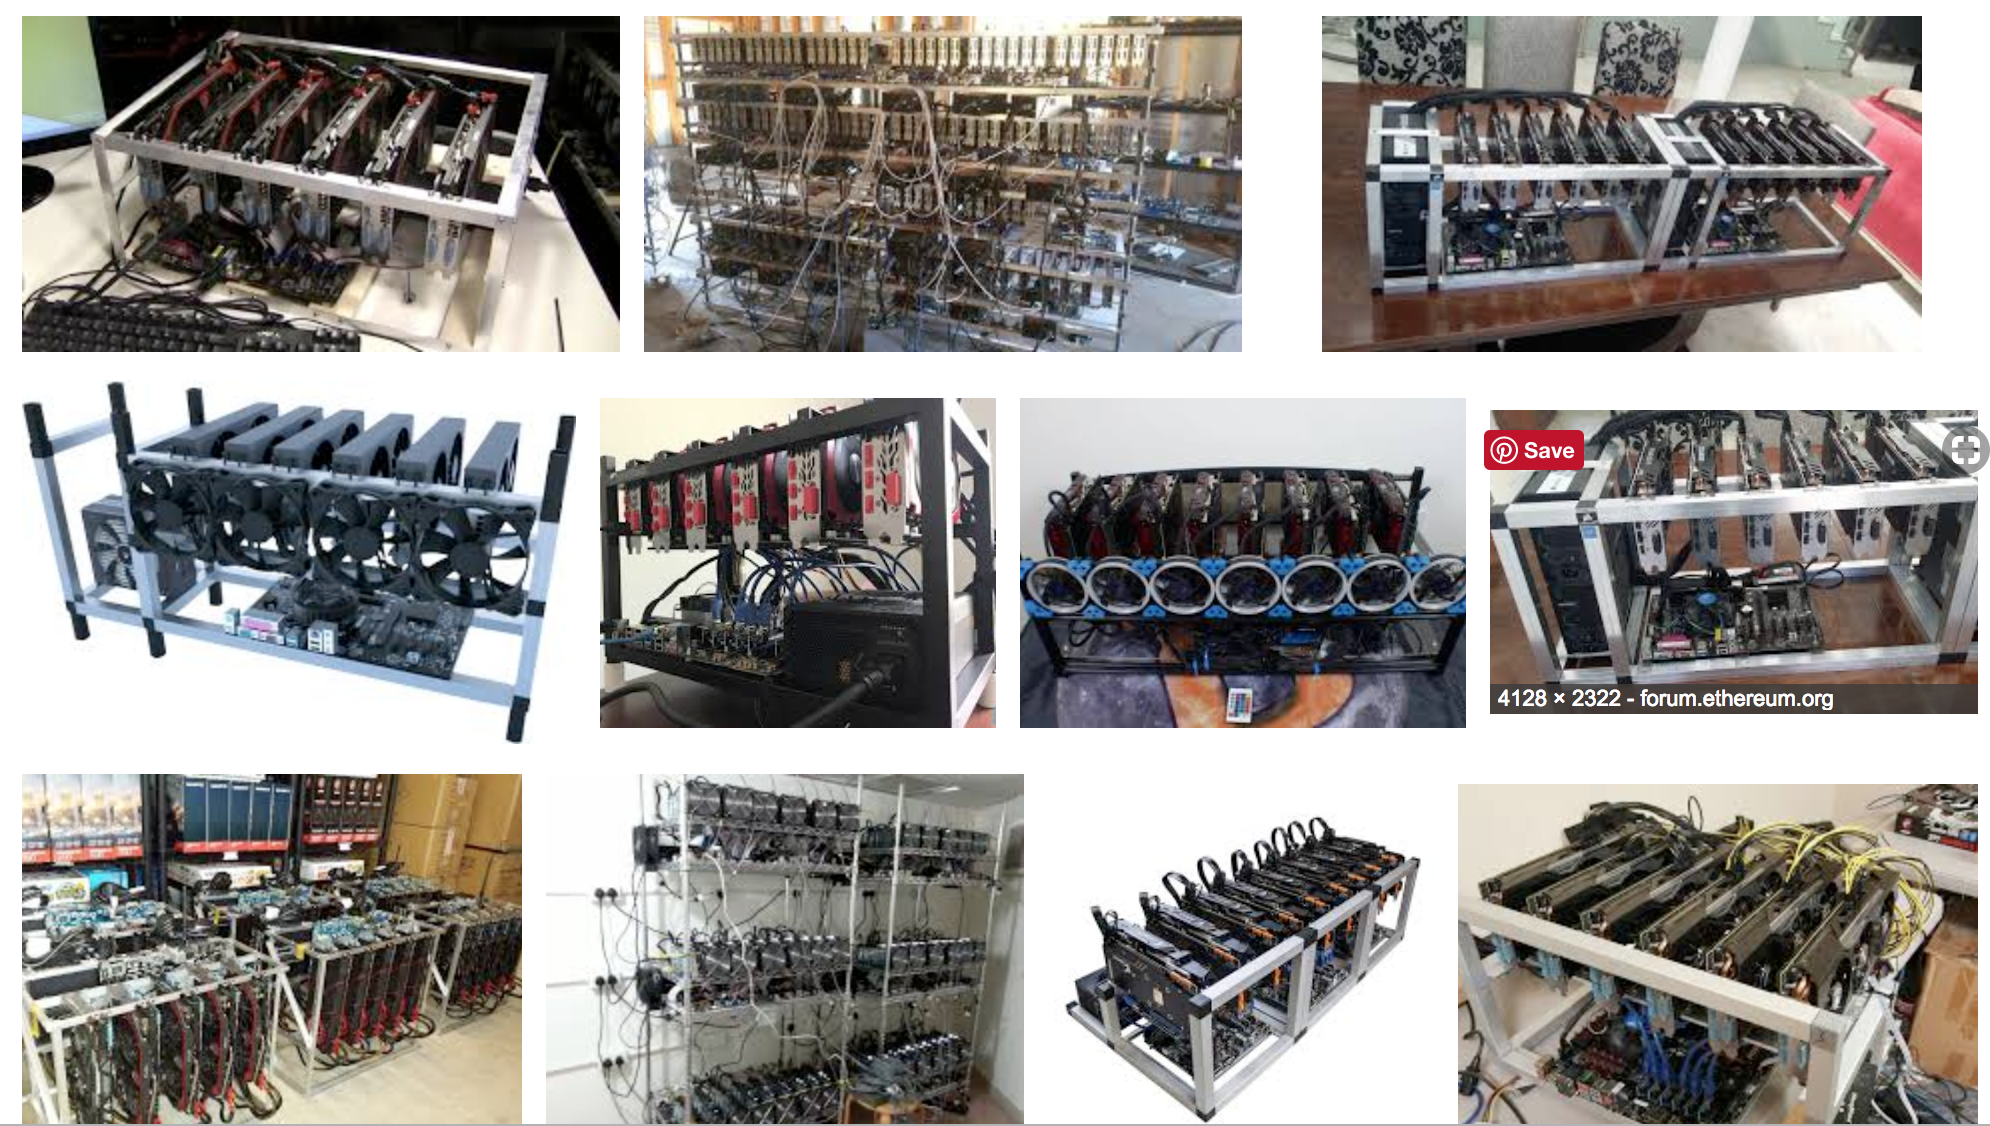
I did not like the conventional mining rig.
I was looking for better look one.
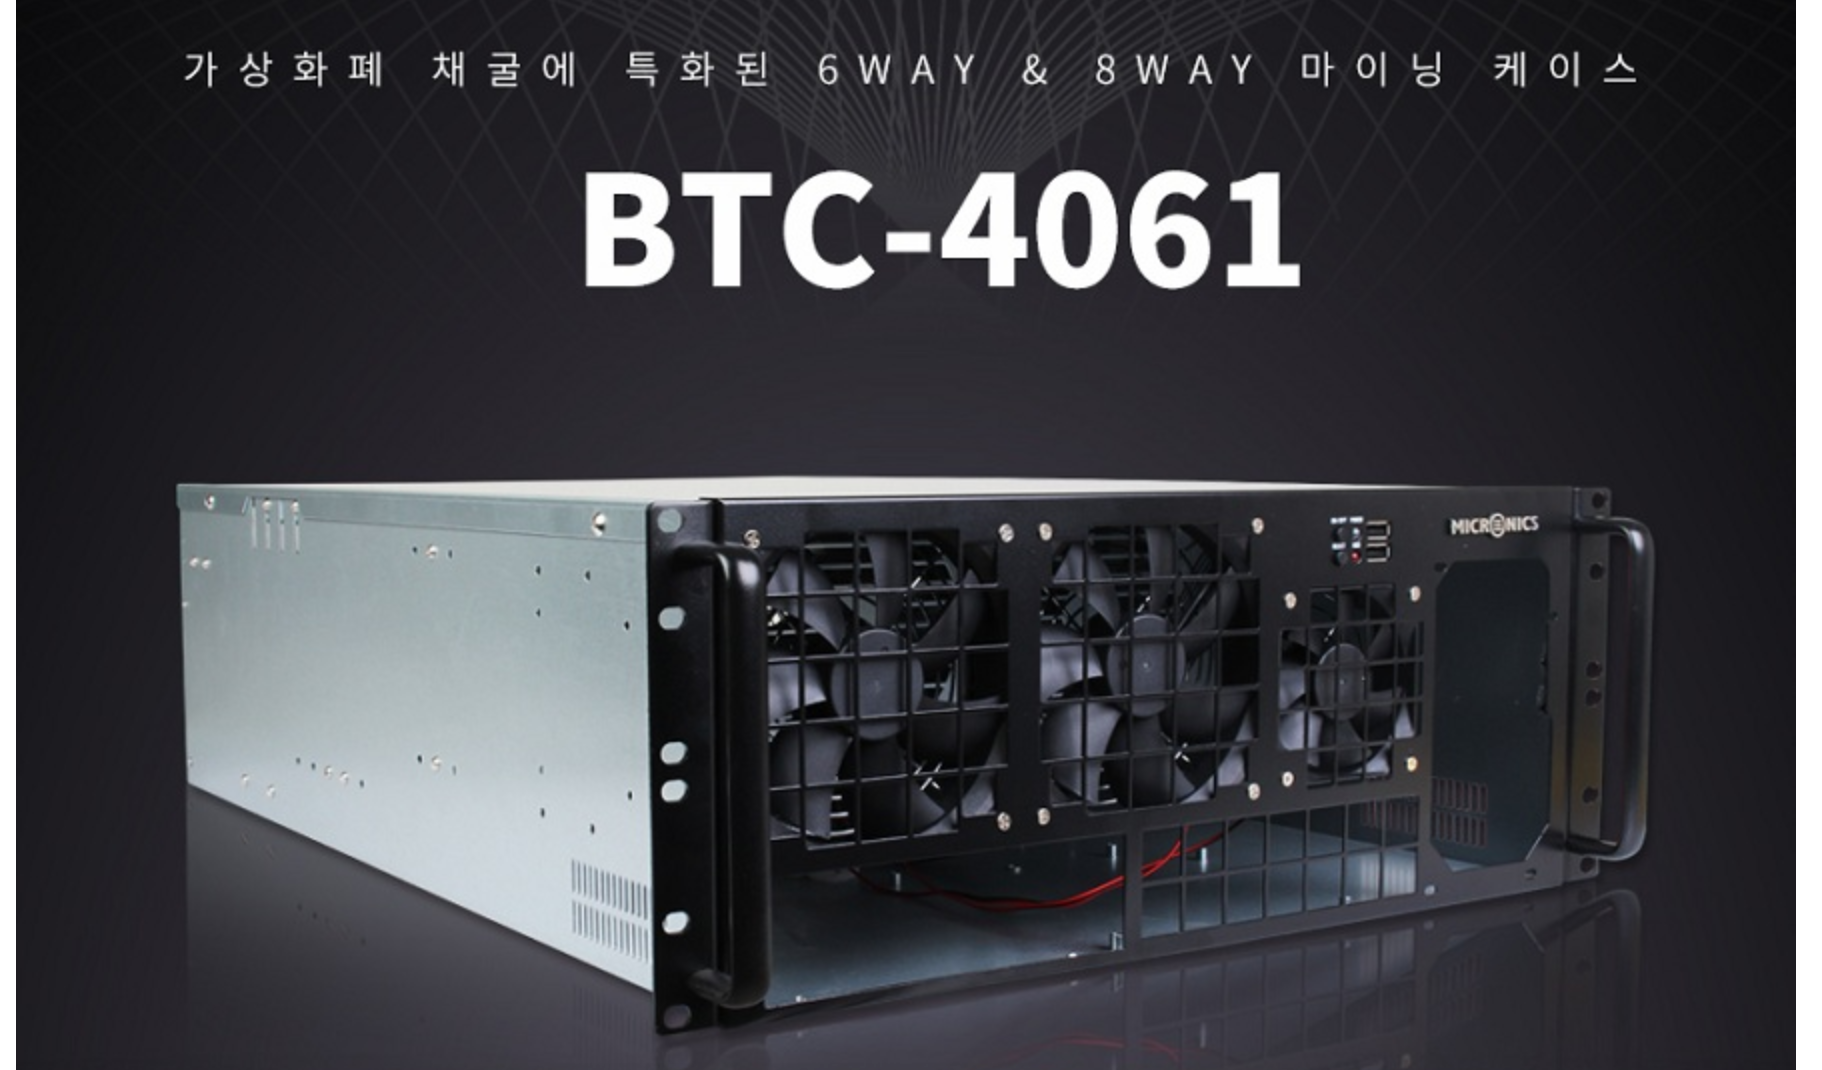
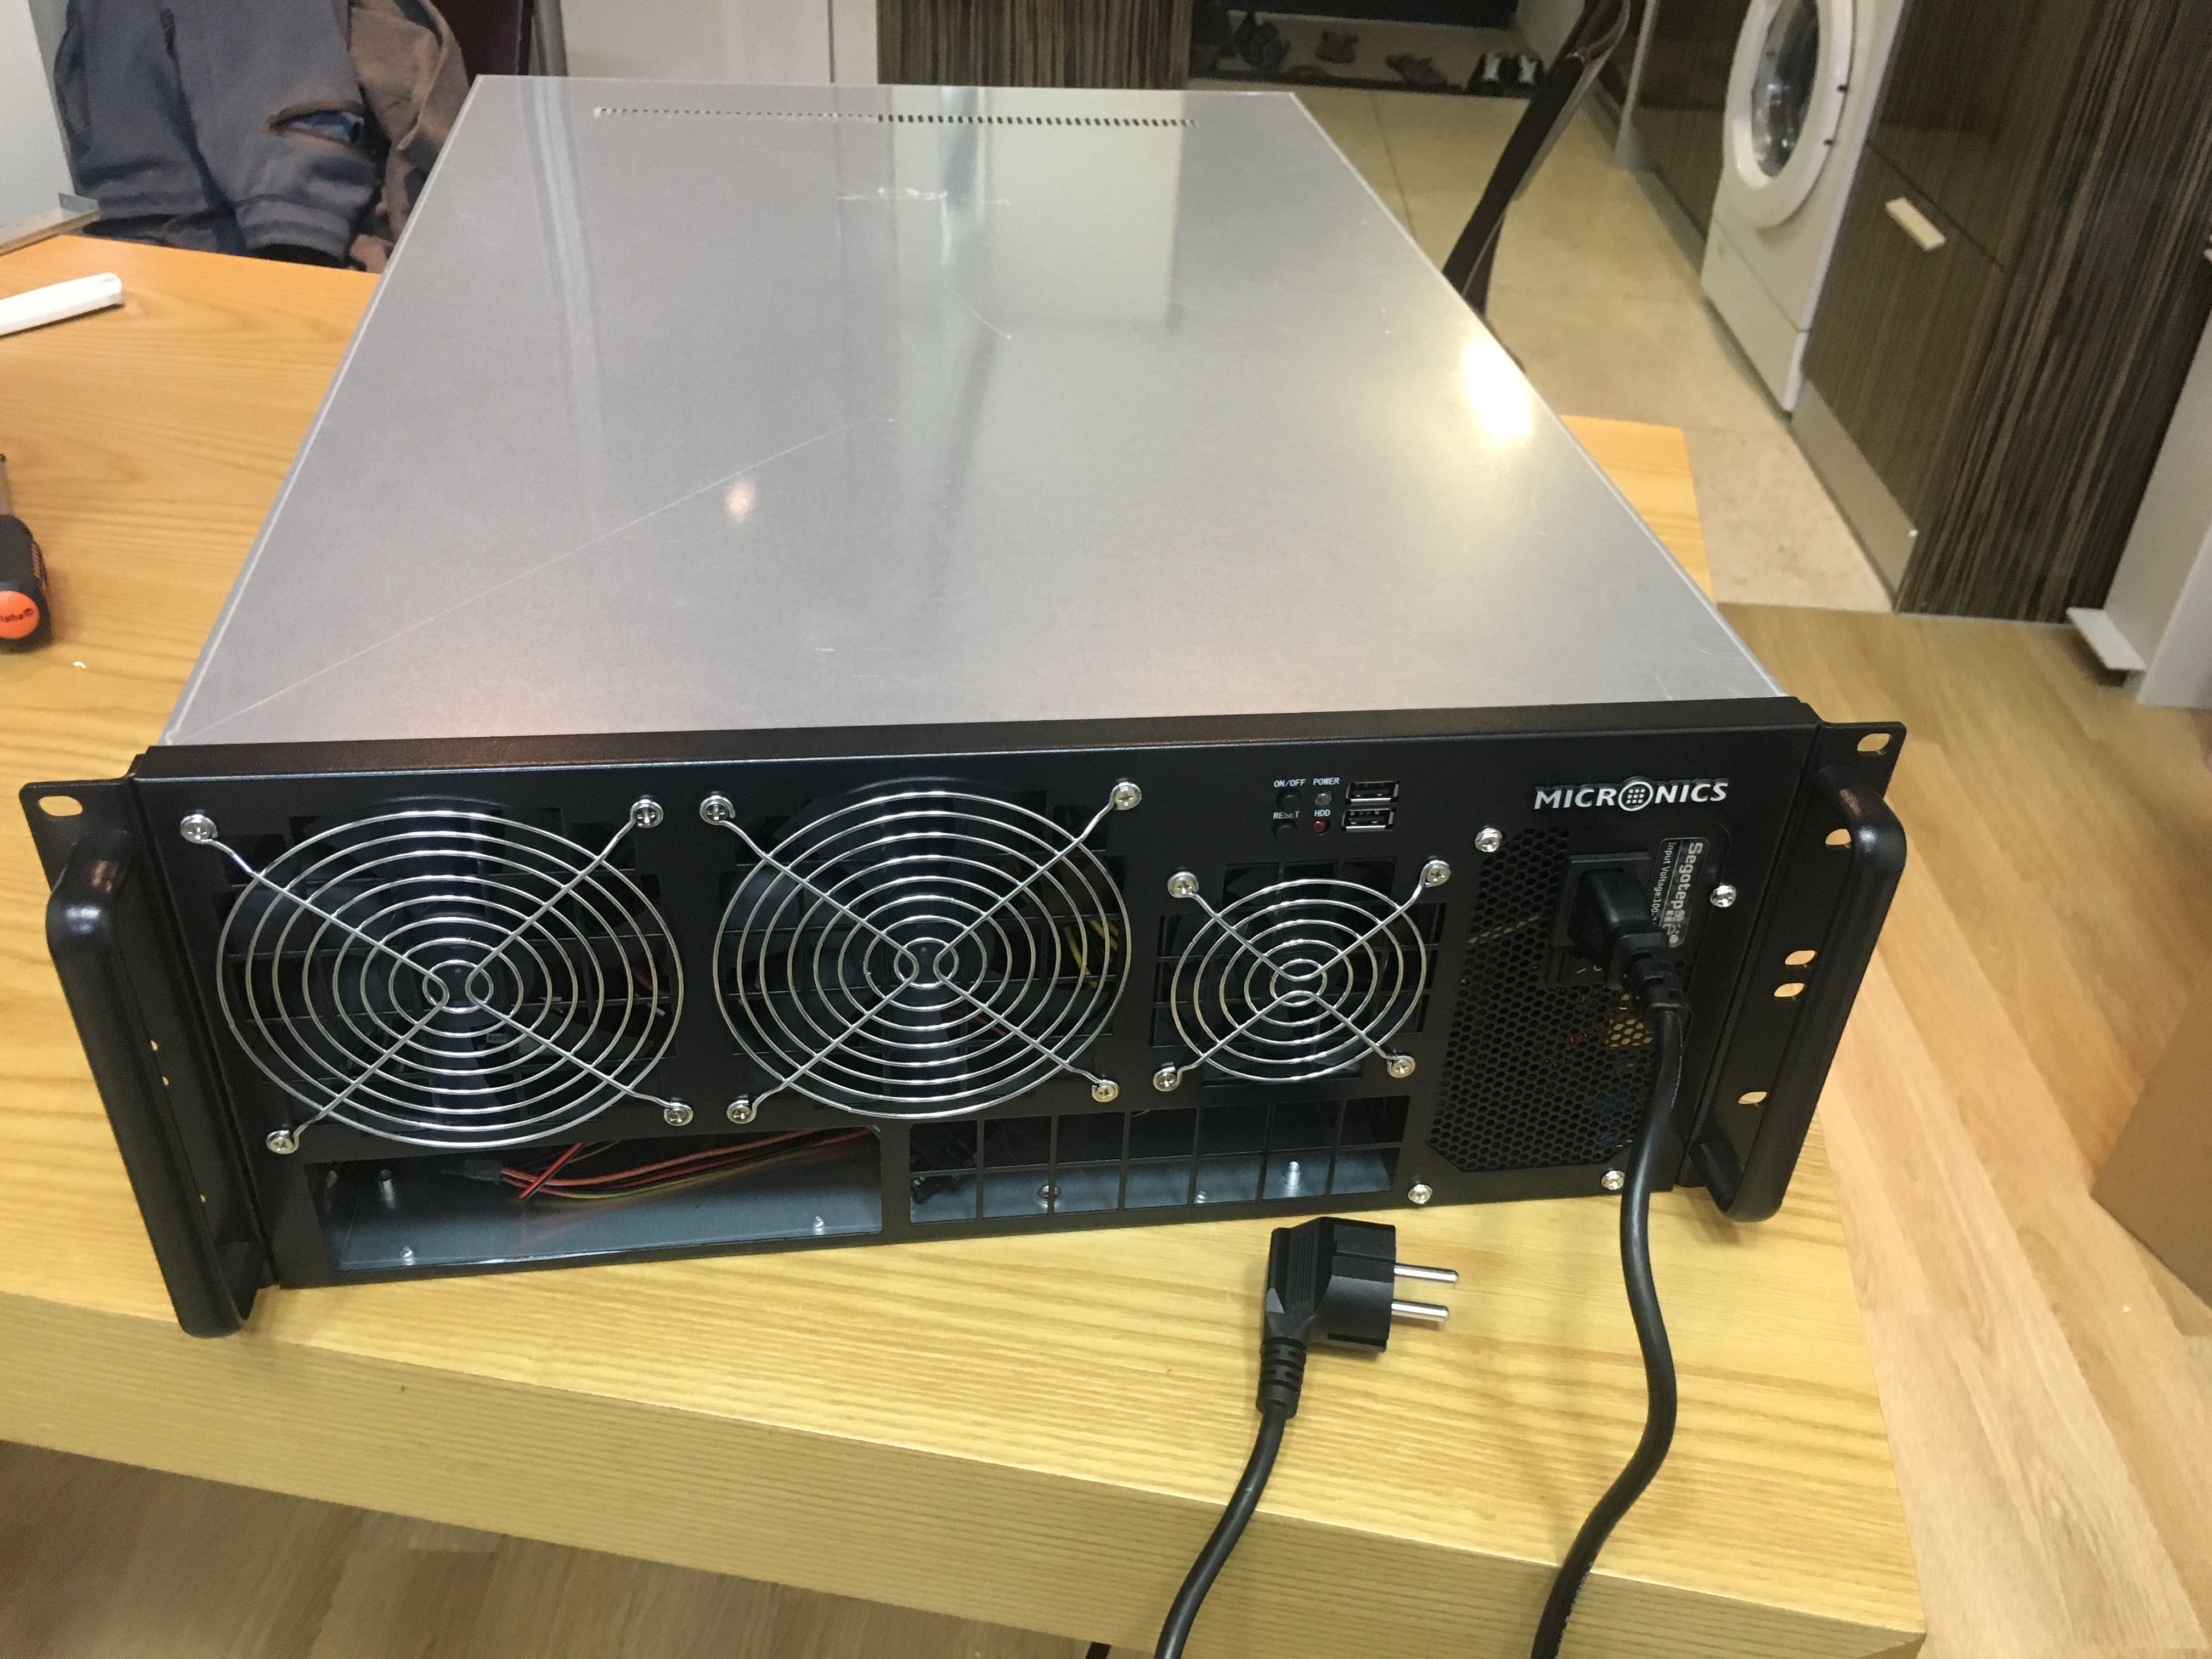
And I finally found a 4u case and started build one.
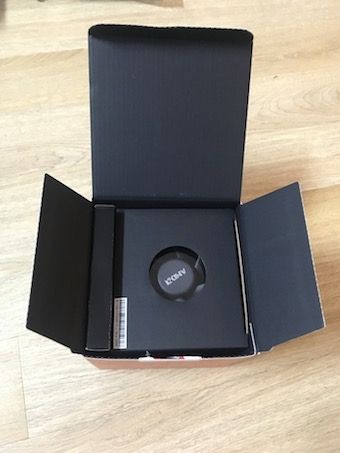
This is product shot of the case.
일반적인 오픈형 케이스의 모양이 마음에 들지 않아하던 차에 새롭게 마이크로닉스에서 출시된 4u 케이스를 바탕으로
채굴기를 처음으로 조립하게 되었습니다.
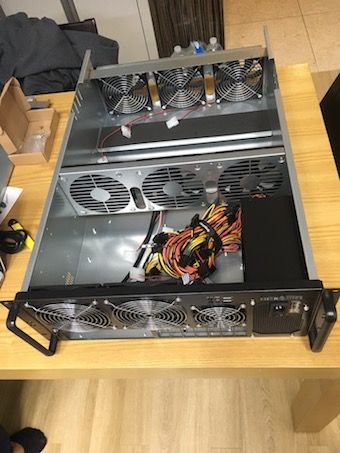
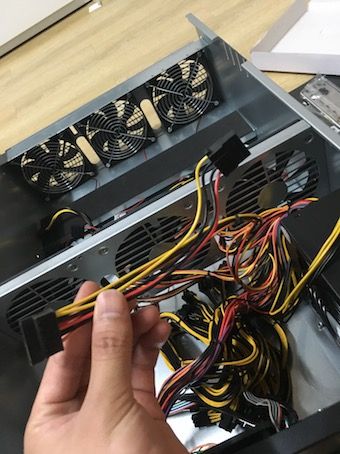
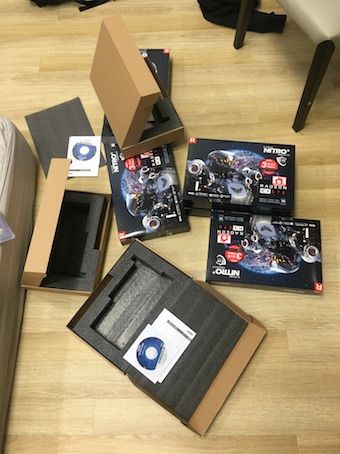
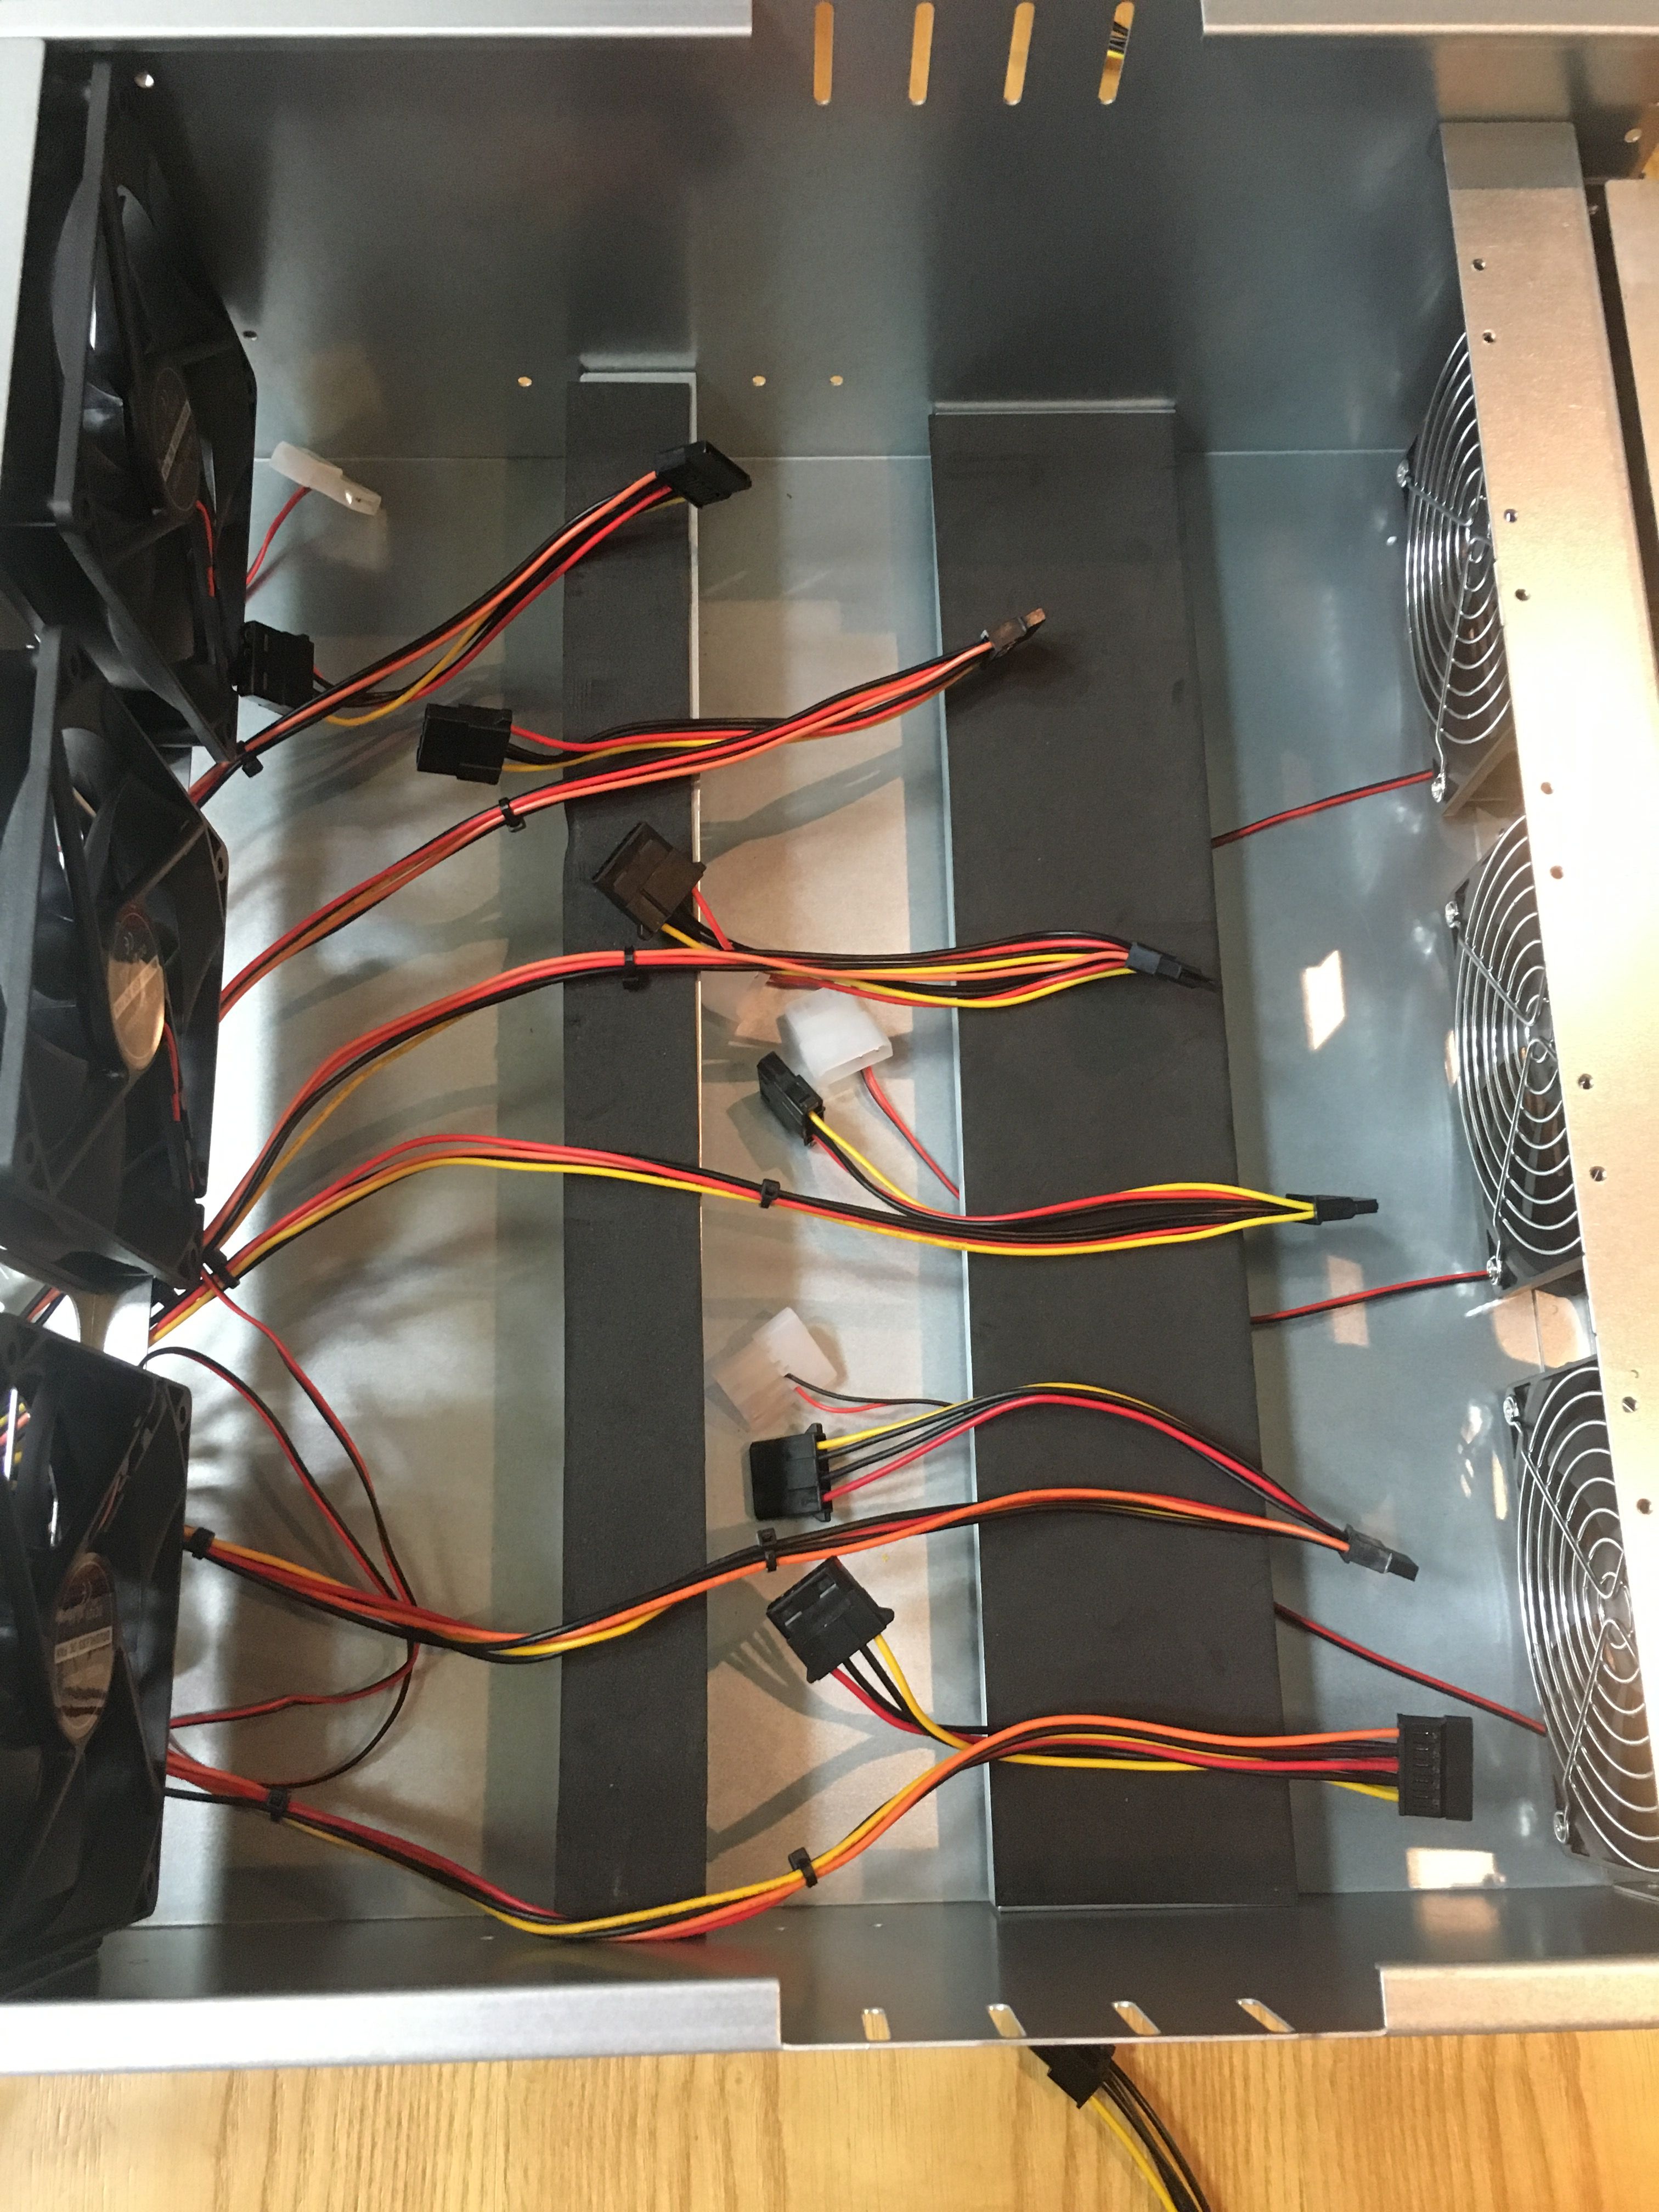
This is initial look when the case is just opened the case was packaged with 1250 power supply in it.
케이스를 오픈했을때 첫 상태입니다. 파워선이 엄청 많구나..가 첫 인상이었습니다.
Ok. going though a lot of tries. The first thing I had to do was start from the motherboard and cpu set up.
몇번의 삽질 끝에 보드에 cpu를 장착하는것이 가장 최우선이라는것을 알았습니다.
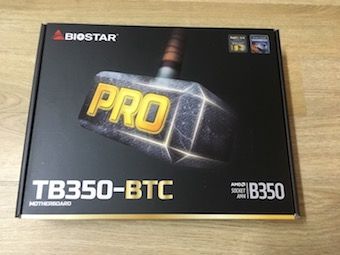
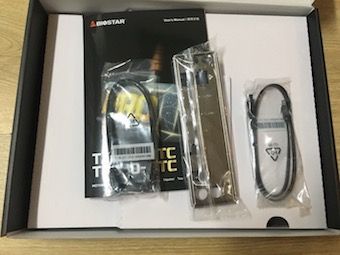
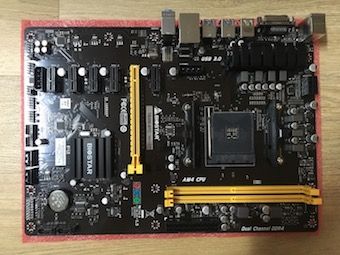
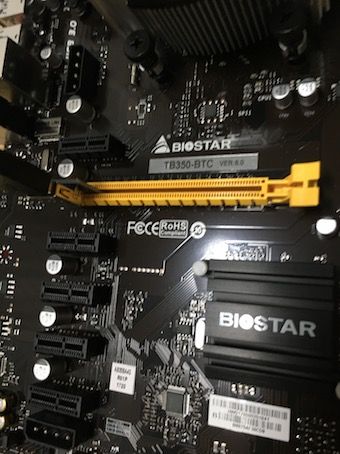
I used TB350-BTC motherboard from Biostar.
It is for 6 way gpu mining and contains sata cable(for ssd) and the metal cover of device input.
마이닝용 TB350-BTC 보드를 사용했습니다. 박스안에 2개의 사타선 (ssd 용) 그리고 메탈 커버가 들어있습니다.
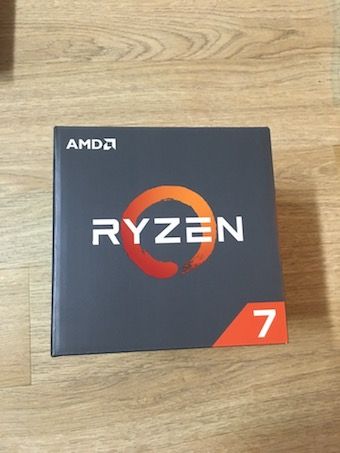

My CPU was ryzen 7 1700. Since I planned to mine Monero coin and Ryzen 1700 has good efficiency on mining Monero (500h/s).
CPU는 라이젠 1700을 사용했습니다. 애초에 CPU 로는 모네로를 채굴하려고 했기때문에 가성비가 가장좋은 1700을 선택했습니다 (500 h/s).
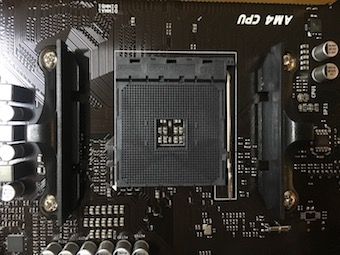
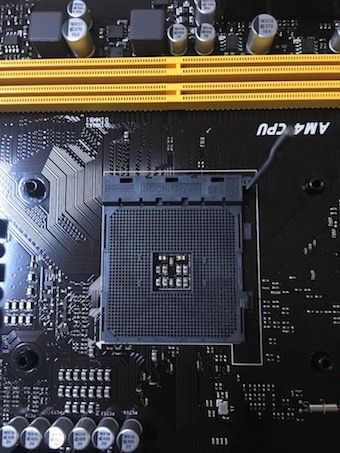

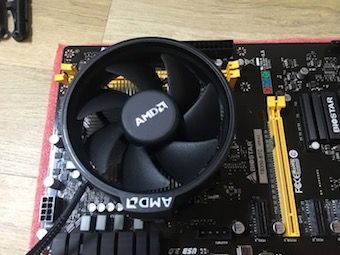
First, the two plastic thing with 4 screws must be pulled off in order to put CPU fan.
Can you guys see the triangle shape at the bottom left on CPU and the cpu part of board?
As you see the image, triangle of cpu must be located at the triangle of cpu board when it is integrated.
You can feel it is inserted correctly when its position is right.
Oh, and don't forget the right metal thing must be go up when cpu chip is inserted and the metal thing must be go down to fix cpu and board solidly.
먼저 CPU장착부 양쪽에 4개의 나사를 풀고, 플라스틱 을 제거해야 Fan을 설치할수 있습니다.
CPU 장착부 왼쪽아래에 삼각형 모양이 보이시나요?
CPU 칩에도 왼쪽아래에 삼각형 모양이 있는데, 그 모양을 중심으로 장착해야합니다.
CPU 칩이 올바르게 장착되면, 딱하고 맞아 들어가는 느낌이 듭니다.
CPU 장착하기 전에 오른쪽 금속을 올려서 열고, CPU 장착이후에 금속을 내려서 단단히 고정해야 합니다.

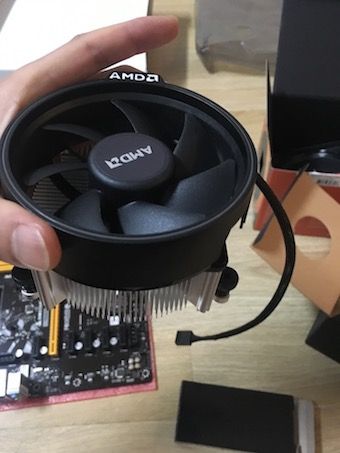
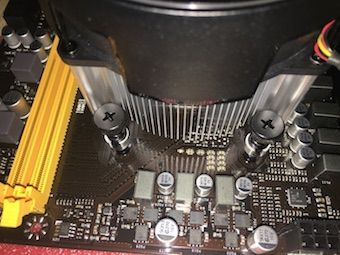
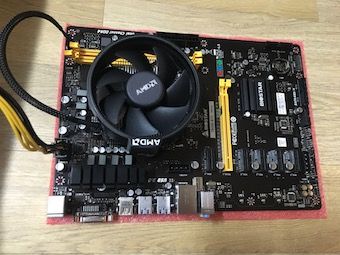
Ok, it is time for cpu fan. The holes where 4 screws pulled off are will be CPU fan's 4 screws will get in.
아까 플라스틱을 제거하면서 뺀 4개의 나사의 위치가 CPU 팬의 나사가 들어갈 위치입니다.
 !
!
Tighten the 4 screw one by one like the picture.
[Tip] Do not tighten each screw all the way down at one. try tighten 1/3 for each of 4 screw and check it placed right before tighten fully.
그림에서 보는것처럼 4개의 나사를 하나하나 조여줍니다.
[팁] 한번에 끝까지 나사를 조이지말고, 하나하나 3분의 1정도 조여서 어느정도 자리를 잡은후에 다시 끝까지 조이는것을 추천합니다.
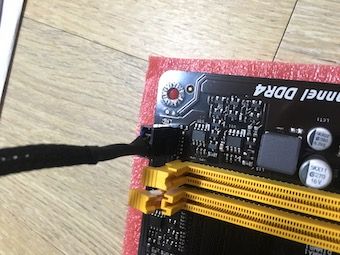
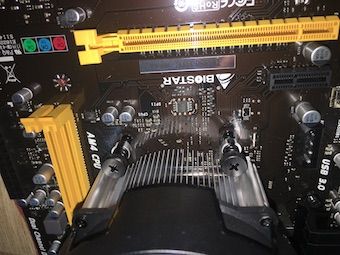
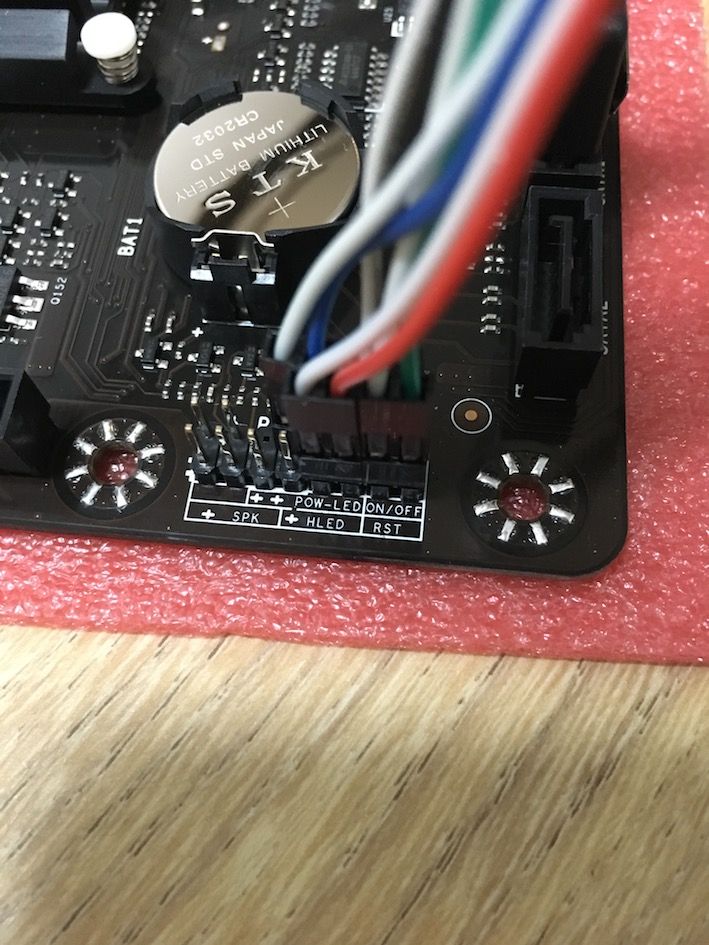
CPU power cable must be placed on where "CPU FAN1" text is written.
CPU FAN1이라 적혀있는 곳에 CPU 파워선을 연결합니다.
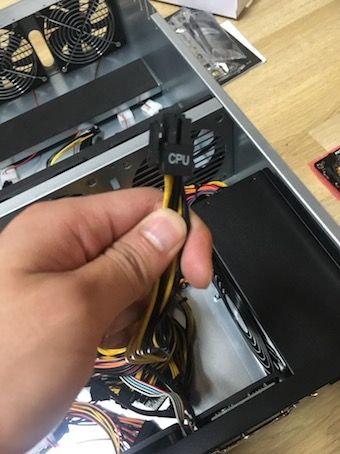
Take out 6 pin power cable written with "CPU" and plug into 6 pin input with "ATX_PWR2" text.
파워 서플라이에서 CPU라 적혀진 6핀짜리 파워선을 찾아 보드의 ATX_PWR2 라고 적힌 곳에 장착합니다.
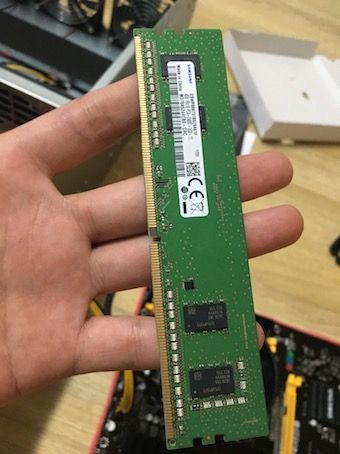
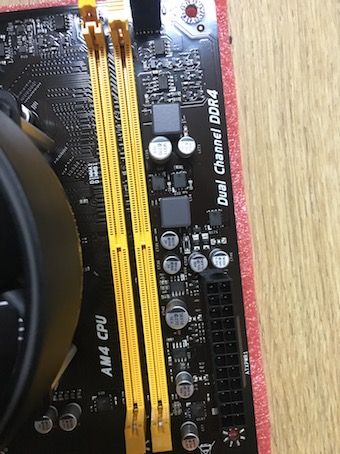

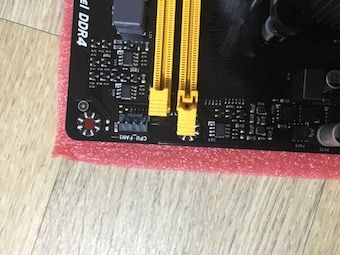
Open the memory chip slots and place memory chip, you can here 'click' sound when it is inserted correctly.
메모리칩 장착부를 열고 메모리칩을 장착합니다. 장착이 올바르게되면 딸깍 소리가 납니다.
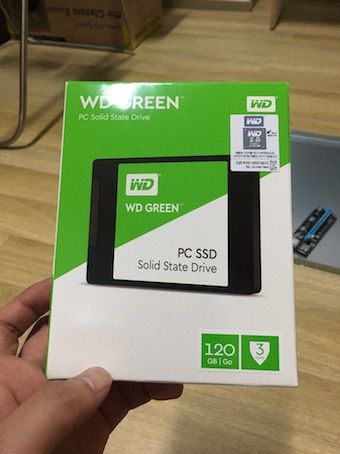

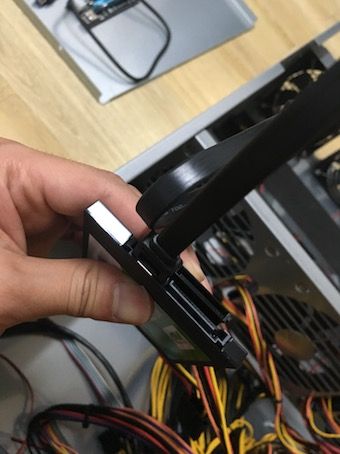
I bought 120 GB WD green SSD and like other ssd drive, it has 2 slots for sata cables.
My apology.. I do not know exact name of the slots and the cables.
120 GB WD green SSD 드라이브입니다. 2개의 슬롯이있습니다. 정확한 장착부의 이름과 케이블명은 모릅니다.. 죄송합니다.
 .
.
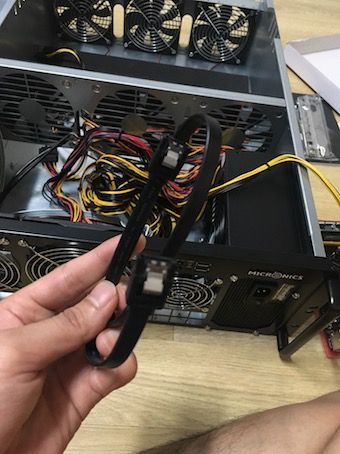
The above left cable is the cable from Motherboard package.
And you can get the sata power cable from power supply in above right picture.
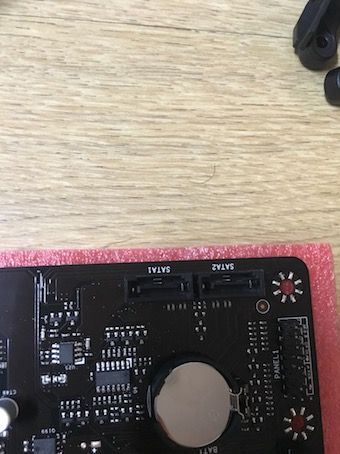
You can plug in 2 cables to SSD drive and other end of shorter cable should be connected to 'SATA' slot in board.
Oh right. I guess the cable name is 'SATA'.
왼쪽 검은색 케이블은 마더보드 상자안에 있는 케이블입니다.
오른쪽 사타 케이블은 파워로부터 나오는 케이블입니다.
2개의 케이블을 SSD drive에 연결합니다. 2개의 케이블중 짧은 케이블을 보드의 'SATA'라고 적혀있는 부분에 장착합니다.
작성하는중에 발견했는데, 아마 작은케이블명이 사타인것 같네요.
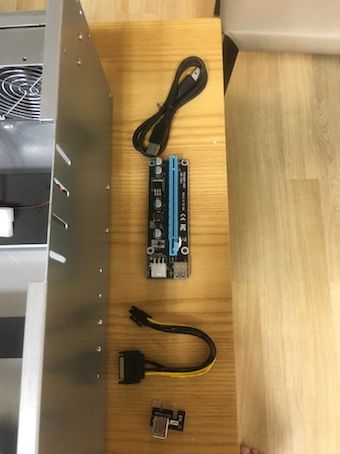
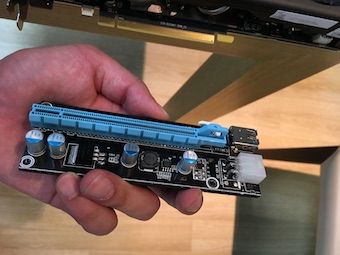
This is a 6 pin riser card package.
6핀 라이저 카드 구성 품입니다.
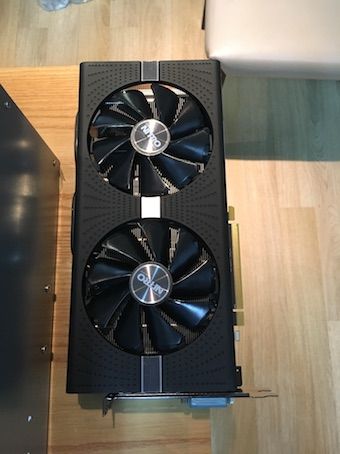
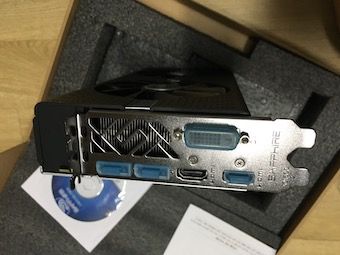
I bought Sapphire RX 570 4g; the gpu is kind of expensive but it has dual bios which prevents gpu is broken while bios setting.
It also has relatively better endurance compared to other vendor like Gigabyte, Asus, etc.
채굴기에 사용될 GPU로는 사파이어 rx 570으로 구매했습니다. 가격은 좀 있지만,
상대적으로 좋은 내구성과 듀얼 바이오스 세팅이된다는 점이 좋아서 선택했습니다.
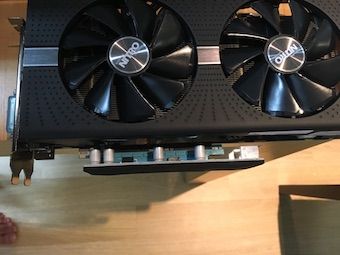
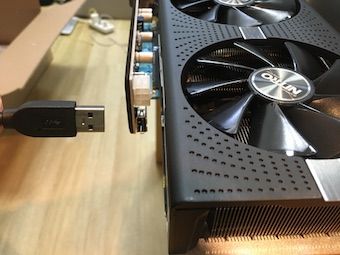
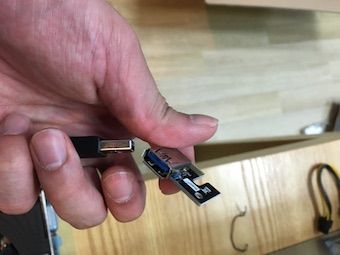
Ok! you can connect main riser card into bottom of GPU chip.
And connect a usb cable and a 6 pin power cable from power supply into riser card.
메인라이저 카드를 GPU 칩부분의 장착하고, 라이저 카드 구성품중에 있던 USB와 파워로부터 6 pin 짜리 케이블을 메인 라이저카드에 연결해줍니다.
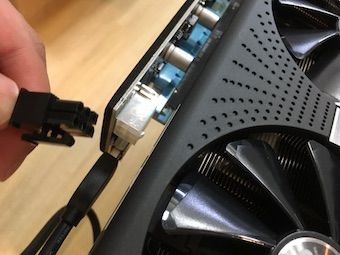
Get 8 pin power cable (with PCI-E text) from power supply and connect to top of GPU.
파워에서 나온 8개 핀 짜리 케이블을 GPU 상단부에 장착시킵니다.
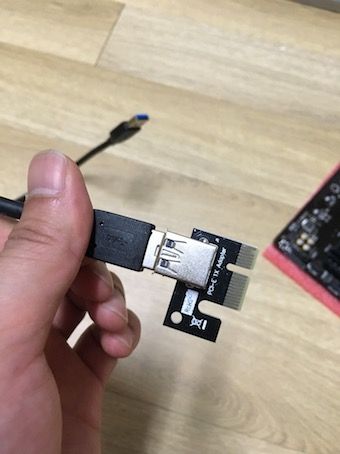
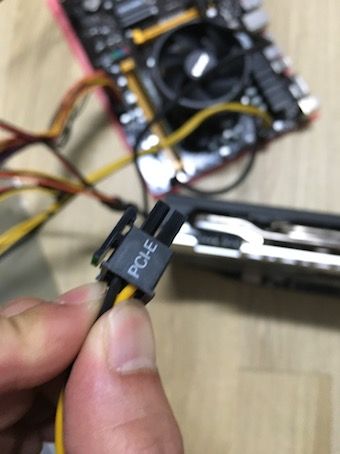
Connect other end of usb cable which currently connected to main riser card to last component of riser card package.
And plug into the main GPU slot in board which is long and yellow.
라이저 카드 구성품중 아직 사용하지않은 부품과 현재 연결된 USB케이블 반대쪽에 연결하고, 노란색 메인 GPU장착부에 장착합니다.
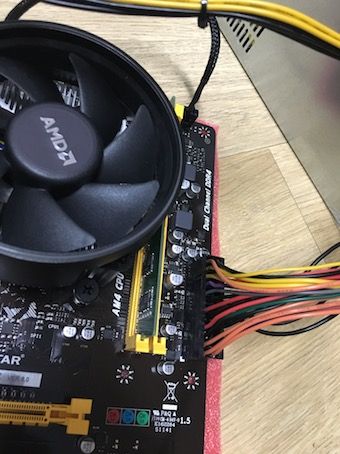
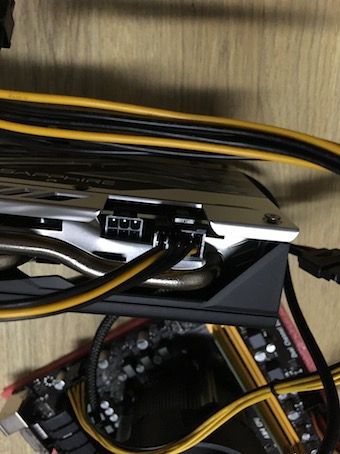
For the last, plug in main power cable into board. The cable has more than 10 pin. maybe 16. Anyway you can see it easily since its the biggest cable from power supply.
마지막으로 파워 서플라이로 부터 나온 메인 파워케이블을 장착합니다. 가장 큰 파워 케이블이기때문에 쉽게 찾을수 있습니다.

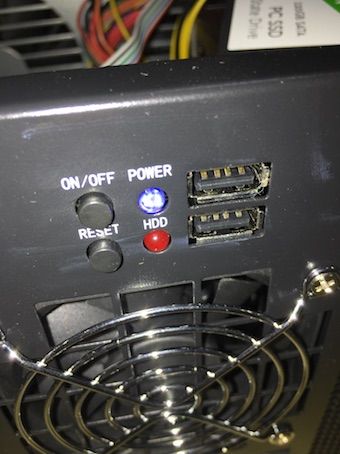
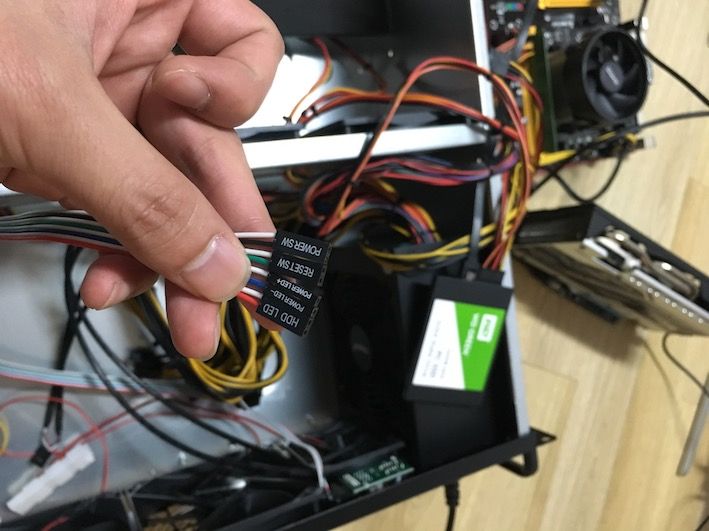
Connect power cable into wall socket.
If you click the 'power' button of the case, you can see POWER led and HDD led is blinking
콘센트에 케이스 파워와 연결하고, 파워 버튼을 누르면 파워 led와 HDD led 가 켜지는걸 확인할수 있습니다.
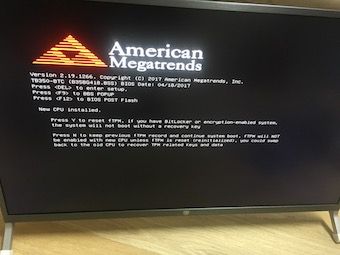

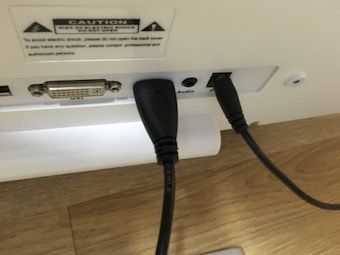
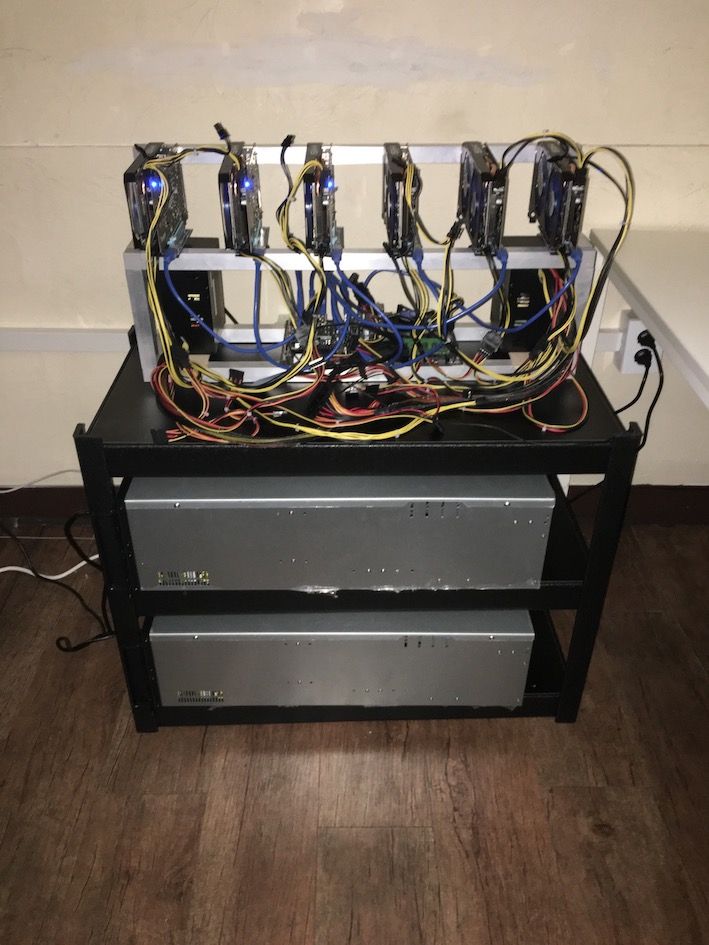
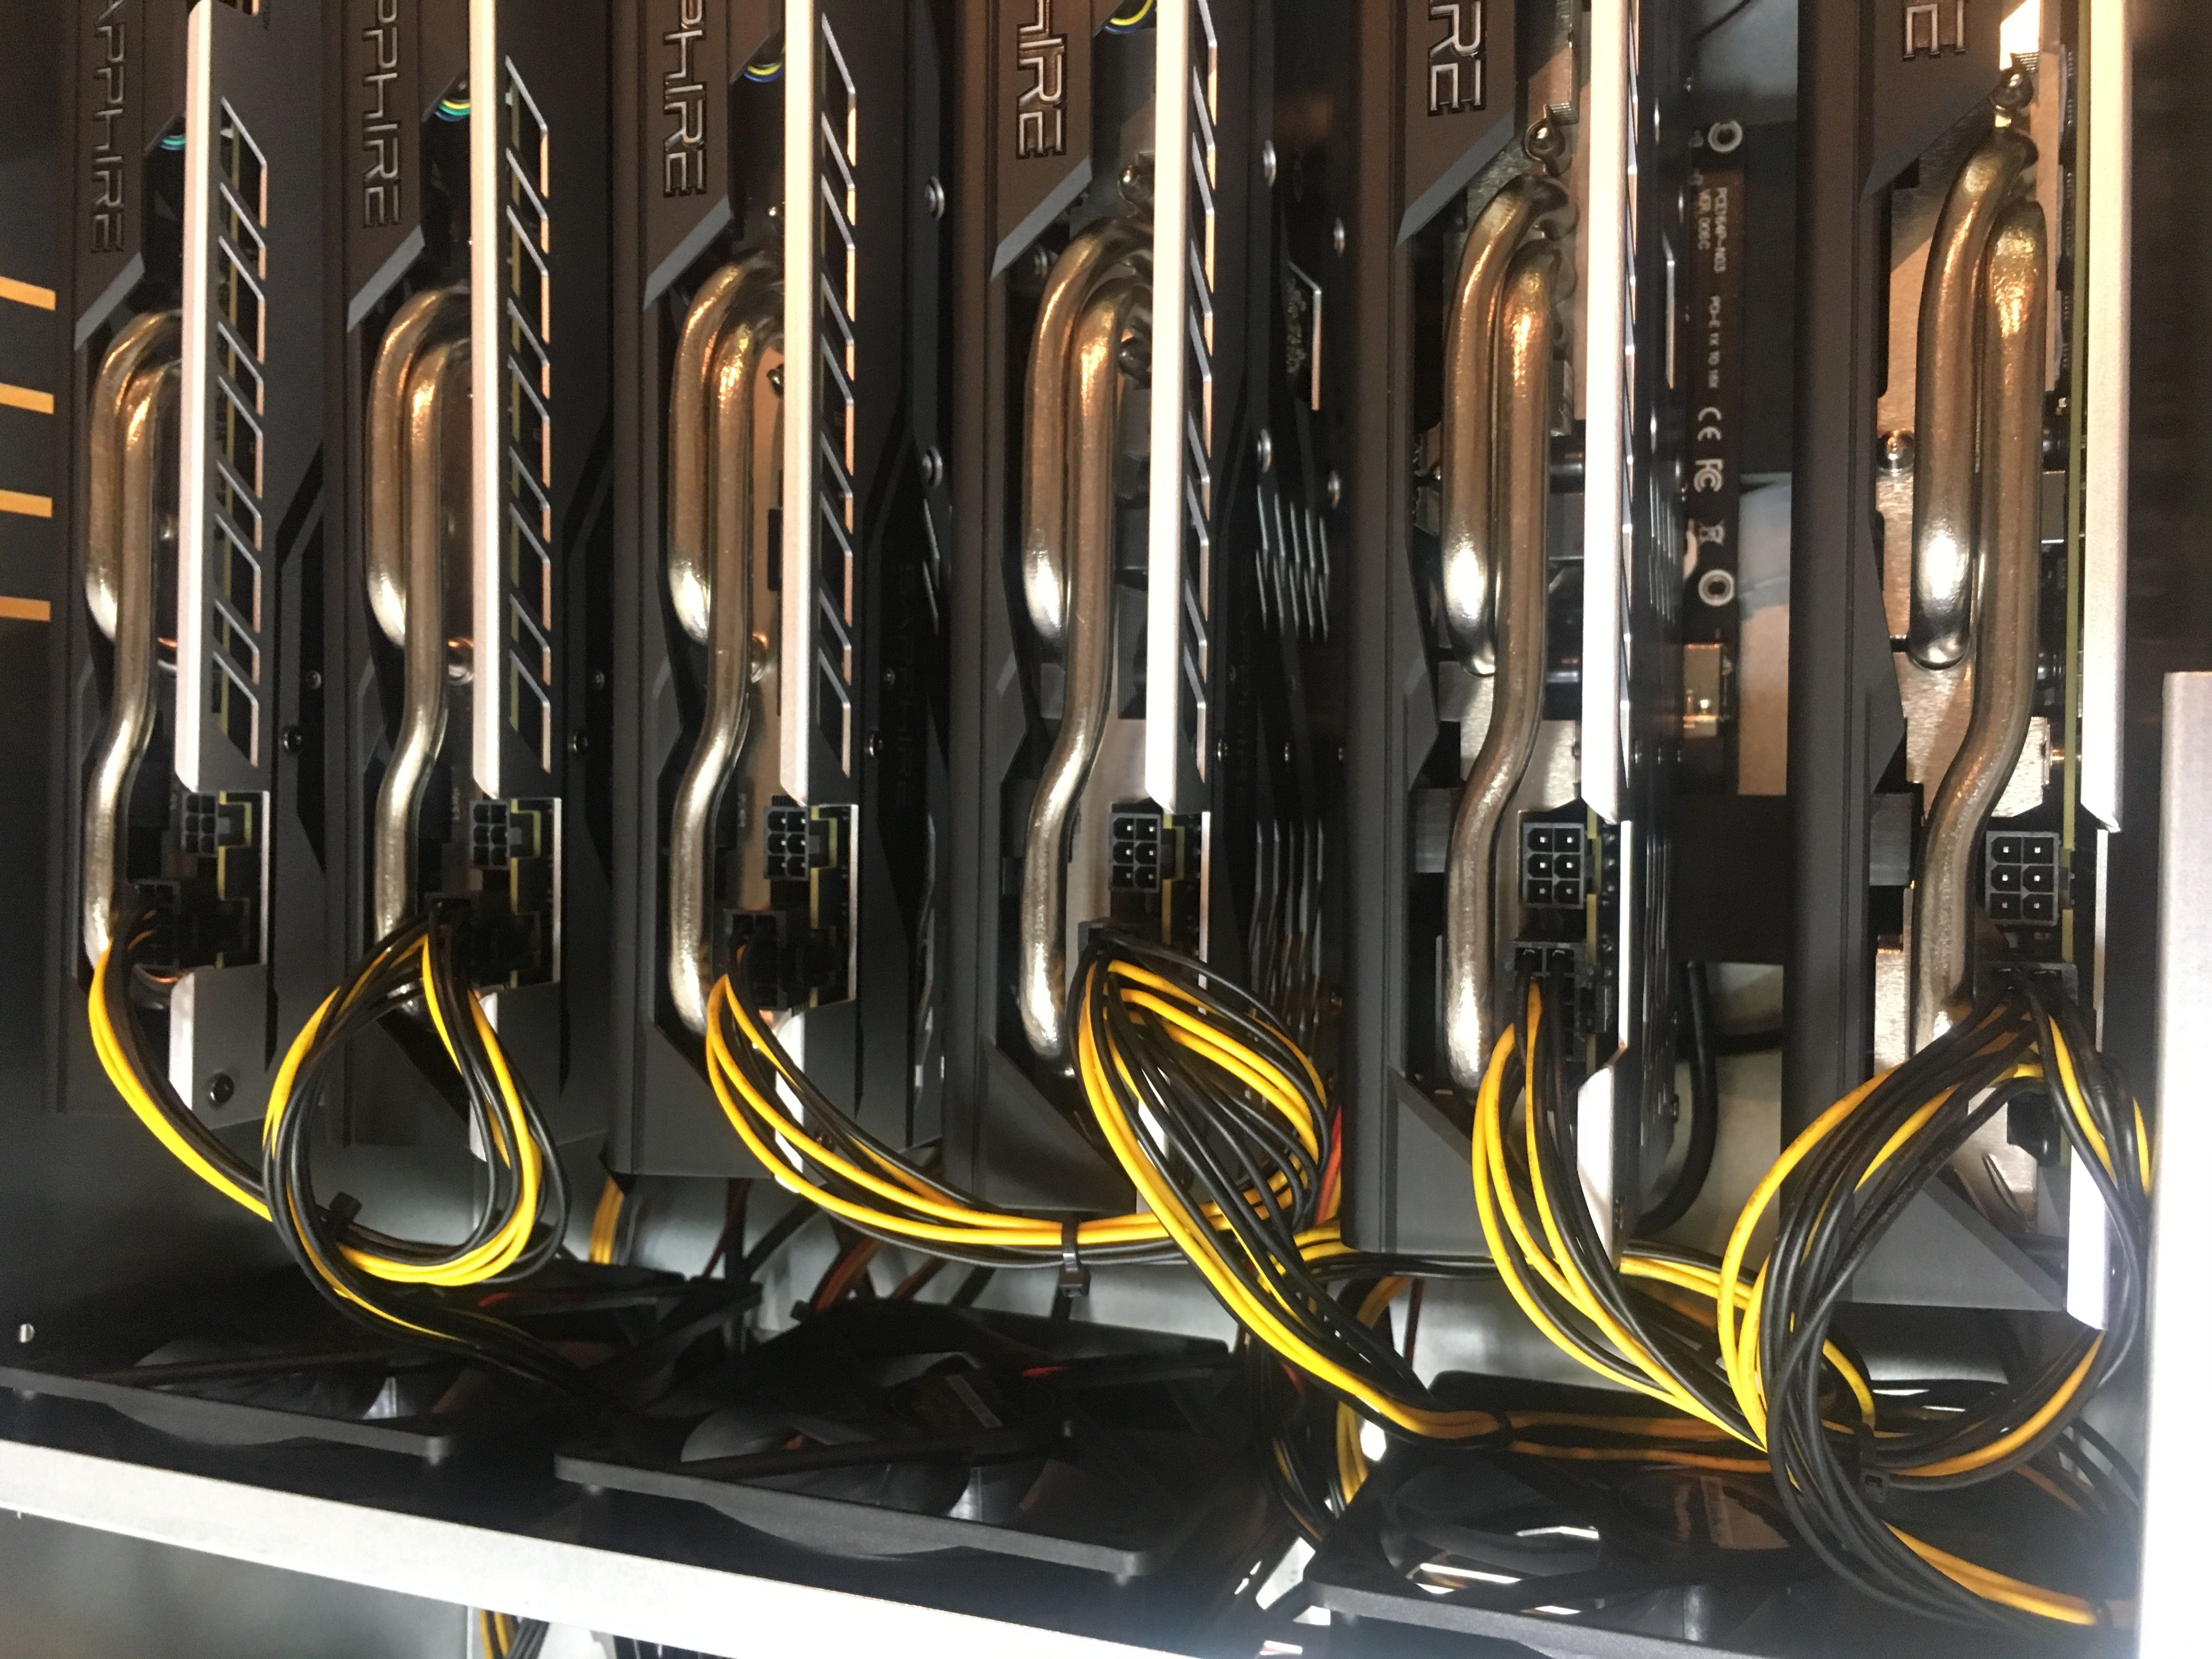
Connect HDMI cable between monitor and GPU HDMI slot, and if you see the screen like this, I would say the mining rig is born.
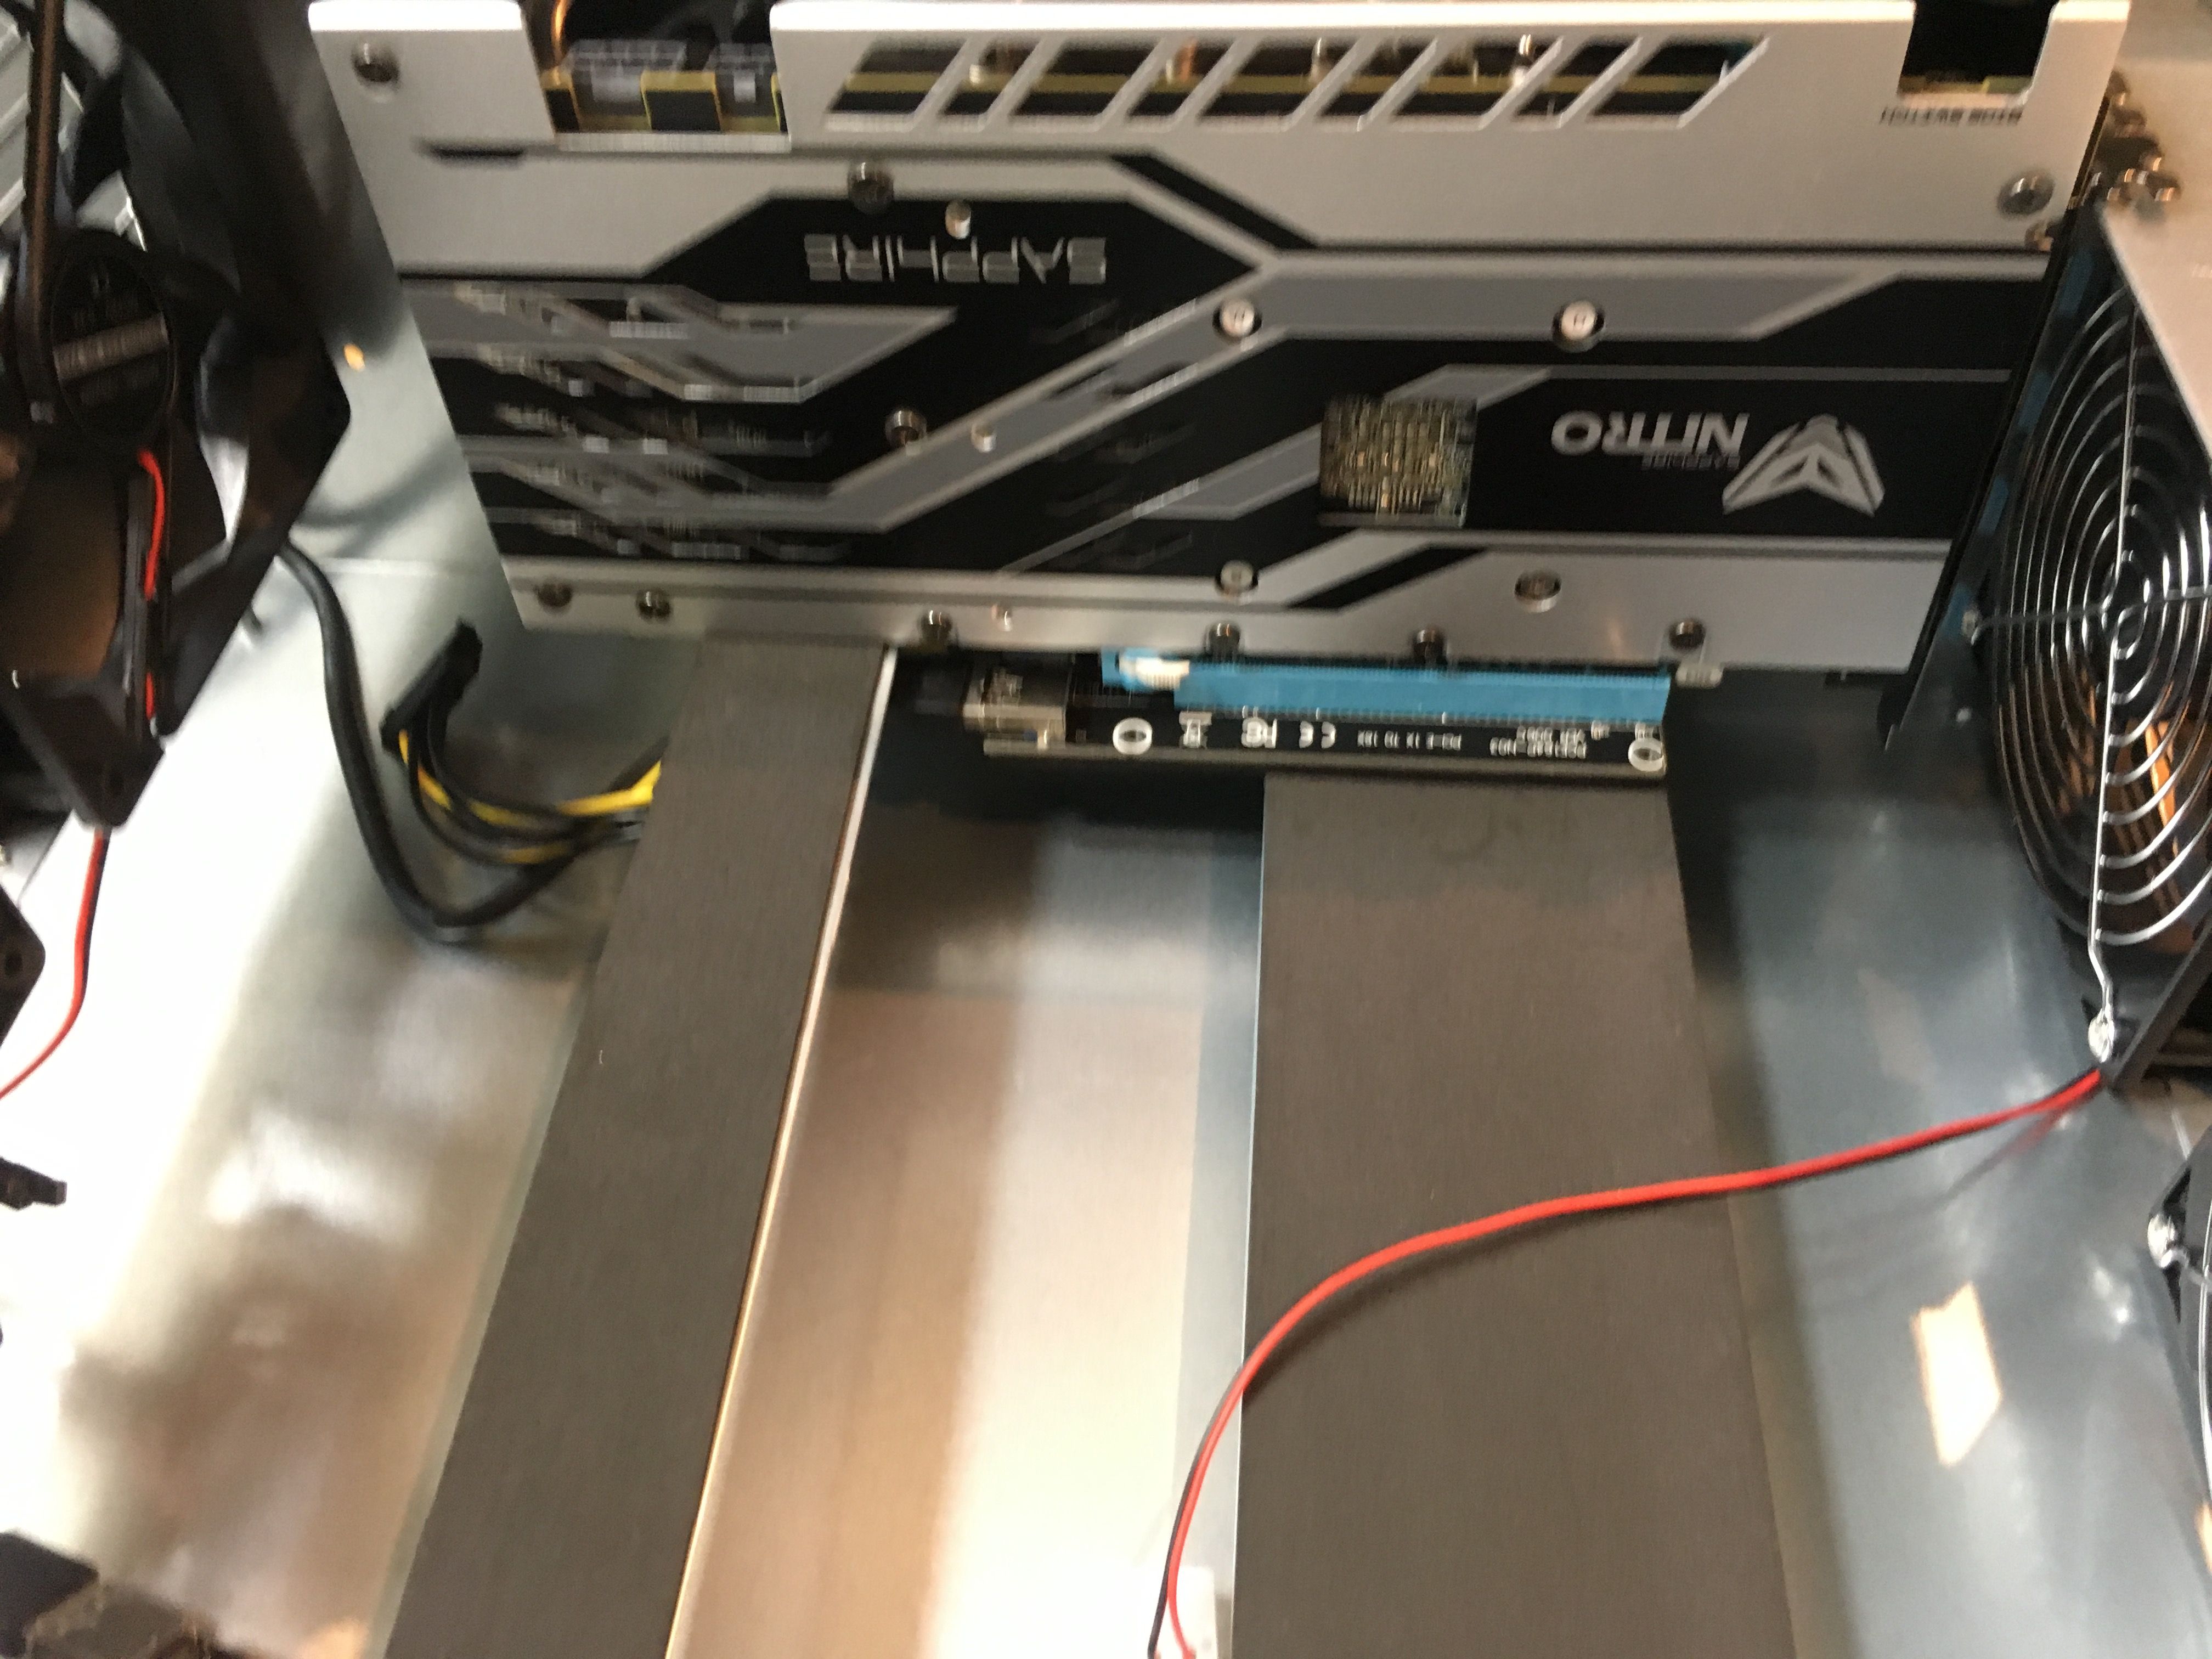
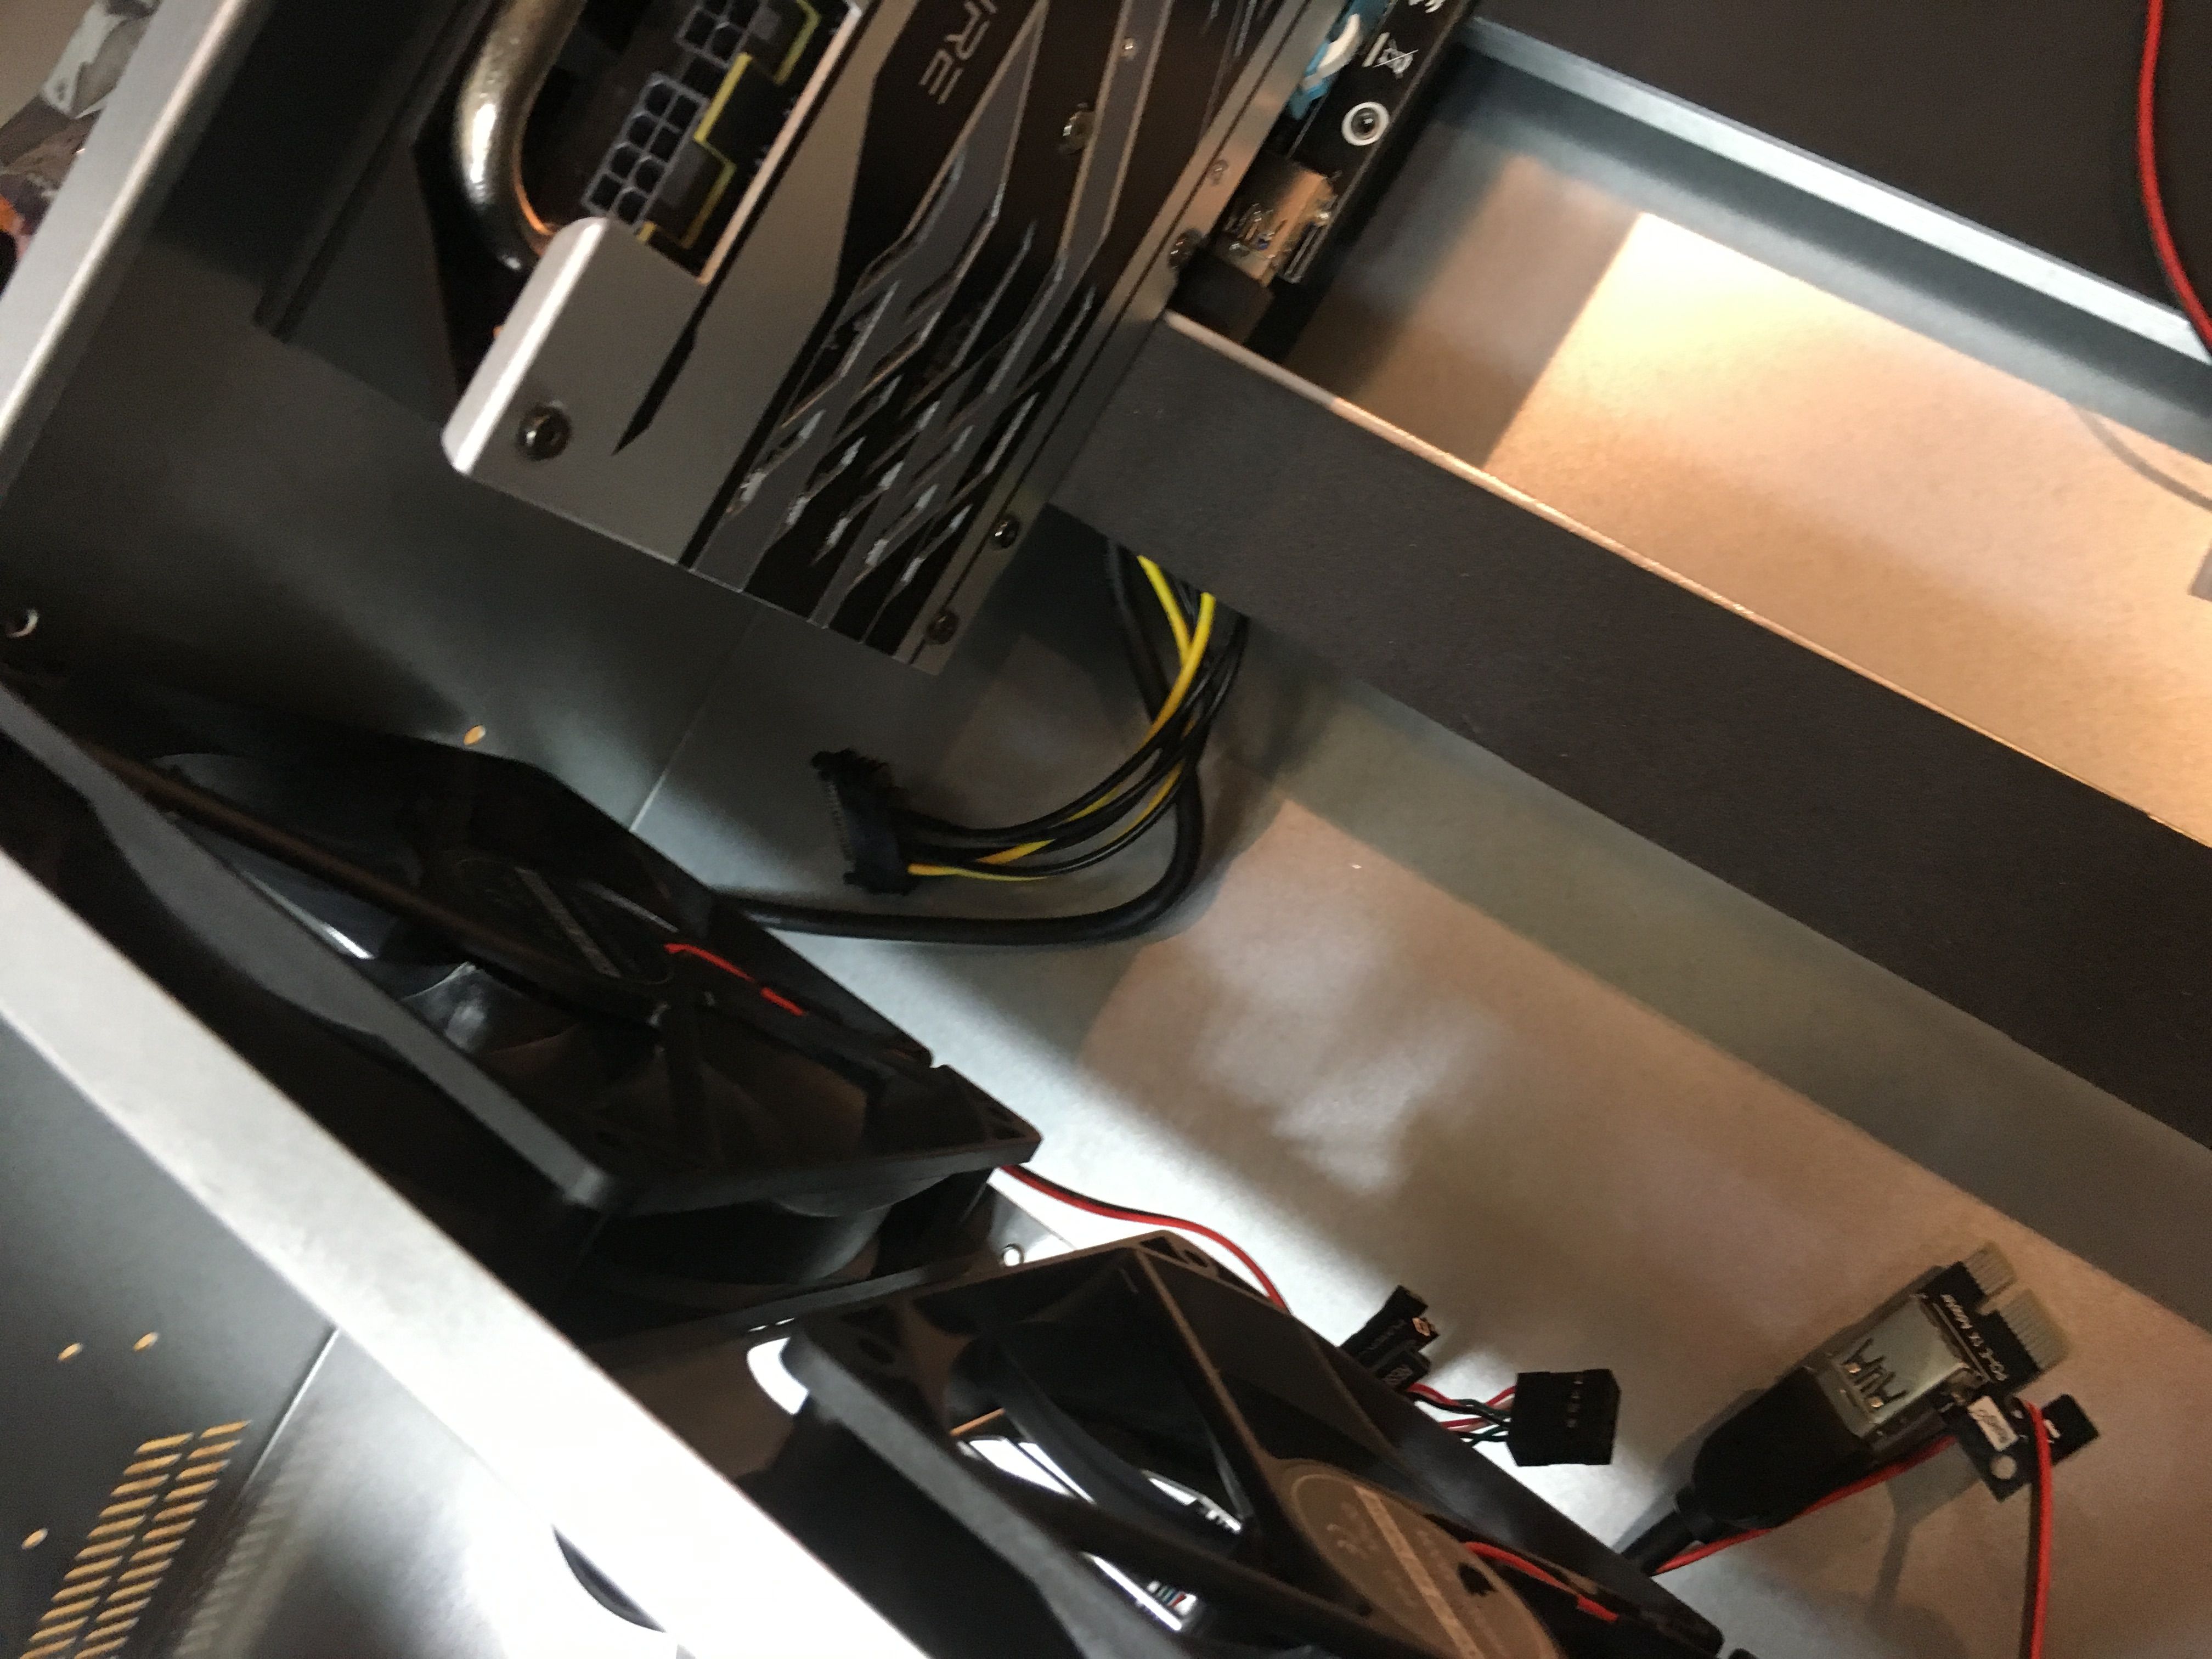
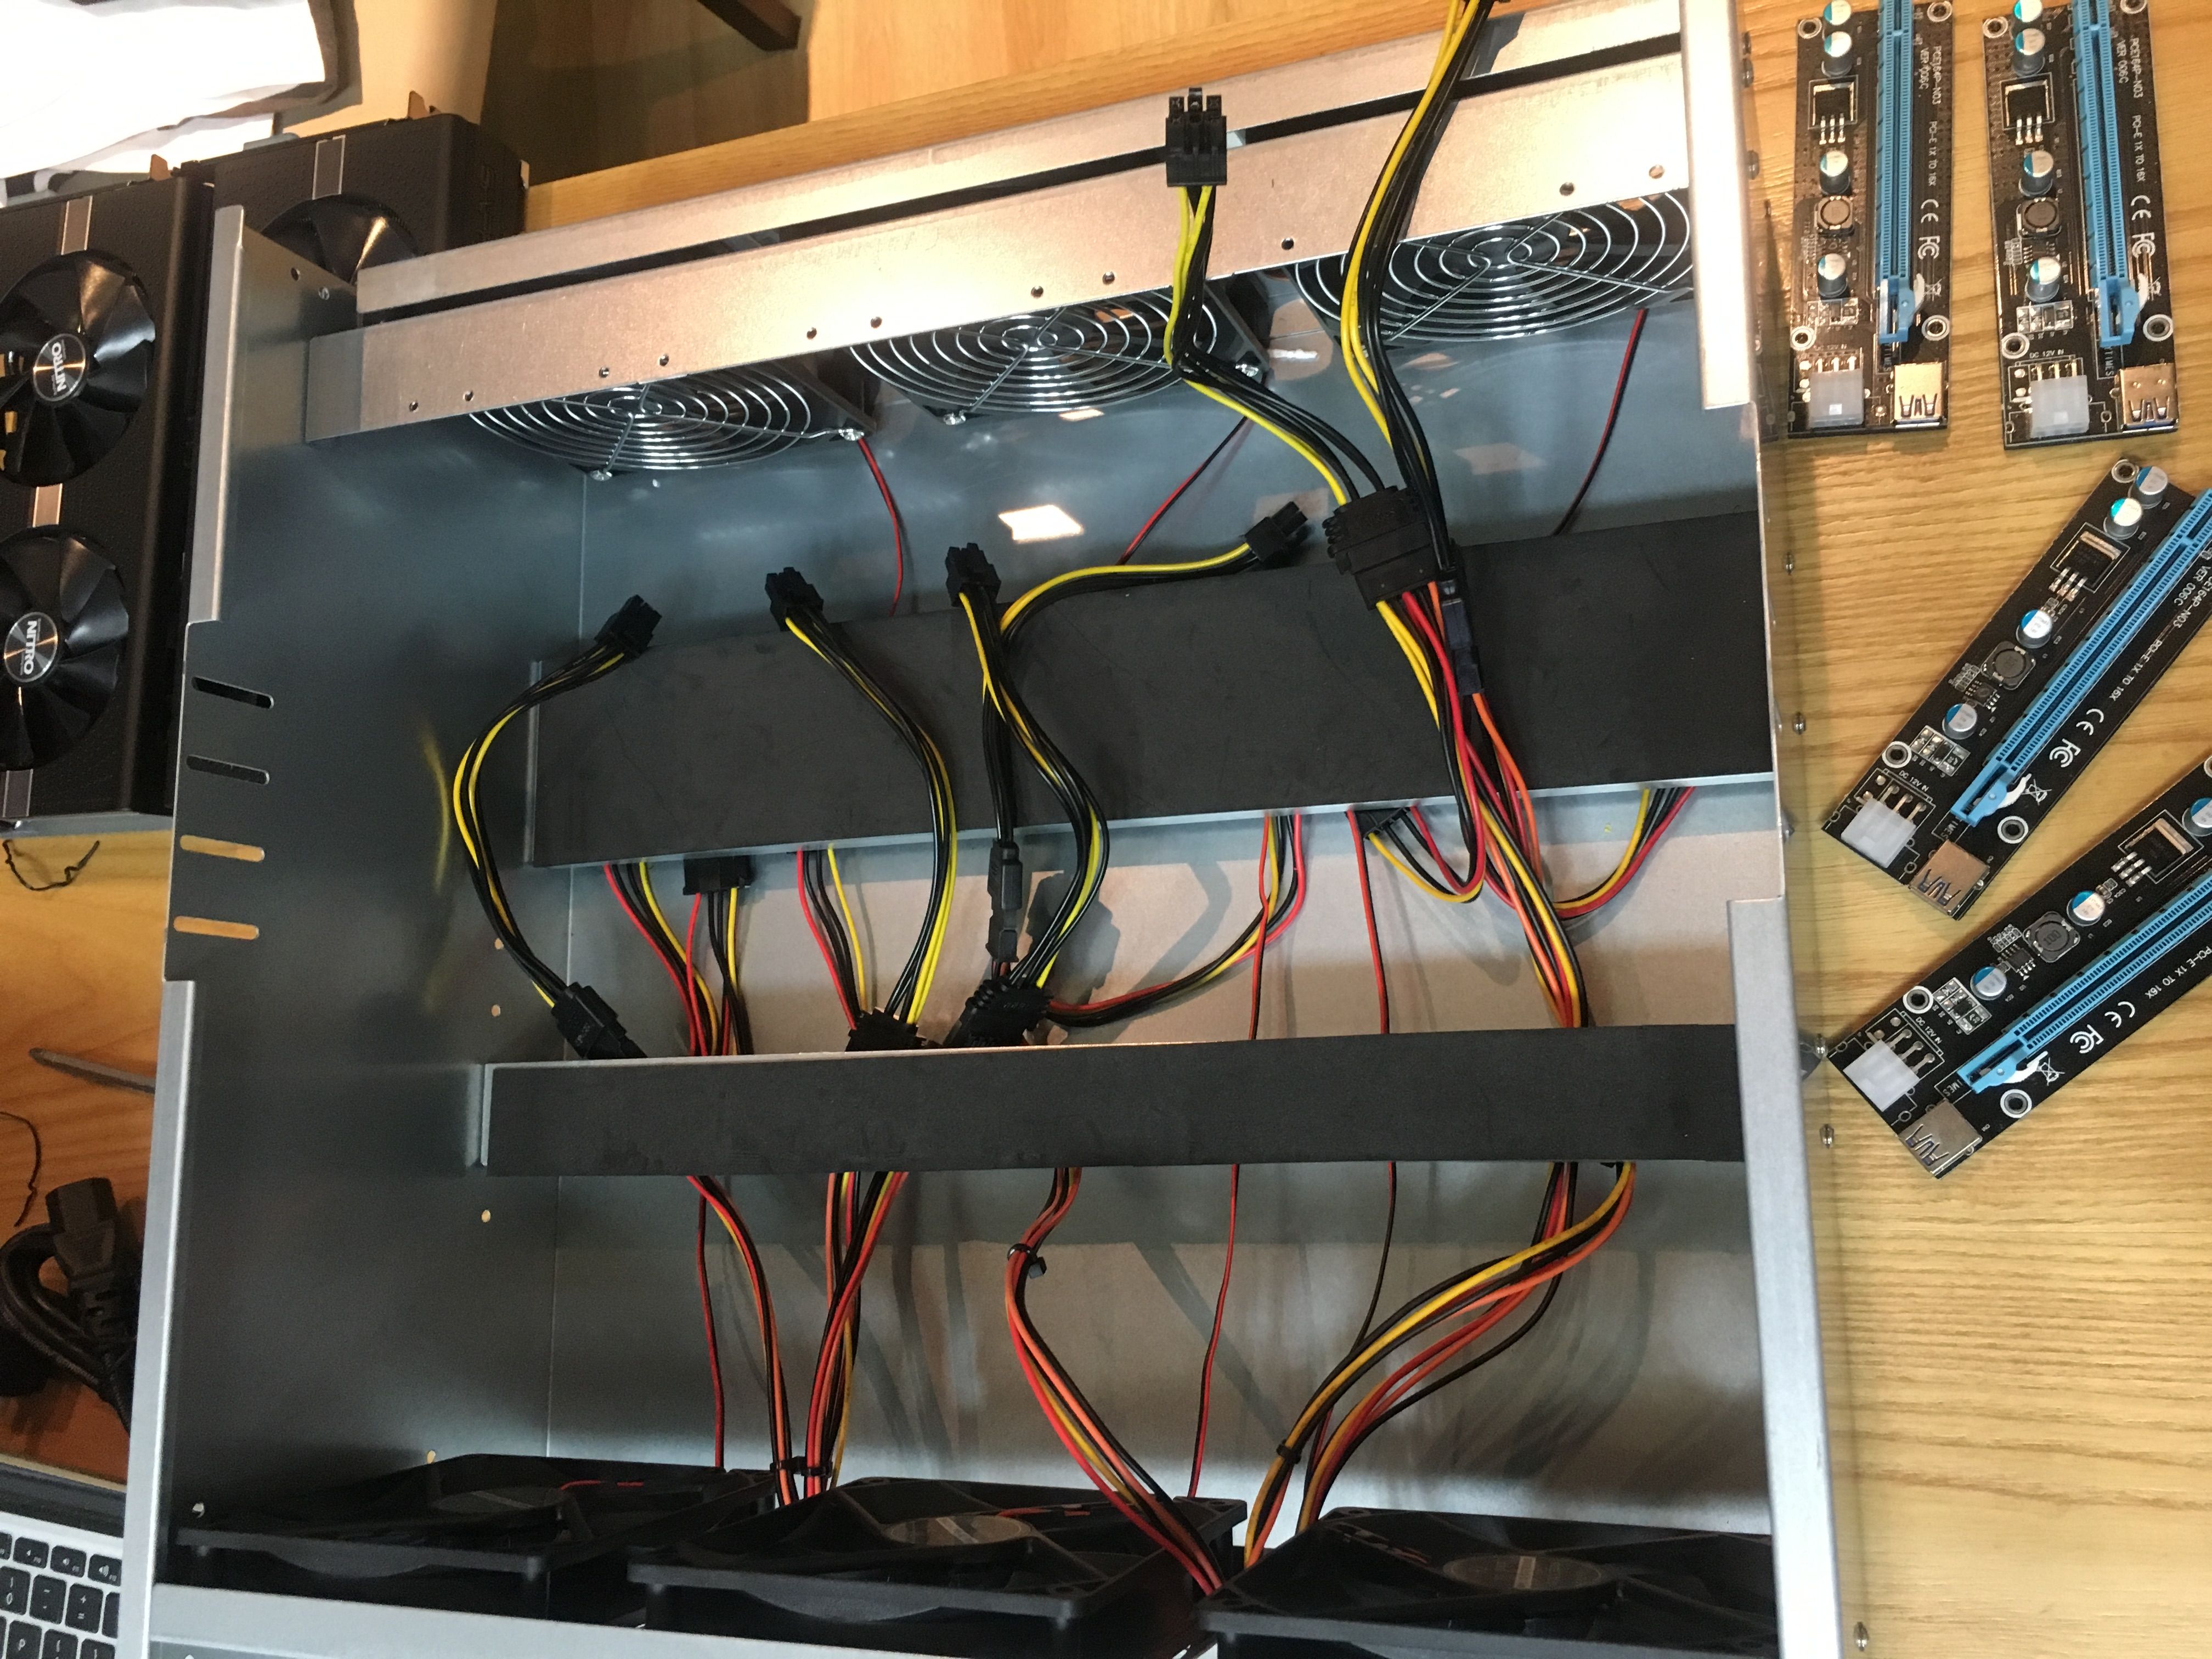
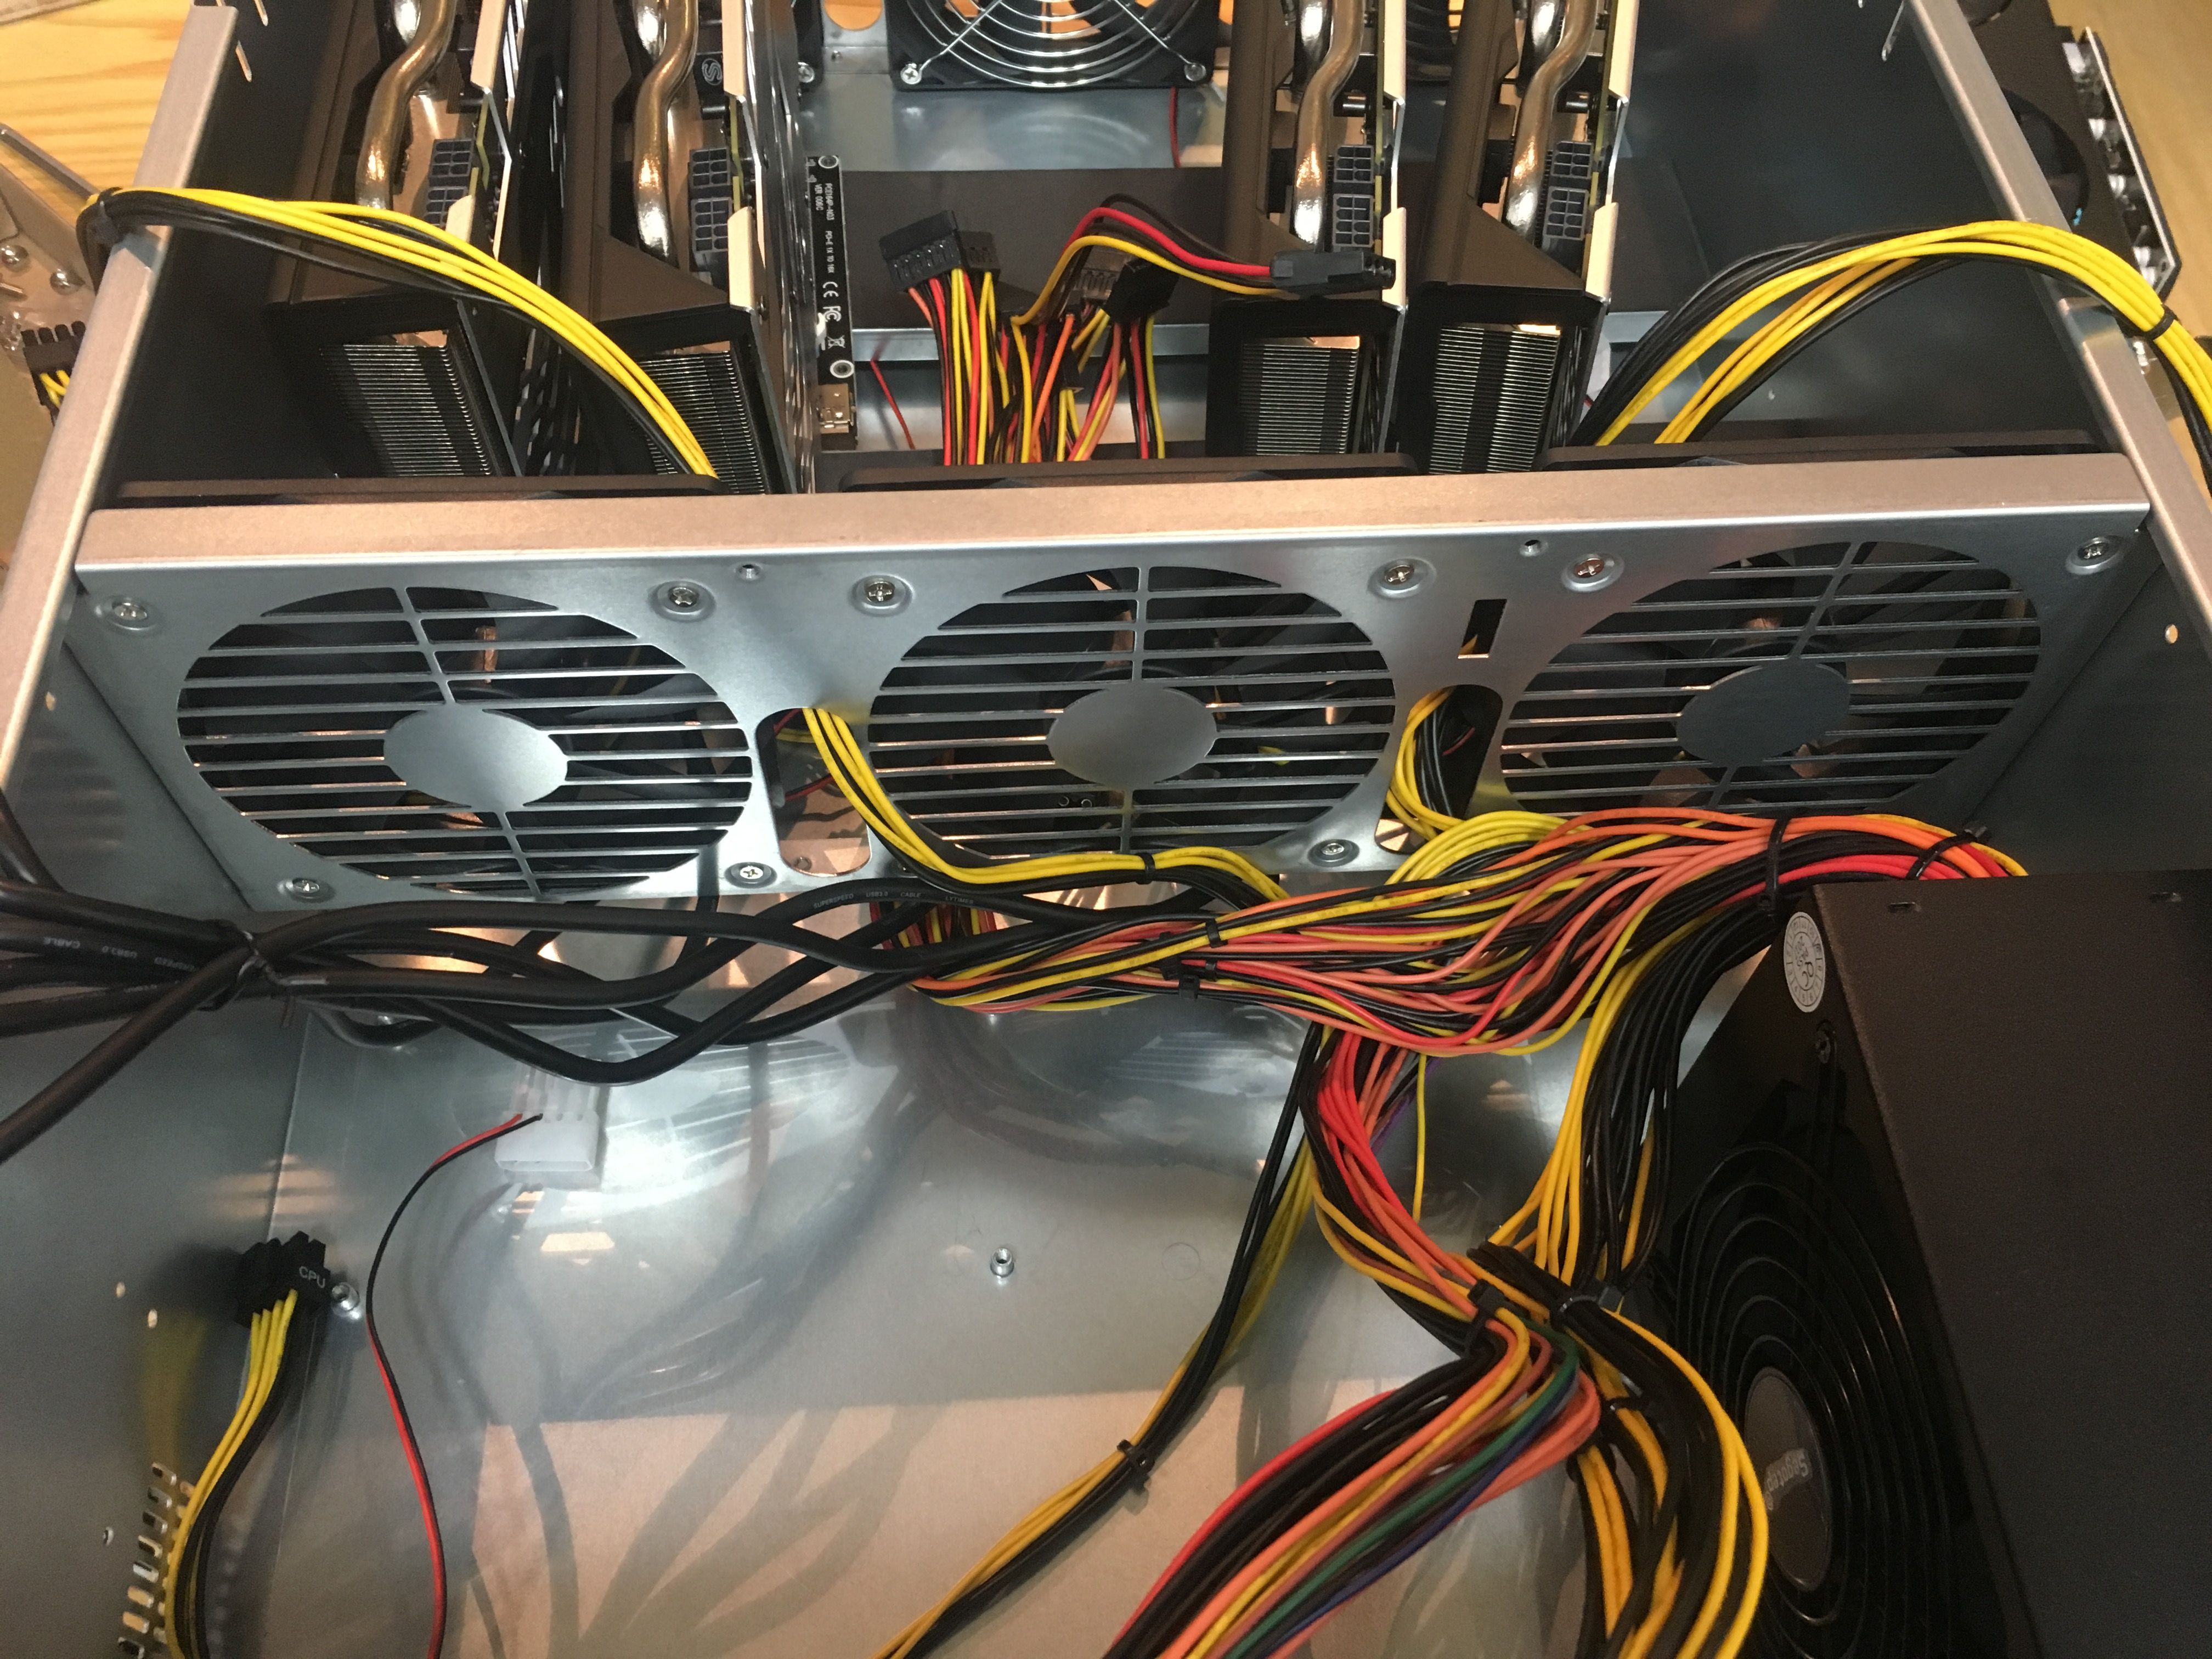
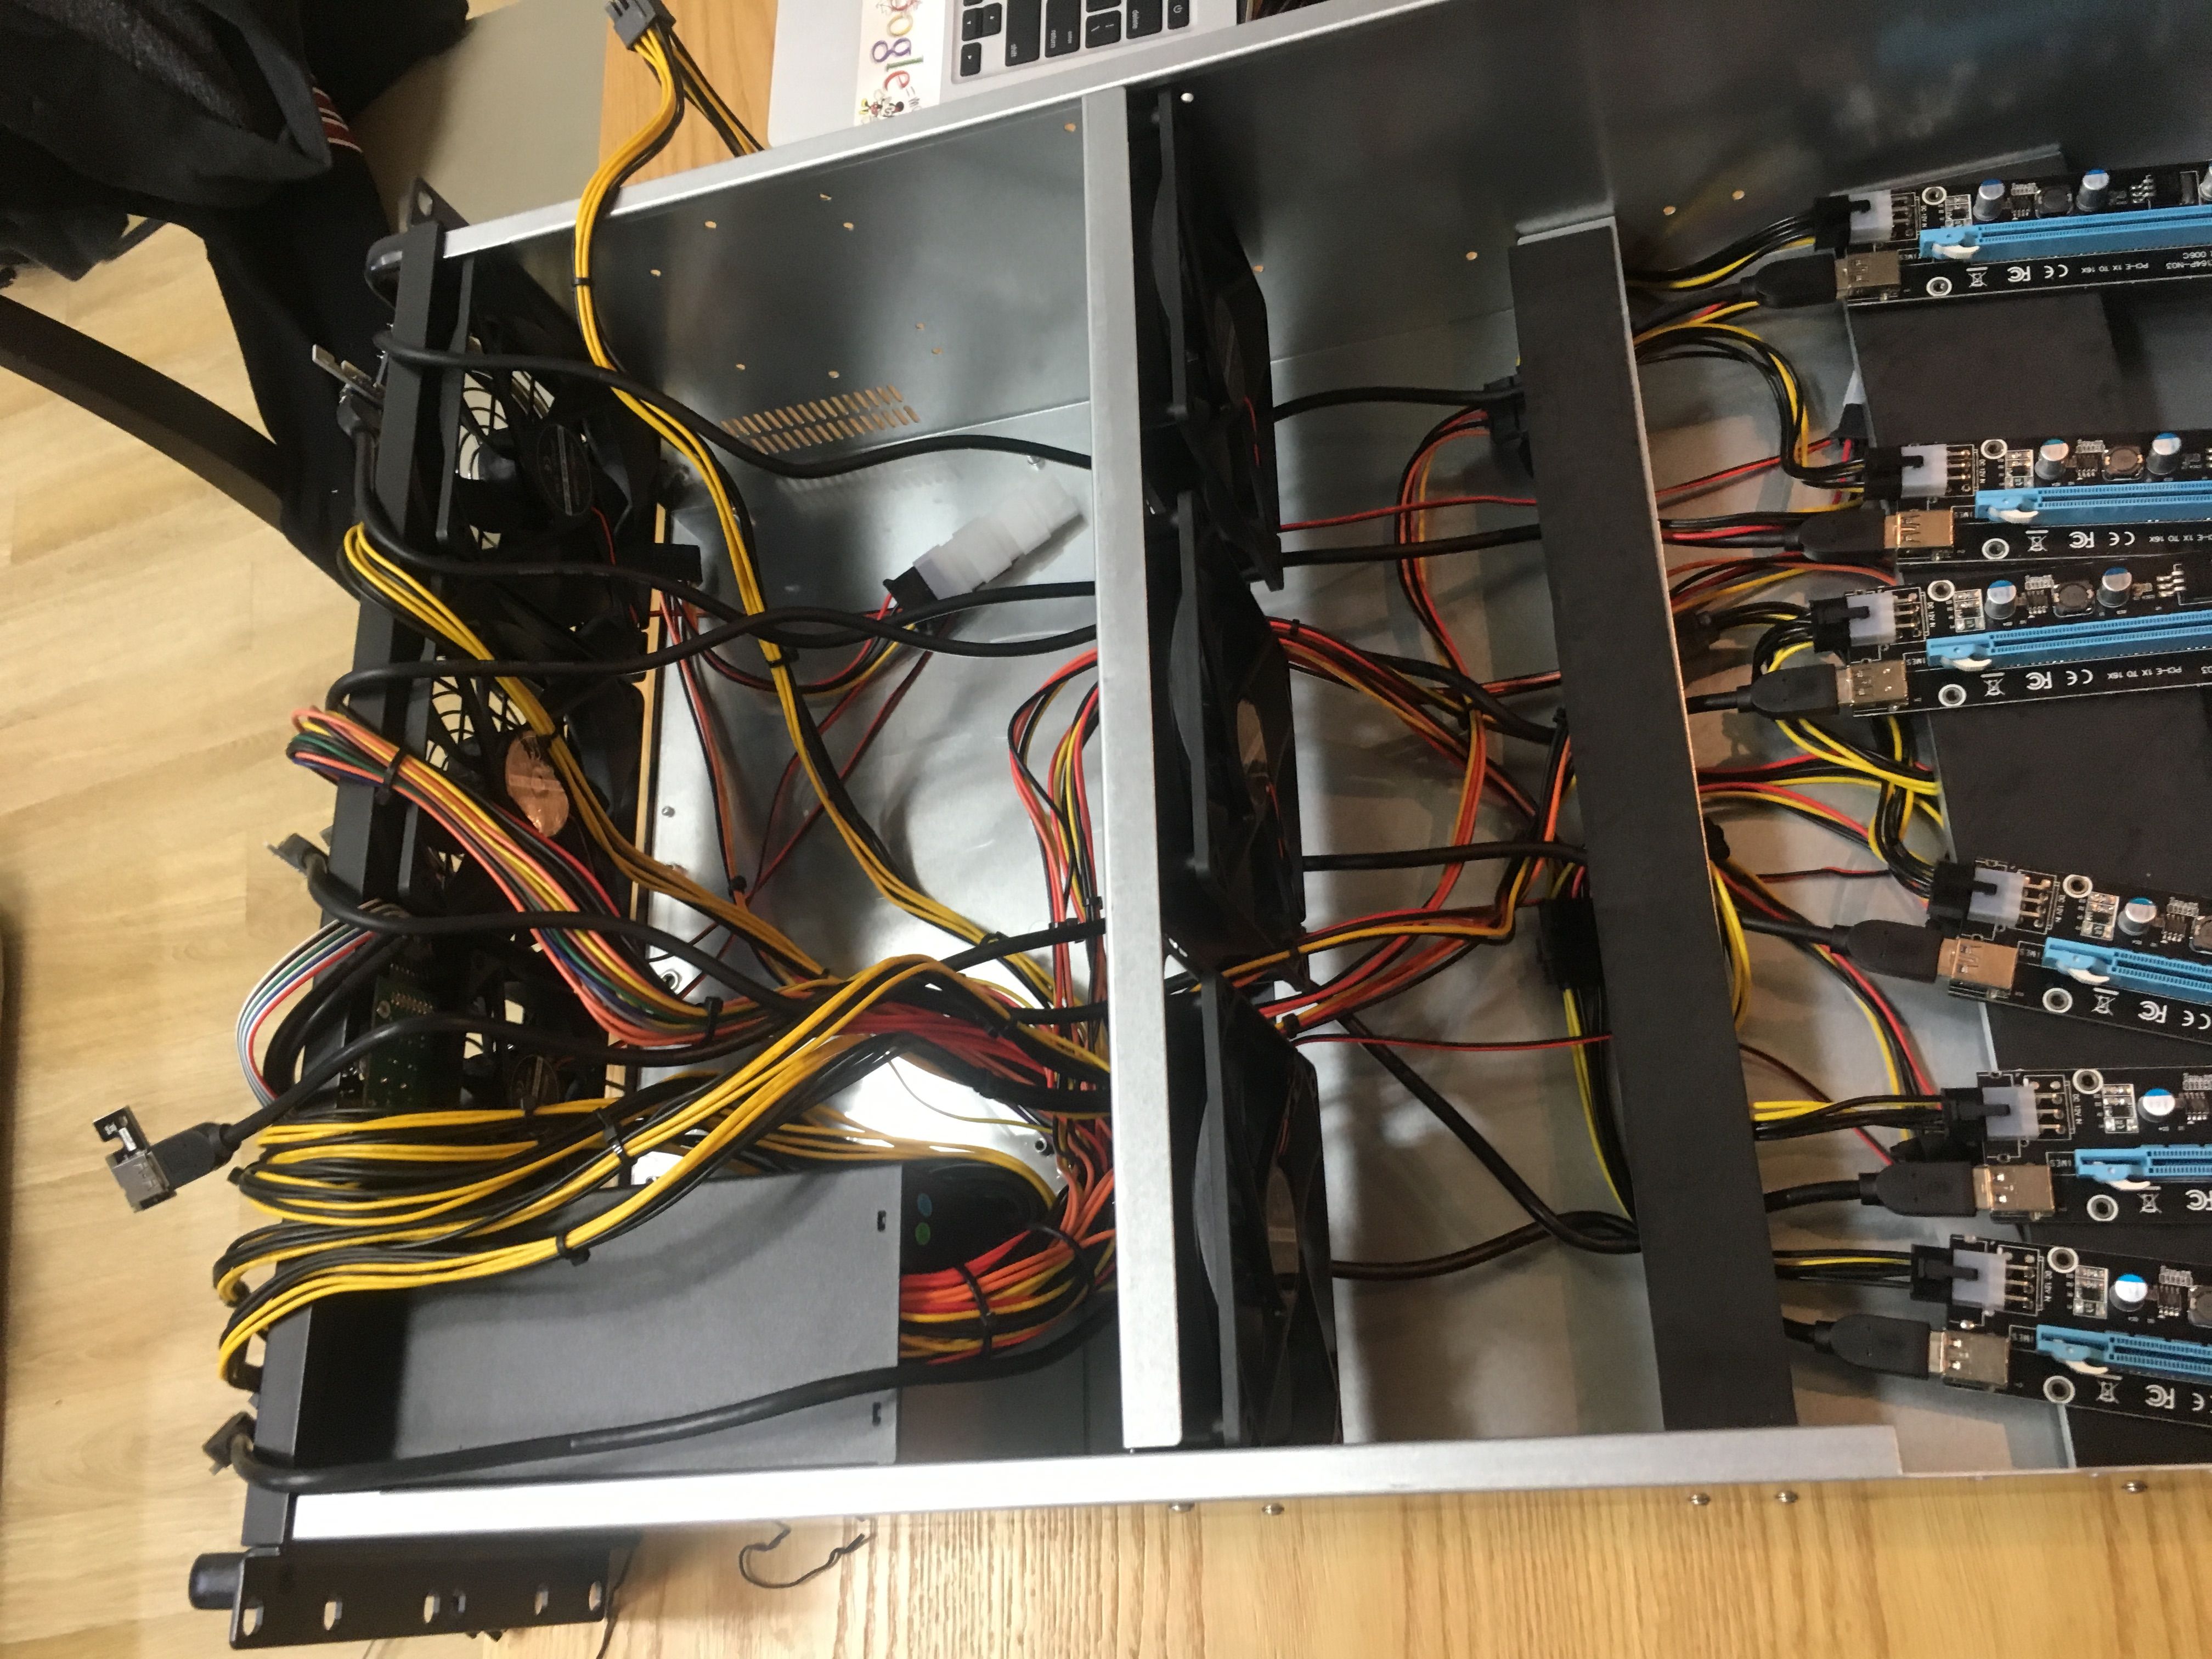
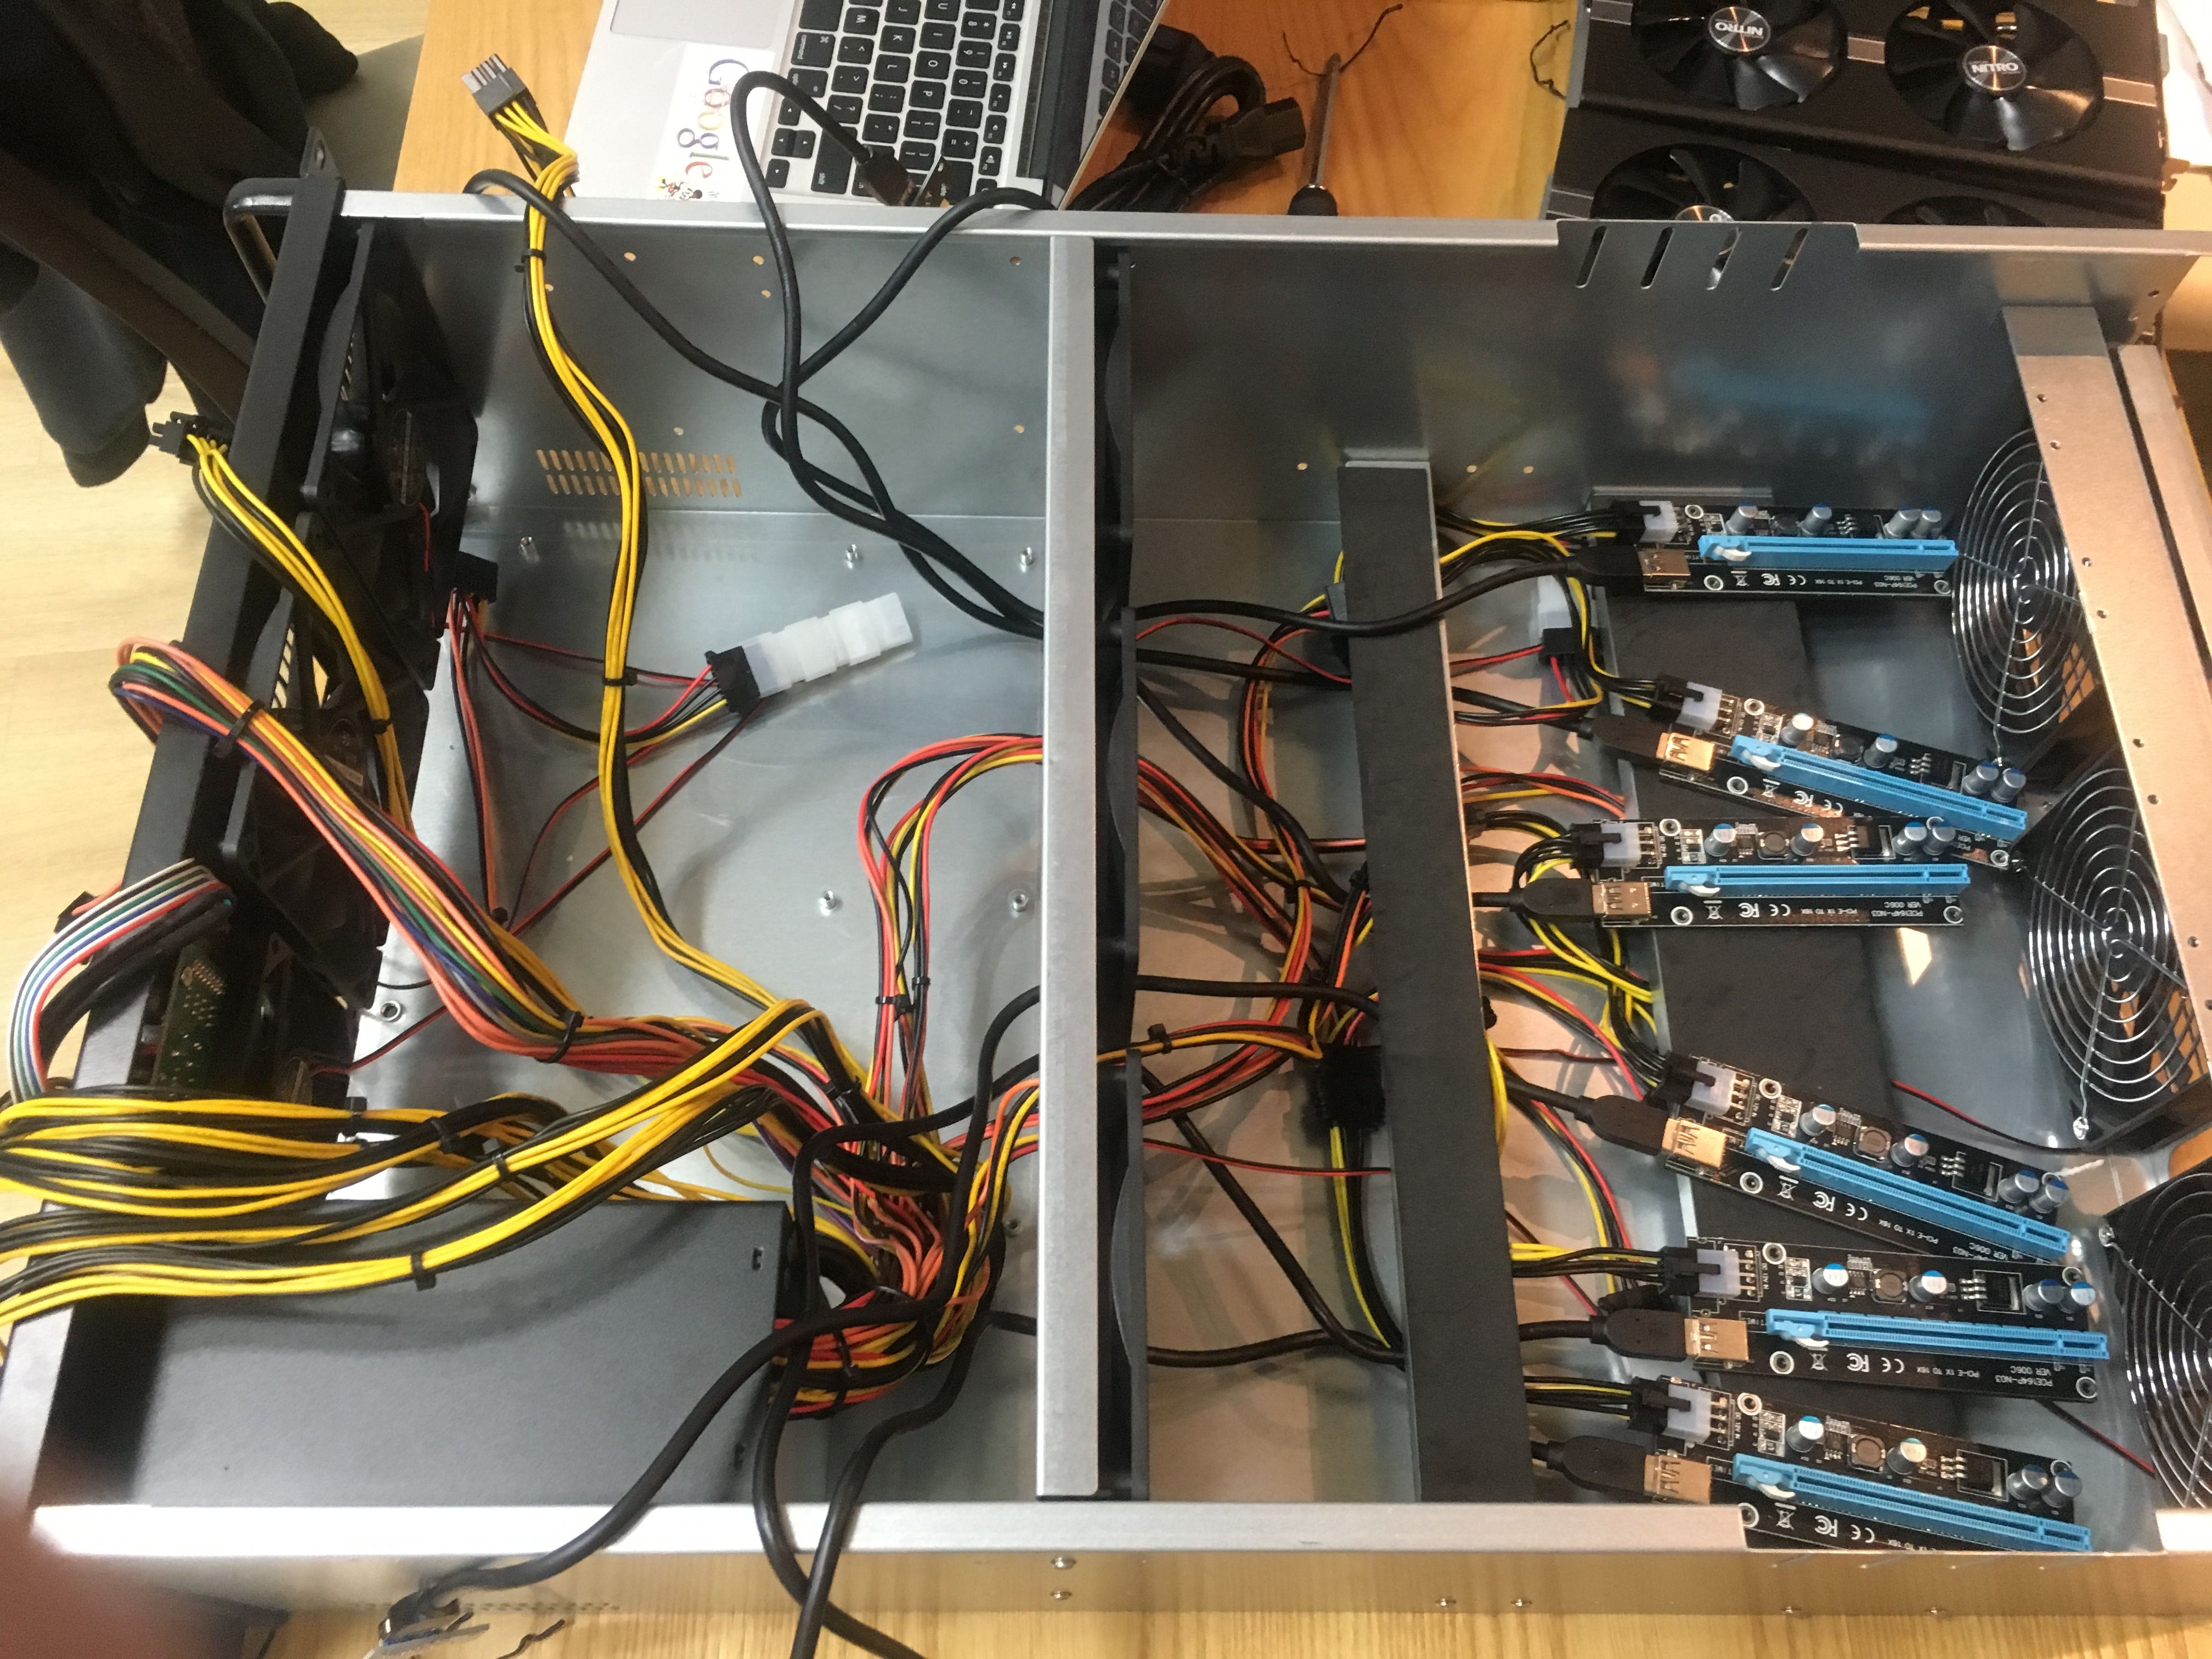
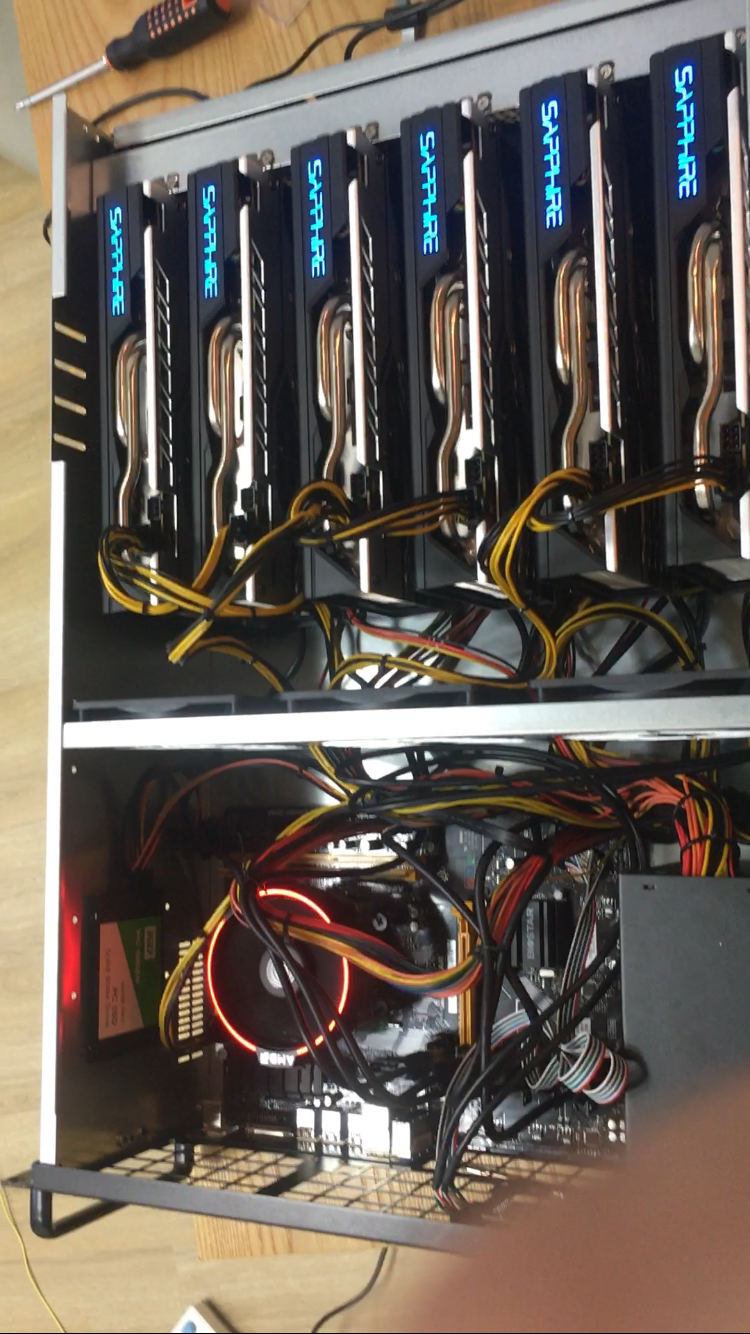
Only job left is to place CPU and 6GPU into the 4u case. for the example, I will attach images of placing board, GPU, power cable.
This is it. Thank you for your time. And If you guys plan to build one like this, good luck!!
HDMI 케이블을 모니터와 GPU에 연결하면, 올바르게 부팅된다면, 이전까지의 작업이 모두 올바르게 완료된것입니다.
이제 나머지 현재 연결된 하나의 GPU를 포함한 나머지 5개의 GPU, 마더보드, 파워케이블을 올바르게 연결하면 채굴기 조립이 끝납니다.
아래는 제가 직접 시행착오 과정에서 촬영한 사진들 입니다.
이것으로 첫 채굴기 조립기를 마치겠습니다. 감사드립니다~!!!
Cheer Up! 음~? 흥미로운 포스팅이군요.
재미있네요. 불 들어온 게 굉장히 예쁘네요. ㅎㅎ
What does this equitment cost?
Its about 2,500 -2,600 in USD.
Thank you 🙏🏼
좋은 글 잘읽었어요
수고하셨습니다 ㅎㅎ멋지네요