Deadlock Cheat First-Session Checklist 2026
After Installing a Deadlock Cheat: What I Would Test in the First 60 Minutes
Most Deadlock installation guides stop at the exact moment the interesting part begins. The loader opens, the client launches, the menu appears, and the guide essentially says “done.” In reality, the first hour after installation tells you far more about a private product than the download process itself.
Deadlock is a good stress test for third-party software because the game is visually busy, movement is fast and the number of possible on-screen entities is much higher than in a traditional round-based shooter. A client can look polished in a screenshot and still feel confusing once several heroes, effects and world elements appear at the same time.
If I had one hour to decide whether a Deadlock cheat was worth keeping, I would test it in a strict order instead of opening every tab at random. That keeps the evaluation focused on product quality rather than the novelty of a new menu.
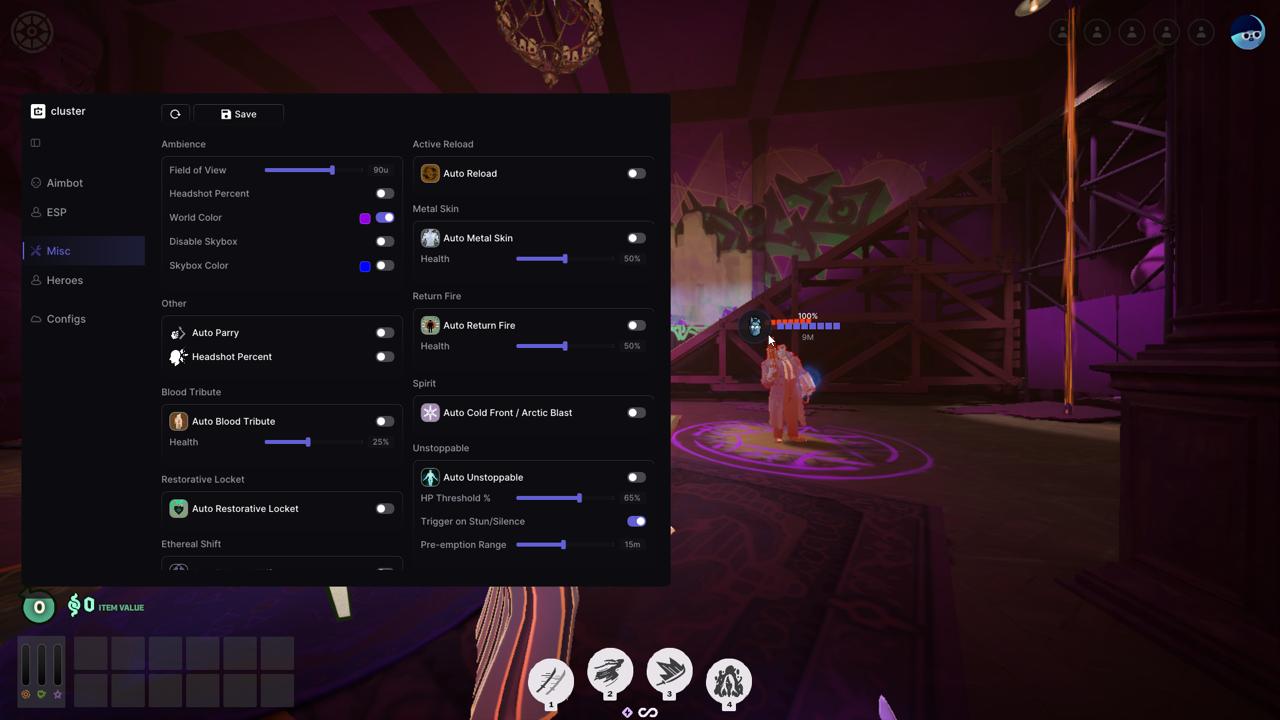
Minute 0–10: the launcher and account workflow
The first test has nothing to do with Aim or ESP. I want to know whether the basic product workflow feels mature.
A good launcher should answer simple questions immediately. Am I signed into the correct account? Is my access active? Is the current Deadlock build online? Does the launcher clearly show whether the product is available, updating or under maintenance?
This matters because the launcher is not a one-time installer. Deadlock changes regularly, so the launcher becomes the place where users receive current builds and product-status information. If the startup process already feels confusing on day one, that friction tends to become more annoying after the next game patch.
Minute 10–15: save a clean baseline before touching anything
One of the easiest mistakes is to start changing settings before creating a clean config. Ten minutes later you may have modified Aim, visuals, colors, target filters and keybinds without remembering the original state.
I prefer a simple three-profile structure: Clean for the baseline, Main for everyday use and Test for experiments. That setup makes troubleshooting much easier because loading Clean immediately tells you whether a strange behavior is connected to your personal profile or the current client build.
Minute 15–25: evaluate Aim as a system, not a checkbox
“Aimbot included” says almost nothing about quality. The useful questions are whether the controls make sense and whether the behavior changes predictably when you adjust them.
I would start with a small group of settings:
- FOV;
- smoothing;
- target priority;
- visibility conditions;
- distance limits;
- activation mode.
The goal is not to create the strongest possible profile. The goal is to see whether one setting produces one understandable result. If FOV changes target selection in a predictable way and smoothing behaves consistently, that is a strong sign that the Aim system was designed as a real configuration tool rather than a collection of disconnected sliders.
Minute 25–35: build the smallest ESP profile possible
Deadlock already has a lot happening on screen. Turning on every ESP option immediately makes it almost impossible to judge the quality of the visual system.
I would start with only a few elements:
- player or hero marker;
- health;
- distance;
- visibility state;
- one clean outline or box.
Then I would play for several minutes and add information only when I can explain why I need it. A strong ESP system should become more useful as you simplify it, not less useful.
Minute 35–40: test distance and visual priority
Distance filtering is one of those features that sounds minor until you use it in a large environment. Detailed information can be valuable at close range and completely unnecessary on the far side of the map.
If the client supports distance-based filtering or fading, I would test it early. Nearby targets can keep full information while distant entities use a reduced visual style, making the screen calmer and easier to read.
Minute 40–45: test keybind logic
Large menus become irritating when every feature needs a different random key. A good first setup should use only a few binds that are easy to remember.
For example, I would keep the menu key, one Aim activation mode if required, one visual toggle and perhaps one or two utility binds. Everything else can remain inside the config until there is a reason to access it quickly.
Minute 45–50: restart and reload the config
This is one of the simplest tests and one of the most useful. Save the Main profile, close the client, reopen it and load the config again.
Check whether Aim settings, visual filters, keybinds and UI preferences return correctly. A config system that only works during the first session is not a config system you can trust, and persistence has a huge impact on long-term usability.
Minute 50–55: check the current update model
Now look beyond the in-game menu. Does the project communicate current build status clearly? Is there an obvious version flow? Does the launcher appear to be the central source for the supported build?
A private cheat is ongoing software, not a finished one-time download. The quality of the update process becomes especially important in a game that receives frequent patches.
This is why a setup article is most useful when it explains the official account and launcher workflow. A walkthrough such as this guide on how to install Deadlock cheats and hacks for free gives users the installation side of the process; the first-session checklist is what tells them whether the client is actually worth using.
Minute 55–60: decide whether the client feels easy, not impressive
The final test is deliberately subjective. Does the software feel easier to understand now than it did at the start of the hour?
Good software becomes quieter with familiarity. You stop thinking about the launcher, stop searching for the same settings and stop worrying whether the config saved. Bad software does the opposite: the longer you use it, the more small sources of friction appear.
What I would ignore during the first hour
Some features are interesting but poor evaluation tools. Menu themes, cosmetic effects and highly specialized utility options can wait until the core experience is understood.
The first session should answer whether the product has a reliable foundation:
| Area | What I want to know |
|---|---|
| Launcher | Is the supported build easy to access? |
| Aim | Do settings behave predictably? |
| ESP | Can the screen stay clean? |
| Configs | Do profiles save and reload? |
| Keybinds | Is the control scheme easy to remember? |
| Updates | Is current status obvious? |
| Performance | Does the client remain responsive? |
Once those categories are strong, the rest of the feature set becomes easier to evaluate. At that point, secondary functions can be tested without losing the clean baseline.
Why the installation article still matters after launch
A good installation guide should not only help users get to the menu. It should also make clear which parts of the workflow are official and current: account creation, launcher access, product status and the supported build.
That is why I would revisit the Deadlock cheat installation walkthrough after the first successful launch. Installation gets you into the client; understanding the workflow helps you know what to check again after the next update.
What about “undetected” claims?
Security status in this market is time-sensitive. A current undetected status can be a useful data point, especially when it is paired with private distribution and active maintenance, but it should be understood as information about the current supported build.
For a buyer, the stronger long-term signal is whether the project updates quickly, communicates status clearly and maintains a consistent release process. Those are things you can observe repeatedly.
Common first-session mistakes
Enabling everything at once
You learn less because you cannot isolate individual features. Add one category at a time and keep the baseline intact.
Building the perfect config immediately
A first session is for understanding the system. Refinement comes later, once the client feels predictable.
Ignoring the restart test
A beautiful profile is useless if it does not persist correctly. Reloading it once is one of the cheapest quality checks you can perform.
Judging only by screenshots
Static images cannot show overlay stability, menu speed or config behavior. Real movement and a normal session reveal much more.
FAQ
What should I test first after installing a Deadlock cheat?
Start with the launcher, a clean config, basic Aim and minimal ESP. Those areas reveal most of the product’s core quality.
Should I enable all ESP options during a trial?
No. Start with a minimal layout and add information gradually so each layer has a clear purpose.
Why test config persistence so early?
Profiles become central to daily use, and a broken save/load workflow is frustrating regardless of the feature list. That is why persistence belongs in the first-session checklist rather than being treated as an afterthought.
How important are updates?
Very important. Deadlock changes over time, so the product needs an active maintenance process and a clear current status.
Final thoughts
Installing a Deadlock cheat is only the first checkpoint. The real evaluation starts when the menu opens and you begin asking whether the software is predictable, readable and easy to maintain.
A strong private client should pass a surprisingly boring test: clean launcher, simple configs, understandable Aim, readable ESP and a clear update process. If those pieces feel polished after the first hour, the product has a foundation worth exploring further.