Maya Render Test - Chess Set
My first complete project utilizing Maya and Arnold Renderer (2017). This chess set was a project for my 3D design and was the first completely rendered piece utilizing the Arnold Render as well as hypershade for basic textures.
The chess set may look like it is floating however I can assure you that it was part of the design layout that I had used as the base itself sits on a plane as my original design layout felt too bulky and overall was visually offensive XD
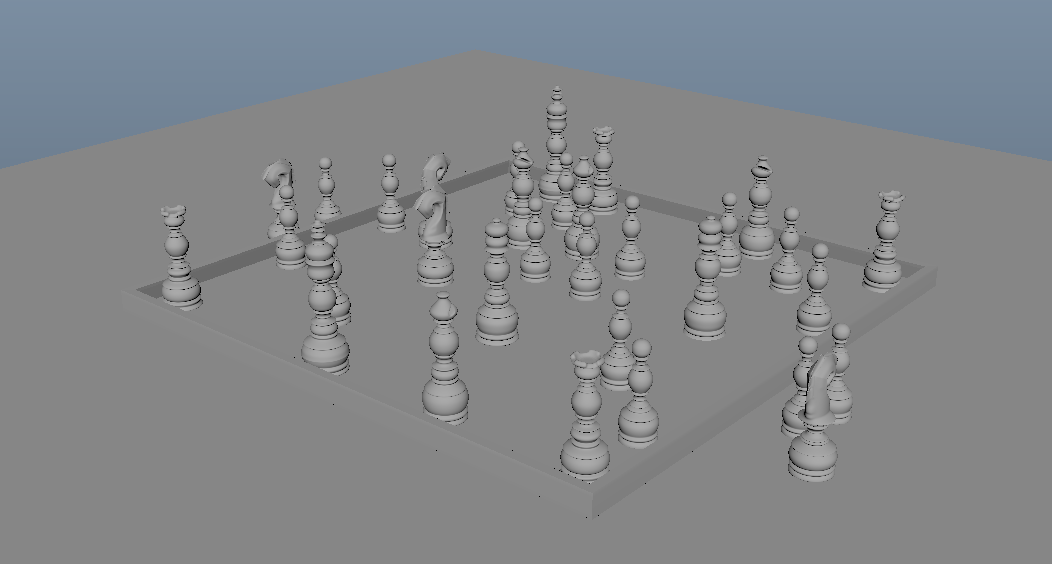
Firstly I was requested to do a basic layout of a chess set before attempting to mold the pieces. This helped give a sense of play and as you can see it was able to help simply visualise the placement of the chess pieces.
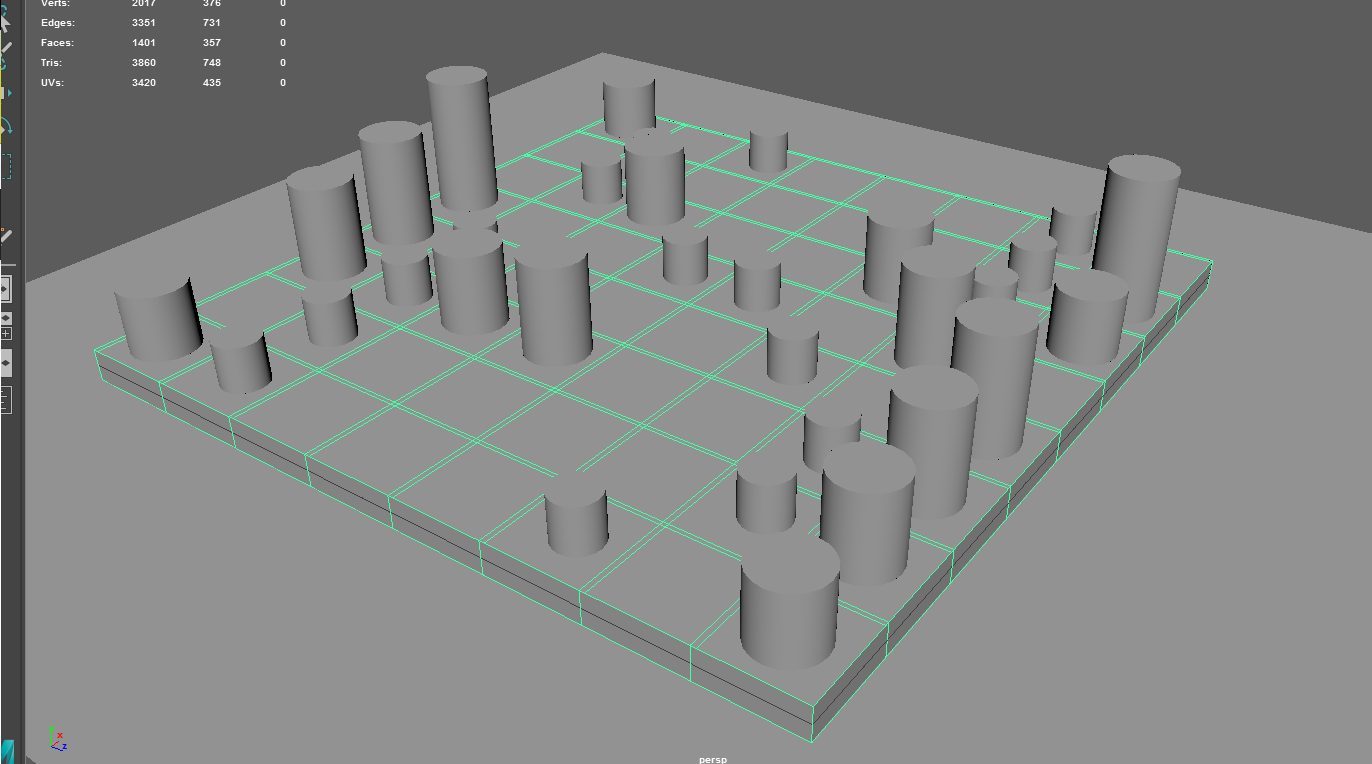
This would then be re-organized as I wanted the game to feel like it was in full swing with pieces having been taken off the field. The grey box layout was thus changed.
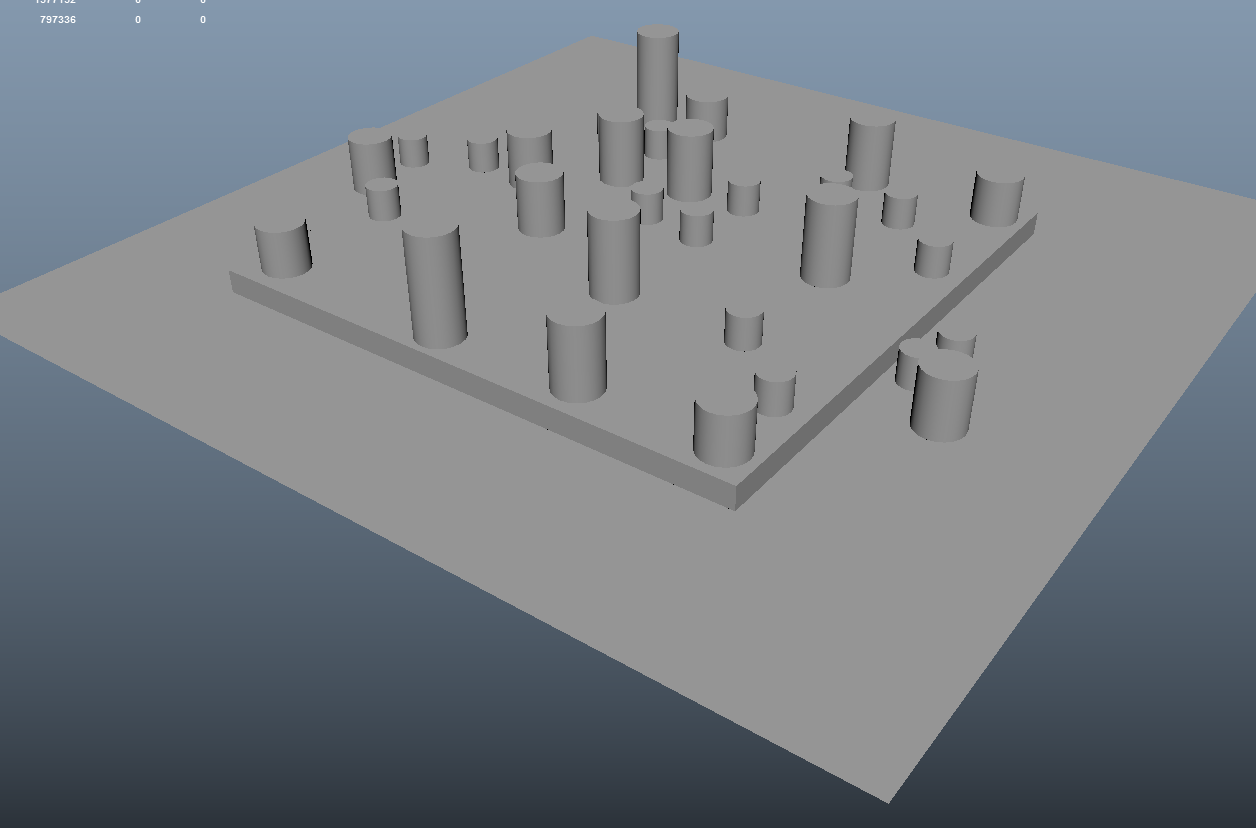
From this I then begane sorting my chess pieces to fit within the placement of the layout I had preset. The photos may get a little confusing at this point but I will explain as I go.
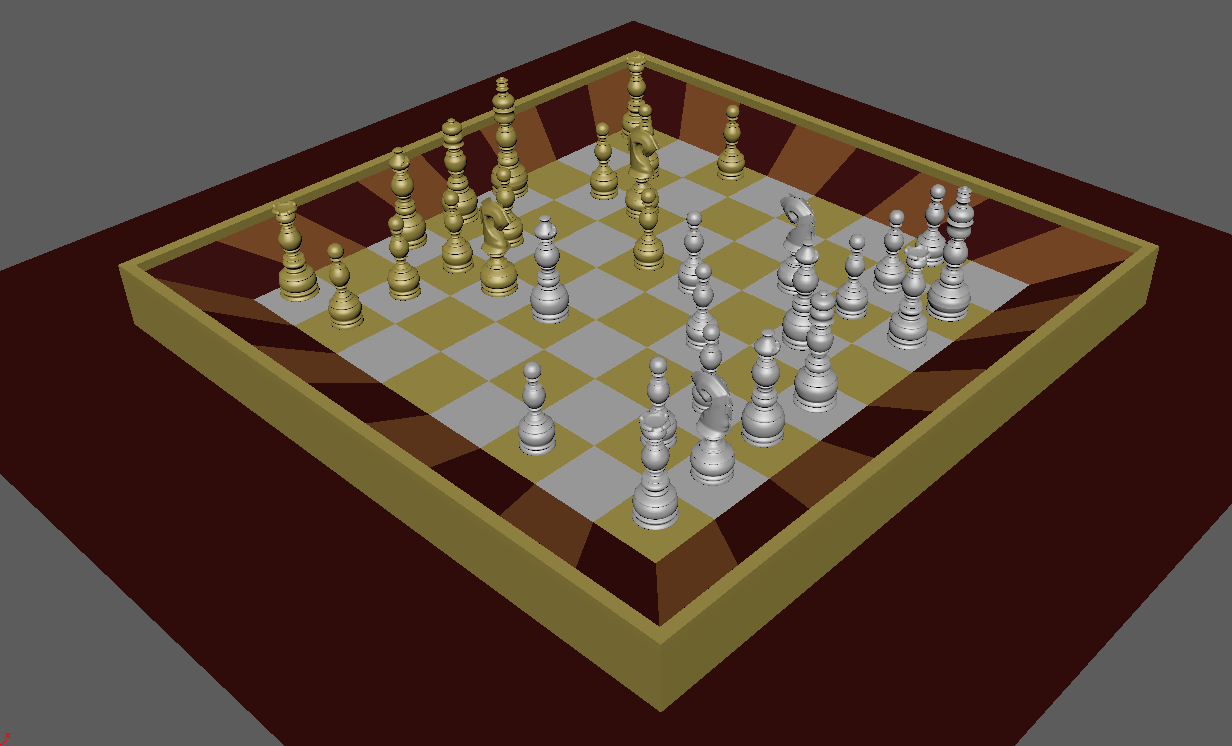
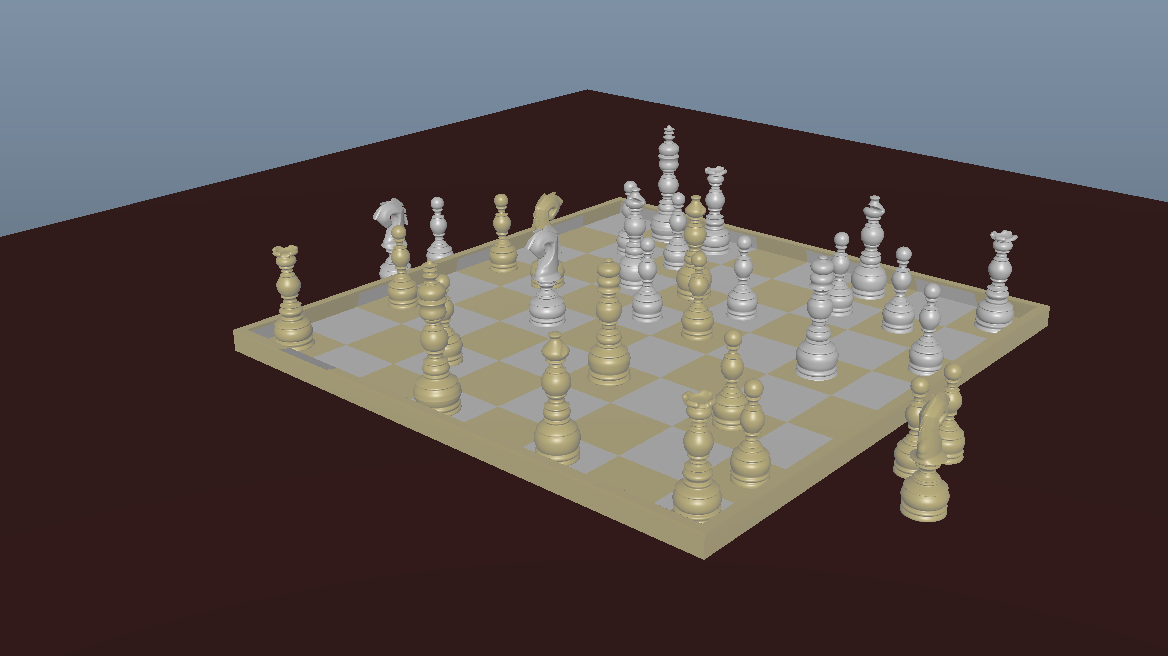
The picture below is the original layout with all pieces on the board - the focus was to ensure the game was in motion but it felt to cluttered. The actual chess pieces themselves were designed from a simple google picture but I took creative liberties with the final designs as I wanted to have a consistent theme (and knights are far more complex than I had anticipated).
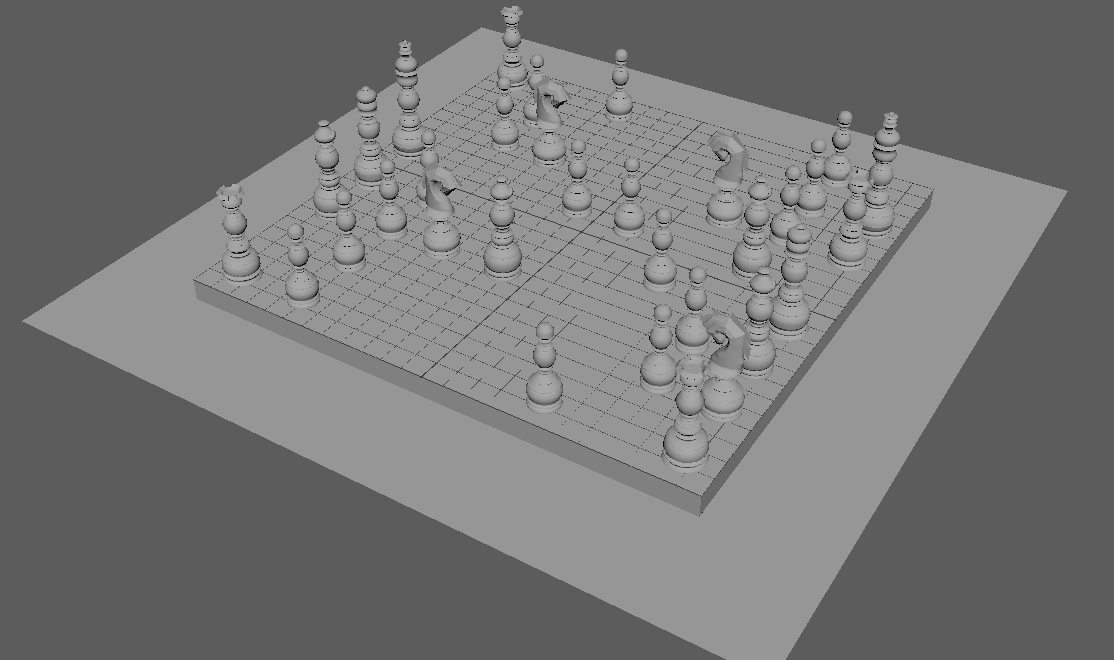
As you might also see, the chess board was to busy. Much of the layout felt cramped and I was over complicating the visual experience by adding too much to the scene. I would go on with this visual for some time before being frustrated with the view and arranging the board slightly differently. However, before doing so I applied basic shaders using Hypershade (a Maya plugin that allows for texture manipulation), as well as sort a chess board (this board would not be incorporated into the final design).
As any designer might agree with me on this, the board was bulky, looked like something out of a cheap casino environment and overall just took too much unwanted attention away from the pieces in play. I struggled to identify this issue though as I was so sold on the idea of utilizing wood as well as reflective textures (in this case I was feeling rich so wanted gold and platinum), that I couldn't see the issue. I went on to test a 3-point lighting (utilizing Arnold as was the specs required for the project) and still couldn't achieve a nice visual.
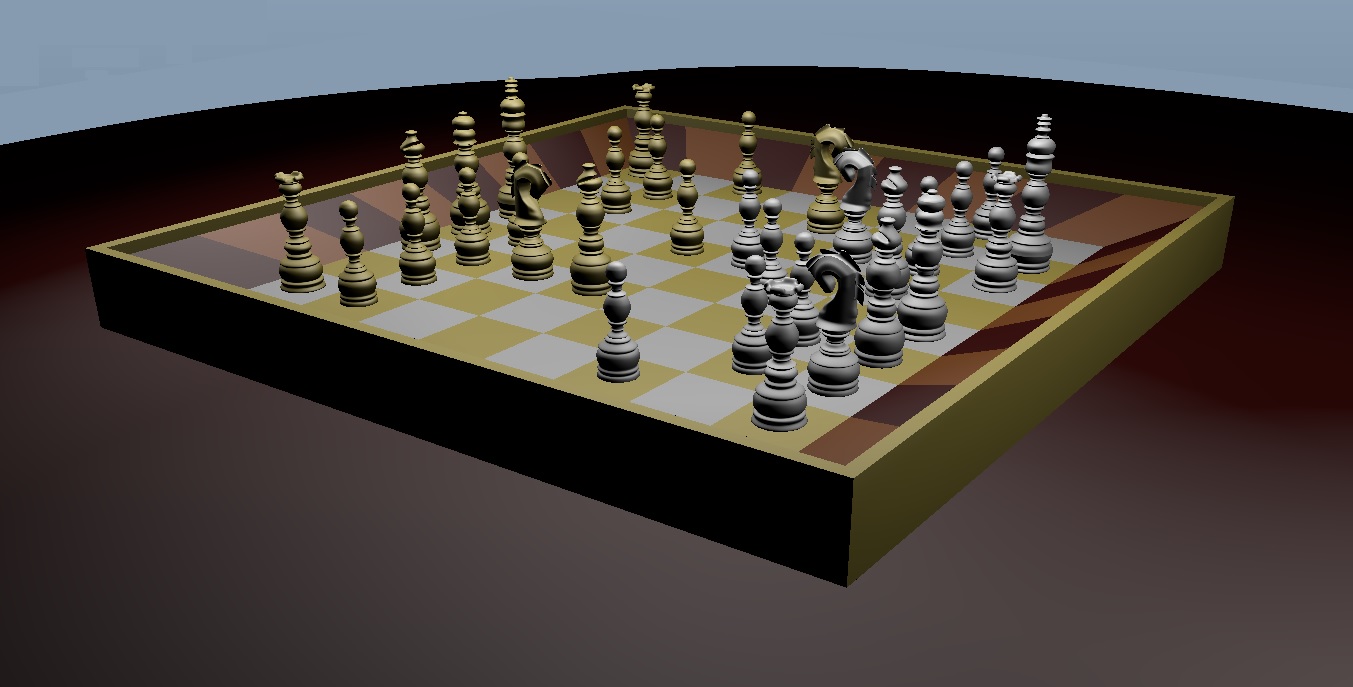
My final render for this was abysmal. I felt it looked cheap and lacked any refined elements so I went back to my design references and reset my chess piece layout (the second picture with pieces having been claimed from the board). The image looked washed out and also my anti-aliasing as well as my shadow/ lighting levels were set too low showing way to much noise in the final piece.
This second attempt improved all of my workflow and gave me a much cleaner design layout.
I then began the arduous process of cleaning up my textures (specularity - the refractive nature of the textures, being one of my more unskilled areas) and removed reflective tones on the board as much of the pieces started to look like they were "ghosting" the environment. Blinns were used at this point as I was informed that only those basic texture elements were required. This changed my understanding of the view also as the 3D geometry began to look far brighter than when I had used another texture known as Phong-E.
This plus the 3 Point lighting really had me worried but through careful manipulation and sizing of the lights I was honestly shocked to see such a superior transformation in my final renders.
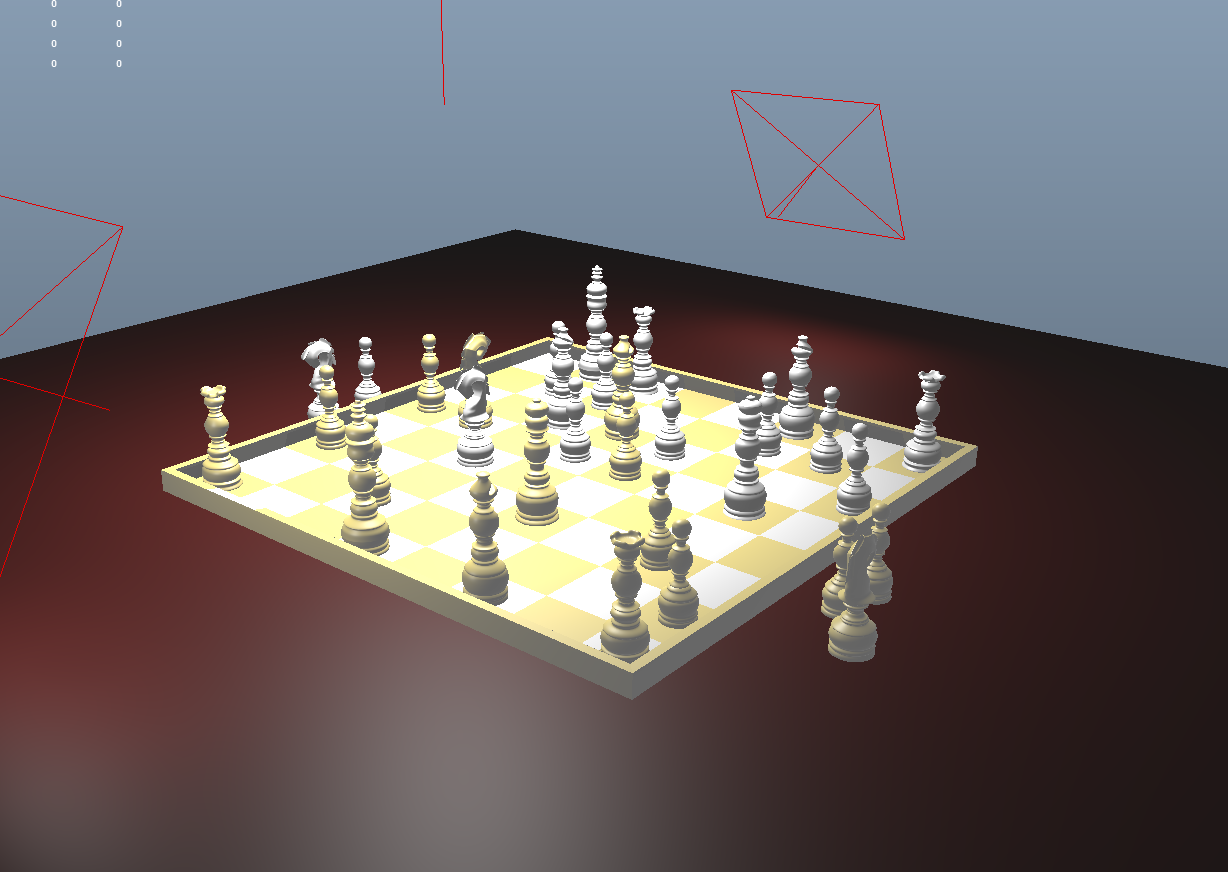
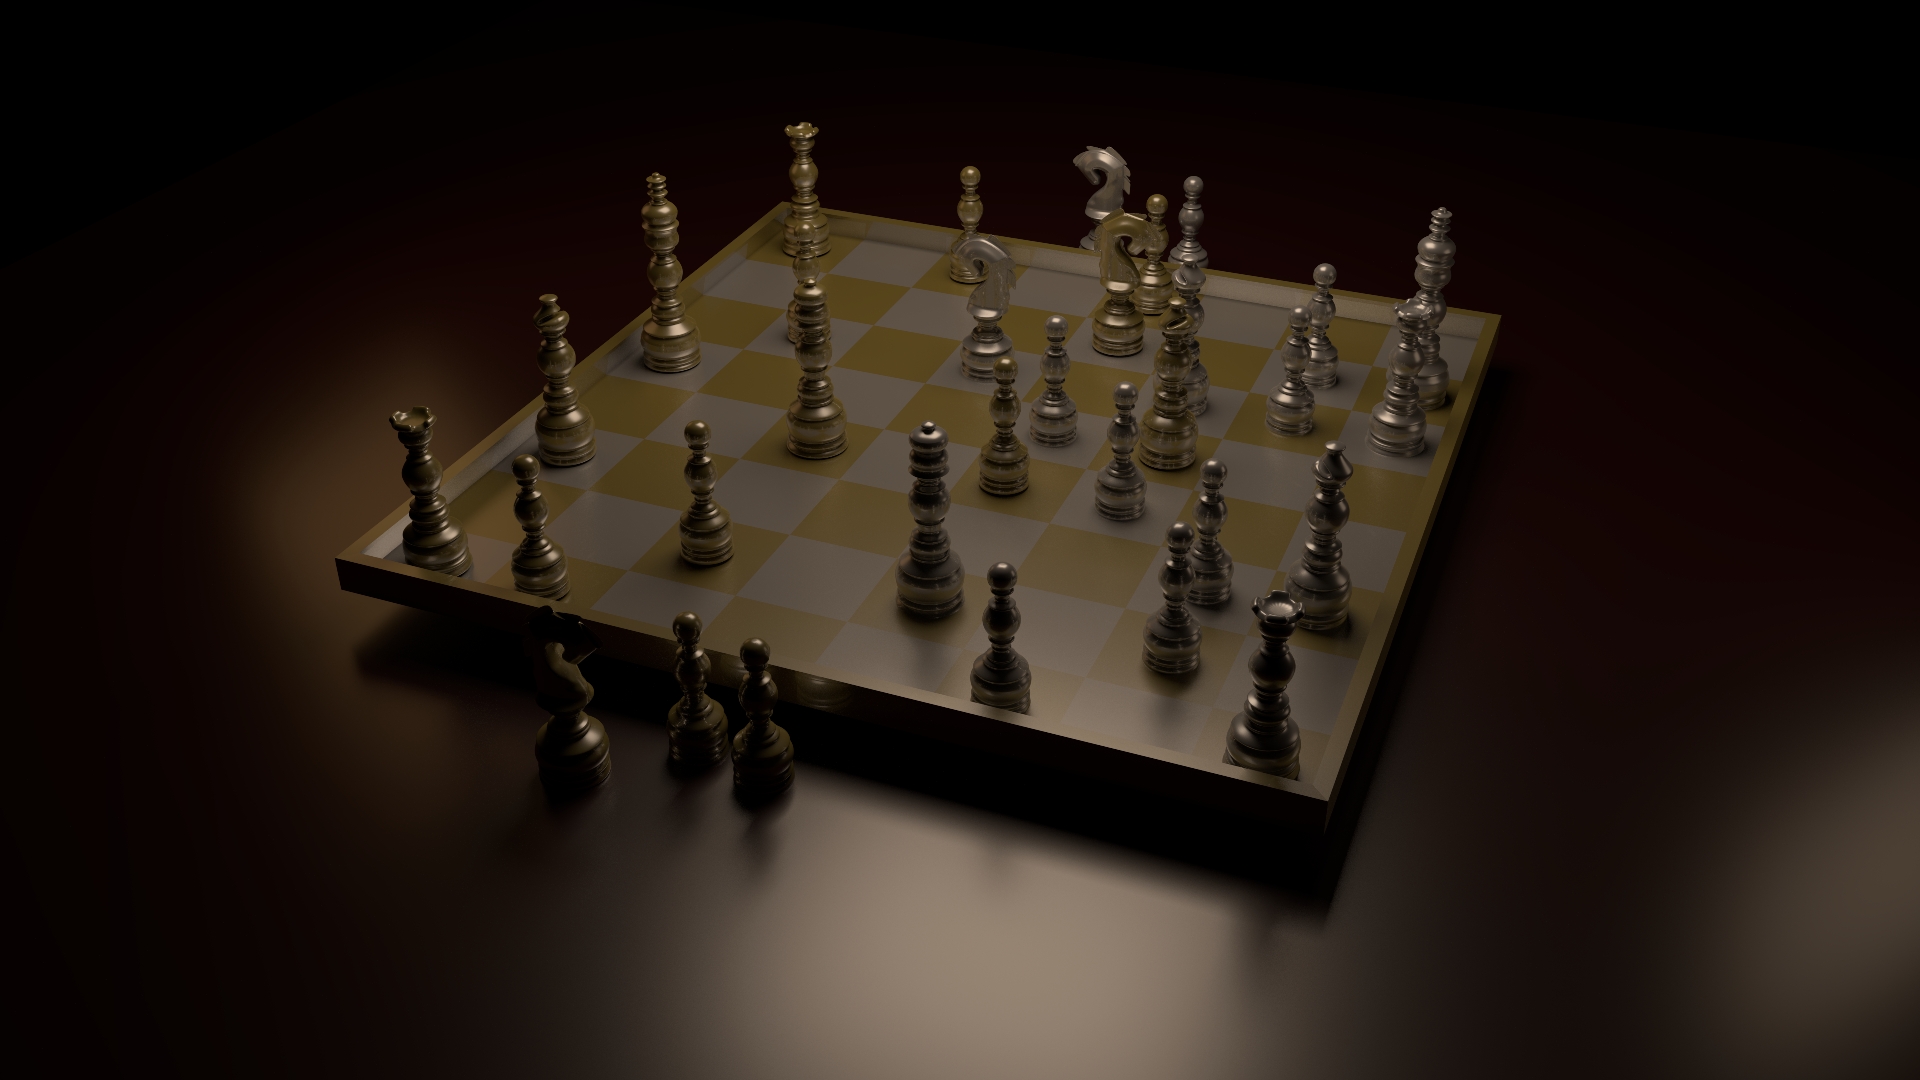
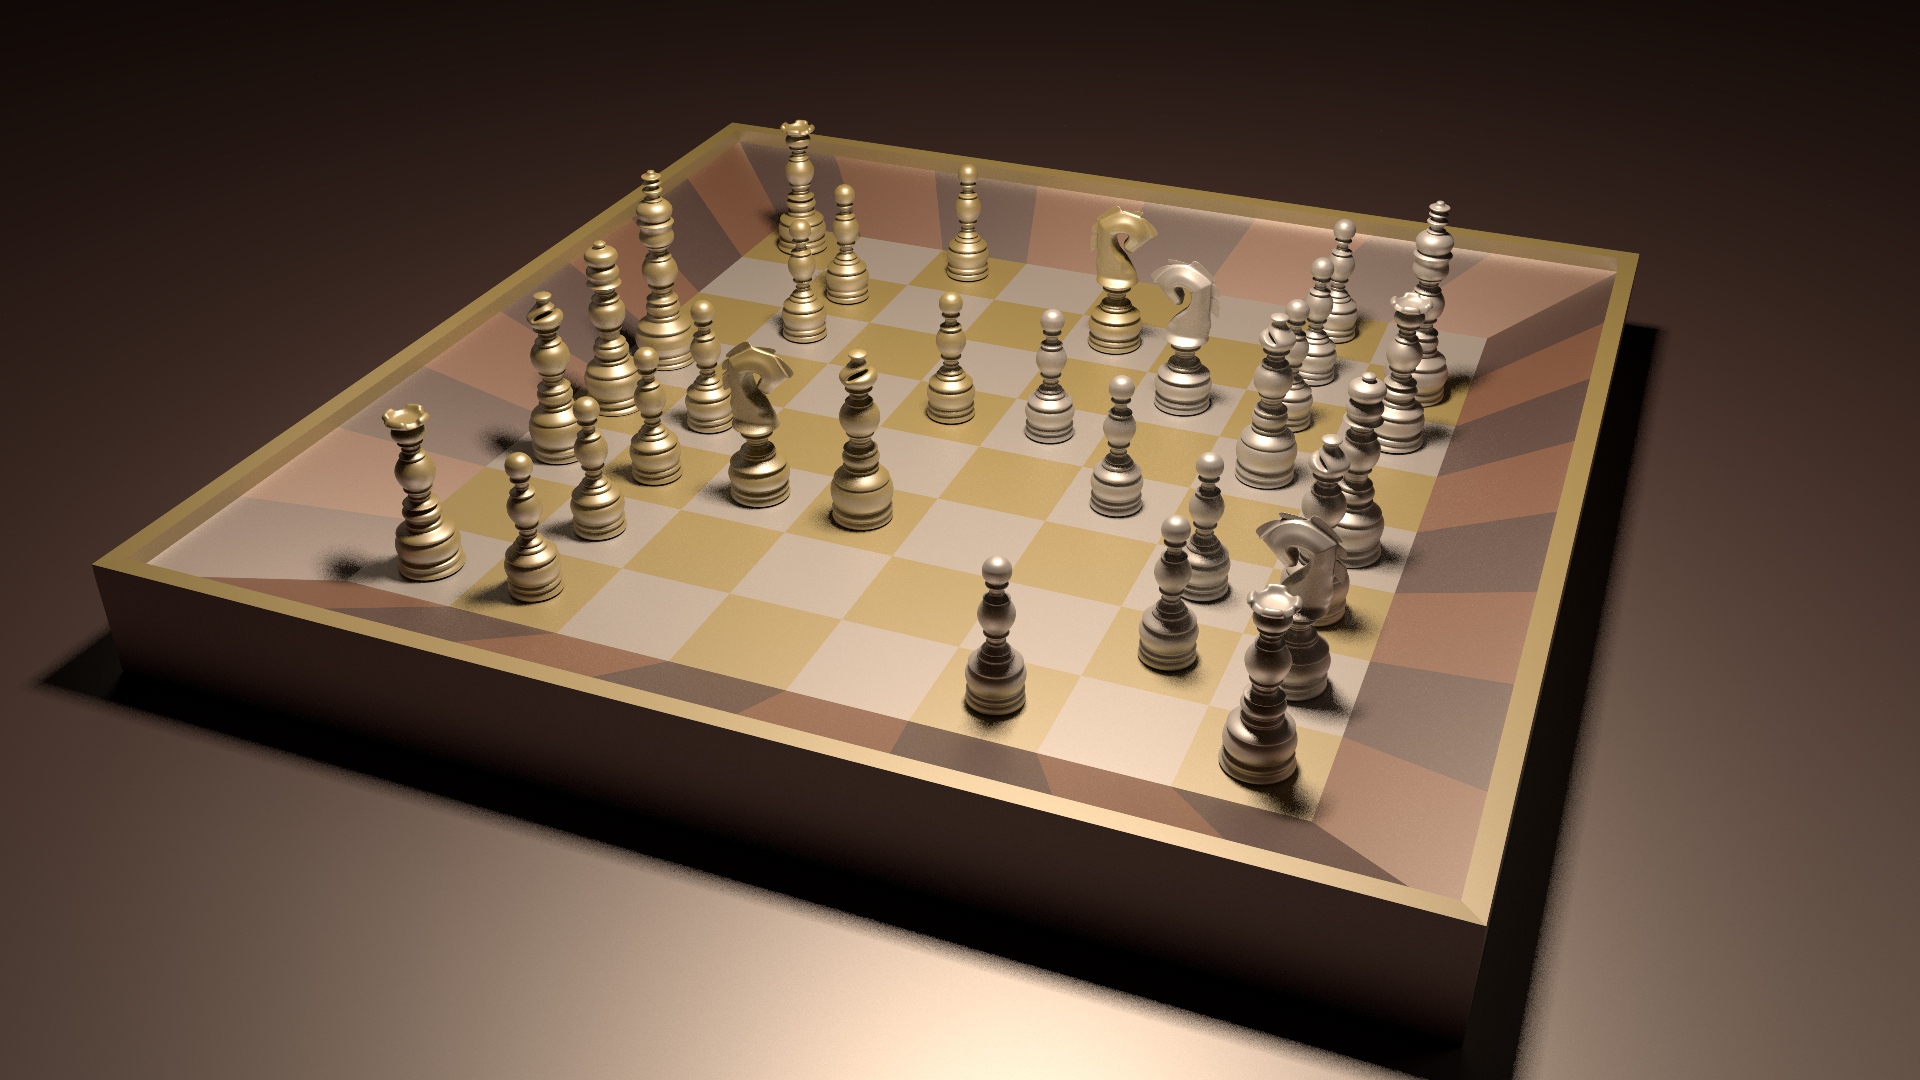
Whilst the pictures look really washed out and bright, I can assure you that once the render was applied it began to take a far better visually pleasing outcome. The chess board was made to look like it was floating and also adding a smaller boarder refined the overall look. This allowd for the pieces to stand out more drawing the eye more to the actual game rather than the monstrosity that was the prior chess board.
The final render does look a little heavy in this final image (it is immensely small file size) and the shadows seem quite heavy but I feel that this was a far better final design and shows improvement in my overall skills. I hope to keep improving from this experience and learn to better manipulate 3D environments!
Thoughts and feedback would be greatly appreciated! Thank you!
I like the way you were willing to really back track, rather than forging on with iterations which weren't working.
Thanks @mattclarke, I have been known for being stubborn but with this one I was determined to not make the same mistakes!
Also, Adelaide meetup tonight from 6, the jade on Flinders St :)
I wont be able to make it sadly but next month would be awesome! Apologies! Would be great to meet with you all!
Ten of us tonight (and two littluns) it's getting a little cold for the beer garden.
We'll move it inside next month :)
Hi @funkitecht
Next Adelaide Steemit meetup is on Thursday 31st of May 2018!
6pm onwards @ The Jade 142-160 Flinders Street.
Further details about the meetup can be found here
Hope to see you there, have a great day :) Stef aka @o07
Congratulations @funkitecht! You received a personal award!
Click here to view your Board
Do not miss the last post from @steemitboard: