Finally cracked the code on liquid core dice – here’s my no-BS guide
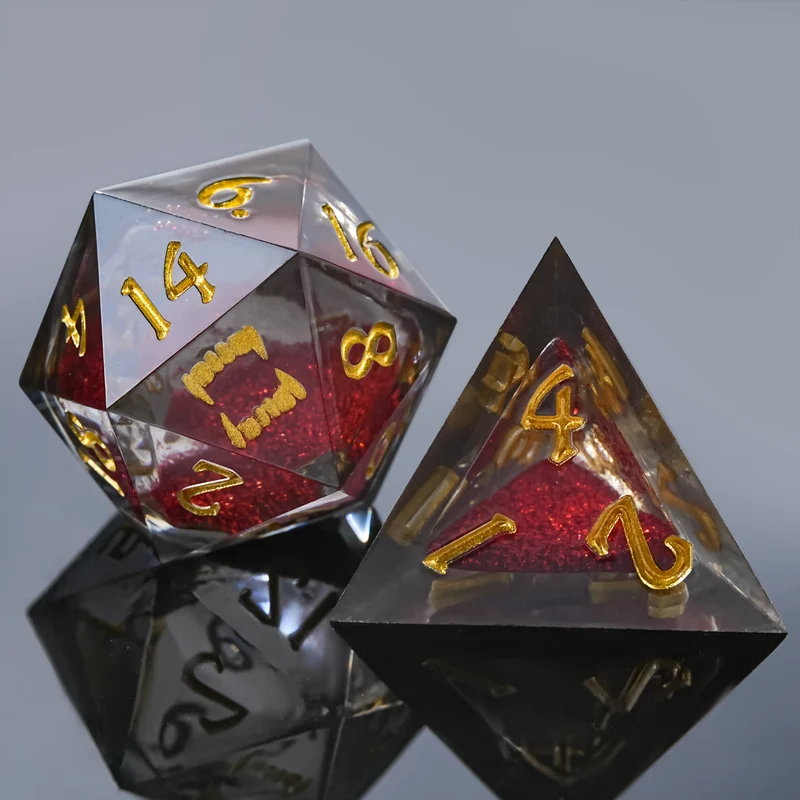
Ever since I saw those hypnotic floating glitter dice on TikTok, I’ve been obsessed. The way the glitter moves inside the clear resin looks almost magical, and I couldn’t stop wondering how these unique dice were made.
I bought a few liquid core dice from Etsy and absolutely loved them, but my wallet quickly said nope. So I went down the rabbit hole of learning how to make liquid core dice and started experimenting with different molds, resin mixes, and glitter combinations.
The journey was definitely not perfect. After 6 ruined molds, one glitter explosion in my kitchen, and a surprisingly deep respect for fluid dynamics, I finally started to understand the process behind creating these mesmerizing dice.
Making liquid core dice is a fascinating mix of creativity, patience, and a little bit of science. From choosing the right materials to balancing the liquid movement inside the die, every small detail can change the final result.
For anyone who loves tabletop RPGs, D&D, or unique dice designs, liquid core dice are definitely worth exploring. They add an extra layer of personality and fantasy to every roll.
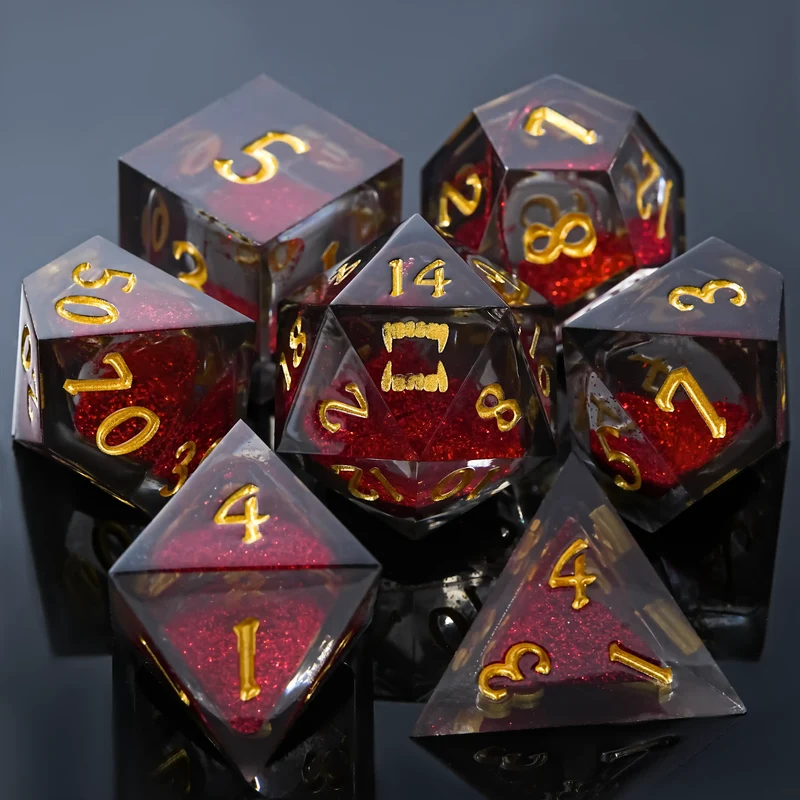
1.Get the right shell – You need hollow dice. Either print your own clear resin shells (tricky) or buy blank open-face d6/d20 shells from Amazon/Etsy. Make sure they have a tiny fill hole (2–3mm) on one face.
2.The fluid mix – Distilled water + propylene glycol (about 60/40) gives that slow, syrupy float. Add a drop of dish soap to break surface tension, otherwise your glitter clumps like wet sand.
3.The good stuff – Fine glitter, mica powder, or tiny foil flakes. Less is more – overstuffing kills the movement. I fill the shell about 80% full, leave an air bubble for that satisfying shift.
4.Sealing is everything – Use a syringe with a blunt needle to inject the mix. Then UV resin over the hole, cure, sand flush, and polish. If you skip the polish, they look frosty and sad.
5.The hidden hack – After sealing, warm the die in your hand for 30 seconds and shake violently. That breaks any micro-bubbles trapped inside. Works better than waiting hours for them to rise.