Pipe Closet | DIY with ~$210 or less.
Hello Steem Pips,
I'm back at full force from a week of Steemit hiatus (in the fiat world), where I completed a book illustration project for a client of mine, and also worked on some home DIY projects that I'm excited to share with you here.
This week, I ventured on a project to build my new bedroom closet, using galvanized pipe fittings and electrical aluminum rods.
Though this is not the first pipe closet I ever built, I still learned a lot in the process... And after all the work was complete, I thought it would be cool to break down the process into steps and create a guide for anyone who might be interesting in building a custom closet on a budget.
So here we go!
First of all, why build a custom closet?
There can be several reasons:
- You have a tiny closet and need to build an additional one to hold all the extra clothes.
- Regular closets don't accommodate your particular way of organizing clothes. (this is true in my case).
- Your closet is visible and you want to make an artistic statement.
- Your hands are just itching to build something. (this is also true in my case).
Why I use pipes?
The main reason I use pipes is because I hang all of my clothes. All my life I've been terrible at folding clothes and keeping them organized... so my solution was to eliminate shelves/drawers, and only use rods for hanging clothes; which makes metal pipes the ideal solution for me.
Also, pipe fittings are like Legos - you can play with dozens of configurations, and once you have an idea of what you are going to build, assembly is pretty easy. If you move to a new place, the closet can be taken apart in a few minutes, and all the parts are light and occupy little space. Last time I moved, I carried the whole closet on my shoulder, and then modified it to fit the new space without spending more money.
Configuring the closet
The space I was working with was: 5' W x 5' L x 8' H.
I spent a lot of time drawing in my sketchbook all kinds of combinations of possible closet layouts.
The most important measurement is the space you need from the wall to the rod. To calculate that, measure the width of the hanger that you typically use, divide in half and add minimum 2 inches (so that your clothes don't touch the wall and the hangers can slide freely). In my case that measurement is 11.5" (due to the shelf bracket support).
Another thing to keep in mind is cost. The more pipe fittings you use the higher the cost. However some fittings cost more than others and by eliminating some while adding others you can drastically reduce the cost. For example, flanges cost 3 times more than visually any other fitting, so tying to reduce the amount of flanges you use can help your budget.
So here are just a few of the sketches I made.
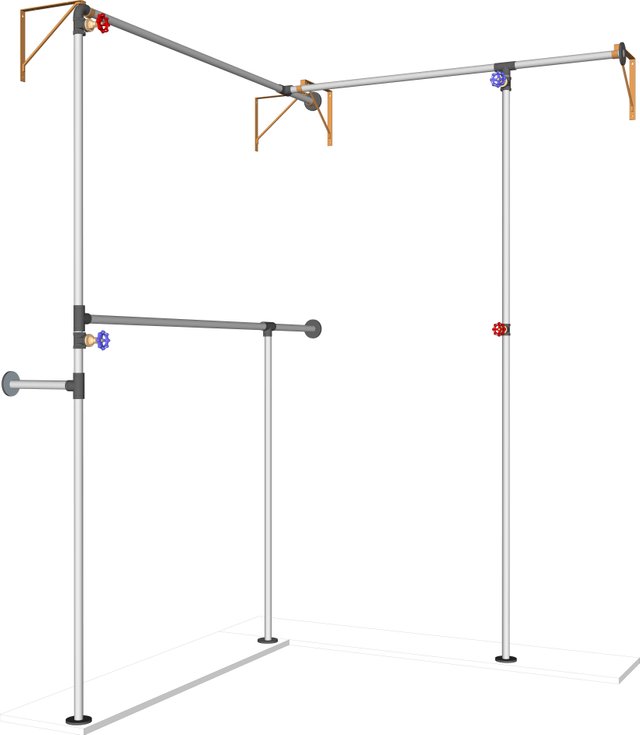
Finally, this was the best configuration for the value; and these were my measurements for each rod:
Materials and Cost
For this project i'm not using galvanized pipes - only galvanized pipe fittings. Galvanized pipes are very expensive, they cannot be modified, and don't permit much space for error.
That is why I use a 1/2" metal rod from the electric dept. that come in 10' length. They are cheap, and I (a girl) can easily saw it to necessary pieces. However, because the rod has no thread, it cannot be directly attached to the flange, and therefore requires the following combination of parts: 3/8" Flange >>> 3/8" Nipple >>> 3/8" to 1/2" Coupling >>> 1/2" rod. (see image below).
I didn't spend any money on this installation, because I simply reconfigured my old closet, which looked totally different yet had all the parts that I needed. But for those who might do this for the first time, here is the complete list of things you'll need:
Assembly Steps:
In this guide I will attempt to explain the flow of assembly. I will not provide any unique measurements as this might not be relevant to your own unique shape of the closet. However, following the order of installation is very important.
Step 1. Base:
Cut the 14" Pine board into two pieces that will serve as base for the closet. Measure 11.5" from the wall and use a flange to mark where the flange will be mounted on to the base.

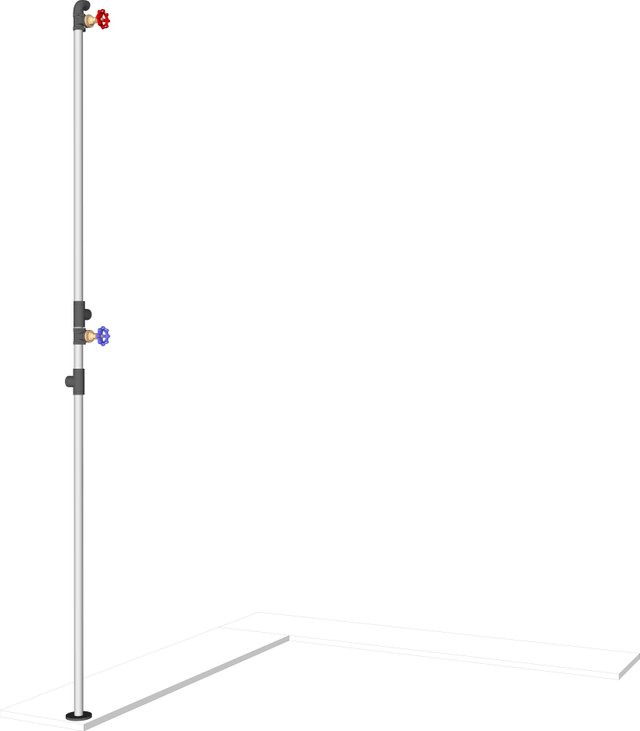
Step 2. Main Rod:
From my experience, it is best to start with the main vertical rod. It is usually the rod that has the most fittings attached to it. After the rod is cut to the necessary length using a saw, and is placed in the marked spot, secure it with screws to the base.
Note: Before moving to the next step make sure that all the Tee fittings are in place.
In this case, there are 4 Tee and one elbow fitting. You can attach the valves to the correct Tees or leave that part last.
Step 3. Horizontal Rods (for shirts and pants):
Present the next two rods, in no particular order. Mark the areas on the wall where the flanges will be secured. By connecting these rods next, I created a stable assembly that is now supported by the wall. Note: before moving to the next rod or closing the rod on both ends, make sure that all the Tee fillings are present.
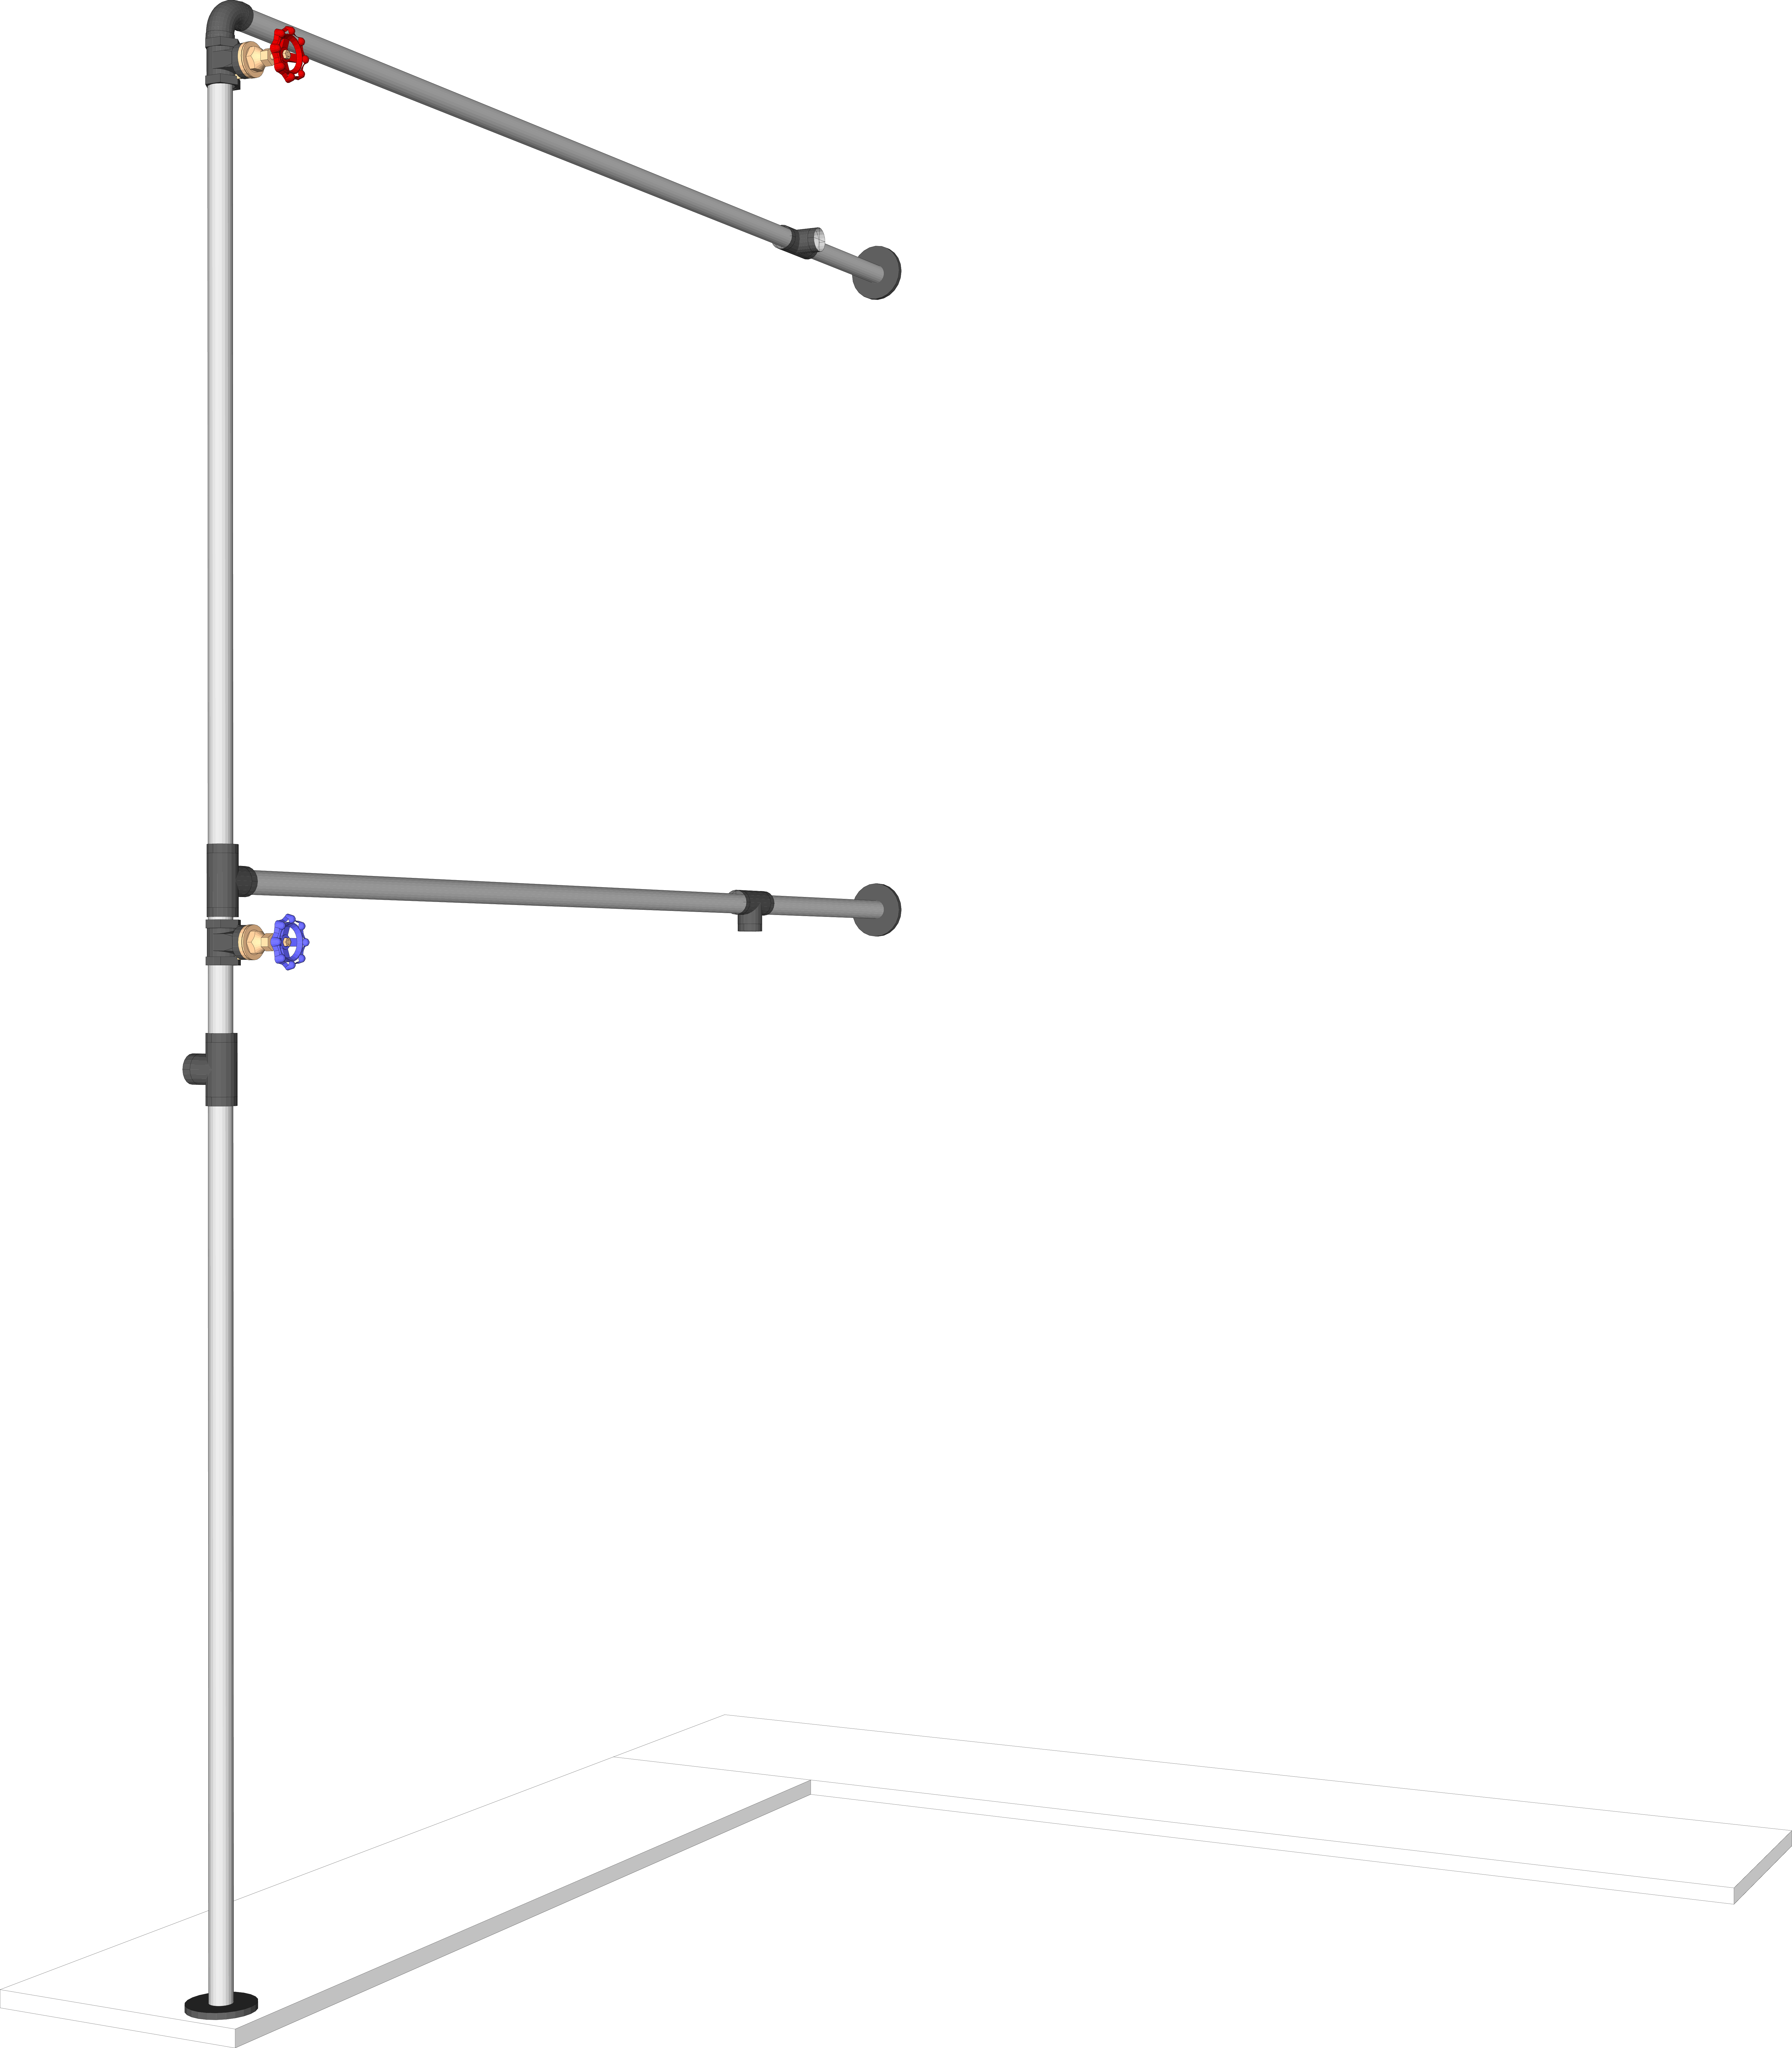
Step 4. Horizontal Rod (for dresses):
This is another rod that attaches to the main assembly and directly to the wall at the other end. (Follow the same principles as in Step 3).

Step 5. Vertical support rod (for pants and dresses):
These two vertical rods will support the "pants rod" and the "dress rod". Having a lot of clothes can get very heavy for the horizontal rod to hold, and it may start bending, so it is crucial to vertical support rods in your design. Once the correct length is cut, place all the Tee fittings on the rod, and finish by connecting it to the main assembly first, and then to the base on the floor.
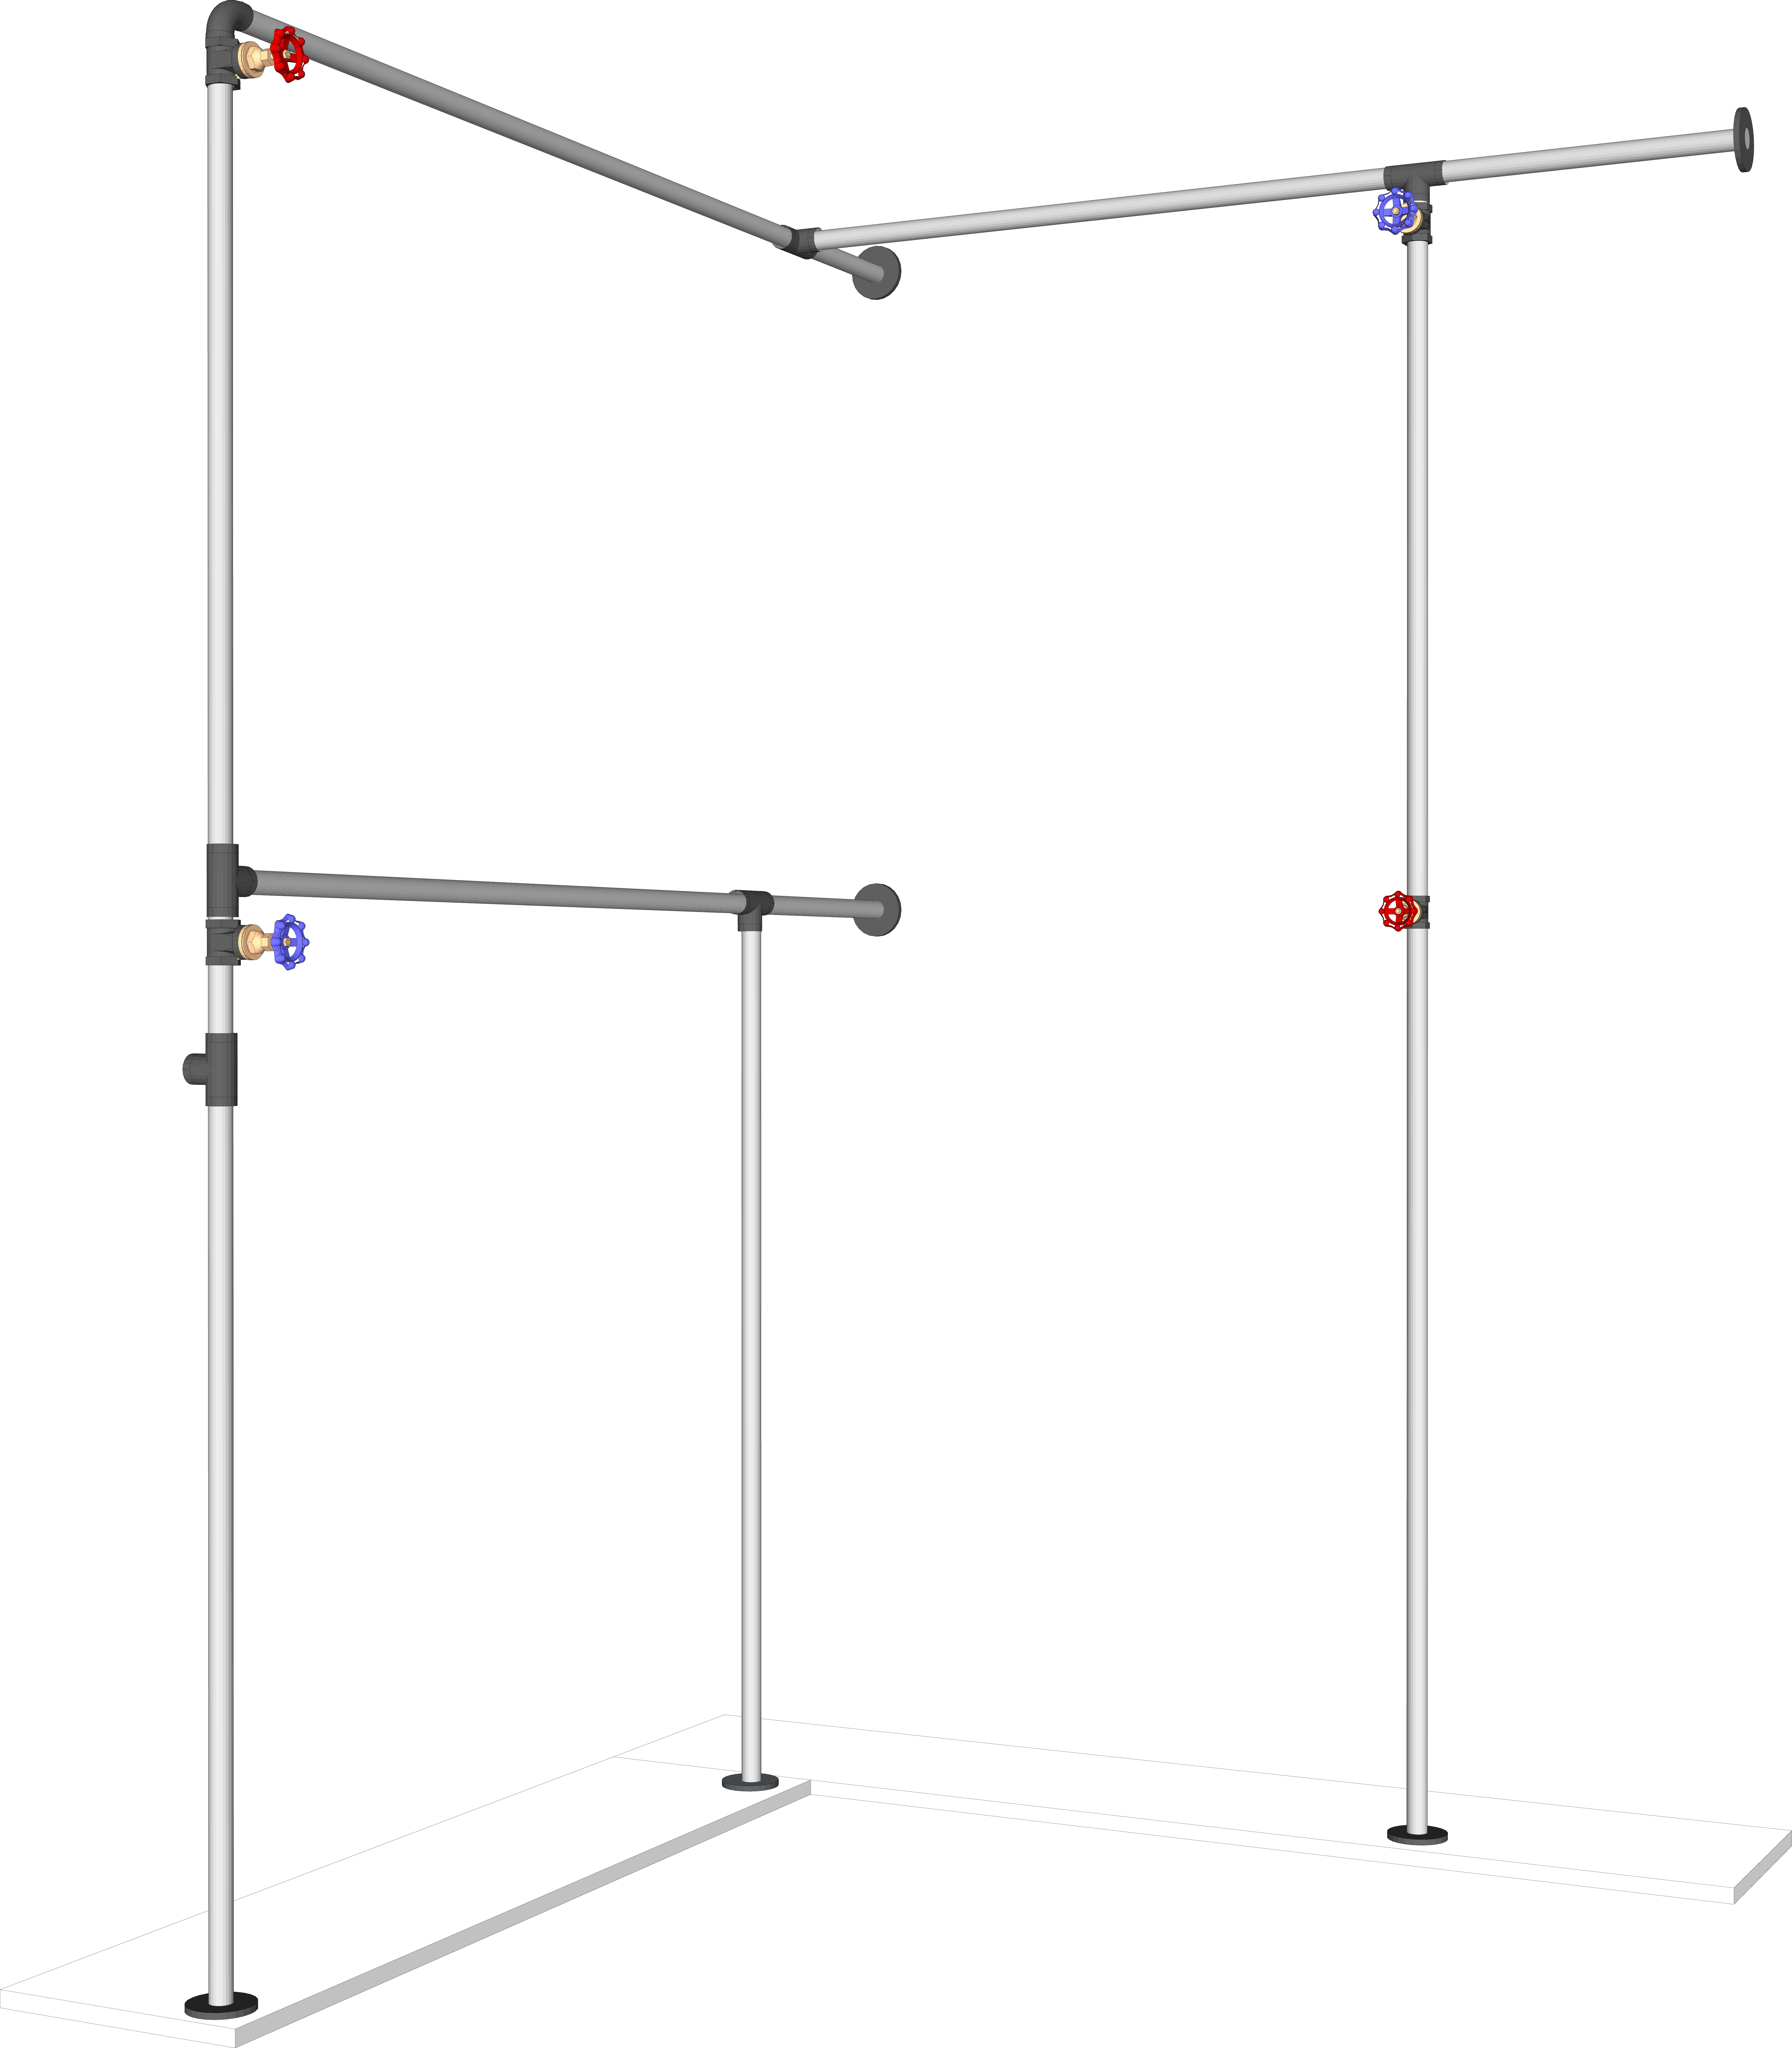
Step 6. Main rod wall support:
Now there is only one wall left that isn't supporting the assembly... I used the existing Tee fitting on the main rod, to add a short piece of the rod with a flange at the other end. Once this is installed, it will ensure that the assembly is supported by all 3 walls.
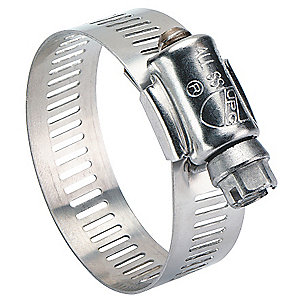
After this step, use the Hose Clams to tighten around the vertical rods so that the Tee Fittings stay in place.

Step 7. Mount brackets:
The brackets should be placed in areas where they won't interfere with clothing hangers, and also far apart so they can support the shelves.
Step 8. Shelves
To place the shelves, cut the 12" boards in the same manner as the 14" boards inStep 1. Secure them with screws to the brackets.
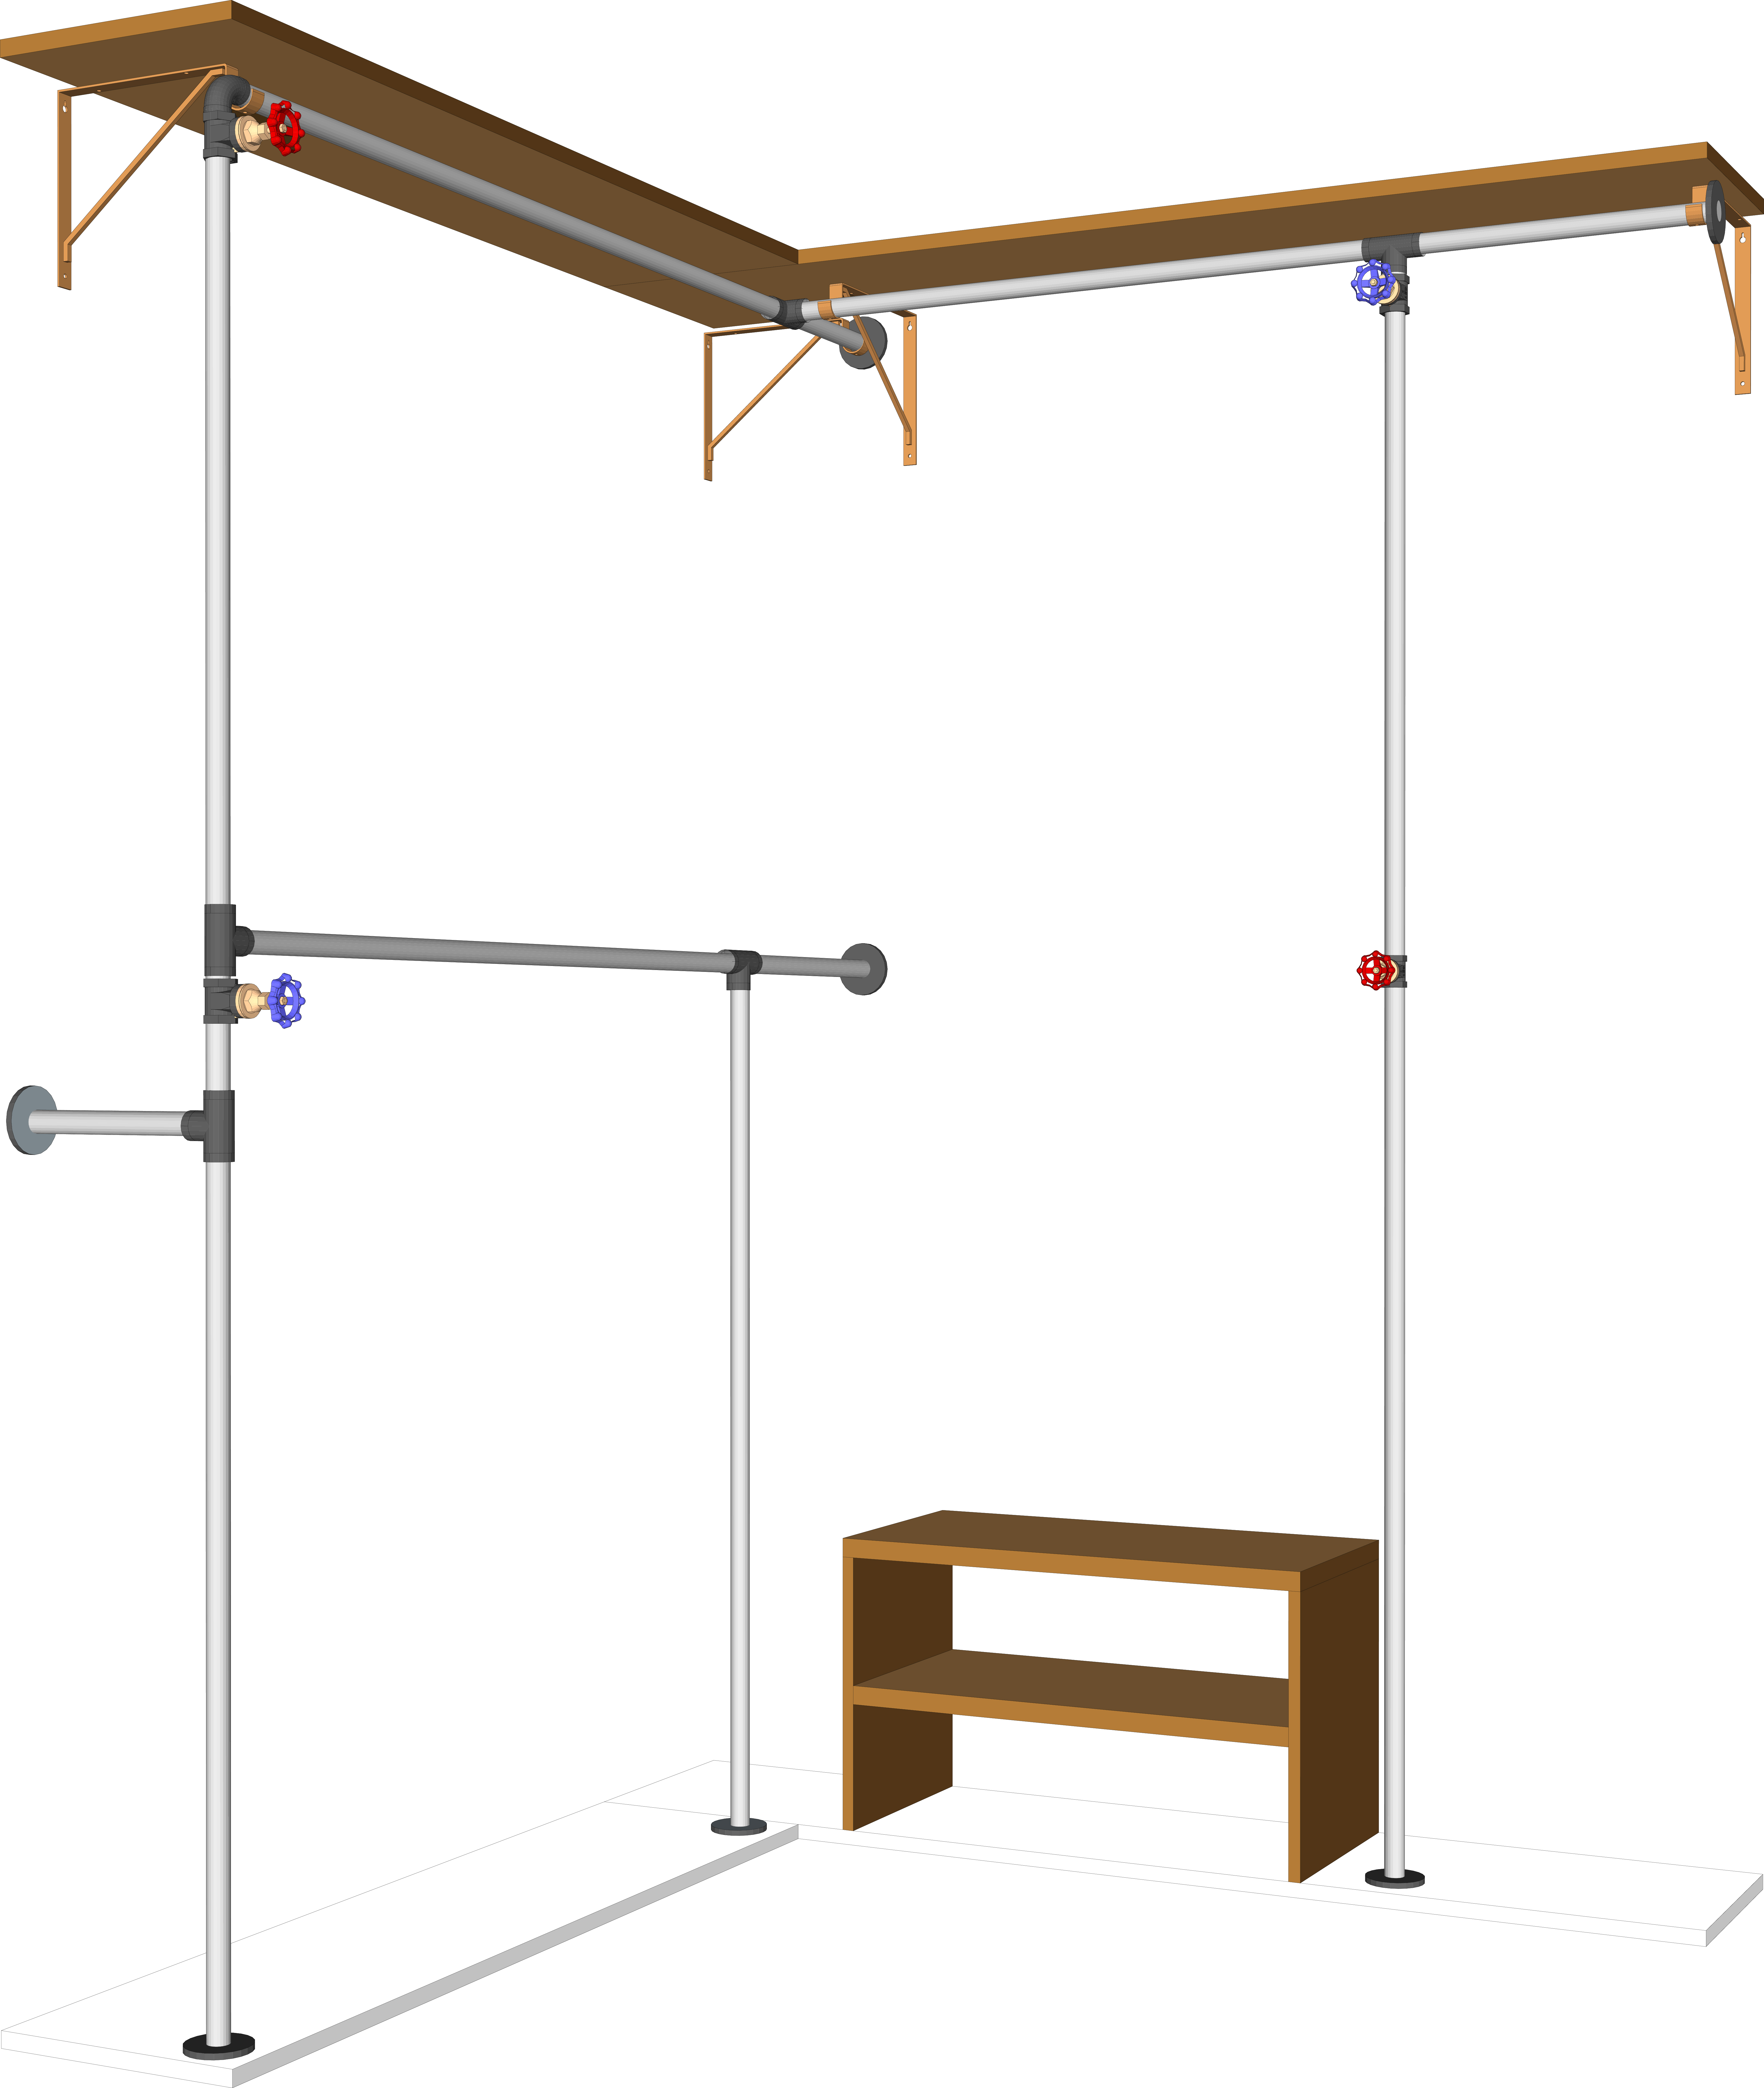
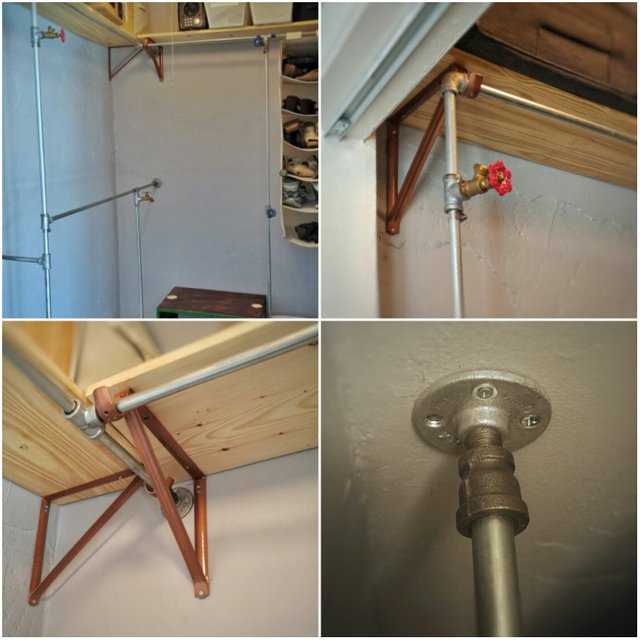
Final Results
Well, though my explanation may seem confusing, the process itself is actually very easy and anyone can figure it out. I made a few errors along the way, and had no problem correcting them. So this is how it all turned out in the end:

Last but not least, all images were made by me, using Google Sketchup, with the exception of several product images taken from lowes.com and homedepot.com
Foooof! Wow, thank you to everyone who read through all this, I hope that you found this useful or mildly interesting. If you have any questions, i'd be happy to answer! Now, go build something!

Wow! I love your artwork but now im impressed with your handiness!!! This is def girlpowa in action.
thank you!!! Girl power! (fist in the air)
:) there will be more
bows to the master
I am almost speechless here. You have stunned me. The level of effort that is displayed here in this post, from the amazing technical illustrations that you made in Google Sketchup (I obviously need to play around with this tool!) to the lovingly formatted and beautifully written post to the early design process sketches to the photo of the finished closet - this is an absolutely amazing post. I am going to show this to my wife @dillemma and I am pretty sure she is going to revamp our closet in short order. Thanks so much for the inspiration! You rock! Very happy to have found you - followed!
Much love - Carl / @humanbot / @r-bot
thank you so much @carlgnash! i'm so happy that you found this post! This is the 3rd closet I've designed for myself, and I've done also other furnishings using pipes, like a rack to hold my paintings and a standing desk... so if you ever want to brainstorm about any pipe designs, i'd be happy to help. Also Sketchup is really useful for planing home improvement projects; I'd be happy to help you if you have any questions with the program... Its really easy to learn (at least the basics).
BTW, I love your little robot design!
On the whole tools list... I went to Lowes and they don't sell the brocolli looking tool there....
This is an amazing project!
@carlgnash from the @humanbot Human Certified Original Works Initiative has manually determined this post to be the original and truly creative work of the post author.
Learn more:
https://steemit.com/curation/@carlgnash/what-human-certified-original-works-means-to-me-a-totally-unofficial-mission-statement-from-just-one-person-in-a-decentralized
Thanks for being an original and creative content creator! You rock!
Resteemed your article. This article was resteemed because you are part of the New Steemians project. You can learn more about it here: https://steemit.com/introduceyourself/@gaman/new-steemians-project-launch
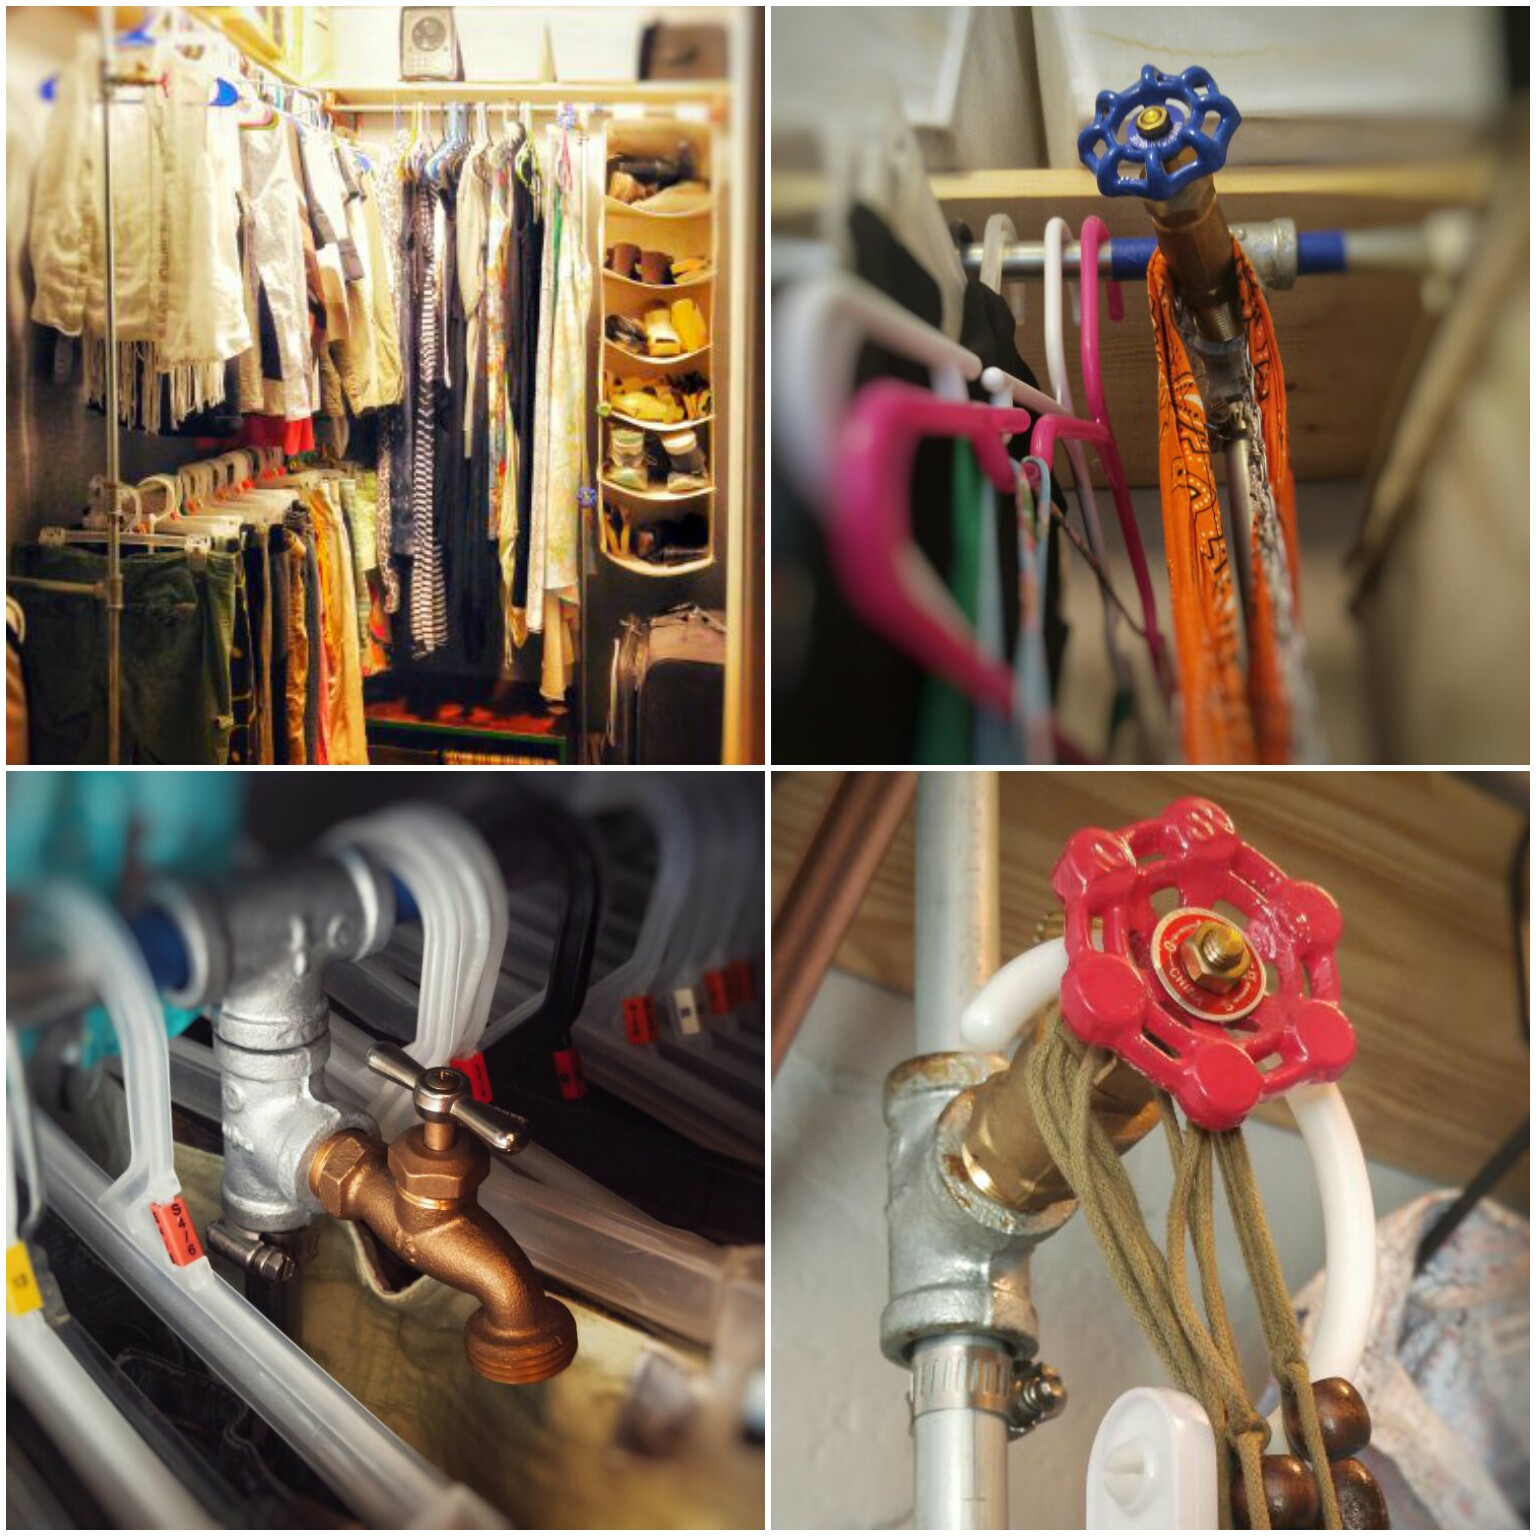
Congrats, that's a clever solution. The little taps and valves make a nice touch, i imagine the pipes connecting to a hidden distillery :P
Thank you! LOL that would be awesome! The valves are definitely a conversation piece (mostly with myself and alone lol) but they are actually quite functional - I use them for hanging bags, belts, hats etc.
@cryptohustlin has voted on behalf of @minnowpond.
If you would like to recieve upvotes from minnowponds team on all your posts, simply FOLLOW @minnowpond.
Congratulations @ankapolo! You have completed some achievement on Steemit and have been rewarded with new badge(s) :
Click on any badge to view your own Board of Honor on SteemitBoard.
For more information about SteemitBoard, click here
If you no longer want to receive notifications, reply to this comment with the word
STOP