Outdoor Kitchen Build - Part 5 - Roofing
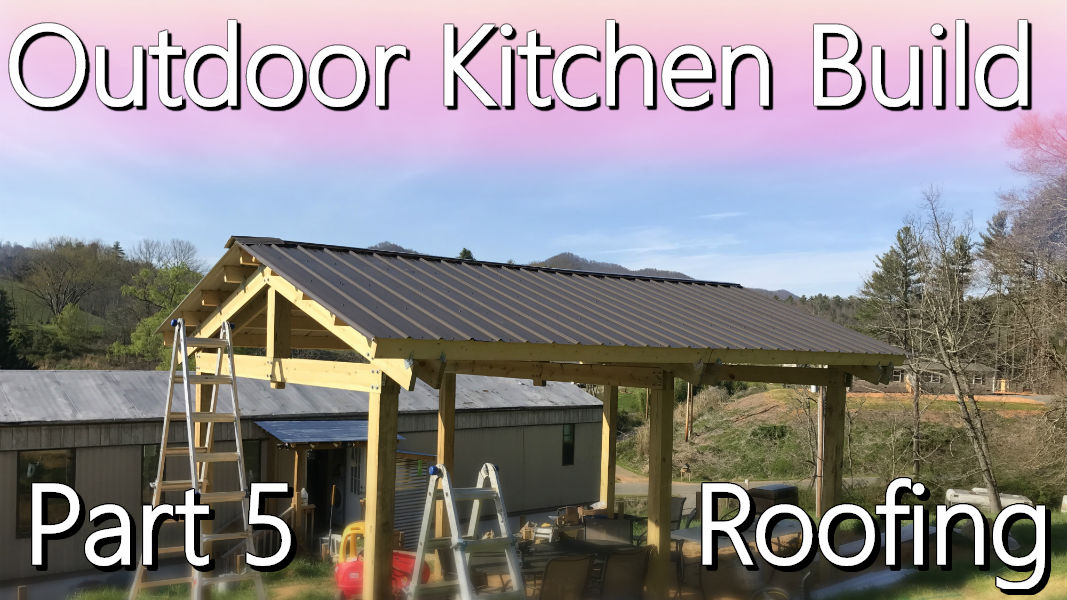
This post completes the major construction of the Outdoor Kitchen! Woo-hoo! In this post, I go through the installation of our metal roofing. Be sure to check out Part 1, Part 2, Part 3, and Part 4 if you haven't already.

Roofing Material
Perfection Needed
Plan of Attack
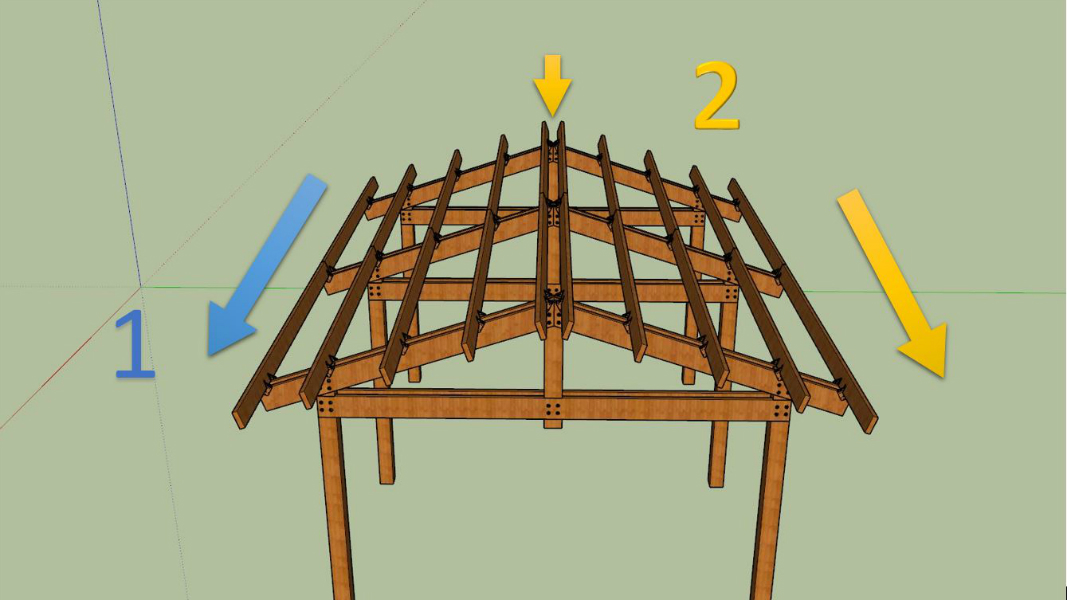
I came up with the following plan of attack for installing the panels. The main goal was to install the panels without having to get on top of the roof itself.
Installation Photos
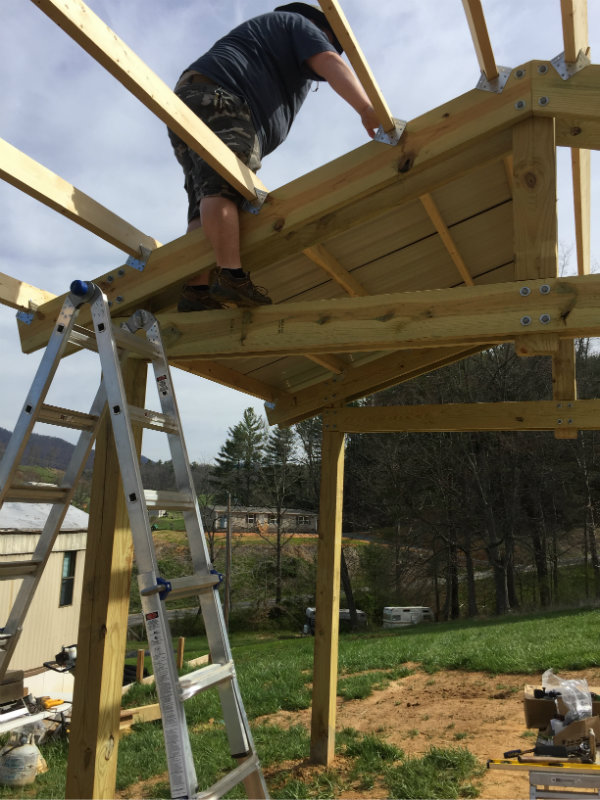
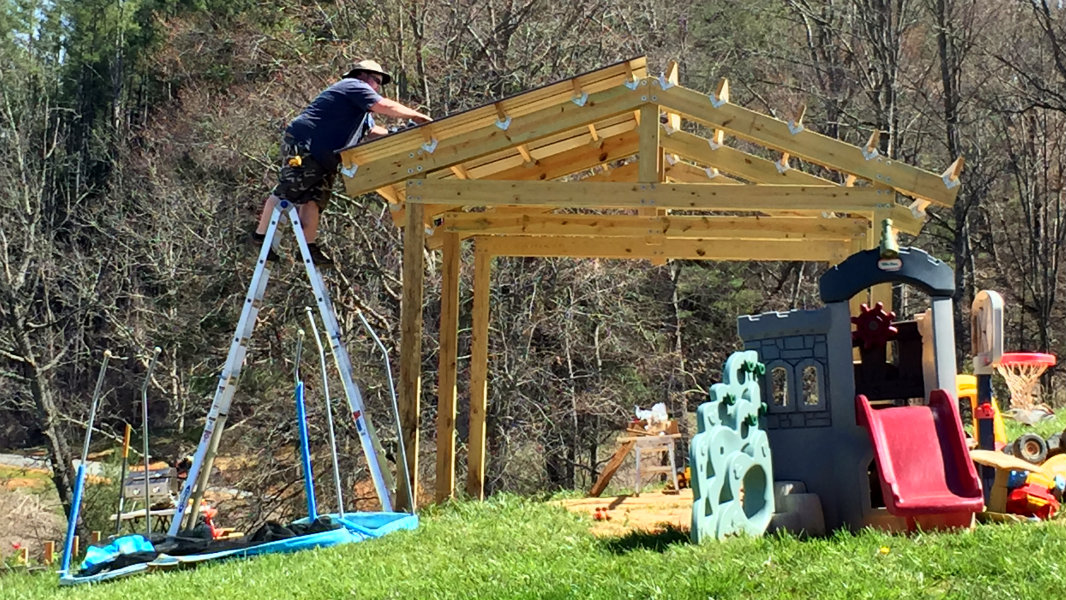
Finishing up the first side. No time for fear of heights! Actually, the ladder I have is FREAKING AWESOME!!! It's a Werner brand from Lowe's and what is known as an "articulating ladder"--it's fully adjustable and super-stable! I would never recommend getting any other ladder. This one is the 21 foot model.
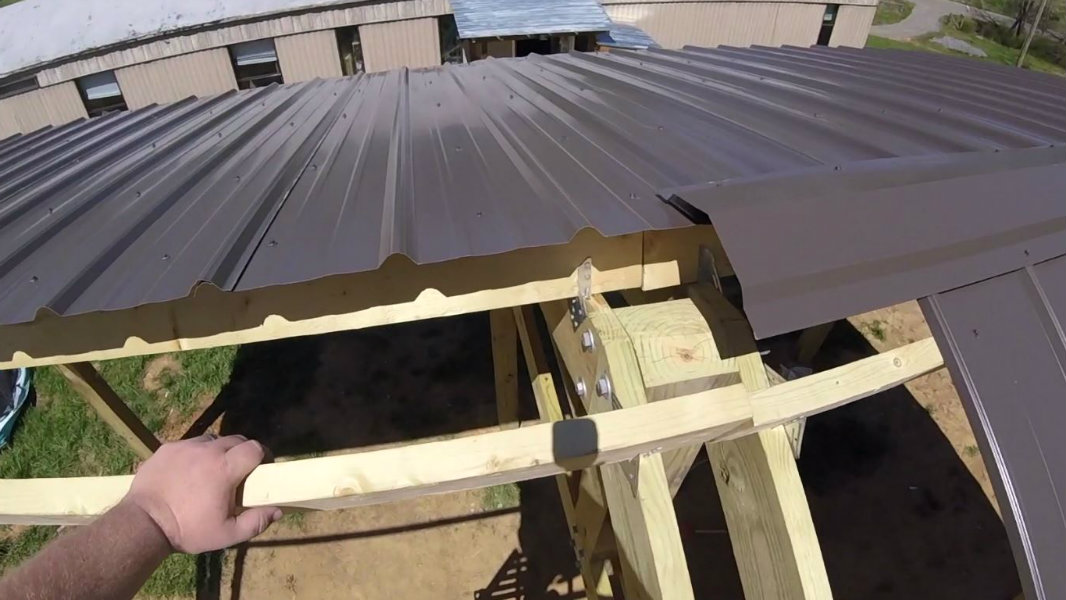
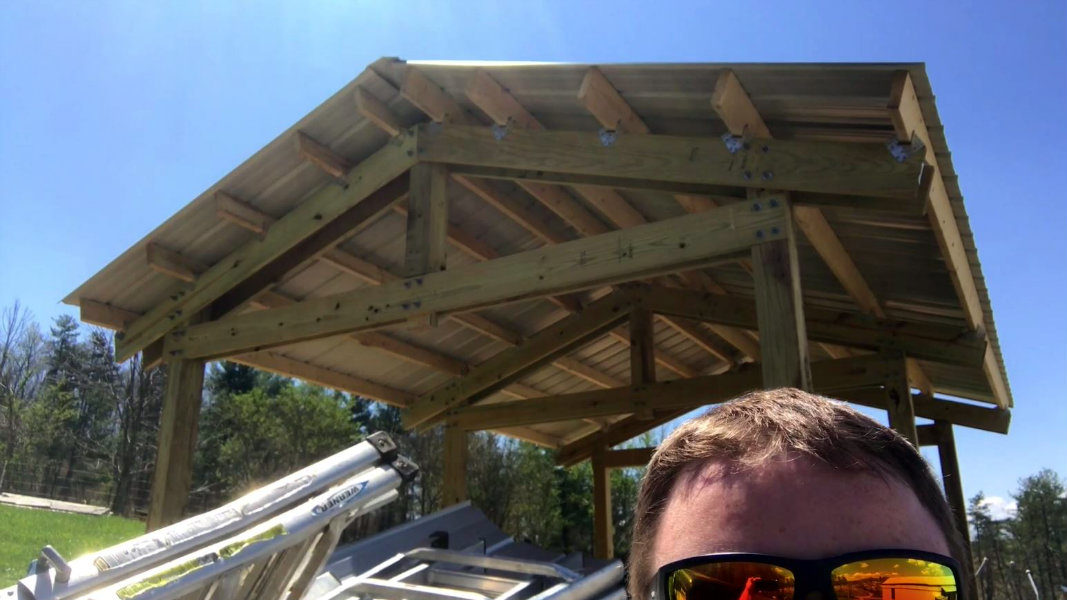
Working on the other side. Here's a view showing the roof, ridge vent, and the other panels. At this point, I was ready to add another ridge vent piece. Here's also a view of the purlins and structure up close.
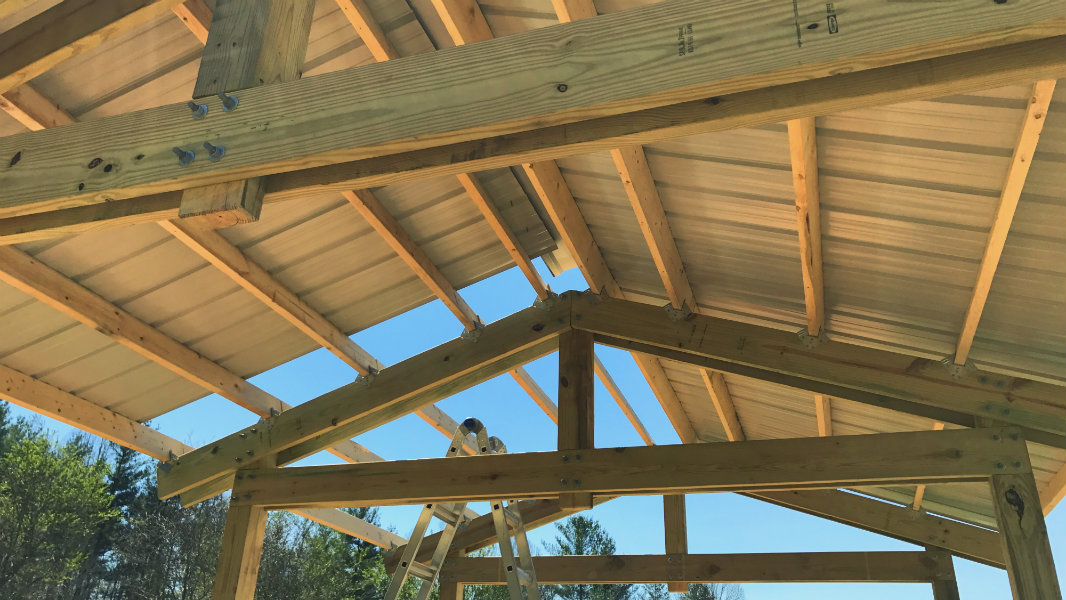
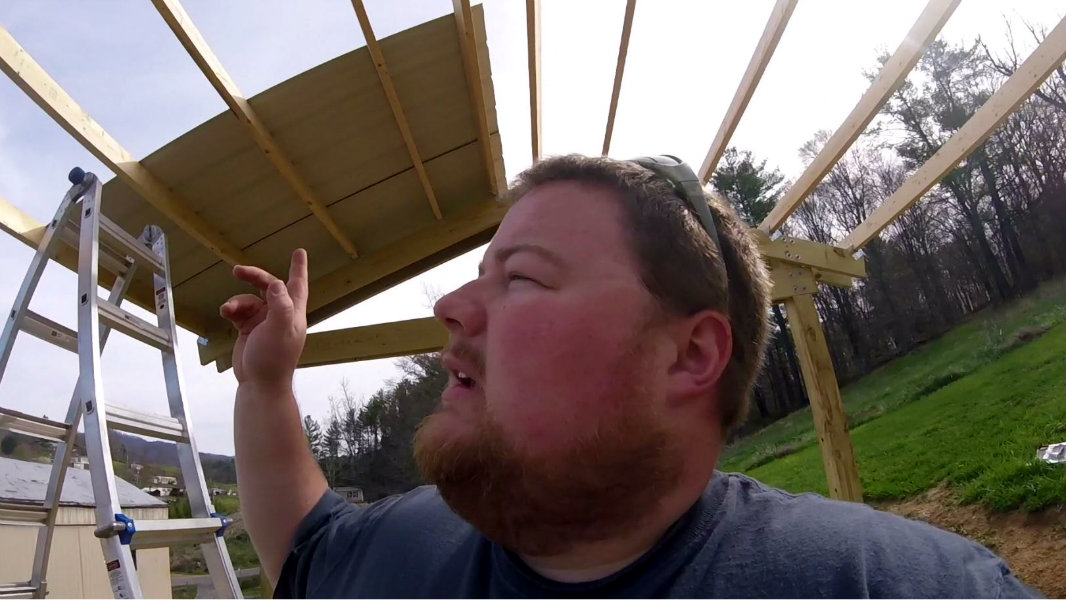
Took a break from the sun and snapped a photo showing the underside. Almost done... so nice to have (man made) shade!
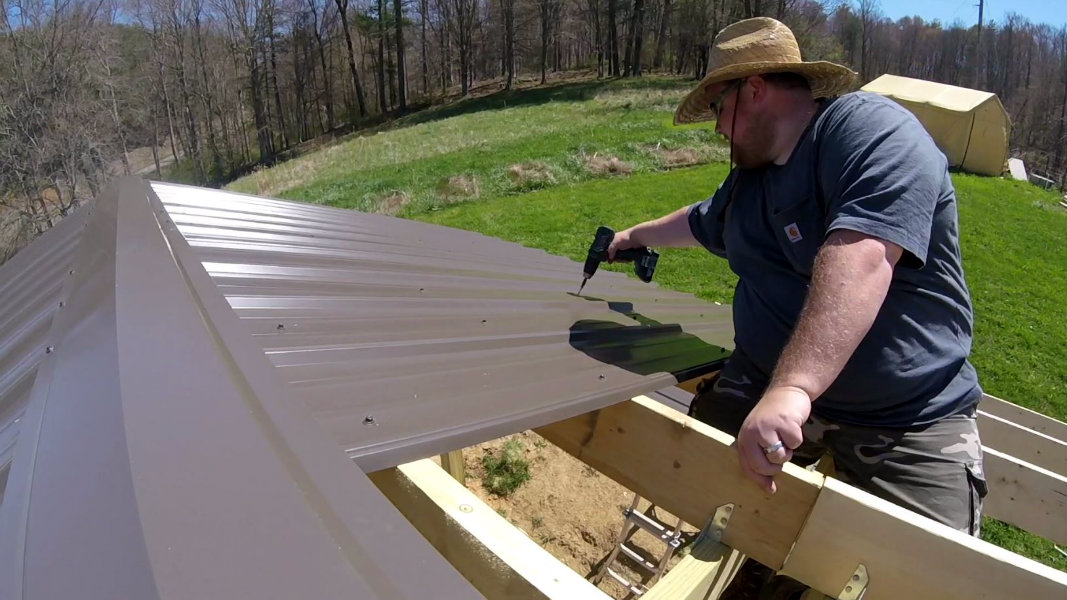
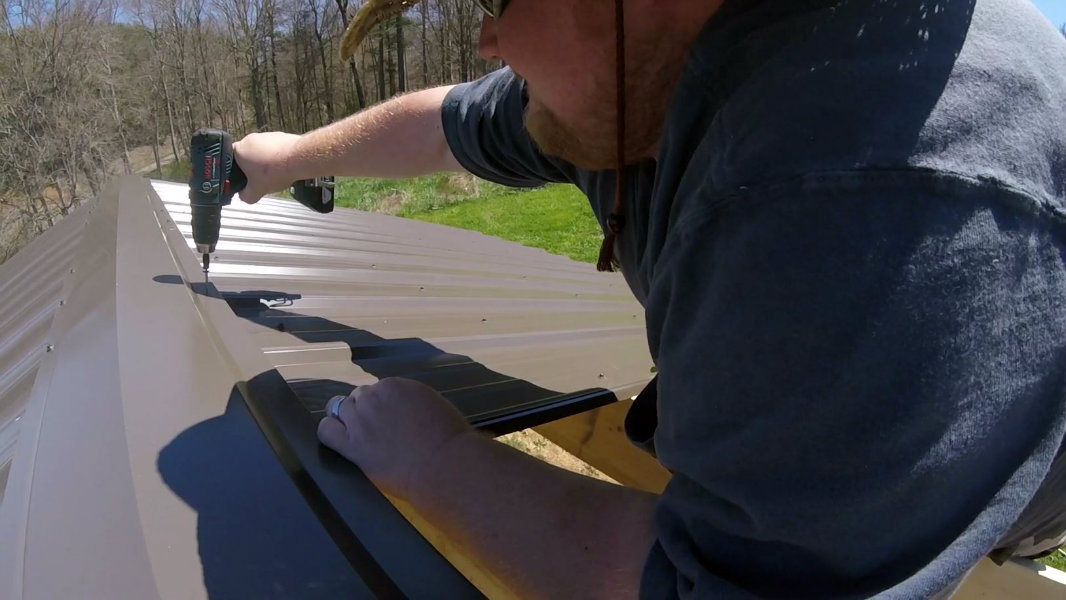
Just a photo of me riding the truss Cowboy Style! Also showing how I would attach the roof panel, then attach the ridge cap to the panels. I used 1.5" metal roofing screws. These are the same color as the roof panels and have rubber washers on them to prevent leaks.
DONE!
Boy, what a day! This was the best photo I got at the time. I was beat from this one! Total time was about 6 hours doing the roof. However, it is so nice to have the major structure (and ladder work) done! And some shade on the hill now!
The Video
And now... for your viewing pleasure, may we present... the video!
Stay Tuned
We'll see you on the next update, where we get to begin "finishing" things in the Outdoor Kitchen! We have plans for lights, counter tops, etc, so it should be fun to watch.
Until then,
@greenacrehome
Hey there! I just wanted to inform you that your article has been included and linked in the most recent issue of the Weekly Homesteading Newsletter! Please check it out if you have the time! Thank you and have a great day!
Hey @greenacrehome, can I link this article in the next homesteading newsletter? Please let me know as soon as you can! Thanks!
Absolutely! You will always have my permission. I really enjoy reading your newsletter!
That's awesome, thank you! I will add you to the list of authors who have given me permission :D
Cool! So 'cool panels" - can you lift and hold them in the hot sun or have to wear gloves?
They were warm after sitting out there all day, but still tolerable to carry, move and lay on as I attached them.
Well done Green. Fellow SteemBC member and carpenter. That kind of roof is very common here in Japan on older places. I did a stint with my wife's uncle's company here waterproofing and have worked on many roofs like that. Cool content, keep 'em coming.
Awesome! Thanks for dropping over and commenting. I really like the metal roofing and have used the same type and color for several structures on the land to give it a cohesive look... for google maps. LOL
I'm planning a roof-over for early next year (doubt funds will plop my way before then) and the same roofing will be put on the home.
Thanks again!
This post received a 4.3% upvote from @randowhale thanks to @greenacrehome! For more information, click here!
Loving the progress on your outdoor kitchen build—Part 5 is looking solid! The roofing really brings everything together and makes the space feel complete. Can’t wait to see the final reveal. roof restoration near me