Part 1: Compiling smart contracts in the browser
This is the first in a three part series. The goal is to build a mini Remix type tool that lets you interact with the Ganache blockchain using Web3JS and SolcJS to compile our contracts.

This is the original code I used to start with: repo. Credit goes to creator's of that file for the first couple of code snippets in this blog.
Prerequisites:
You should have a basic understanding of Ethereum blockchain technologies and the programming language Solidity, which compiles down to EVM bytecode.
Stack:
- Im using a Mac laptop.
- Git - a free and open source distributed version control system.
Getting Started:
You're going to need to clone this repo, so copy and paste the command below into your terminal.
$ git clone [email protected]:Jusdev89/Remix-Mini-Starter.git
These are the files in the repo, I scaffold out a simple boilerplate for you to start with.
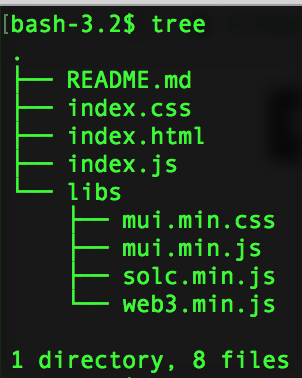
They're basically a bunch of static files, but the important ones are in the libs folder. The two that I'm going to talk about here are the web3.min.js and the solc.min.js. These two files are going to allow us to compile and deploy Solidity contracts to our Ganache blockchain.
SolcJS- Javascript bindings for the Solidity compiler.WebJS- This is the Ethereum compatible Javascript API which implements the generic JSON RPC spec.
We're not going to set up a server, we're just going to serve the index.html file from our file system. Lets take a look at what we have so far, inside of our projects folder in our terminal type: $ open index.html. You should see a screen similar to below.

There's nothing else there yet. Lets build out the compile feature of our app.
Compiling Smart Contracts:
To compile Solidity smart contracts we're going to need to use SolcJS. But before we can get to compiling any contracts we're going to take a look at a simple contract to see what this type of feature should look like.
pragma solidity ^0.4.18;

contract HelloWorld {
  function displayMessage() constant returns (string) {
    return "Whale hello there!";
  }
}
We can see in our example above that the first line of the Solidity file is pragma solidity ^0.4.8;. The keyword pragma is called that way because, in general, pragmas are instructions for the compiler about how to treat the source code. If we're going to have a true "compiling" feature then we're going to need the ability to select different versions.
Once we have the ability to select different versions, we can submit our contract as an input in a field, scan that input, then create the EVM bytecode from that. In our index.html and index.js is where we're going to build out our first feature, the ability to select compiler versions.
<section class="mui-container-fluid">
  <div class="mui-row">
    <div class="mui-col-md-6">
      <div class="mui-select">
        <select id="versions"></select>
      </div>
    </div>
  </div>
</section>
Inside of the index.html file, type out the snippet above underneath <div class="mui-appbar"></div> navbar code. Here we just paste a couple lines of code that will display our dropdown feature, which will display the compiler versions as options.
<div class="mui-container" style="float: left;">
  <p id="status" style="float: right; margin-top:20px"></p>
</div>
And this is a simple snippet of code that will display the status of our compiling contracts. The reason we have this is to let us know the status of the compiler that is loading. Go ahead and paste the snippet inside of the navbar.
To the Javascript
Now in the index.js paste the code snippet below; the code source is here:
let compiler

window.onload = function () {
  document.getElementById('versions').onchange = loadSolcVersion

  if (!BrowserSolc) {
    console.log('You have to load browser-solc.js in the page. We recommend using a <script> tag.')
    throw new Error()
  }

  status('Loading Compiler Versions...')

  BrowserSolc.getVersions(function (soljsonSources, soljsonReleases) {
    populateVersions(soljsonSources)
    setVersion(soljsonReleases['0.4.18'])
    loadSolcVersion()
  })
}

function loadSolcVersion() {
  status(`Loading Solc: ${getVersion()}`)
  BrowserSolc.loadVersion(getVersion(), function (c) {
    status('Solc loaded.')
    compiler = c
  })
}

function getVersion() {
  return document.getElementById('versions').value
}

function setVersion(version) {
  document.getElementById('versions').value = version
}

function populateVersions(versions) {
  sel = document.getElementById('versions')
  sel.innerHTML = ''

  for (let i = 0; i < versions.length; i++) {
    let opt = document.createElement('option')
    opt.appendChild(document.createTextNode(versions[i]))
    opt.value = versions[i]
    sel.appendChild(opt)
  }
}

function status(txt) {
  document.getElementById('status').innerHTML = txt
}
I’m not going to explain much about the DOM manipulation, but take if you take a look at lines 13-17 and 22–25. This is when we’re actually calling the SolcJS library. The package i’m using is specifically for the browser and can be found here.
BrowserSolc.getVersions(function (soljsonSources, soljsonReleases) {
  populateVersions(soljsonSources)
  setVersion(soljsonReleases['0.4.18'])
  loadSolcVersion()
})
Calling the method on lines 13–17 gives us back all the Solc versions as a array/list of labels. We populate these versions into our dropdown select menu. Now we can use these labels to select a compiler version, but for now we default to 0.4.18.
BrowserSolc.loadVersion(getVersion(), function (c) {
  status('Solc loaded.')
  compiler = c
})
On lines 22–25 we call the .loadVersion(VERSION, CALLBACK) method, which will load the selected version of Solc compiler from the repo it is located at. We set that loaded compiler to the corresponding global variable name compiler so it’s available later on for use.
Now we have a fully functioning “Solc version” select dropdown menu.
Now for the actual contract:
The next piece to the contract compile feature is to scan the contract to form our EVM bytecode and ABI for that code. We’ve loaded our compiler, now let’s add both an input UI for submission along with a Compile button so when we click we see the results of our compiled contract.
<div class="mui-row">
  <div class="mui-col-md-6">
    <div class="mui-panel">
      <p style="font-size:25px; font-weight:bold">
        Compile Contract
      </p>
      <textarea id="source" onclick="this.select()" style="height: 360px; width: 530px; display: block; margin-left: 20px;"></textarea>
      <button id="contract-compile"  class="mui-btn mui-btn--primary">
        Compile
      </button>
    </div>
  </div>
</div>
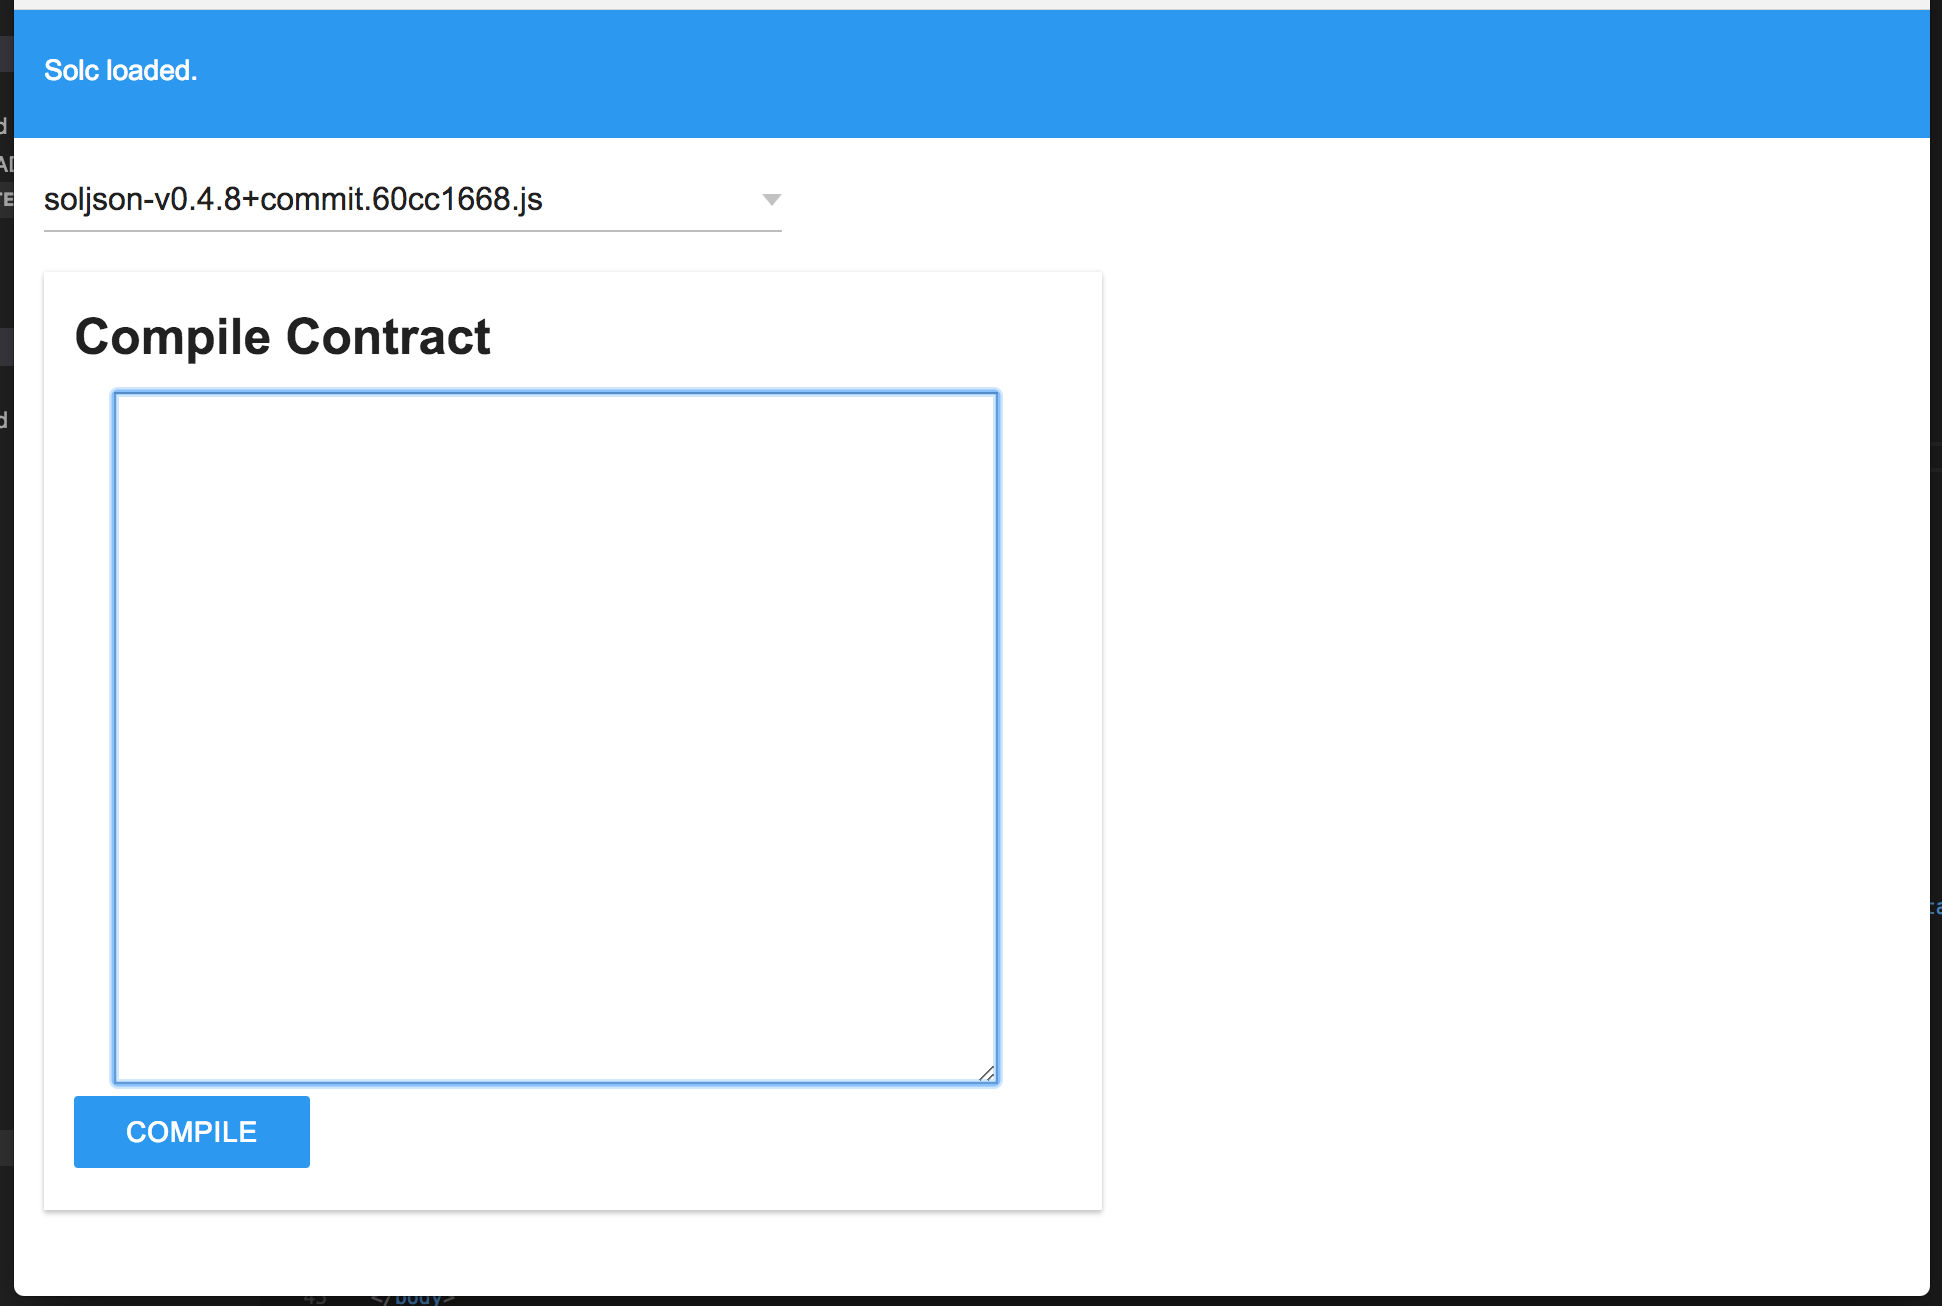
Lets type out this code directly in between our main mui-container-fluid div, below our dropdown select feature. Our UI should look like this:
To the Javascript, again;
In our ``index.jsfile we’re going to add 2 newglobalvariables . Place these 2 variables right below our globalcompiler``` variable located at the top of the file.
let optimize = 1
let compiledContract
The first variable is
optimizewhich turns on the Solidityoptimizer. Theoptimizeroperates on the contracts assembly code and scans code blocks at theJUMPsandJUMPDESTsfor possible optimizations, more on the optimizer here.The second variable is where we’re going to set our compiled contract code.
function addCompileEvent() {
  const compileBtn = document.getElementById('contract-compile')
  compileBtn.addEventListener('click', solcCompile)
}

function solcCompile() {
  if (!compiler) return alert('Please select a compiler version.')

  setCompileButtonState(true)
  status("Compiling contract...")
  compiledContract = compiler.compile(getSourceCode(), optimize)

  if (compiledContract) setCompileButtonState(false)

  console.log('Compiled Contract :: ==>', compiledContract)
  status("Compile Complete.")
}

function getSourceCode() {
  return document.getElementById("source").value
}

function setCompileButtonState(state) {
  document.getElementById("contract-compile").disabled = state
}
Again, I'm not going to explain all the DOM manipulations, but the important line that we're going to be talking about is line 11. The compiler that we loaded before is now ready to be used. We pass compiler.compile(SOURCE_CODE, optimize) the source code and the optimize flag I mentioned earlier.
window.onload = function() {
  ...
  addCompileEvent()
}
The code above is basically saying, “when the page loads add the solcCompile event to contract-compile button”. So go ahead and place the addCompileEvent() function at the bottom end of the window.onload method.
Now go to the browser, click the Compile button and open up your browser console to see the results.
The SolcJS compile method scans the code line by line then outputs the result as a JavaScript object. Inside of this object are 4 properties, that differ, depending on which compiler you picked from before. These are the properties:
contracts— This is where our compiledHelloWorld.solcontract will be located. Our form input can take an arbitrary amount of contracts and compile them all at once, another added feature of the compiler.errororformal— Any errors or warnings that might have happened as a result of a compilesourceListandsourceswill list the files, if specified, of where the contracts are our located in the file system.
Contract Details:
When you click the contract in the console, you’ll see the freshly compiled code. This is the information the EVM is going to run.
assembly— These are the opcodes that describe our bytecode.bytecode— This is the code that the EVM can natively execute.interface— This is our contract ABI. The ABI allows us to encode/decode our contract to and from machine code.functionHash— These are the contract functions that get hashed into four bytes.gasEstimates— This is a simulated call in the EVM that returns the gas estimates of the contract.
Now that we have the information we want from our compiled contract we can display it in our UI to be a bit more presentable.
<div class="mui-row">
   ...
   <div id="contract-list" class="mui-col-md-6"></div>
</div>
Inside of the mui-row where our contract input code lives, place the inner div from above as a sibling to the contract input row. Every contract that gets compiled down will be appended to the contract-list div. Since SolcJS can compile arbitrary amounts of contracts, we create an area where the contracts get displayed.
To the Javascript, once again:
In our index.js type the lines of code from below at the buttom of the file; I'll explain the code shortly.
function renderContractList() {
  const contractListContainer = document.getElementById('contract-list')
  const { contracts } = compiledContract

  Object.keys(contracts).forEach((contract, index) => {
    const label = `contract-id-${index}`
    const gas = contracts[contract].gasEstimates.creation

    createContractInfo(gas, contract, label, function(el){
      contractListContainer.appendChild(el)
      const btnContainer = document.getElementById(label)

      btnContainer.appendChild(
        buttonFactory('primary', contract, contracts[contract], 'details')
      )
    })
  })
}

function createContractInfo(gas, contractName, label, callback) {
  const el = document.createElement('DIV')

  el.innerHTML = `
    <div class="mui-panel">
      <div id="${label}" class="mui-row">
        <div class="mui-col-md-3">
          Contract Name: <strong>${contractName.substring(1, contractName.length)}</strong>
        </div>
        <div class="mui-col-md-3">
          Gas Estimate: <strong style="color: green;">
            ${sumArrayOfInts(gas)}
          </strong>
        </div>
      </div>
    </div>
  `

  callback(el)
}

function sumArrayOfInts(array) {
  return array.reduce((acc, el) => (acc += el), 0)
}

function buttonFactory(color, contractName, contract, type) {
  const btn = document.createElement('BUTTON')
  const btnContainer = document.createElement('DIV')

  btn.className = `mui-btn mui-btn--small mui-btn--${color} mui-btn--raised"`
  btn.innerText = type
  btn.addEventListener('click', () => type === 'details'
    ? 'DETAILS BUTTON'
    : 'DEPLOY BUTTON'
  )

  btnContainer.className = 'mui-col-md-3'
  btnContainer.appendChild(btn)

  return btnContainer
}
Where we were console.log ing our compiled contract replace the console.log with the renderContractList() function. When we click our Compile button, instead of console.log ing the compiled contracts we ‘re going to display them in our UI.
Whats going on?
Refresh your browser and when you click the COMPILE button you should see the compiled contract by name and the gas its estimated to cost after the contract is deployed.
Go back to the code snippet on line 3, you’ll see that we are deconstructing the contract property out of the compiledContract global variable. Once we have this object, we reference all of the keys and display them. These keys are contract names, which we pass to the createContractInfo() function that also takes in the contracts info and renders it. When we click the compile button we see the contract by name and the gas its estimated to cost.
There’s a Details Button:
So you guessed it, there’s even more to the contract than just its gas estimation and name. What about the function that the contract had when we compiled it?, what about the bytecode? Opcodes? All that other useful information? Well… you’re right, let’s display that. So this will be the last feature of part one of this tutorial and a very important one.
function renderContractDetails(name, contract) {
  const modalEl = document.createElement('div')
  modalEl.style.width = '700px';
  modalEl.style.margin = '100px auto';
  modalEl.style.padding = '50px';
  modalEl.style.backgroundColor = '#fff';

  modalEl.appendChild(renderContractInfo(name, contract))
  mui.overlay('on', modalEl);
}

function renderContractInfo(contractName, contract) {
  const contractContainer = document.createElement('div')
  contractContainer.innerHTML = `
    <h3>
      Contract Name: <strong>${contractName.substring(1, contractName.length)}</strong>
    </h3>
    <h4>Bytecode:</h4>
    <textarea style="width:670px; height:200px;" readonly>${contract.bytecode}</textarea>
    <h4>ABI:</h4>
    <textarea style="width:670px; height:150px;" readonly>${contract.interface}</textarea>
    <h4>Function Hashes</h4>
    <textarea style="width:670px; height:100px;" readonly>${renderFunctionWithHashes(contract.functionHashes)}</textarea>
    <h4>Opcodes:</h4>
    <textarea style="width:670px; height:200px;" readonly>${contract.opcodes}</textarea>
  `

  return contractContainer
}

function renderFunctionWithHashes(functionHashes) {
  let functionHashContainer = ''

  Object.keys(functionHashes)
    .forEach((functionHash, index) => (
      functionHashContainer += `${++index}. ${functionHashes[functionHash]}: ${functionHash} \n`
    ))

  return functionHashContainer
}
We’re using MUI’s overlay/modal feature, which is going to display our contract details in a sort of list format. When the user clicks on the details button the list of information will pop up for each contract. It will display:
bytecodeABIfunctionHashopcodes
I mentioned these properties a bit earlier, but as a contract developer, you want to know this information, it tells you a bit about the security and gas that the contract uses. With all of the attacks that have happen in recent months, it’s important to get to know this information. It’s important that you take great care when writing contracts that others might use their money (ether) with.
The Finish Line:
In the buttonFactory function lets replace the ‘EVENTUAL DETAIL’ label with the renderContractDetails(contractName, contract) function.
Conclusion:
We created a feature that allows you to compile Solidity contracts in the browser and learned a little about those contracts:
Because contracts follow the
pragmaconvention, we needed a way to select compiler versions based on which pragma we were using.Since it was a Solidity contract we were compiling, we needed a way to input these contracts so we could compile them.
Once we had these compiled contracts there was certain information that we needed from the compiled contract to display in the UI.
In part two, we’ll deploy the contract to the TestRPC blockchain using Web3JS.
Hi! I am a robot. I just upvoted you! I found similar content that readers might be interested in:
https://medium.com/@JusDev1988/part-1-compiling-smart-contracts-in-the-browser-with-solcjs-and-vanilla-javascript-2bb0d6d5be04
Thanks alot bot! Thats my other post.