SEC S20W4 - Crafting Dynamic Layouts with Card, Scrolls, and ClipRRect in Flutter
 |
|---|
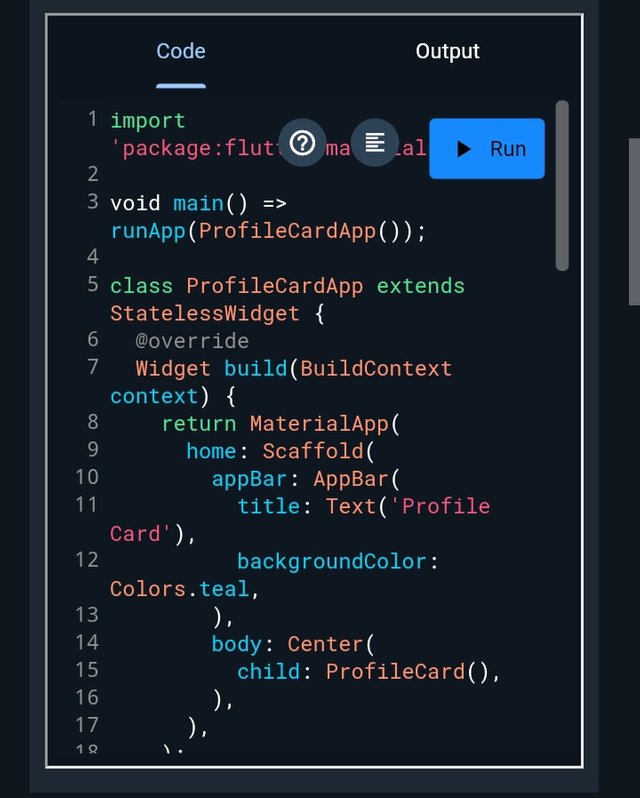
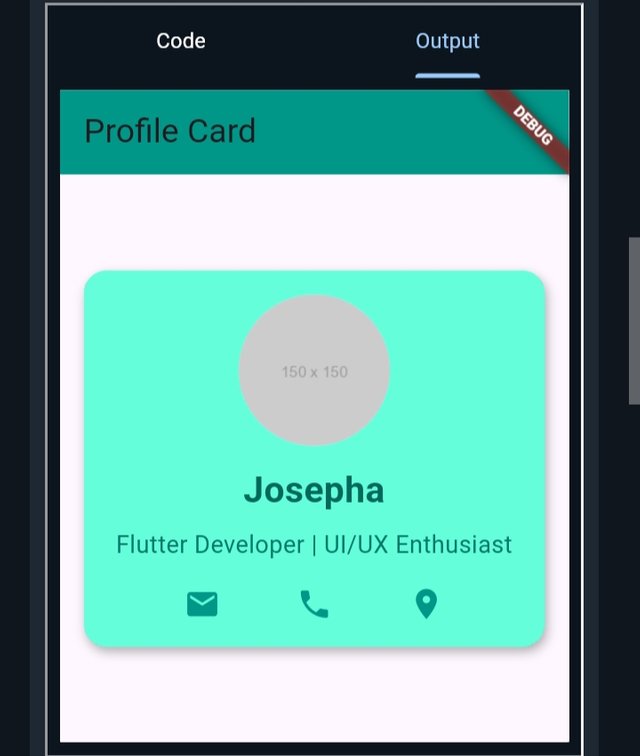
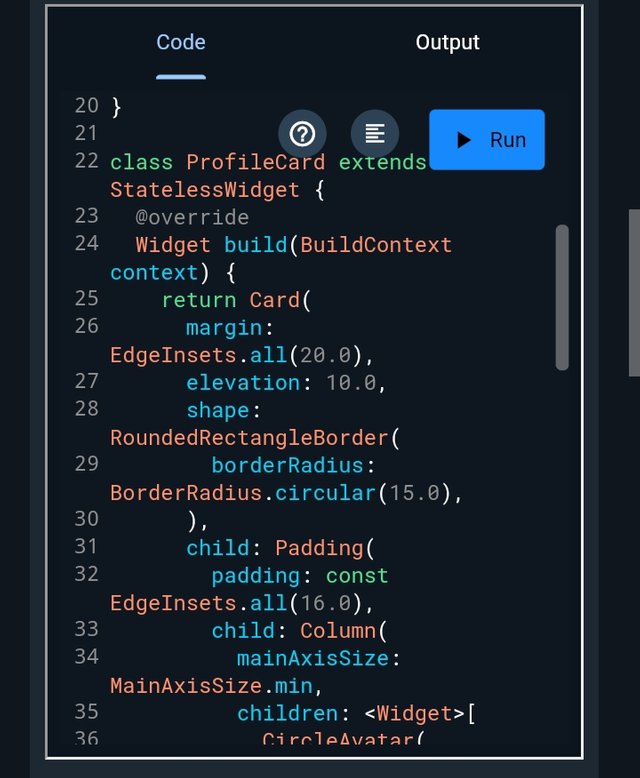
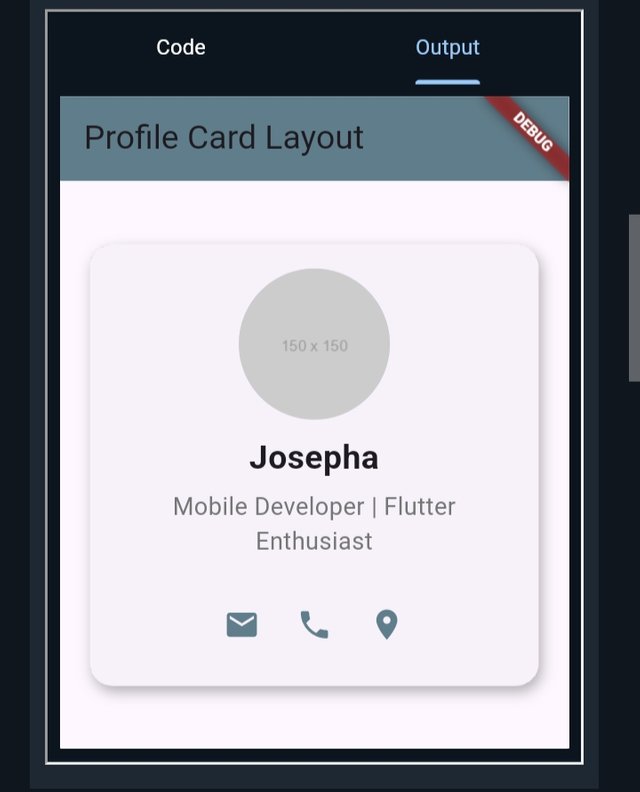
Create a Profile Card: Design a user profile card using the Card widget. It should include an avatar image, a username, and a description. Use the elevation, color, padding, and margin properties to style the card. Show your creativity and you will get marks based on the creativity and beautiful layout of the profile card. (2 Points)
Here I will be showing you how we can all design a user profile car using a card widget in Flutter. The design will have to include an avatar image, a username, and a description, and the use of other properties like elevation, color, padding, and margin properties to style the card.
Code
 |  |  |  |  |
|---|
Output
Key elements
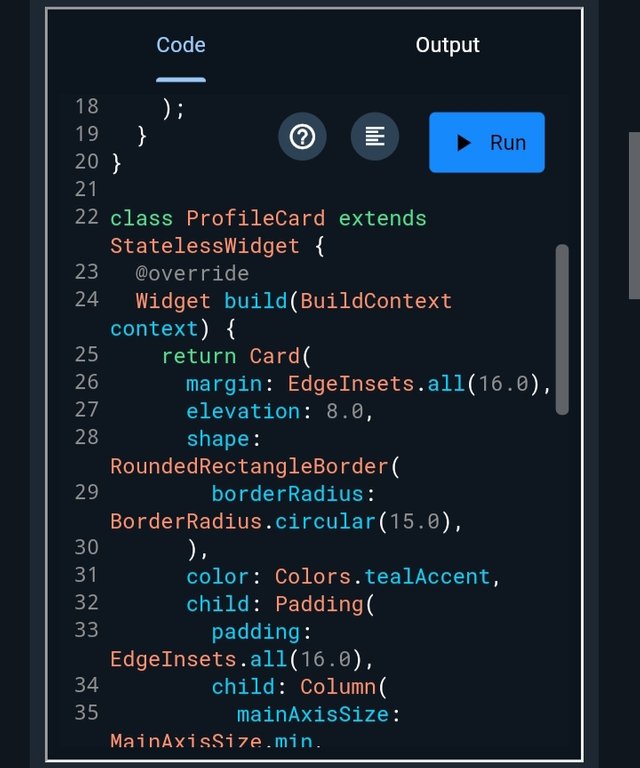
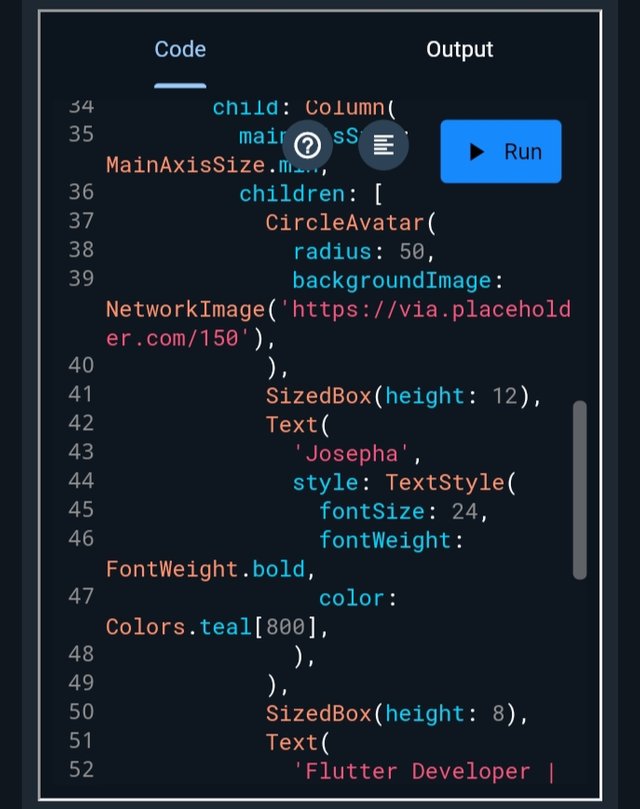
From the code of our design, we can see our key elements are; card, circle avatar, padding and margin, elevation,** and color
Card:
TheCardwidget is what provides the elevation and margin, making it stand out from the background.Circle avatar:
This is what is used to display a circular image for the user avatar which in the code the class name isCircleAvatarPadding and Margin:
I added the padding so there would be internal spacing and margin so there would be spacing around the card.Elevation:
I set the `elevation to 8.0 so the card can have a 3D shadow effect.Color:
I made use of a teal accent color to make the card look modern and fresh.
Task Title: How to create a user profile card layout in Flutter?
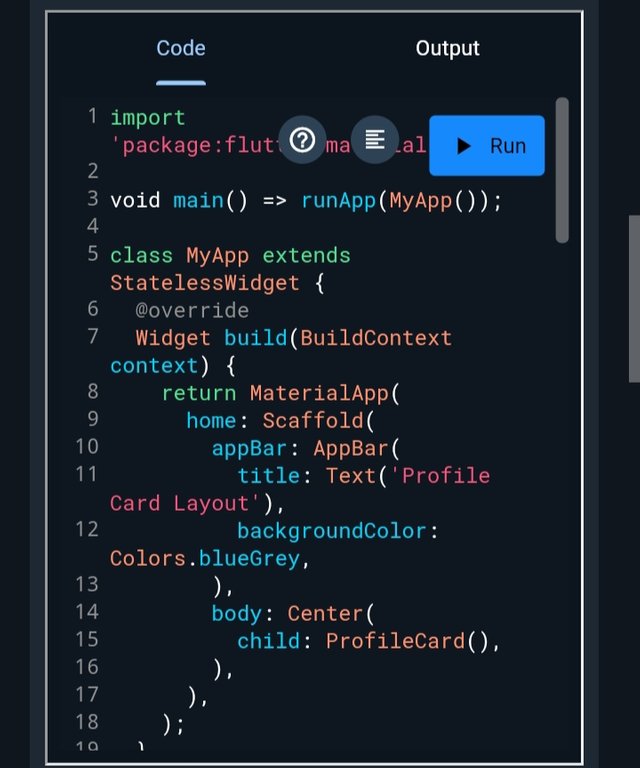
To create a user profile card layout in Flutter, I will make use of the Card widget together with other layout and UI components such as Column, Row, CircleAvatar, Text, Icon, and Padding. Below are the steps that I will need to follow when creating a user profile card layout in Flutter.
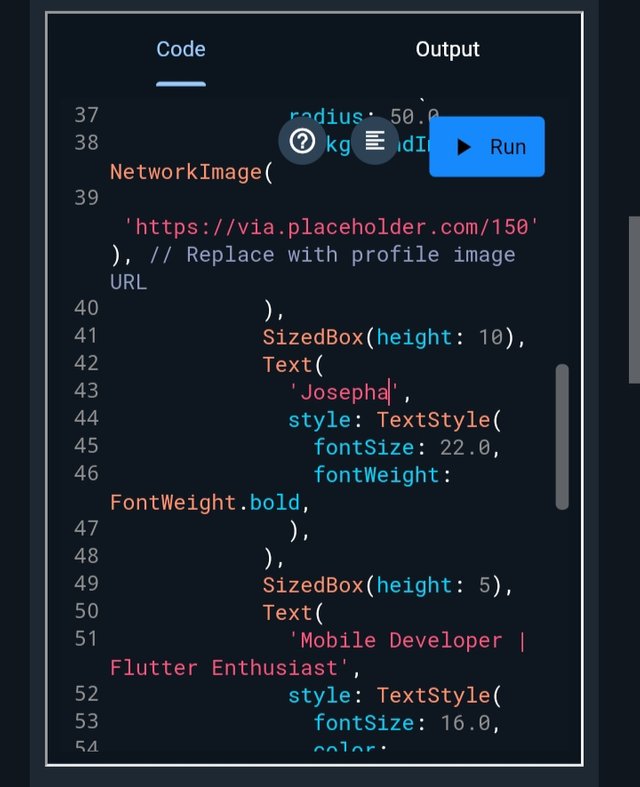
Step 1: Basic Structure
I can easily start with aCardwidget as the container for my profile details, and inside it, I can use aColumnorRowto arrange my content like the username, avatar, and description.Step 2: Components:
This will involve the following:Card: To provide padding and elevation
Text: This will be used for displaying the description and username.
Circle avatar: It will be used to display the user's profile picture.
Icons: This may not be needed, but I can use it for social media links or contact information.
Step 3: Styling
This will involve the following:I will use the
elevationproperty for shadow/depth effectsI will use
color,margin, andpaddingto give the card a nice look.I can optionally use
RoundedRectangleBorder,to make the cards corner rounded.
Below is an example of how my code would look like
Code
 |  |  |  |  |
|---|
Output
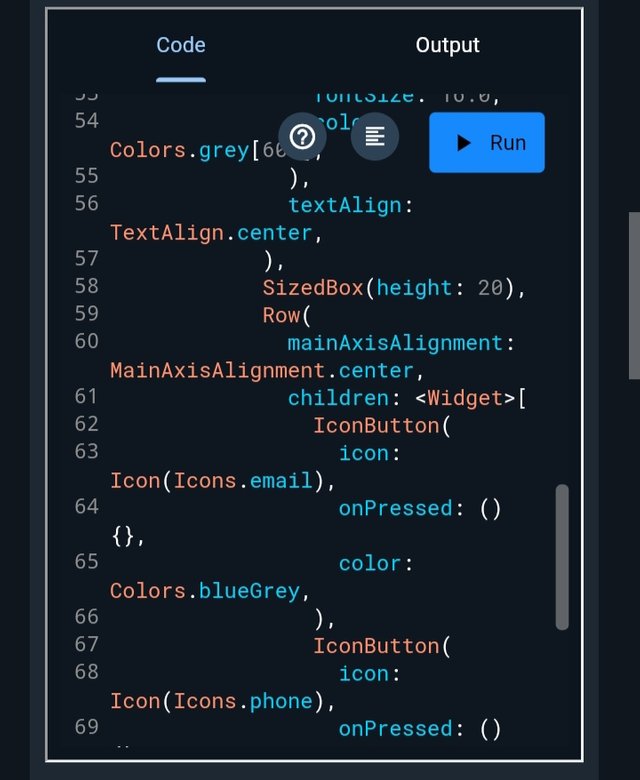
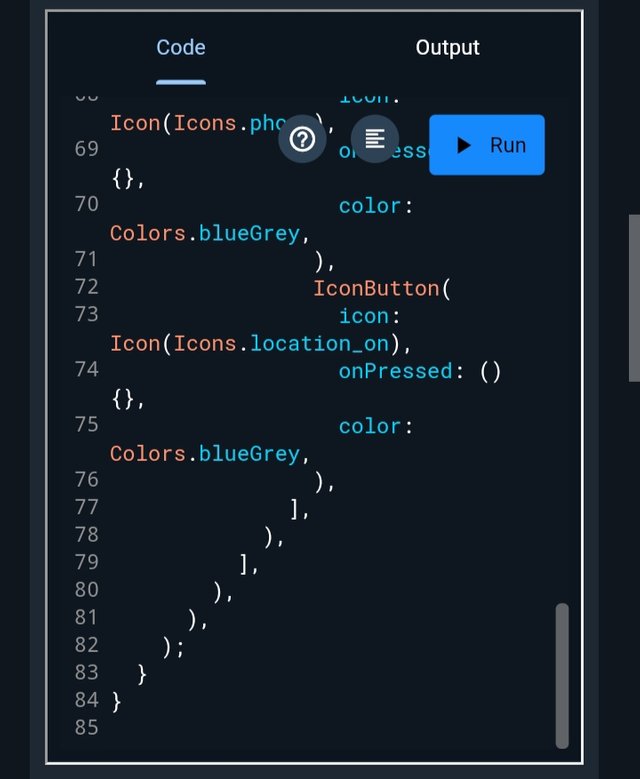
Key Components
The key components would be as follows;
Card widget:
marginwill be used for searching around the cardElevationwill be used to give a shadow effectRoundedRectangleBorderwill be used withborder-radiusto make the corner rounded.
CircleAvatar:
- Will be used for the display of the profile picture in a circular frame.
Text:
- One
Textwidget for the username and another will be used for the description/bio TextStylewill be set tofontSize,fontWeight, andcolor.
Icons (Optional):
- A
RowwithIconButtonwidgets for contact information or social media links.
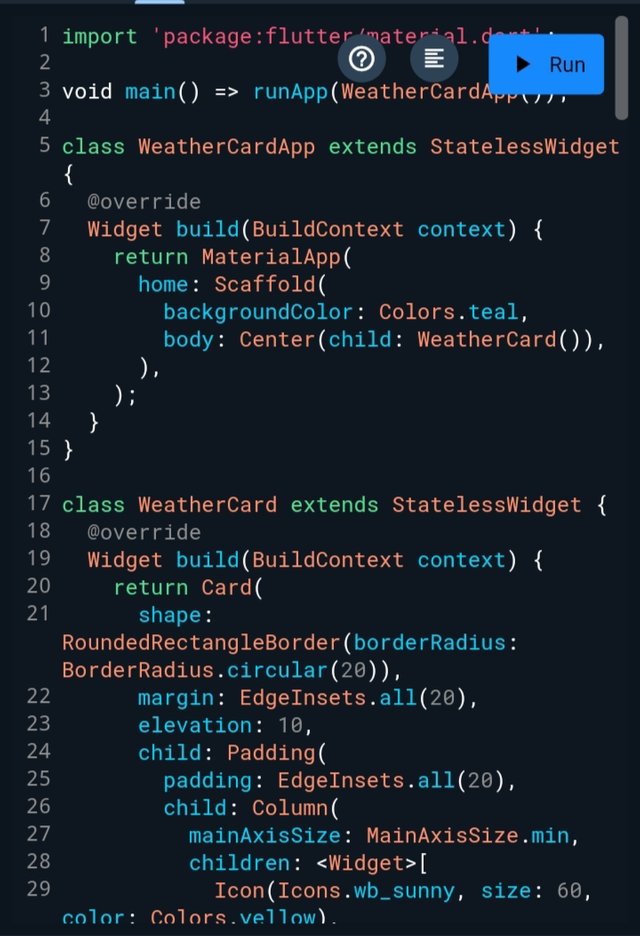
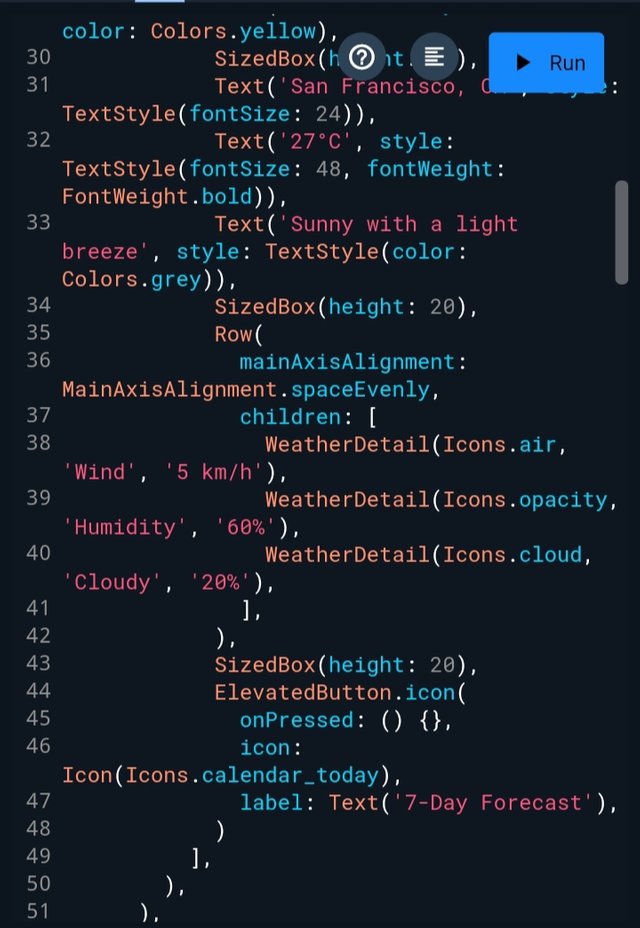
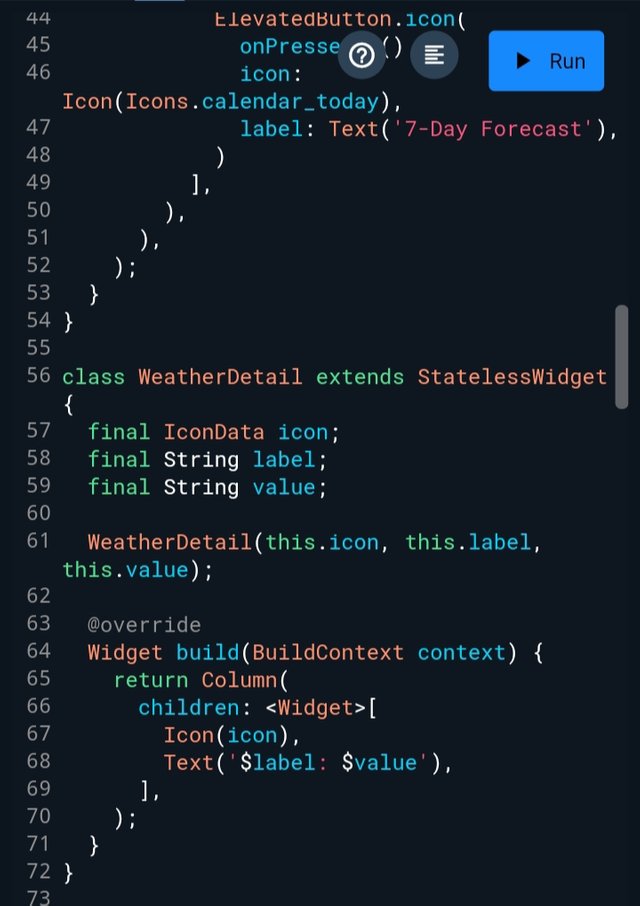
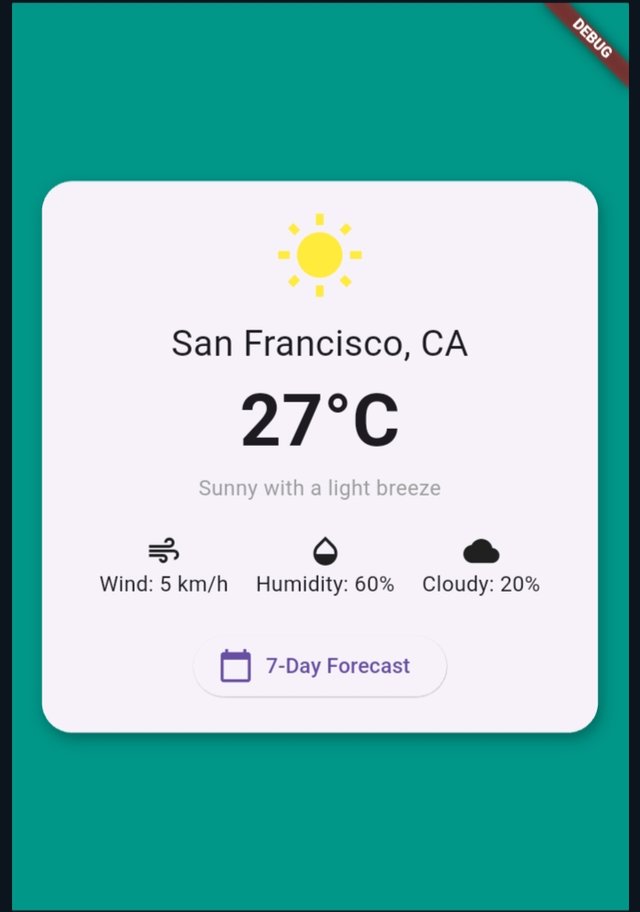
Create Weather Card: The design of the weather card is given below to make it correctly as shown in the below image. Add all the widgets used in the card. (2 Points)
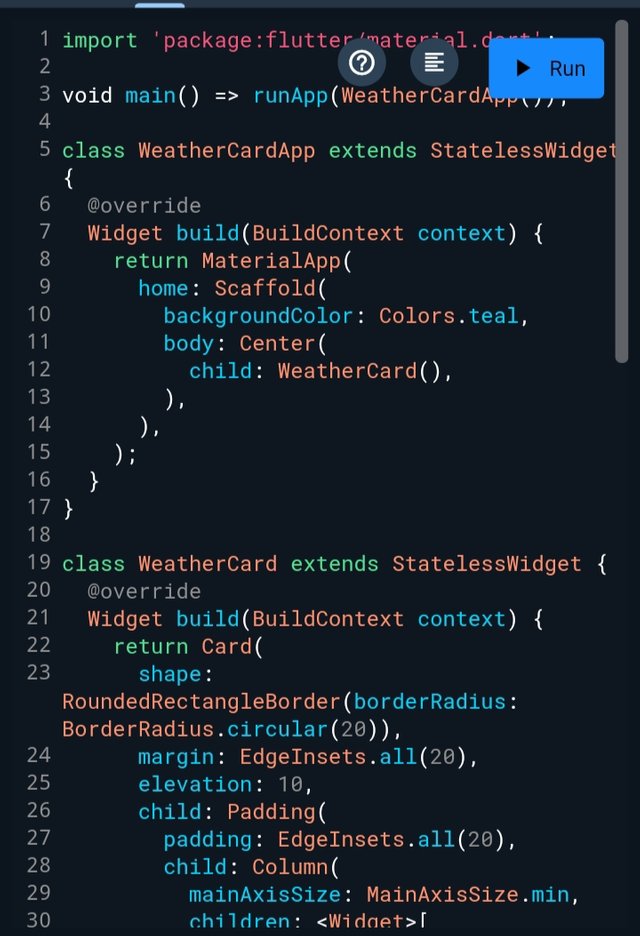
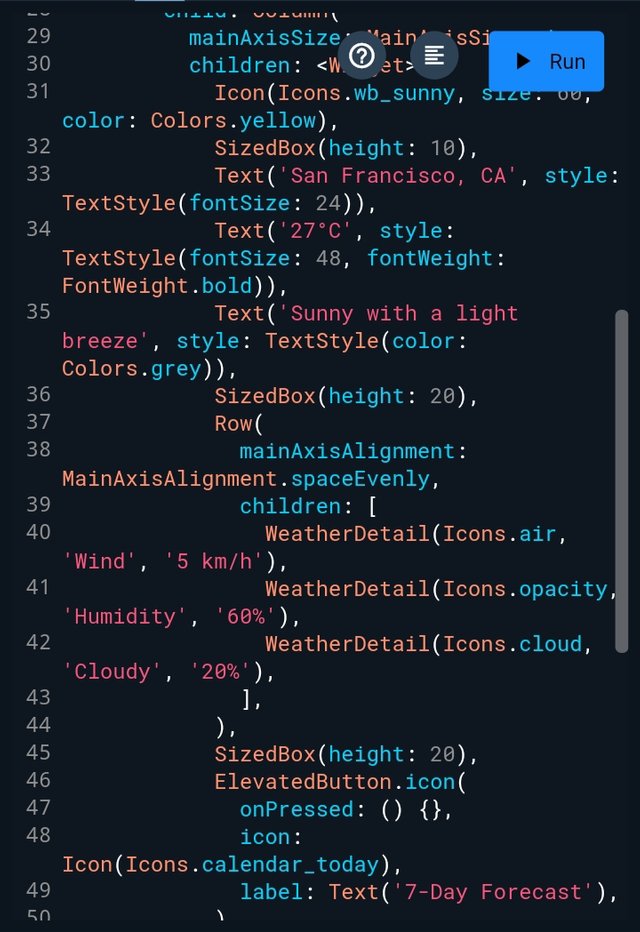
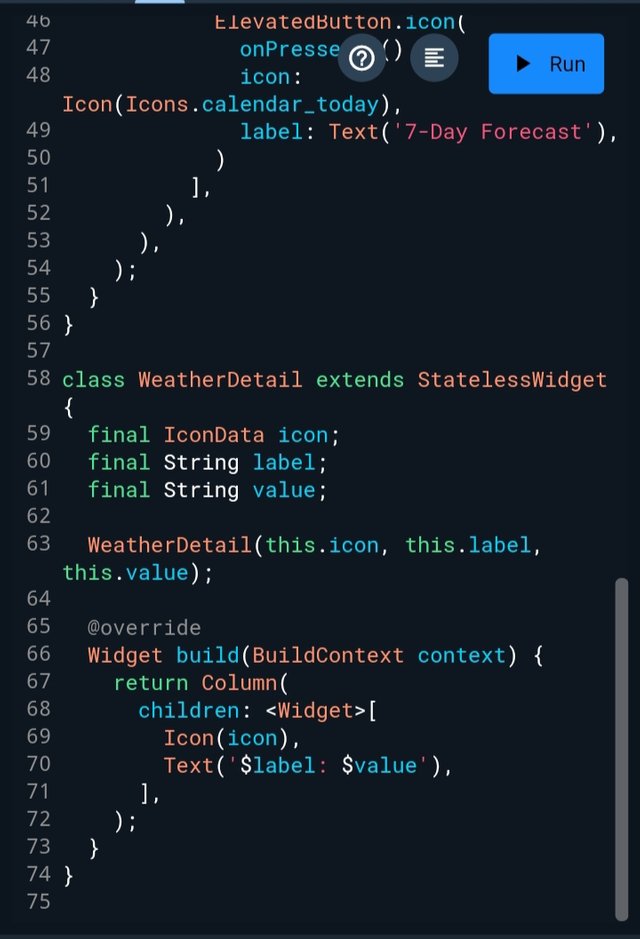
Here I have used the shorter version of the flutter code to create a whether car based on the design given by the professor.
Code
 |  |  |
|---|
Output
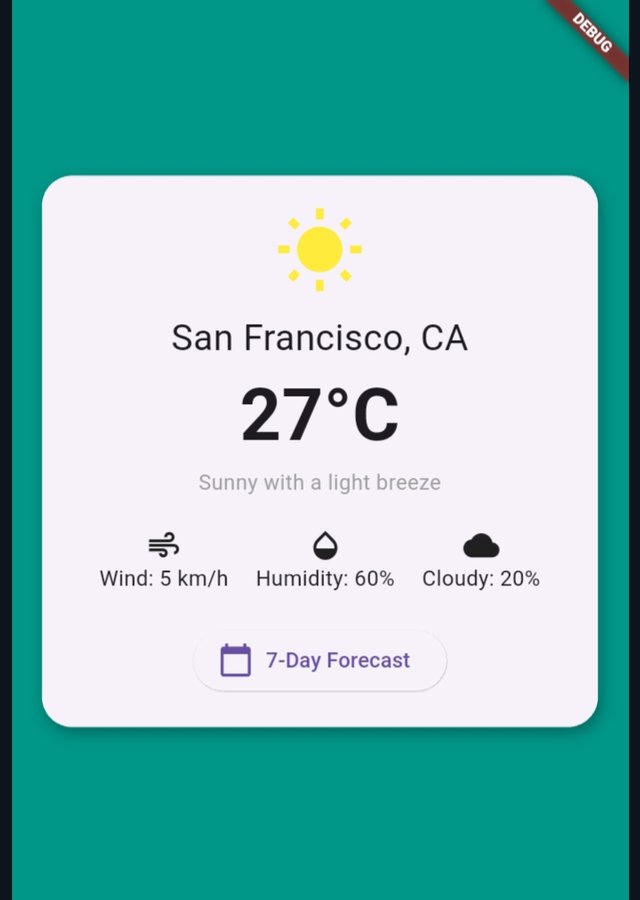
The version of the design that I did simplifies the code by using shorter property definitions and helper functions. The structure as as the same with a weather icon, weather details, forecast button, and temperature.
Task Title: How to create a weather card layout in Flutter?
To create a weather card layout in Flutter, we can use widgets like Column, Card, Icon, and Row. Below are the steps that we need together with the needed code.
Steps:
Use a Card widget: This will give us a neat, elevated look at the information on the weather.
Arrange Elements in a `Column: This will display the weather icon, temperature, location, and other information in a vertical stack.
Styling the card: We will need to use properties like elevation, padding, and margin in styling the tg card.
The use of Row widgets: Arrange the wind speed, cloudiness, and humidity on a row at the bottom.
Example
Code
 |  |  |
|---|
Output
Interpretation
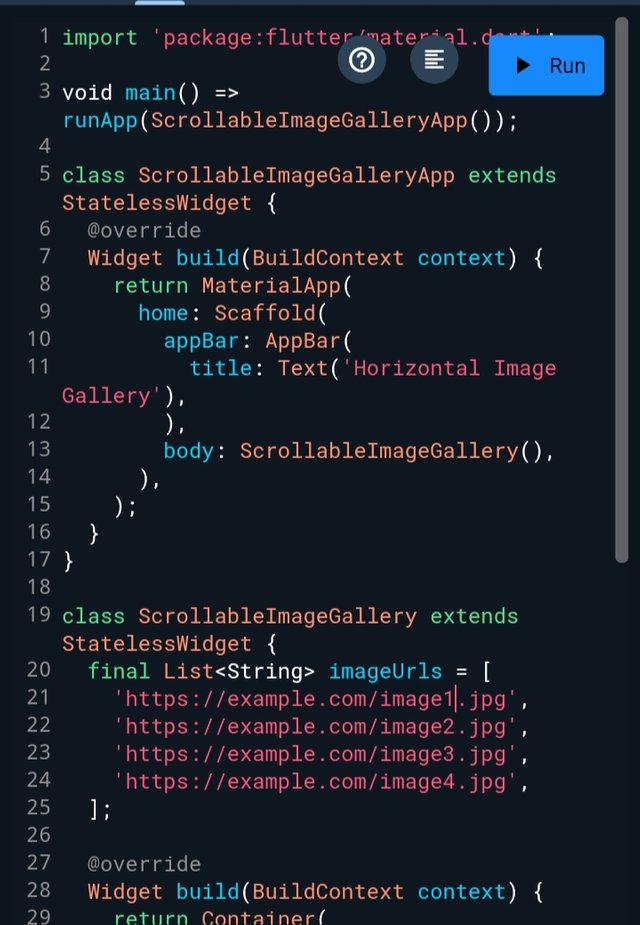
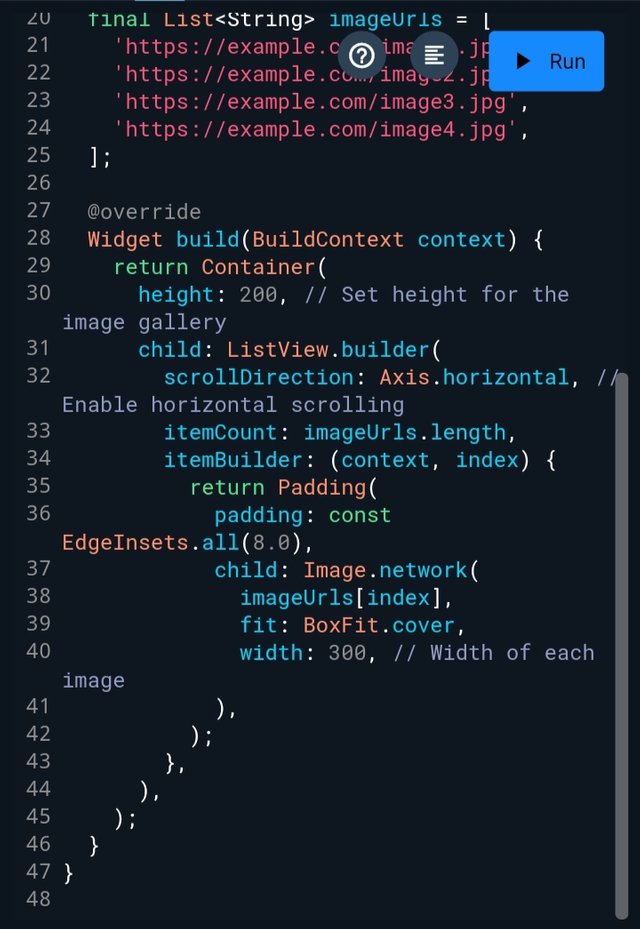
Scrollable Image Gallery: Implement a horizontal scrolling image gallery. The gallery should display a series of images that can be scrolled through horizontally. You can use asset images or network images. (2 Points)
To implement a horizontal scrolling image gallery in Flutter, we will have to make use of the ListView widget with the scrollDirection set to `Axis. Horizontal. This will allow us to create a horizontally scrollable gallery, either using asset images or network images.
Below is a code of how it should be implemented.
Code
 |  |
|---|
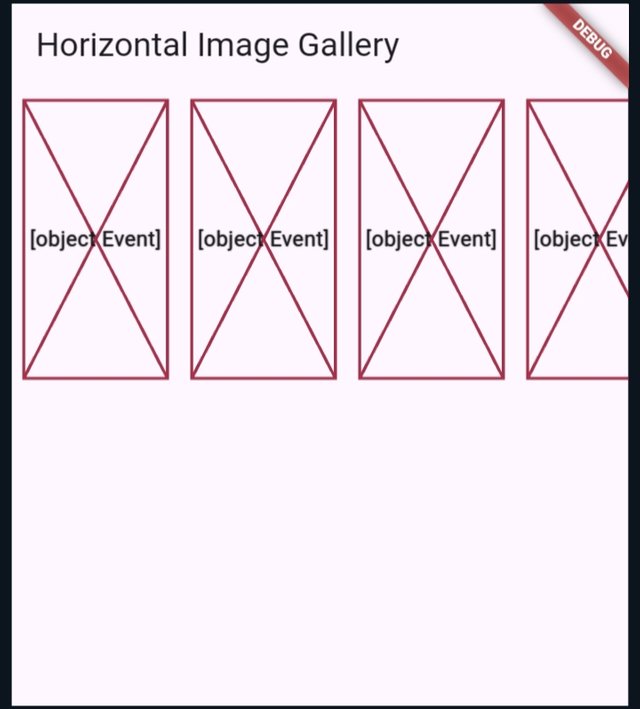
Output
Interpretation
ListView.builder: We can use this to create a scrollable list of images as we want. The scrollDirection is set to `Axis. hoHorizontalto enable the horizontal scrolling.
Images: Let's say example network images are used (replace imageUrls with the URLs of our images). We can use asset images by replacing image. Network with image. Asset and using paths to manage the store in our project.
Styling: Each image has some padding for spacing. BoxFit.cover makes sure the images are scaled and cropped to fit their containers.
For asset images it would be as shown below
You will need to add images to `pubspec. YAML
flutter:
  Assets:
    - assets/image1.jpg
    - assets/image2.jpg
    - assets/image3.jpg
    - assets/image4.jpg
- Modify the Code:
final List<String> image paths = [
  'assets/image1.jpg',
  'assets/image2.jpg',
  'assets/image3.jpg',
  'assets/image4.jpg',
];

// Replace in itemBuilder:
Child: Image. asset(
  imagePaths[index],
  fit: BoxFit.cover,
  width: 300,
),
Using the above code will display a horizontally scrollable gallery of images of you.
Task Title: How to create a scrollable image gallery in Flutter?
To be able to create a scrollable image gallery in Flutter we need to follow the steps using the ListView widget, which allows horizontal scrolling. Let's take a look at the step-by-step guy below.
- Use the
ListView.builder()widget to create a horizontally scrollable list. - Set the
scrollDirectionproperty toAxis. Horizontalto allow horizontal scrolling. - Load either asset images or network images for the gallery.
- Add padding, height, and width to the image.
Below is a code and output of how what we have discussed can be done.
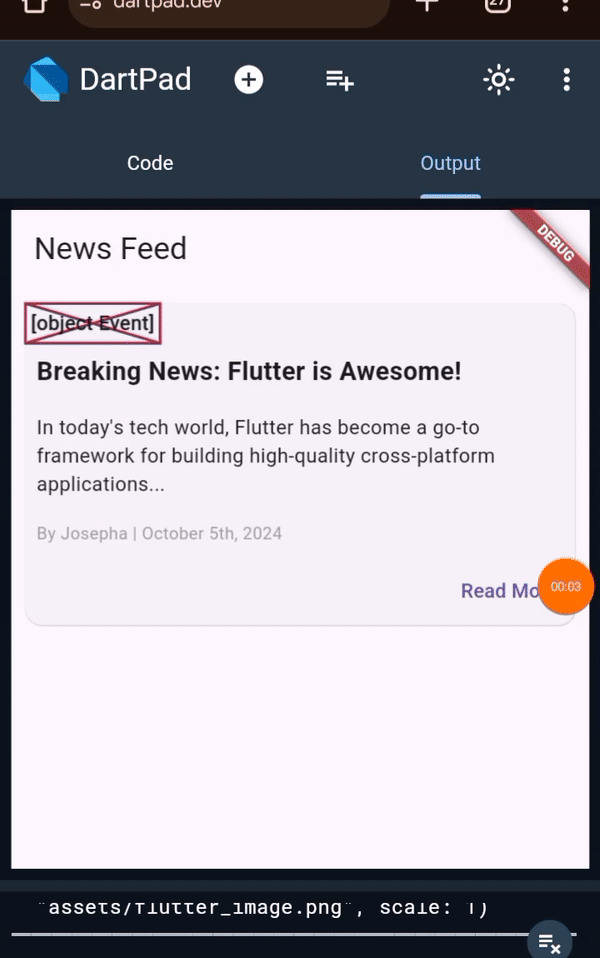
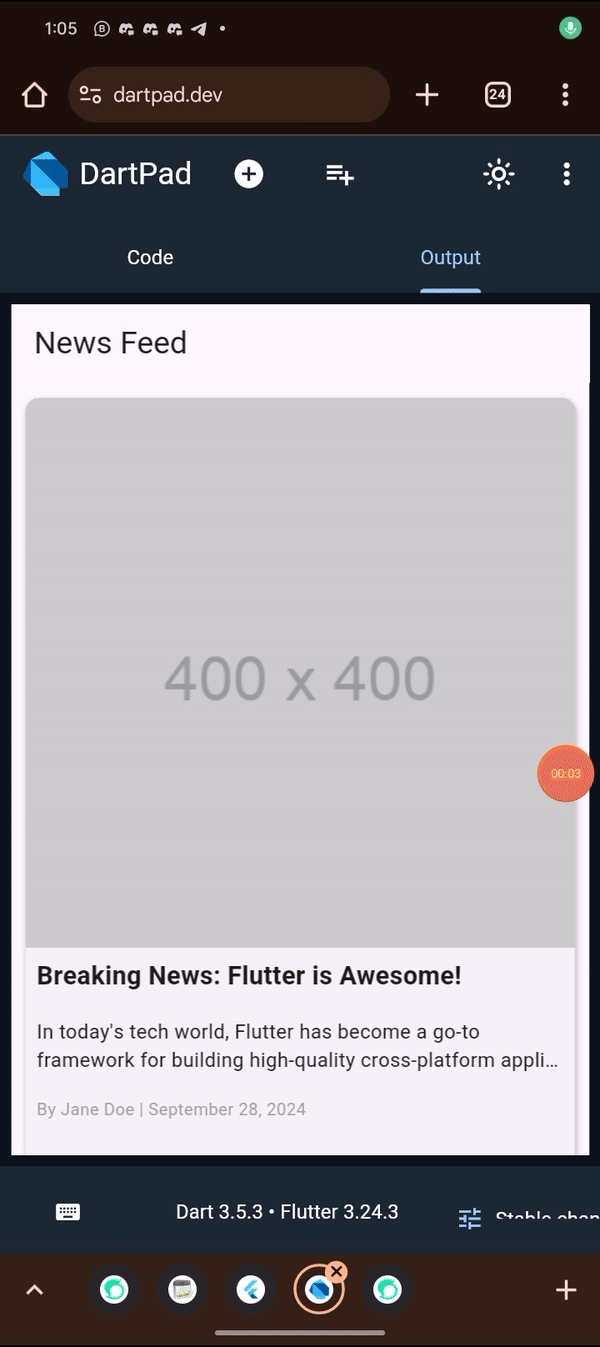
Build a news feed screen where each news item is displayed in a Card widget. The entire list of news should be scrollable. Each card should have a cover image, title, description of the news, date, author, and a button to read more. ( 4 Points)
To build a scrollable news feed screen with a card widget on Flutter, you can take a look at what I have shared below.
Interpretation
- The
NewsFeedScreencontains a scrollableListViewwhere each need item is rendered using theNewsCardwidget. - replace
asset/flutter_image.pngwith the actual path of my cover image.
- replace
- The
NewsCardwidget shows the image, description, author, date, and title along with a Read more button.
Task Title: How to create news feed user interface in flutter?
To create a news feed user interface in Flutter, we have to follow the steps that have been shared below. We have to make sure that we use the following; Scaffold, List view, Card, Image, Button and Textas seen in the code we have shared.
Our fist step should be creating the structure by using `Scattfold.
Card for each news item should be our second step which we can use
CardOur third step should be Scrollable List which should be
ListView.bukder. Below is an example of what we are to do.
Components
- AppBar
- List view. builder
- Image. network
- Text
- Text button
- Padding
- ClipRRect
I am inviting: @kouba01, @simonnwigwe, and @ruthjoe
Cc:-
@mohammadfaisal
Upvoted. Thank You for sending some of your rewards to @null. It will make Steem stronger.
You have presented your homework greatly. You have shared all the code and the output of the code is also good. Best of luck for the contest.