Paste Fericit! Homemade Easter Eggs
Now, I know that for most people, Easter was last Sunday. However, for the Eastern Orthodox Church, Easter is today. In our household we get two Easters. For me, double the chocolate is definitely a reason to celebrate. Paşte Fericit! And if google translate has informed me correctly - счастливой Пасхи! щасливого Великодня! Happy Easter to anyone I may have missed out!
I like to give celebrations a personal touch, so I bought myself an Easter Egg mould and have been having fun.
Following these instructions from The Independent. It's very simple, but I want to share my pictures with you because I'm pretty pleased with how they turned out.
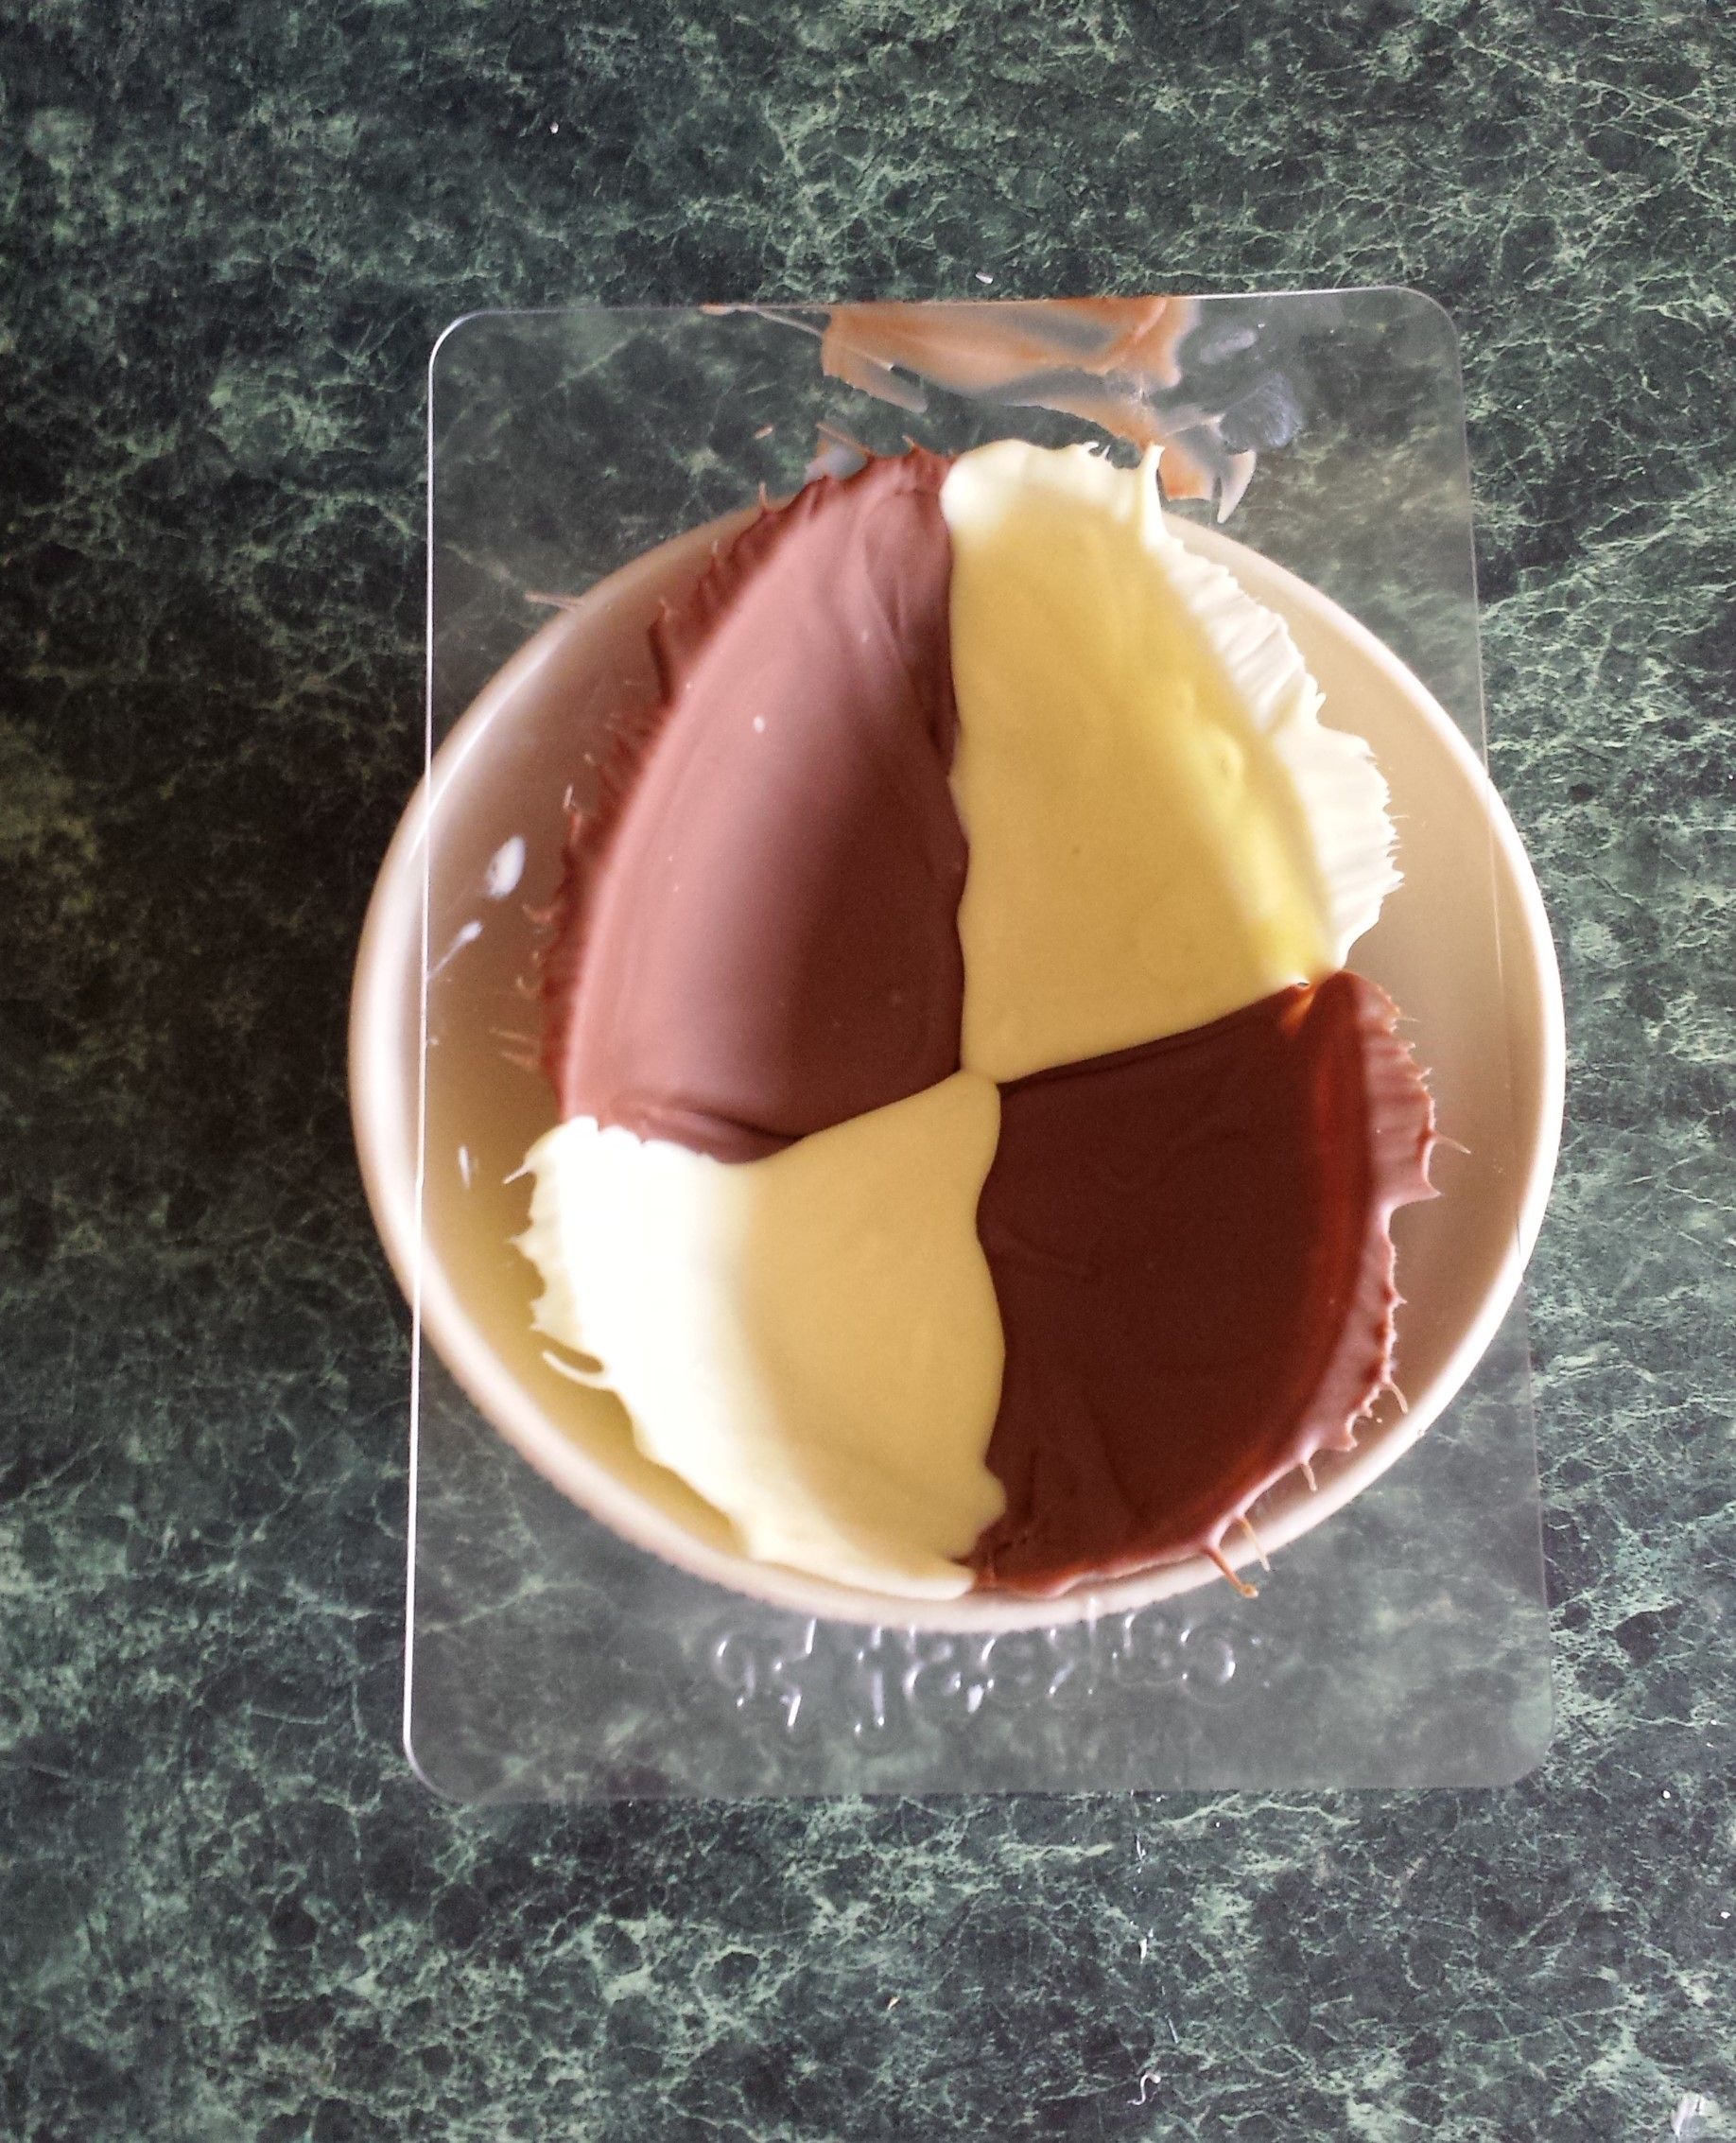
Get your egg-making station ready. I used cereal bowls to keep the egg moulds steady, and a pastry brush to paint the chocolate designs onto them.

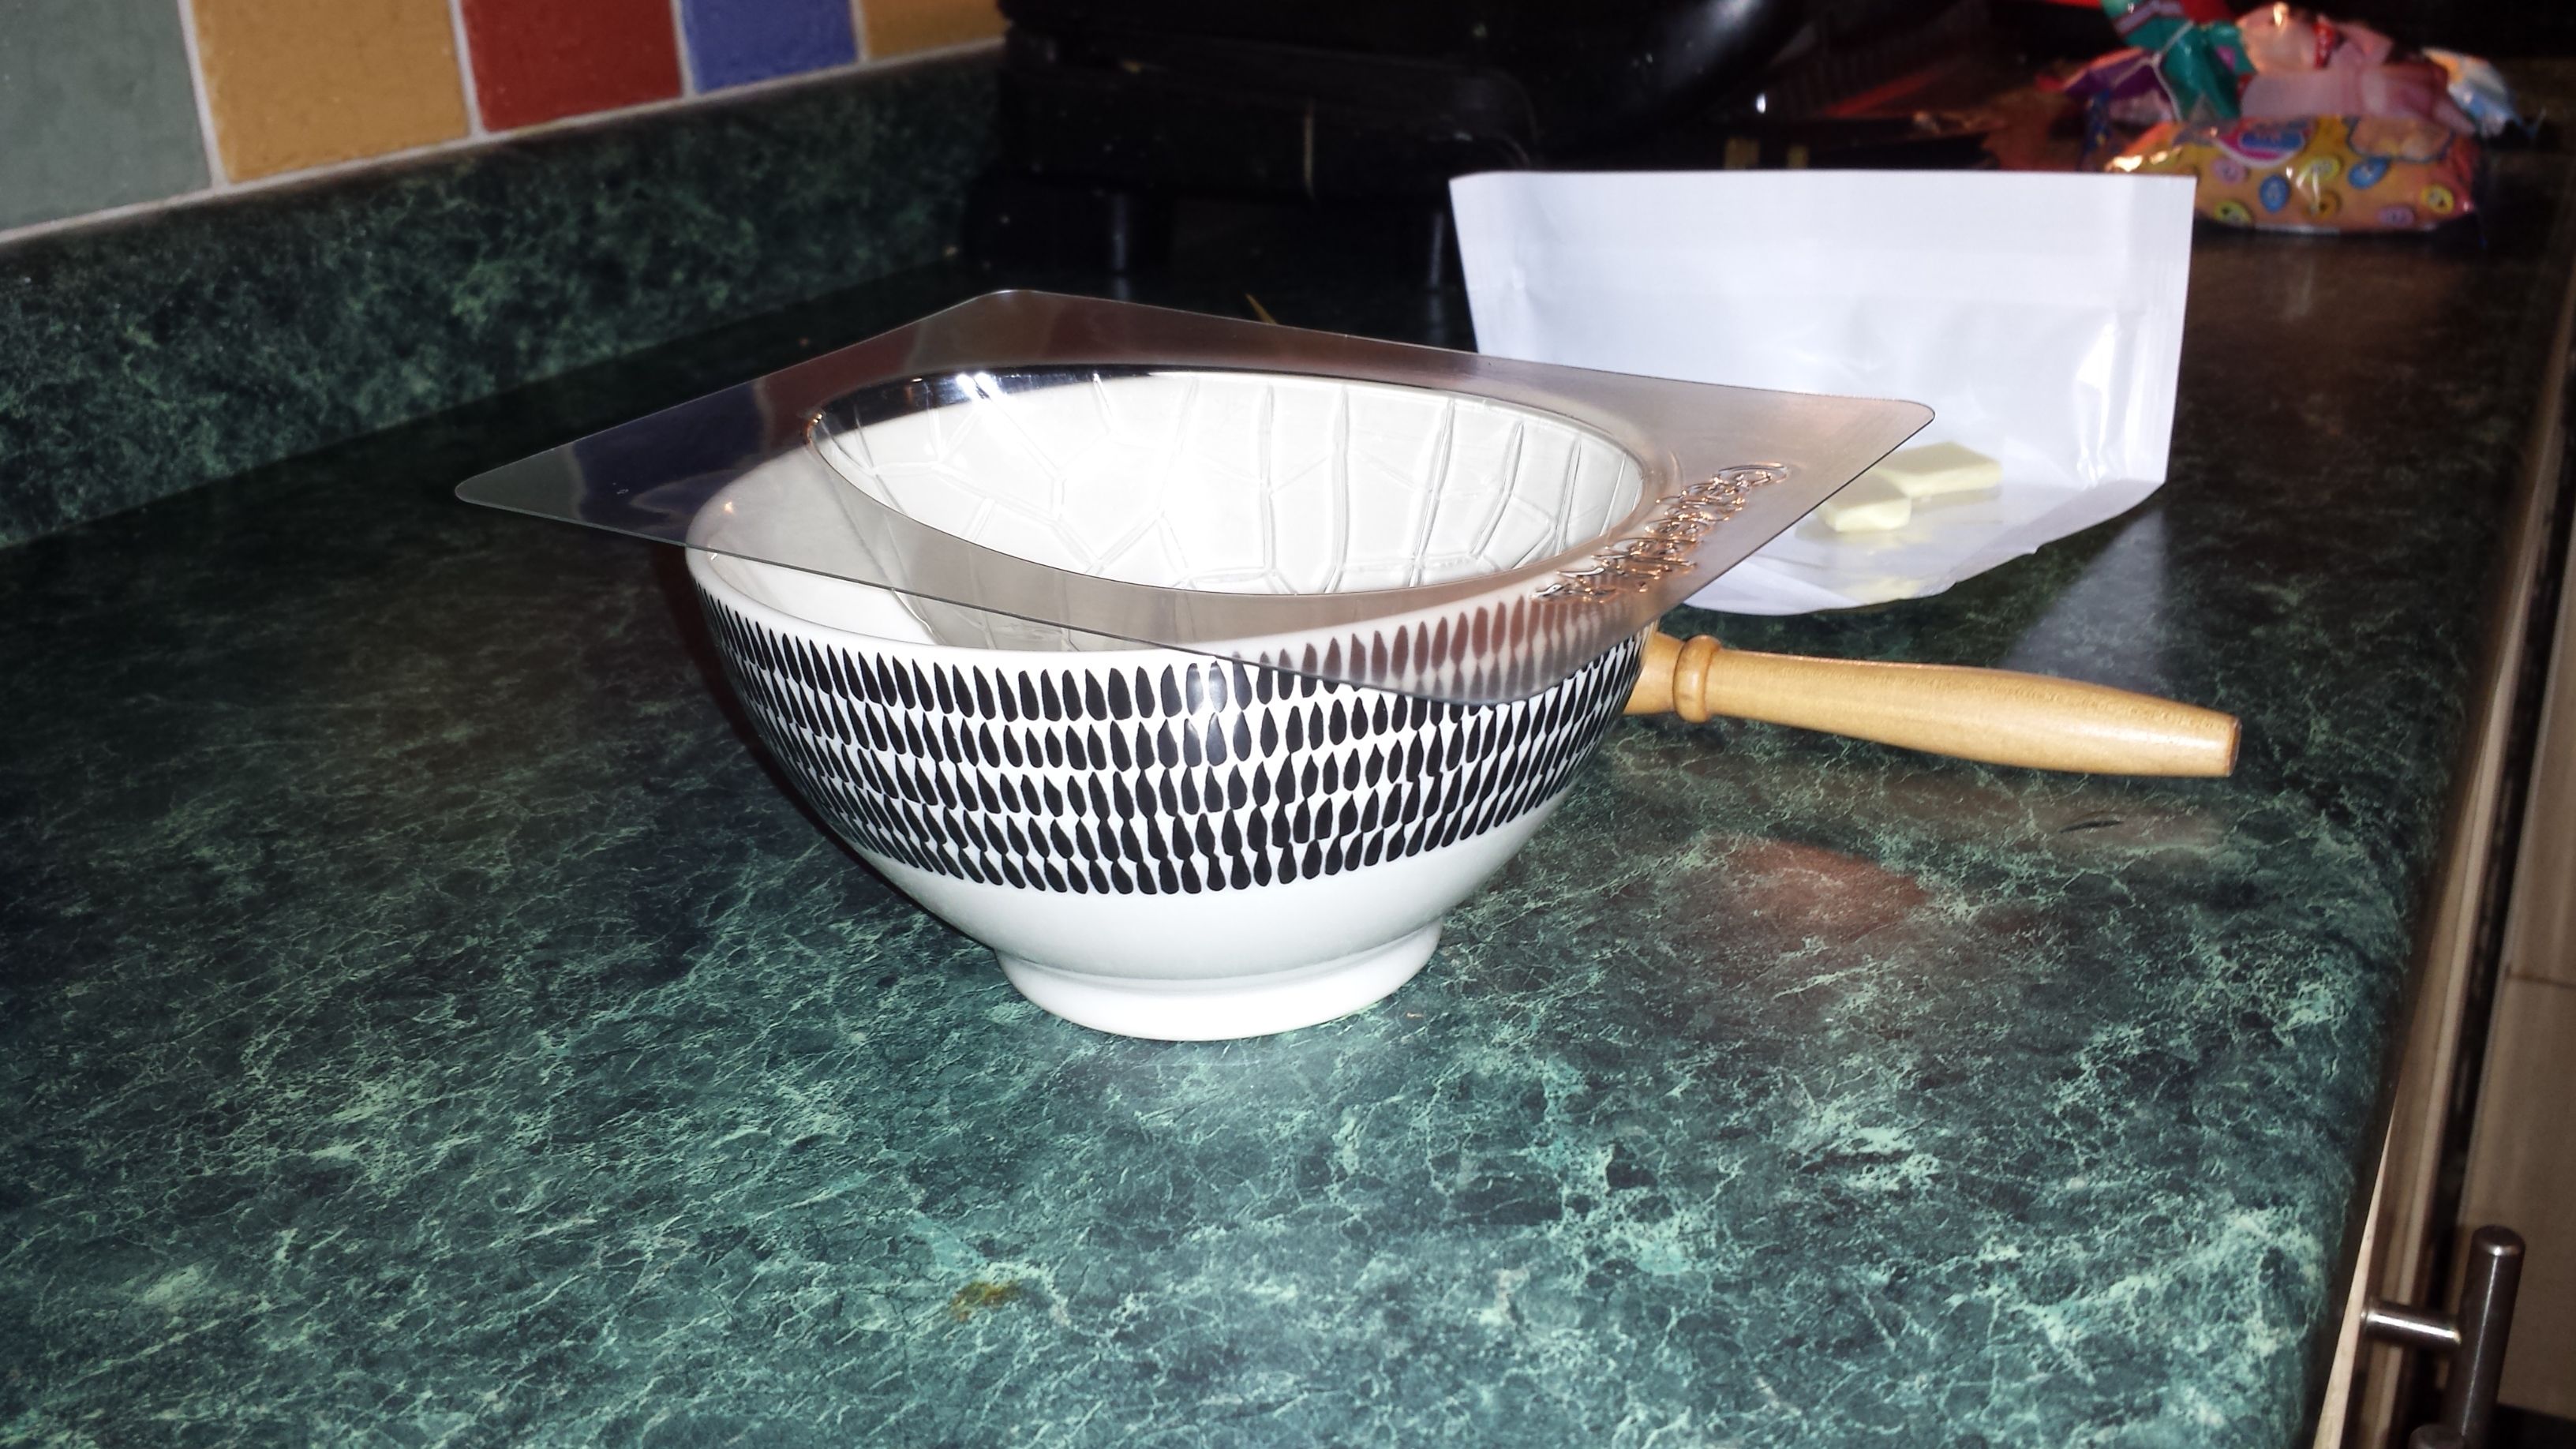
Melt your chocolate over a bain marie. I used 100 g at a time to paint both sides.

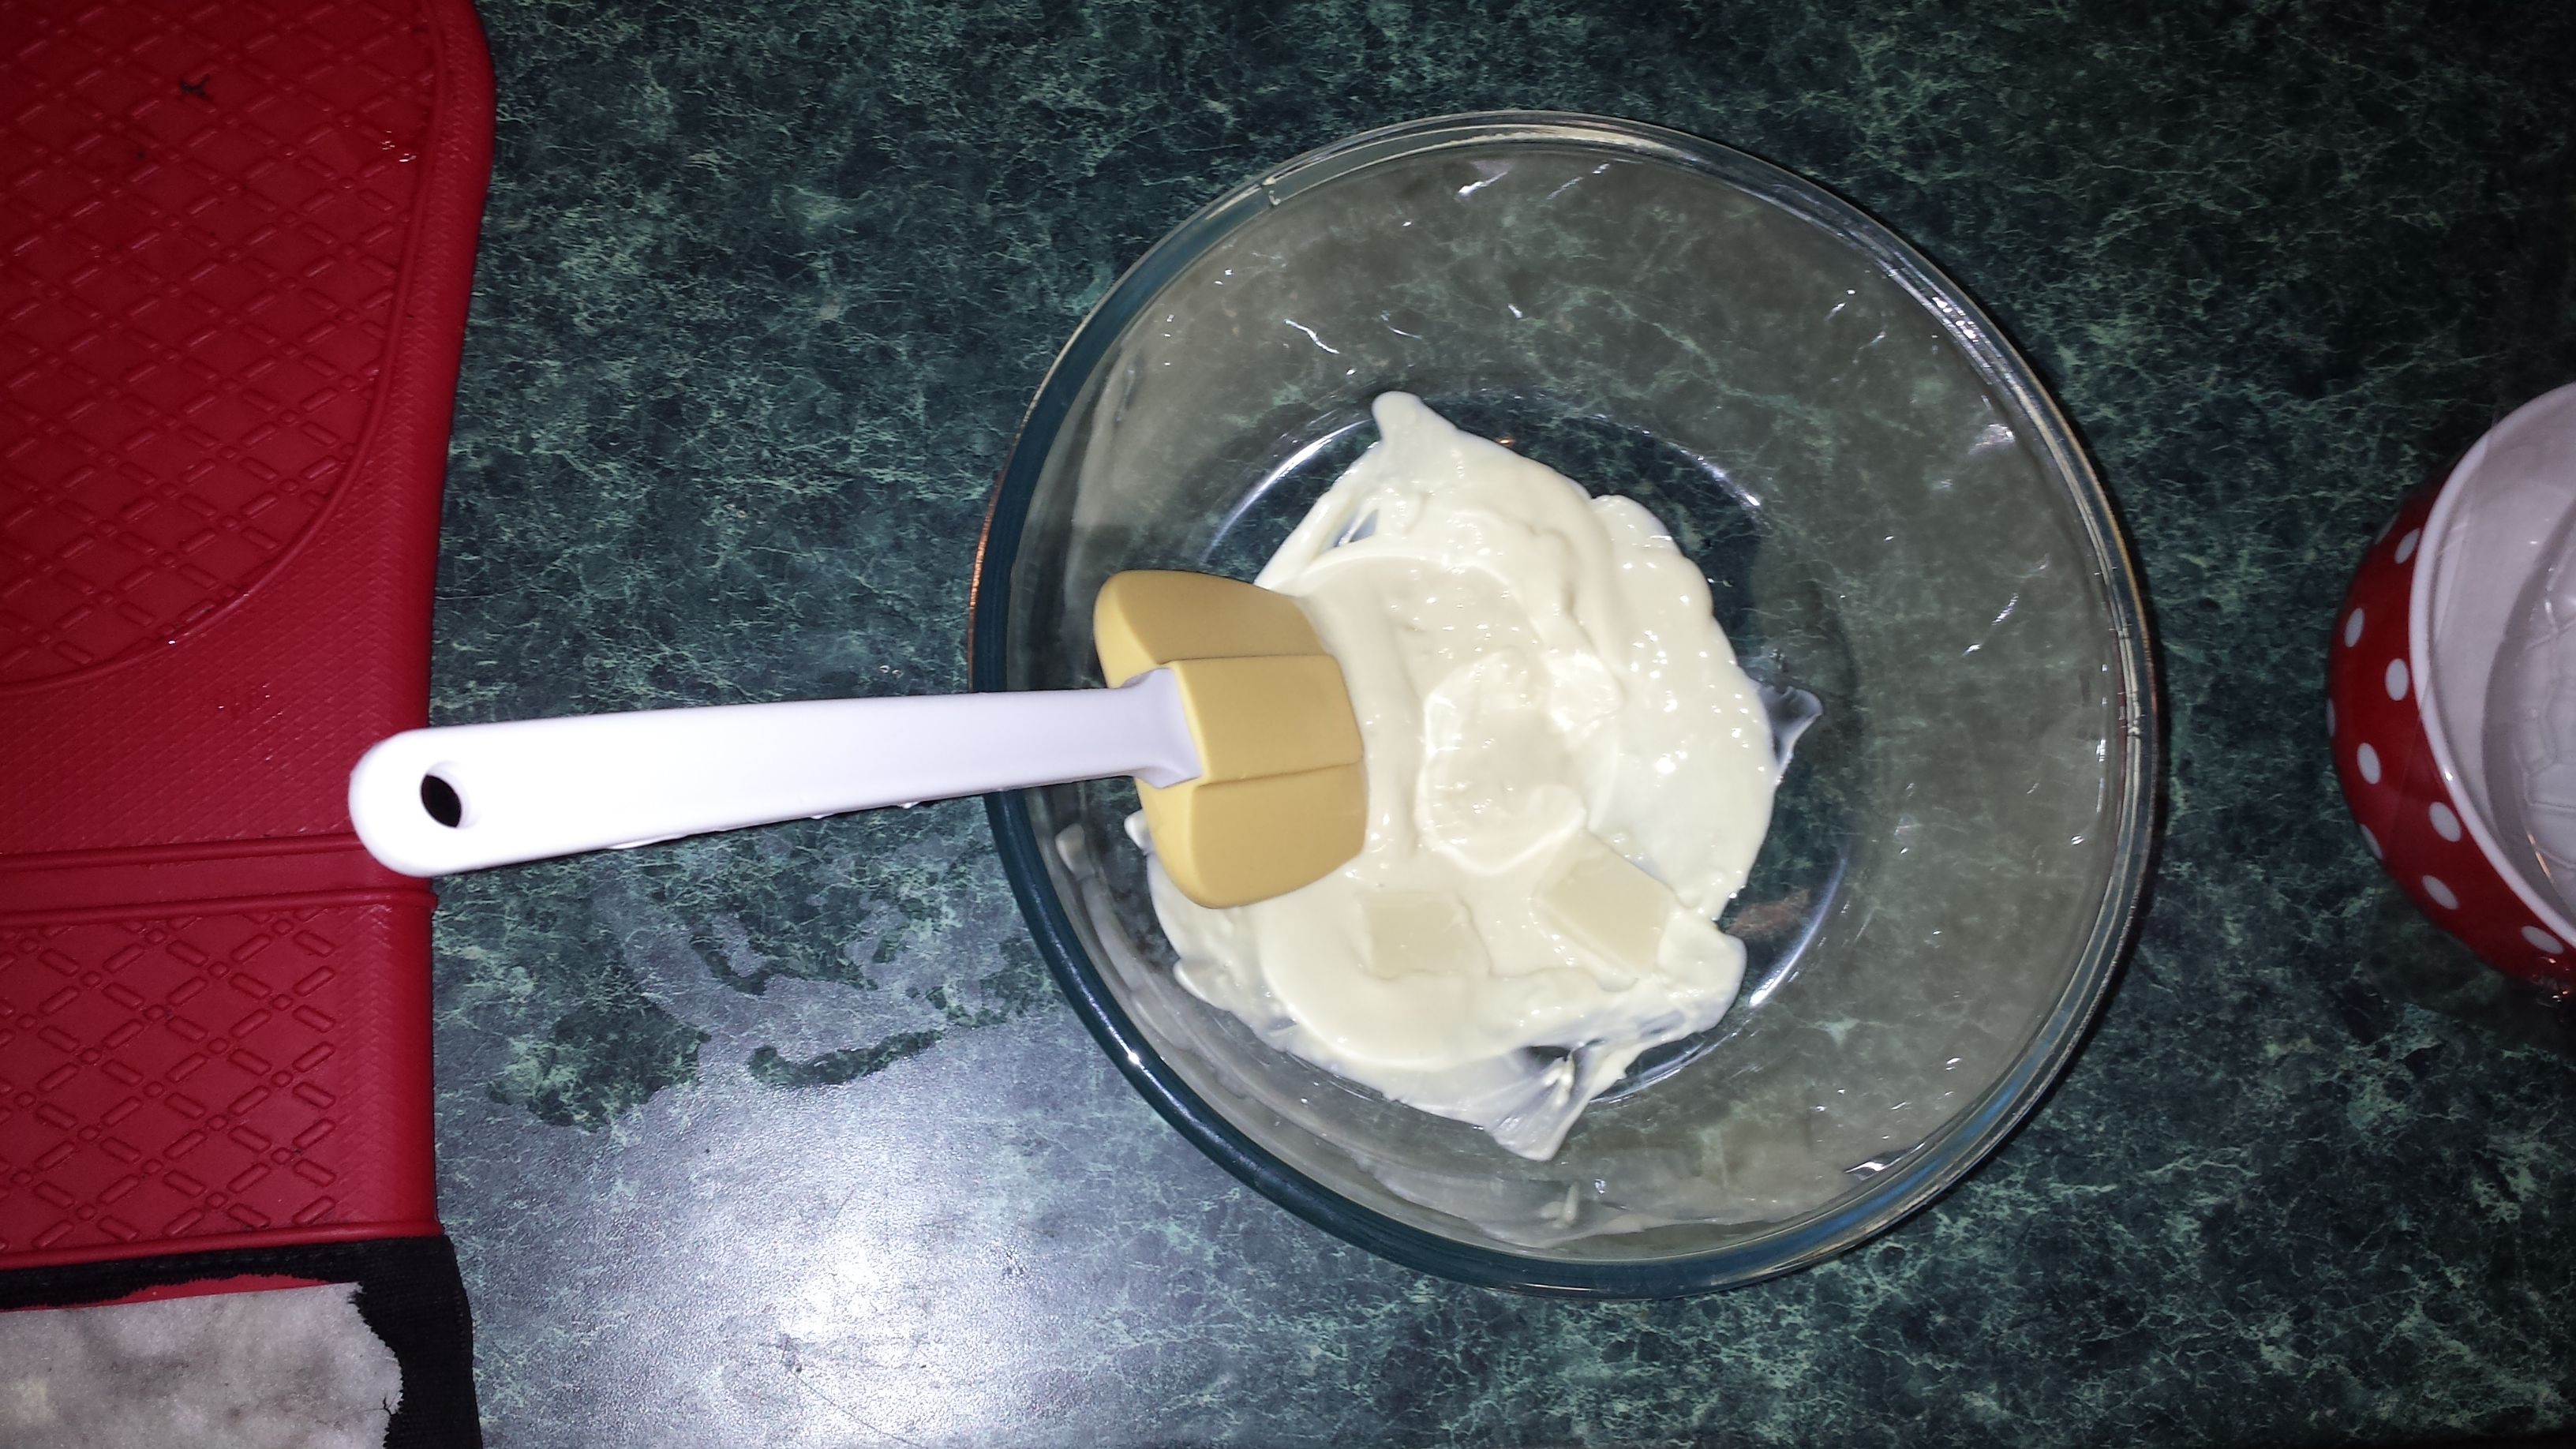
This isn't a great photo unfortunately; but you should be able to see that I'm tempering the chocolate by stirring more solid chocolate into the melted chocolate to bring it's temperature down.
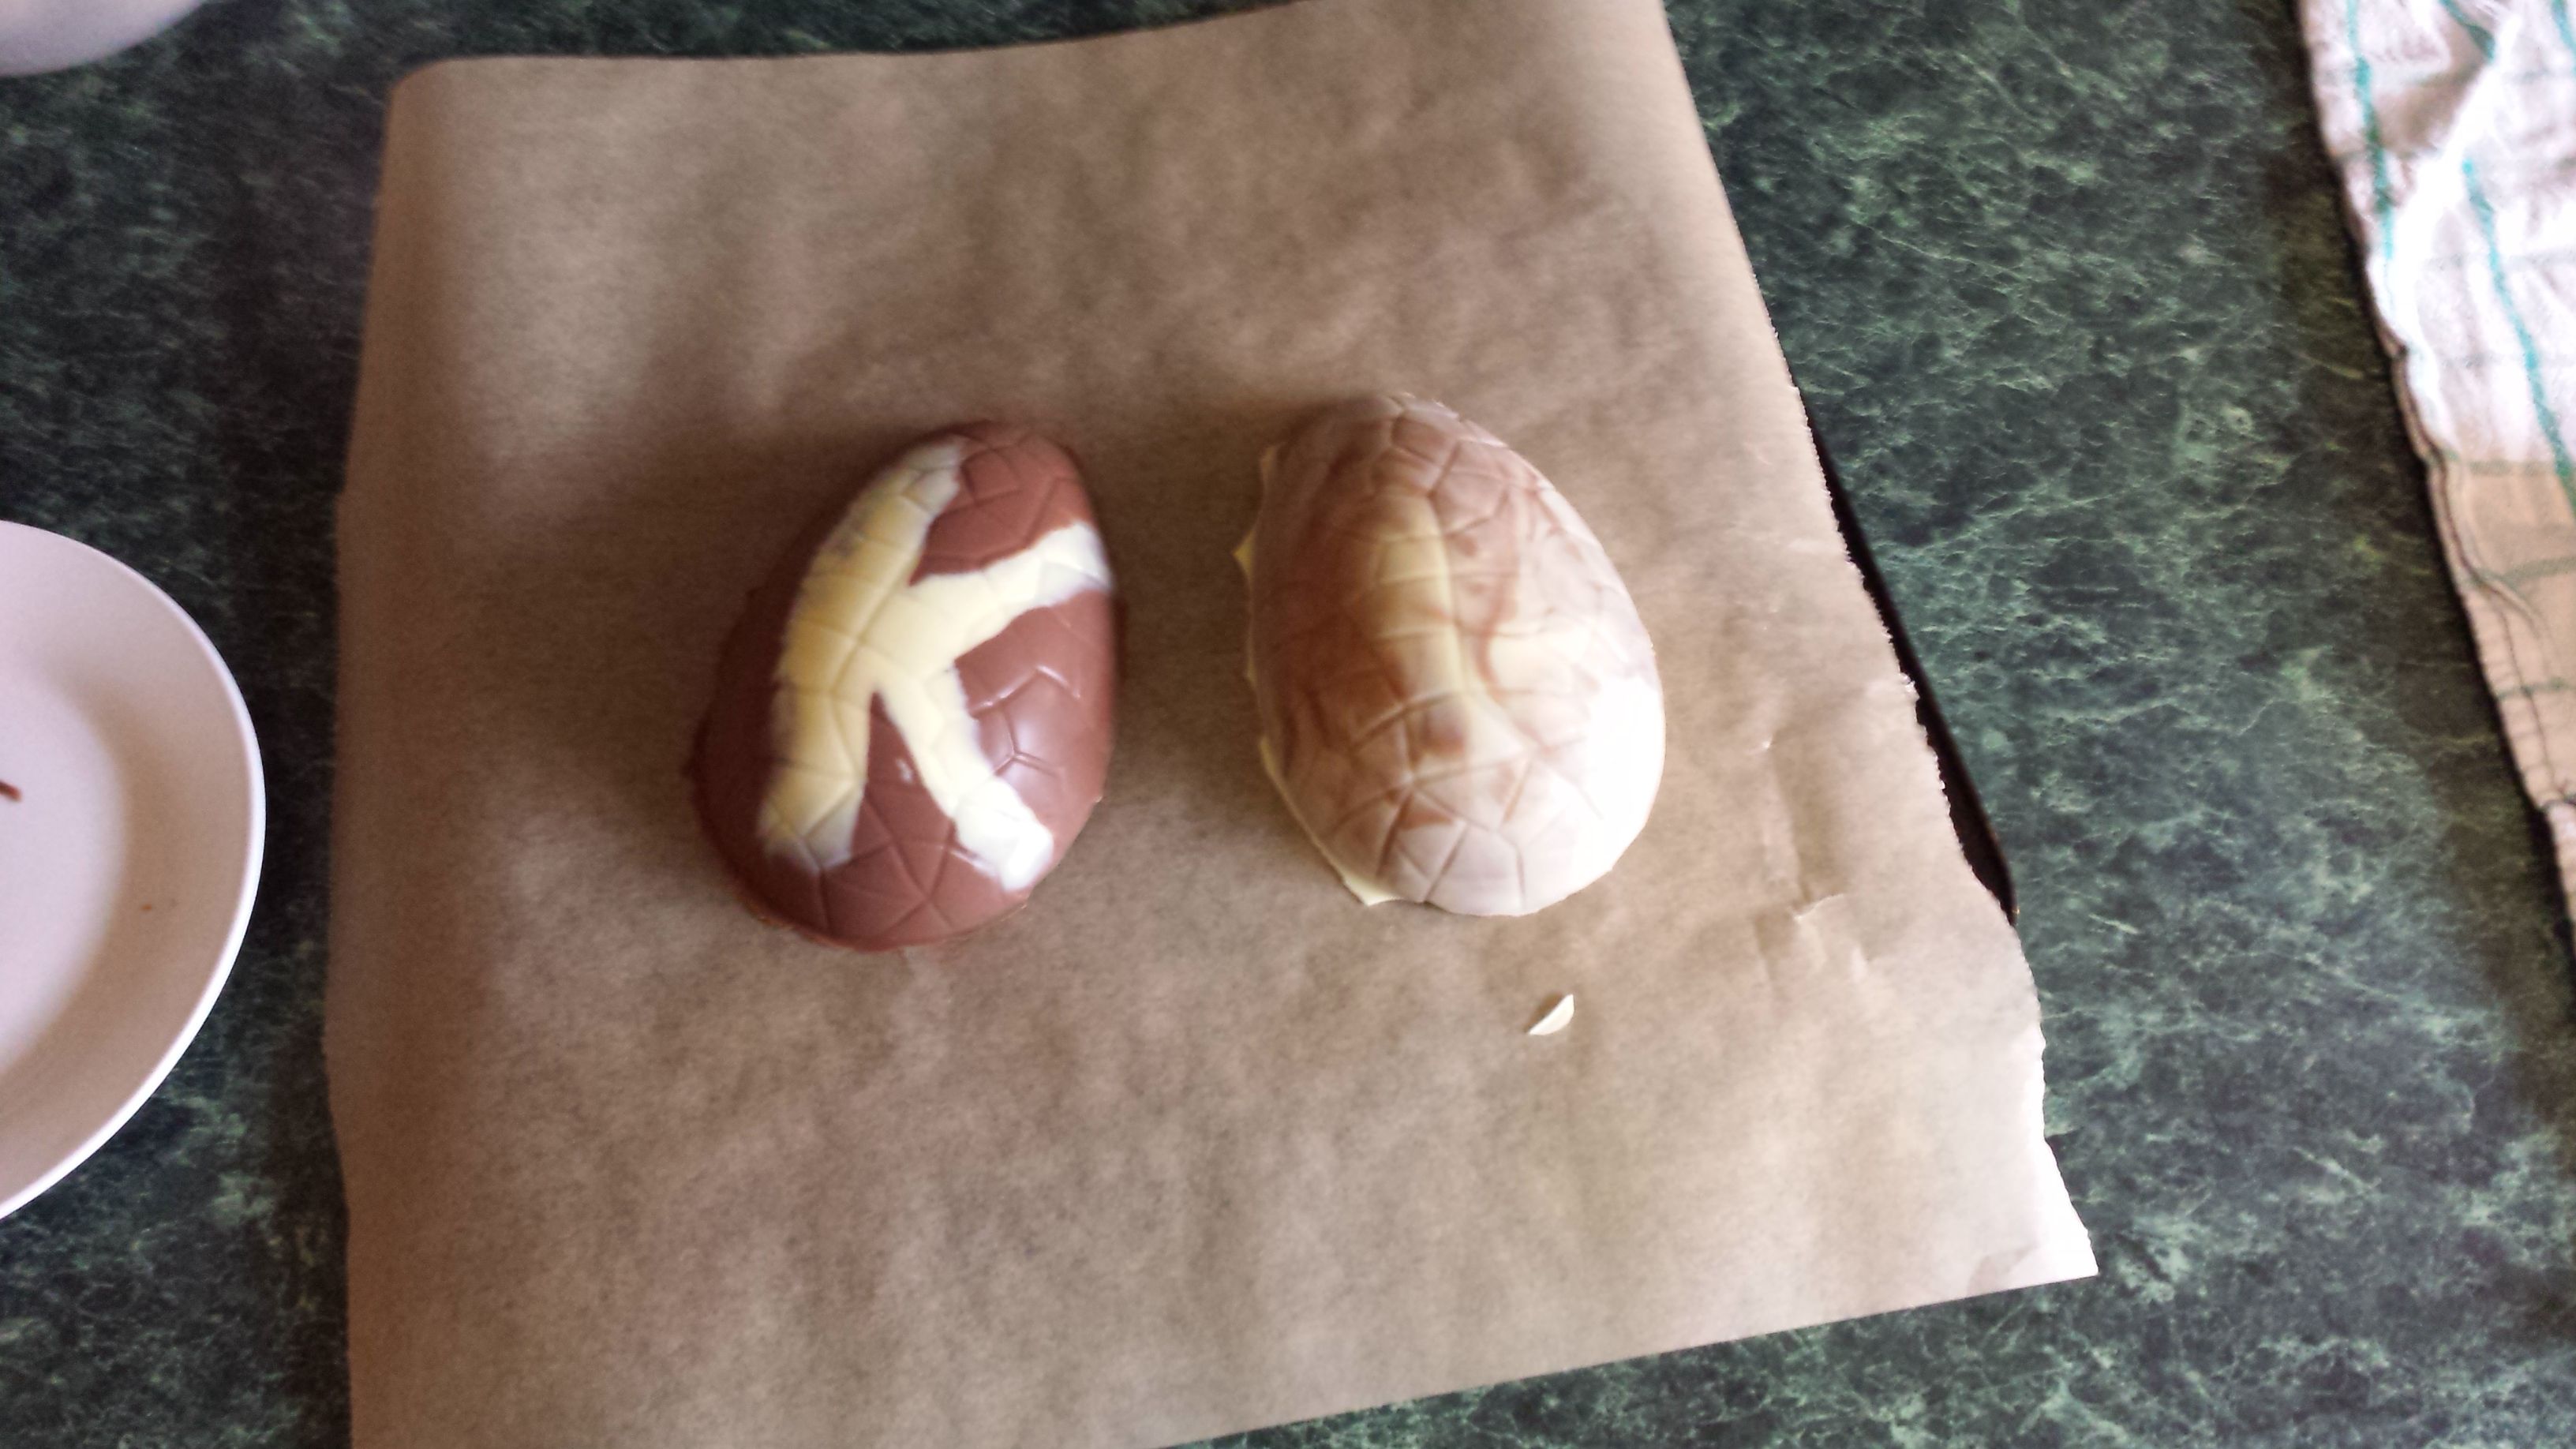
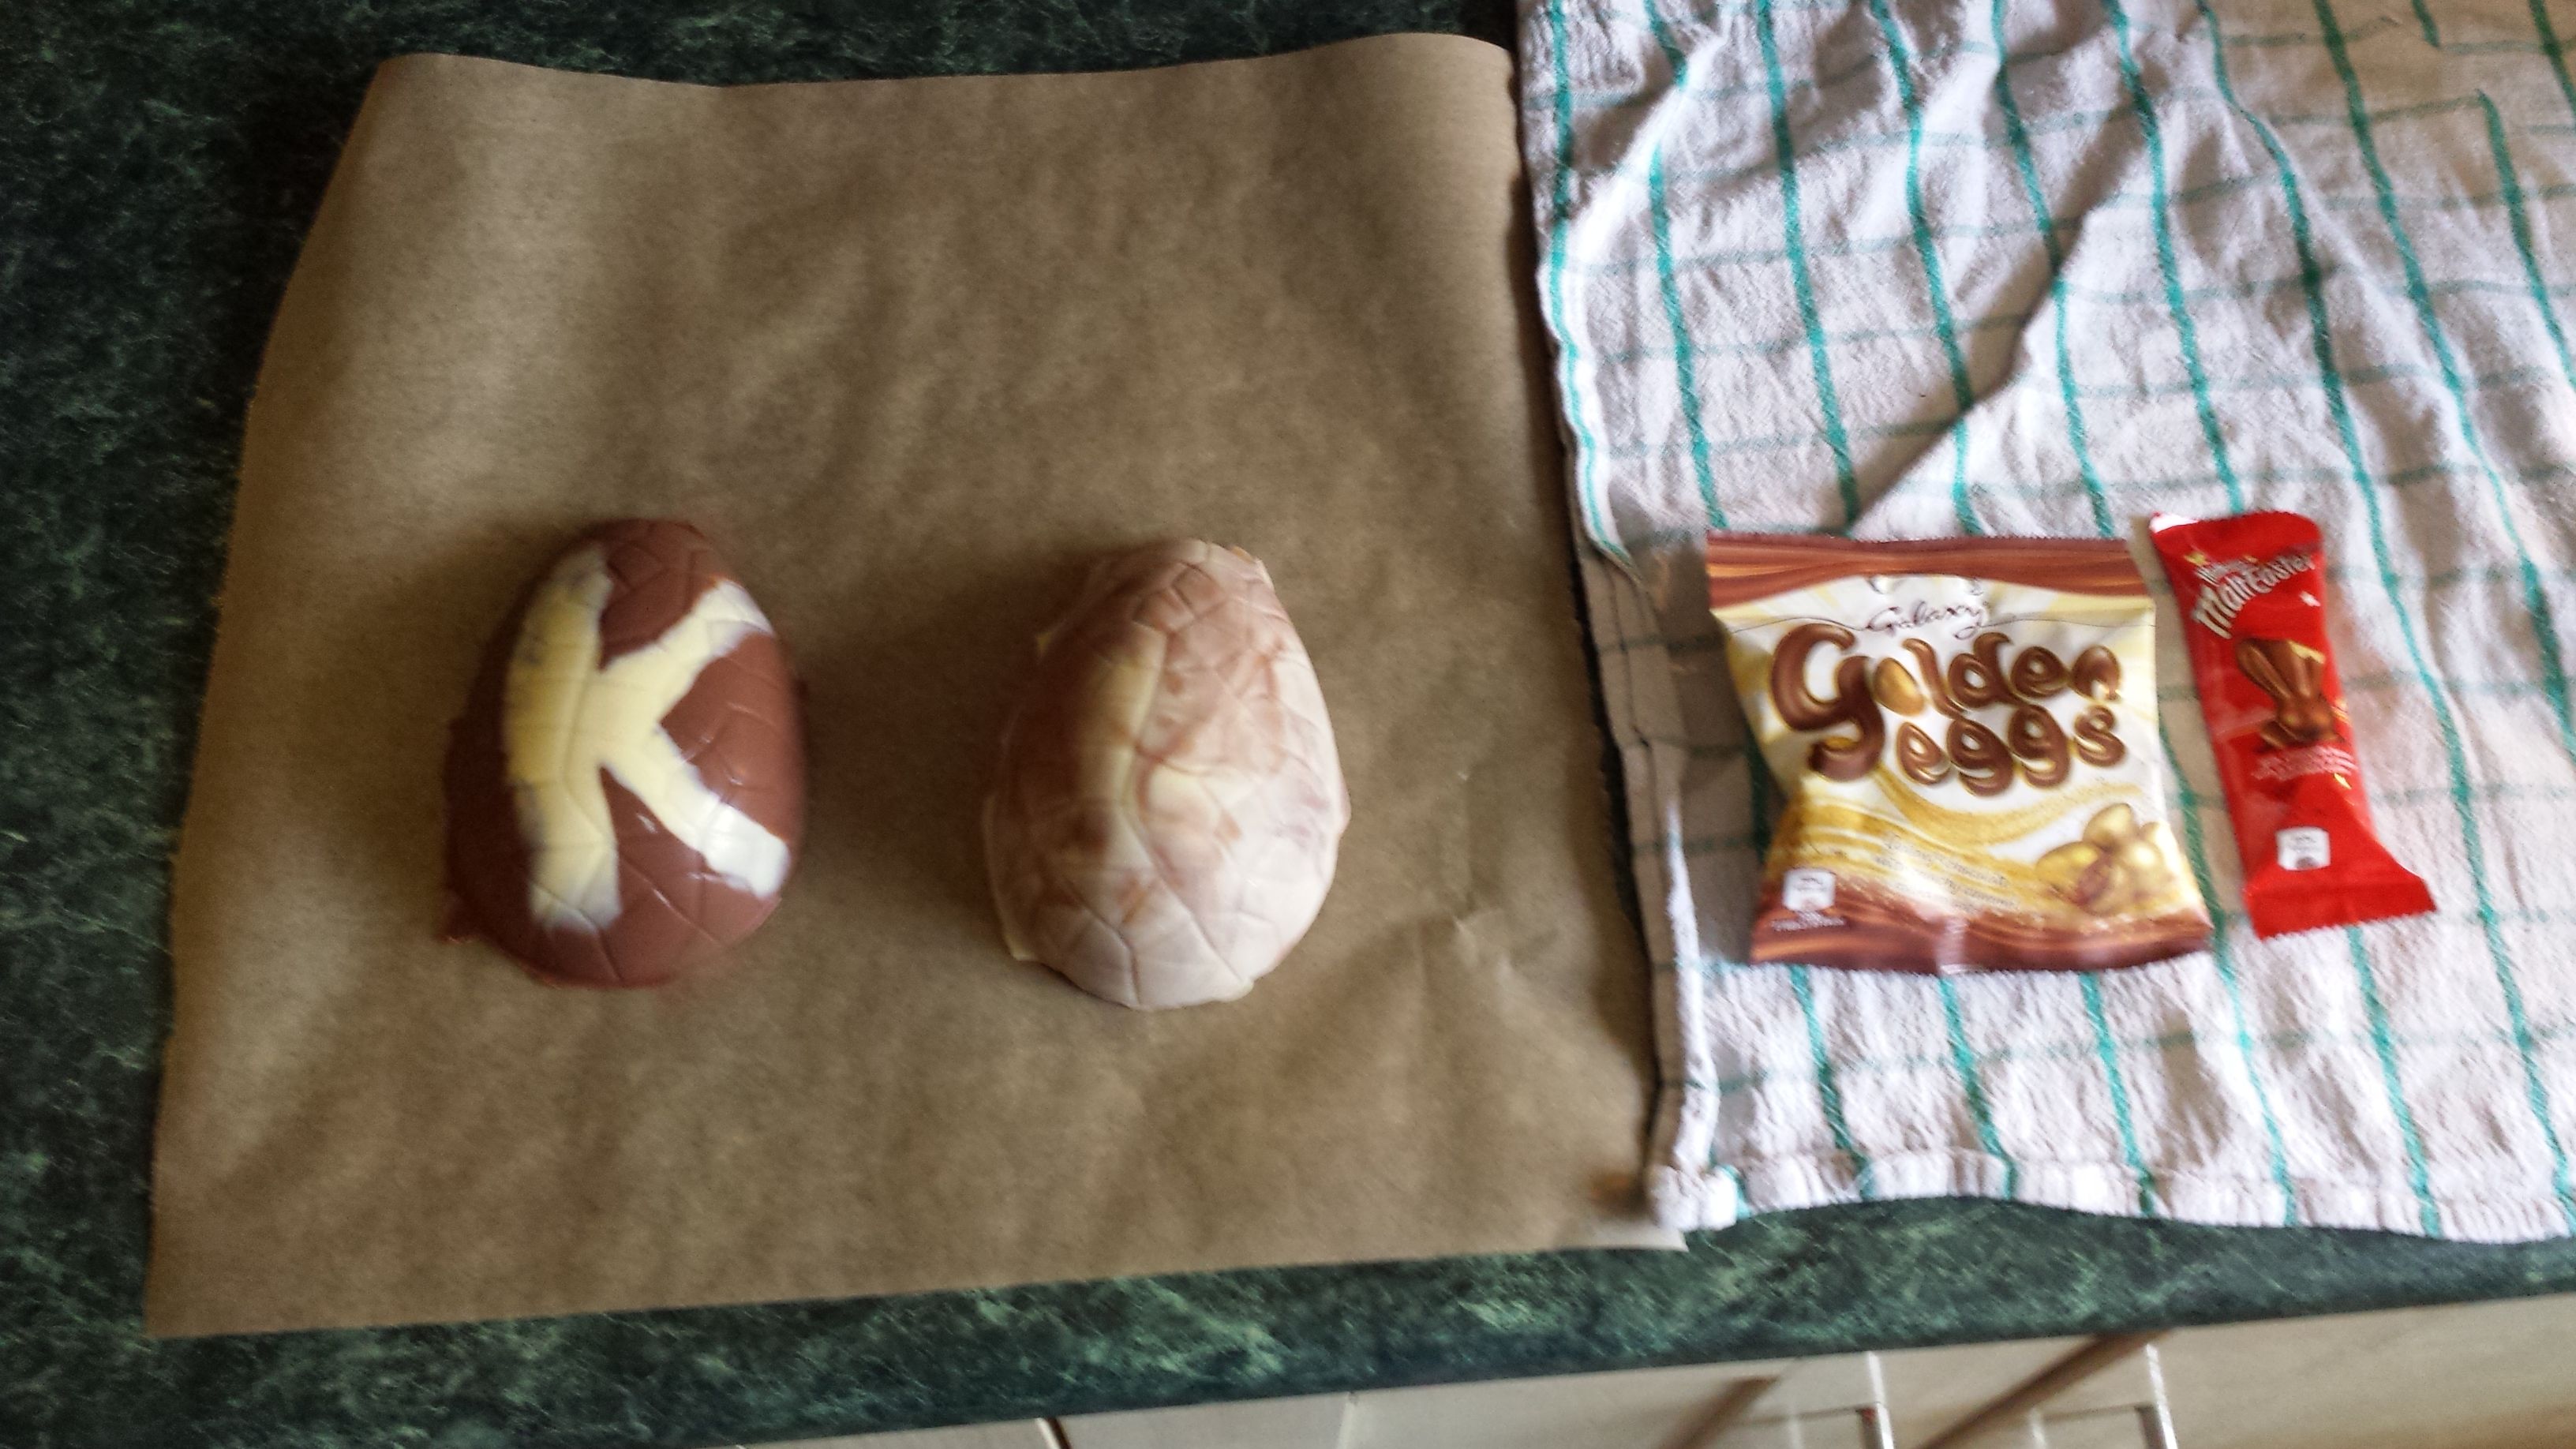
For the first side, I painted a "K" - the initial of the friend I made it for. After painting one layer, you put the mould into the fridge for 5 minutes, then paint another layer, then back in the fridge and allow the chocolate to set completely. If you're doing a plain egg in just one type of chocolate, then that would be it - your egg is done and you can take it out of the mould once it's set. I was doing some fancier designs, so my eggs took longer to make.

I painted milk chocolate behind the white chocolate "K", and did a marbled design for the other half. Once both halves were set, I took them out of the fridge and stuck them together, filling the egg with treats for good measure.
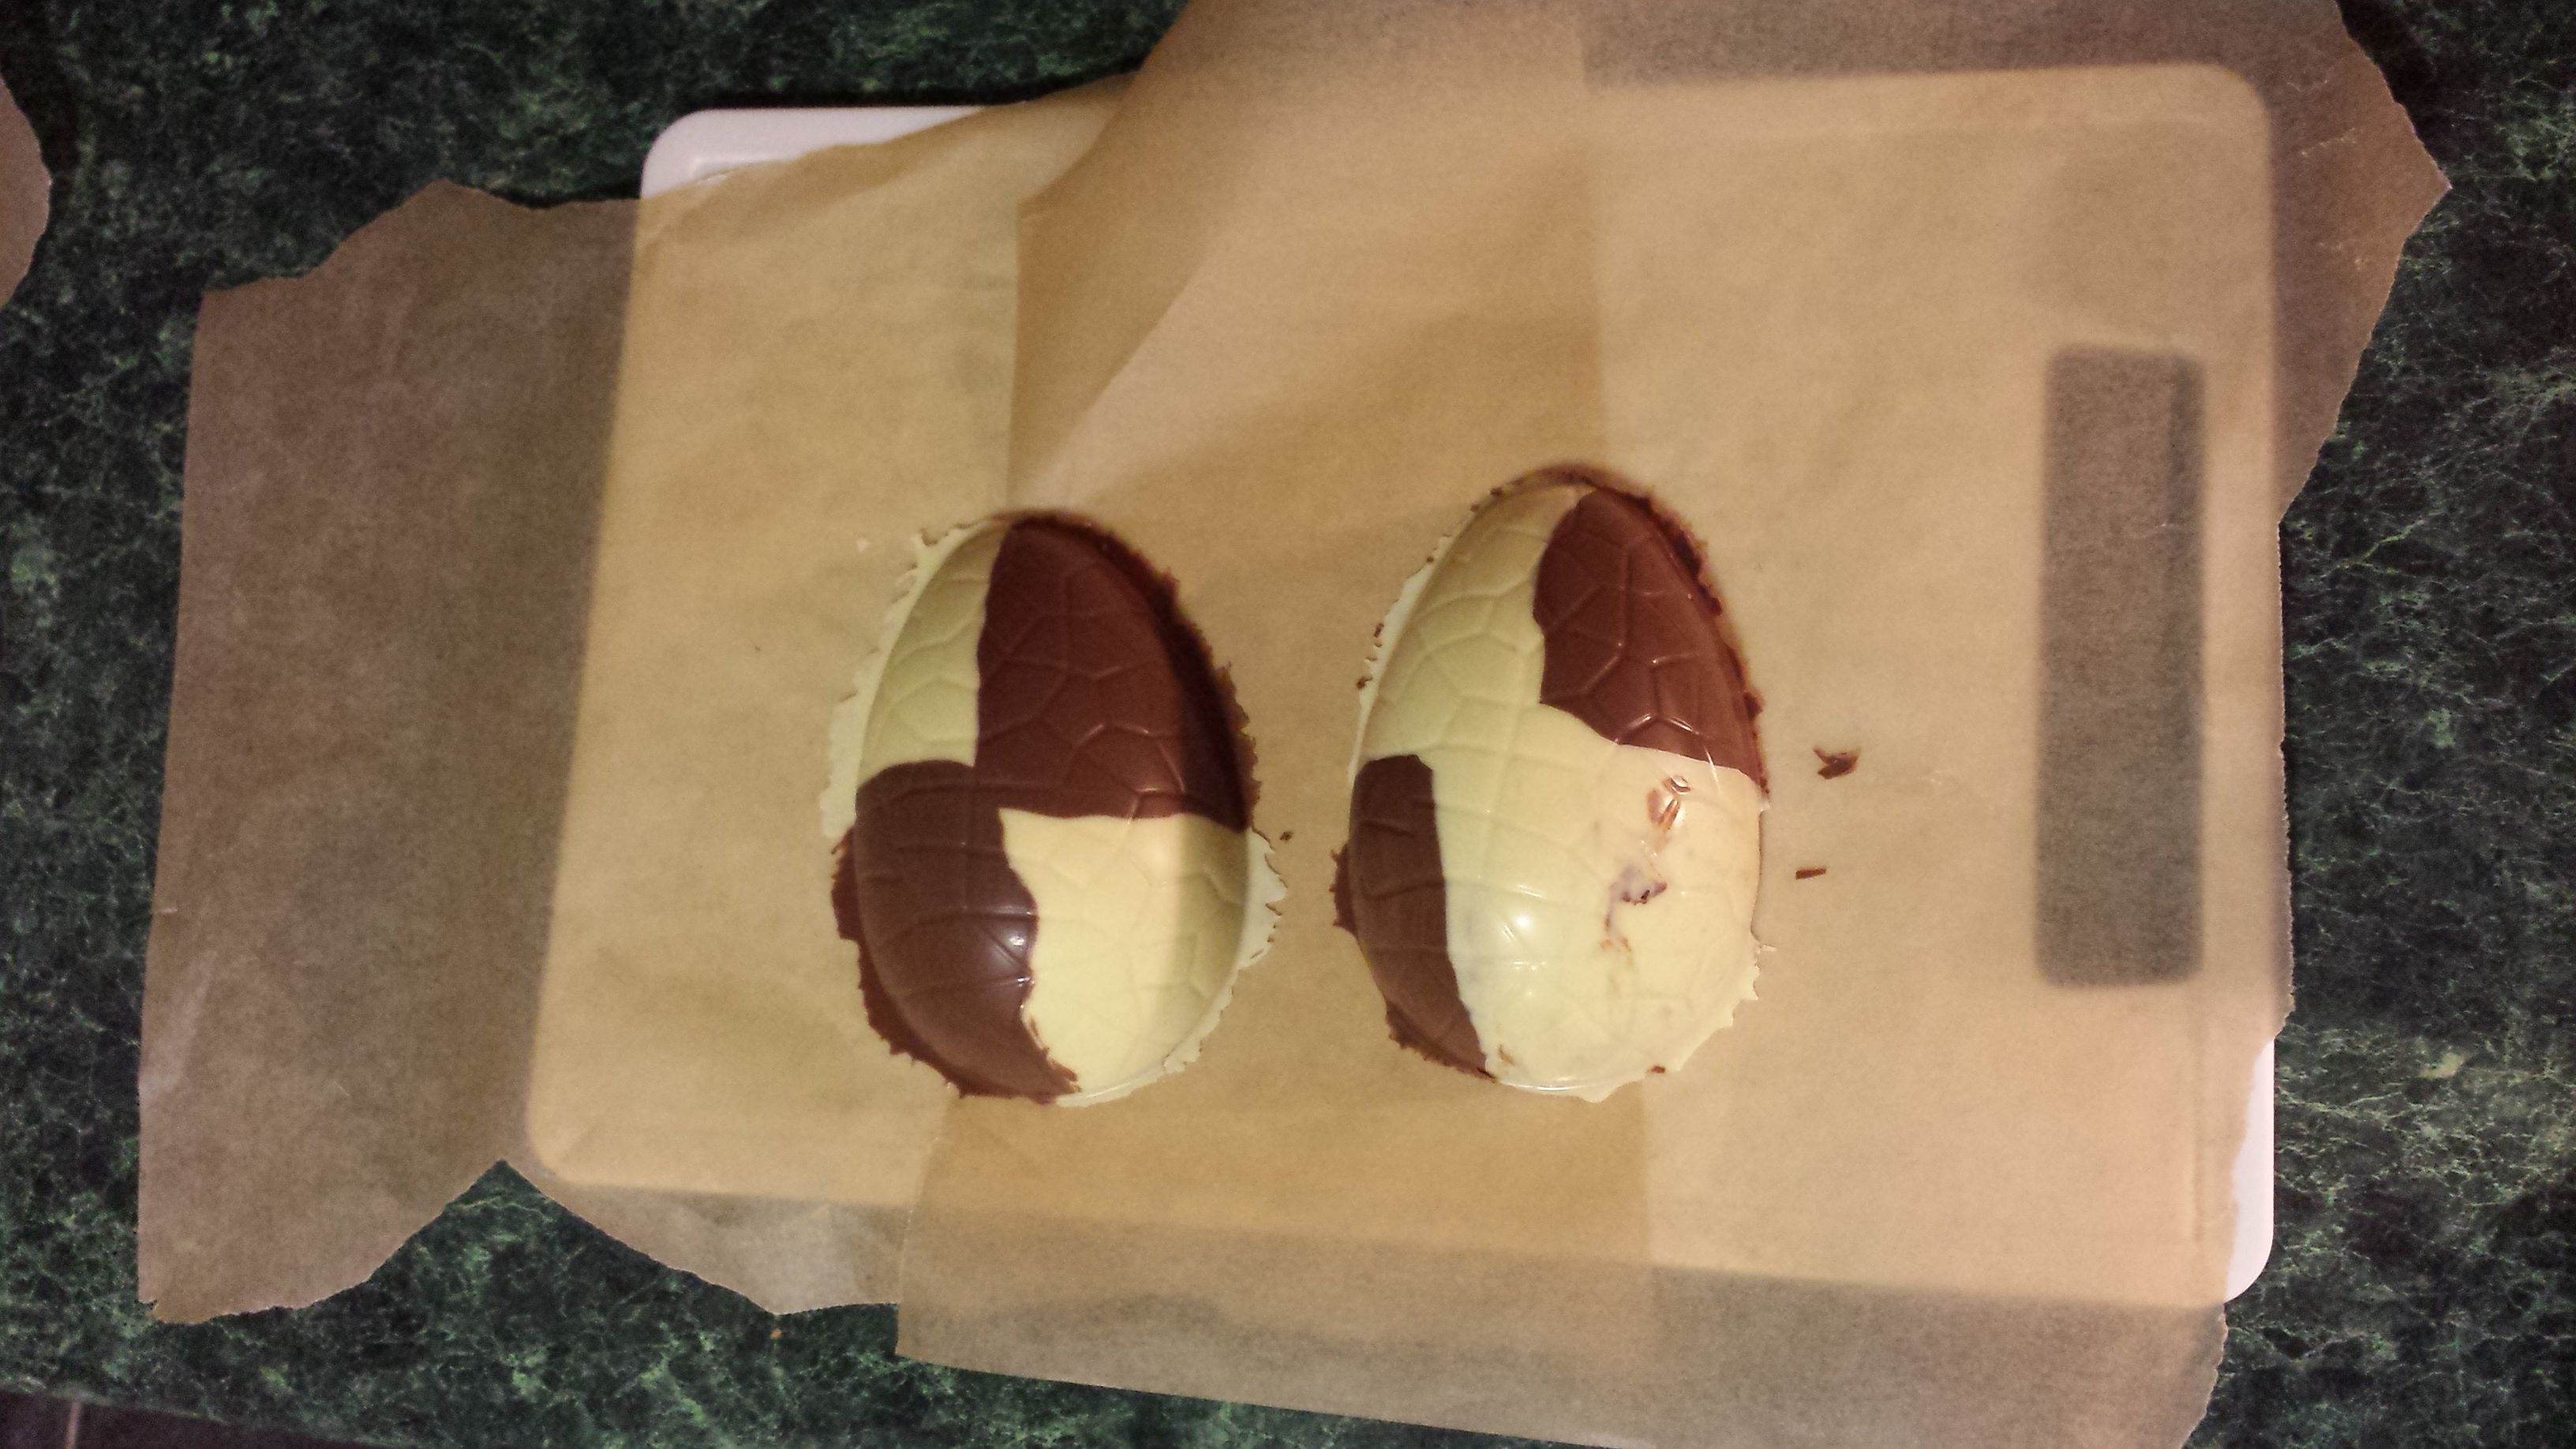
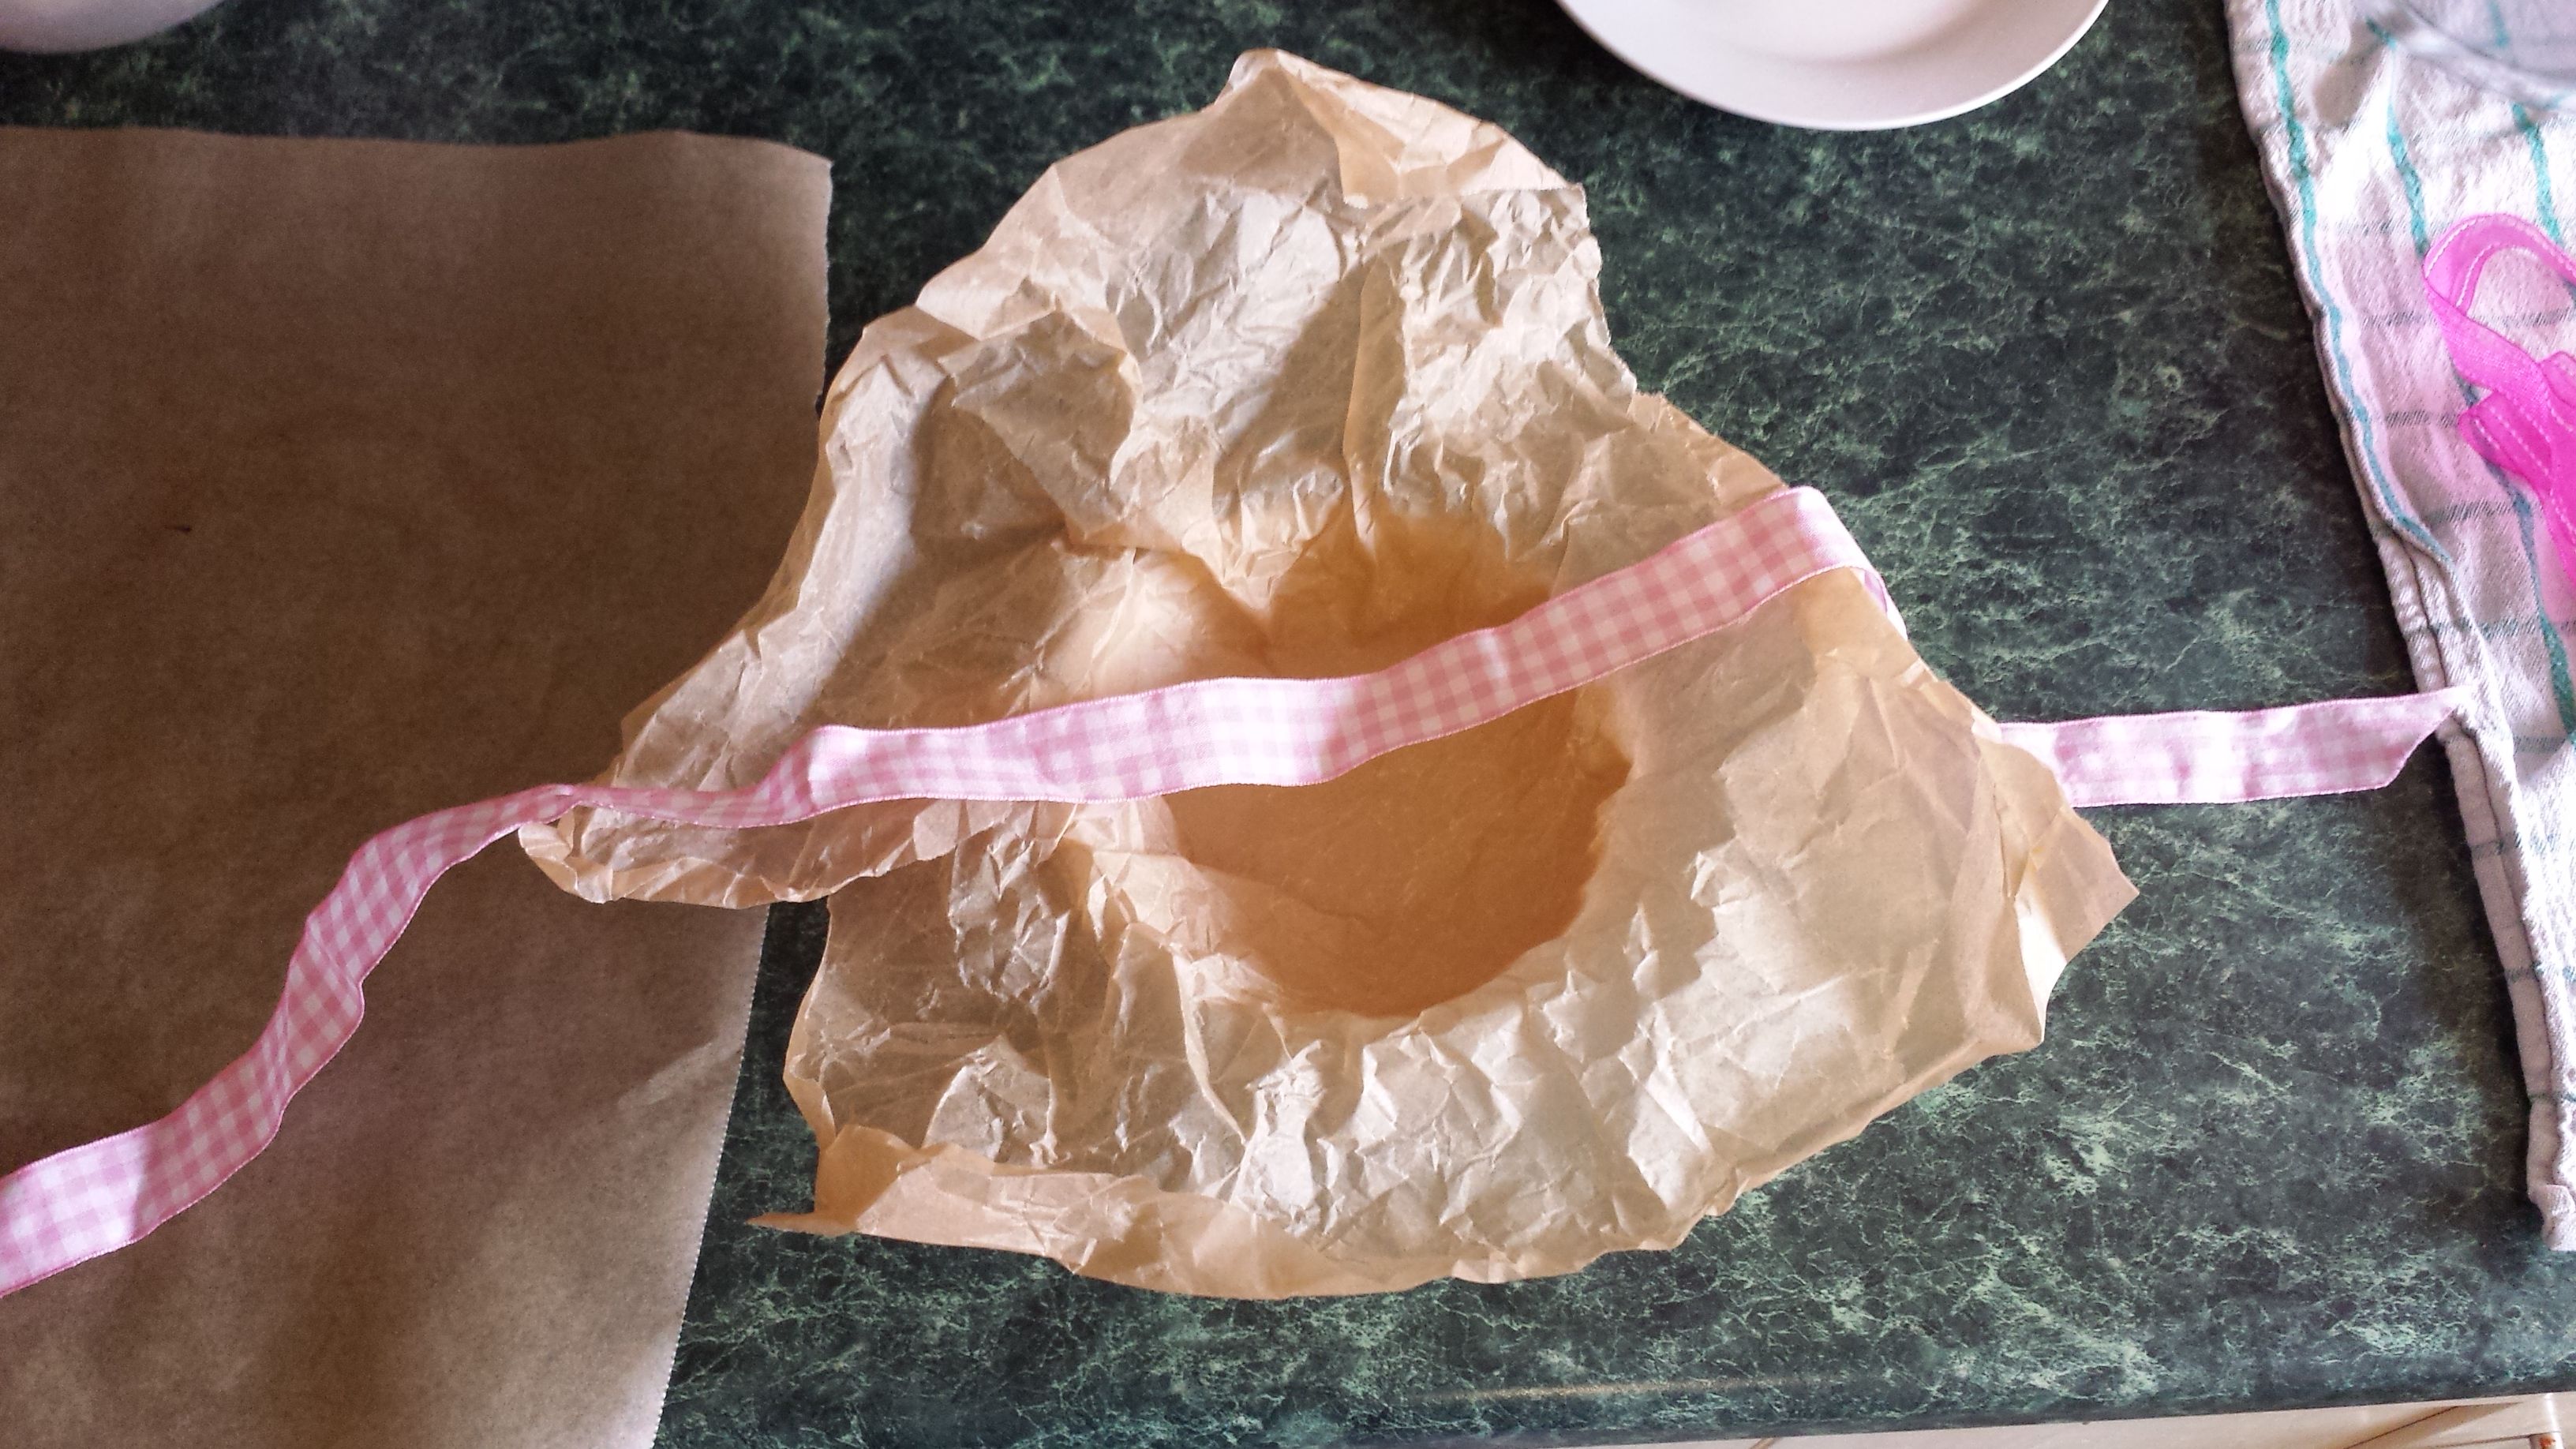
To join the two halves, you need to melt the edges so that the chocolate sticks together. You do this by heating a flat bottomed baking tray in the oven, covering it in greaseproof paper, and rubbing each half edge side down until the chocolate begins to melt. once the chocolate starts to melt, put the two halves together, holding them for about 30 seconds until they are stuck. Allow to cool and set together.
For extra security, I wrapped a pretty ribbon around the egg before presenting it in a fancy box.
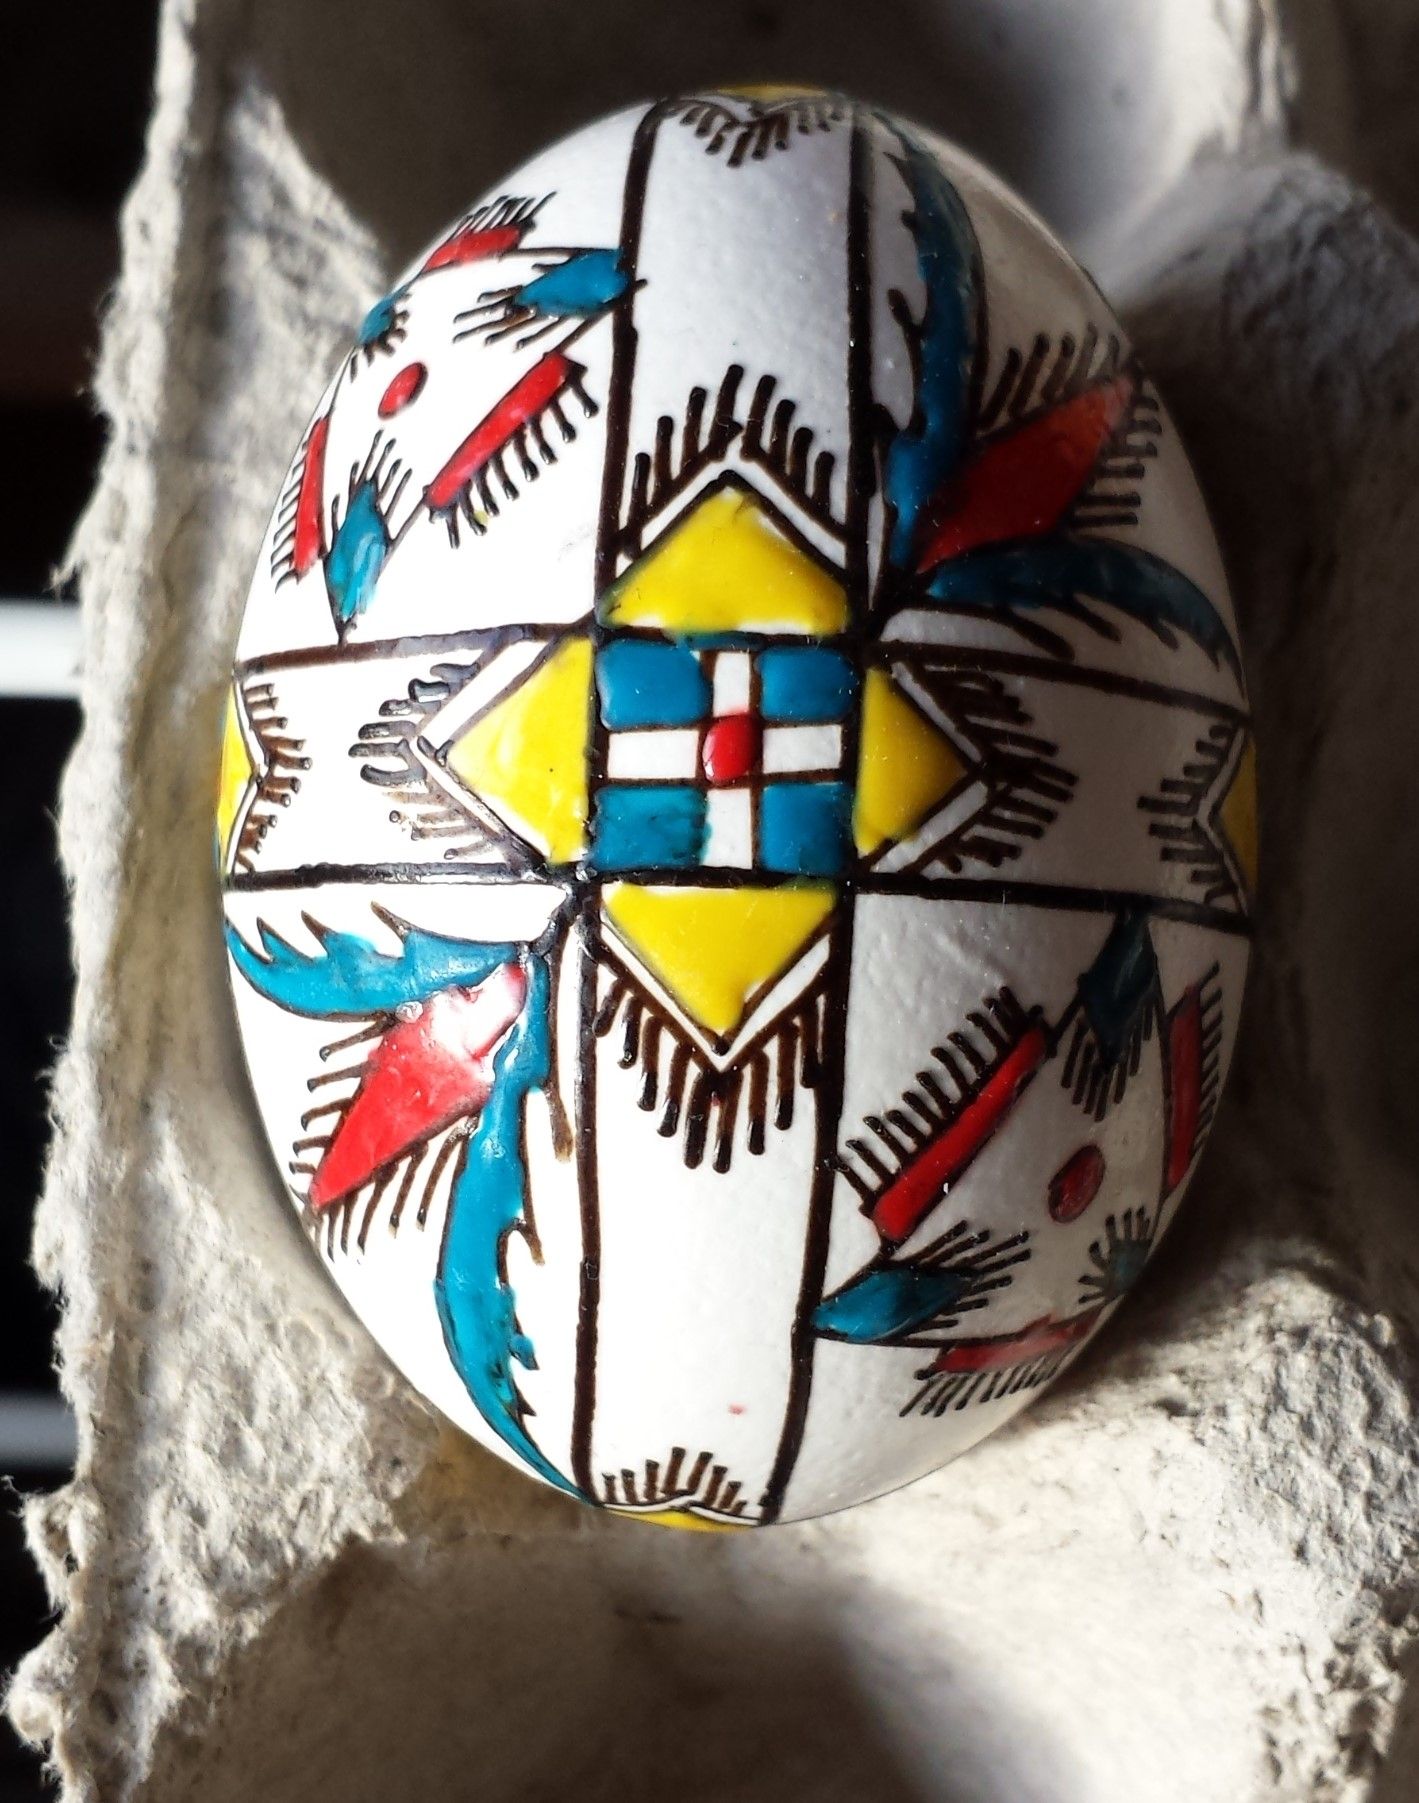
The next egg I made was designed to look like an Ou Încondelat or "Quilled Egg" - the traditional Romanian decorated eggs made for Easter. The egg below was my inspiration.
The finished product! I may not be a master chocolatier, but I'm still rather chuffed with the results. Paşte Fericit!!!
Thanks for having a look, and hope you enjoyed it!

