Dutch Iris – The Graceful Perennial That Turns Gardens into Poetic Landscapes
When you stroll through a well‑tended border in early summer, it’s often the subtle elegance of the Dutch iris ( Iris × hollandica ) that steals the show. With its delicate, sword‑like foliage and blossoms that range from buttery yellow to deep violet, this hardy perennial has become a favorite of both seasoned horticulturists and casual gardeners alike. Let’s dig into what makes the Dutch iris such a celebrated garden star, and how you can coax the very best performance from it.
A Brief History: From Dutch Waterways to Global Gardens
The Dutch iris is a hybrid of two Asian species—Iris germanica and Iris sanguinea—first cultivated in the Netherlands during the 18th century. Dutch growers prized the plant for its ability to thrive in the wet, marshy soils that line their canals, and they quickly began selecting for larger, more vibrant blooms.
By the late 1800s, the iris had made its way to England, France, and eventually the United States, where it earned the nickname “Dutch iris” and became a staple of public flower shows.
What Sets the Dutch Iris Apart?
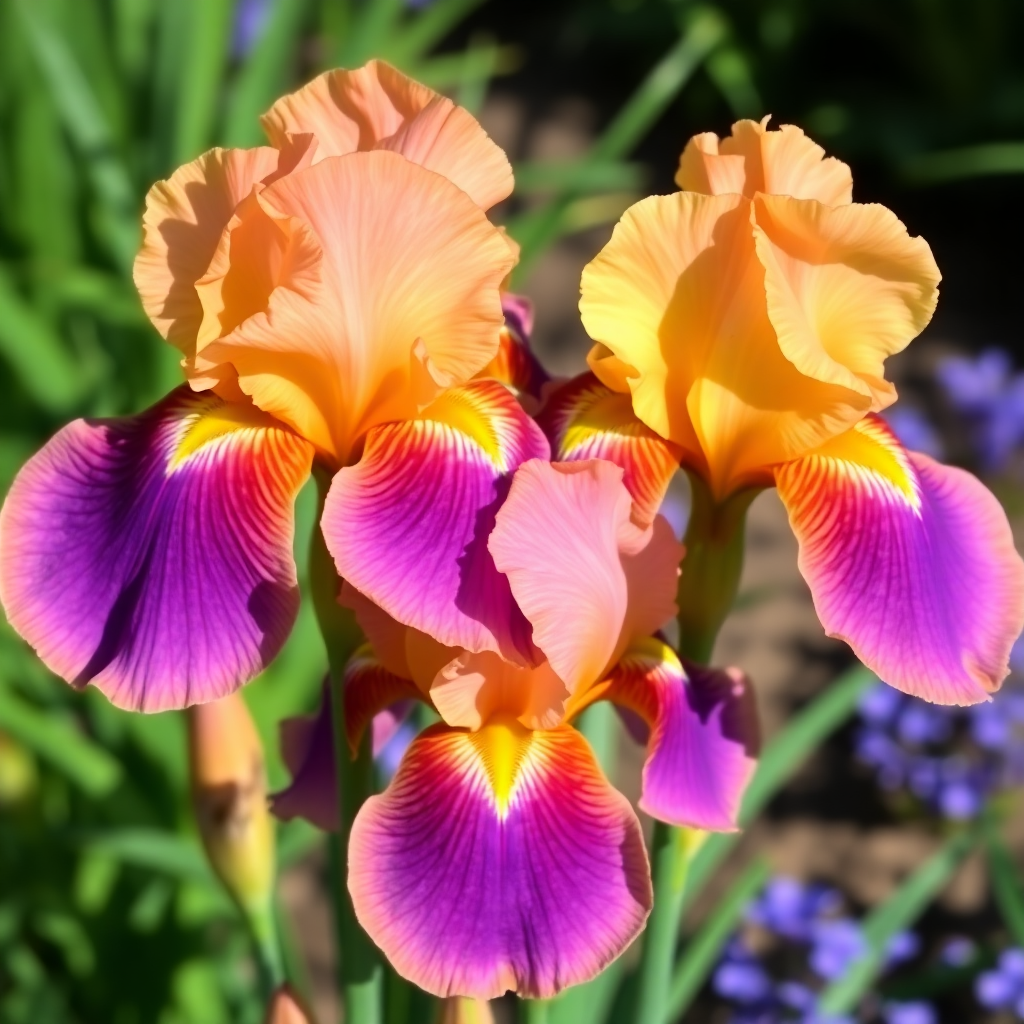
Flower Form – Unlike the classic bearded iris, the Dutch iris bears a single, cup‑shaped bloom per stem, each consisting of three large “standards” that arch gracefully upward and three narrower “falls” that drape gently downward. This simple, symmetrical silhouette gives the flower a modern, almost minimalist appeal.
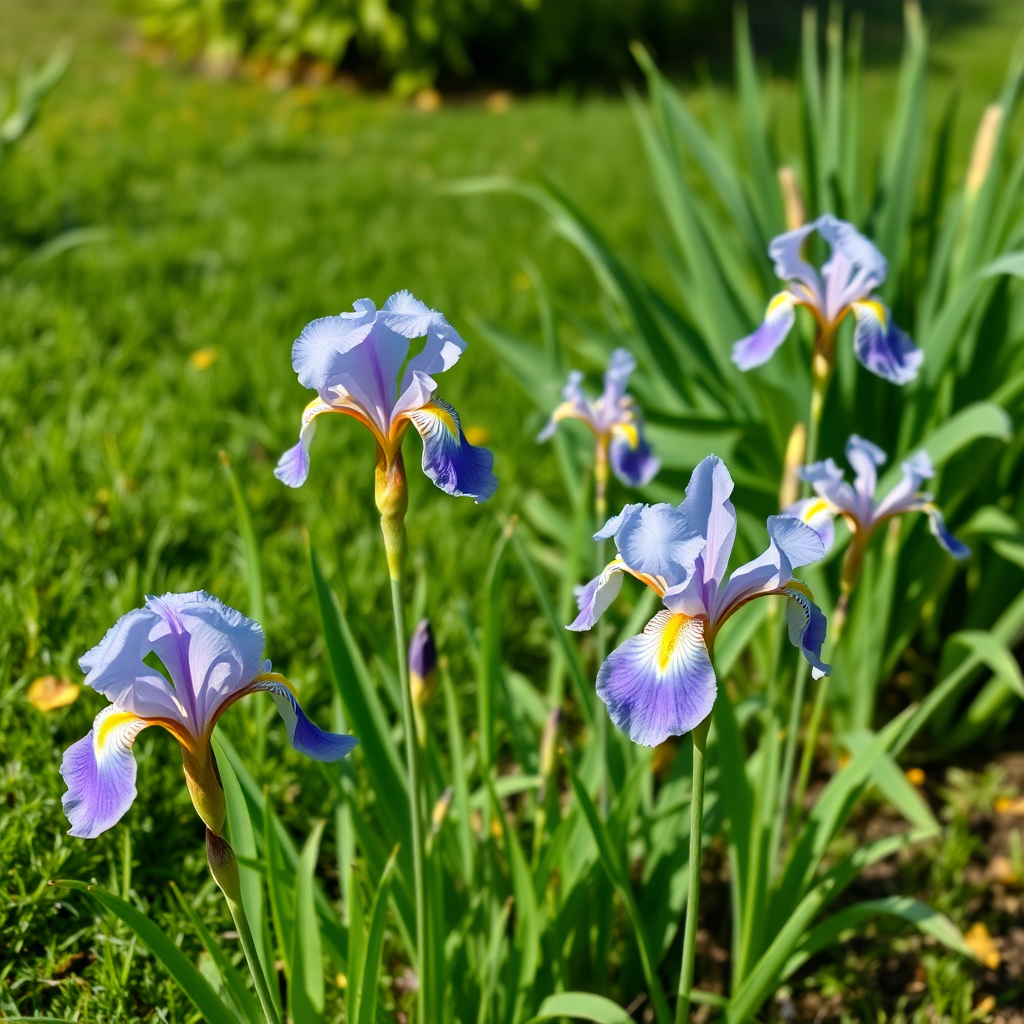
Color Palette – Cultivars range from pastel shades (soft pink, pale blue, buttery cream) to dramatic hues (deep purple, rich orange, velvety black). Many varieties also display striking bi‑color or “flame‑striped” patterns that add visual intrigue.
Hardiness – Dutch irises are remarkably resilient, tolerating USDA zones 4–9. Their rhizomes can survive frosts as low as –30 °F (–34 °C) when mulched properly, making them a reliable choice for northern gardens.
Planting & Care Tips for a Flourishing Display
| Step | Detail |
|---|---|
| Location | Choose a sunny spot (minimum 6 hours of direct light). While they tolerate light shade, blooms may be fewer and paler. |
| Soil | Well‑drained, loamy soil with a pH of 6.0–7.0. Amend heavy clay with compost or sand to improve drainage. |
| Planting | Time Early fall (September–October) is ideal. Plant rhizomes 2–3 inches deep, spacing stems 12–15 inches apart to allow air circulation. |
| Watering | Keep the soil consistently moist during the first growing season; thereafter, water only during dry spells. Over‑watering can cause rhizome rot. |
| Fertilizing | Apply a balanced, slow‑release fertilizer in early spring. Excess nitrogen can encourage foliage at the expense of flowers. |
| Dividing | Every 3–4 years, lift and divide clumps in late summer after the foliage has yellowed. This rejuvenates the plants and prevents overcrowding. |
Design Ideas: Showcasing Dutch Iris in the Landscape
Cut‑Flower Gardens – Because each stem bears a single, long‑lasting bloom, Dutch irises make stunning cut flowers. Plant them near a sunny patio for easy harvesting.
Mixed Borders | Pair with low‑growing herbs like sage or thyme, and taller perennials such as peonies or lupines for a tiered effect.
Container Displays | Their compact size (typically 12–18 inches tall) makes them perfect for large pots or window boxes. Add a layer of mulch to retain moisture and protect wintering rhizomes.
A Final Thought
The Dutch iris is more than just a pretty face; it’s a resilient, low‑maintenance plant that rewards patience with a burst of refined color each summer.
Whether you’re creating a formal cottage garden, a modern minimalist border, or simply looking for fresh cut blooms, these irises bring a touch of Dutch horticultural heritage right to your doorstep. Plant a few rhizomes this fall, and let the quiet elegance of the Dutch iris transform your garden into a living poem.